- How to Install Ubuntu in VMware Player [Windows]
- Things You Need To Download
- Install Ubuntu In VMware Player
- Installing Ubuntu Server in VMware
- Configuring VMware player
- Installing Ubuntu Server edition
- Initial steps (language and keyboard layout)
- Choosing the right edition
- Network configuration
- Proxies and mirrors
- Disk configurations
- User configurations
- Miscellaneous software
- Reboot!
- First boot and SSH
- Want to enable live patching on the Ubuntu server?
How to Install Ubuntu in VMware Player [Windows]
So you have been following the Linux community for a while and wanted to install a Linux based OS like Ubuntu while having the known surroundings and convenience of Windows. There are lots of ways to test Ubuntu without making permanent changes to your computer. Running Ubuntu from USB or CD/DVD drives is one of the ways. Here we are showing you another way to test Ubuntu via VMWare Player.
We have previously shown you how to install Ubuntu in a Virtualbox. VMWare Player is another virtualization software that allows you to run a virtualized OS in your current system.
Note: This tutorial shows you how to install Ubuntu, but it will work for most Linux distro as well.
Things You Need To Download
- Download VMware Player (free) – Once you have downloaded the software, just install it like any other software.
- Ubuntu ISO – download it from Ubuntu’s official website. Personally, I recommend you to download the 32-bit version of Ubuntu unless you have tons of memory to spare. I really stress this because the 32-bit version of Ubuntu tends to run more smoothly on less memory (less than 2 GB) which is ideal for virtual machine.
Install Ubuntu In VMware Player
1. Once you have downloaded VMware Player, install it in your Windows machine. Launch it via the desktop shortcut or by going to the Start menu. To create a new virtual machine, click on “Create a New Virtual Machine” link.

2. The above action will open virtual machine wizard. Select the radio button “Installer disc image file (iso)” and click on the “Browse” button and point it to the Ubuntu ISO file. As you can see from the below image, VMware automatically detects the OS and makes all the arrangements for easy installation. Click the “Next” button to continue.

3. In the next screen, fill in all the details like your full name, user name and a good password. After filling in all the necessary data, click the “Next” button to continue.

4. Now you have to name your Ubuntu virtual machine. As you can see, I have named it “UbuntuMTE” and I’ve also changed the default location to a folder named “UbuntuMTE” in G drive because most of us won’t have enough space to spare in our C drive (OS installation drive). Of course, there is no need for you to change the default location if you have enough space.

5. Here in this screen just leave the settings to default, e.g., “20 gigs” of virtual hard disk space and “split virtual disk into multiple files.” The default installation of Ubuntu takes around 4.5GB to 5GB, and the remaining free space can be used to install software, upgrades, etc. Click the “Next” button to continue.

6. This is the best part of VMware because it will automatically adjust all the required hardware specs. If you want to customize things like the amount of RAM (memory) you want to dedicate or number of processor cores you want to use, just click on the “Customize Hardware” button to customize a whole bunch of virtual hardware settings.

7. When you click the “customize hardware” button, it will open a window where you can tweak different hardware specs like…
- RAM (Memory) – The amount of memory you want to dedicate to the virtual machine. As you can see, 1GB of RAM is enough for Ubuntu 32-bit version.
- Processors – Here you can select how many processor cores you want to dedicate to the virtual machine. That said, the default setting is just good and don’t touch it unless you know what you are doing.
- CD/DVD – Here you can select a different ISO or you can even point it to your physical CD/DVD drive. Of course, we’ve already pointed it to use Ubuntu ISO that we just downloaded, so there is no need for any changes.
- NAT – Here you can change the networking settings of your virtual machine. By default VMware uses NAT (Network Address Translation) but if you want to change your network connection to Bridged or Host-Only, this is the place to do so.
- USB Controller – Here you can change the USB compatibility mode from 2.0 to 3.0 or vice-versa. You can even customize stuff like whether you want to connect new USB drives automatically or to share your Bluetooth device (if you have one on your physical machine) with the virtual machine, etc.
- Sound Card – By default, VMware uses your default host sound card, but if you want to change it to another sound card, then you can change those settings here.
- Printer – If you have a printer connected to your physical machine, VMware can use it to print out your stuff.
- Display – By default, VMware uses host display settings. But you can change those display settings according to your needs under this section.

Note: If you are trying to install Ubuntu 64-bit version, I would recommend you dedicate at least 2GB RAM, otherwise you may not get a good smooth experience.
8. Once you have finished configuring all the virtual hardware specs, make sure the check box “Power on this virtual machine after creation” is checked and click the “Finish” button to start installing Ubuntu in VMware player.
9. As you can see from the below image, VMware automatically installs the Ubuntu OS. The installation will take a while, so just sit back and relax while VMware does the work for you.

Once the installation is complete, your virtual machine will be rebooted automatically and you will be greeted with a gorgeous Ubuntu login screen.

Enter your account password (the one you used in step #3) and hit the Enter button to start using and testing Ubuntu.

So, last but not least – Welcome to Ubuntu desktop. Hope that helps and do comment below if you face any problems while installing Ubuntu in VMware player.
Vamsi is a tech and WordPress geek who enjoys writing how-to guides and messing with his computer and software in general. When not writing for MTE, he writes for he shares tips, tricks, and lifehacks on his own blog Stugon.
Our latest tutorials delivered straight to your inbox
Installing Ubuntu Server in VMware

One of the most popular distributions in the Linux server world is undoubtedly the Ubuntu server. This is because its installation process is quite simple and straightforward, compared to other distributions in this realm.
I will uncover the wonderful process of installing an Ubuntu server as a virtual machine in VMware Workstation Player.
Here are the prerequisites:
- Any computer that supports virtualization with at least 4 GB of RAM
- Minimum 10 GB of disk space
- VMWare player
- Ubuntu Server ISO (prefer LTS version rather than normal releases)
And you can visit the official download page of canonical to download the latest ISO of the Ubuntu server.
Configuring VMware player
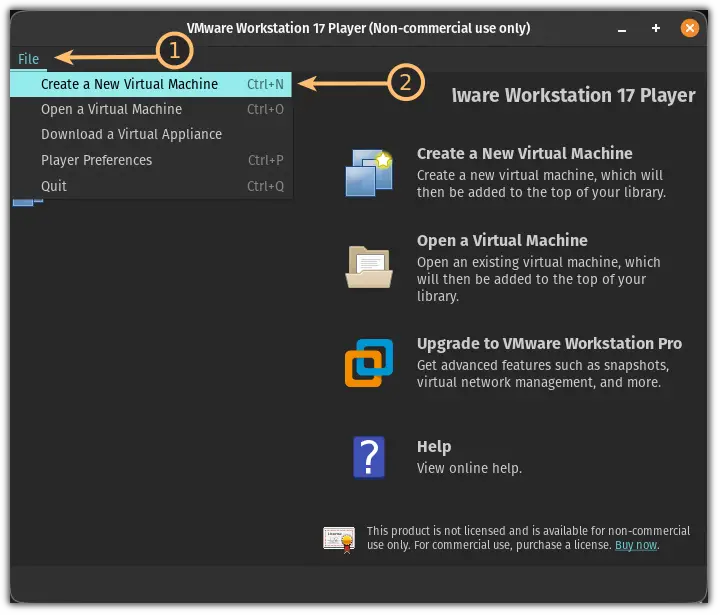
So let’s start with creating a new VM. To do so, you can use the shortcut Ctrl + n or by clicking on the File and selecting Create a New Virtual Machine :
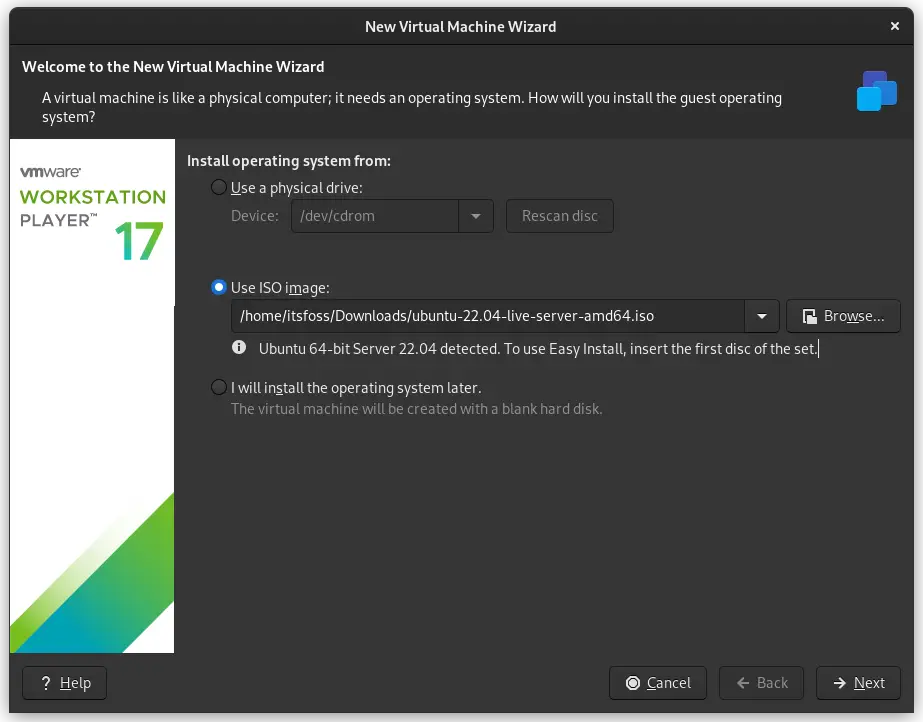
Next, click on the Browse button and select the ISO from the file manager:
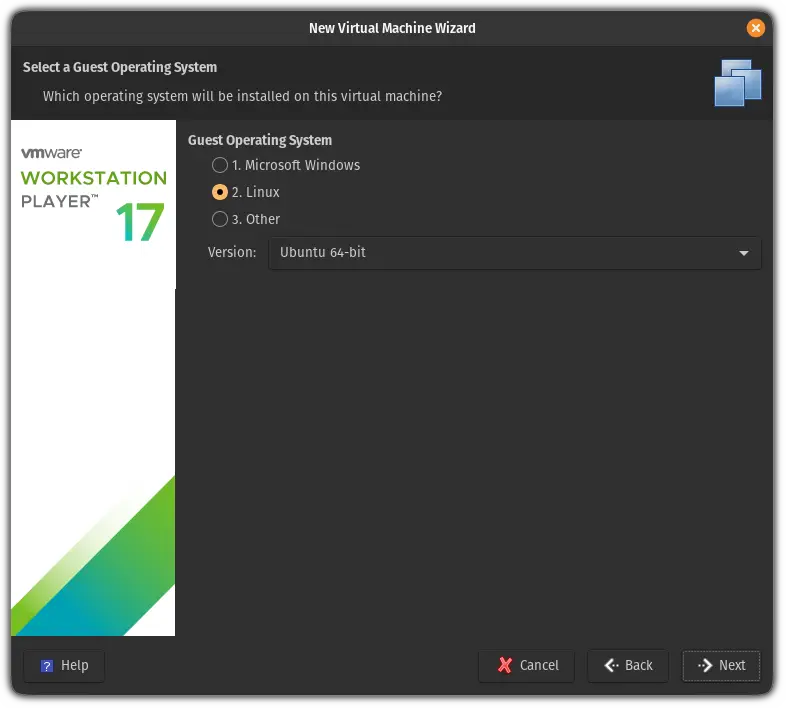
Now, the next step will be taken care of by VMWare itself as it will select the type Linux and version Ubuntu :
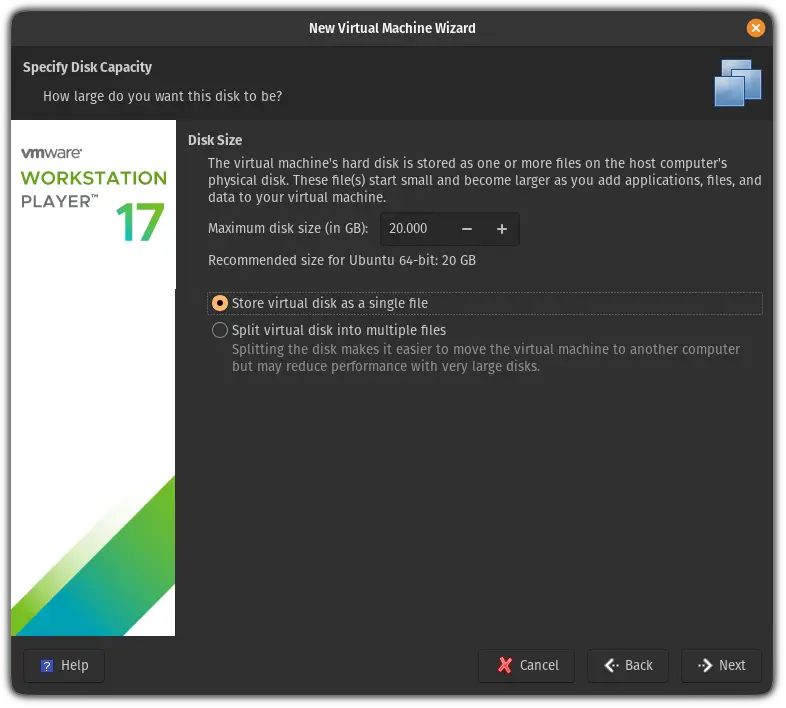
Next, it will ask you to select the disk size and how you want to store the disk. Allocate the disk space as per your needs (you can always increase the size after the installation).
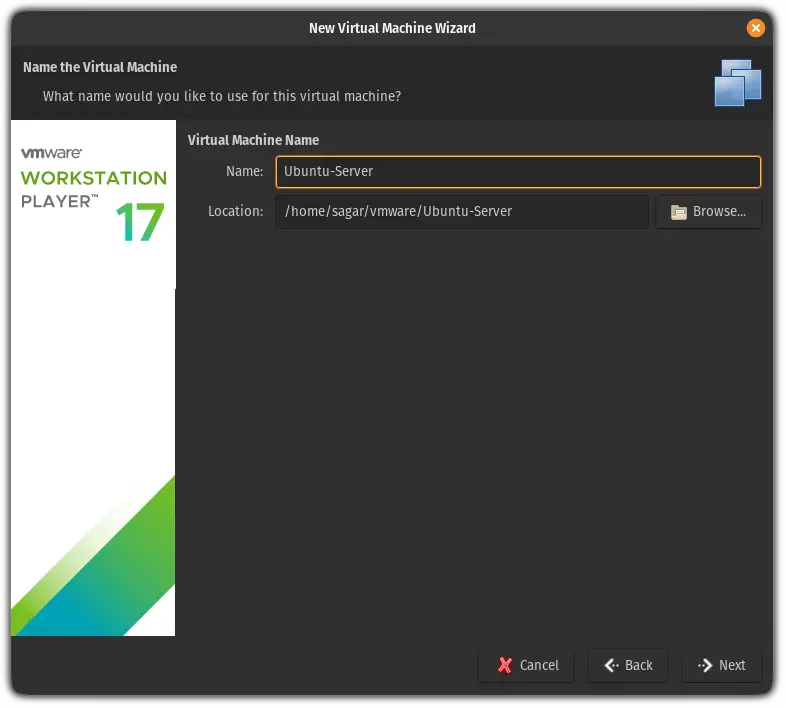
In the next step, it will ask you to name this VM. So make sure to give this relevant name. I went with Ubuntu-Server :
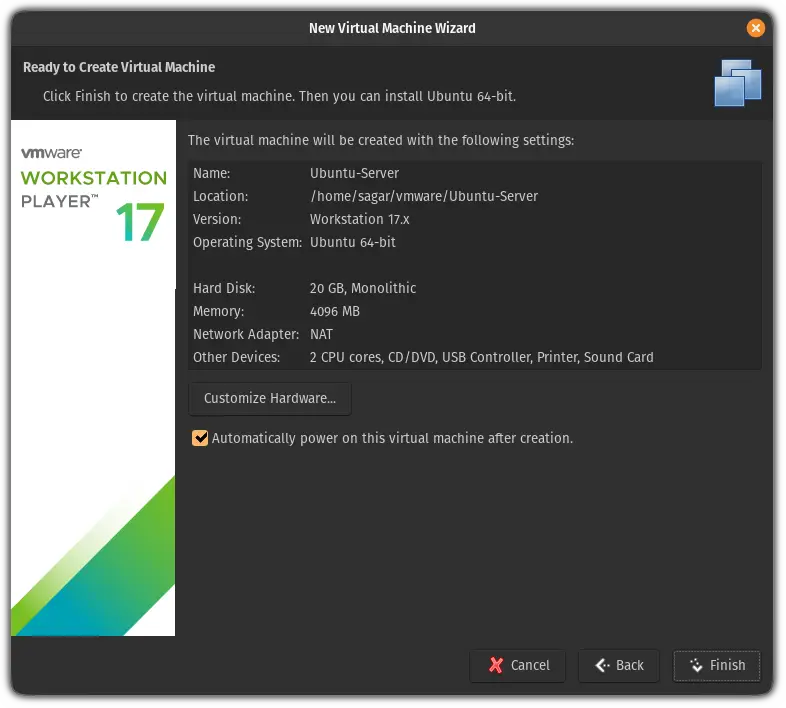
And it will show the summary of configurations you went with to create this VM.
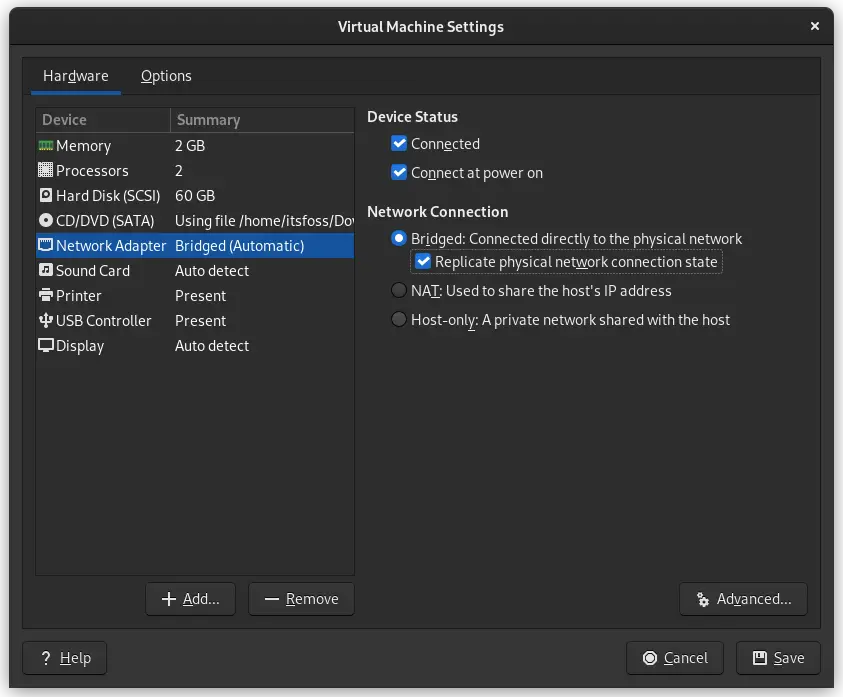
Sure, many options were selected automatically such as processor count, RAM, networking configuration, etc. To do so, click on the Customize Hardware :
For instance, you’d have to enable the Bridged connection from the Network Adapter options:
Once done save the configuration and start the VM.
Installing Ubuntu Server edition
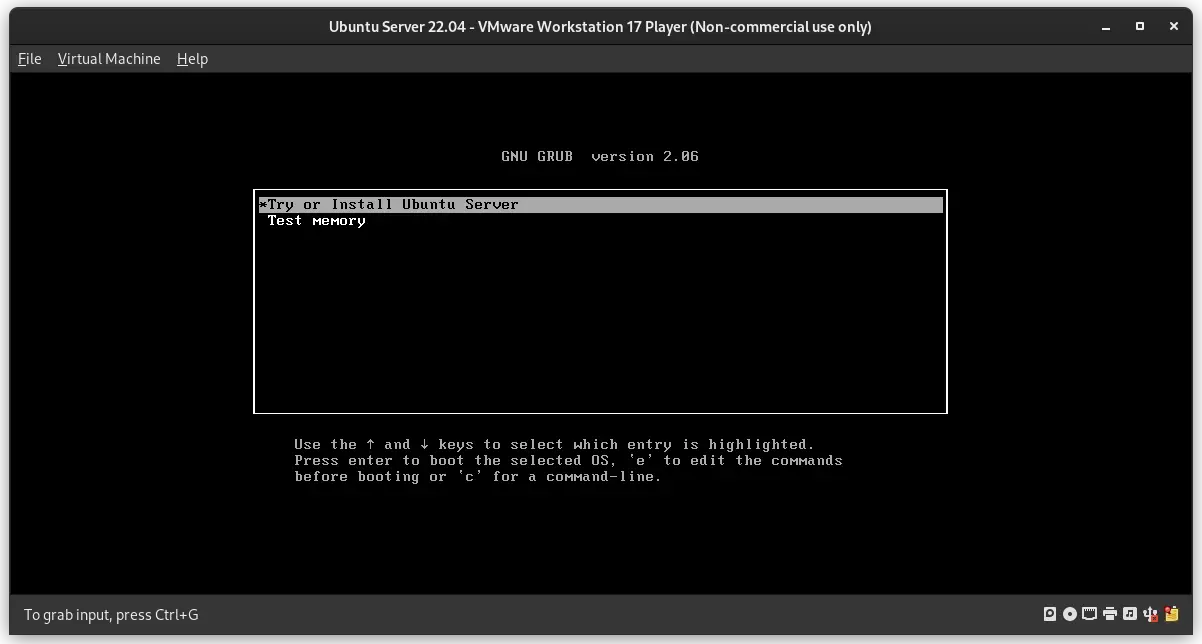
The virtual machine starts up like this with a GRUB screen, and you are greeted with a terminal-based installation wizard.
Click on the Try or Install Ubuntu Server to start the installation process:
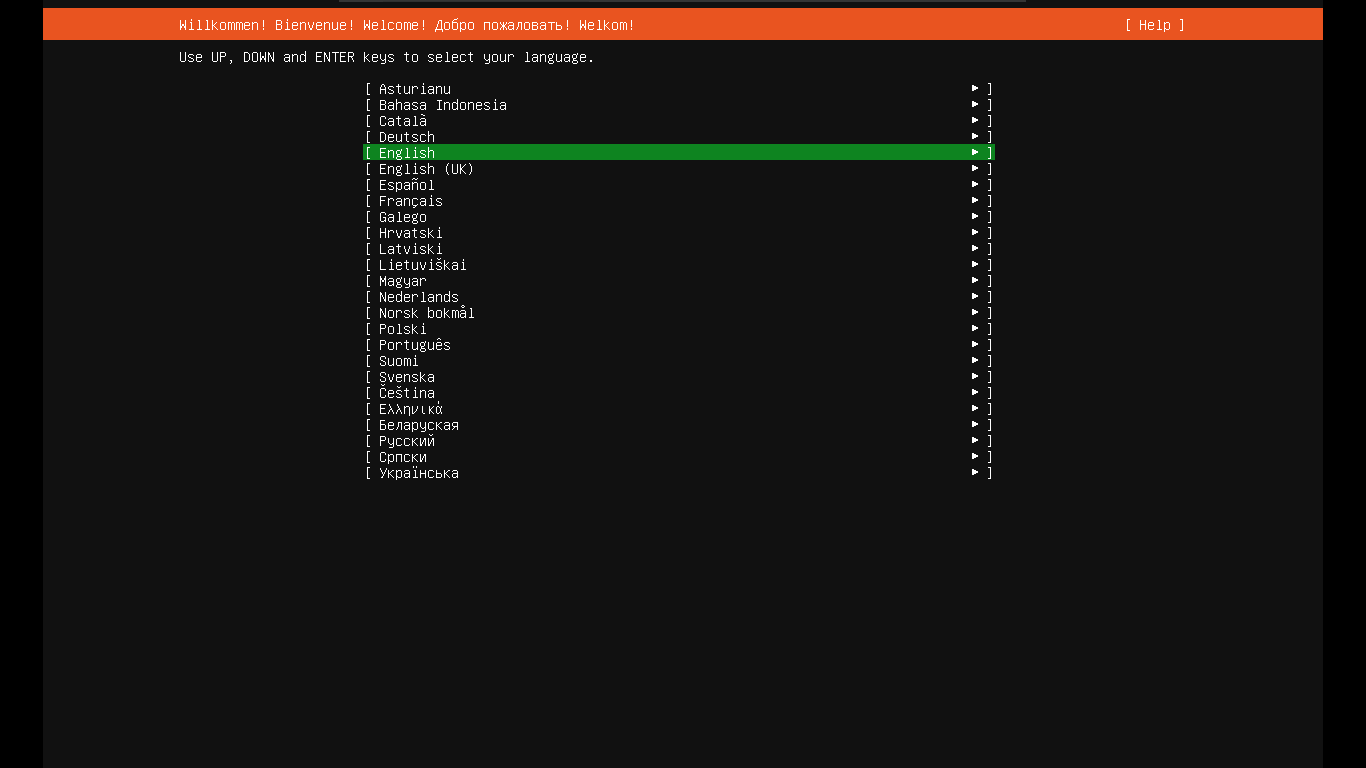
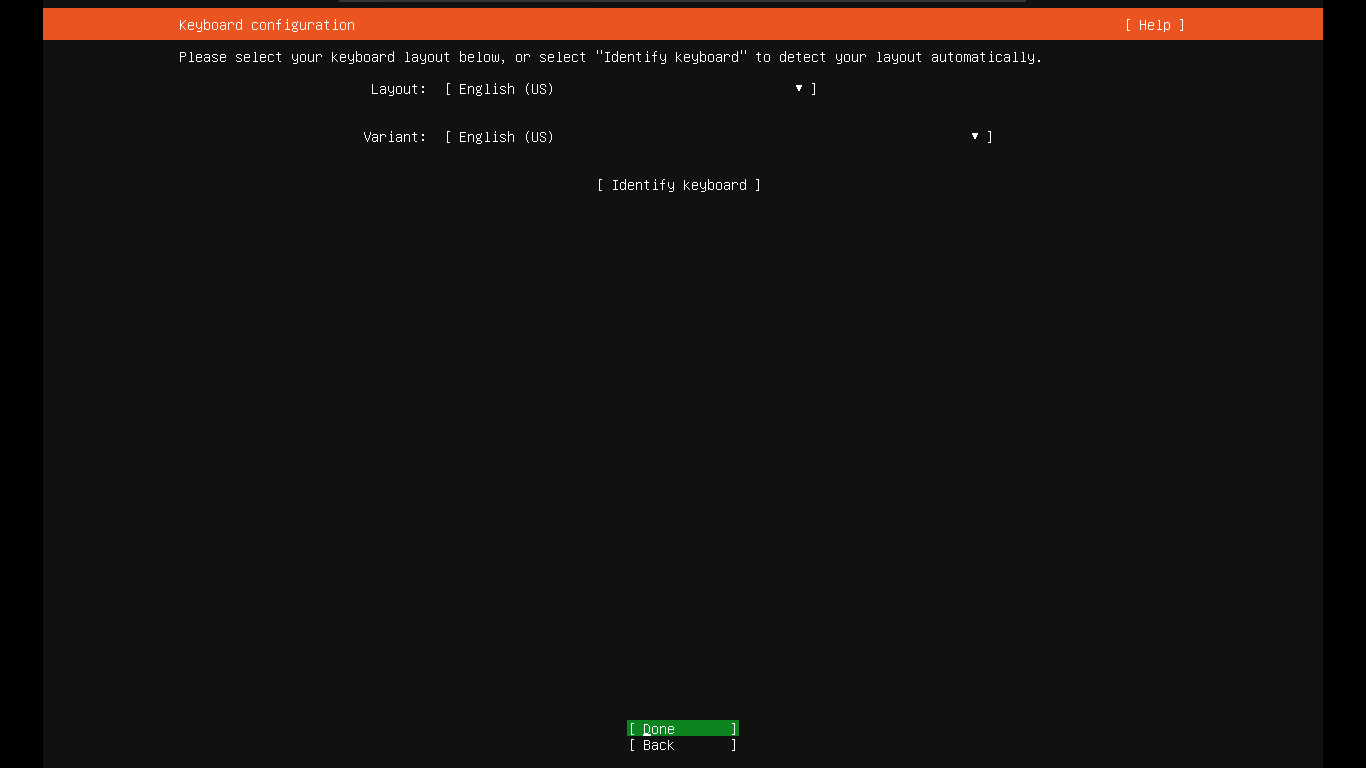
Initial steps (language and keyboard layout)
Select your language and keyboard layout on the following pages.
Choosing the right edition
There will be two editions of the Ubuntu server that you can install:
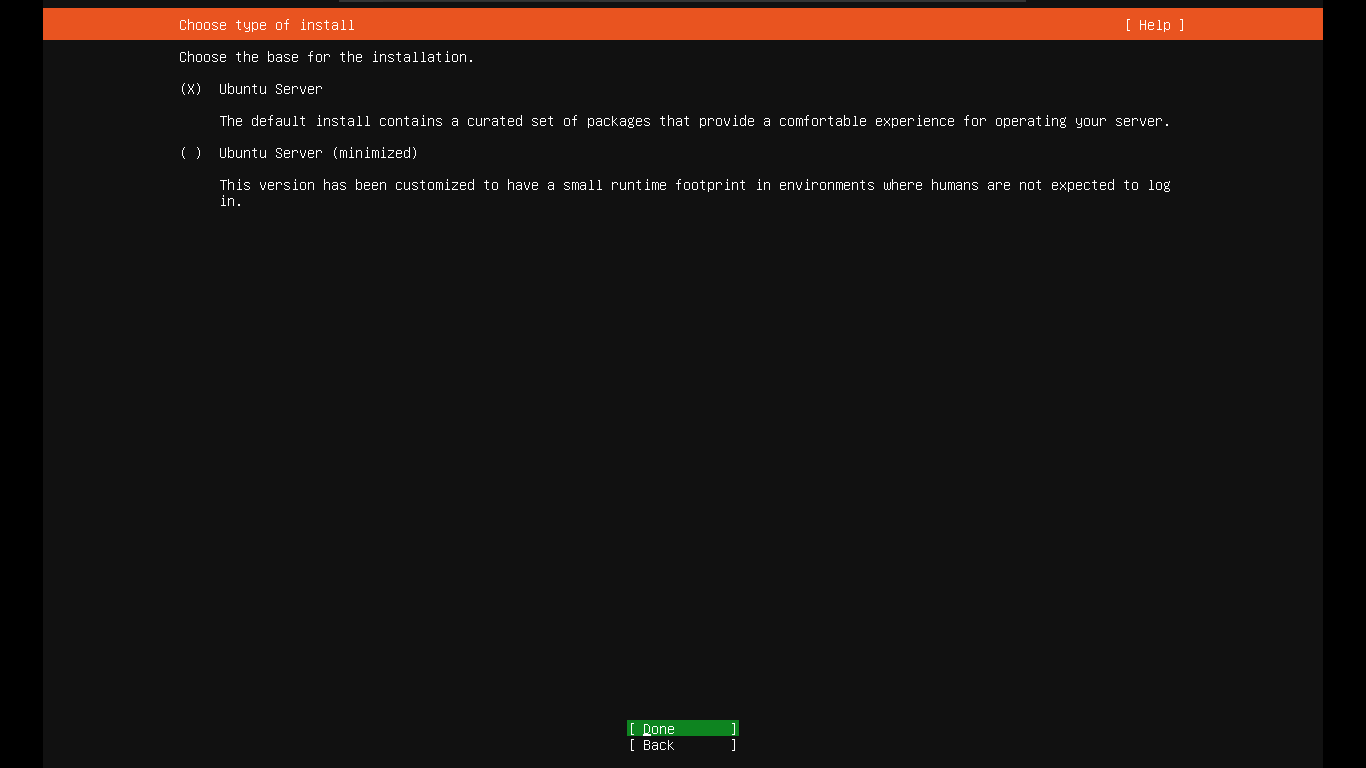
- The normal version (equipped with utilities for an average server)
- Minimal version (a stripped-down version that includes only the basic utilities)
If you don’t know what to choose, just select the normal version and continue.
Network configuration
For the network configuration, the installer will automatically set up a few things for you (such as IP address, gateway, etc) according to the network, to which your host system is connected.
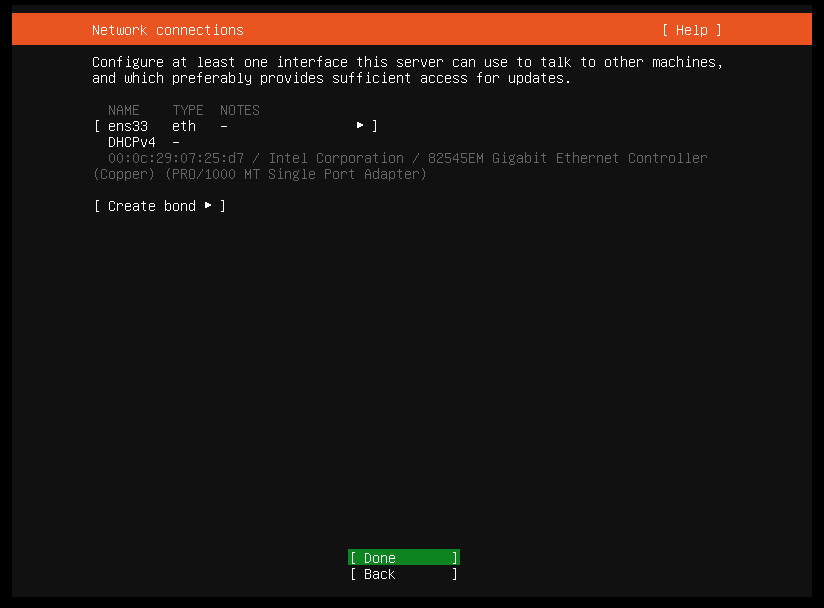
But if you want a static IP address for SSH and other stuff, select the interface (here, it’s an ethernet — ens33), followed by Edit IPv4, and then finally, the Manual option in the resulting dropdown.
If you are unsure what to configure, you can follow something similar:
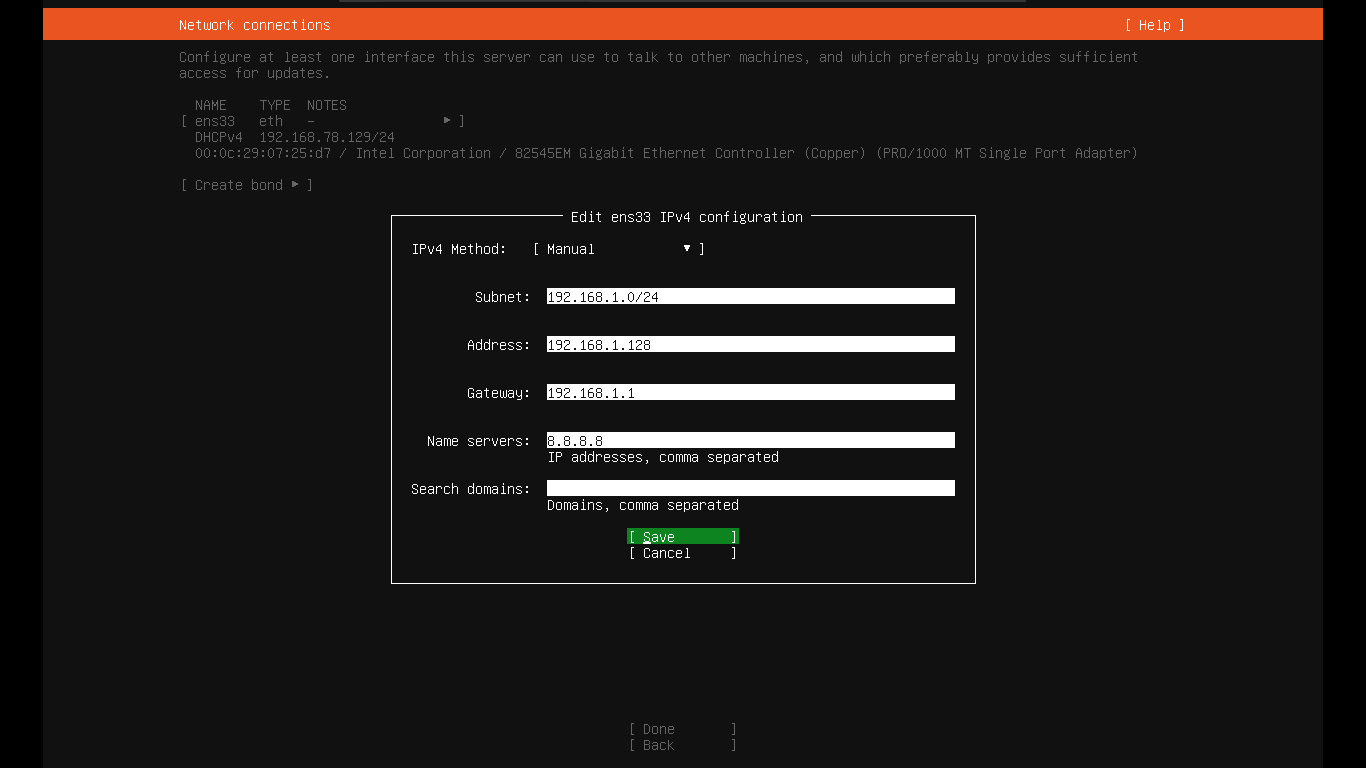
- Subnet — The address followed by the port that defines the entire network (usually 192.168.1.0 followed by port 24)
- Address — The IP address is allocated for this machine (your preference)
- Gateway — The address for the gateway of the router (usually 192.168.1.1)
- Name servers — the DNS addresses that the server can access
- Domains — Domain names that can be allocated for this server (optional)
Proxies and mirrors
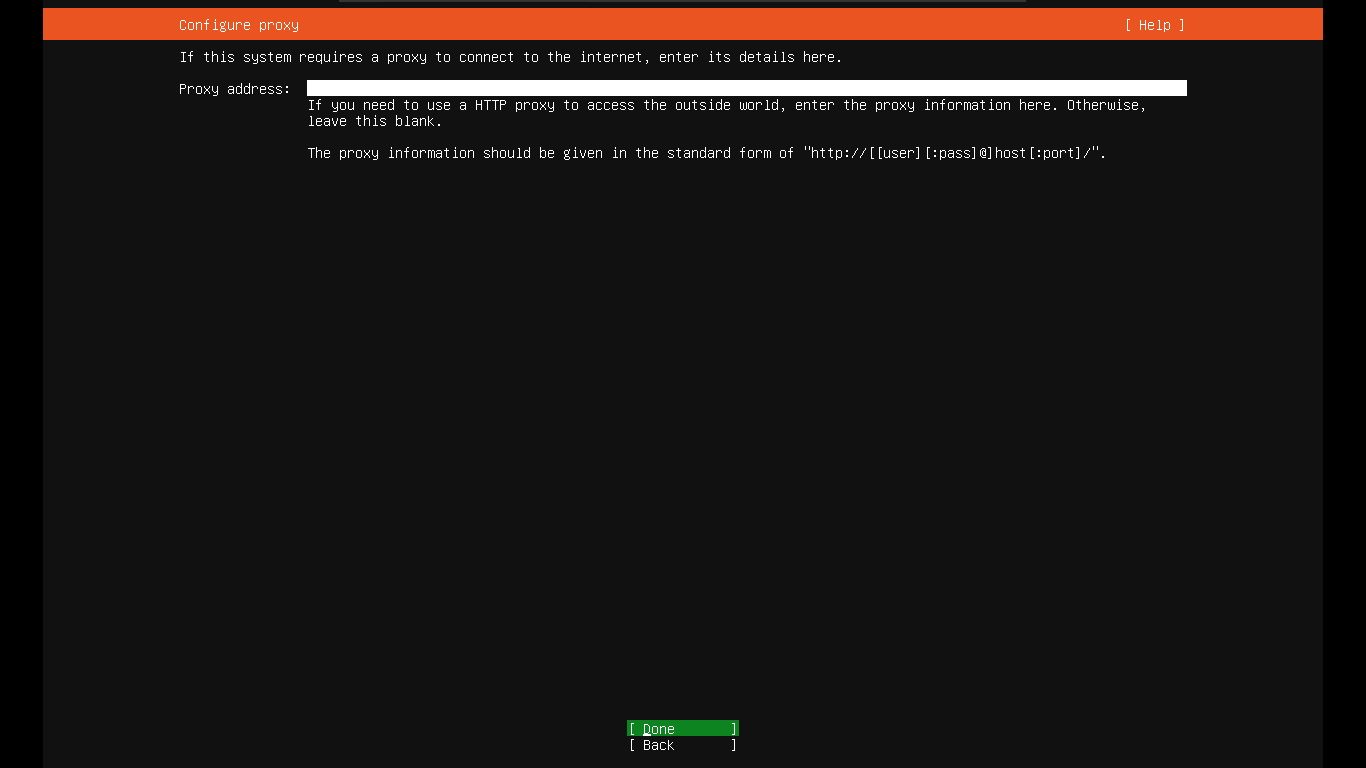
If your network is configured with a proxy, it can be entered here. If none, it can be left unattended.
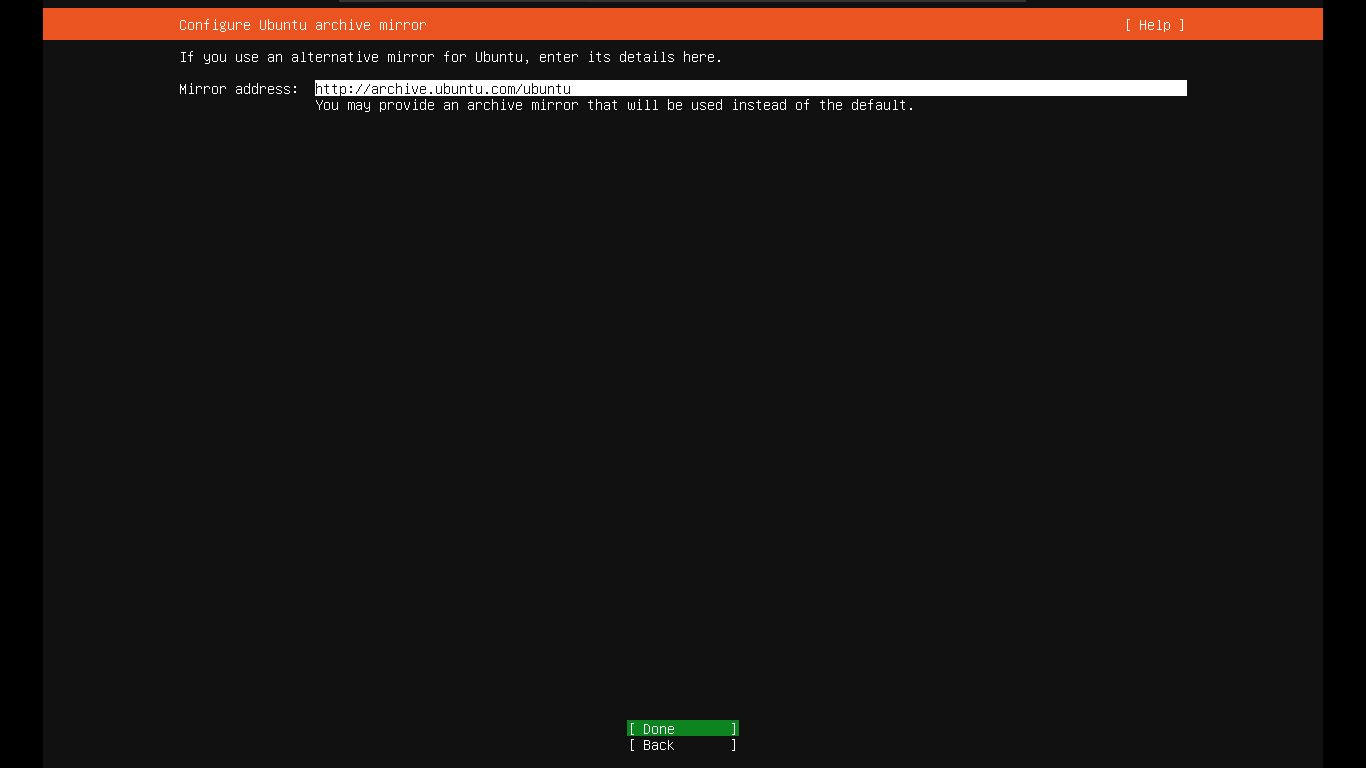
You can also configure the mirror(s) from which you will be getting packages and updates. Check with the official site for the availability of mirrors in your region, and modify the address if necessary.
Or you can opt for the default mirror address.
Disk configurations
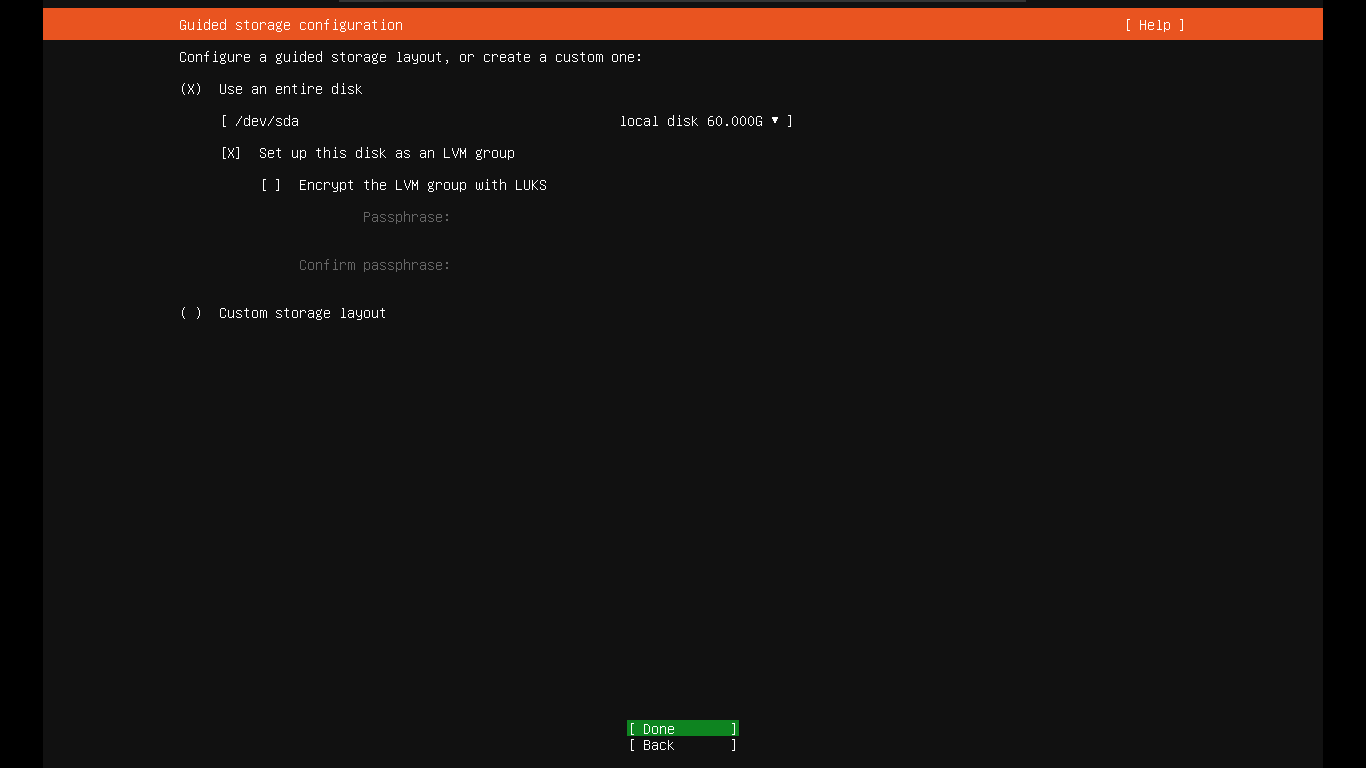
Here, the available disks are listed below. Configure the disks and partitions according to your convenience, and continue.
If you’re new to this installation process, continuing with the automatically configured storage layout is recommended.
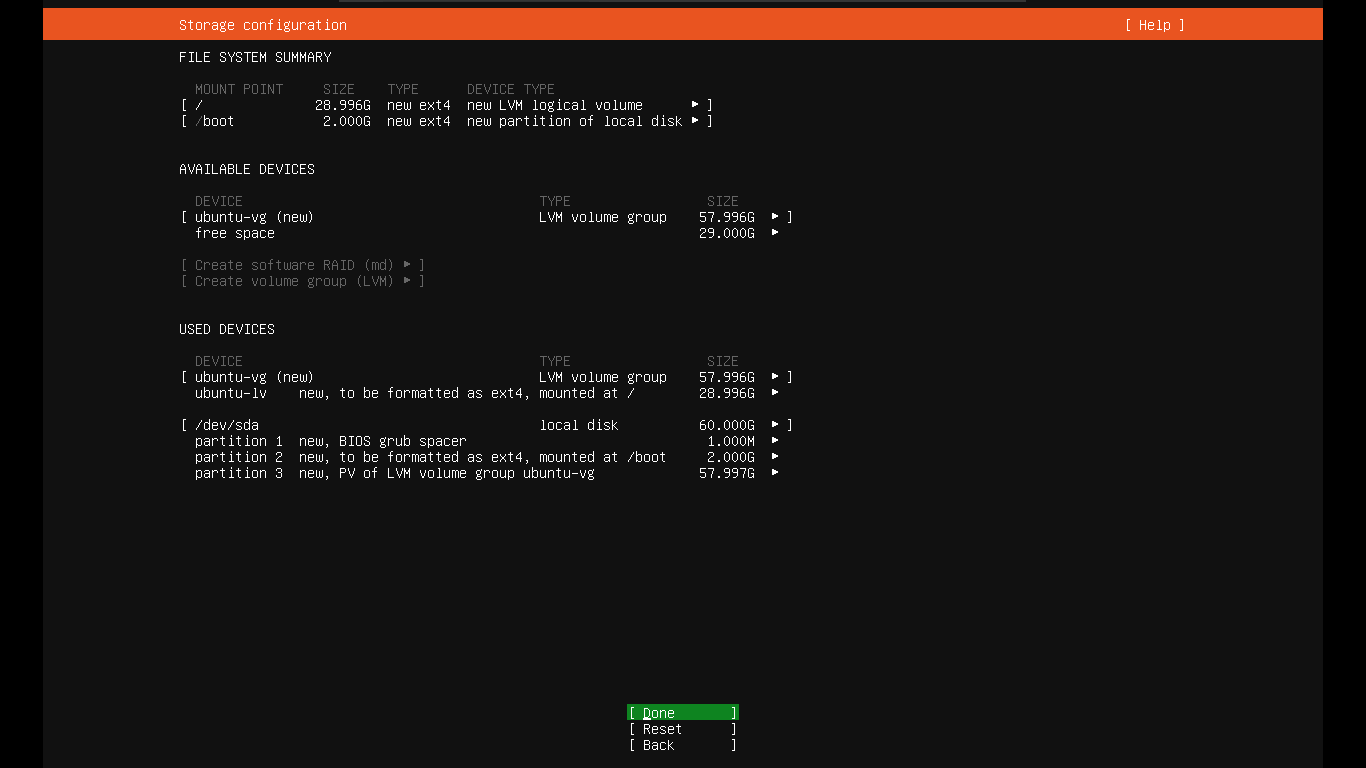
Once done, you’ll be asked for confirmation twice in order to continue the installation wizard. It will start from the moment you select continue.
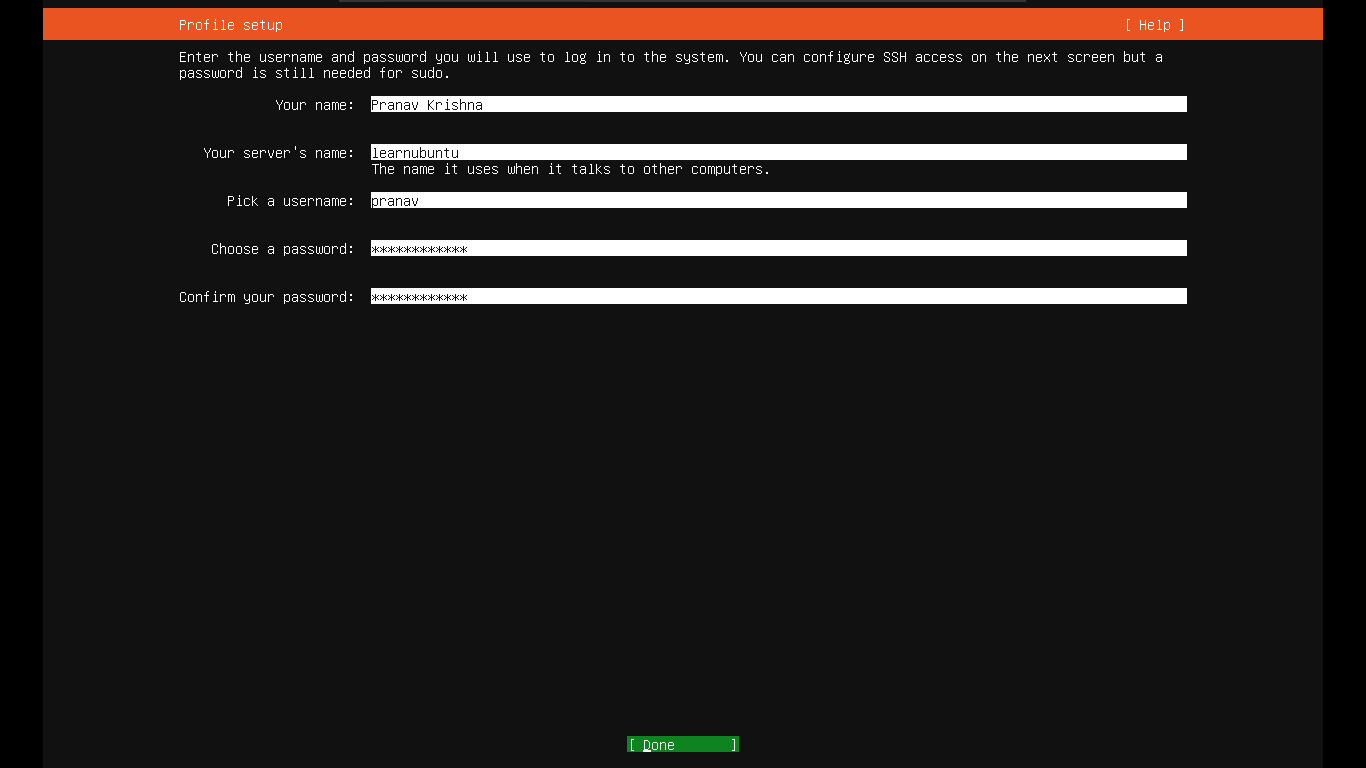
User configurations
The administrator user account will be configured on this screen along with the hostname. More accounts can be added only after the installation. Here is an example.
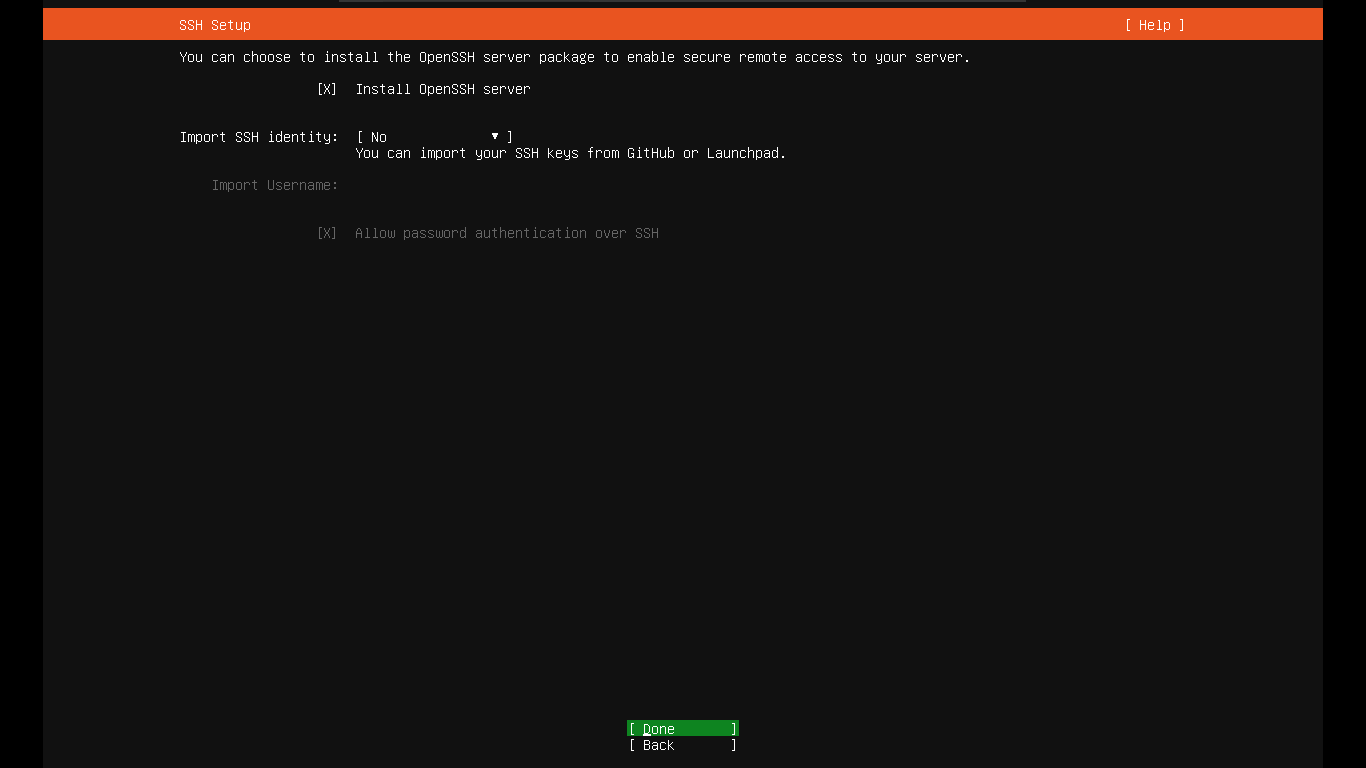
There’s an option to install OpenSSH in the installation wizard itself, which is actually a great thing.
Provided that you have the necessary set-ups, SSH access (aka Remote login) will come in handy. You can also choose to import already configured profiles here.
Miscellaneous software
Here are a few different utilities that you can choose to install here. It includes docker, next cloud, AWS, etc. Select the required ones and continue.
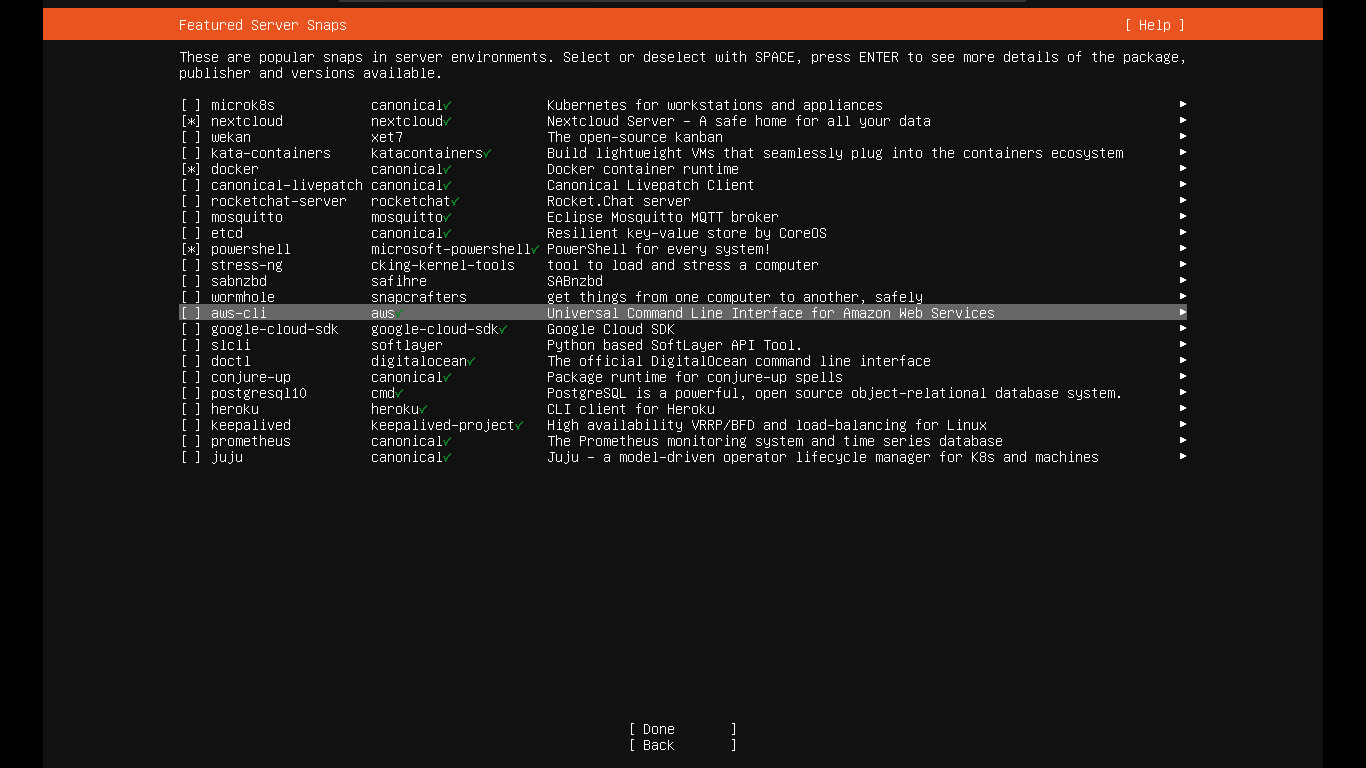
Note that the above-selected software will be installed as snap packages; you can skip this step if you will configure these packages differently.
Reboot!
The installation process is continuing in the background from the moment you confirmed. Once these steps are complete, the installer will check for and install the latest updates and hence you are good to go.
The installer should be manually rebooted at the same installation screen.
First boot and SSH
Upon reboot, the installation media (ISO file) is ejected automatically and you will be greeted with a TTY screen, where you can log in.

To connect via SSH, first, you’d have to know the IP address of the Ubuntu server:
Once done, you can use the ssh command in the following manner:
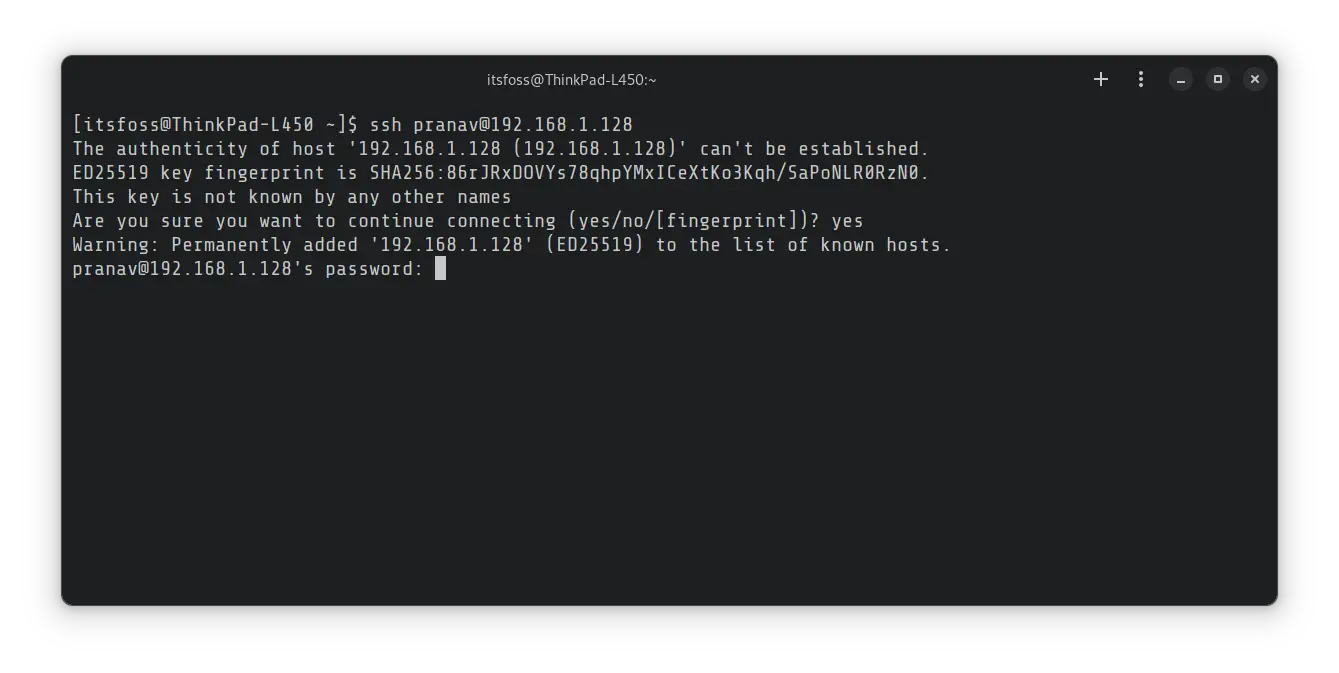

That’s all about the installation of the Ubuntu Server in VMware. Now with the bridged network configuration, you can access it via SSH, which requires the VM just to be running in the background without the output screen.
Want to enable live patching on the Ubuntu server?
Live patching means you can apply security patches even without rebooting your system.
Sounds super cool. Isn’t it?
To enable live patching, you can refer to our detailed guide:
Have any doubts? Feel free to drop a comment.