Установка Microsoft office Linux
Офисная программа — один из главных инструментов в работе сотрудников компаний и студентов. Довольно часто приходится писать различные работы, делать презентации и так далее. Сейчас стандартом офисного программного обеспечения есть офисный пакет от Microsoft, который, к сожалению, не имеет версии для операционной системы Linux. Конечно, есть такие альтернативные решения, как LibreOffice и WPS Office. Они довольно функциональны и имеют много возможностей, но все же не везде могут заменить оригинал.
Один из ярчайших примеров — это та ситуация, когда нужно сделать работу, а потом отнести ее на компьютер с Microsoft Office. Даже между версиями Microsoft Office могут быть различия и несовместимости, но между LibreOffice и Microsoft Office эти отличия очень заметны. Сбиваются стили, разметка, форматирование текста и в результате мы получаем совсем неправильный документ.
Поэтому иногда нужно иметь под рукой оригинальный пакет Microsoft Office в Linux. В этой инструкции будет рассмотрена установка Microsoft office linux с помощью wine.
На данный момент самая новая версия офисного пакета от Microsoft — 2019. Но установить Microsoft Office 2019 в linux невозможно, пока что wine не поддерживает всех необходимых технологий. Многие уже пытались устанавливать версию 2016, ребята из CodeWears постарались и заставили это дело работать в Wine, но работает оно крайне нестабильно и с множеством недостатков. Поэтому самой стабильной на данный момент версий MS Office Linux считается — 2010, её установку мы и будем рассматривать.
Установка Microsoft Office 2010 в Ubutnu
В этой статье будет рассмотрена установка Microsoft Office под linux двумя способами — под чистый wine и с помощью утилиты PlayOnLinux.
Начнем с обычного способа с помощью Wine. На самом деле, нам понадобится не так уж много компонентов для нормальной работы программы. Разработчики wine достаточно постарались, чтобы все более менее приемлемо работало.
Уже по традиции создадим новый префикс для установки, чтобы ничего не мешало нашей программе:
mkdir ~/.msoffice
export WINEPREFIX=~/msoffice
Лучше всего устанавливать программу архитектурой 32 бит, поскольку в 64 битной версии может быть больше багов и недоработок, поэтому установим архитектуру и установим префикс:
export WINEARCH=win32
winecfg
Дальше нам понадобится скрипт winetricks, причем смотрите, чтобы скрипт был самой новой версии, тот что у вас в системе мог уже устареть. Для установки с официального сайта выполните:
wget https://raw.githubusercontent.com/Winetricks/winetricks/master/src/winetricks
chmod +x winetricks
Теперь устанавливаем необходимые компоненты:
./winetricks corefonts allfonts
Это были шрифты, msxml нужен для открытия xml документов, таких как xls и ppt:
./winetricks msxml3 msxml4 msxml6
Осталось еще несколько библиотек:
./winetricks vcrun2005 gdiplus riched30
Вот и все, теперь можно запускать установщик программы. Только заметьте, что лучше всего брать оригинальный установщик, потому что как поведет себя пересозданный установщик не известно.
После завершения установки вы можете запускать программу командой:
wine ~/.msoffice/dosdevices/c:/Program Files/Microsoft Office/Office14/winword.exe
wine ~/.msoffice/dosdevices/c:/Program Files/Microsoft Office/Office14/exel.exe
Скриншоты установщика и настройку после установки смотрите ниже, во втором способе.
Установка Microsoft Office Linux с помощью PlayOnLinux
Если установить MS Office на Linux с помощью wine для вас слишком сложно, вы можете использовать утилиту для автоматической установки приложений windows в Linux — PlayOnLinux. Установить её можно из официальных репозиториев:
sudo apt install playonlinux
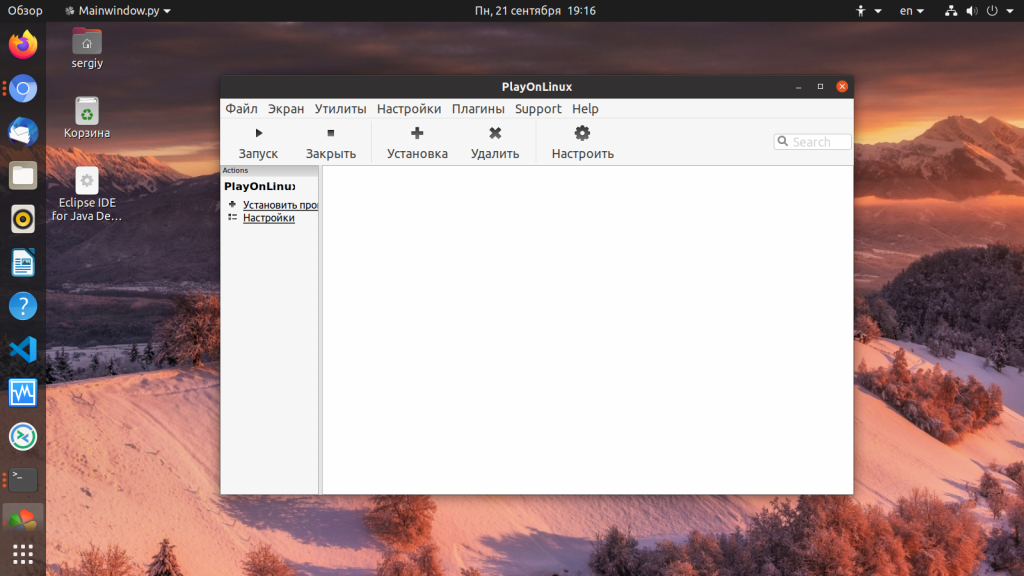
Более подробно как пользоваться PlayOnLinux описано в отдельной статье. После установки запустите программу и кликните по кнопке Установить программу:
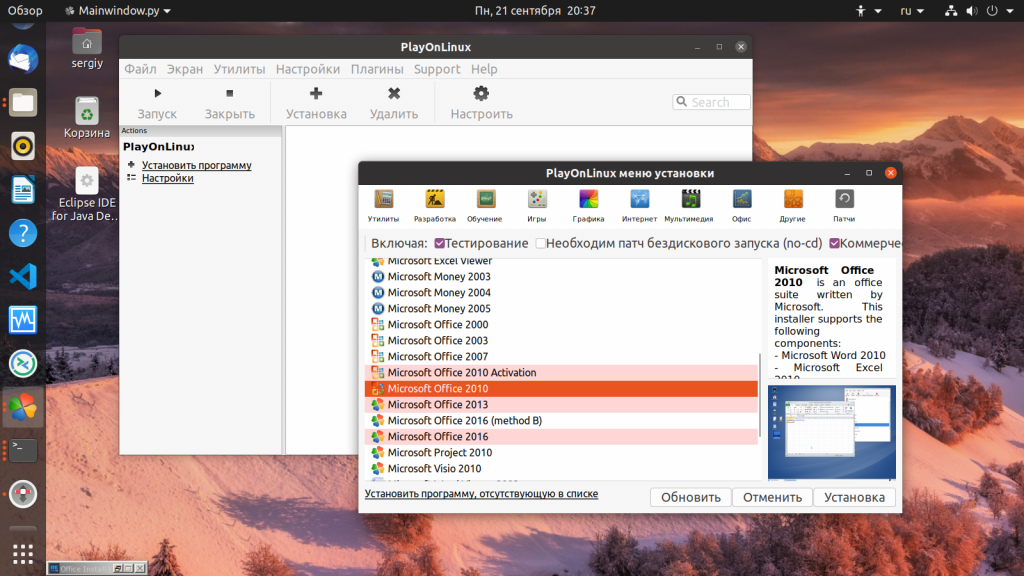
Затем выберите раздел Офис и пункт Microsoft Office 2010:
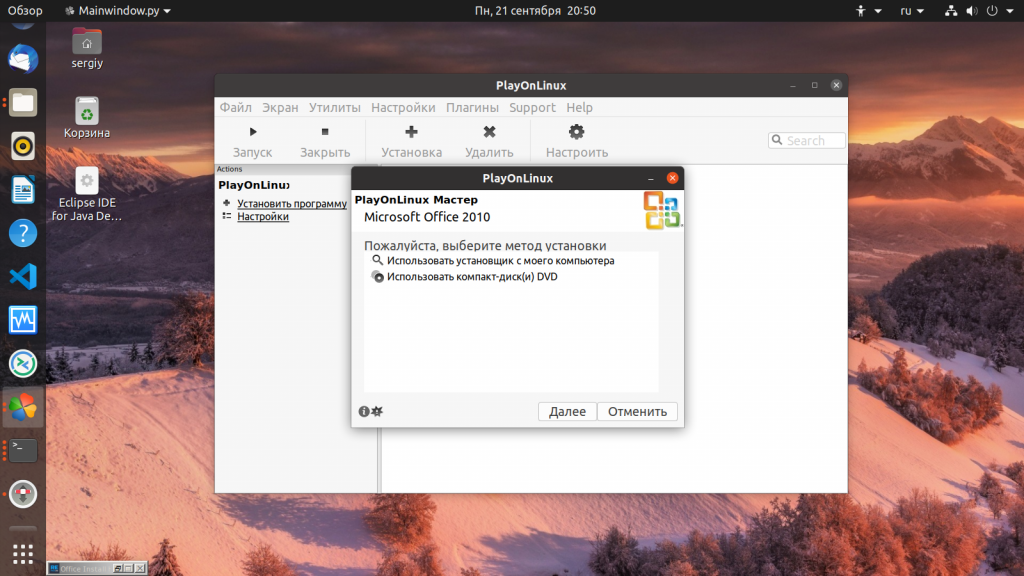
После этого программа покажет несколько предупреждений, их надо пропустить, затем надо выбрать установщик. Вам нужен 32 битный установщик программы. Эта версия будет работать лучше. Сначала выберите Использовать установщик с моего компьютера:
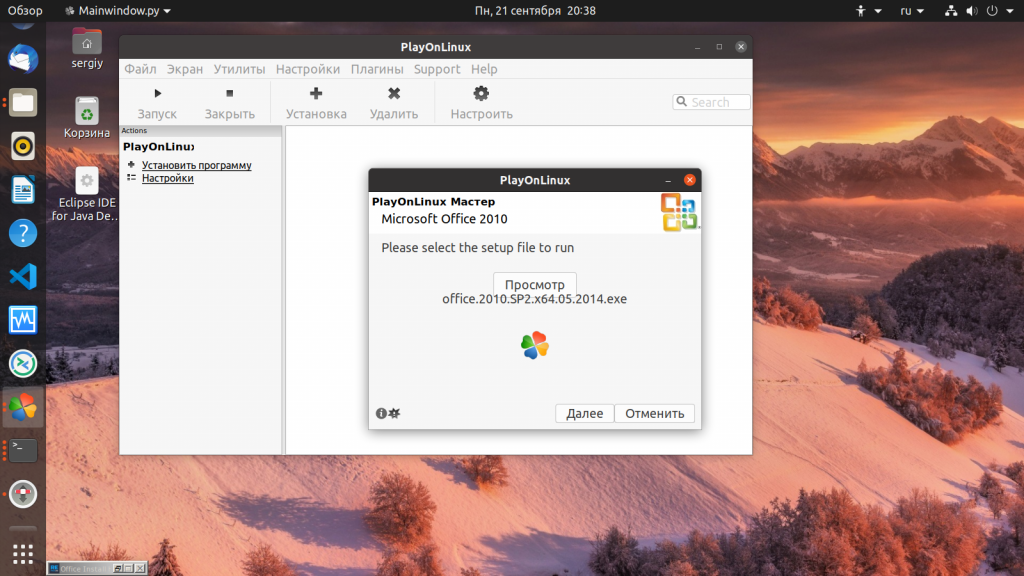
Затем откройте сам файл установщика:
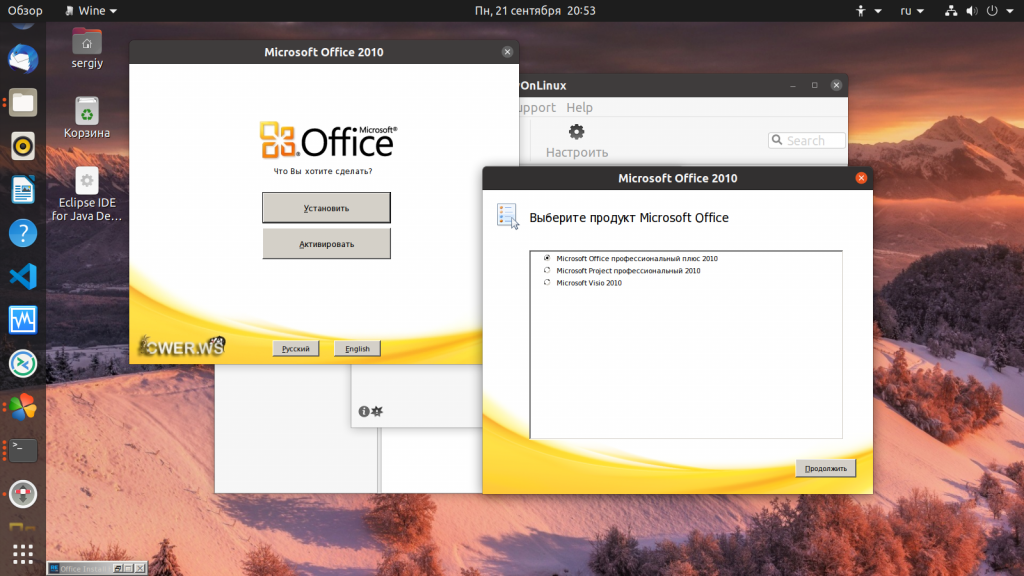
После этого запустится установщик, и вам надо будет выполнить все шаги, чтобы завершить установку программы. Сначала выберите продукт:
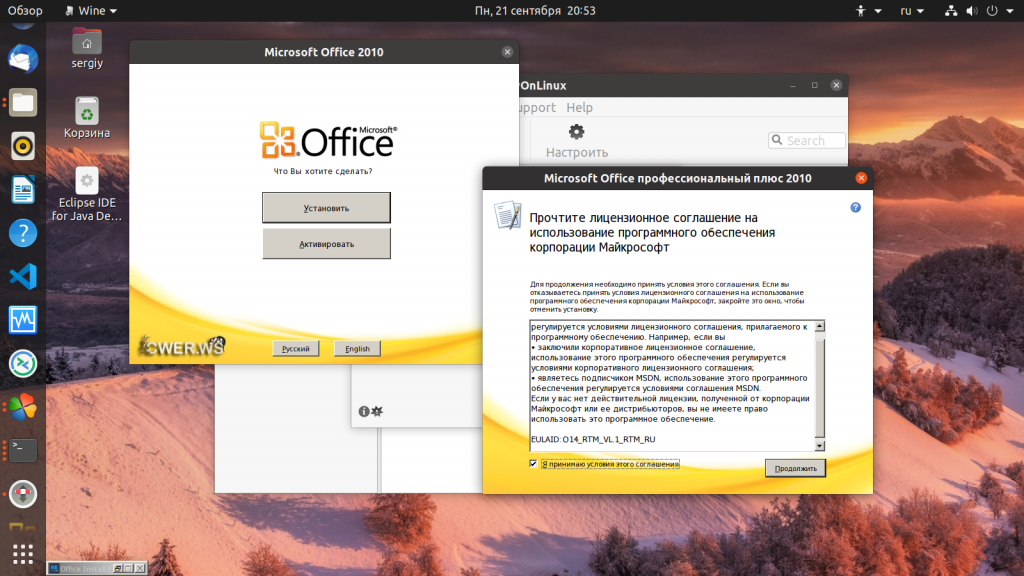
Затем примите условия лицензионного соглашения:
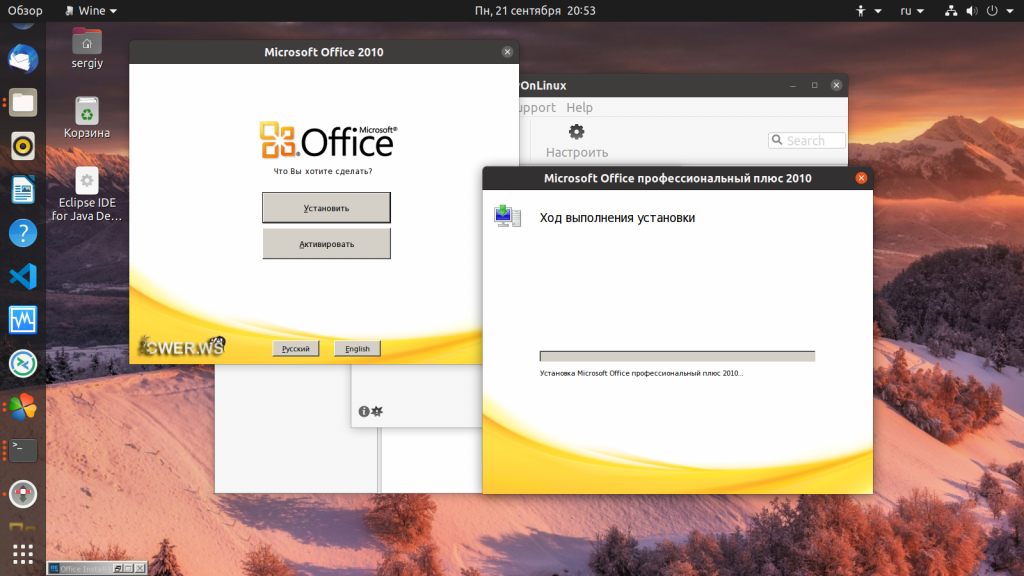
Потом нажмите большую кнопку Установить и дождитесь завершения установки:
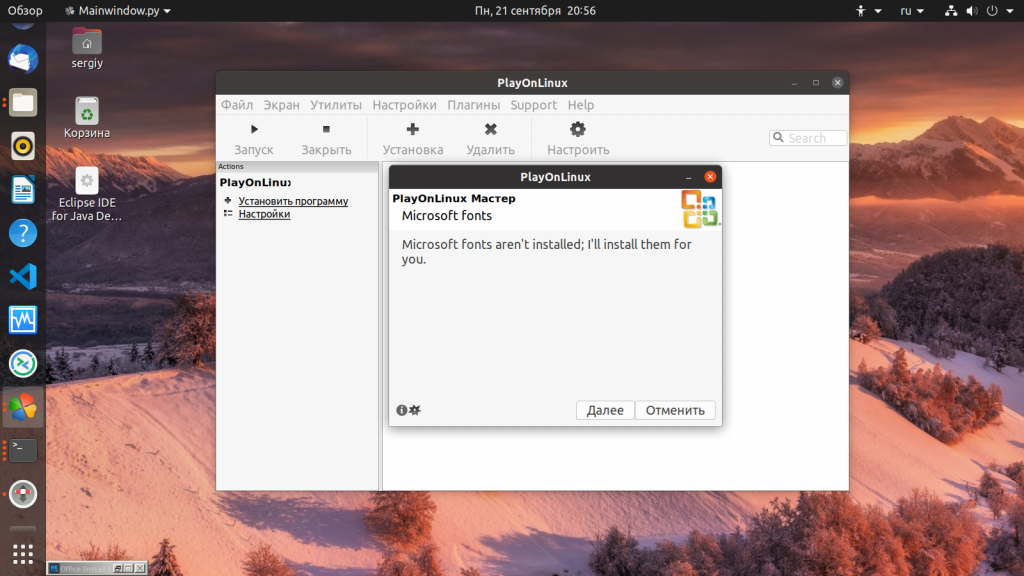
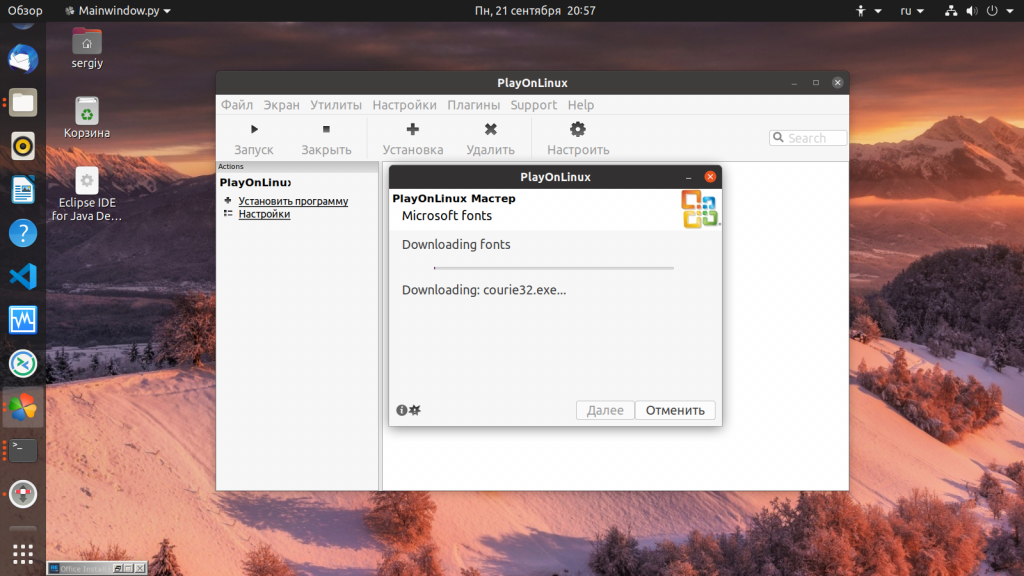
После завершения установки закройте установщик программы, но не трогайте окно PlayOnLinux. Утилита предложит вам установить шрифты, если они ещё не установлены. Соглашайтесь:
Нажмите Далее, примите лицензию, затем дождитесь завершения установки.
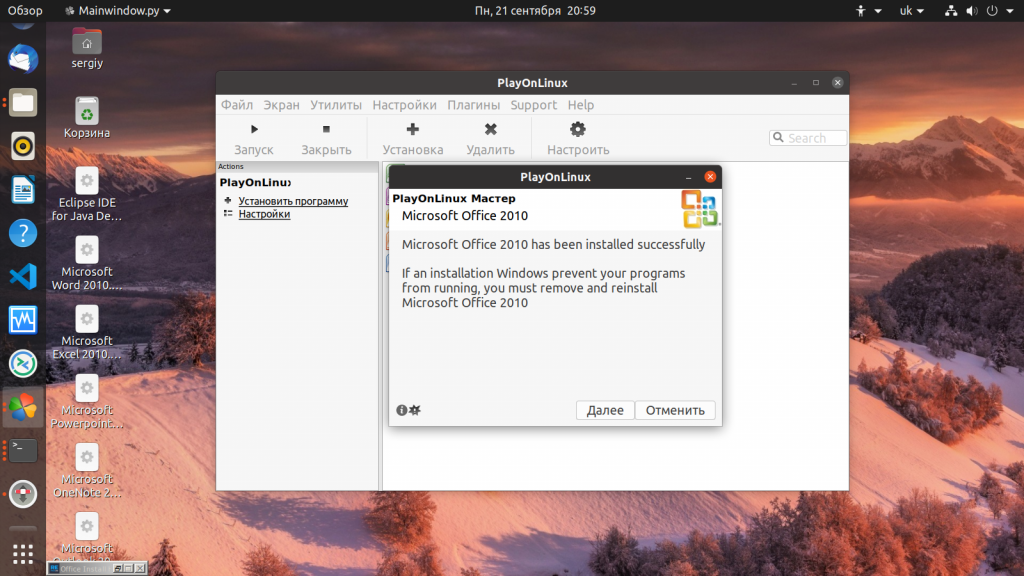
Затем программа сообщит, что установка Microsoft Office завершена успешно:
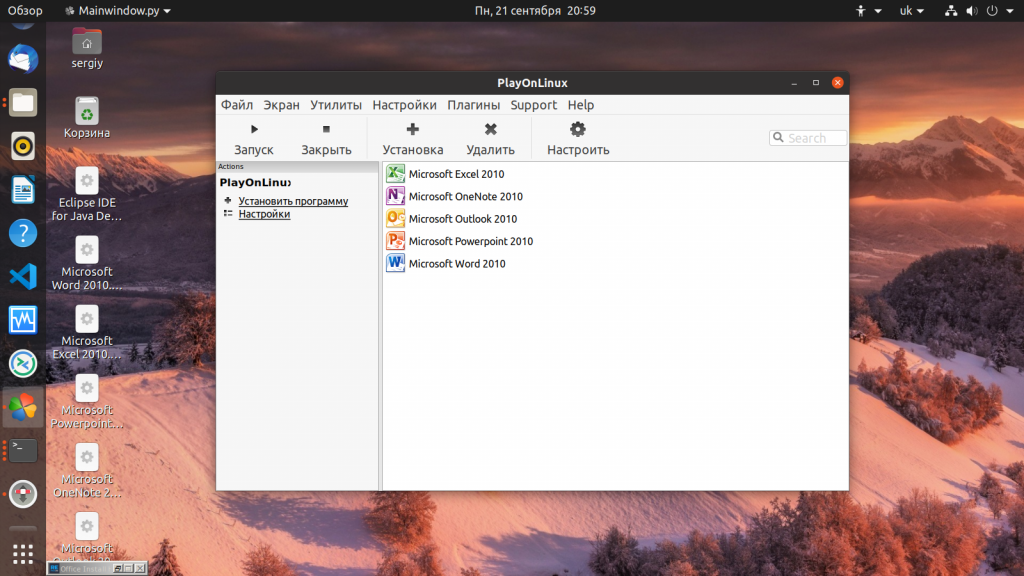
И программа появится в меню PlayOnLinux и вы сможете её оттуда запустить.
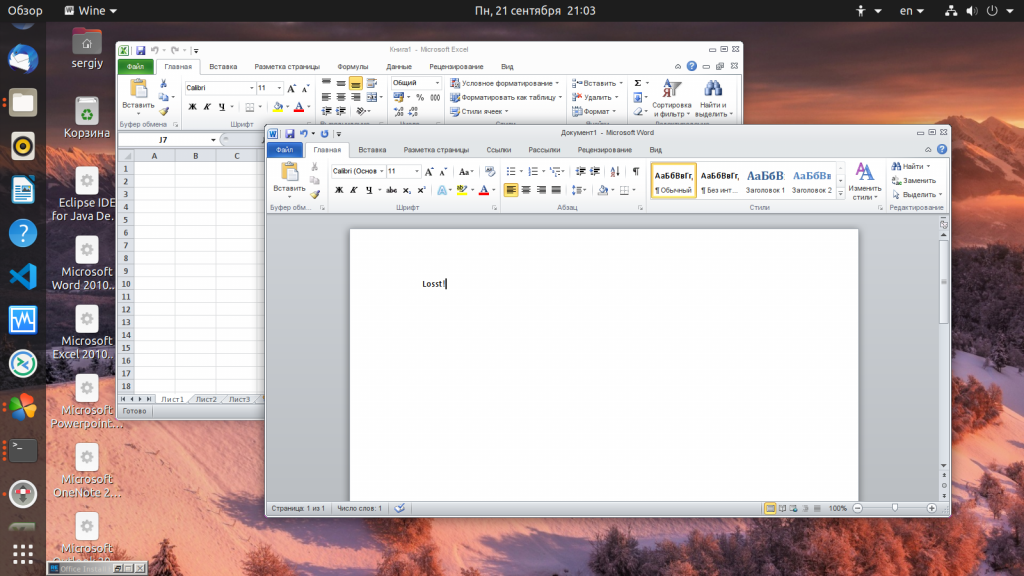
Запустите нужную программу кликнув по ней в этом окне. При первом запуске надо будет выбрать как настроить офис, выберите Использовать рекомендованные параметры. Затем можно работать:
Настройка Microsoft Office 2010 Linux после установки
При первом запуске программа ms office ubuntu откроется на весь экран. Сверните ее в обычное окно, если вы увидите, что не можете двигать окно по экрану, то закройте программу, нам придется поправить несколько параметров в winecfg.
Запустить winecfg вы можете из просто выполнив команду:
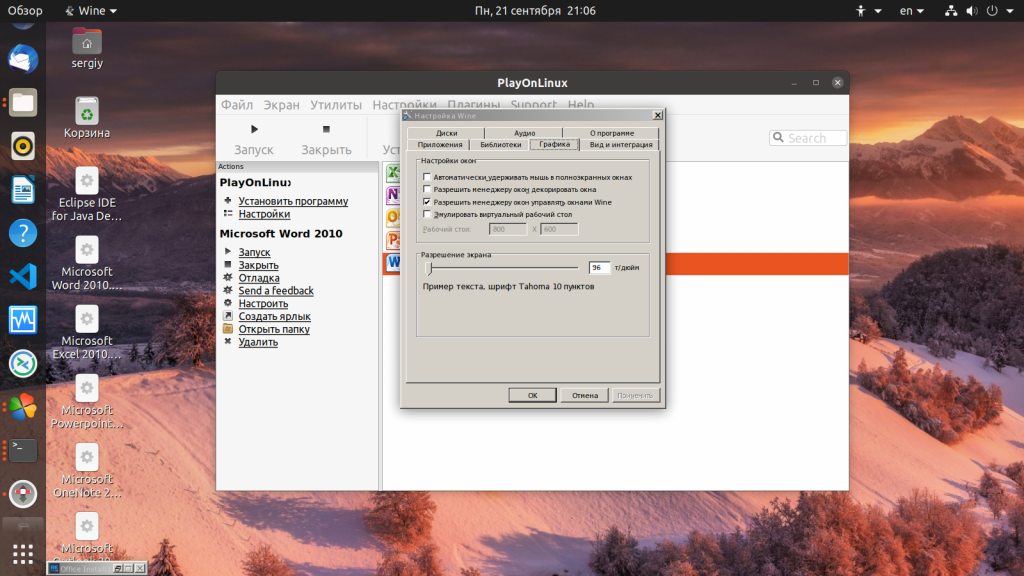
Но если вы устанавливали ms office linux с помощью PlayOnLinux, то для запуска этой утилиты нужно использовать саму программу. Выберите программу в списке, кликните по ней правой кнопкой и выберите Настроить Wine. Здесь на вкладке Графика уберите галочку Разрешить менеджеру окон декорировать окна:
Нажмите Ok, и затем запускайте ms office ubuntu, вот, теперь все работает и декоратор окон больше не будет мешать вам двигать окно программы.
Выводы
Как видите, установка MS Office в Linux не так сложна, и программа достаточно хорошо работает даже учитывая, что версия Windows. Вы можете установить программу двумя способами и можете выбрать для себя наиболее подходящий. Также можно установить ms offcie на Linux с помощью такой известной утилиты, как CrossOver, в ней работает офис 2013 и 2016, но она платная.
Обнаружили ошибку в тексте? Сообщите мне об этом. Выделите текст с ошибкой и нажмите Ctrl+Enter.
Office 365 on Ubuntu 20.04 LTS with Wine
Two years ago, on a bright Summer day, I was sitting on my desk, fiddling with a Cisco Access Point that refused to work, when my boss burst into the door. We had a client with Office 2007 installed on Ubuntu, and it was refusing to do a certain task that she wanted, can’t really remember what. So we decided to simulate the error on our end, and then work on it.
While my team was doing that, I thought, “she does have Office 365, why not give it a try?”, after all there were 3 of us trying to simulate the error, one more guy looking at the same wouldn’t be necessary. So I decided to work on an alternative solution: Get her to use the most recent Office.
And what a pain that turned out to be. I saw screenshots online, but not a single tutorial, just glimpses and forum discussions going back and forth trying to find the same I was looking. But I eventually I got it to work, and now the client could finally use the most recent MS Office, if she wanted. She didn’t want to use it.
But why would you consider to run Office with Wine? Some Pros and cons. Pro:
- Native run on Linux. Wine is not an emulator, so, for all purposes, it’s running as if it was native. Somewhat.
- Well, it’s Microsoft Office, on Linux. That alone is cool, nice to show off.
- Running .xlsm on Libreoffice isn’t the most fun of experiences, and in many businesses, that’s a necessity.
- Have I mentioned how cool that is?
- Outlook and Access just don’t work. But do you truly needed these two?
- The performance isn’t quite there, and every so often you get some visual bugs interacting with menus.
- No 64 bits, just 32, but unless you’re handling massive 2GB spreadsheets, you wouldn’t be able to tell anyway.
- Not many people would actually find it to be cool.
Just to be clear, this is a standard fully updated Ubuntu 20.04 VM with nothing but the standard stuff. But you’re not forced to just use Ubuntu, just adapt according to your circumstances.
Alright, with that out of the way, let’s get to it.
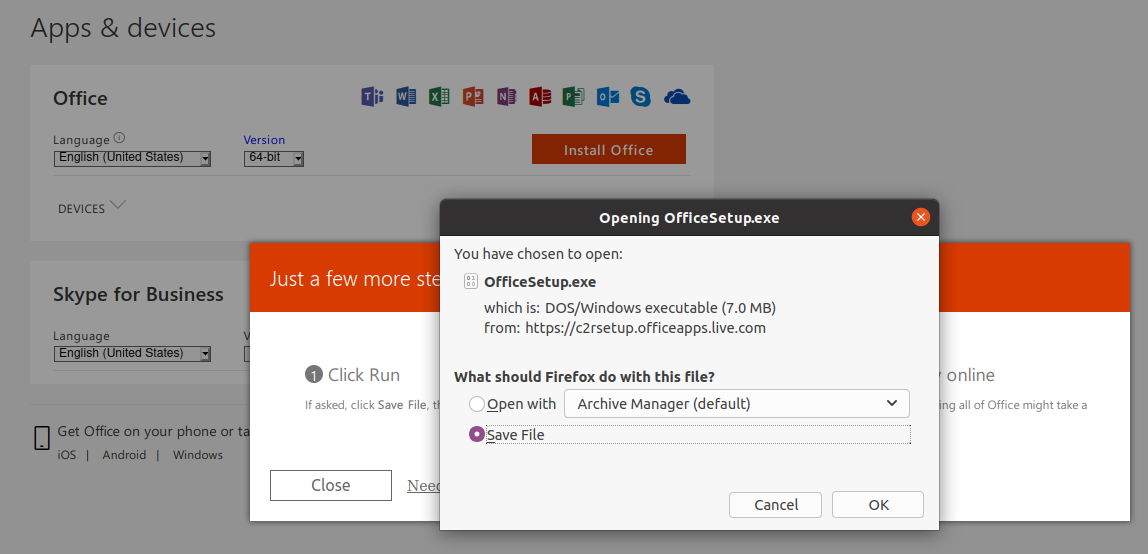
First things first, you must download the installer. Here’s the link.
You might want to an agent switcher on your browser. I used this extension for Firefox. Just switch to trick the browser to be recognized as a Windows PC.
Next, we’ll open up the terminal. We’ll begin to install all needed dependencies. This will, among other things, add the Wine repo to your system and all of what is or may be needed. It’s always good practice to read the code before you run it though.
sudo su - #This will sudo to root. If you don't want to do this, feel free to add a sudo before all the below commands. dpkg --add-architecture i386 apt update apt install gcc make perl wget -qO- https://dl.winehq.org/wine-builds/winehq.key | apt-key add - apt install software-properties-common apt-add-repository "deb http://dl.winehq.org/wine-builds/ubuntu/ $(lsb_release -cs) main" apt install --install-recommends winehq-stable apt install winetricks winbind samba smbclient winetricks #Note: I actually had to apt install winbind a second time, but maybe was a connection issue on my end, but to just keep that in mind. With this out of the way, we can logout from root, either with CTRL+D or with the command logout.
This is where the fun begins.
Now that we have all the dependencies worked out, we’ll be working on an unpriviliged user level. No need to escalate from this point on, and we want Office to just be installed with this user.
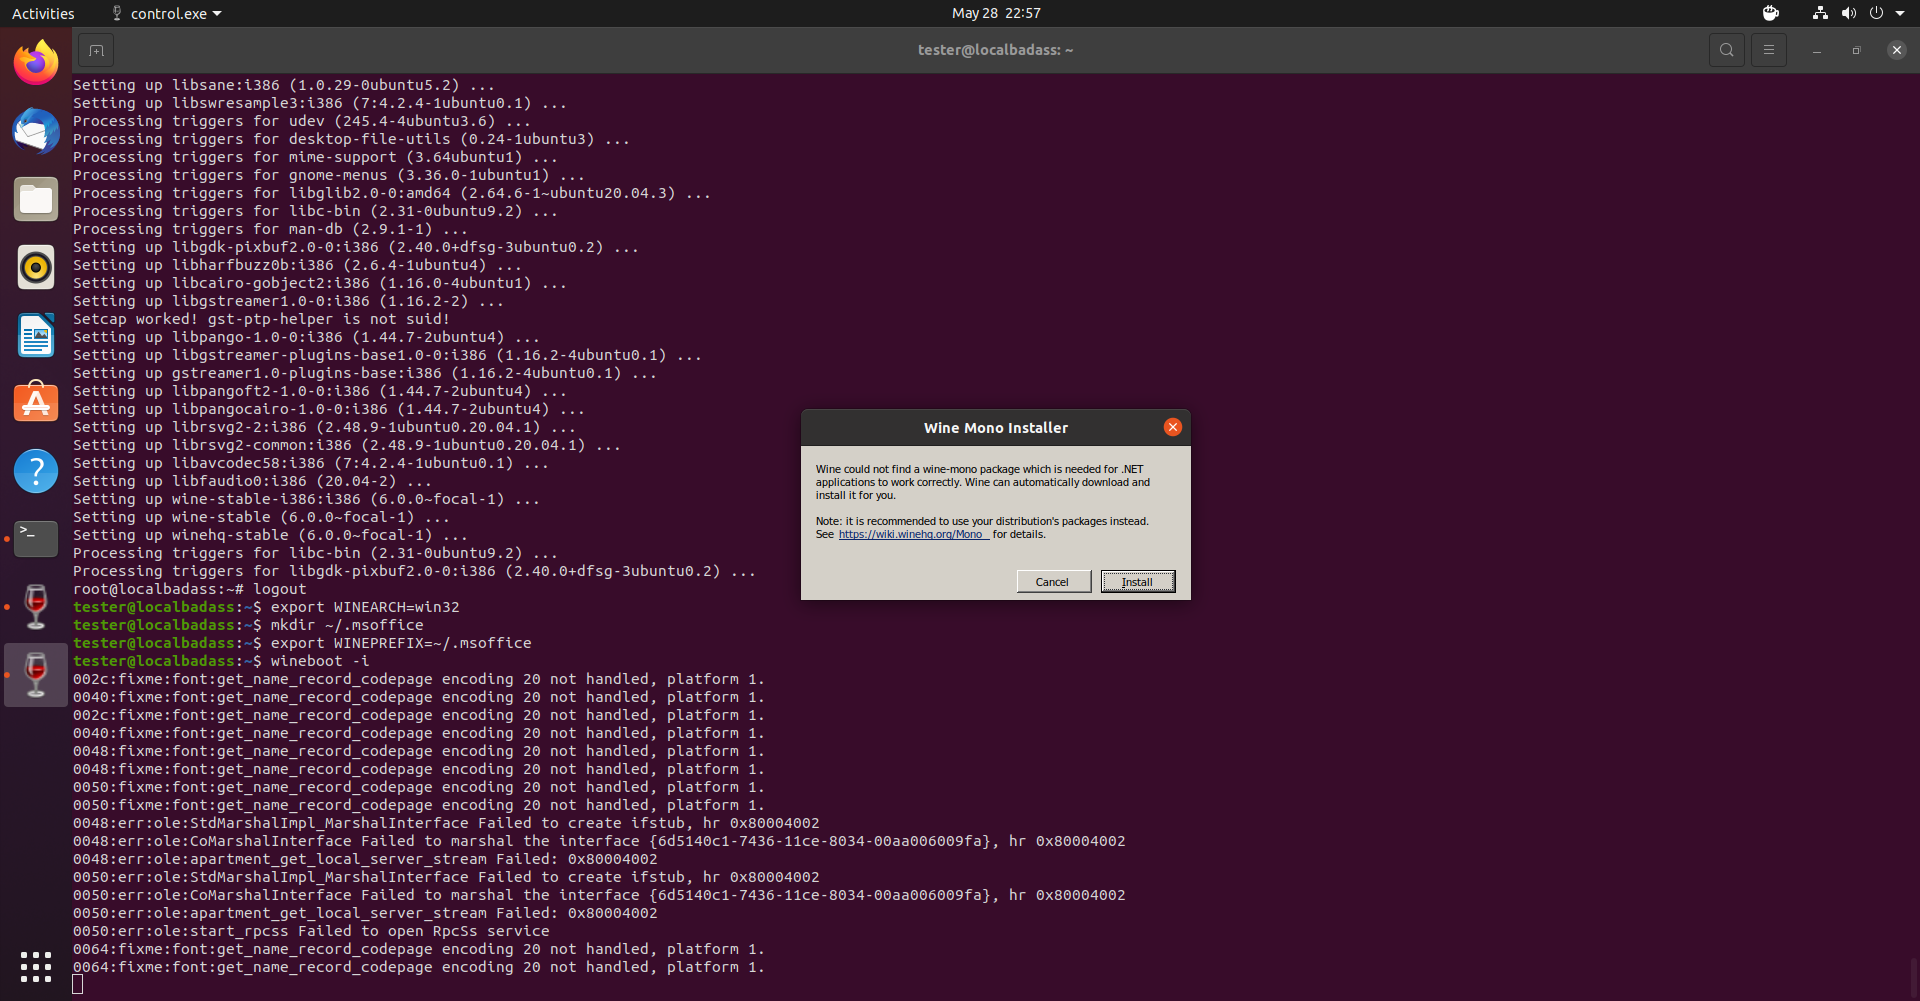
export WINEARCH=win32 mkdir ~/.msoffice export WINEPREFIX=~/.msoffice This is definying the Windows architecture that will be used and where this Wine instance will be installed.
This will boot the wine instance, and will also ask for some a few things to be installed in this instance, as the screenshot below. Just accept and install all that’s requested.
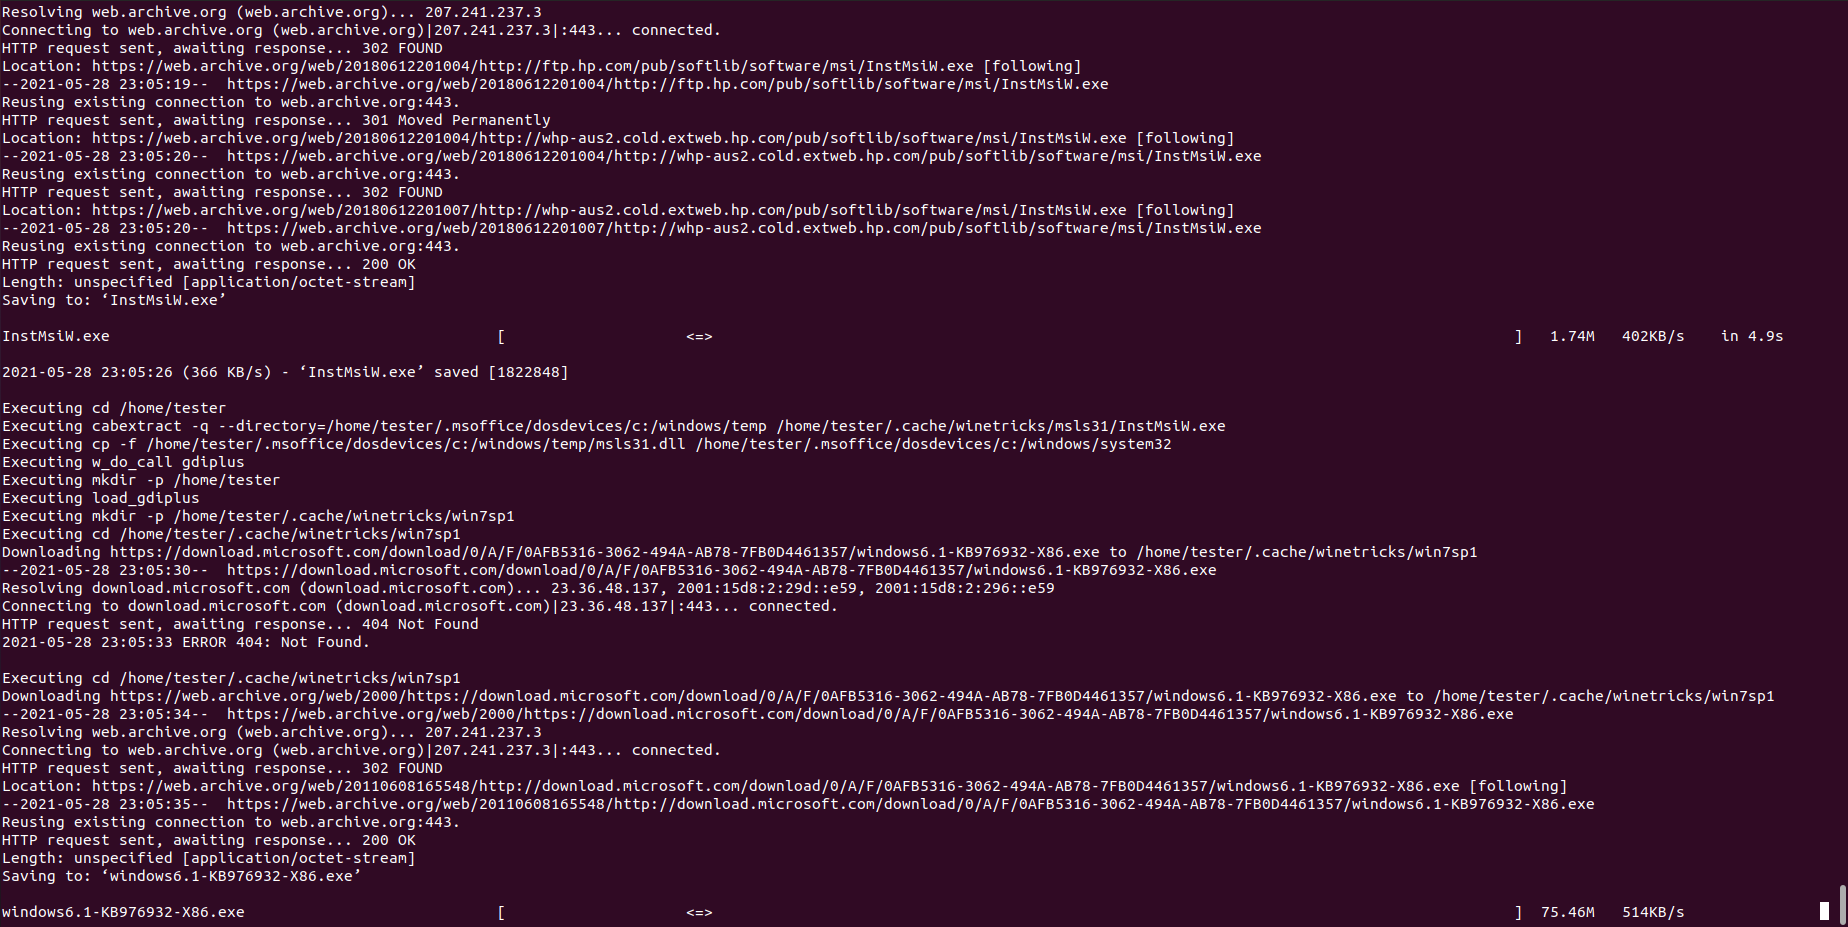
winetricks cmd corefonts msxml6 riched20 gdiplus This will take about 20 to 30 minutes to be installed. Go grab yourself a snack, and wait patiently. You’re back? Still running? It ends eventually, don’t worry.
Ok, now that’s over, we can actually begin installing the Office. It’s rather simple. Again, without leaving the terminal:
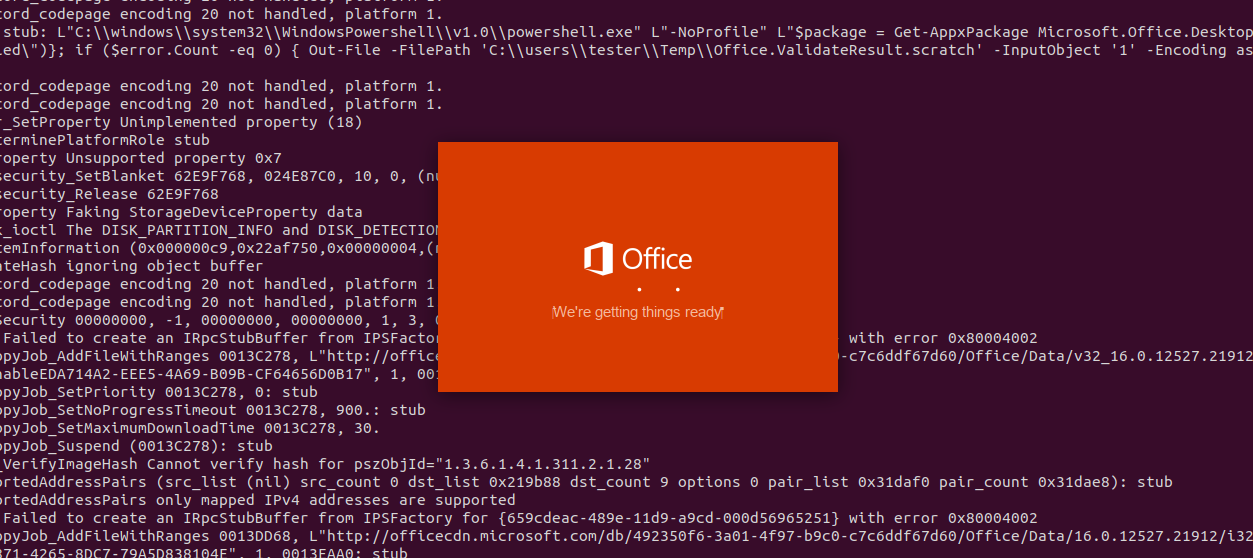
wine path/to/the/installer/OfficeSetup.exe Ok, now you should see the following:
If it passes this screen, it means we worked out all needed dependencies. If any missing(like above I mentioned winbind was missing) see the terminal output and where the error is, or what step was missed. Now you should see this: 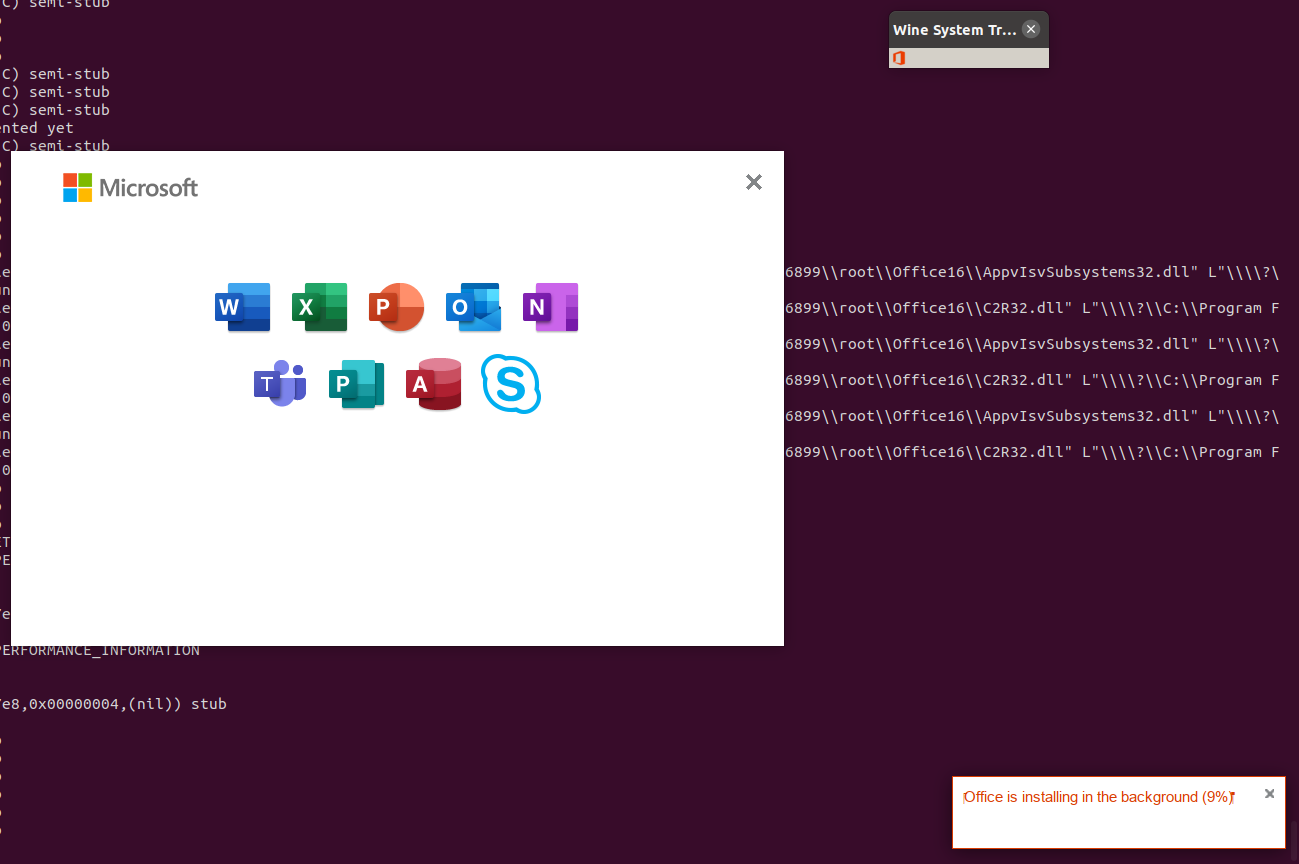
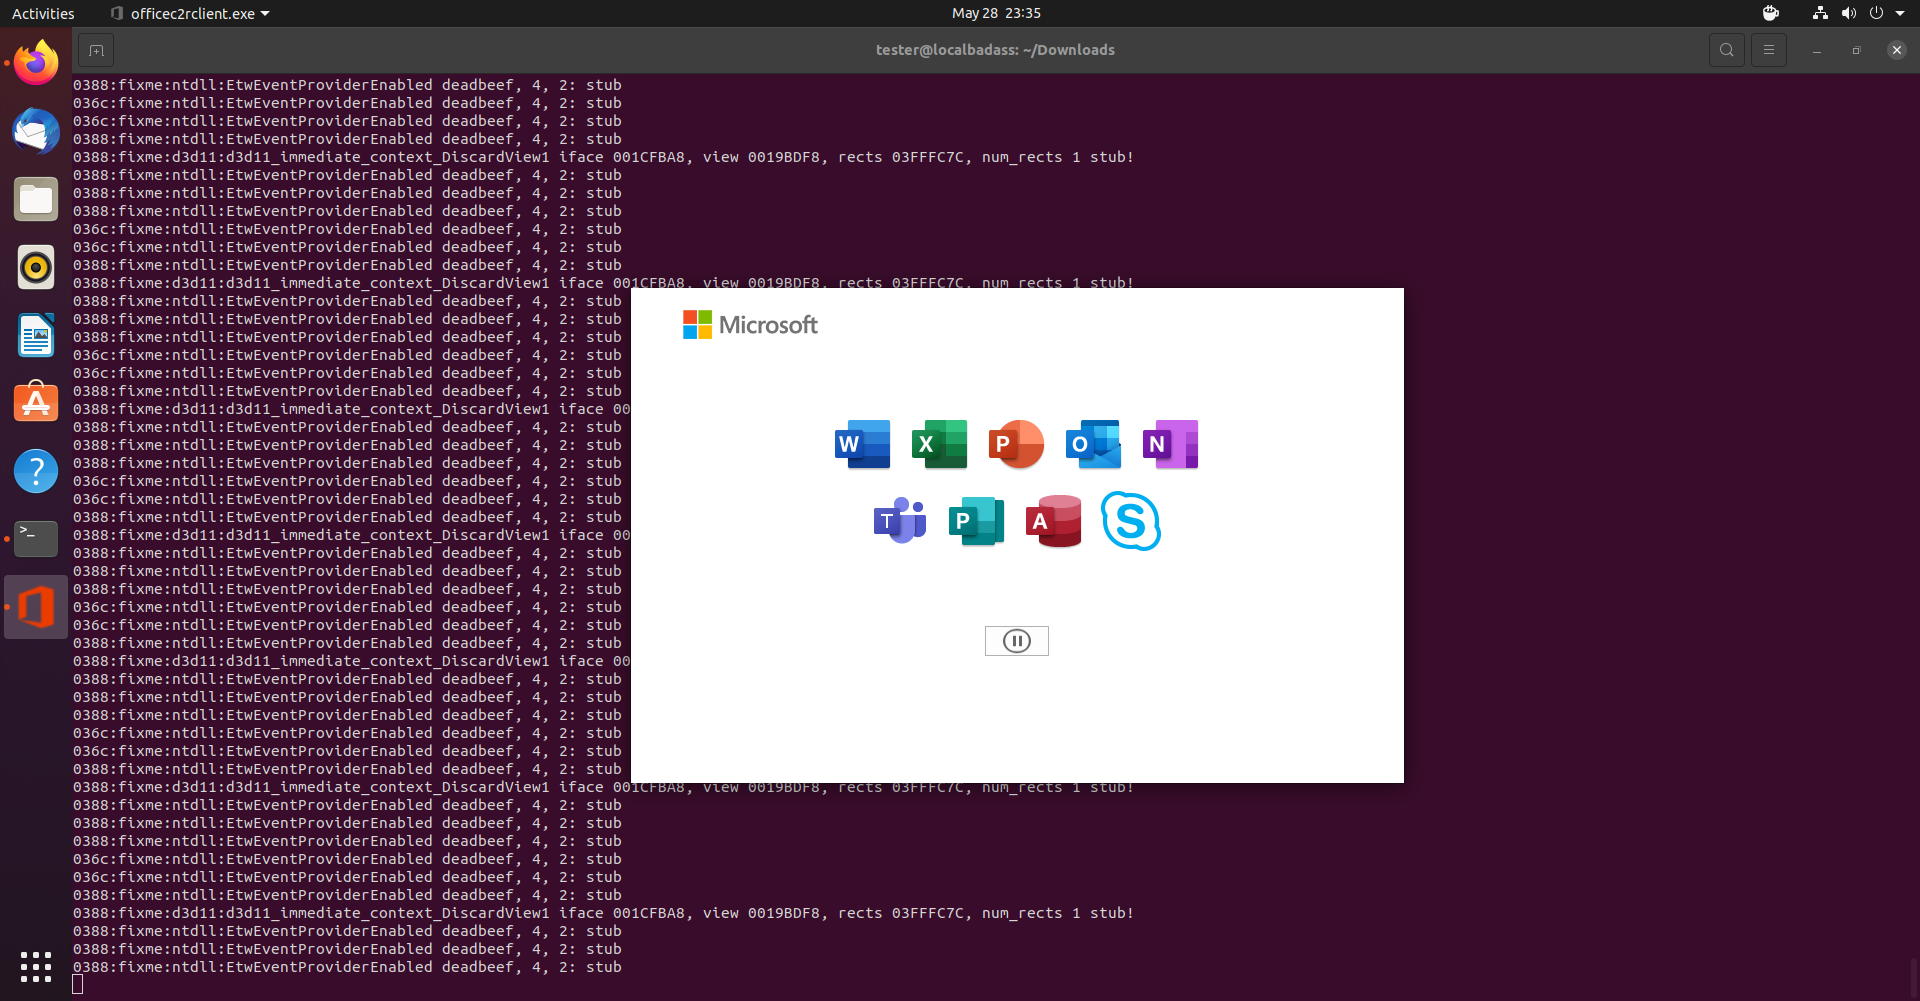
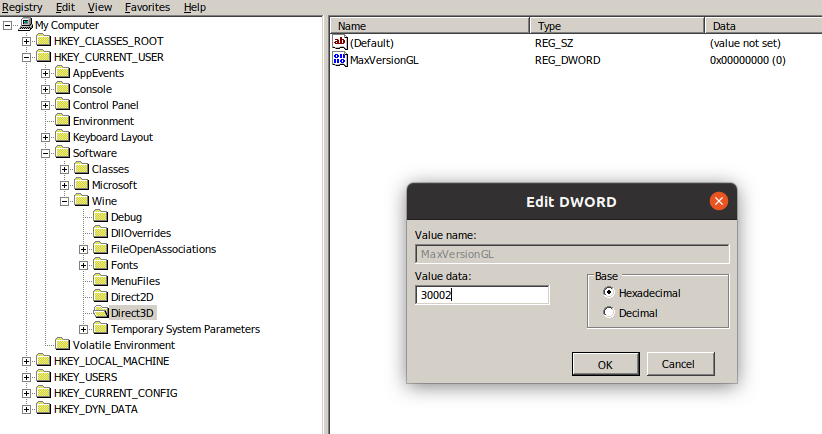
cp -iv "$/drive_c/Program Files/Common Files/Microsoft Shared/ClickToRun/AppvIsvSubsystems32.dll" "$/drive_c/Program Files/Microsoft Office/root/Office16/AppvIsvSubsystems32.dll" cp -iv "$/drive_c/Program Files/Common Files/Microsoft Shared/ClickToRun/C2R32.dll" "$/drive_c/Program Files/Microsoft Office/root/Office16/C2R32.dll" This puts copies DLL files to the right place. Still one step missing. That’s right, it’s everyone’s favorite thing on Windows, regedit. We need to create 2 keys and 2 dwords, as below.
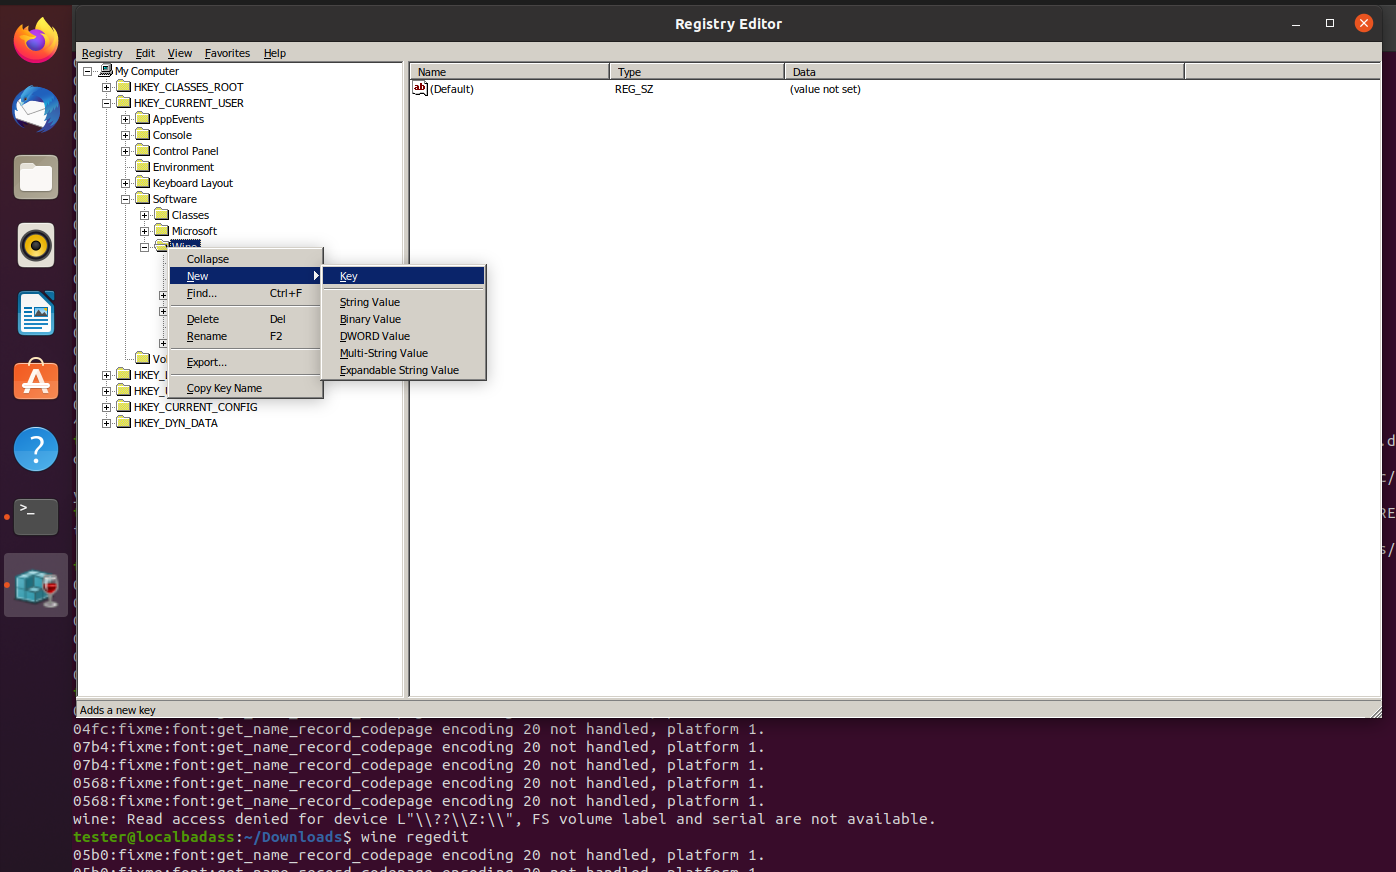
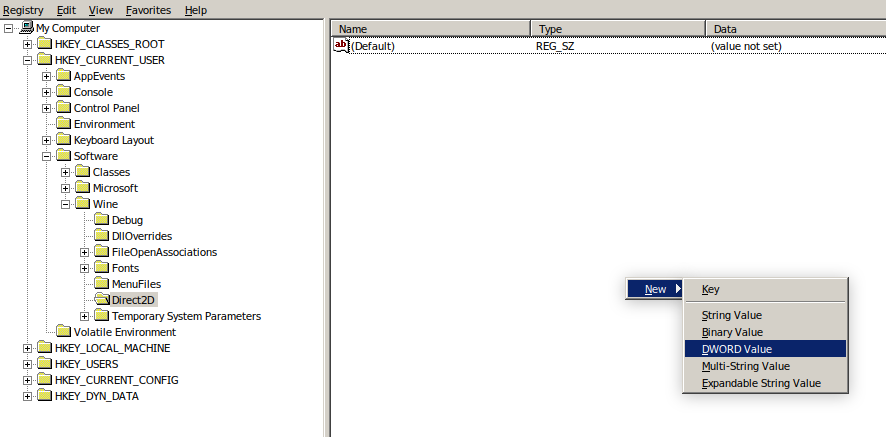
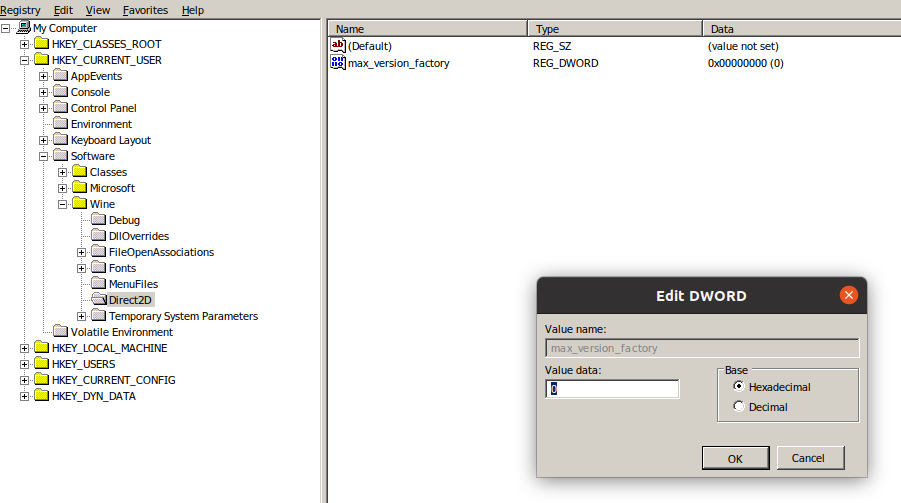
You can now close regedit and never look at it again. What were they thinking when regedit was created I wonder.
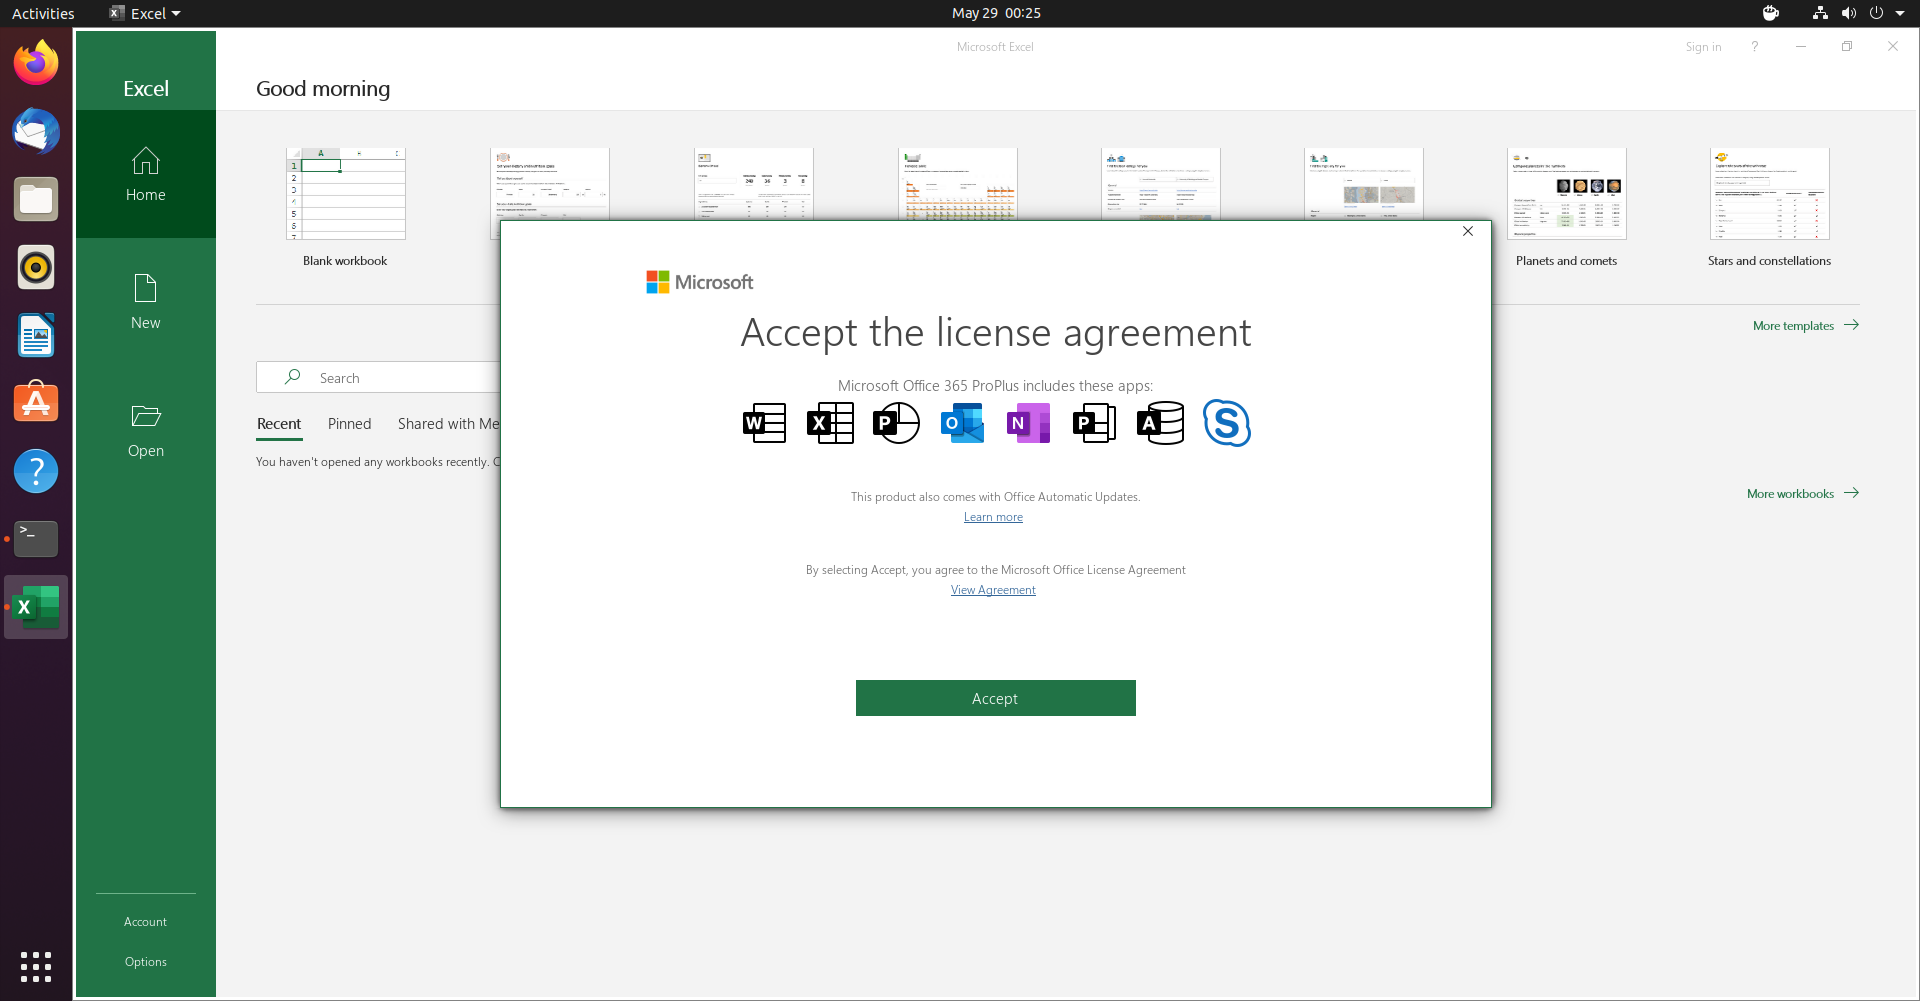
It’s over!
Now you can enjoy the most recent MS Office(2019 maybe? Who keeps track of this anyway?) on Linux.
Lastly, I must thank the Manjaro(and Arch, I guess) community for figuring this out and sharing each other’s progress on the forum. The links unfortunately are dead(I took note of them two years ago), but they may still work on the wayback machine.
