- Установка Ubuntu Server 20.04 LTS на виртуальную машину VMware ESXi 6.7
- Ссылки
- Подготовка
- Install Ubuntu 20.04 LTS server on VMware
- install ubuntu 20.04 LTS server on VMware
- Configure Network on Ubuntu 20.04
- Guided storage layout on Ubuntu
- Set Name and username
- Install OpenSSH on ubuntu
- Login to Ubuntu 20.04 Server
- Installing ubuntu 20.04 LTS server – Video Tutorials
- How to Install Ubuntu Server 20.04 on VMware ESXi?
- 1. Setup the ESXi network.
- 2. Create the virtual machine.
- 3. Select a name and guest OS.
- 4. Select storage.
- 5. Configure the Ubuntu virtual machine resources.
- 6. Proceed with the Ubuntu server 20.04 installation on Esxi.
- 7. SSH into the Ubuntu server.
Установка Ubuntu Server 20.04 LTS на виртуальную машину VMware ESXi 6.7

Установим на виртуалку сервер Ubuntu Server 20.04 LTS 64-bit. Используем гипервизор ESXi 6.7 U3.
Ссылки
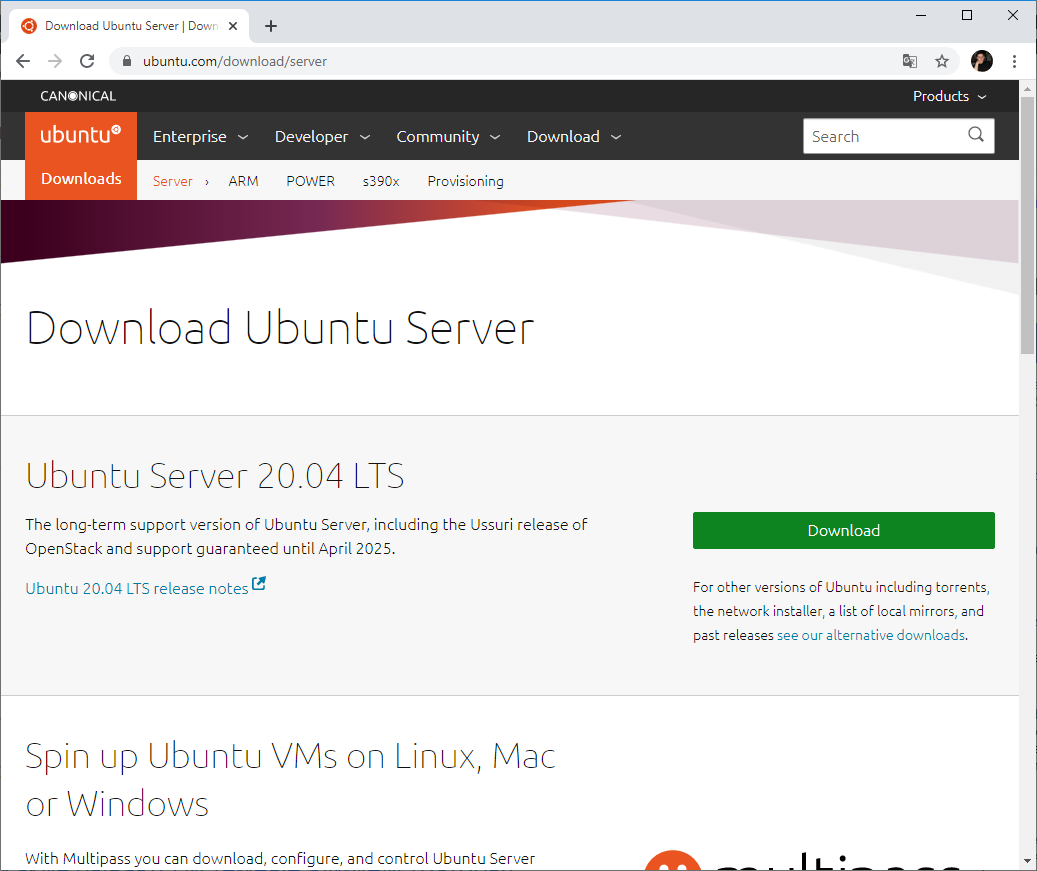
Дистрибутив Ubuntu Server скачиваем с сайта:
Ubuntu Server 20.04 LTS — гарантированная поддержка до апреля 2025 года.
Подготовка
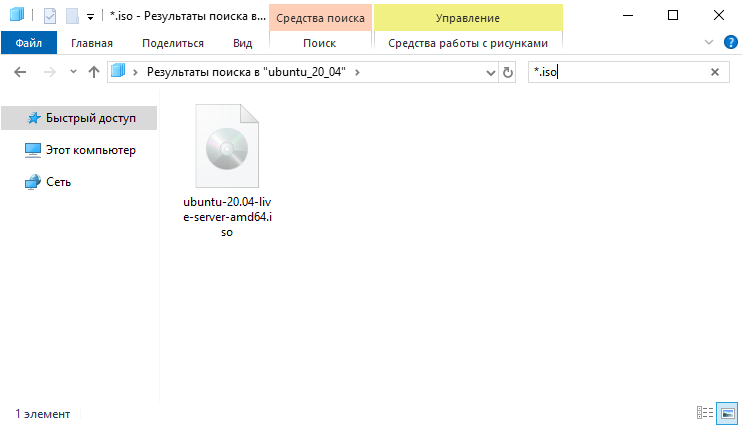
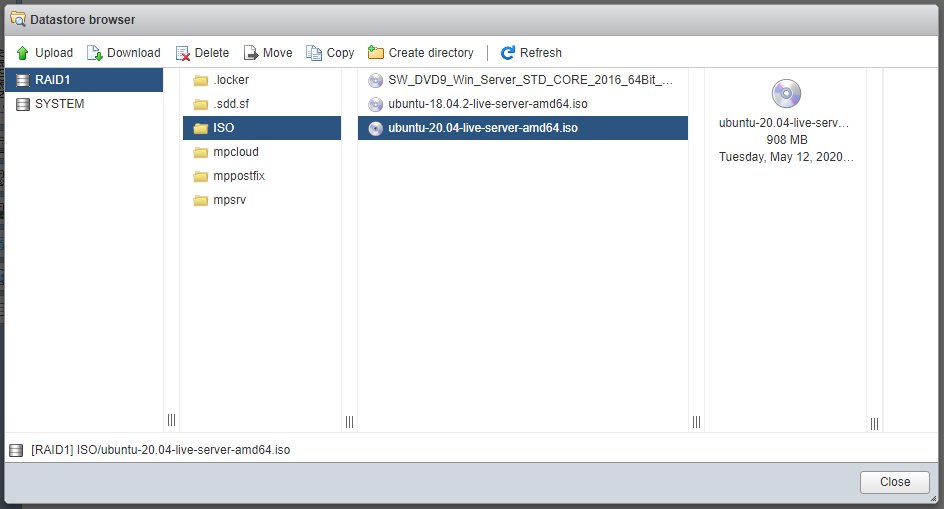
Скачиваю дистрибутив ubuntu-20.04-live-server-amd64.iso:
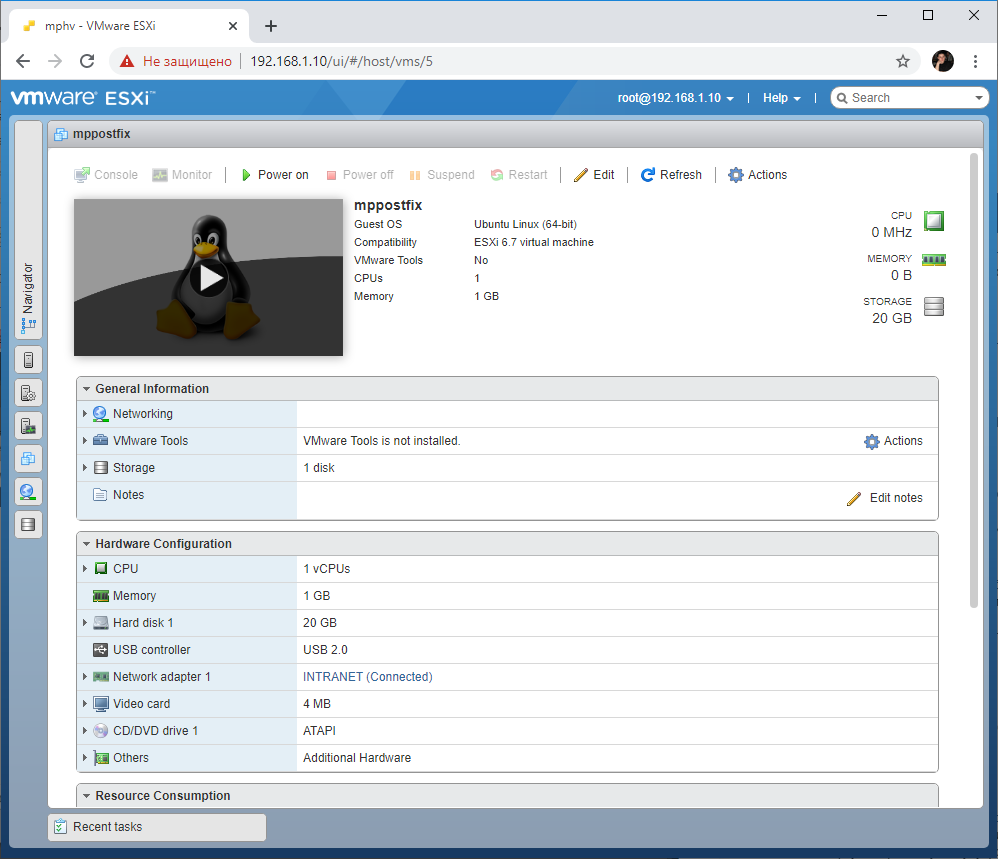
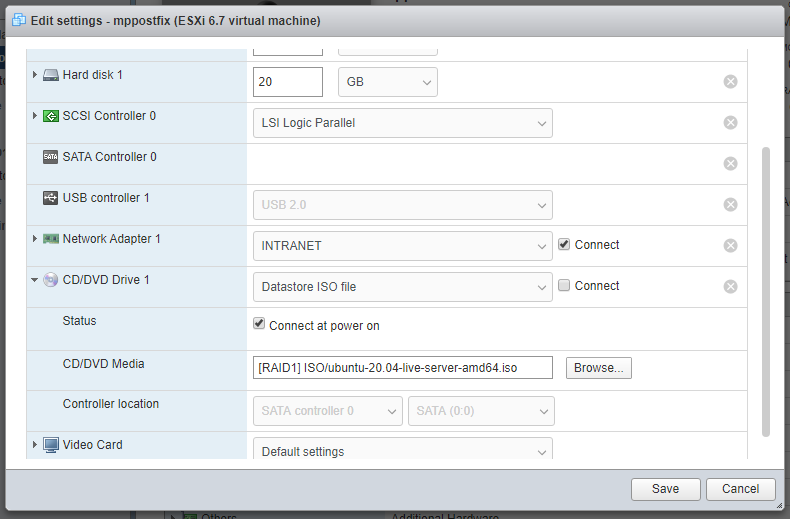
Создаю виртуальную машину. 1 процессор, 1Гб оперативки, 20 Гб жёсткий диск.
ISO образ дистрибутива загружаем в хранилище ESXi:
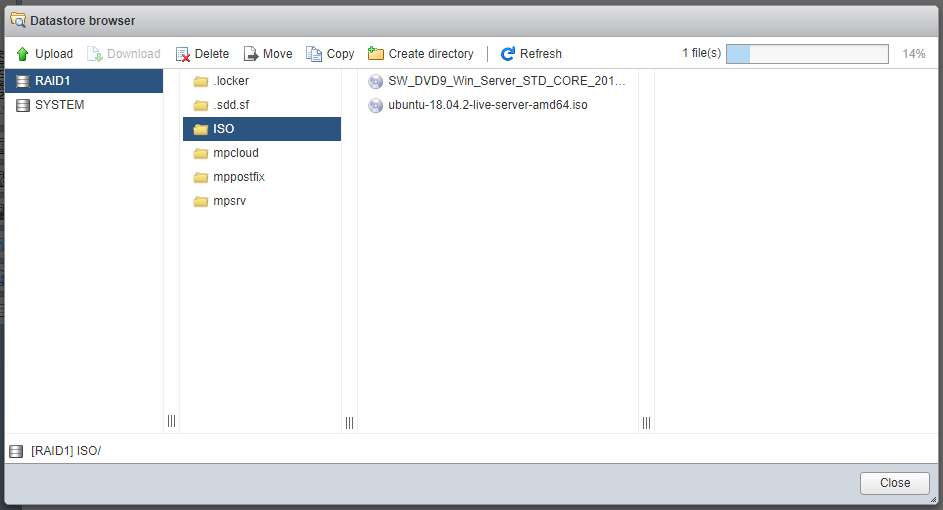
Через некоторое время образ Ubuntu 20.04 загружен в хранилище.
Загружаю виртуальную машину.
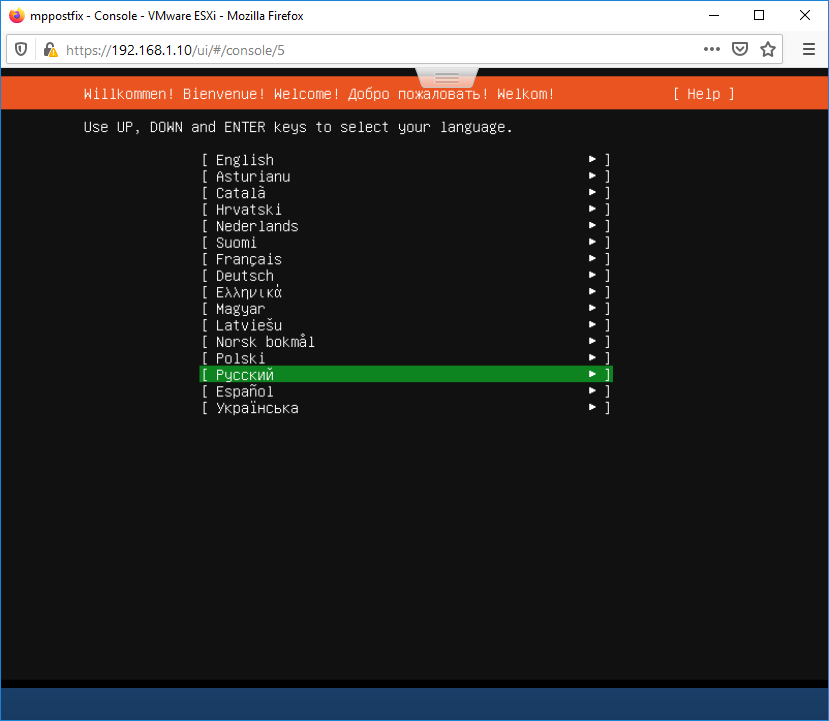
Выбираю язык — Русский. Enter.
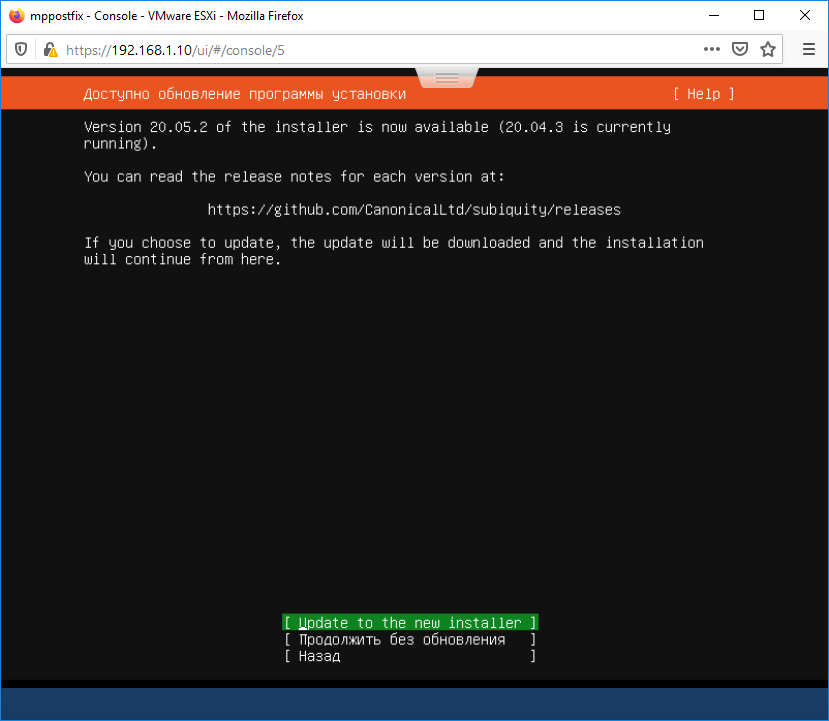
Найдена новая версия инсталлятора Subiquity, попробую обновиться, Update to the new installer.
Продолжаю установку. Странно, язык не везде русский, не продолжаю установку. Назад. Выбираю язык — Русский. Enter. Другое дело.
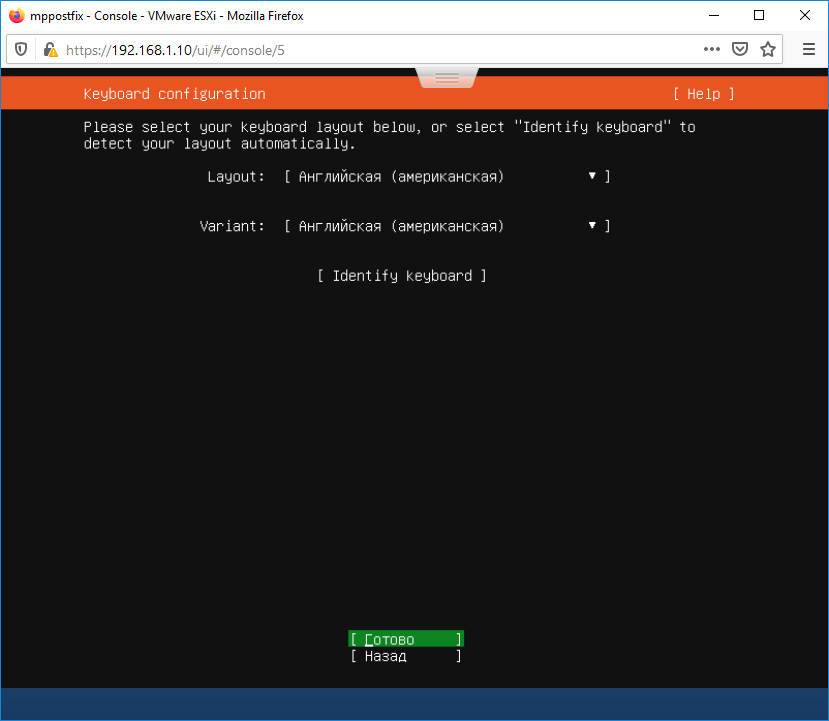
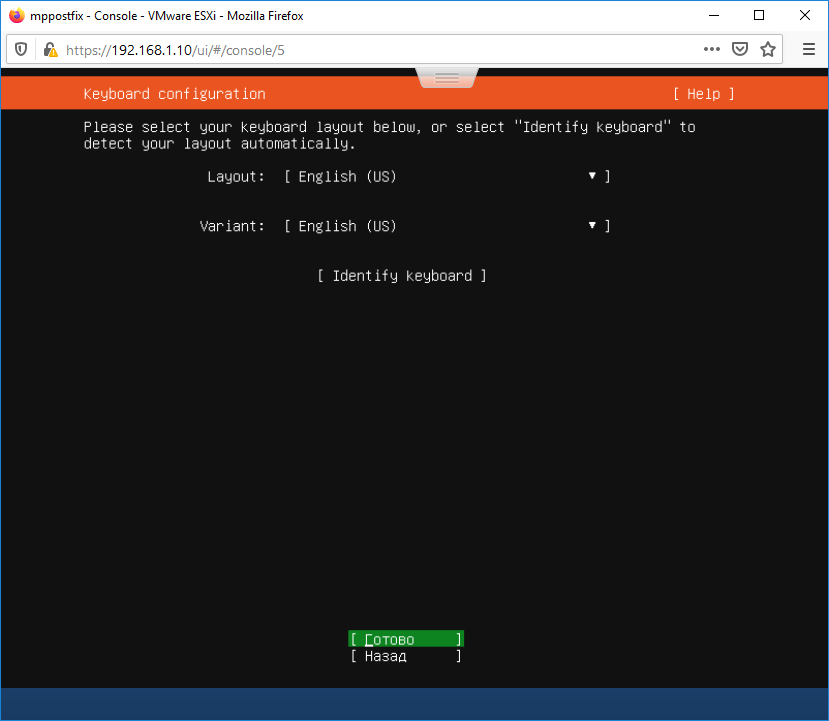
Выбираю раскладку клавиатуры. Я привык к Английской. Готово.
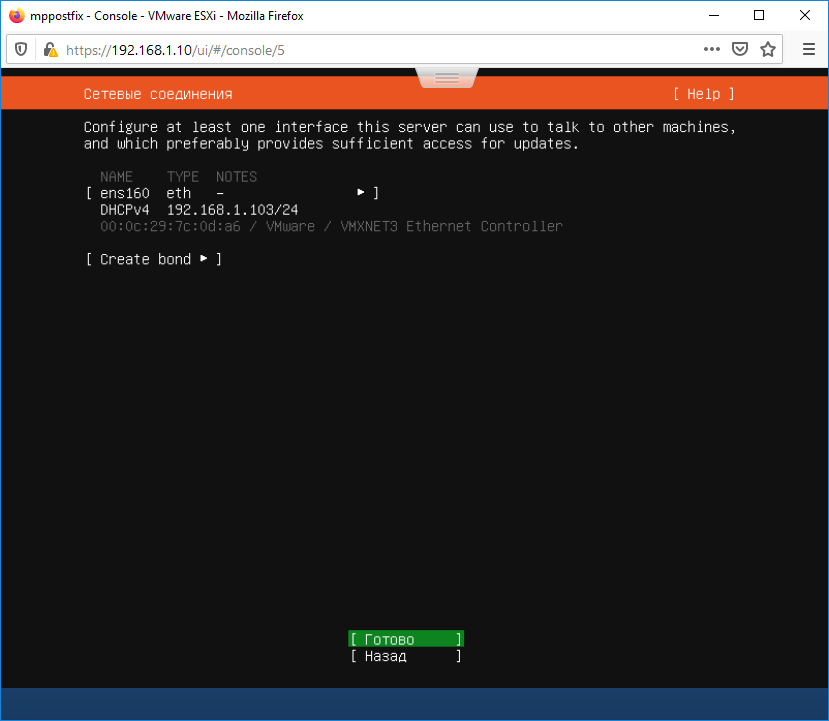
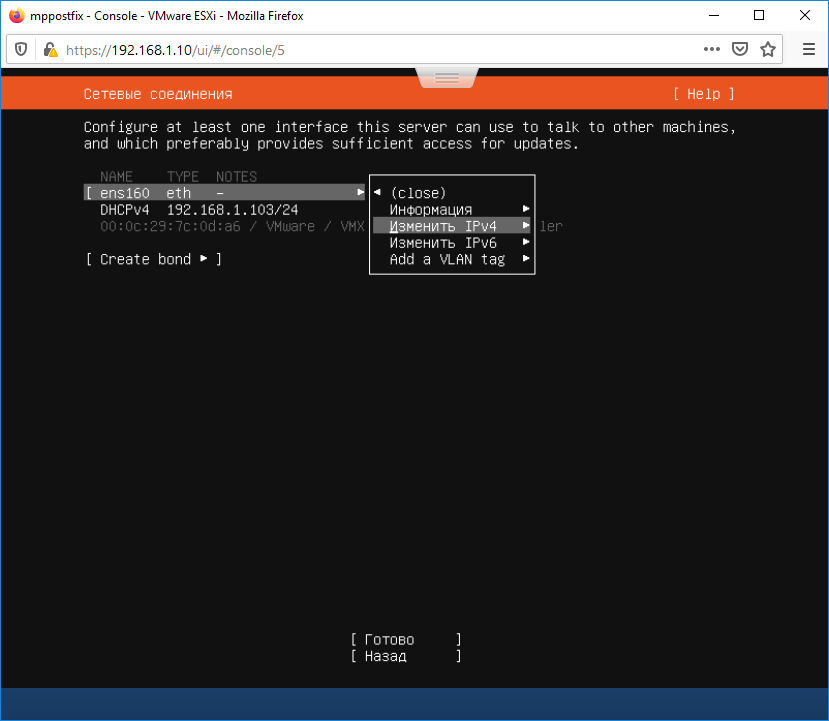
Настрою сеть. DHCP сервер уже выдал какой-то IP адрес, поэтому и смог обнаружиться новый установщик, но я хочу использовать статический IP адрес.
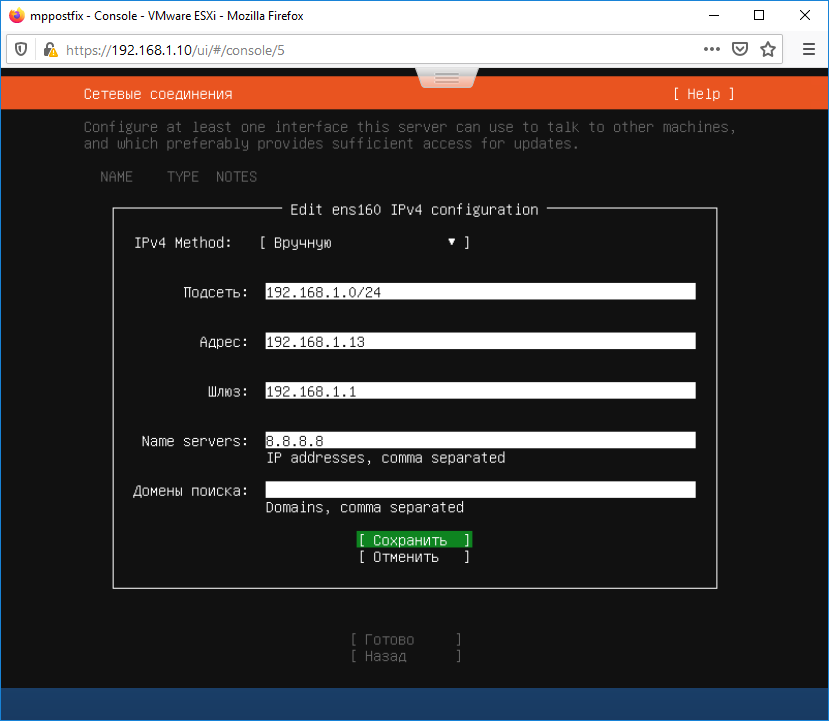
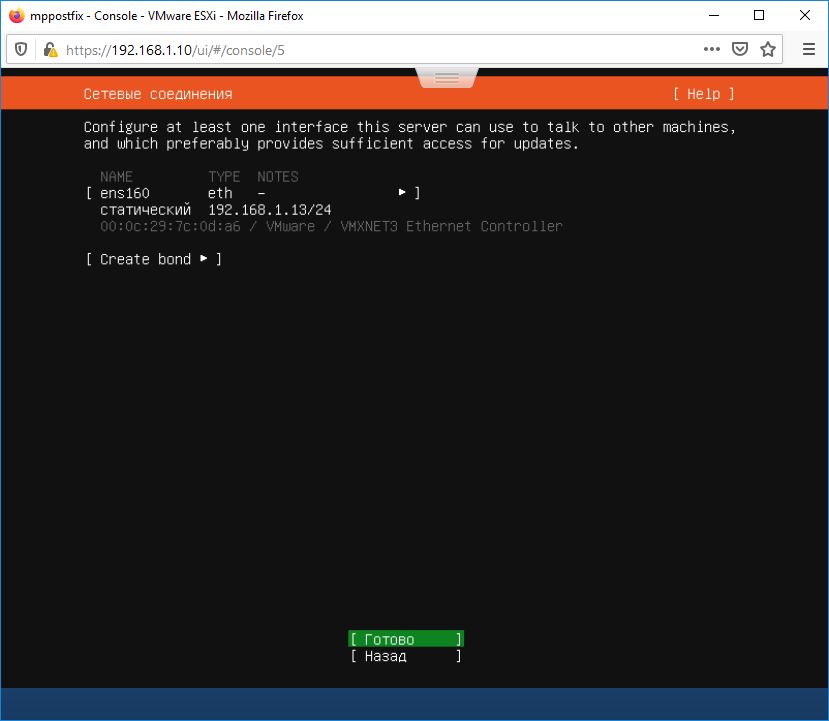
Указываю настройки сети. Сохранить.
Здесь можно настроить агрегацию портов. Мне не нужно. Готово.
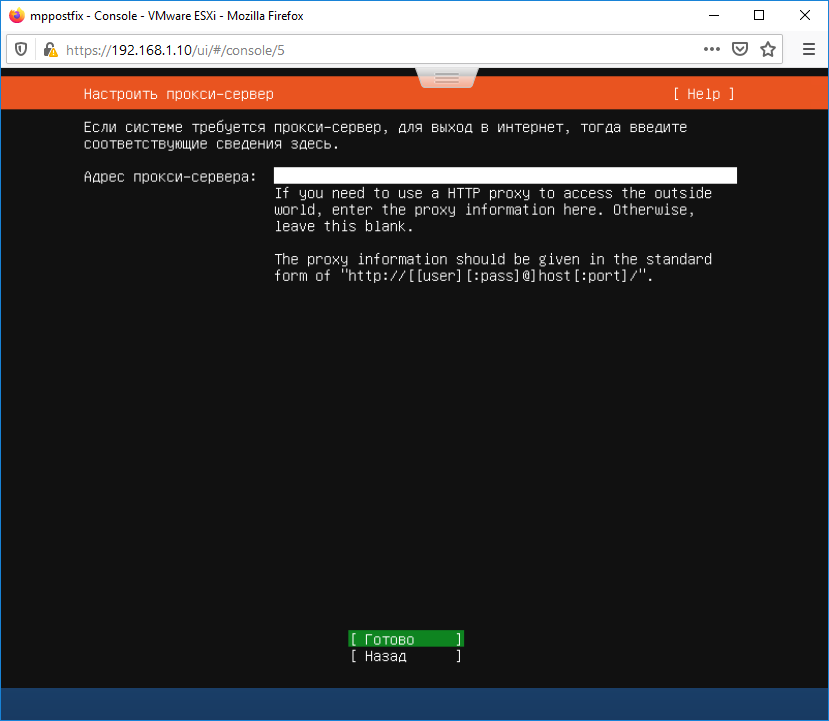
Настройка прокси. Мне не требуется. Готово.
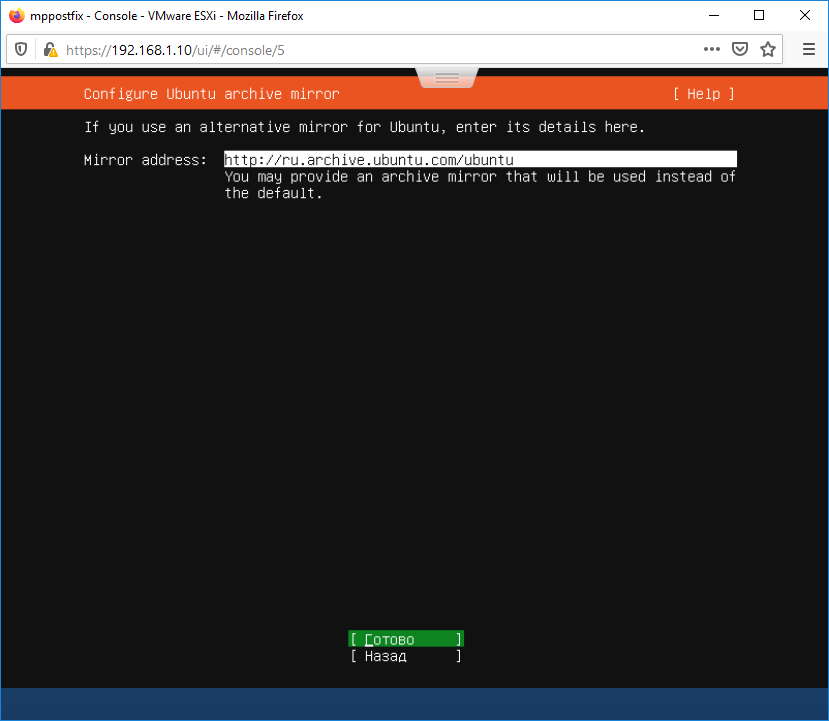
Можно указать зеркало для Ubuntu. Я оставляю значение по умолчанию. Готово.

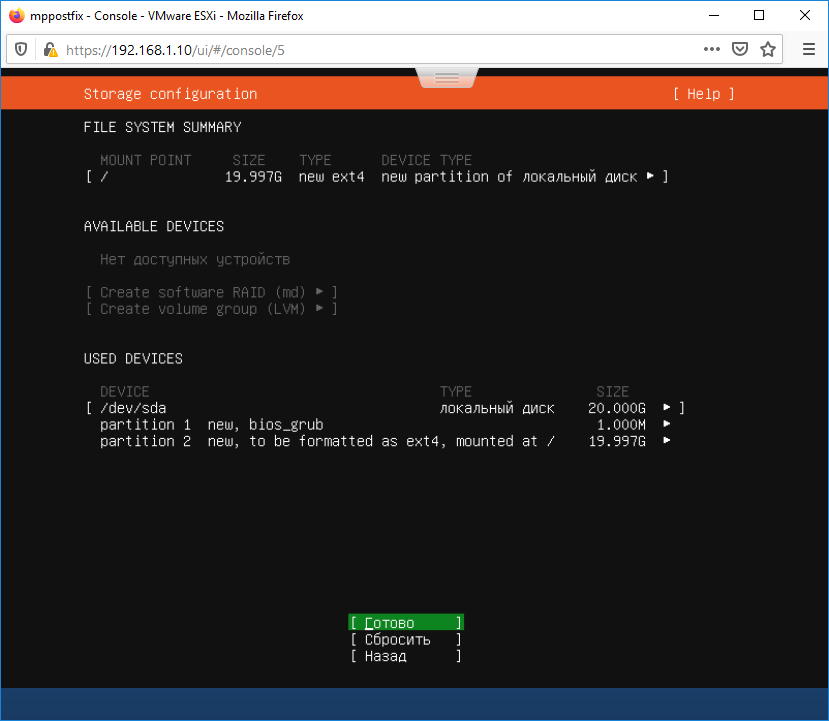
Use An Entire Disk — выделяю весь диск под систему.
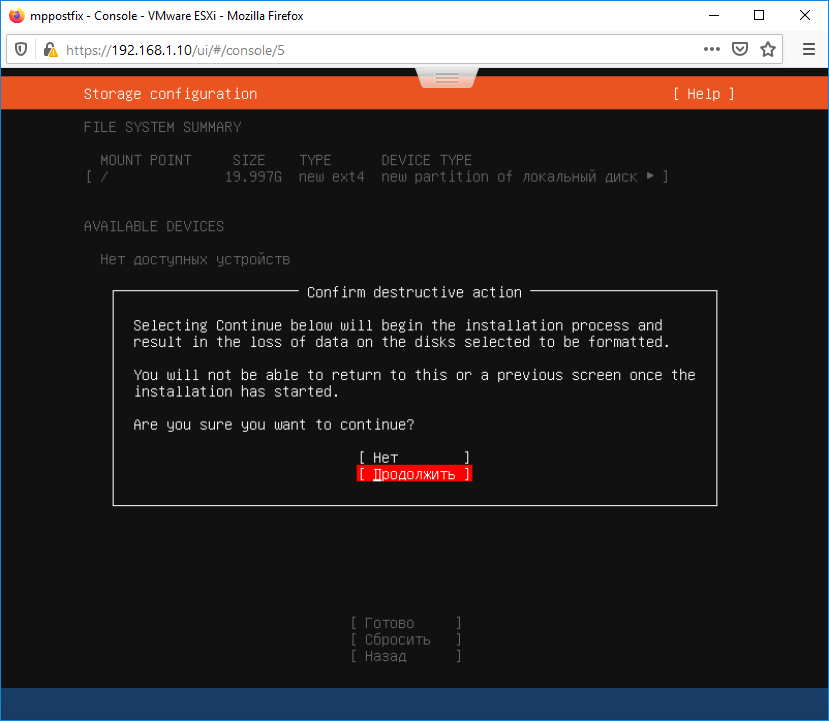
Подтверждаю очистку диска. Продолжить.
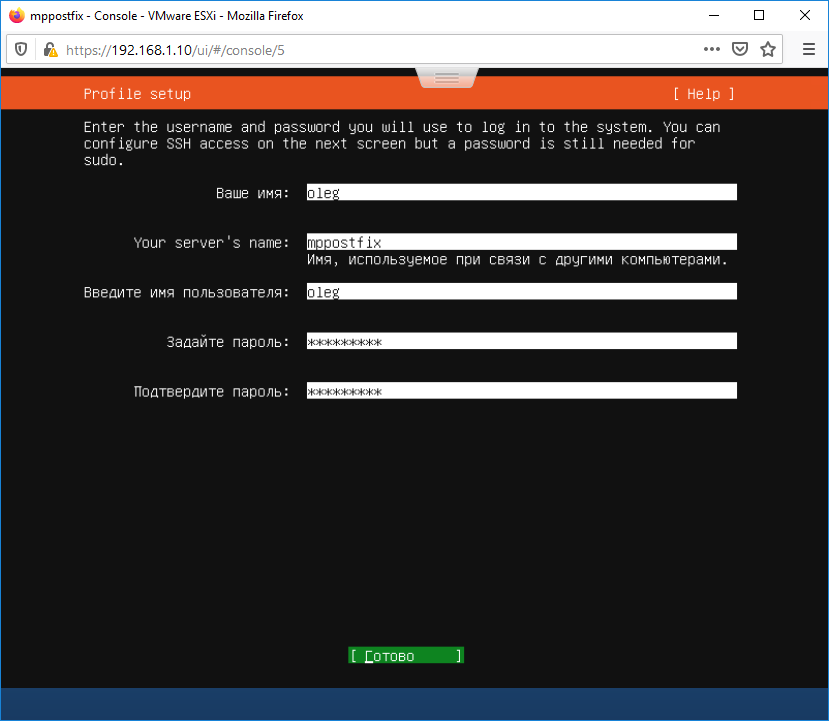
Указываю имя пользователя для входа в систему, пароль, hostname. Готово.
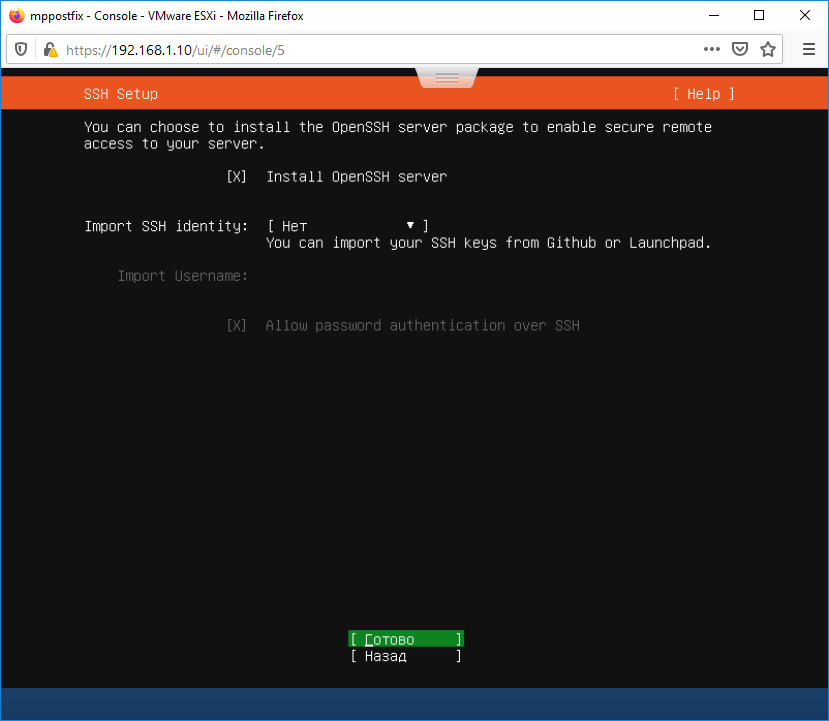
Выбираю галку Install OpenSSH server. Я планирую работать с сервером через консоль Putty. Здесь же можно при желании сразу импортировать SSH ключи. Готово.
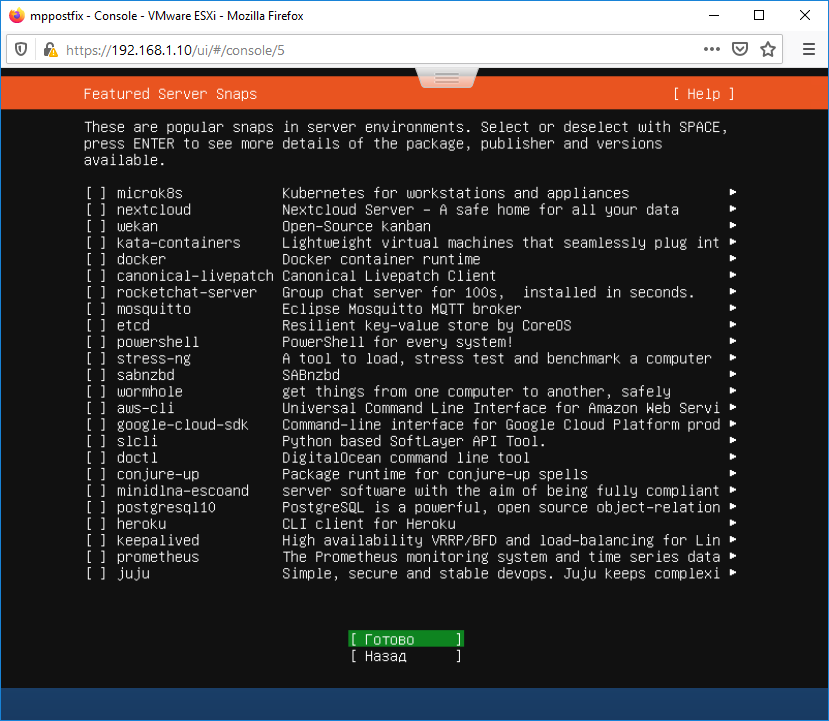
Предлагают установить дополнительные пакеты. Ничего из перечисленного мне не нужно. Готово.
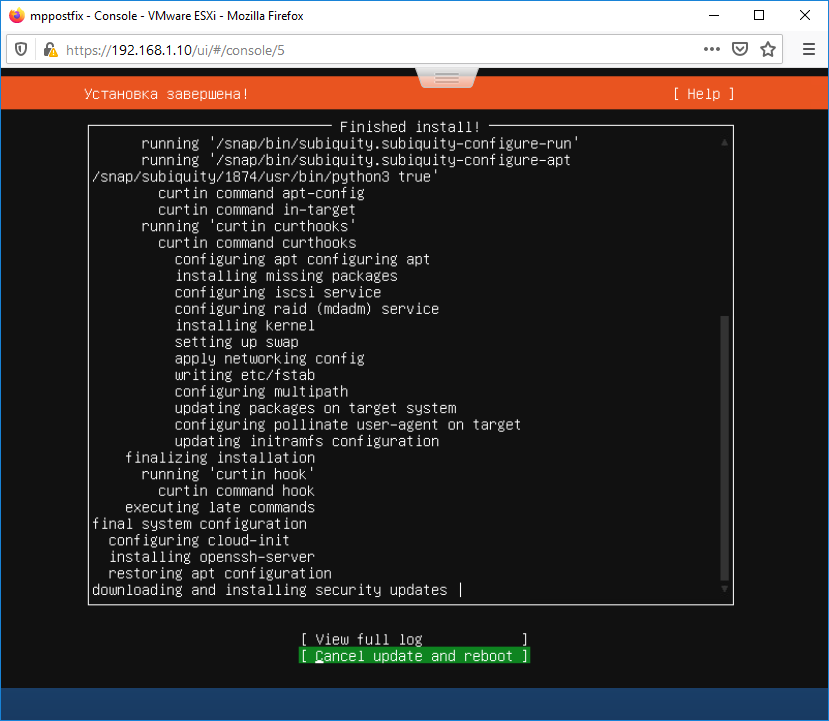
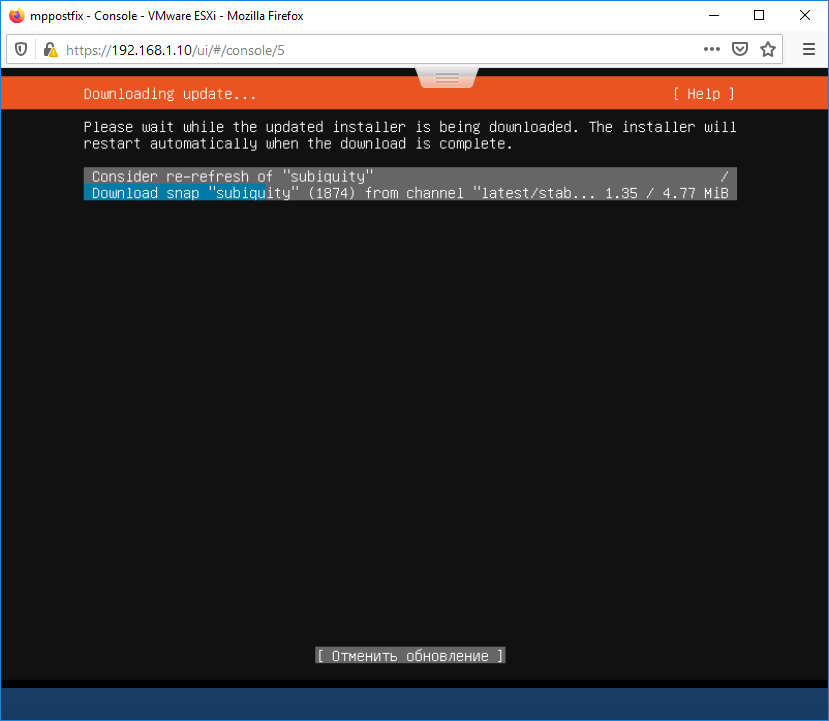
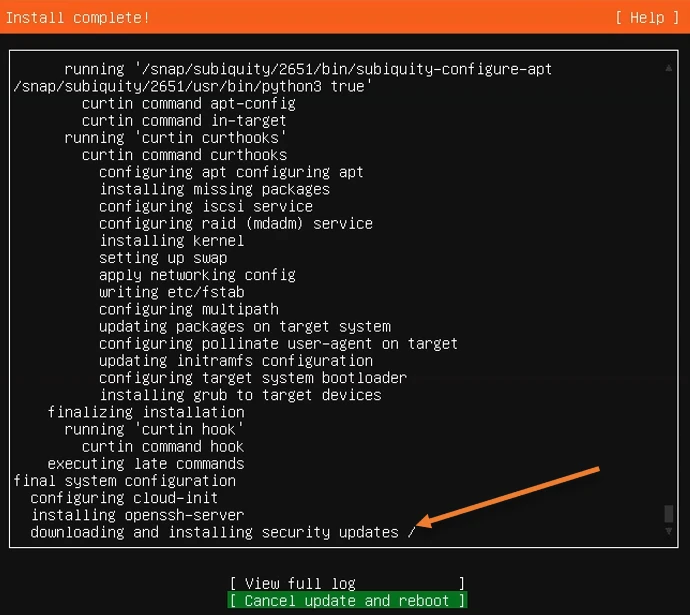
Установка завершена. Но почему-то продолжают скачиваться обновления безопасности. Подожду.

Установка подошла к завершающему этапу. Перезагрузить сейчас.
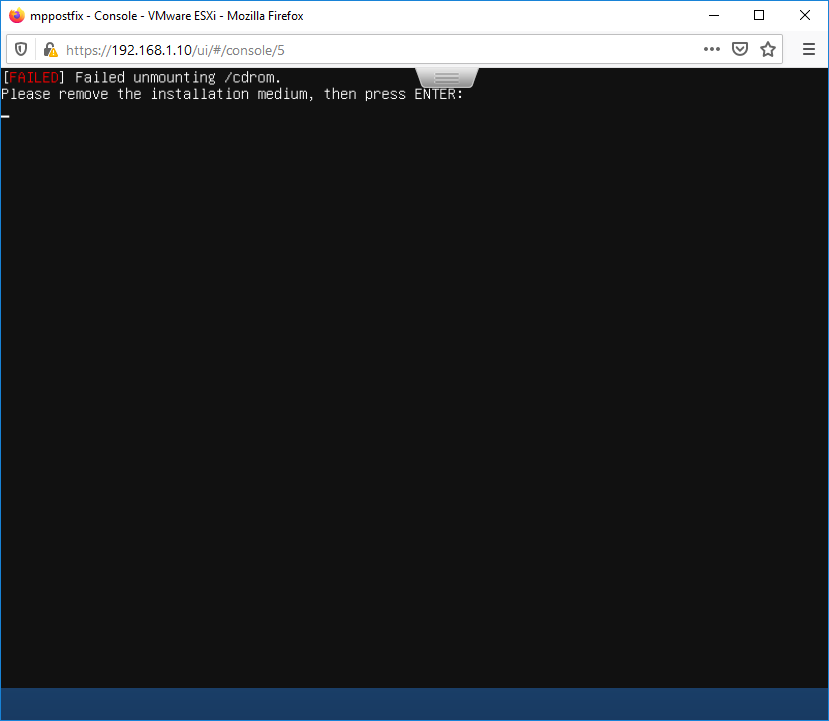
Please remove the installation medium, then press ENTER. Вытаскиваю ISO образ из CD/DVD ROM, нажимаю Enter. Сервер перезагружается.
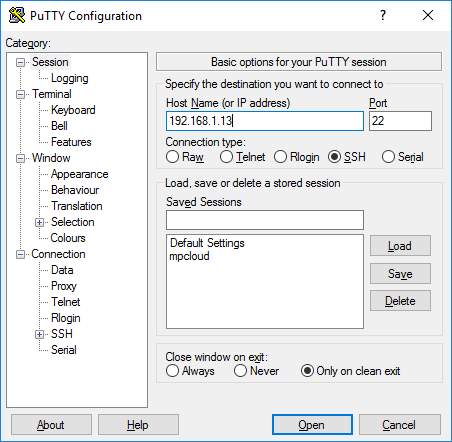
Пробую войти на сервер по SSH с помощью Putty.

Всё работает. Установка Ubuntu 20.04 LTS на виртуальную машину VMware ESXi 6.7 успешно завершена.
Install Ubuntu 20.04 LTS server on VMware
In this tutorial, we want to install ubuntu 20.04 LTS server on vmware.
Before install steps. We need to talk about a little bit about ubuntu 20.04 LTS. Ubuntu 20.04 LTS is released April 23, 2020, succeeding Ubuntu 19.10 as the latest stable release of this hugely popular Linux-based operating system.
Ok Now we start a tutorial about install ubuntu 20.04 lts server on VMware and if you want to read more about Ubuntu 20.04 LTS, You could go Introducing Ubuntu 20.04 LTS article.
Great! Let’s Start to install ubuntu 20.04 lts server on vmware
At first, you need to download the Ubuntu 20.04 ISO image for installing. So go to this link and download Ubuntu Server Edition. Download Ubuntu 20.04 LTS Server .
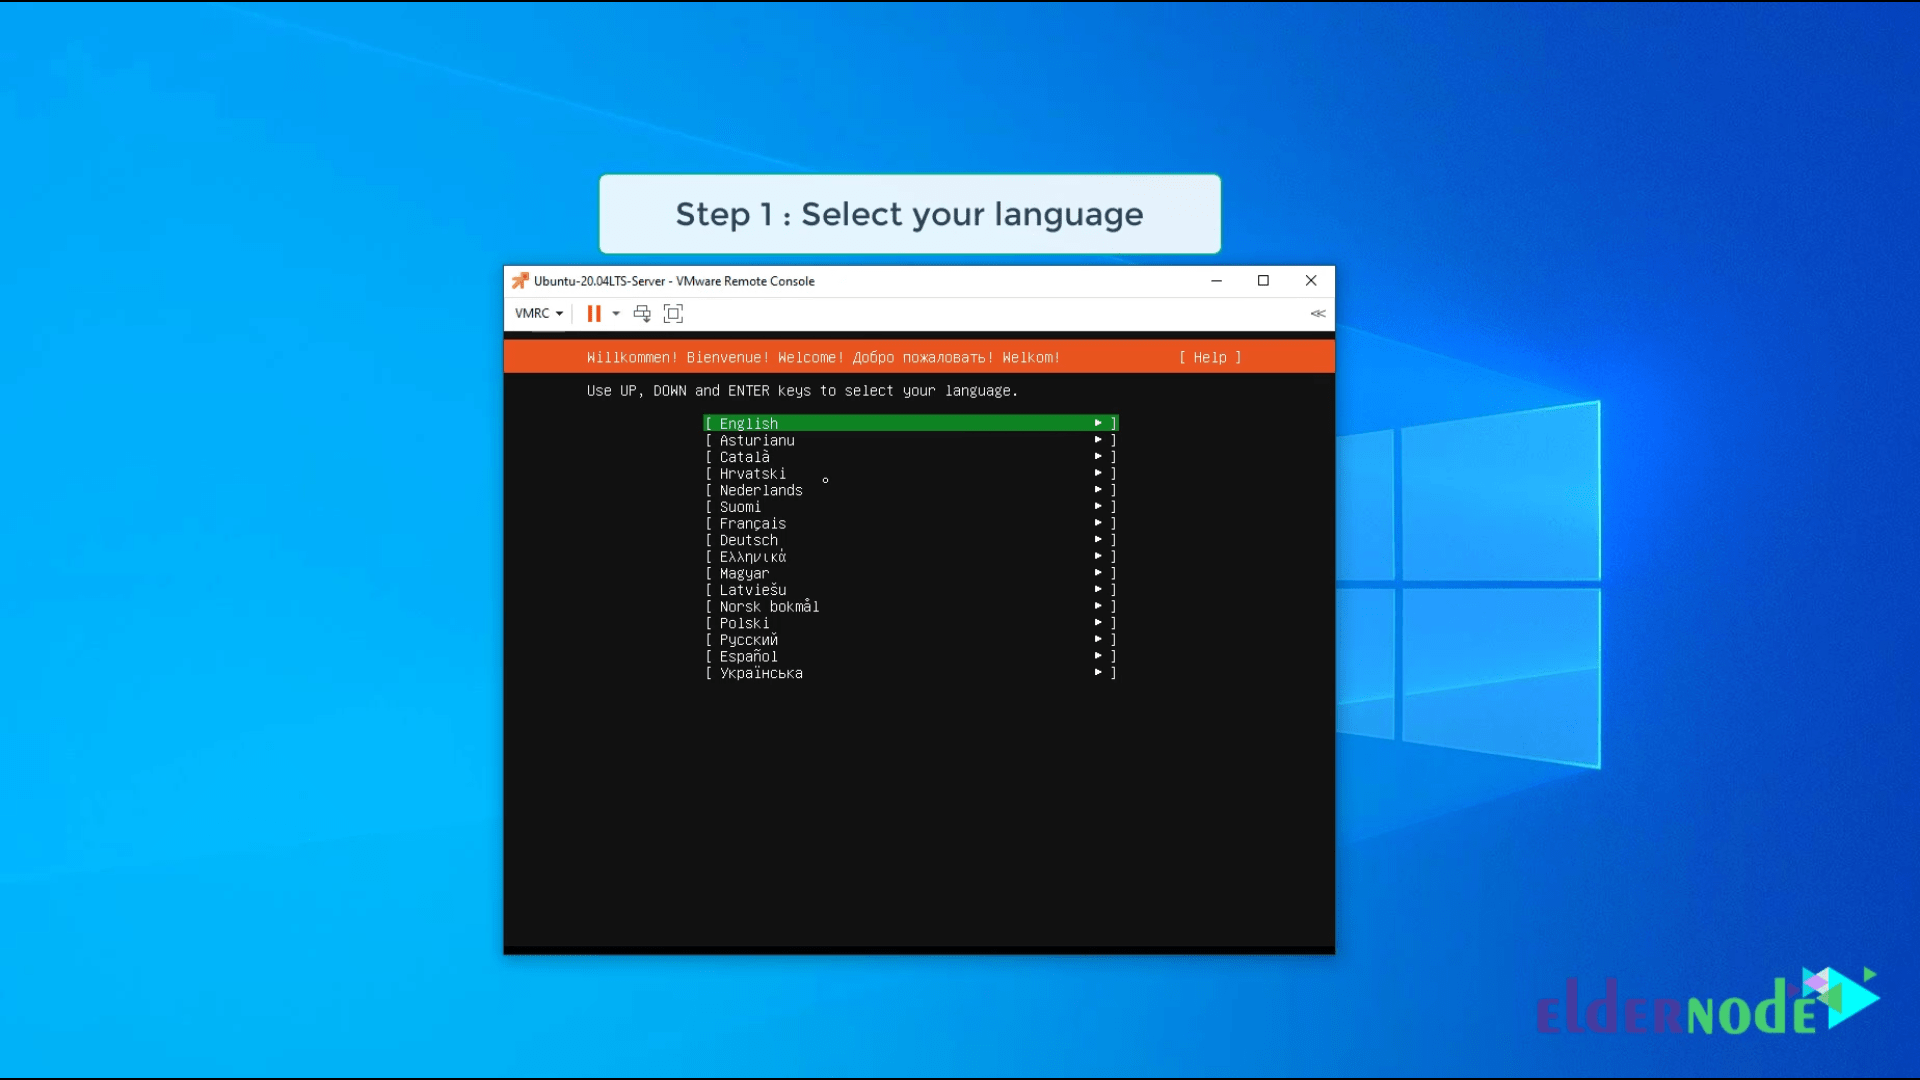
install ubuntu 20.04 LTS server on VMware
Step 1: After create your VM and all steps on VMware. Turn on VM and you will see this section.
In this step. You could select your language.
Step 2: Select the Keyboard layout and select Done to continue steps.

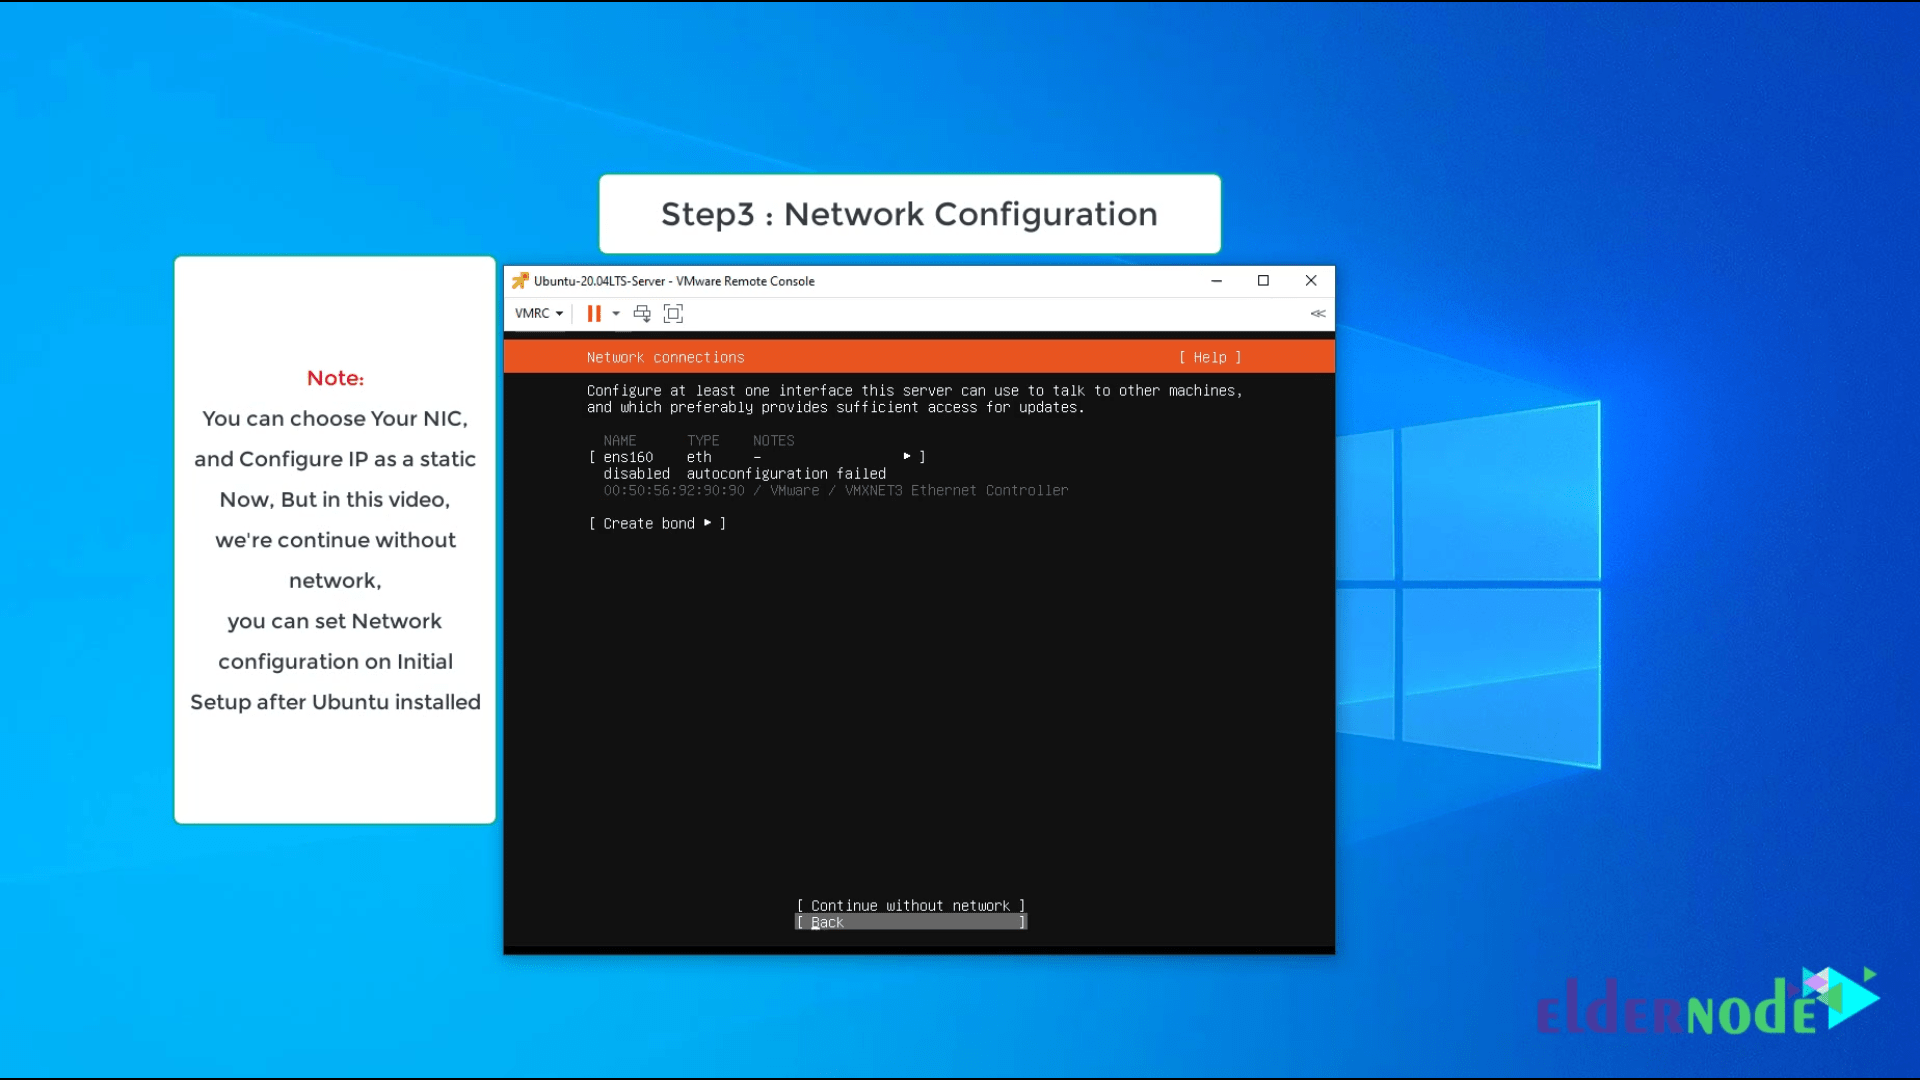
Configure Network on Ubuntu 20.04
Step 3: In this step, you could configure the network by selecting your NIC name. But we choose without network and after install. We could set all network configuration on Initial setup steps.
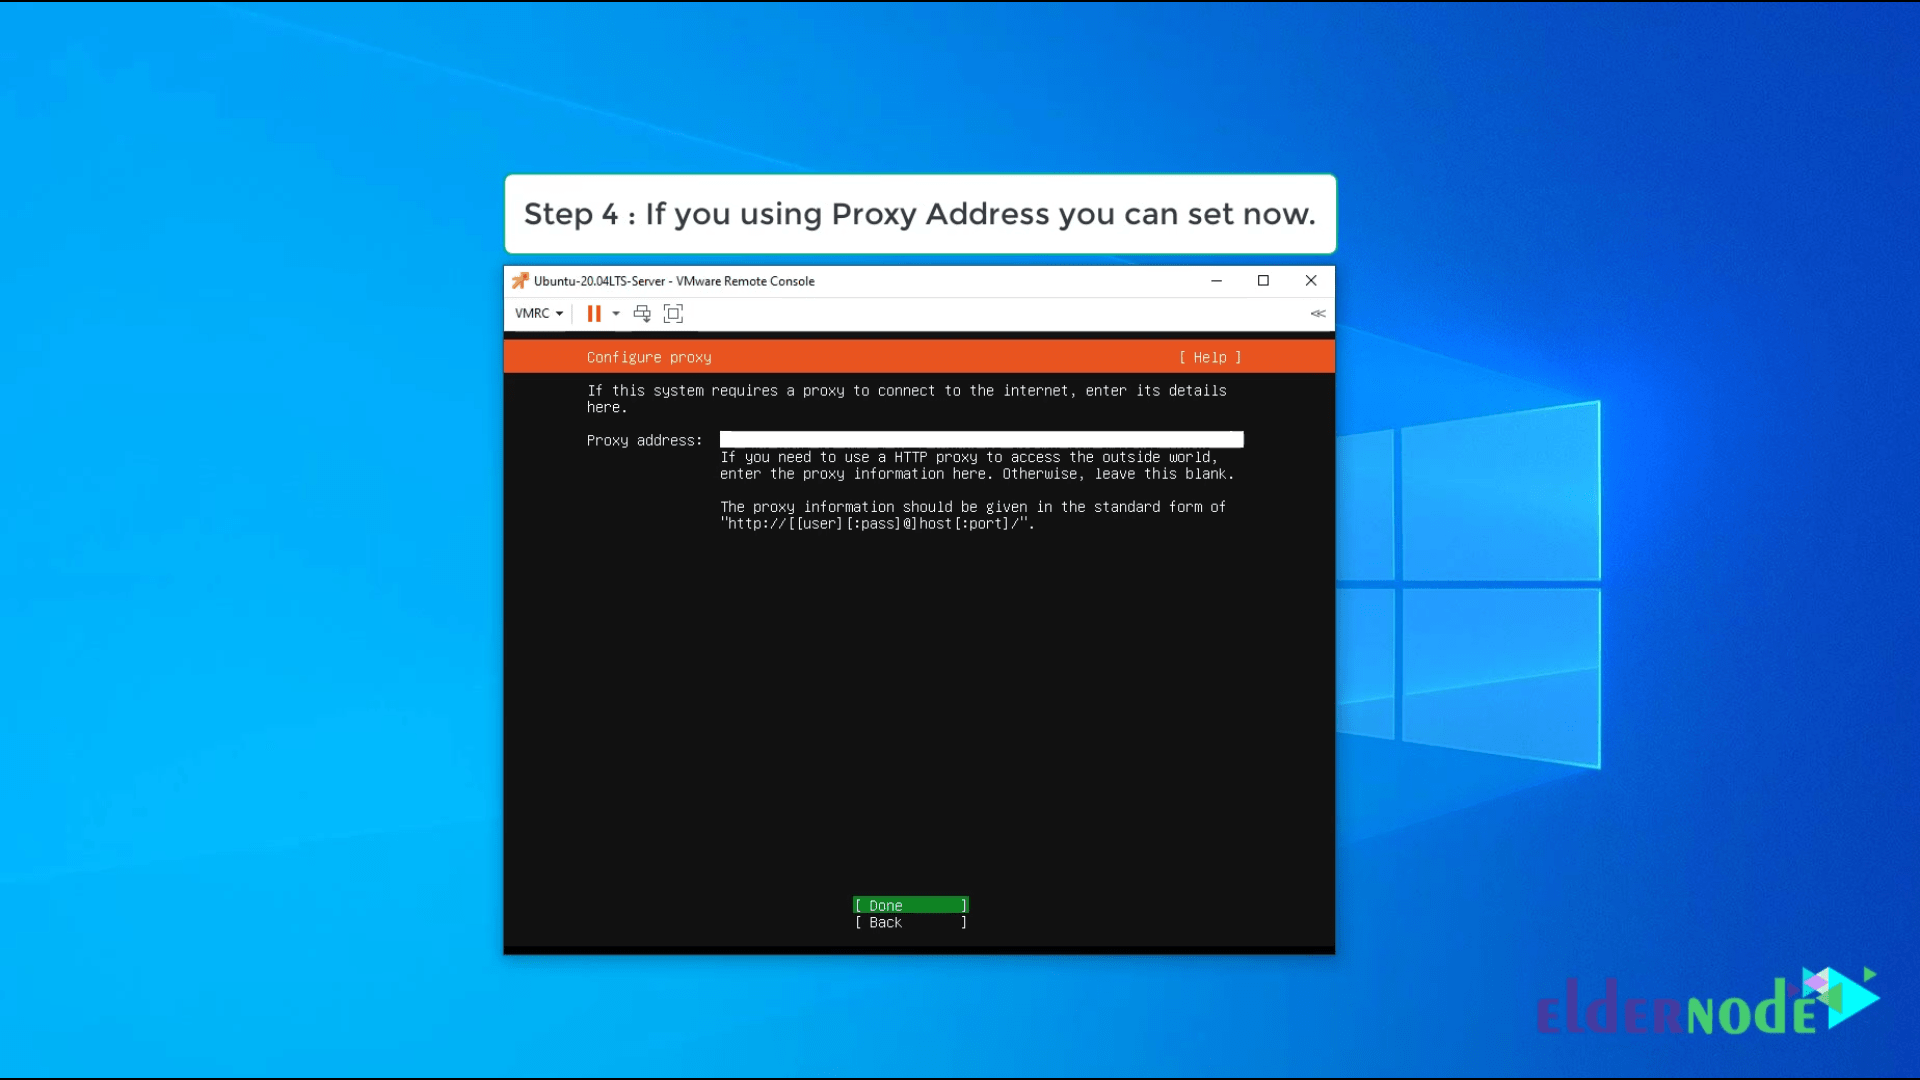
Step 4: If you set a network and you using a proxy, type proxy name on this field and select Done.
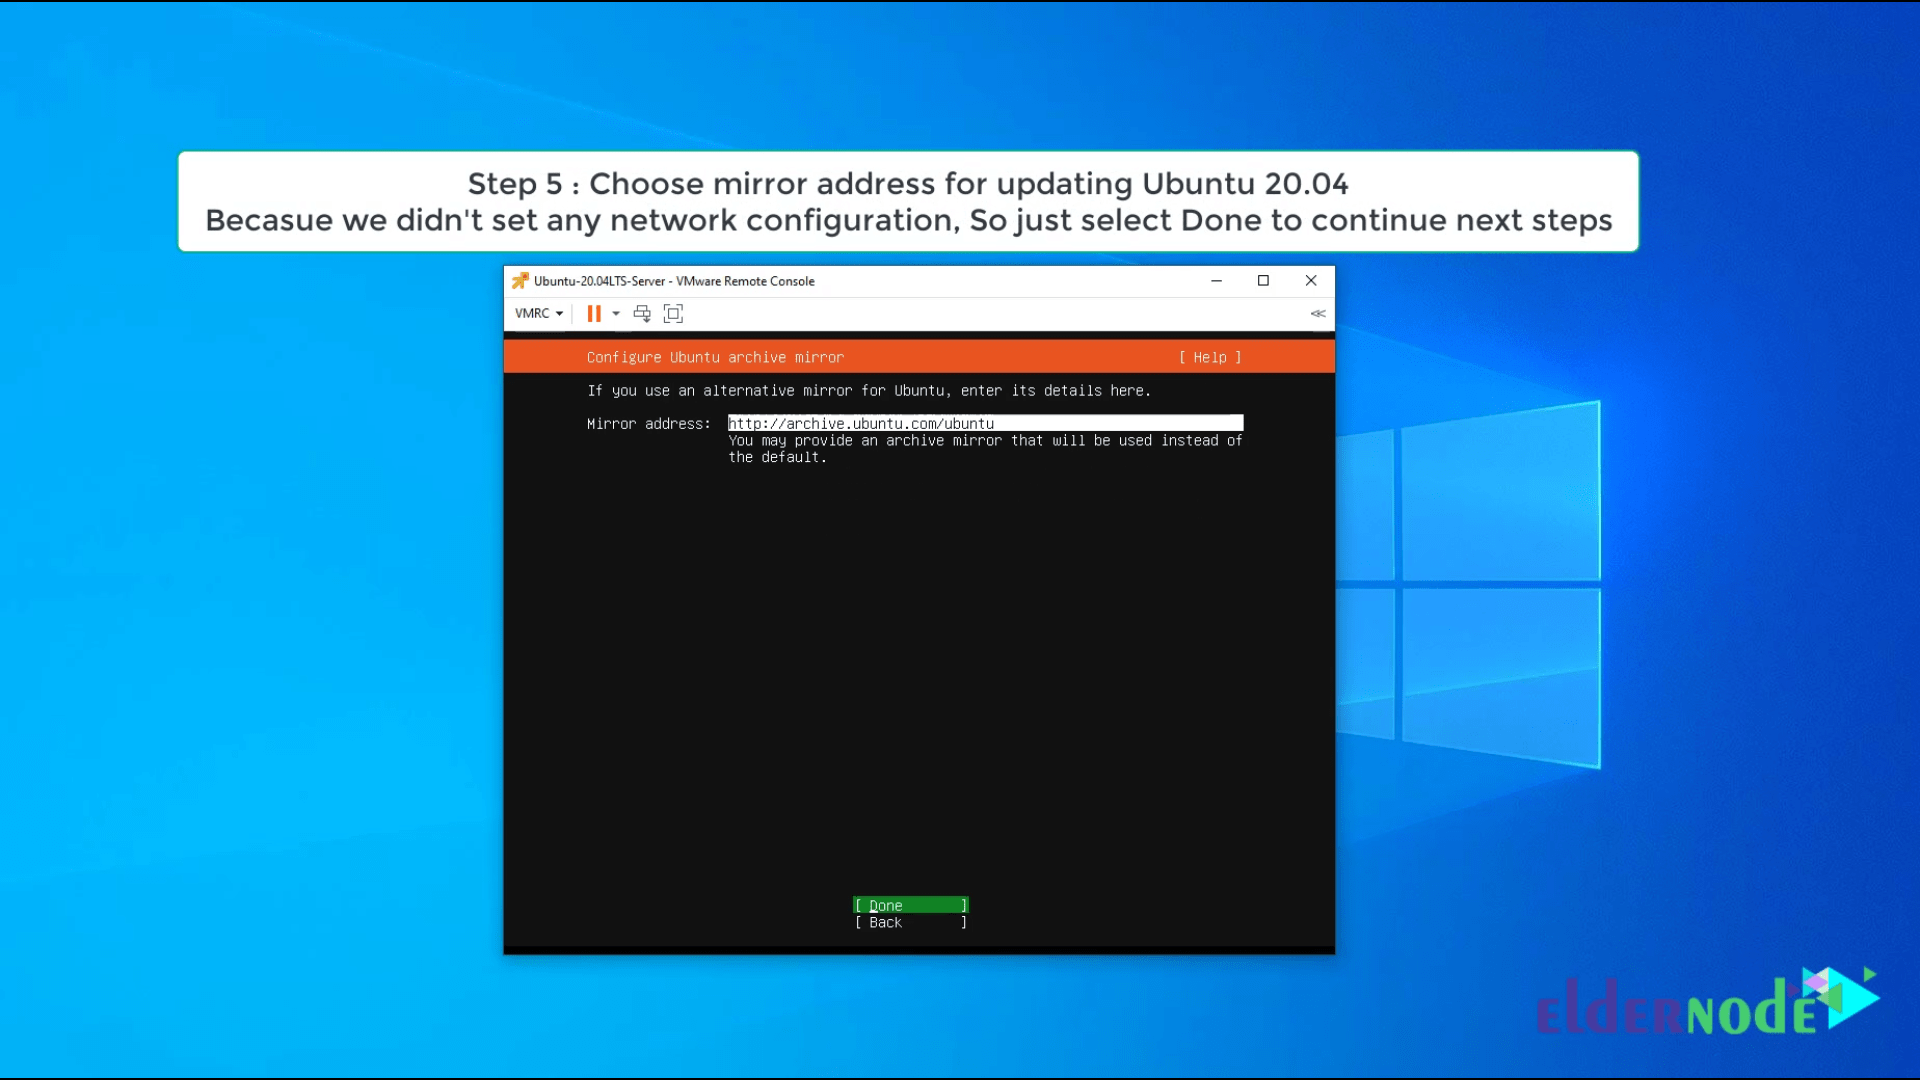
Step 5: Now you have to choose a mirror address for Ubuntu updates and install another package. We just select done to continue steps.
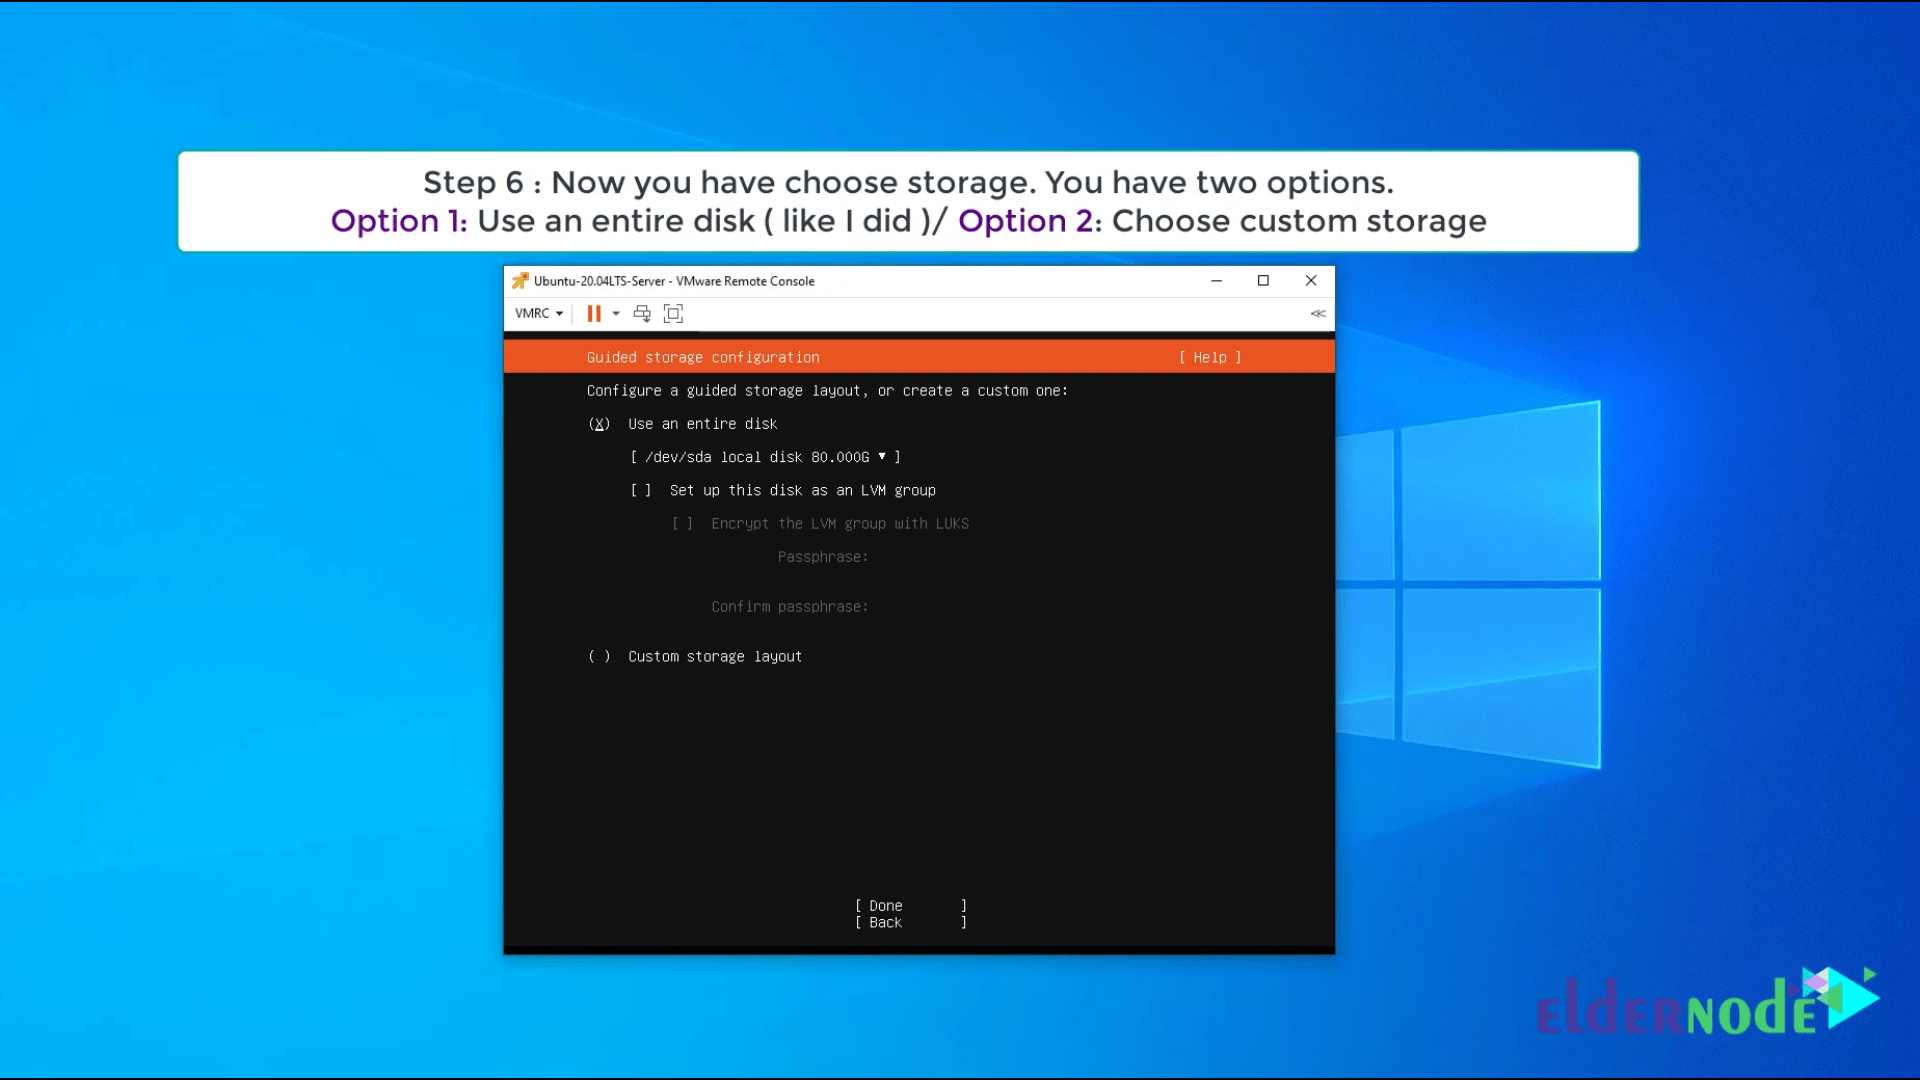
Guided storage layout on Ubuntu
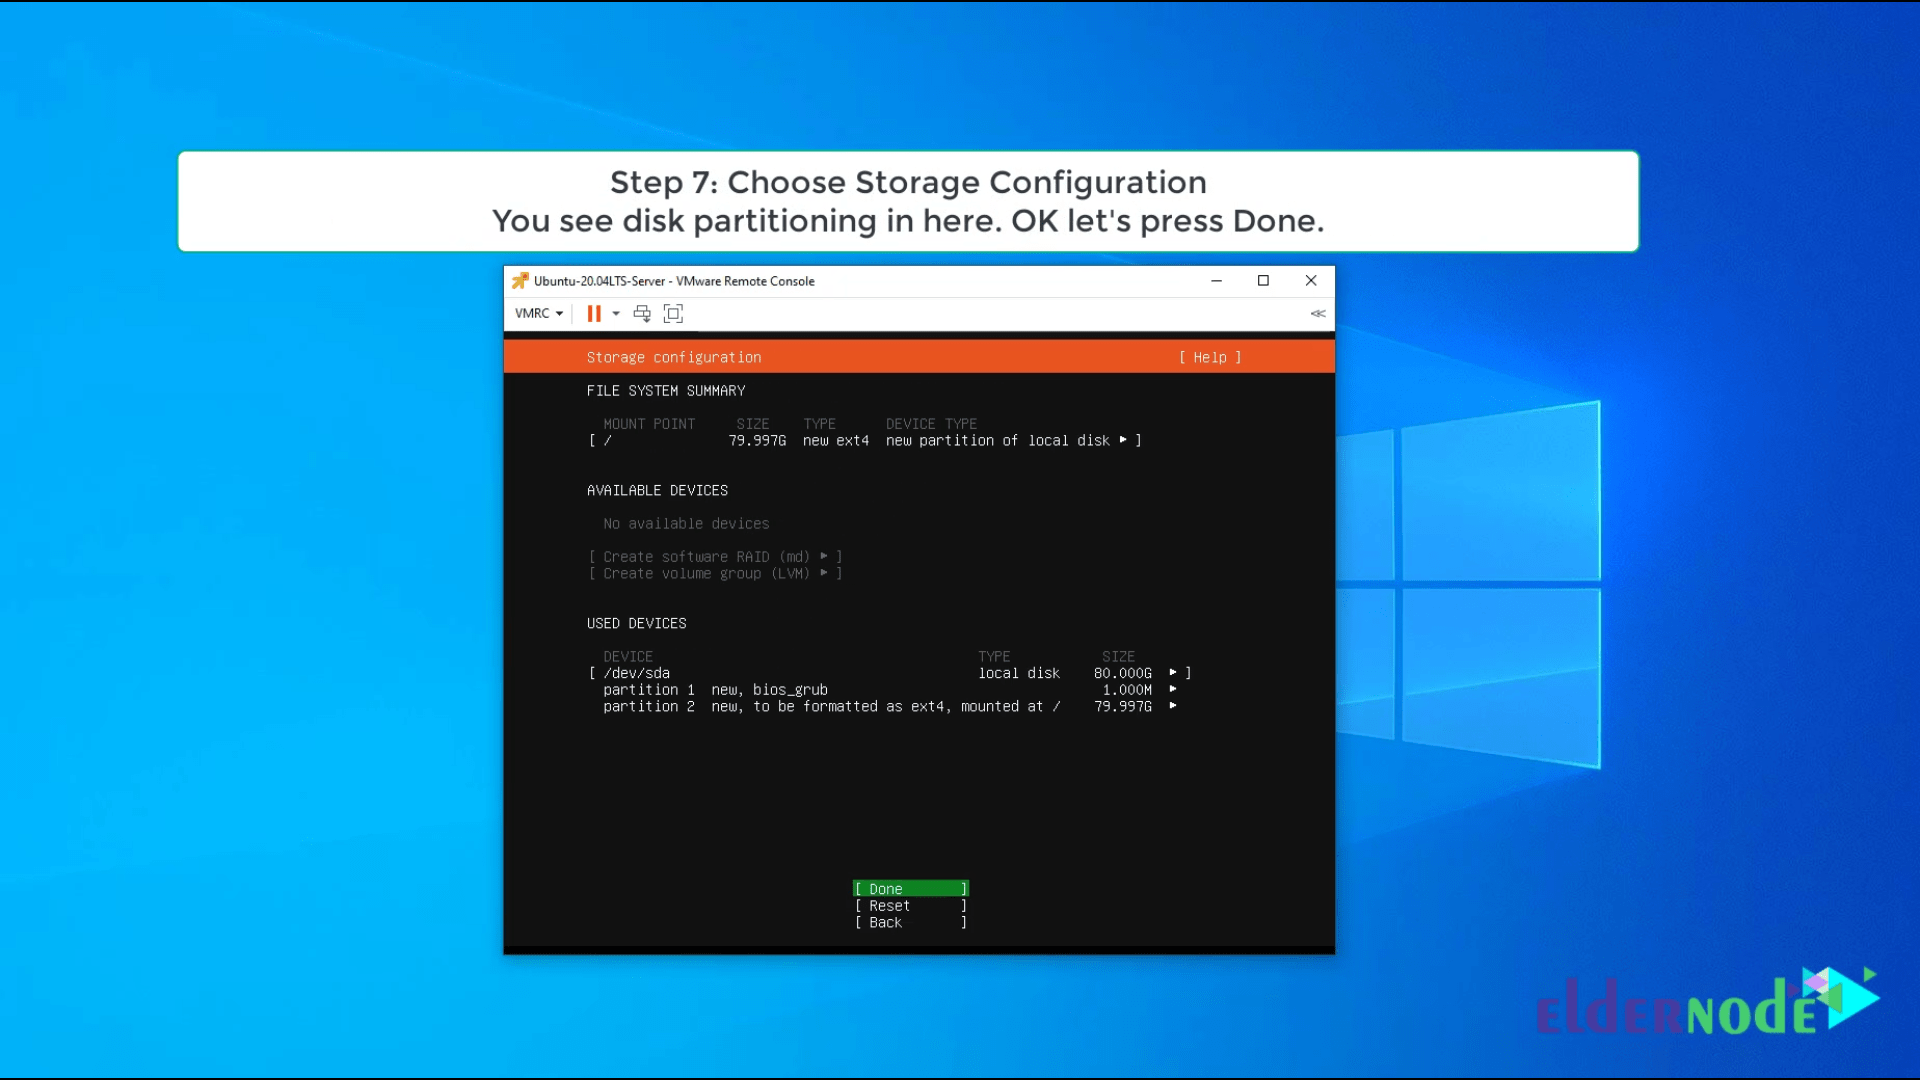
Step 6: In this step, you could select which guided the storage layout.
If you want ubuntu to create partition automatically on the entire disk you might be chosen the first option. Or if you want ubuntu install on a custom partition you need to choose the second option.
In this tutorial, we select “Use an entire disk”
Step 7: in this step, you see what’s happening in your disk and if you confirm that. So select Done to continue other steps.
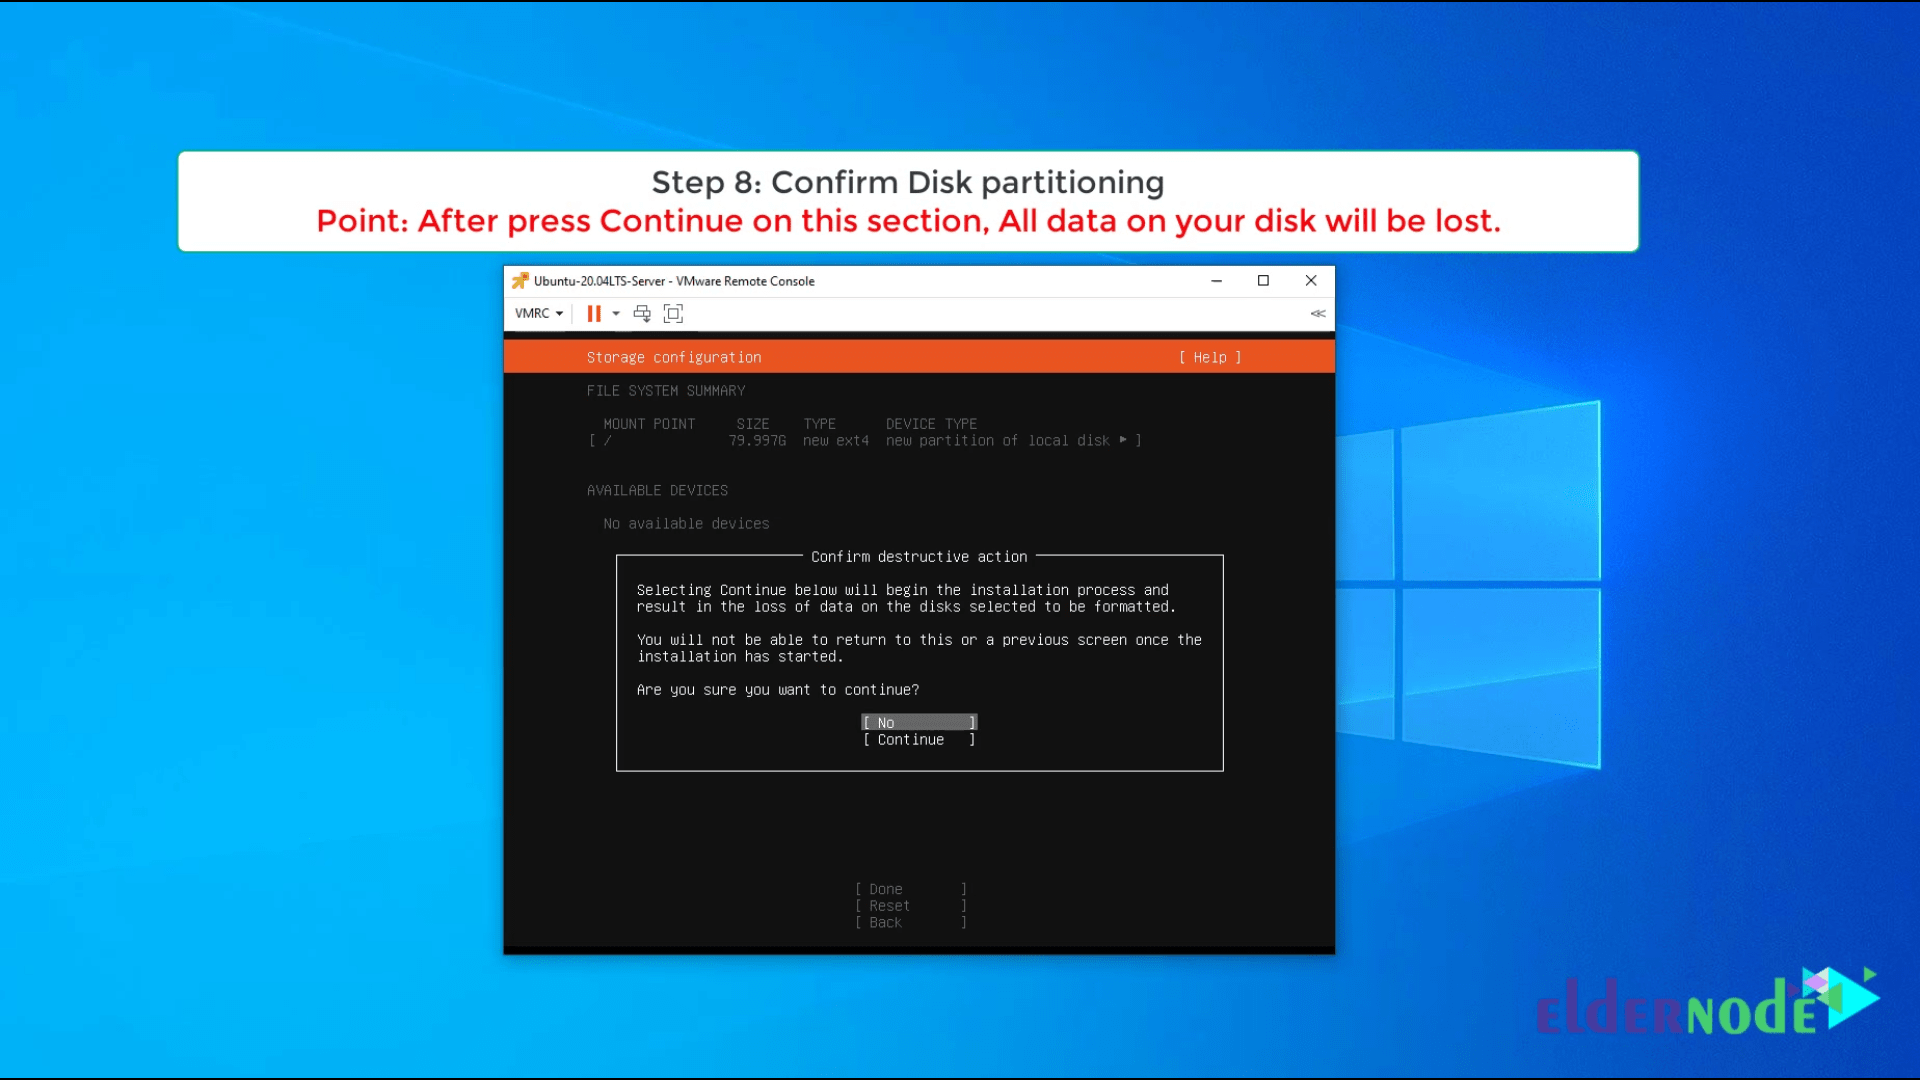
Step 8: once again, confirm about partitioning disk and select continue.
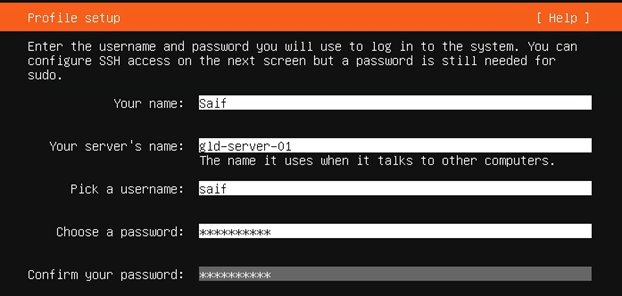
Set Name and username
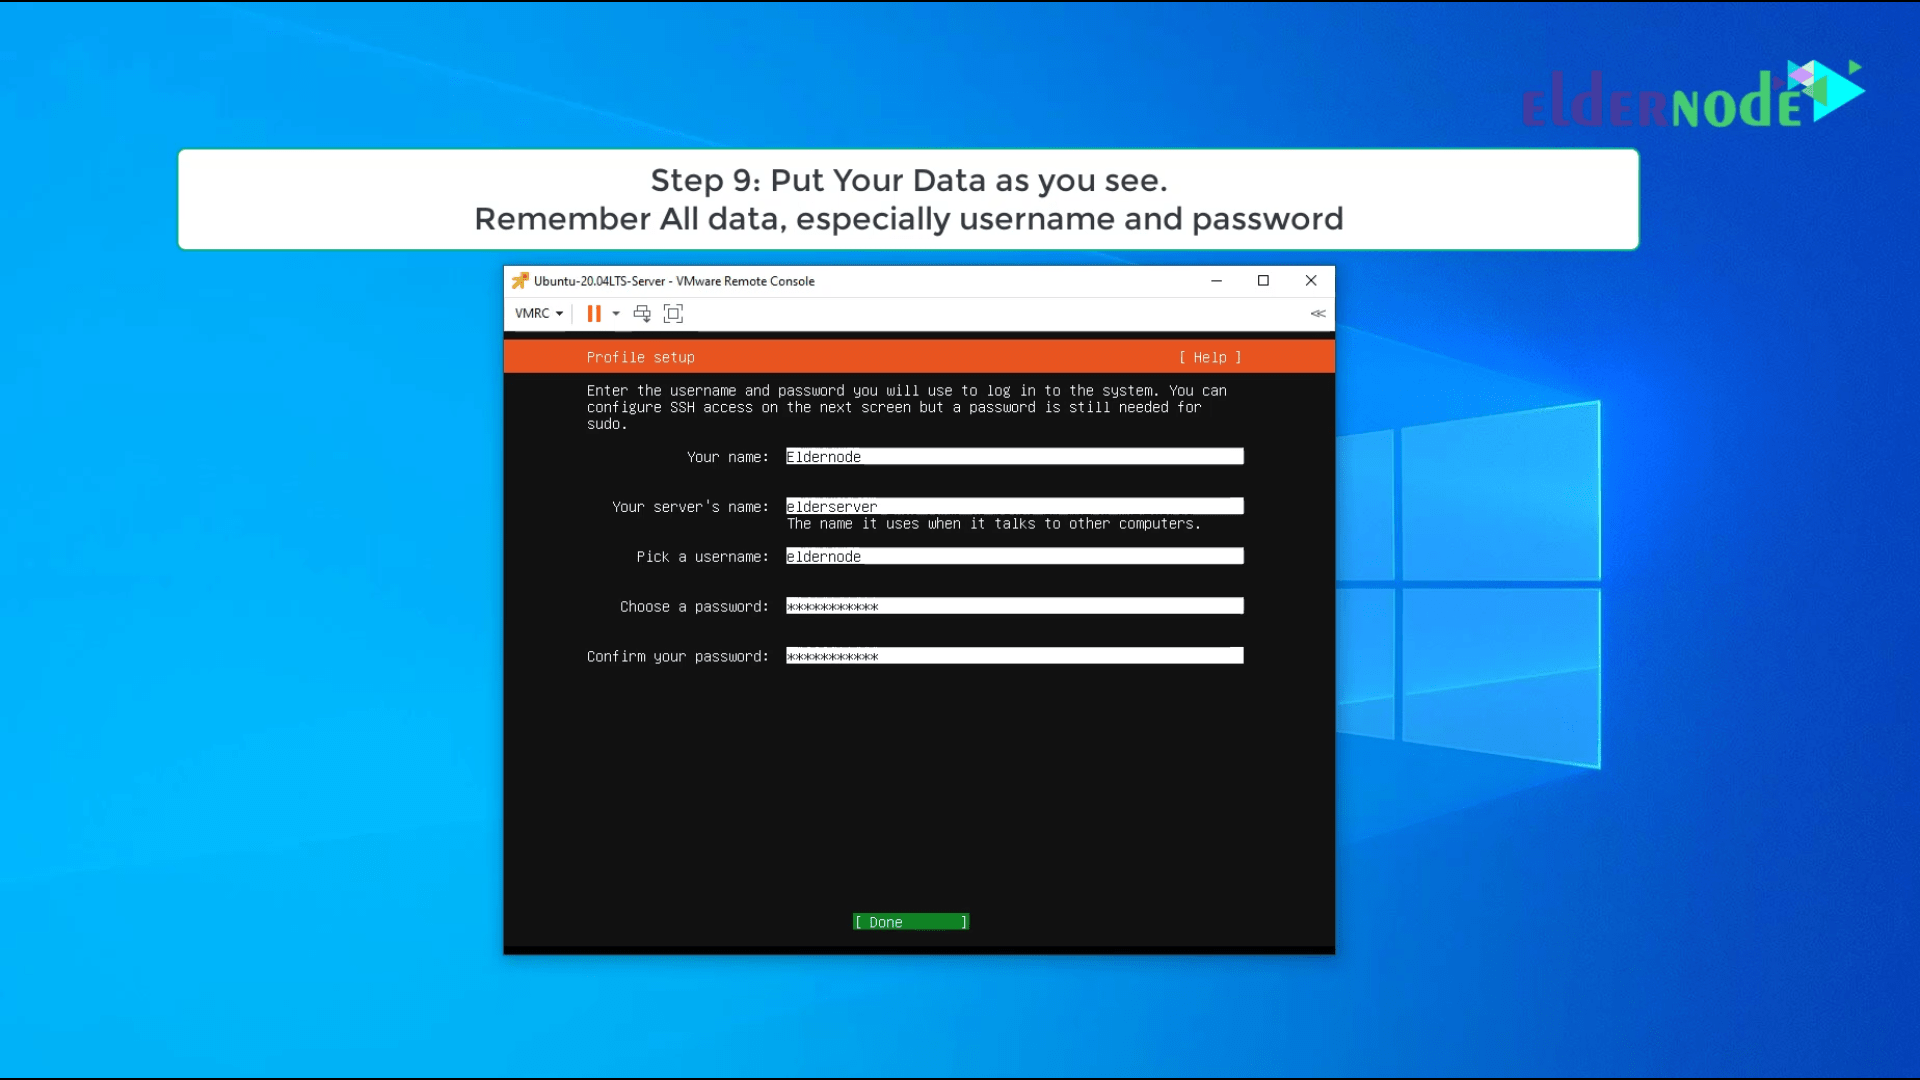
Step 9: Now you need to type your information.
Your Name: type your favorite name
Your Server’s name: type your favorite server name
Pick a username: type your favorite username. You use this username for login on ubuntu 20.04
Choose a password: Type your password for the user
Confirm your password: type your password again and select Done.
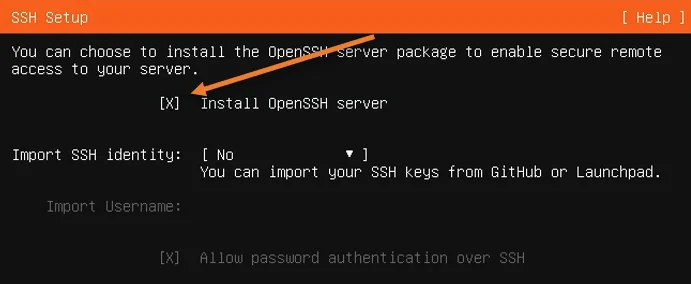
Install OpenSSH on ubuntu
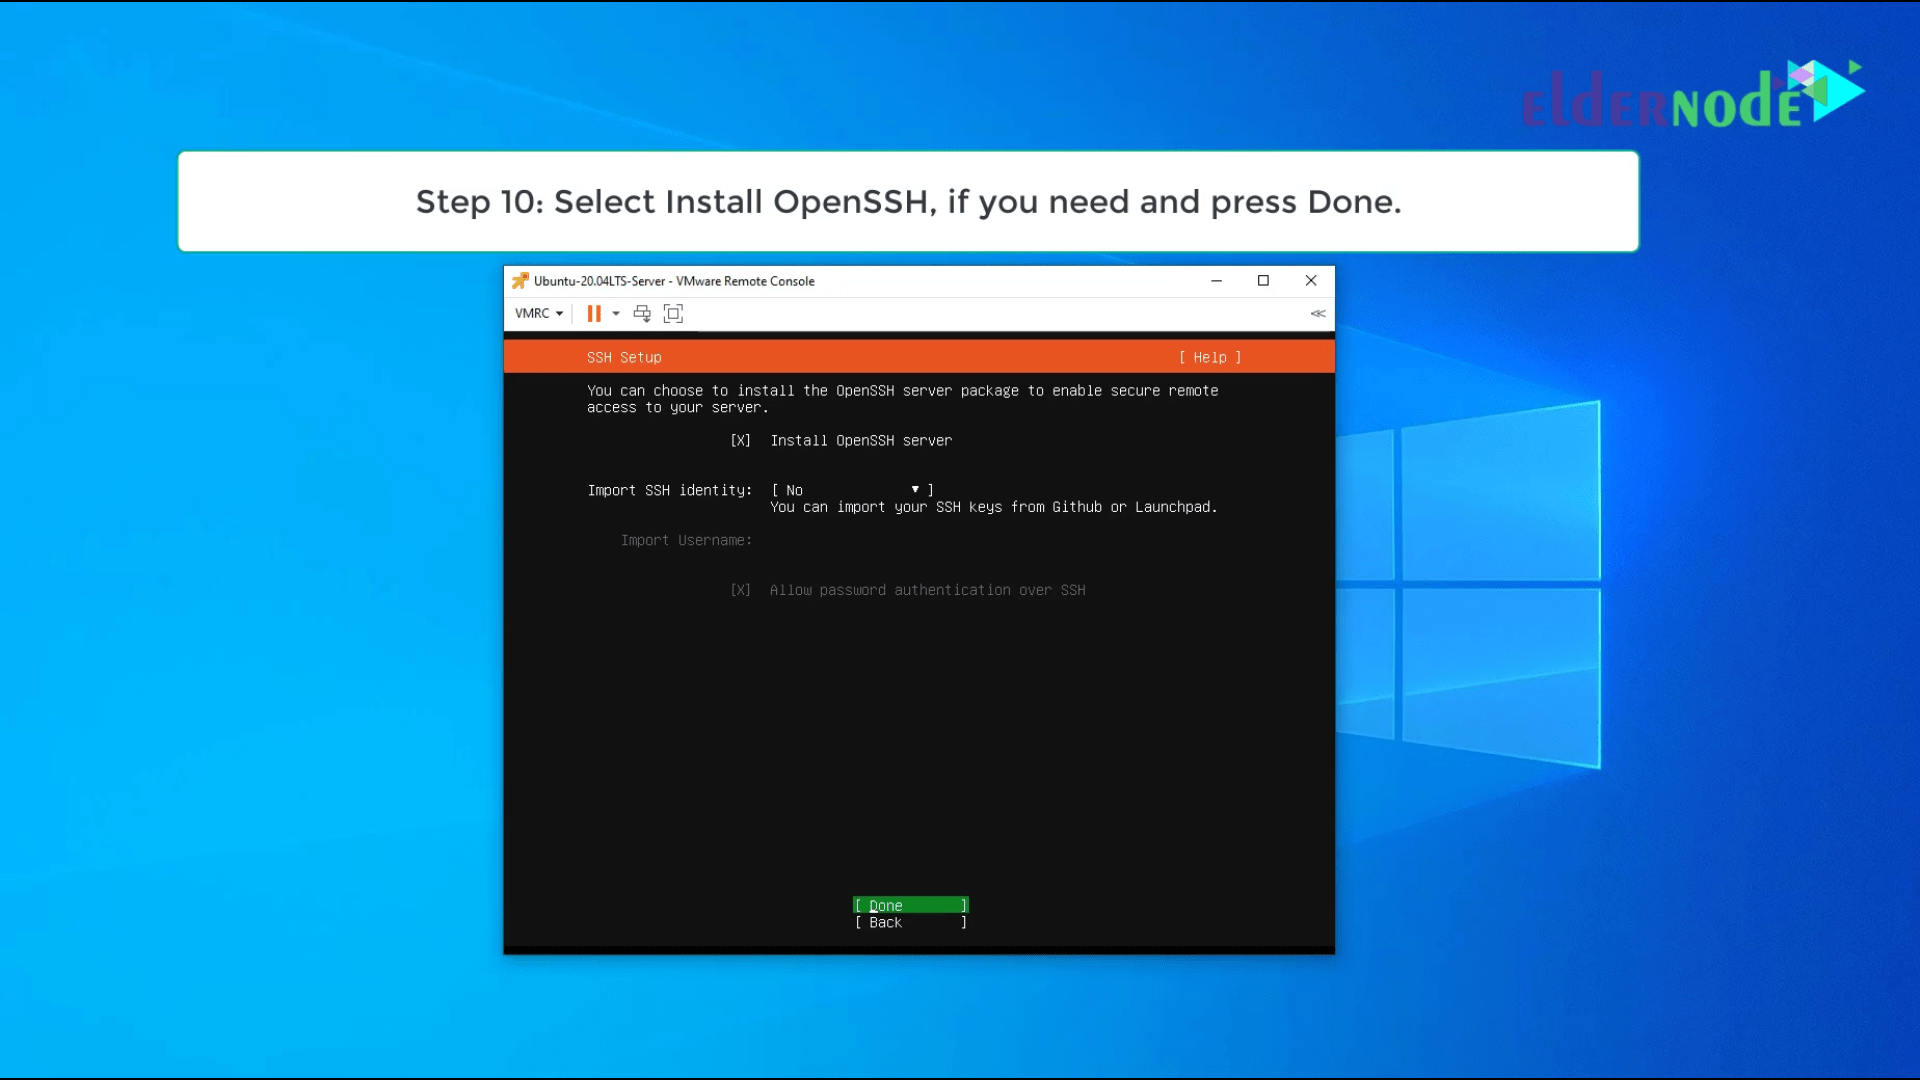
Step 10: If you want OpenSSH to install on your ubuntu, select option, and then select done.
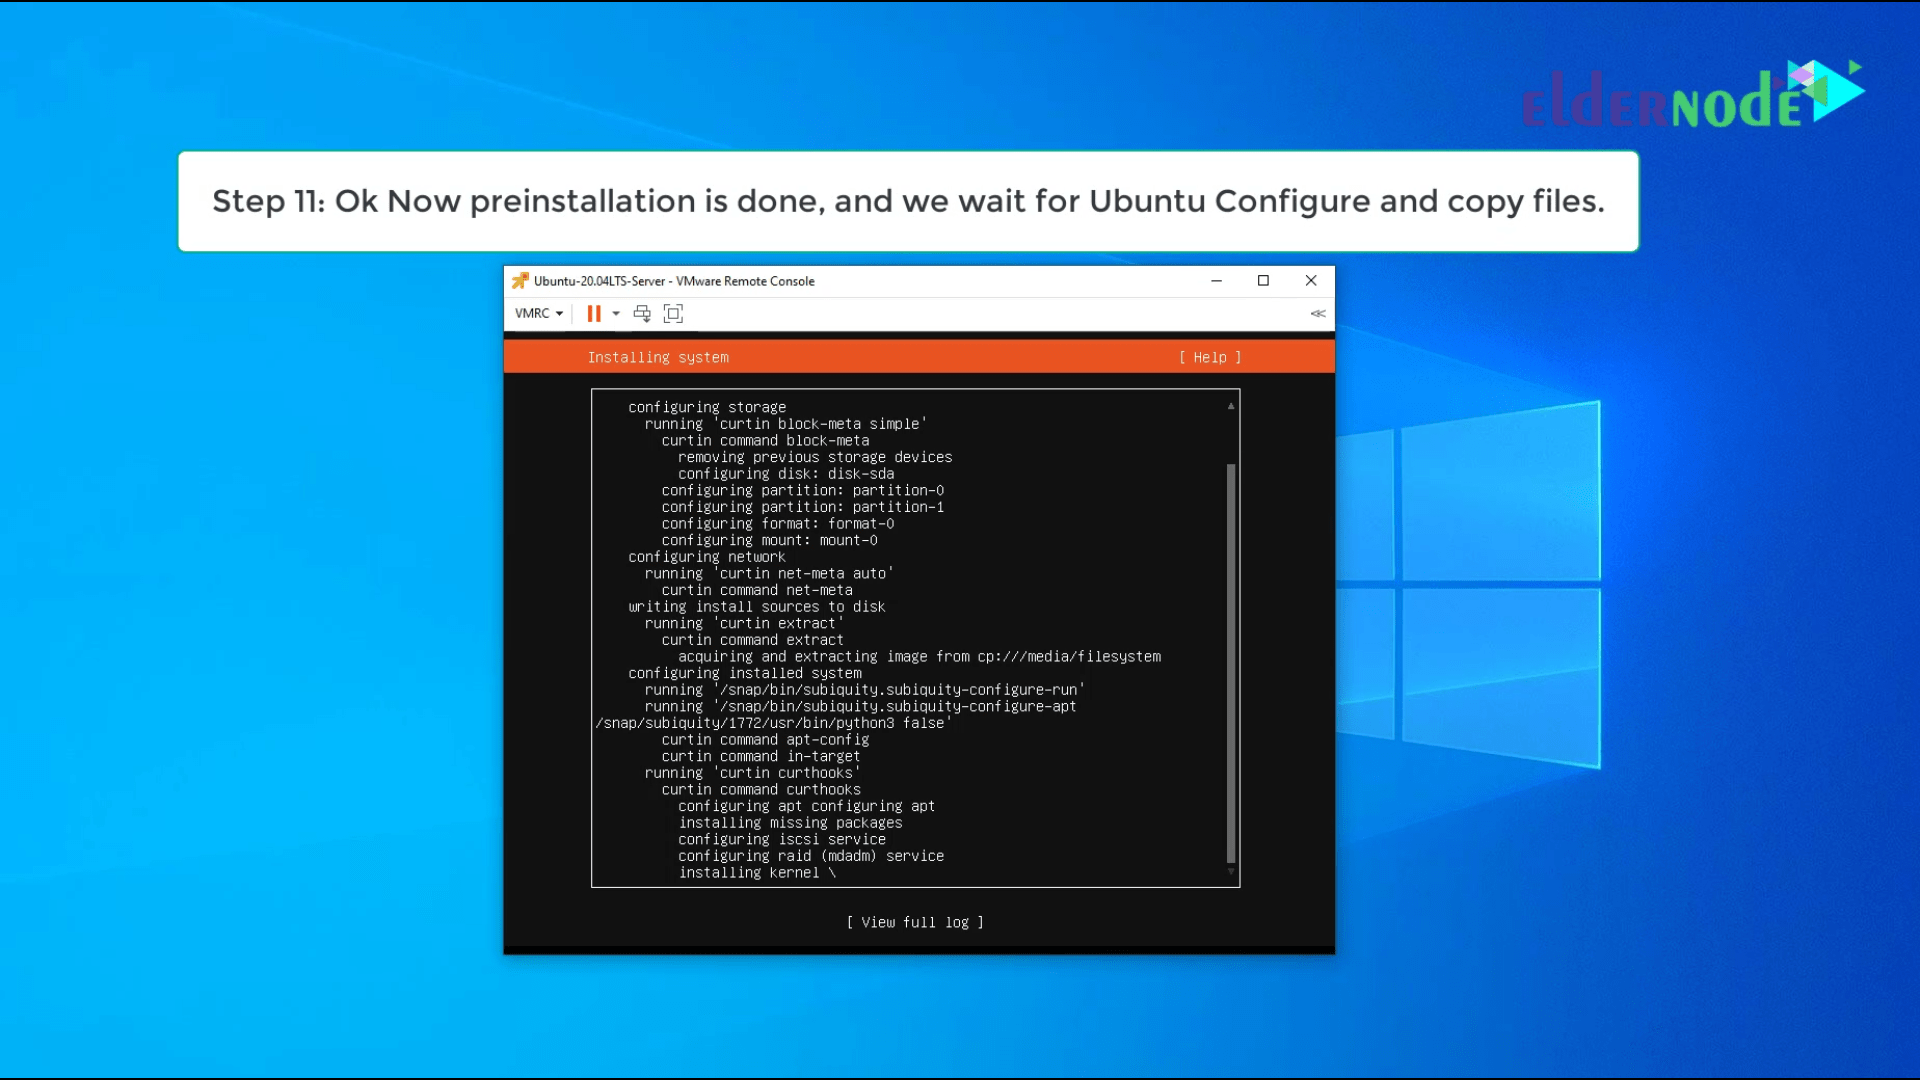
Step 11: OK, now we need to wait for copy ubuntu files and configuration.
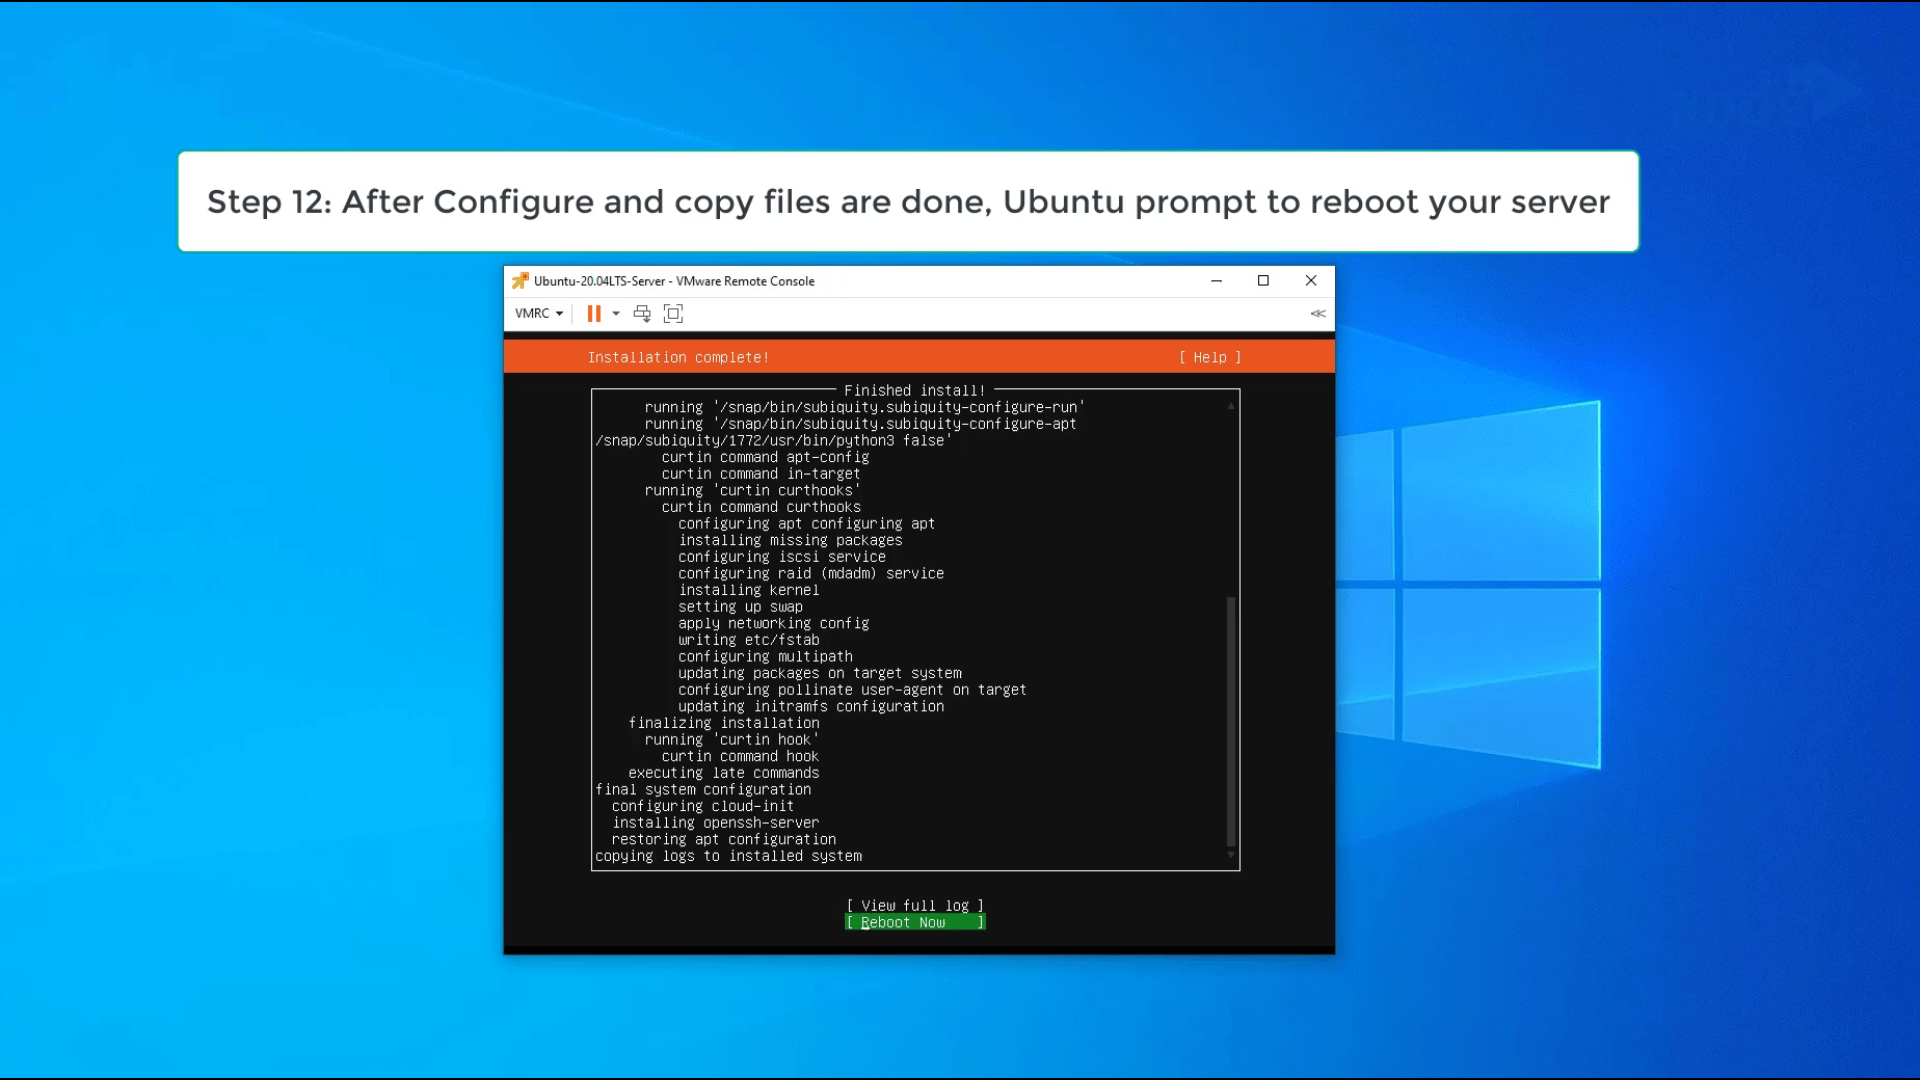
Step 12: After copy files and another configuration is done. Ubuntu prompt for a reboot. Select reboot.
Login to Ubuntu 20.04 Server
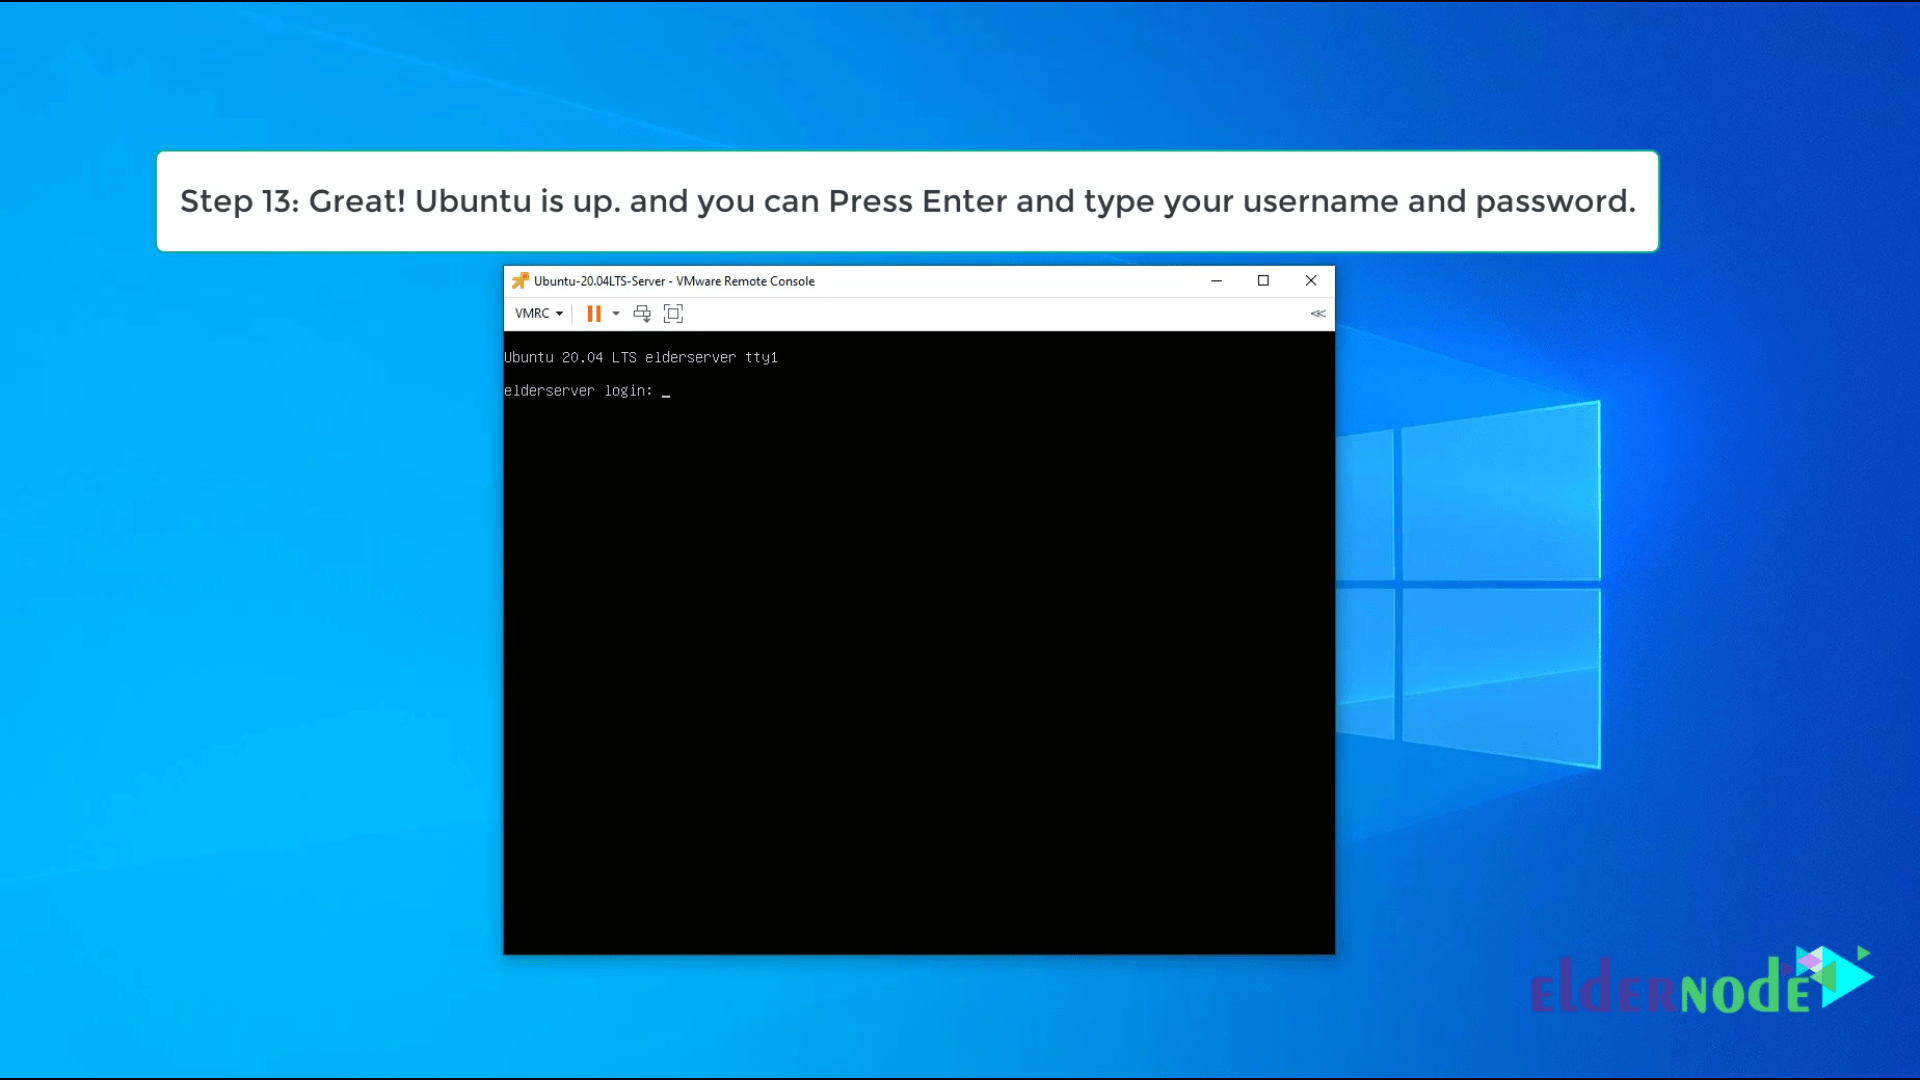
Step 13: After Ubuntu Up. You can type your username and password and using Ubuntu 20.04
For Checking Ubuntu version. You could type the following command.
Conclusion
In this tutorial, we try to install ubuntu 20.04 lts server on vmware with simple steps.
Installing ubuntu 20.04 LTS server – Video Tutorials
You can see this video for a better understanding.

Click on a star to rate it!
Average rating 0 / 5. Vote count: 0
No votes so far! Be the first to rate this post.
How to Install Ubuntu Server 20.04 on VMware ESXi?

Ubuntu server is the common Linux operating system found in most server infrastructures. Maybe you want to run a web server in your environment and allow access to end-users. You could also use it as an FTP server, mail server, and so on. When I started with KVM, I initially installed the Ubuntu server on the ESXi; with the help of Nested virtualization, I could spin up Virtual machines inside the Ubuntu KVM host Play around with it. Though the performance was not so great compared to the bare metal KVM, you can get the job done.
In my case, I was going to build a home lab in ESXi with a firewall and everything, and for a small webserver, I would want to install Ubuntu server 20.04 in ESXi.
We have covered plenty of blogs about how you can install Ubuntu server 20.04 on various hypervisors. In this blog, we will install Ubuntu Server 20.04 on ESXi. After the installation, we will ssh into the Ubuntu remotely and check the internet connectivity and the other virtual machine in the same network.
Below is my topology diagram;
I have a layer3 switch connected to the ESXi host, and that link is configured as a trunk carrying multiple VLANs. In my setup, the management VLAN is VLAN 100 to access ESXi web GUI or SSH, and the VM VLAN, VLAN 40, which provides network access to the virtual machine.
The management PC is connected to the same switch, and I can manage the ESXi GUI from the management PC. After the VM deployment, I can access the Ubuntu machine from the management PC as the inter-vlan communications are enabled.

Before you begin, you need to have;
- VMware ESXi installed on a host.
- Ubuntu server 20.04 downloaded – You can follow the article here to download the Ubuntu faster.
1. Setup the ESXi network.
We will use an ESXi host with a default network configuration for this lab. The only difference is the ESXi management traffic on a different VLAN- VLAN100 and the VM traffic will be on a separate VLAN – VLAN40. The link connected from the ESXi host to the switch is a trunk port, and it carries multiple VLANs as tagged.
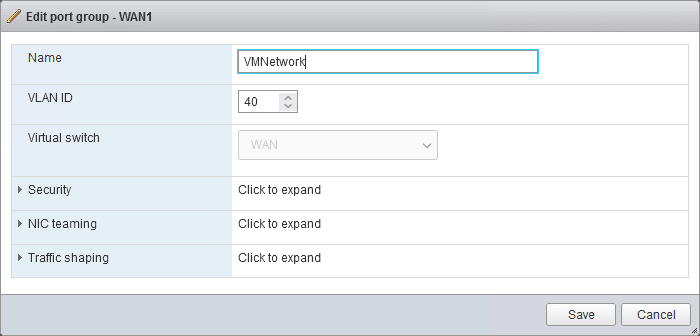
As you can see, in the vSwtich0, I have configured a port group called VMNetwork with VLAN 40 as tagged. I have also configured the VLAN interface on the switch and configured it with the IP address 10.0.40.1/24. We will configure the IP address from the same subnet for the VM’s.
2. Create the virtual machine.
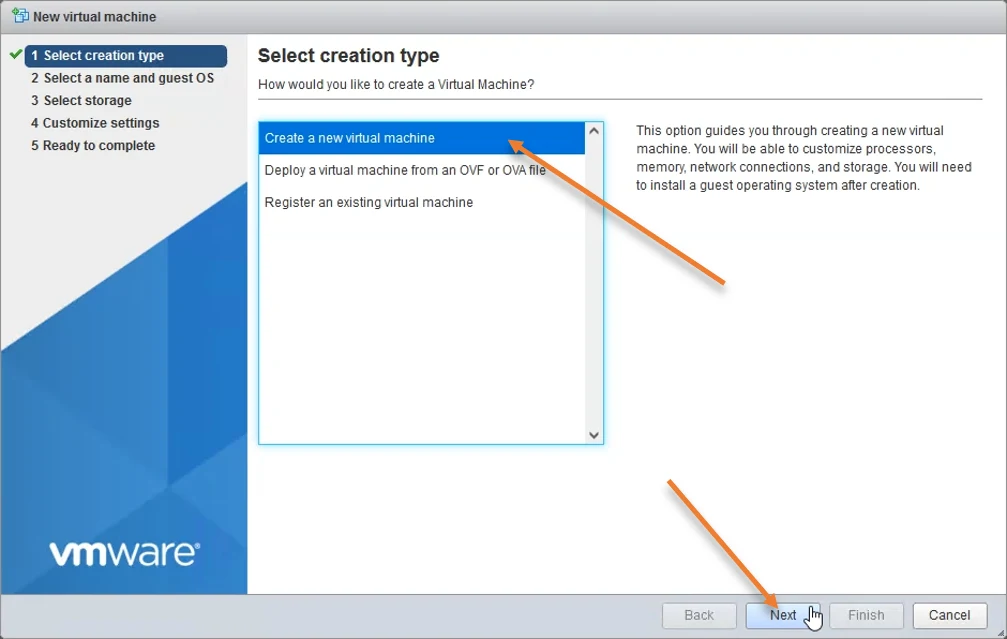
Log in to the ESXi host and click on Virtual machines-> Create/Register VM.
A new VM creation wizard will open up.
Choose to Create a new virtual machine and click on Next.
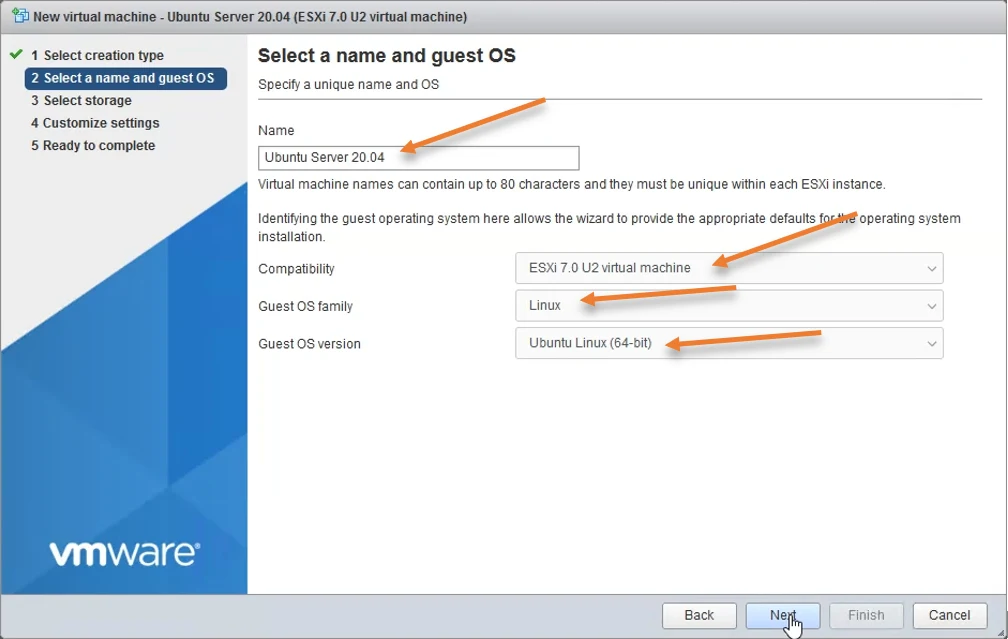
3. Select a name and guest OS.
You have to instruct the ESXi what type of virtual machine we will install.
- You may name the Virtual machine.
- Compatibility : Esxi 7.0 U2 Virtual machine- if you use an older version of ESXi, you have to choose that one instead.
- Guest OS family: Linux
- Guest OS version: Ubuntu Linux (64-bit)
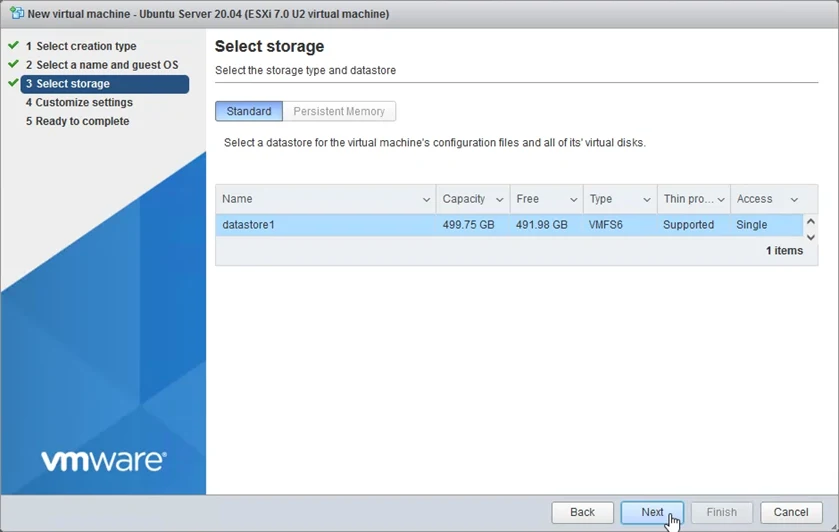
4. Select storage.
Under storage, choose the datastore and click on Next. That’s where you save all the files.
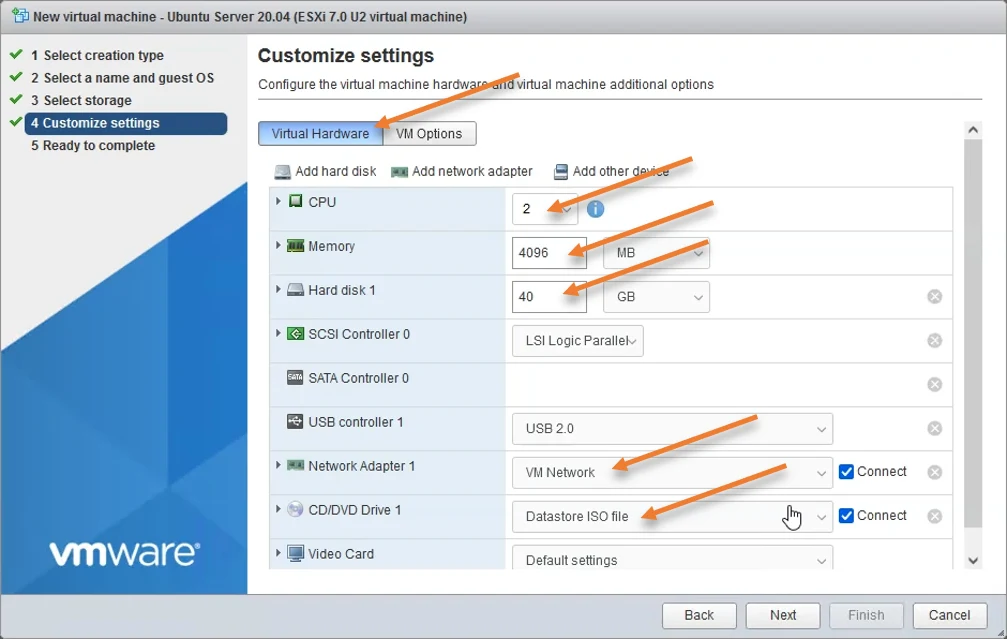
5. Configure the Ubuntu virtual machine resources.
The next is to configure the Ubuntu virtual machine resources, such as memory, CPU, and virtual HDD.
In the virtual hardware screen, you may configure it as below.
CPU: 2
Memory: 4096
Hard Disk1: 40 GB
Network Adapter 1 : VMnetwork – The port group we defined with the VLAN 40.
CD/DVD Drive1 : I have already uploaded the Ubuntu ISO file to my datastore hence I can choose the Datastore ISO file and point the ISO file from the datastore.
You will get a summary of the virtual machine, verify everything looks good, and click on Finish.
6. Proceed with the Ubuntu server 20.04 installation on Esxi.
Go back to the virtual machine, you will see Ubuntu server 20.04 added in there, double click on it, after a few seconds, it will power on the VM, and the installation will begin.
- Choose the language of your choice and hit enter.
- Chose the keyboard configuration of your choice and select done.
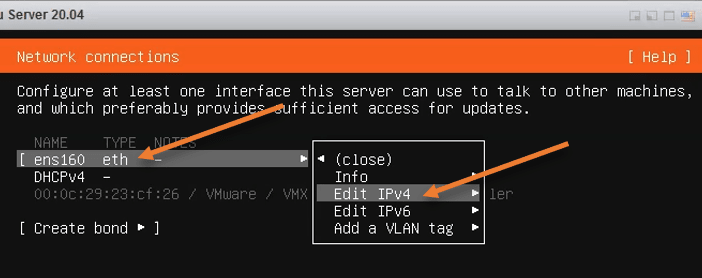
- Configure IPv4 address.
We will configure the IP address statically on the virtual machine, selecting the ethernet interface using the arrow key and choosing Edit IPv4.
You also can continue without a network and configure the network later. This will speed up the installation speed as the Ubuntu server won’t talk to the internet to download its update during the installation. Later you can follow the guide here to set up the IP address using netplan here.
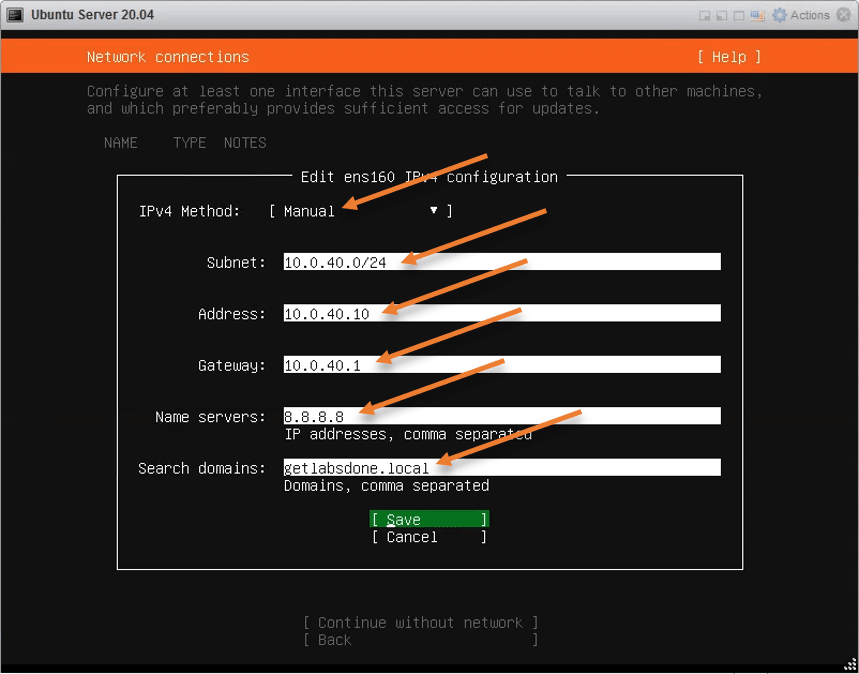
In the IPv4 configuration. By default, it is configured with DHCP, you will have to change it to manual.
Subnet: 10.0.40.0/24 – define the vlan 40 subnet address.
Address: 10.0.40.10 – This is the address we will use for the Ubuntu host.
Gateway : 10.0.40.1 – The IP address from the VLAN 40 SVI from the layer 3 switch.
Name server: If you have a local DNS server, you may enter them here separately.
Since I don’t have a DNS server in this network, I am configuring the google Public DNS server 8.8.8.8.
Search domain: use your local domain name.
After the selection, click on save and done. As soon as you made the changes, you can now ping from your switch to the ubuntu host.
- Configure Proxy.
If you use the proxy to get to the internet, you may enter the proxy address here. I am not using any proxy; hence I can leave this field blank.
If you would like to use a different mirror for Ubuntu, you can change it here, I am okay with the default configuration here.
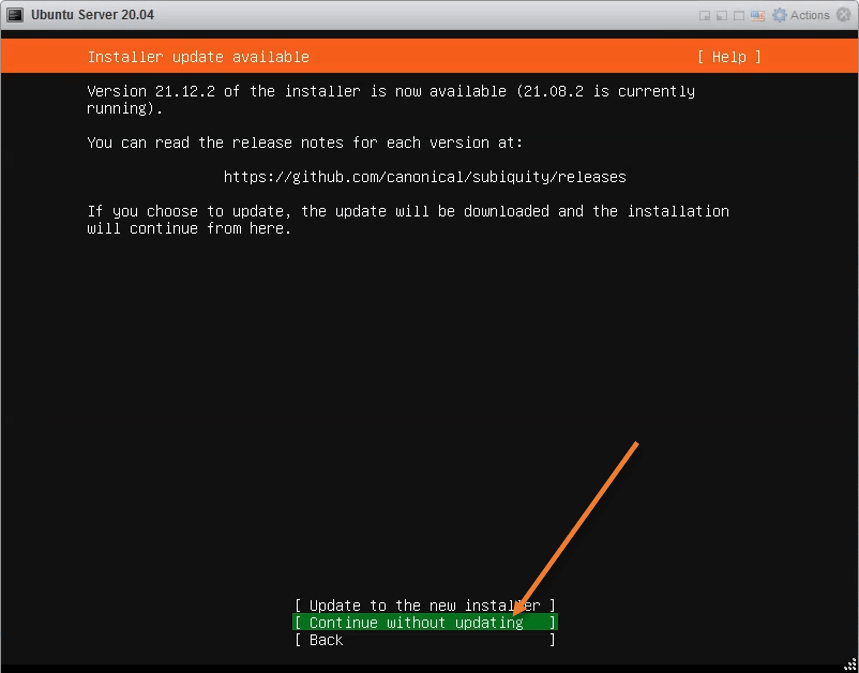
You will see a new installer update available, I will not update hence choosing Continue without updating.
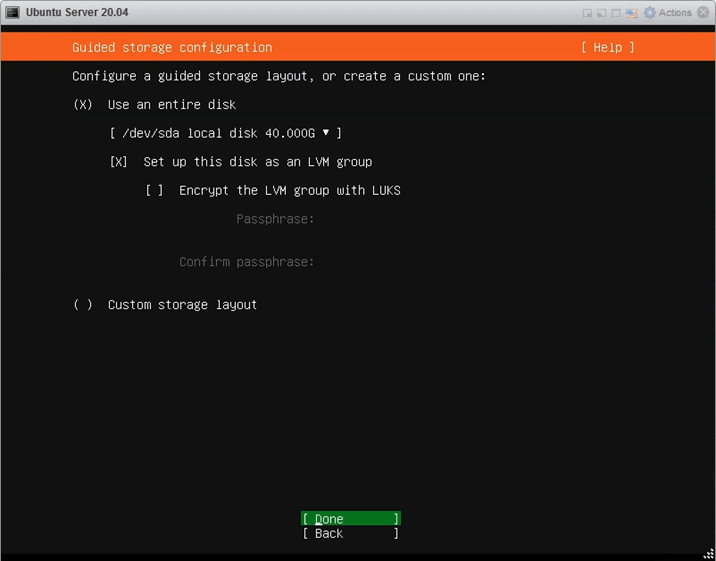
- Configure the storage.
You will get the option to make changes to the storage. I am not making any changes here and leaving the default value and choose Done.
If you would like to reconfigure the 40GB virtual storage that we defined from the ESXi, you can do that here.
You will get a summary of how the storage is configured on the Ubuntu server. If you are okay with everything, you may choose done to proceed.
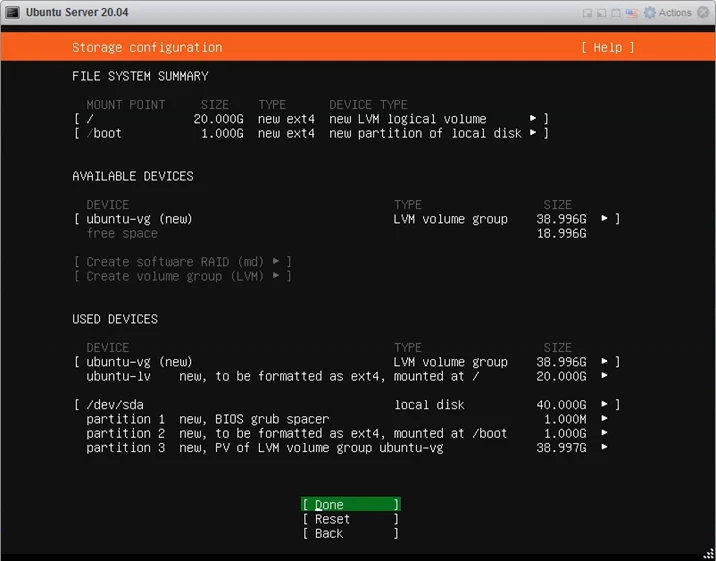
You will get a warning for the disk format, and we know that there is nothing in the virtual hard disk; hence choose to continue.

- Profile setup.
You have to set up an account on this server. Enter your name, Server name, username, and password.
After the credentials are set up select done.
- Configure OpenSSH server.
After the installation, you won’t return to the ESXi console to log in to the Ubuntu server anymore. You most likely would use an SSH protocol to connect to the server and make changes.
Check the option Install OpenSSH server using the space bar in the SSH setup.
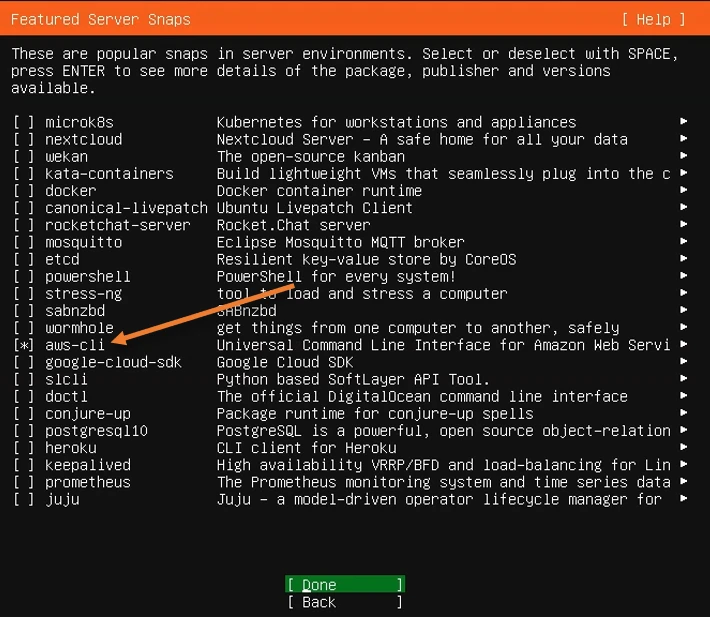
- Choose required snaps.
You have an option to choose different packages at the beginning of the virtual machine.
Since I would be using this virtual machine to access my AWS environment, I choose only the aws-cli snap and select done.
So based on your requirement, you may select the snaps.
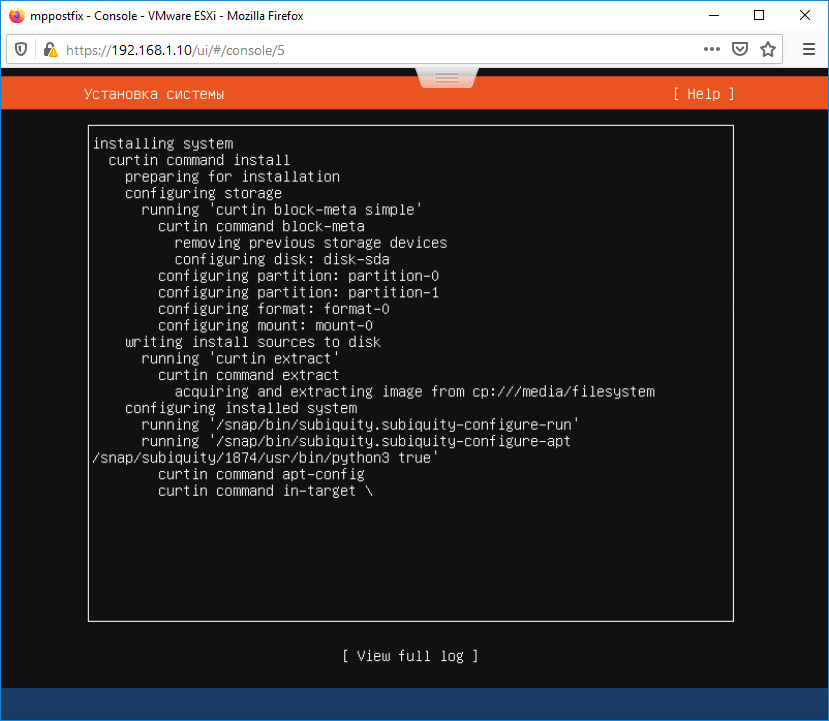
The installation will now begin.
After the installation is complete, you will see downloading and installing security updates below. This will take some time, so you can either cancel the update and reboot or wait for the update to finish.
As I will be installing the update later on, I have chosen cancel update and reboot.
After a few minutes, Ubuntu installation canceled the update and rebooted the machine.
7. SSH into the Ubuntu server.
After the VM back online, I can now log in to the Ubuntu virtual machine from my management PC using the SSH protocol we defined earlier.