- Yum, шпаргалка
- Оглавление
- Опции Yum
- Cледующие команды доступны после установки пакета yum-utils
- Конфигурационные файлы Yum и их расположение
- Некоторые опции yum.conf:
- Некоторые полезные плагины
- Работа Yum через прокси сервер
- The yum command in Linux – A Complete Reference
- yum command Basic Usage
- Managing packages using the yum command
- 1. Search and Install packages
- 2. List information about a package
- 3. List all installed packages using yum
- 4. Remove a package
- 5. Upgrade a package using the yum command
- 6. Search and Install package groups
- 7. List available or enabled repositories
- 8. List dependencies of a package
- 9. View history of installation/removal of packages
- Conclusion
Yum, шпаргалка
Шпаргалка по работе с пакетным менеджером Yum (Yellowdog Updater, Modified), который используется в популярных Linux дистрибутивах: RedHat, CentOS, Scientific Linux (и других). В целях экономии места вывод команд не представлен.
Оглавление
#yum updateinfo list security#yum groupinfo "Basic Web Server"#yum groupinstall "Basic Web Server"#yum groupremove "Basic Web Server"#yum repo-pkgs reponame install#yum repo-pkgs reponame removeпроверить локальную базу rpm (поддерживаются параметры dependencies, duplicates, obsoletes, provides)
установить из локальной директории (поиск/установка зависимостей будут произведены из подключенных репозиториев)
#yum localinstall httpd.rpm#yum localinstall http://server/repo/httpd.rpmОпции Yum
--disableplugin=fastestmirror#yum update -y --enablerepo=epel#yum update -y --disablerepo=epelскачать пакеты, но не устанавливать
(на Centos 7 x86_64 будут скачаны в ‘/var/cache/yum/x86_64/7/base/packages/’)
#yum install httpd --downloadonlyCледующие команды доступны после установки пакета yum-utils
#repoquery --requires --resolve httpd#reposync -p repo1 --repoid=updatesзапрос к локальной базе yum, отображение информации о пакете
(использованная команда, контрольная сумма, URL с которого был установлен и другое)
скачать src.rpm пакет из репозитория
(должен быть подключен соответствующий репозиторий, например в ‘/etc/yum.repos.d/CentOS-Sources.repo’ в CentOS)
Конфигурационные файлы Yum и их расположение
Некоторые опции yum.conf:
cachedir=/var/cache/yum/$basearch/$releaseverОпределяет должен или нет Yum хранить кэш заголовков и пакетов после успешной установки. Значения: 0 или 1. (по умолчанию 1)
Некоторые полезные плагины
Работа Yum через прокси сервер
proxy_proxy_username=user proxy_password=pass#export http_proxy="http://server:3128"The yum command in Linux – A Complete Reference
YUM command (Yellowdog Updater Modified) is the traditional package manager for RedHat based systems. It is present in almost every RedHat based distro but isn’t the default in many of them now. It has been replaced by the newer DNF command. We have a separate article on DNF.
yum command Basic Usage
The general syntax of YUM command is
Available commands include install, search, query , etc. args can be a package name, a group name, or subcommand(s) specific to the ‘command’.
Note: To install and remove packages, you need to have sudo privileges. Since I am already root( which is not a great idea but works for the purpose of demonstration), I won’t be prepending any command with sudo. But keep in your mind that you must prepend sudo while installing and removing packages.
Note: On modern systems(CentOS 8 specifically) /usr/bin/yum is just a symlink to dnf . So, running yum eventually runs dnf .
This doesn’t cause a problem as dnf has almost the same syntax as yum .
Managing packages using the yum command
Let’s now see how we can use the yum command to install/remove/query packages on our RedHat based system.
1. Search and Install packages
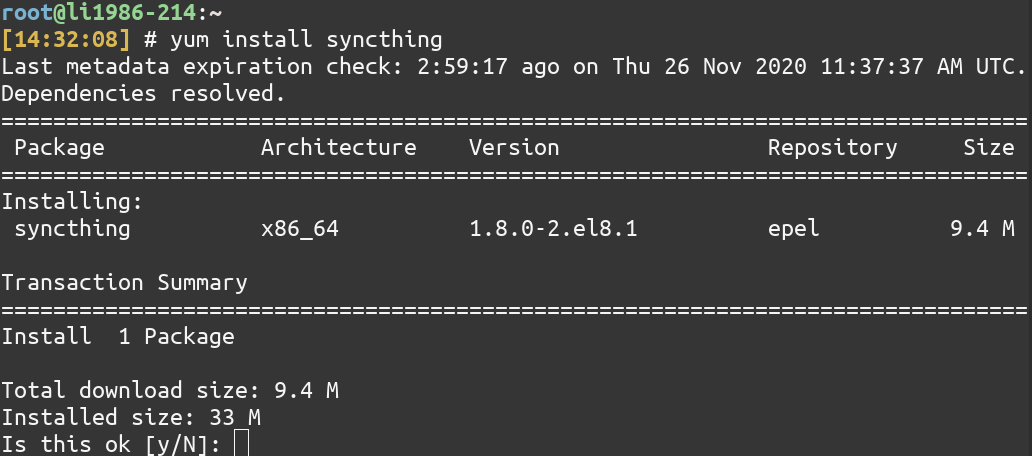
Let’s install Syncthing – the file-syncing application using the yum command. But you may not know the exact name of the package. It’s better to search for the package first. You can use the search command of YUM for searching packages.
In our case, the name of the package is also syncthing . Once you know the exact package name, you can use the install command of YUM for installing that package.
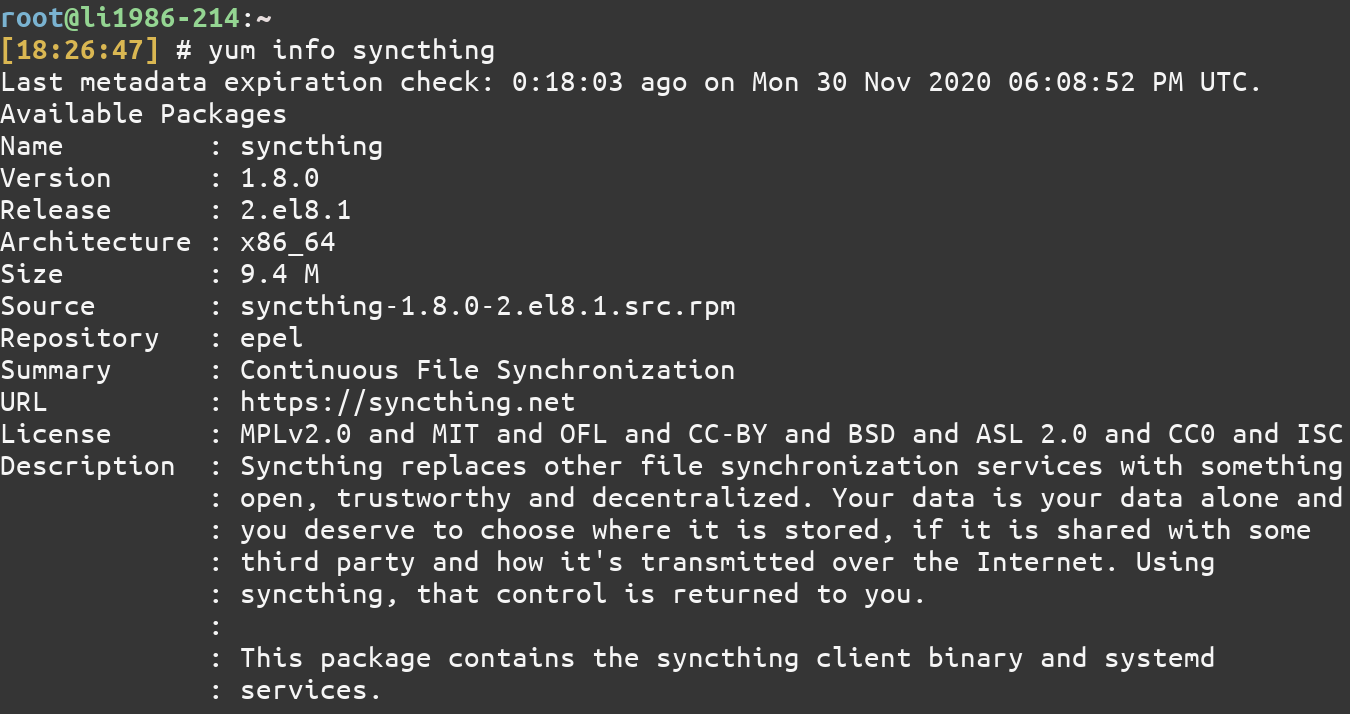
2. List information about a package
To list more information about a package, use the info command of YUM.
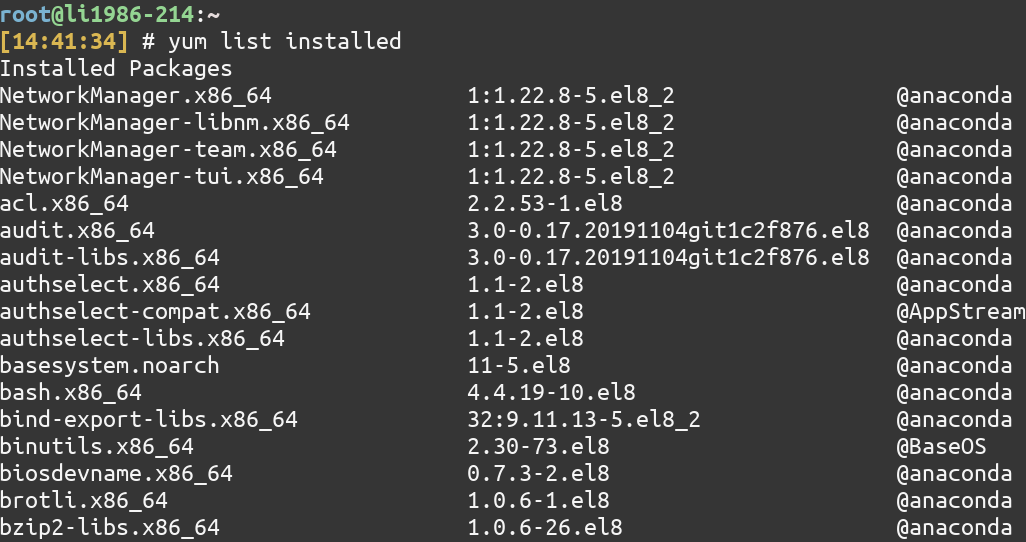
3. List all installed packages using yum
To see the list of installed packages, you can use the list installed command of YUM.
Combined with the grep command, you can search whether a particular package is installed or not as follows
yum list installed | grep vim
If it didn’t produce any output, it means that the package is not installed. In that case.
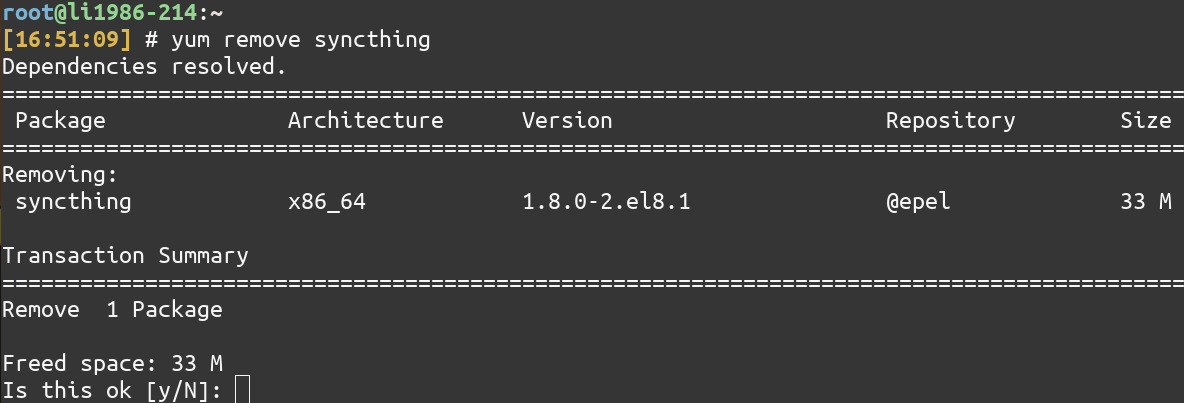
4. Remove a package
To remove a package, use the remove command of YUM.
To remove all unneeded packages that were originally installed as dependencies, use the autoremove command
5. Upgrade a package using the yum command
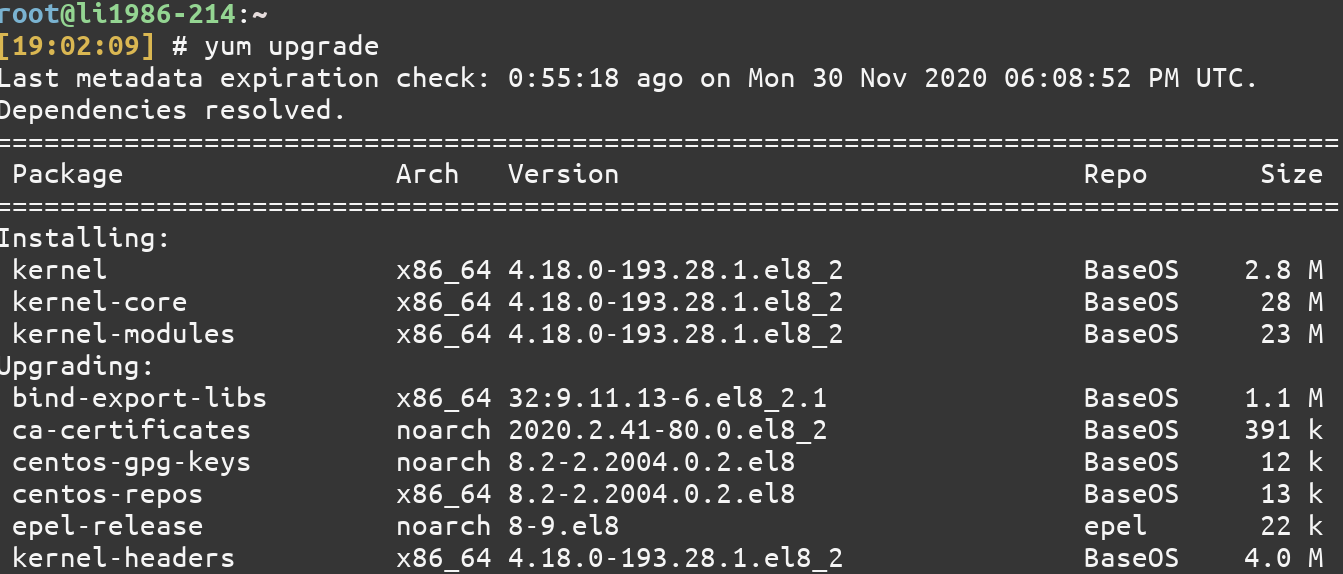
To upgrade all the packages that can be upgraded, use the upgrade command
To upgrade a specific package, just add the name of the package, for example:
6. Search and Install package groups
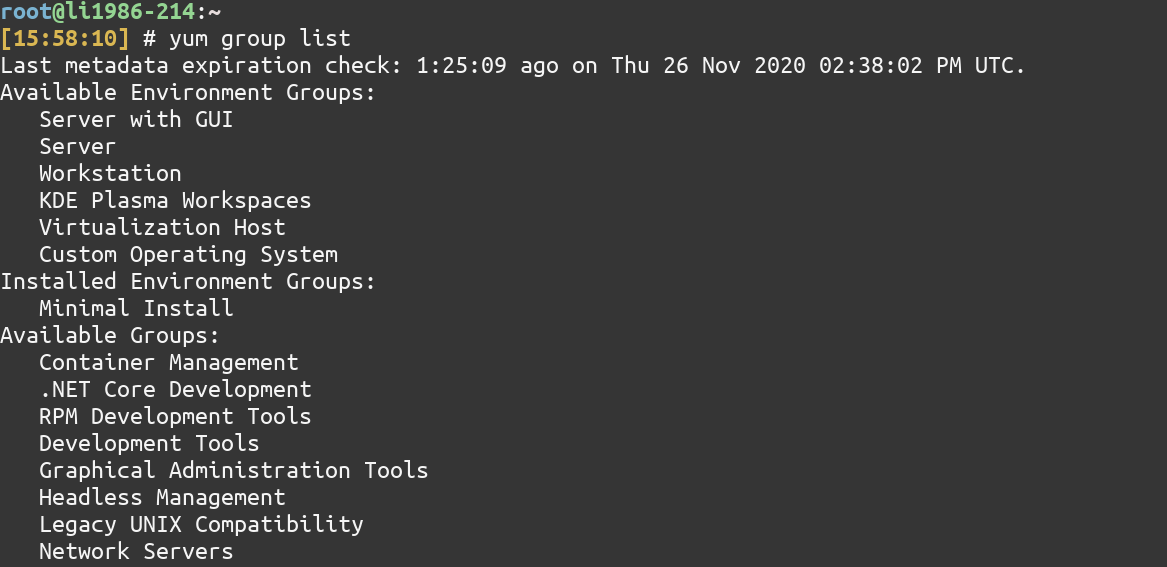
Package groups are just multiple packages under a single name. These packages groups can be a whole server GUI, Security Tools, Administration Tools, etc. To see the list of groups, you can use the group list command of YUM.
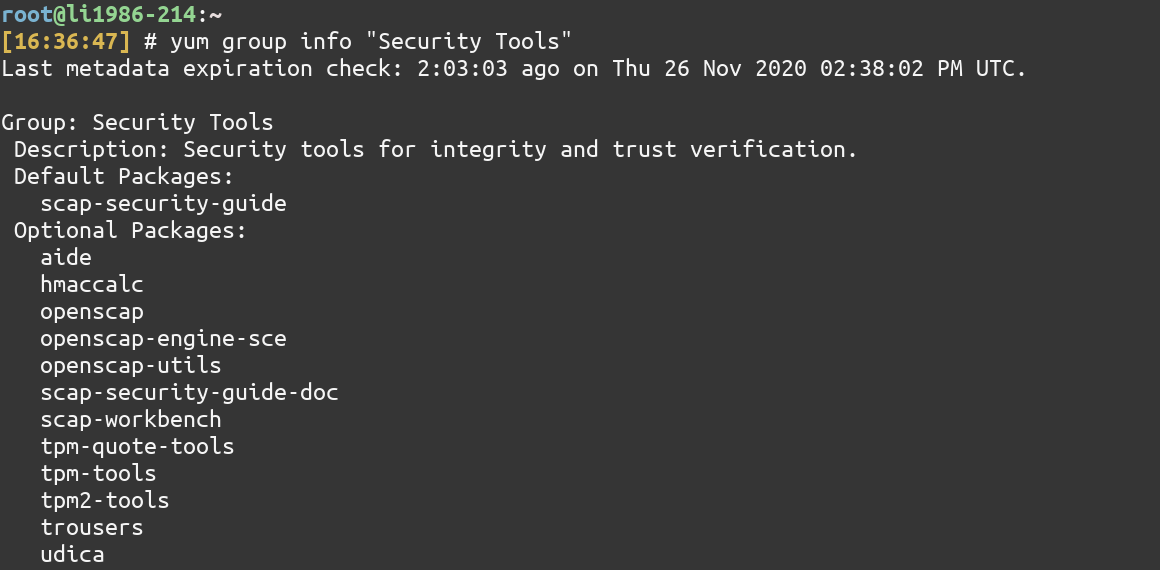
To know which packages are there in a group package, just use the group info command and give the name of the package. For “Security Tools” package, type
yum group info "Security Tools"
Note: You need to enclose the Group Package Name which has multiple words in quotes(” “).
Even if the Group package name is a single word, it is recommended that you use quotes.
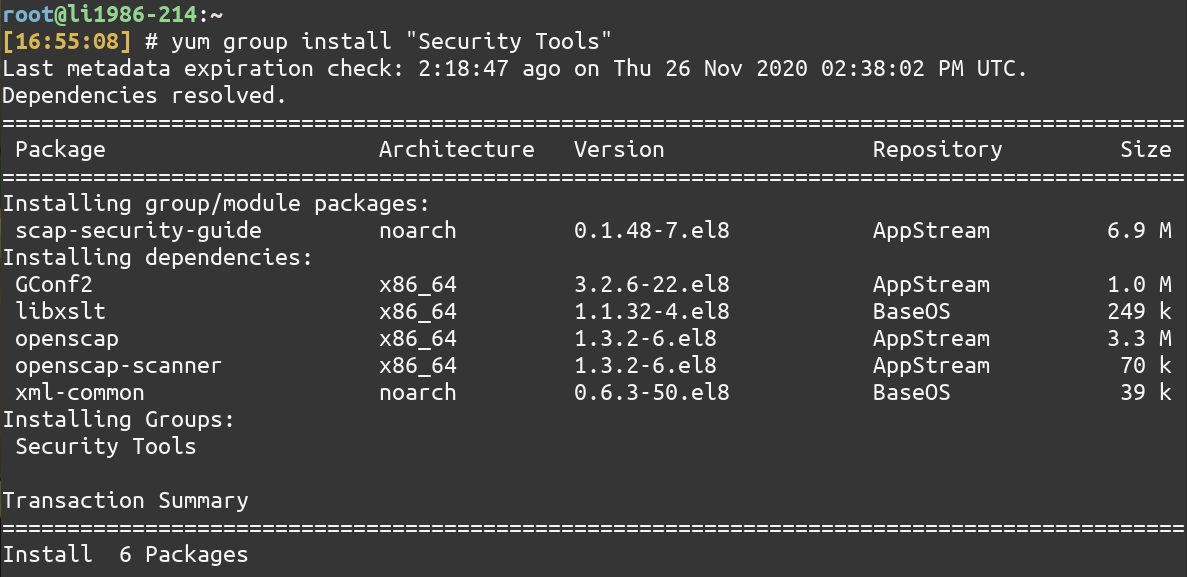
Let’s install the Security Tools Group package using the group install command.
yum group install "Security Tools"
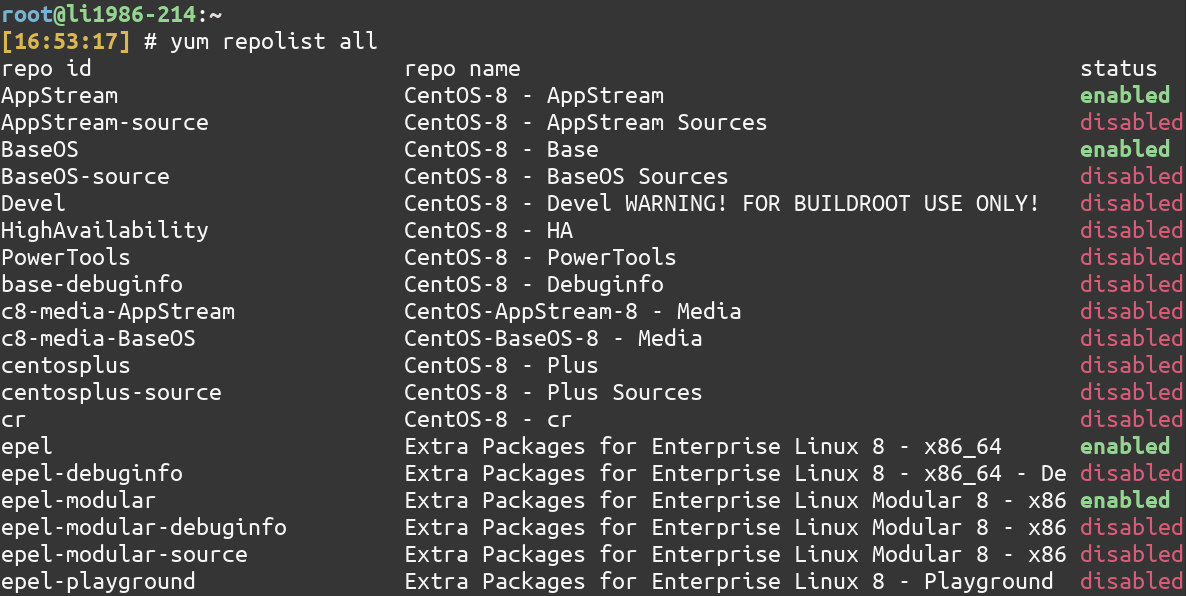
7. List available or enabled repositories
To list all the available repositories, type
To list all the enabled repositories, type
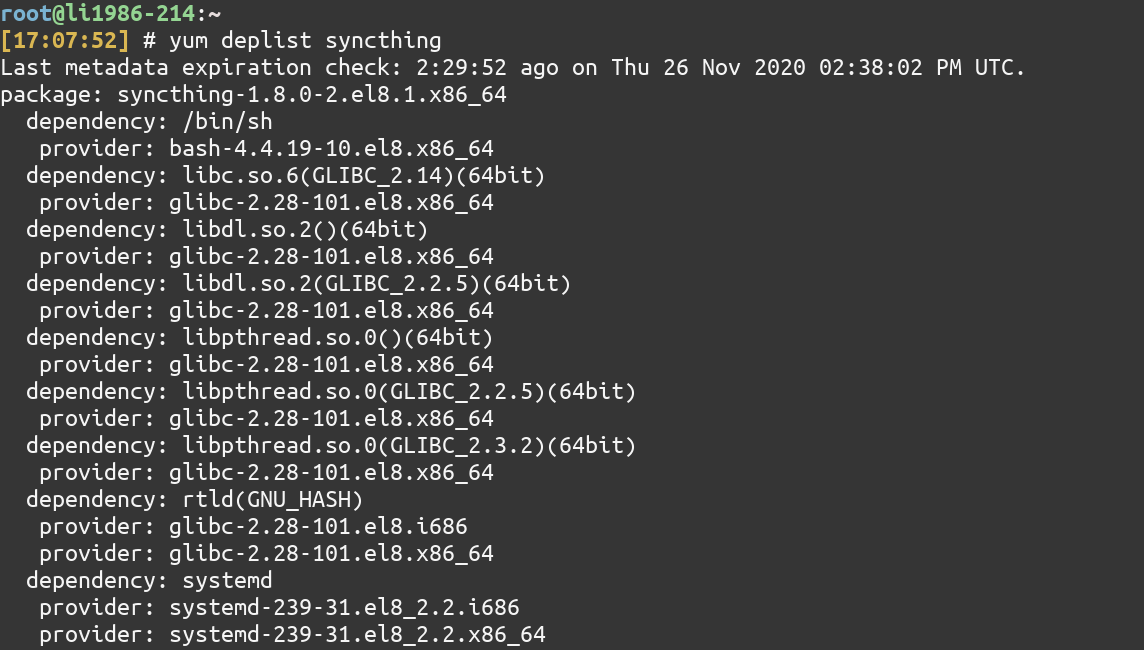
8. List dependencies of a package
To list the dependencies of a package, use the deplist command.
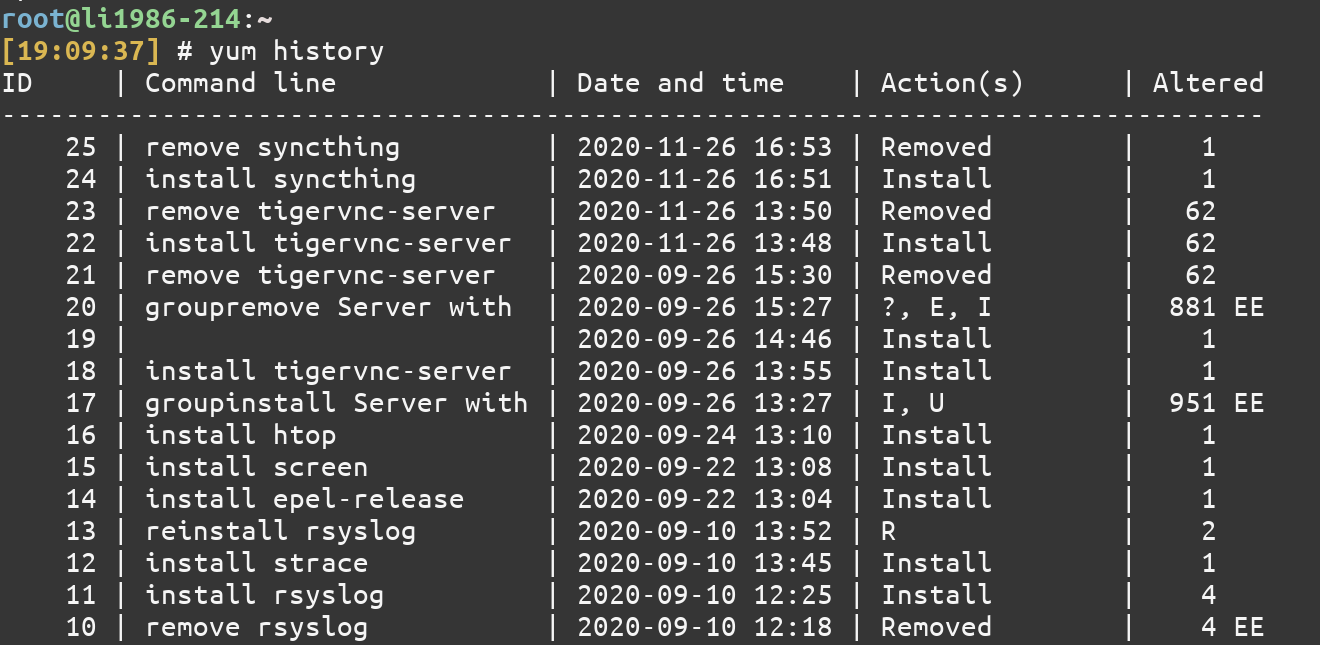
9. View history of installation/removal of packages
Sometimes, viewing your YUM history is a good idea especially if you want to repeat the installations on a different system. History can be viewed using the history command of YUM.
Conclusion
This tutorial was about the yum command in Linux. Hope you had fun learning with us!


