- How to change login screen
- 3 Answers 3
- How to Change Login/Lock screen background in Ubuntu
- How to Change the Ubuntu Login screen
- The Best Linux Lockscreen
- Theming your lockscreen
- GDM Display Manager
- Editing the current theme
- Editing the font
- Editing the background
- Building & enabling
- Using your GTK Theme
- Arc
- Pop
- Vertex
- LightDM Display Manager
- Login screen in Ubuntu, how to customize it
- Dconf-tools, tool to modify the Login Screen
- 2 comments, leave yours
- Leave a Comment Cancel reply
How to change login screen
After installing kde, I had an ugly splash and login screen that I didn’t like. I managed to get the splash back to normal, but I can’t get the login back to normal.
you could try sudo apt-get purge lightdm-kde-greeter but that very well may just uninstall kde (plasma desktop plasma this plasma that etc. ) along with it so proceed with caution and only accept the changes after reviewing the changes to be made.
3 Answers 3
You can install another display manager such as LightDM, MDM, Slim, GDM
sudo apt-get install lightdm sudo dpkg-reconfigure lightdm You can add greeters to have nice themes How to change the LightDM theme/greeter?
I finally found the answer buried deep in one of the non accepted answers of askubuntu.com/questions/75755/… thanks for the link
for 13.10 or older
use the following command to set lightdm back to normal
sudo /usr/lib/lightdm/lightdm-set-defaults --greeter unity-greeter reboot for the changes to take effect
This works for going from xubuntu and back to unity-greeter, ubuntustudio and back, and kubuntu back to unity-greeter as well.
There is no longer a /etc/lightdm/lightdm.conf file and the set-defaults command is no longer available.
Taking a look at my old 13.10 files, I discovered what changes need to be made to select unity-greeter .
There needs to be a file named 50-unity-greeter.conf located in the directory /etc/lightdm/lightdm.conf.d run the following commands to create and/or update this file to use the unity-greeter :
echo '[SeatDefaults]' | sudo tee /etc/lightdm/lightdm.conf.d/50-unity-greeter.conf echo 'greeter-session=unity-greeter' | sudo tee -a /etc/lightdm/lightdm.conf.d/50-unity-greeter.conf Don’t forget to save any unsaved files before you restart lightdm because you will be logged out.
sudo service lightdm restart How to Change Login/Lock screen background in Ubuntu

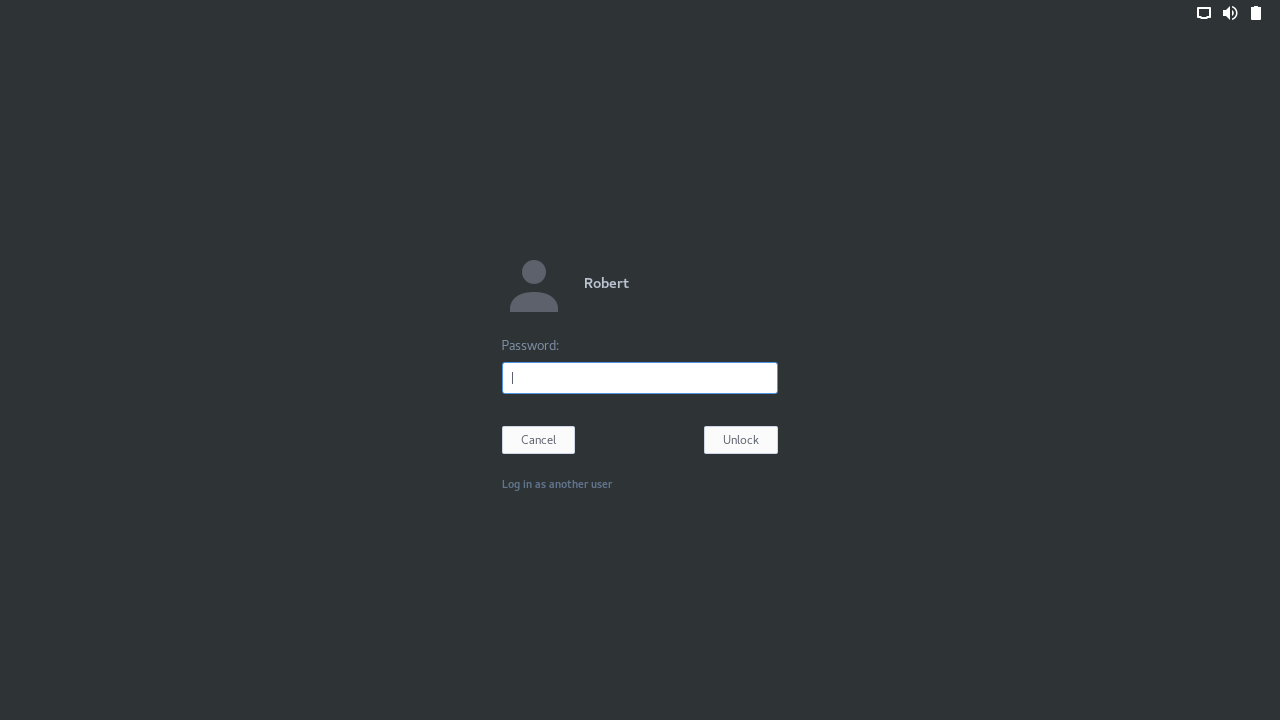
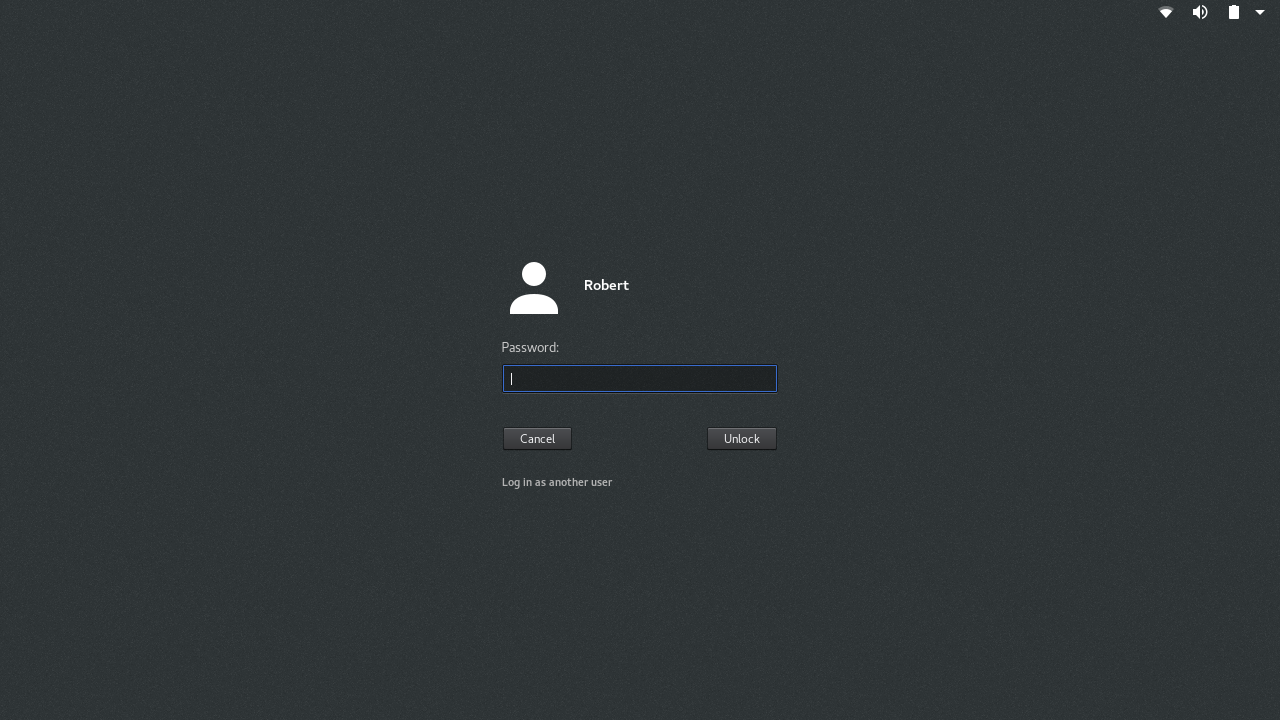
You may have noticed that the latest versions of Ubuntu, such as Ubuntu 18.04 and 20.04, like all previous versions, have a very simple-looking login screen. Whether you like it or not, you’ll notice this purple screen every time you log in or lock and unlock your system. If, like me, you’re the kind of person who likes to customize desktop backgrounds and wallpapers and lock screens to create a little more eye candy, you’d certainly want to improve this seemingly simple-looking site.
Although changing backgrounds and locking screens is very easy in the latest version of Ubuntu, changing the login screen is the only real thing. Even if you change the lock screen via the user interface, the purple face of the login screen remains intact.

In this tutorial, we will demonstrate how to change the login and lock screens to something more friendly. All we need to do is edit the ubuntu.css file which is responsible for controlling the layout for the login page, among other things. We are running this tutorial on an Ubuntu 18.04 system. All you need to run this tutorial is a new .png file that you will be using as your new background. Please download this file if it is already not present in your system.
How to Change the Ubuntu Login screen
In order to change your login screen, follow these steps:
The first thing we need to do is modify the ubuntu.css file located under /usr/share/gnome-shell/theme. Open the Terminal application through Ubuntu Dash or by pressing Ctrl+Alt+T
Enter the following command to open the css file in gedit.
$ sudo gedit /usr/share/gnome-shell/theme/ubuntu.css
Alternatively, you can use your favorite text editor to open this file. The file will open as follows through the gedit command:


Search for the term ‘lockDialog’ by pressing Ctrl+D and entering this keyword in the search bar. This way you will be directed to the location where we want to make the required changes. This is the section of the file we will be editing:
You can see that the file noise-texture.png specifies the default image that Ubuntu uses as the lock and login screen background.
You need to replace the above-mentioned lines with the following ones:
Replace the [fileLocation/filename.png] part with the location and filename of the image you want to use as the new background.
You can see how our CSS file looks after we have made the changes:

Save this file by clicking the Save button located at the top right corner of the text editor.
Restart your computer for these changes to take effect.
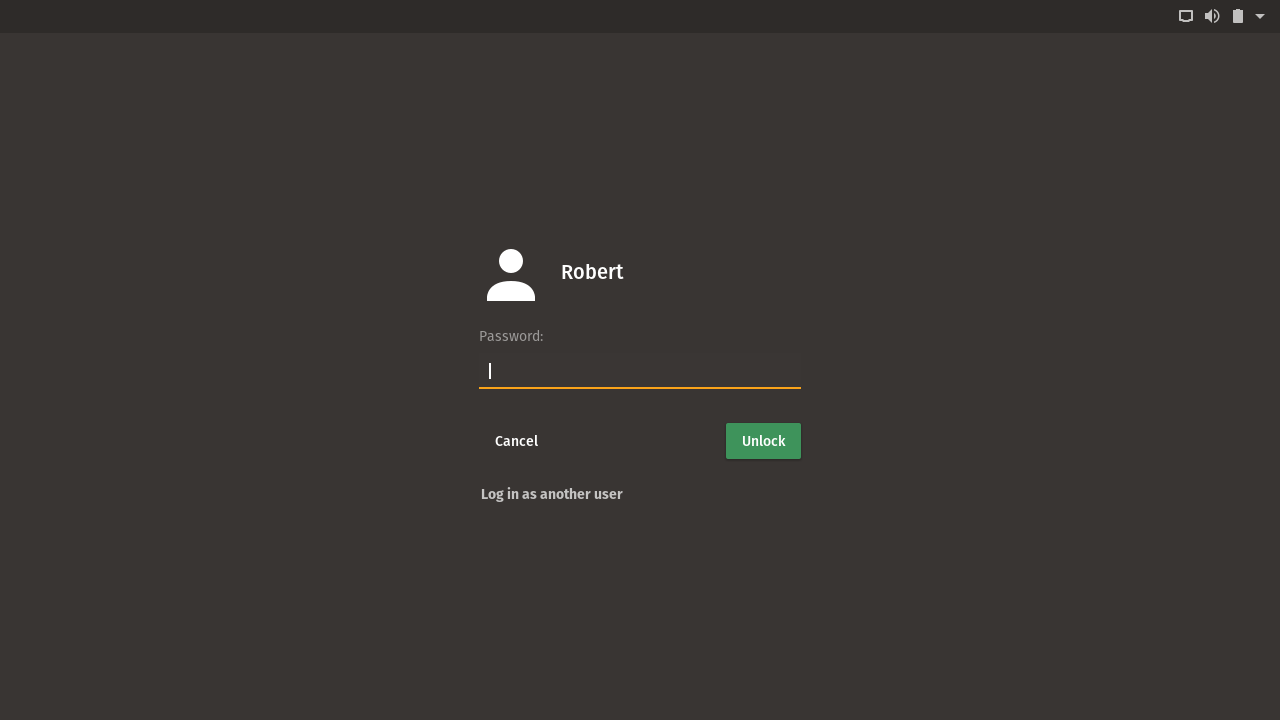
Now when you log in to your system, you will be able to see the newly set up background instead of the default Ubuntu login image. Our new login and lock screen looks like this after the changes we made through this tutorial:

So, as you have seen, changing the login background is not as difficult as it seems. You simply need to edit the ubuntu.css file and restart the computer in order to make this supposedly technical customization.
The Best Linux Lockscreen
To be honest, the default lock screens, also known as greeters or display managers (when the lockscreen also manages the boot login), can leave looks to be desired on pretty much every Linux distribution. To fix that, we have several options — theme the lock screen you already have, change the lock screen, or login automatically and use another option such as i3lock.
This guide shows you how to change the login screen background, edit the login screen font, use a login screen gtk theme, and change your user manager. This guide has sections for most major display managers, but the GDM guide has the most detail.
Theming your lockscreen
Typically the easiest option. The options below are for a few of the most popular display managers.
GDM Display Manager
First back up the current theme:
sudo cp -v /usr/share/gnome-shell/gnome-shell-theme.gresource
Note: Ubuntu 17+ uses a GDM config that is different than the default setup. If the following setup does not work for you please comment and I will try to help. All of the scripts I link below work for me on a fresh Fedora 27 system.
Now you have a few options. If you simply want to change the font on your login manager or change the background, you can use my script:
Editing the current theme
Download the scripts on the DevPy GitHub: devpytech/scripts/gresource-extract. Then run ./extract.sh to extract your current theme to the «theme» folder in the same folder as the extract script.
Editing the font
Edit gnome-shell.css . Change the font to your custom font. E.g:
Editing the background
Copy a background to the theme folder. Then edit gnome-shell.css and change the #lockDialogGroup section to the filename of your image. E.g:
Building & enabling
Run the ./build.sh file from DevPy’s GitHub. This will create a .gresource file in the theme folder.
Finally, override the current gresource (make sure you have backed up the current file):
sudo mv gnome-shell-theme.gresource /usr/share/gnome-shell/gnome-shell-theme.gresource 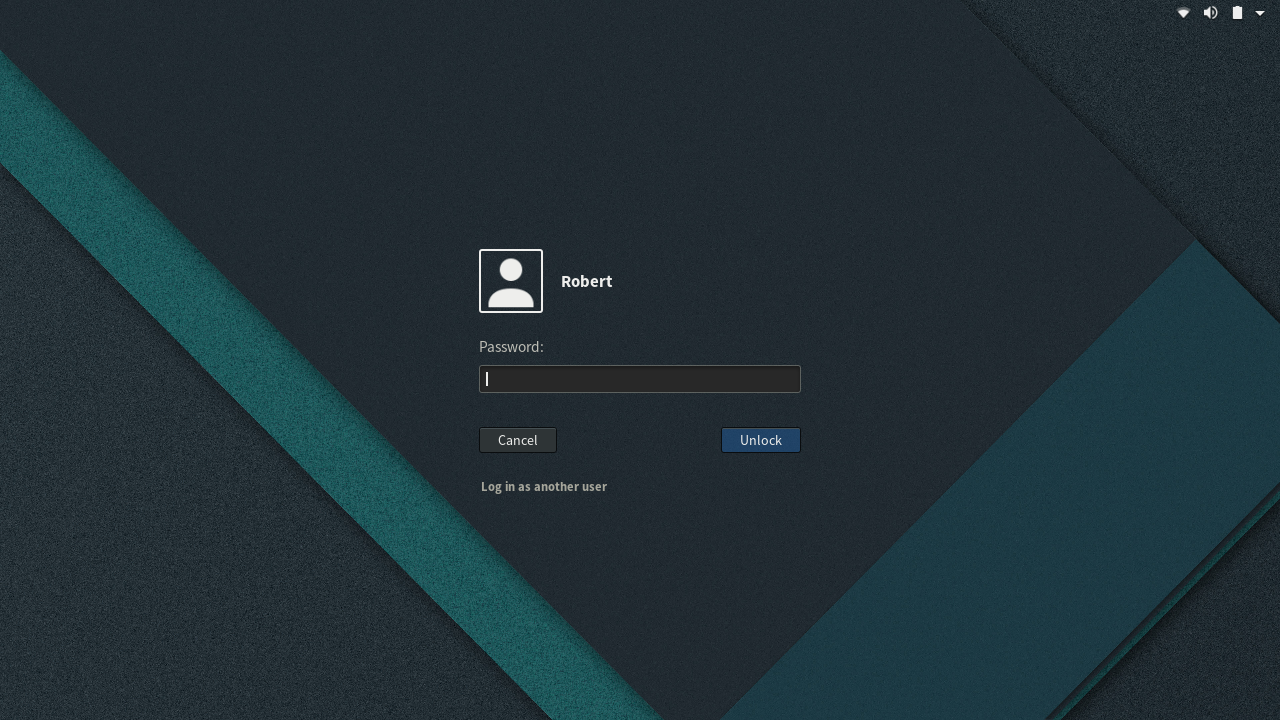
Using your GTK Theme
My favourite method is to match the GTK theme by building a gresource file.
Here are a few results for themes I have tested:
Arc
Pop
Vertex
You can build your own using my script here: devpytech/gtk-gresource.
I’ve included prebuilt gresource files for the following themes:
git clone https://github.com/devpytech/gtk-gresource.git cd gtk-gresource # Replace Arc with the theme you want to use ./build.sh Arc ./switch.sh Arc After a reboot the theme should show on login and lock.
LightDM Display Manager
LightDM is probably the second most popular display manager, after GDM. To install a theme, install both lightdm and lightdm-webkit2-greeter through your package manager. Then, navigate to /usr/share/lightdm-webkit/themes/ through the terminal or a root file manager and copy the theme files there. Once finished, enable the theme in your /etc/lightdm/lightdm-webkit2-greeter.conf by setting webkit-theme .
Login screen in Ubuntu, how to customize it
Today we are going with a very simple tutorial that allows us to give a very professional touch to our Ubuntu system. We will do this by customizing the Login Screen that falls on the program lightdm in the case of Ubuntu.
lightdm It is the standard Ubuntu session manager since the incorporation of Unity. Its modification is very simple and is not in danger. The first thing we have to do is have the images and icons that we want to modify at hand, as well as know the addresses of the files to make customization faster.
Dconf-tools, tool to modify the Login Screen
To do the customization we will have to open the dconf program, which usually comes by default installed in Ubuntu but if we do not have it installed, open the console and write
we will install the dconf, a very powerful tool that will allow us to make the modification without any danger.
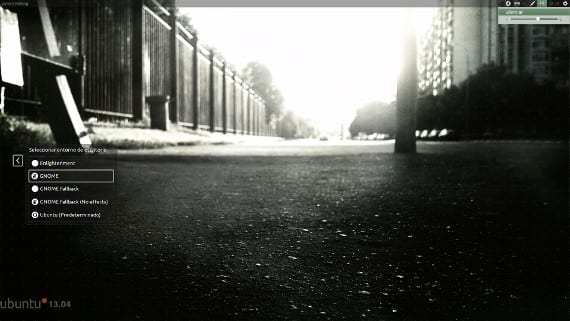
Now we go to the dash and write dconf, we open the program and the following screen will appear
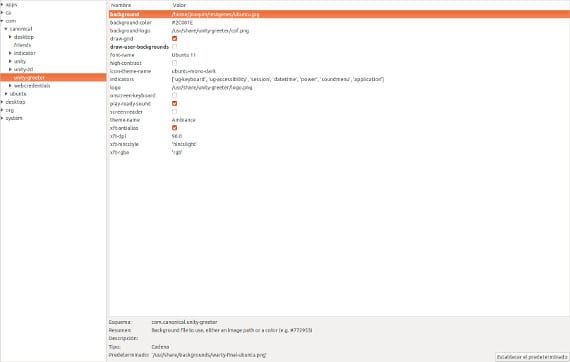
dconf It is a program similar to the Windows registry: a column on the left with the programs that can be modified and / or customized, on the right the options that can be modified.
In the left column we look for com → Canonical → unity-greeter . After marking it, the options that we can modify on our login screen will appear in the right column.
The options that we can touch are the following:
- background: It is the background image, to change it we only have to indicate the address of the new image that we want to put and press enter.
- Background color: indicates the color that we want to put on the login screen. It is a good alternative for the background if we do not want to have an image.
- draw-grid: It is the Ubuntu watermark, we can only mark or unmark the option, adding or not the watermark.
- draw-user-backgrounds: by checking this option we set the same wallpaper on our desktop as the background image.
- font-name: Font and size to use in the Login Screen
- icon-theme-name: name of the icon theme that we will use.
- Logo: is the image that will be displayed at the bottom of the screen. It has to be 245 × 43 in size.
- onscreen-keyboard: This option will enable a virtual keyboard to enter the characters on the login screen.
- Theme name: we will indicate the desktop theme that we want to use.
Now it only remains for you to modify it to your liking. The options are somewhat limited but we can modify the appearance to a professional level that other operating systems do not allow us, such as Windows. One last detail, if you want to check the modifications you can open the console and write this
This command will allow us to execute and see the login screen without closing the session we are using. Also tell you that Dconf gives us the option to return everything to how it was before modifying it using the «set default”. In other words, we can do personalization without any problem.
The content of the article adheres to our principles of editorial ethics. To report an error click here.
Full path to article: ubunlog » Ubuntu » Tutorials » Login screen in Ubuntu, how to customize it
2 comments, leave yours
Leave a Comment Cancel reply

Net said
alex ameth said