- finding maven version & set MAVEN_HOME in ubuntu
- 3 Answers 3
- How to set Maven home PATH on Ubuntu as User
- 3 Answers 3
- Установка Maven в Ubuntu 20.04
- Установка Maven в Ubuntu 20.04
- 1. Репозитории
- 2. Официальный сайт
- Использование Maven
- Выводы
- How to Install Maven on Ubuntu
- Install Maven on Ubuntu with apt
- Install the Latest Release of Maven on Ubuntu
- Step 1: Install OpenJDK
- Step 2: Download and Install Maven
- Step 3: Set Up Environment Variables
- Step 4: Verify Maven Installation
finding maven version & set MAVEN_HOME in ubuntu
here is the content of my .bashrc file and I have nothing in my /etc/environment file.
PATH=$PATH:$HOME/.rvm/ JAVA_HOME=/usr/lib/jvm/java-7-openjdk-amd64/ export JAVA_HOME PATH=$PATH:$JAVA_HOME export PATH and this is in my /etc/profile
JAVA_HOME=/usr/lib/jvm/java-7-openjdk-amd64/ PATH=$PATH:$HOME:$JAVA_HOME/bin export JAVA_HOME export PATH Any help would be appreciated. Thanks 🙂
@Imran in that link , the person is able to run java —version command. but I am not. ( Also thats for windows. and I am using ubuntu.
There’s no need to add JAVA_HOME to the path, it’s only required as environment variable. Also, never set the M2_HOME variable (if you did), the mvn shellscript will set it for you. And to question 3, just add apache-maven-3.0.4/bin to the path .
@RobertScholte you mean I should remove JAVA_HOME from .bashrc and put it in etc/environment or just remove JAVA_HOME ? I dint set M2_HOME variable.. could you please tell in a bit more detail about the third question.. like how exactly to set it (in .bashrc or environment or profile).
You should remove these line: PATH=$PATH:$JAVA_HOME and PATH=$PATH:$HOME:$JAVA_HOME/bin . Maven is always looking for this variable, it doesn’t resolve it from the path. The other thing you need to do is PATH=$PATH:/usr/local/apache-maven/apache-maven-3.2.3/bin to be able to run the mvn shell-scripts without having to specify the absolute path.
3 Answers 3
Maybe my config gives you a hint:
/$ uname -a Linux jenkins 3.2.0-55-generic #85-Ubuntu SMP Wed Oct 2 12:29:27 UTC 2013 \ x86_64 x86_64 x86_64 GNU/Linux /$ echo $PATH /var/lib/jenkins/bin:/usr/local/sbin:/usr/local/bin:/usr/sbin:/usr/bin:/sbin /$ ls -l /usr/bin/java* / usr/bin/mvn* lrwxrwxrwx 1 root root 22 Feb 21 2013 java -> /etc/alternatives/java lrwxrwxrwx 1 root root 23 Feb 21 2013 javac -> /etc/alternatives/javac lrwxrwxrwx 1 root root 24 Feb 21 2013 javaws -> /etc/alternatives/javaws lrwxrwxrwx 1 root root 21 Feb 21 2013 mvn -> /etc/alternatives/mvn lrwxrwxrwx 1 root root 26 Feb 21 2013 mvnDebug -> /etc/alternatives/mvnDebug /$ ls -l /etc/alternatives/java* /etc/alternatives/mvn* lrwxrwxrwx 1 root root 17 May 31 2013 /etc/alternatives/java -> \ /opt/jdk/bin/java lrwxrwxrwx 1 root root 18 May 31 2013 /etc/alternatives/javac -> \ /opt/jdk/bin/javac lrwxrwxrwx 1 root root 58 Feb 21 2013 /etc/alternatives/javaws.1.gz -> \ /usr/lib/jvm/java-6-openjdk-amd64/jre/man/man1/javaws.1.gz lrwxrwxrwx 1 root root 24 Feb 21 2013 /etc/alternatives/mvn -> \ /usr/share/maven/bin/mvn lrwxrwxrwx 1 root root 29 Feb 21 2013 /etc/alternatives/mvn.1.gz -> \ /usr/share/maven/man/mvn.1.gz lrwxrwxrwx 1 root root 29 Feb 21 2013 /etc/alternatives/mvnDebug -> \ /usr/share/maven/bin/mvnDebug lrwxrwxrwx 1 root root 34 Feb 21 2013 /etc/alternatives/mvnDebug.1.gz -> \ /usr/share/maven/man/mvnDebug.1.gz main is org.apache.maven.cli.MavenCli from plexus.core set maven.home default $/m2 [plexus.core] optionally $/lib/ext/*.jar load $/lib/*.jar /$ java -version java version "1.7.0_21" Java(TM) SE Runtime Environment (build 1.7.0_21-b11) Java HotSpot(TM) 64-Bit Server VM (build 23.21-b01, mixed mode) /$ mvn -version Apache Maven 3.0.4 Maven home: /usr/share/maven Java version: 1.7.0_21, vendor: Oracle Corporation Java home: /opt/jdk1.7.0_21/jre Default locale: en_GB, platform encoding: UTF-8 OS name: "linux", version: "3.2.0-55-generic", arch: "amd64", family: "unix" How to set Maven home PATH on Ubuntu as User
I am new to Ubuntu and Maven. Recently I installed Maven in my system as user and the installation went perfectly, but I can’t set path environment variable permanently. I also referred to the following questions but I couldn’t solve my problem. Maven environment variable not working on other terminal How to permanently set environmental variables PATH and M2_HOME in ubuntu for maven3? I can set m2_home path in my system as user but when I check if the path is set with mvn -v I get the following error:
Error: JAVA_HOME is not defined correctly. We cannot execute /usr/lib/jvm/jdk1.8.0/bin/java Linux based systems are case sensitive: M2_HOME , m2_home and M2_home are 3 different variables. Double check that
@EskanderBejaoui you are right it is case sensitive. there are gramer mistake in my question only not in command which i tried.
3 Answers 3
Exporting the M2_HOME environment variable is no longer required if you’re using Maven 3. The important thing is to have the /bin directory of you maven installation added to the PATH environment variable.
Anyway, personally I find that exporting the M2_HOME env variable makes reconfiguring the location easier at a later time if needed.
The actual error you’re reporting is related to JAVA_HOME not being set correctly, but I’ll get to that after setting up Maven.
First of all, to have M2_HOME set between terminal restarts you’ll have to add the export statement to ~/.bashrc (assuming your shell is bash). This will override any of these environment variables set system wide by /etc/environment
My Maven installation is located at /opt/apache-maven-3.5.4 , so to add that to my ~/.bashrc file I could do
echo 'export M2_HOME=/opt/apache-maven-3.5.4' >> ~/.bashrc And then I would utilize M2_HOME when I add maven to PATH , like so
echo 'export PATH=$/bin:$' >> ~/.bashrc Now configure JAVA_HOME the same way. My java installation is located at /usr/lib/jvm/java-8-oracle/jre/bin/java but when configuring JAVA_HOME some of that path will need to be stripped away.
echo 'export JAVA_HOME=/usr/lib/jvm/java-8-oracle' >> ~/.bashrc Then, if you start a new terminal you should be able to run mvn -v and get the desired result.
Установка Maven в Ubuntu 20.04
Maven — это система управления зависимостями с открытым исходным кодом на Java. Используя Maven вы можете прописать нужные вашему проекту зависимости, а платформа автоматически рассчитает, загрузит и подготовит все их зависимости, а также потом соберет проект в один готовый для выполнения jar файл. В какой-то мере это аналог команды make для java.
В этой статье мы рассмотрим как выполняется установка Maven в Ubuntu 20.04 из официальных репозиториев и с помощью официального сайта проекта.
Установка Maven в Ubuntu 20.04
1. Репозитории
Как я уже сказал, Maven есть в официальных репозиториях Ubuntu, однако версия программы там может быть уже устаревшая. Сначала обновите списки пакетов из репозиториев:
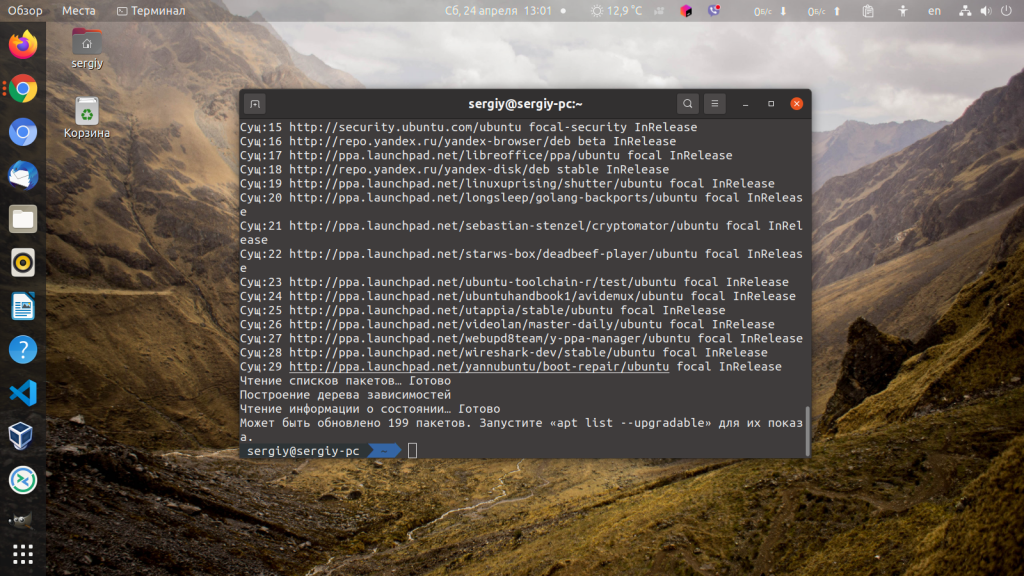
Затем выполните такую команду для того чтобы установить Maven:
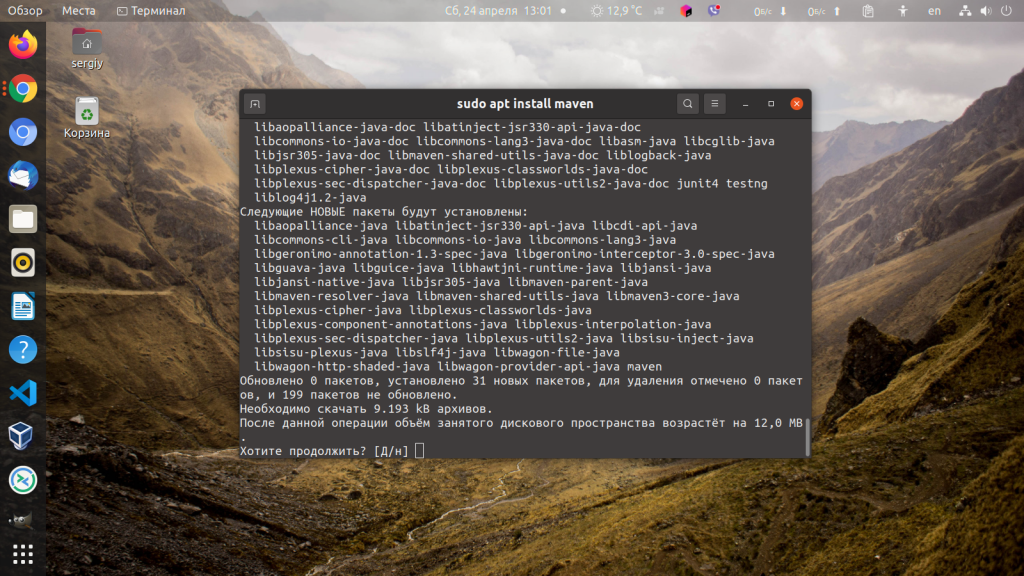
Это самый простой способ установки. Теперь вы можете проверить версию программы командой:
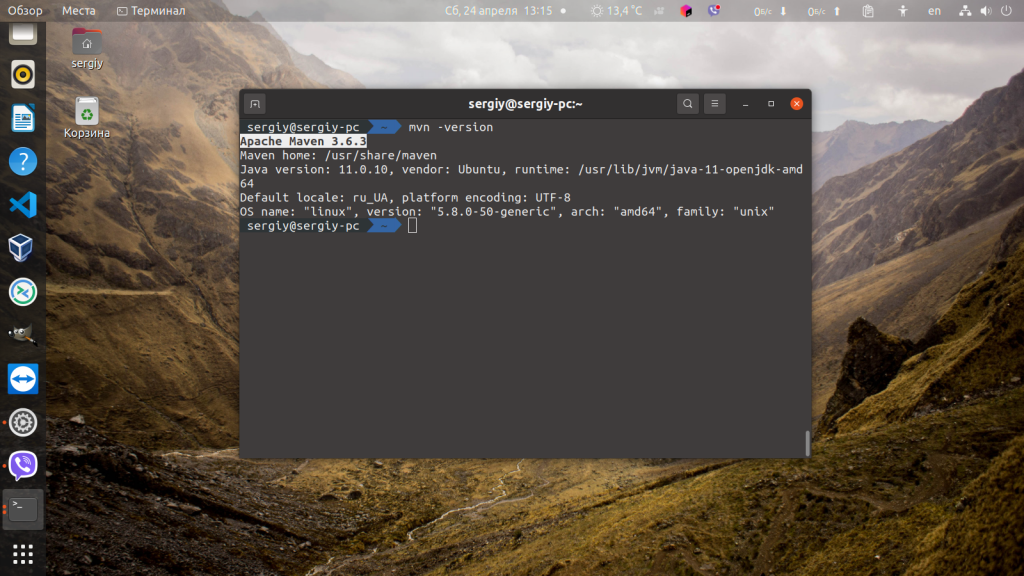
Как видите, сейчас в репозиториях находится версия 3.6.3. Но на момент написания статьи на официальном сайте доступна уже версия 3.8.1. Давайте рассмотрим как её установить.
2. Официальный сайт
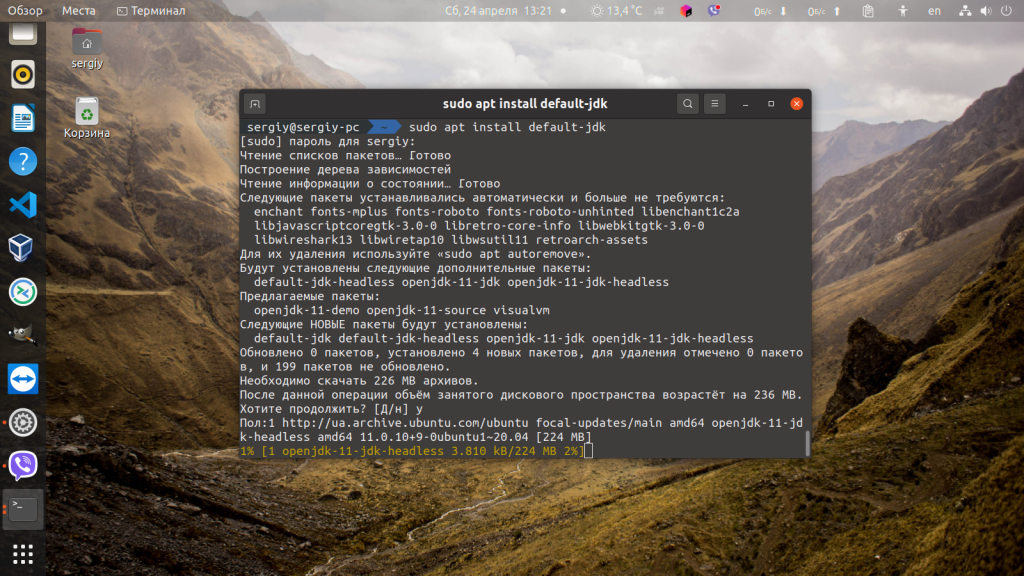
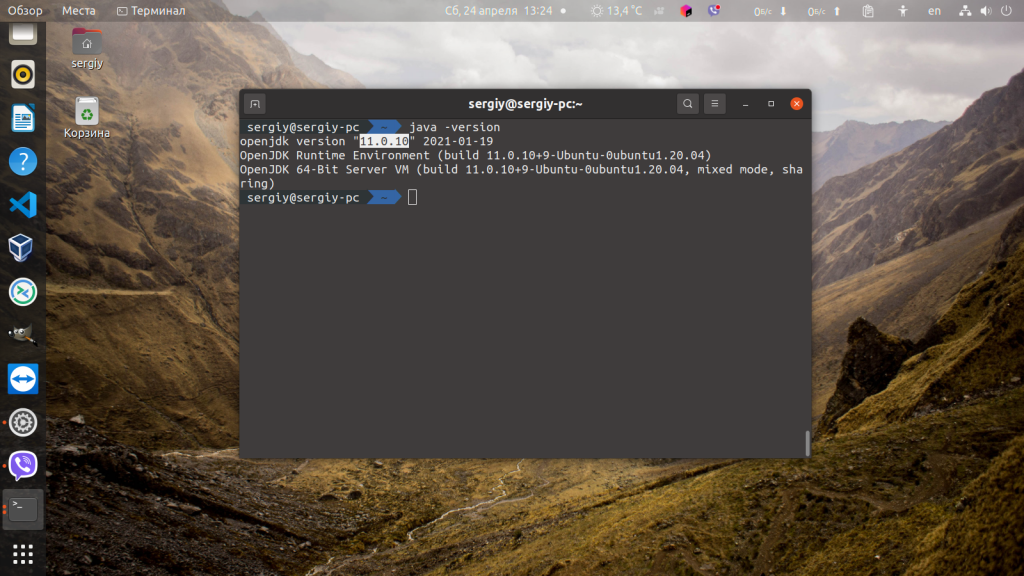
Прежде всего необходимо установить зависимости программы. Maven версии 3.3 и выше будет работать только на JDK 1.7 и выше. Достаточно установить версию Java, которая есть в официальных репозиториях:
sudo apt install default-jdk
Затем вы можете проверить версию Java:
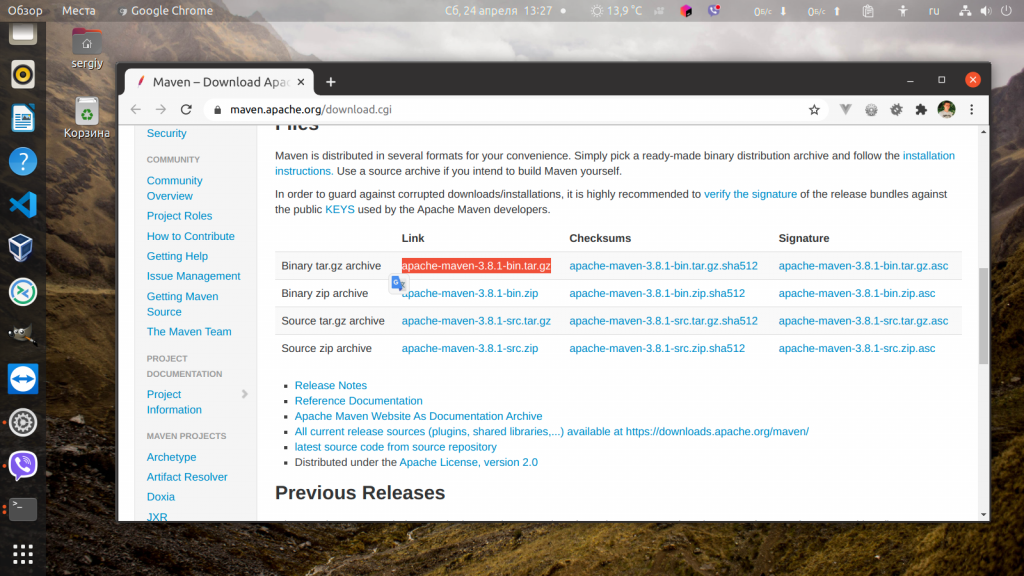
Дальше откройте страницу загрузки Maven на официальном сайте и скачайте последнюю версию. Нужен файл заканчивающийся на bin.tar.gz:
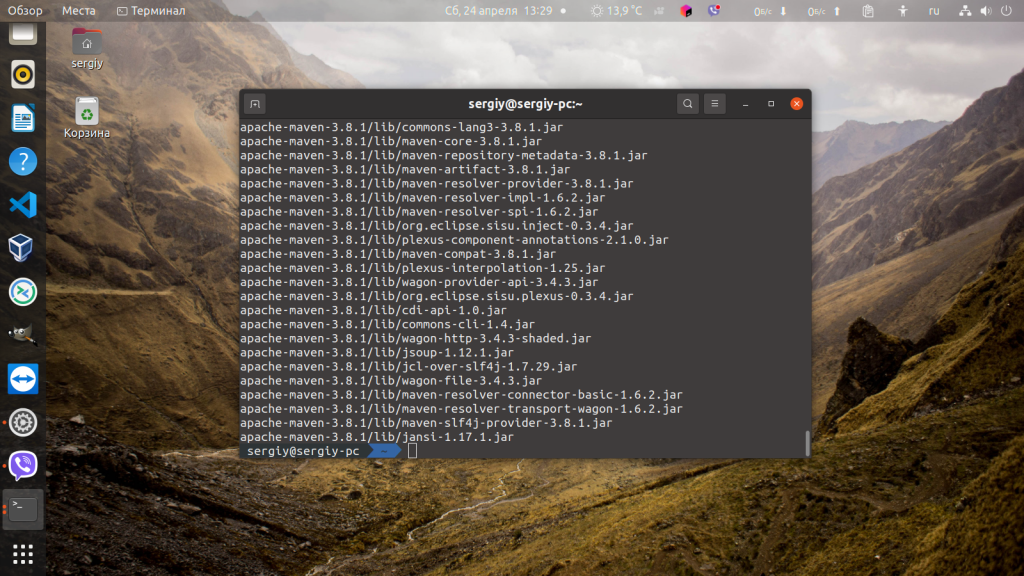
После завершения загрузки полученный файл следует разархивировать в папку /opt:
sudo tar xvf ~/Загрузки/apache-maven-*.tar.gz -C /opt
Для удобства управления версиями и обновления программы можно создать символическую ссылку на папку с Maven:
sudo ln -s /opt/apache-maven-3.8.1 /opt/maven
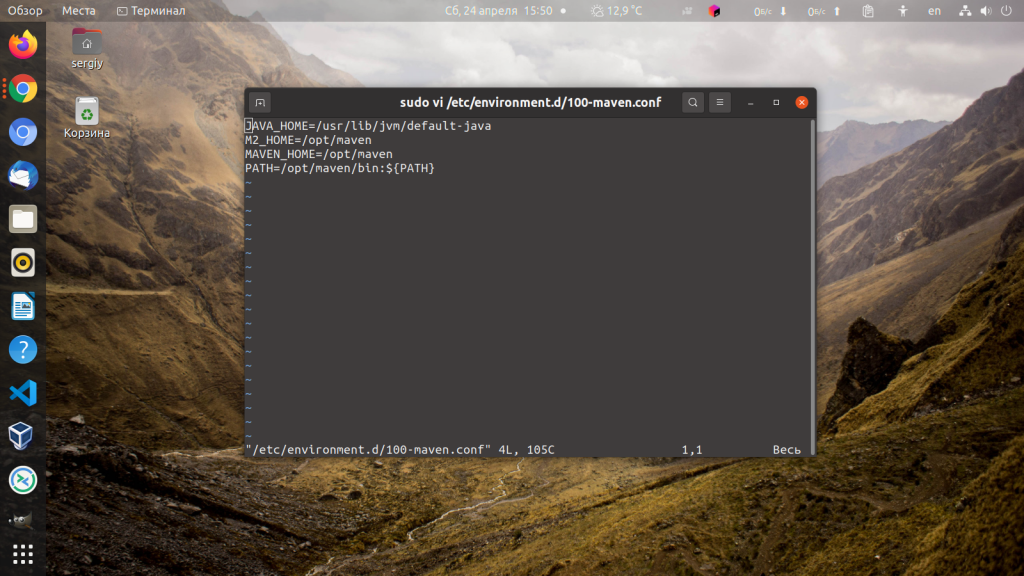
Для использования программы осталось настроить переменные окружения. Создайте файл /etc/environment.d/100-maven.conf и добавьте туда такие строки:
sudo vi /etc/environment.d/100-maven.conf
JAVA_HOME=/usr/lib/jvm/default-java
M2_HOME=/opt/maven
MAVEN_HOME=/opt/maven
PATH=/opt/maven/bin:$
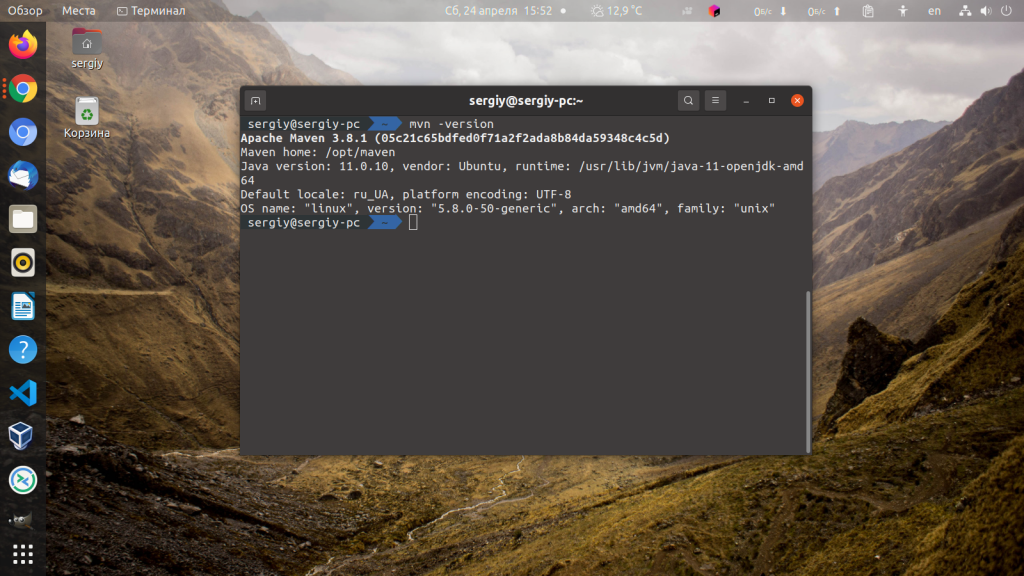
После этого нужно перелогинится чтобы обновились переменные окружения. И можно использовать Maven. Чтобы убедится, что всё работает можно посмотреть версию:
Использование Maven
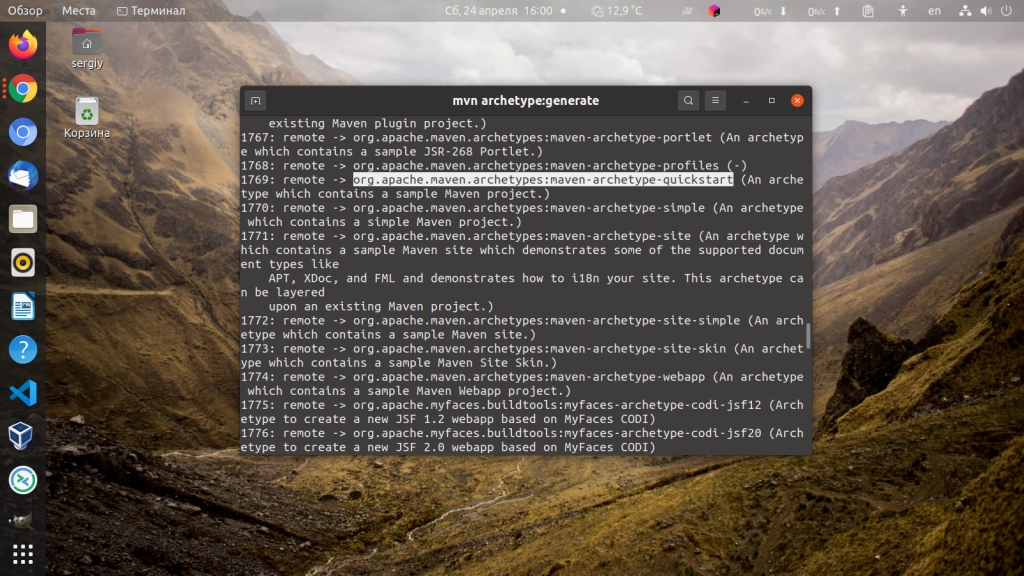
Для создания нового проекта в интерактивном режиме создайте папку для проекта, перейдите в неё и выполните такую команду:
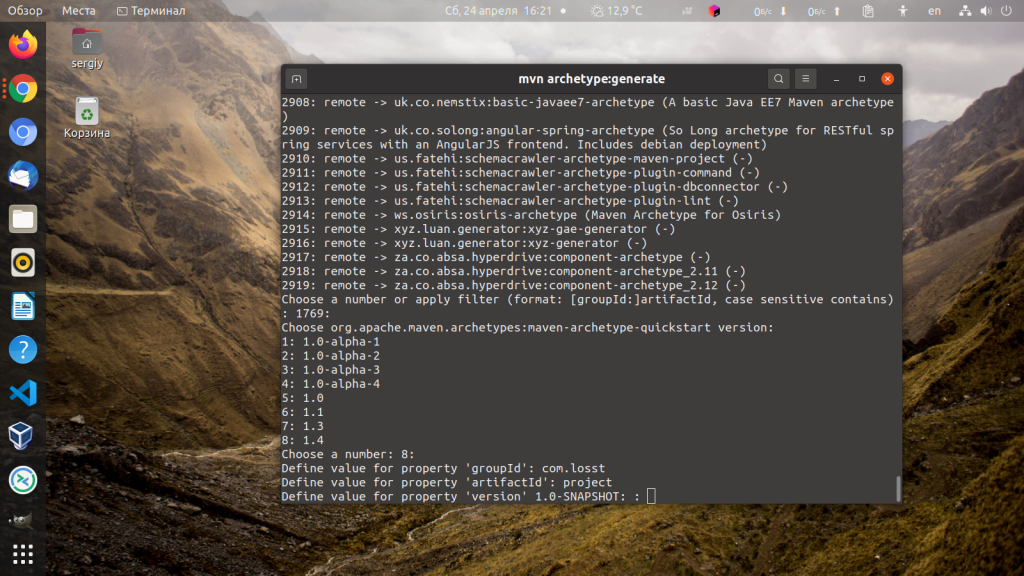
Сначала утилита выведет список всех доступных шаблонов и предложит выбрать один из них. По умолчанию предлагается выбрать 1769, это пример проекта с использованием Maven:
Дальше надо указать groupId пакета, этот параметр означает разработчика проекта, тут можно ввести название компании, например, com.losst:

Затем надо ввести имя проекта (artefactId):
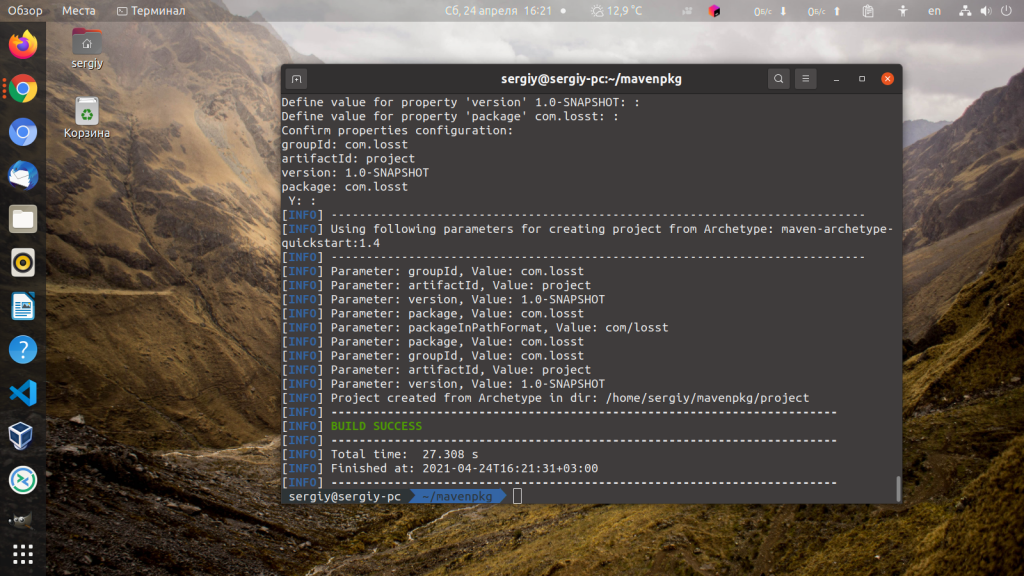
Далее программа спросит ещё имя пакета и предложит подтвердить выбор. Затем сообщит о том, что проект создан:
Вся конфигурация, созданная в Maven будет хранится в файле pom.xml. Вы можете посмотреть его содержимое:
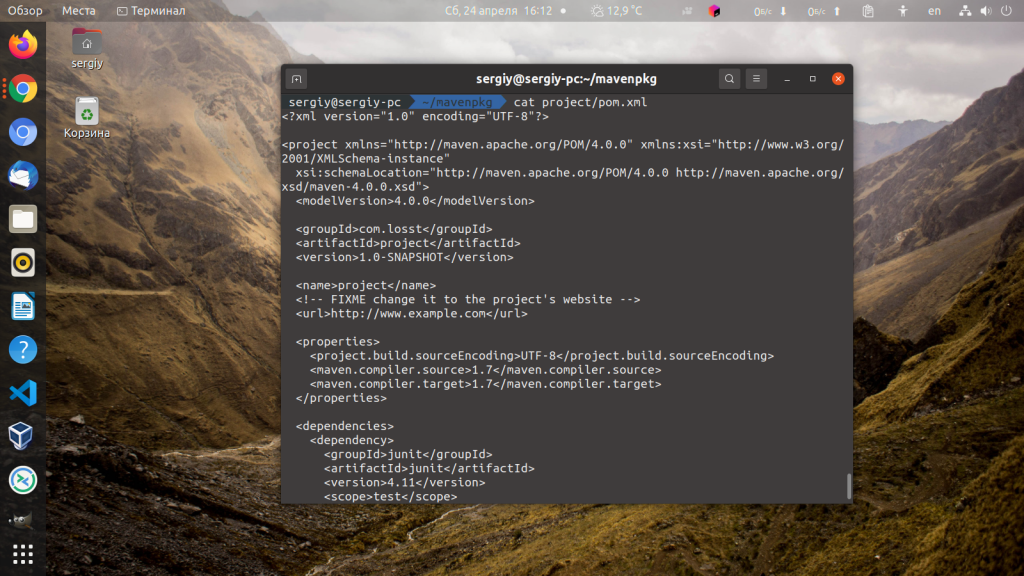
Исходники программы находятся в папке src/main/java/com/losst/App.java:

Программа должна выводить строчки Hello World на экран. Но прежде чем вы сможете её собрать и выполнить необходимо добавить в файл pom.xml несколько строк. Найдите описание плагина maven-jar-plugin и добавьте туда секцию configuration со следующим содержимым:
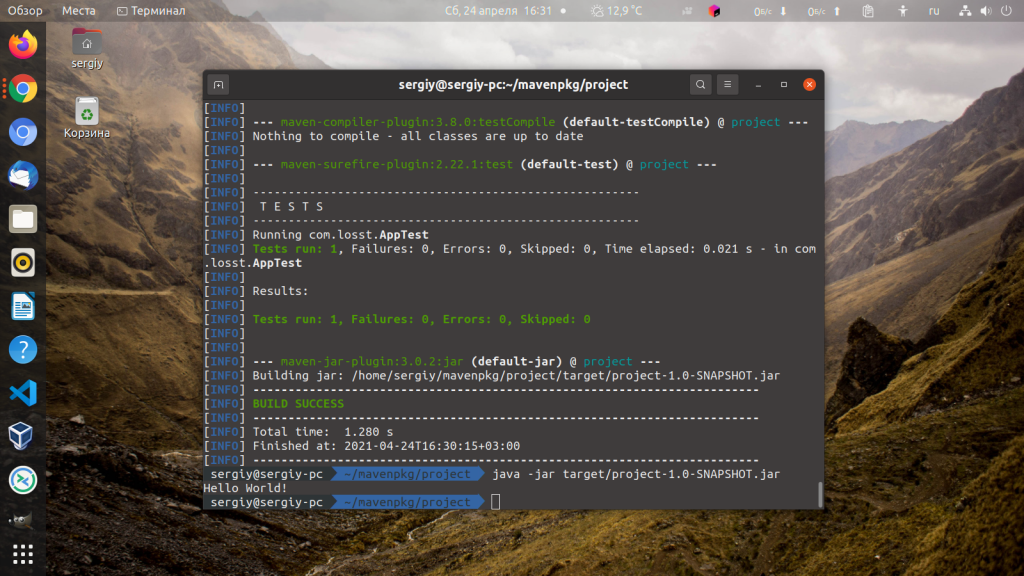
В атрибуте mainClass необходимо прописать имя вашего основного класса вместе с именем пакета. Это необходимо для того чтобы Java машина знала что ей выполнять при запуске файла. После этого перейдите в папку project и запустите сборку:
Затем можно выполнить программу:
java -jar target/project-1.0-SNAPSHOT.jar
Выводы
В этой небольшой статье мы рассмотрели как выполняется установка Maven в Ubuntu 20.04, а также как пользоваться программой для создания нового проекта и сборки готового приложения.
Обнаружили ошибку в тексте? Сообщите мне об этом. Выделите текст с ошибкой и нажмите Ctrl+Enter.
How to Install Maven on Ubuntu
Apache Maven is an open-source project management tool primarily used for developing Java applications. Maven incorporates a POM (Project Object Model) approach, which means it uses an XML file to store information about projects, configurations, and dependencies.
This tutorial explains how to install Maven on Ubuntu 20.04, both using the official repository and the installation file on the Maven website.
- A system running Ubuntu 20.04.
- A working Internet connection.
- Access to an account with sudo privileges.
- Access to the terminal window.
- Access to a text editor such as Nano.
Install Maven on Ubuntu with apt
The apt command provides a simple and straightforward way of installing Maven on Ubuntu. Follow these steps to complete the installation:
1. Update the system repository using:
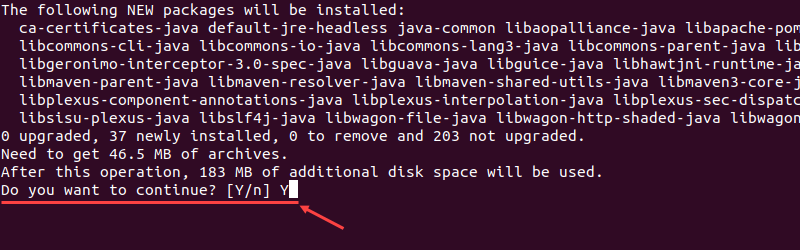
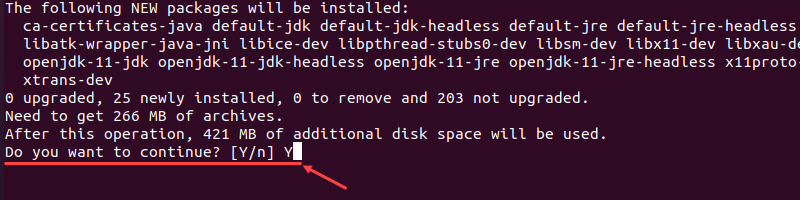
2. Install Maven from the official repository:
3. When prompted, type Y and press Enter to confirm the installation.
3. Check the current version of Maven to verify the installation:
If successful, the output will look like this:

Install the Latest Release of Maven on Ubuntu
Manually installing Maven is more complex than using the apt command but offers more flexibility when choosing which version to install.
Step 1: Install OpenJDK
1. Update the system repository with:
sudo apt install default-jdk3. Type Y and press Enter when prompted to confirm the installation.
4. Verify the installation by checking the current version of OpenJDK:

Step 2: Download and Install Maven
1. Visit the Maven download page and select the version of Maven you want to install. The latest version is listed in the Files section, and you can access earlier versions by using the archive link in the Previous Releases section.
We are using version 3.8.4, which is the latest version at the time of writing this article.
2. Download the Maven install file in the /tmp directory:
wget https://dlcdn.apache.org/maven/maven-3/3.8.4/binaries/apache-maven-3.8.4-bin.tar.gz -P /tmp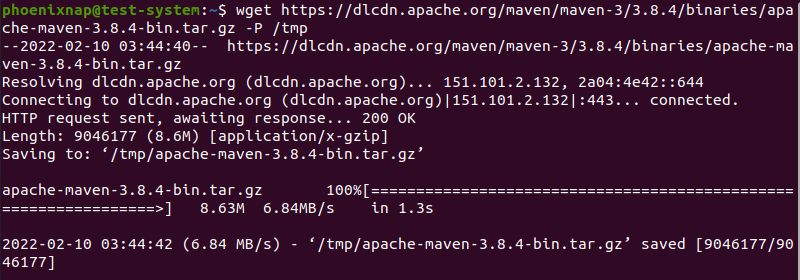
Note: Learn more about using the Linux wget command.
3. Once the download is complete, extract the installation file in the /opt directory:
sudo tar xf /tmp/apache-maven-*.tar.gz -C /opt4. Create a symbolic link called maven leading to the Maven installation directory:
sudo ln -s /opt/apache-maven-3.8.4 /opt/mavenStep 3: Set Up Environment Variables
1. Use the Nano text editor to create and open the maven.sh script file in the /etc/profile.d/ directory:
sudo nano /etc/profile.d/maven.sh2. Add the following lines to the maven.sh file:
export JAVA_HOME=/usr/lib/jvm/default-java export M2_HOME=/opt/maven export MAVEN_HOME=/opt/maven export PATH=$/bin:$

3. Press Ctrl + X, then type Y and press Enter to save changes to maven.sh.
4. Make the maven.sh file executable using the chmod command:
sudo chmod +x /etc/profile.d/maven.sh5. Execute the maven.sh script file with the source command to set up the new environment variables:
source /etc/profile.d/maven.shStep 4: Verify Maven Installation
Check the current version of Maven to verify the installation:

After reading this tutorial, you should have a copy of Maven installed on your Ubuntu system and ready to use.
If you are interested in trying Maven on a different Linux distribution, have a look at our guides on installing Maven on Debian 9 and installing Maven on CentOS 7. For Windows users, refer to our guide on installing Maven on Windows.