AVR Debugging with Atmel-ICE in MPLAB X IDE on Linux
In this article I will try to explain howto install and use Microchip’s MPLAB X IDE and an Atmel-ICE prorgammer/debugger to program and debug a ATMega168P using the debugWIRE interface.
Why the ATMega168P? Because that’s the AVR that I’m currently using and the debugWIRE setup can be a bit tricky 1 .
Installation
- The MPLAB Compiler(s), There are 3
- MPLAB XC8 supports all 8-bit PIC ® and AVR ® microcontrollers (MCUs)
- MPLAB XC16 supports all 16-bit PIC MCUs and dsPIC ® Digital Signal Controllers (DSCs)
- MPLAB XC32/32++ supports all 32-bit PIC and SAM MCUs and MPUs
Note: The XC compilers are free but there is a professional license option that gives more features, this is not required and fairly expensive for hobby use.
Now let’s start the installation of the XC8 Compiler, since that’s the only one I’ll be using.
I’m using Debian GNU/Linux so if you are using a Debian or Ubuntu based distribution you can copy & paste these instructions, if your distro uses a different package manager you’ll need to use that one to install the required dependencies.
- To be able to use MPLAB X IDE and the XC compilers on a 64-bit linux distribution, the 32-bit architecture support needs to be enabled. This is not done by default so you’ll need to add the i386 architecture first: sudo dpkg —add-architecture i386 followed by sudo apt update .

- Next we’ll need to add some additional 32-bit packages: sudo apt install libc6-dev:i386 libgcc-10-dev:i386 libexpat1-dev:i386 libx11-dev:i386 libxext-dev:i386
- Now we are ready to install the XC8 Compiler:


Unless you have a license, use the default «Free mode»

You can select «Apply settings to all users» if you have multiple user accounts, adding the xc8 to the PATH environment makes sure you can call these tools from anywhere in your filesystem and not only from the installed location.
Click Next to start the installation


When the installation is complete, you’ll get a message to active or purchase a Professional license, you can just skip this with the Next button.

The compiler is now installed. Repeat this for the other 2 compilers if needed.
Finally we install the MPLAB X IDERequired Hardware
Since this is an article on using an Atmel-ICE you’ll offcourse need one of those to follow allong. There are other devices that are supported by MPLAB X IDE, but not all devices that are supported by Atmel Studio 7 are supported by MPLAB (for example the ATSTK600 development board contains a STK600 programmer that is supported in Atmel Studio 7, but it’s not listed in the supported hardware section of MPLAB X IDE).
- Atmel-ICE Programmer/debugger. There are 3 versions for sale
- Atmel-ICE PCBA Debugger (cheapest version without plastic casing and cables
- Atmel-ICE Basic Debugger (mid-range with plastic case and USB and flatcable with 10-pin 50mil connector and 6-pin 100mil connector) you’ll need the 6-pin 100mil connector to connect to a standard 6-pin ISP header.
- Atmel-ICE Debugger (full version also including an Adapter board (20-pin 100mil connector, 6-pin 50mil connector and 10-pin 100mil connector). The 10-pin 100mil connector can be used to connect to a standard 10-pin JTAG header (ATMega2560 for example).
To connect the Atmel-ICE debugger connect the flatcable to the 50mil 10-pin header labeled AVR, the red wire should be on the left side (closest to the 3 LEDs). And connect the 100mil 6-pin connector to the ISP header of the microcontroller.
Power on the Atmel-ICE (connect the USB cable). The middle (red LED) should turn on.
Power on the target board, if all goes well the leftmost (green) LED should turn on.
You are now ready to start debugging.
Putting the AVR in debugWIRE mode to program/debug

Open MPLAB X IDE

Write a simple test program (like a blinking LED to test programming/debugging).

Under Tool: all available tools are listed, if the Atmel-ICE is connected it should be listed here, if not there is the default («no tool») and a «simulator», if you want to see all supported Tools check the Show All box and go through the list.

Select the XC8 compiler, as you can see I’ve also installed the Toolchain under /home/patrick/avr8/bin (version 5.4.0) the other versions are provided by my distribution.

Set a project name and location or use the default MPLAB X IDE project directory.

Add a new avr-main.c file (I’ve called mine blinkLED)


Compile and write the project to the microcontroller (you can also press the «Debug Main Project» button to compile, write and start debugging).

If this is the first time you’ve started a debugging session the AVR probably still in ISP mode and this makes it not possible to use the debugWIRE interface. Answer Yes to this question and MPLAB will use the ISP mode of the Atmel-ICE to switch to debugWIRE mode.
Select Communications under Categories and ISP for the Interface . The setting there will be 0.000MHz and the Option Description reads that this setting should be between 0.000 and 0.000MHz (looks like a bug to me).
Note: I’ve been in contact with Microchip Support about this issue, and they confirm this is a bug in the new version (5.40) here is their reply
The issue has been reported. Kindly try the below workarounds suggested by our internal team and let us know if it helps.
In v5.40 the default speed regressed to 0.0 MHz, which causes errors such as:
Unexpected status code when executing setBaud, expected 0 but got -51 (SPI_STATUS_BAUD_INVALID)
A valid communication (such as 0.125 MHz or 1/4 of the device clock speed) must be entered when selecting the ISP communication protocol.
«workaround» #1 — Create the project in v5.35 and then open and use in v5.40.
«workaround» #2 — manually edit the configurations.xml file in the project to have a valid speed like this:
Thanks to a post on the AVR Freaks forums I discovered that setting this to a value of 0.01 fixes this problem. MPLAB will say that this is wrong (indicated by the red background) but you can ignore this error message. Now switch the Interface back to debugWIRE and try again.
It is very important that you don’t manually edit the SPIEN=0 or DEN=0 fuses. When you do this you will be unable to program the microcontroller with a ISP programmer and the microcontroller will become «bricked», the only solution to recover it will be to use a HVPP (High Voltage Parallel Programmer) to reset these fuses. Most people don’t own a HVPP and they are a lot more expensive than the cheap USBasp or USBTinyAVR programmers.
For example a ATSTK600 starter-kit contains a HVPP that you can use, but in my store it costs €315 and does not come with a socket or router board for the ATMega168P that I’m using here. So adding these 2 to the mix will add €64 for the «Generic Socket Card» and €19 for the «Routing Card»

To switch the microcontroller to debugWIRE mode you’ll need to cycle the power and click the OK button within 10 seconds. This will force the AVR to reboot and switch to debugWIRE mode.

Now you can start a debugging session
Back to ISP Mode
When you are done debugging you will need to switch back to ISP mode if you want to be able to use a standard ISP programmer. To do this open the Project Properties again, and go to the Atmel-ICE settings. There switch the interface from debugWIRE to ISP.

Click Apply or Ok and click the Make and Program Device Main Project button.

Click Yes and the microcontroller will be put back into ISP mode again.
1 at least with version 5.40 of MPLAB X IDE which seems to contain a bug in it’s ISP Speed settings dialog.
2 Socket Card and Routing Card are not required but I’ve added those for a «shock effect» 😉 There will most likely also be cheaper HVPP programmers than the ATSTK600 since that’s more than just a HVPP.
CLI Tool van de Week is een initiatief van Linuxgebruikers | Facebook | Contact
Установка инструментов Microchip (MPLAB X) под Linux

Статья задумана как описание процесса установки инструментов разработчика (IDE) для программирования микроконтроллеров фирмы Microchip под Linux, в помощь людям, которых такой процесс «настораживает».
Основной инструмент для разработчика здесь — среда MPLAB X, распространяется бесплатно, но под своей лицензией. Почитать про MPLAB X можно здесь. Скачиваем архив для ОС Linux — на этой же странице закладка Downloads.
Далее, все действия необходимо выполнять в командной строке (терминале) Linux. Установка проходила в Linux Mint 17.3.
Заходим в каталог со скачанным архивом (у меня, например, Downloads)
$ cd ~/Downloads
распаковываем архив
$ tar xvf MPLABX-v3.25-linux-installer.tar
появляется файл MPLABX-v3.25-linux-installer.sh, делаем его исполняемым
$ chmod a+x MPLABX-v3.25-linux-installer.sh
запускаем установку в графическом режиме
$ sudo ./MPLABX-v3.25-linux-installer.shжмем Next (далее)
читаем лицензию, принимаем лицензионное соглашение.
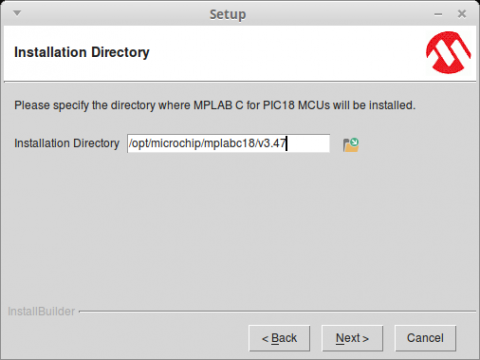
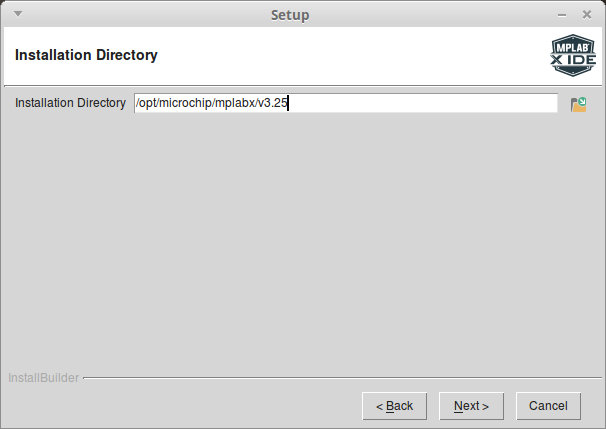
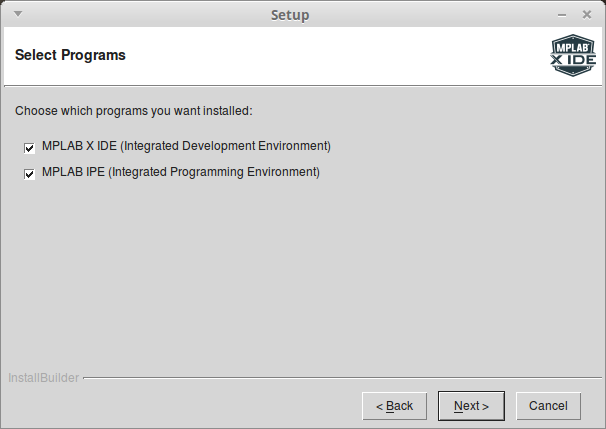
выбираем путь для установки (по-умолчанию это /opt/microchip/mplabx/vX.XX)далее, установим и MPLAB IPE для исследований (MPLAB IPE устанавливается вместе со средой программирования MPLAB X IDE и предназначена для программирования микроконтроллеров и микросхем памяти без запуска среды разработки MPLAB X)
отдыхаем
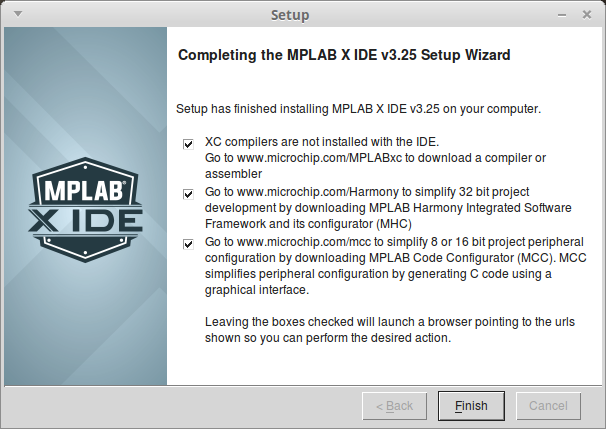
В последнем окне можно убрать галочки, можно и оставить, чтобы познакомиться с указанными компонентами Microchip.
Установка компилятора C18 под Linux
Для работы в MPLAB X также необходим компилятор. Версия популярного компилятора C18 для Linux — можно скачать здесь.
по аналогии с MPLAB X, распаковываем и делаем файл исполняемым
$ chmod a+x mplabc18-v3.47-linux-lite-installer.run
запускаем установщик
$ sudo ./mplabc18-v3.47-linux-lite-installer.run
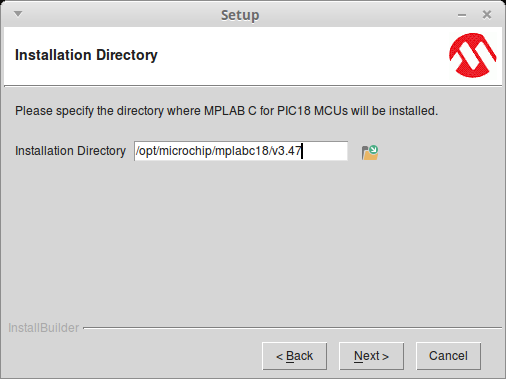
читаем лицензию, принимаем лицензионное соглашение. проверяем (или пишем) путь установкиПроверил все для других машин (дистрибутив Linux Mint 17.1, Linux Mint 18.3) с более свежей версией MPLAB X (3.26, 4.15) и тем же компилятором — работает!
Tags: