- How to change MySQL password in Linux command line (SSH) Best methods
- How to set a password for the root user of the MySQL service #
- Another way to set the root user password in the MySQL #
- How to change the MySQL root password if you forget it! #
- Fix Error & reset root password when ” /var/run/mysqld’ for UNIX socket file don’t exists” #
- Set a new root password #
- How Reset Mysql 8.x Password #
- How to Change MySQL Root Password in Ubuntu 20.04
- Step 1: Check the version of MySQL on Ubuntu 20.04
- Step 2: Stop the MySQL server
- Step 3: Skip Grant Tables & Networking
- Step 4: Start the MySQL service
- Step 5: Confirm the status of the MySQL Server
- Step 6: Sign In to the MySQL shell
- Step 7: Alter the root password
- Step 8: Revert Database Server to Normal settings
- Step 9: Kill all MySQL processes & Restart the MySQL service
- Step 10: Log in with the newly set Password
- Wrap Up
- About the author
- Shehroz Azam
- How to Change MySQL Root Password in Ubuntu 22.04?
- How to Change MySQL Root User Password on Ubuntu 22.04?
- Conclusion
How to change MySQL password in Linux command line (SSH) Best methods
To execute the instructions in this tutorial, you need access to the Linux command line or SSH. And you are the system administrator. Note that the root user of the operating system is different from the root user of the MySQL service.
MySQL database management service is one of the most basic parts of a server and its proper management will have a great impact on the level of performance and security.
How to set a password for the root user of the MySQL service #
If there is no password for the root user before, you can easily set the password with the following command:
mysqladmin -u root password NEWPASSWORD
Instead of “NEWPASSWORD”, you have to enter the password you want. But if the password for the root user of the MySQL service already exists, you must proceed with the following command:
mysqladmin -u root -p 'OLDPASSWORD' password NEWPASSWORD
You must enter the current password instead of “OLDPASSWORD” and the new password instead of NEWPASSWORD. It should also be noted that if you want to change the password of another MySQL user, you can replace the username with root.
Note that you must have a very strong password that includes uppercase and lowercase letters, numbers and special characters such as @ #! And… Use so that it is not easy to guess.
Another way to set the root user password in the MySQL #
You can also do this in the mysql syntax environment. To enter the mysql command environment, you must enter the following command:
Instead of PASSWORD you have to enter the root password. After entering the mysql command environment, you can change the password with the following command:
update user set password=PASSWORD("NEWPASSWORD") where User='root'; Instead of NEWPASSWORD you have to enter a new password. and then run:
How to change the MySQL root password if you forget it! #
If you have forgotten the MySQL root password, there is no need to worry and you can set a new password by following these steps:
First, stop the MySQL service with the following command:
Then we run the MySQL service with the following command without having to enter a password:
sudo mysqld_safe --skip-grant-tables &
Make sure you type the ampersand (&) at the end of the command. This runs the command in the background and allows you to type the commands in the following steps. Running MySQL with the —skip-grant-tables option enabled is highly insecure, and should only be done for a brief period while you reset the password. The steps below show you how to stop the mysqld_safe server instance safely and start the MySQL server securely after you have reset the root password.
Fix Error & reset root password when ” /var/run/mysqld’ for UNIX socket file don’t exists” #
maybe like me when you useing the code mysqld_safe –skip-grant-tables & face the following error:
mysqld_safe Directory '/var/run/mysqld' for UNIX socket file don't exists.
for fix above issue , run below command :
$ mkdir -p /var/run/mysqld $ chown mysql:mysql /var/run/mysqld
sudo mysqld_safe --skip-grant-tables &
Now we can log in to mysql with the following command with the root user:
Set a new root password #
Run the following commands if you run MySQL 5.7.6 and later or MariaDB 10.1.20 and later:
mysql > ALTER USER 'root'@'localhost' IDENTIFIED BY 'MY_NEW_PASSWORD'; mysql > FLUSH PRIVILEGES;
If ALTER USER statement doesn’t work for you, try to modify the user table directly:
mysql > UPDATE mysql.user SET authentication_string = PASSWORD('MY_NEW_PASSWORD') mysql > WHERE User = 'root' AND Host = 'localhost'; mysql > FLUSH PRIVILEGES; Run the following commands if you have MySQL 5.7.5 and earlier or MariaDB 10.1.20 and earlier:
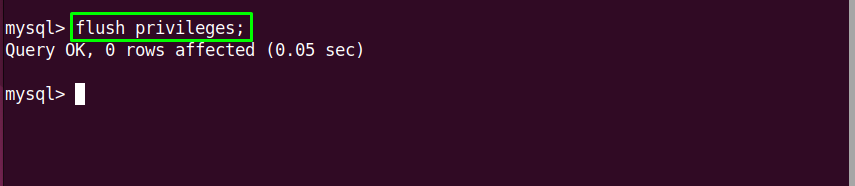
mysql > SET PASSWORD FOR 'root'@'localhost' = PASSWORD('MY_NEW_PASSWORD'); mysql > FLUSH PRIVILEGES; In both cases if all goes well, you should see the following output:
Query OK, 0 rows affected (0.00 sec)
How Reset Mysql 8.x Password #
Reset MySQL 8 root password completely different. run below command :
sudo service mysql stop sudo mysqld --skip-grant-tables & mysql -u root mysql mysql > UPDATE mysql.user SET authentication_string=null WHERE User='root'; mysql > flush privileges; mysql > ALTER USER 'root'@'localhost' IDENTIFIED WITH mysql_native_password BY 'your_new_password_here'; mysql > flush privileges; mysql > exit;
After doing the work and setting the new password, we can restart the MySQL service with the following command:
sudo systemctl restart mysql
How to Change MySQL Root Password in Ubuntu 20.04
![]()
Passwords are hard to remember, so if you have forgotten the MySQL root password, luckily, there is a way to change it. This post has been written for you, and by the end of this post, you will have successfully changed the password of MySQL.
Before getting straight to the solution, it is assumed that you are using the latest version of the MySQL database on Ubuntu 20.04 LTS system. This post will provide a step-by-step guide on how to change the MySQL root password in Ubuntu 20.04. So, without wasting any time, let’s start.
Step 1: Check the version of MySQL on Ubuntu 20.04
First of all, check the version of your MySQL because this post contains the solution of changing the root password on version 8 or higher. If the version of your MySQL is lower than 8, then the solution will be different. The command for checking the version of MySQL is given below:
Step 2: Stop the MySQL server
To change the MySQL root password, you first need to shut down the MySQL server, and you can do so using the command:
Check the status of the MySQL server to verify using the command:
Step 3: Skip Grant Tables & Networking
To start the MySQL server without granting the tables and networking check, set the environment variable “MYSQLD_OPTS” which MySQL uses on startup:
Alright, the environment variable is set, and we can log in to the MySQL shell without providing any password.
Step 4: Start the MySQL service
After setting the environment variable “MYSQLD_OPTS”, start the MySQL service now using the command:
Step 5: Confirm the status of the MySQL Server
Confirm the status of the MySQL service, whether it is running or not:

Step 6: Sign In to the MySQL shell
Now, you need to log in as a root user to the MySQL server and for signing in to the MySQL shell, type the command:

Without providing any password, you will log in to the MySQL shell.
Step 7: Alter the root password
Now, flush the privileges first:
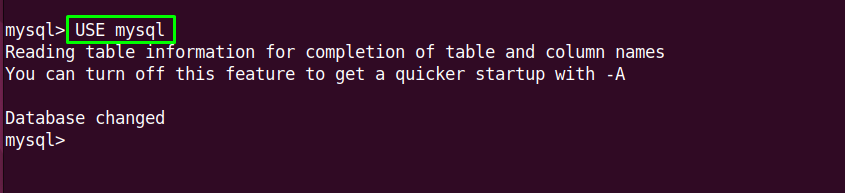
Select the MySQL database:
And set the new password for the root user using the ALTER command by typing the following statement:

At the place of “the-new-password” provide your new password. After successfully changing the MySQL root password, log out from the MySQL shell:

Step 8: Revert Database Server to Normal settings
For restarting the database server in “normal” mode, it is required to “revert” the changes we have made so that the networking is enabled and grant tables are loaded.
To do so, firstly unset the “MYSQLD_OPTS” environment variable which you have set previously:
After doing so, remove the modified system configuration by reverting “MySQL”:
Step 9: Kill all MySQL processes & Restart the MySQL service
Now, kill all the processes of MySQL before restarting the MySQL server:
After having the output as shown in the picture, hit “Enter” and restart the MySQL server using the command given below:
Step 10: Log in with the newly set Password
Log in to the MySQL shell with the newly set password:
Provide the recently set password in the ALTER command:
This is it. MySQL’s root password is successfully changed, and you are logged back into the MySQL shell.
Wrap Up
In this step-by-step guide, you have learned to change the MySQL root password on the Ubuntu 20.04 LTS system. This post contains a profound and easy-to-understand solution on resetting the root password of MySQL on Ubuntu 20.04.
About the author
Shehroz Azam
A Javascript Developer & Linux enthusiast with 4 years of industrial experience and proven know-how to combine creative and usability viewpoints resulting in world-class web applications. I have experience working with Vue, React & Node.js & currently working on article writing and video creation.
How to Change MySQL Root Password in Ubuntu 22.04?
MySQL is a standard query language for managing relational databases. If you forgot the MySQL root password, don’t worry; there is a method to reset it. The MySQL root password can be changed, and the server can be accessed with sudo privileges.
In this guide, we will elaborate on changing the root password for MySQL in Ubuntu 22.04.
How to Change MySQL Root User Password on Ubuntu 22.04?
This guide will take you through every step for changing the MySQL password for a root user on Ubuntu 22.04.
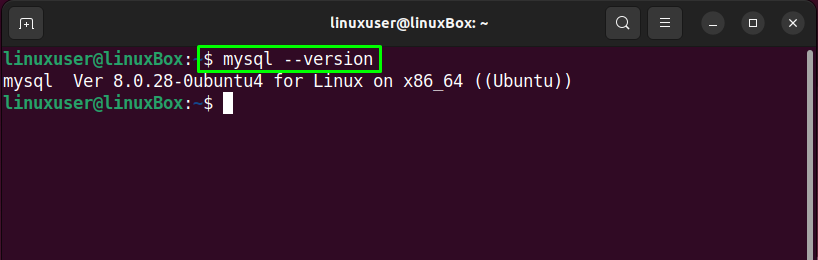
Step 1: Check MySQL Version
First, Check the installed version of MySQL server in our system using the below command:
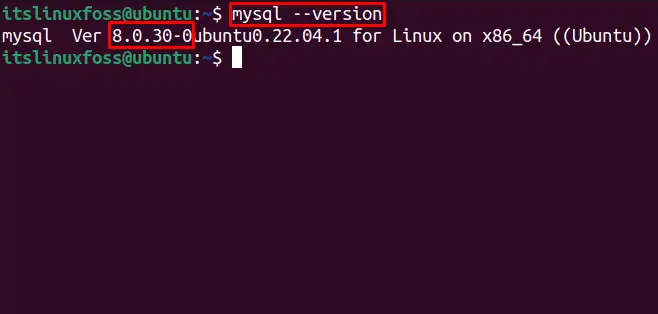
MySQL version 8.0.30 is installed in the system.
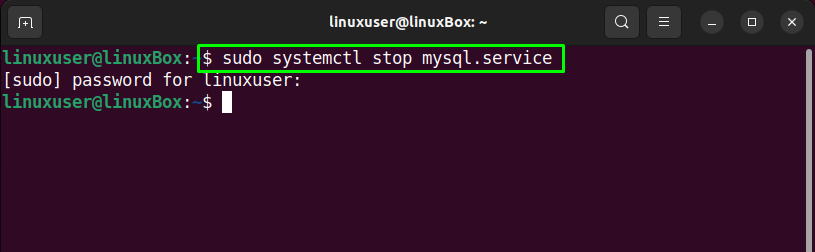
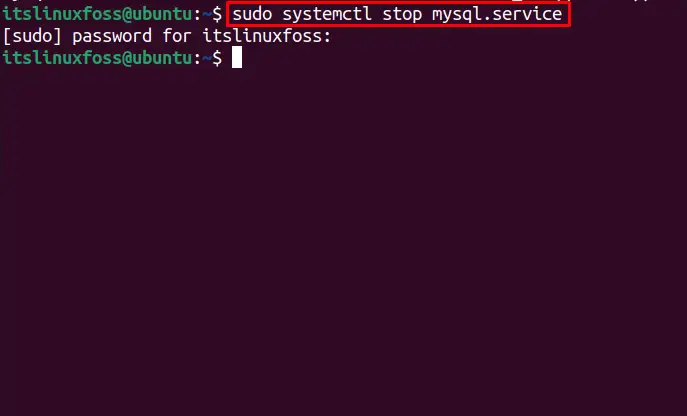
Step 2: Stop MySQL service
Now, to change the MySQL root password; first, you need to stop the MySQL service using this command:
$ sudo systemctl stop mysql.service
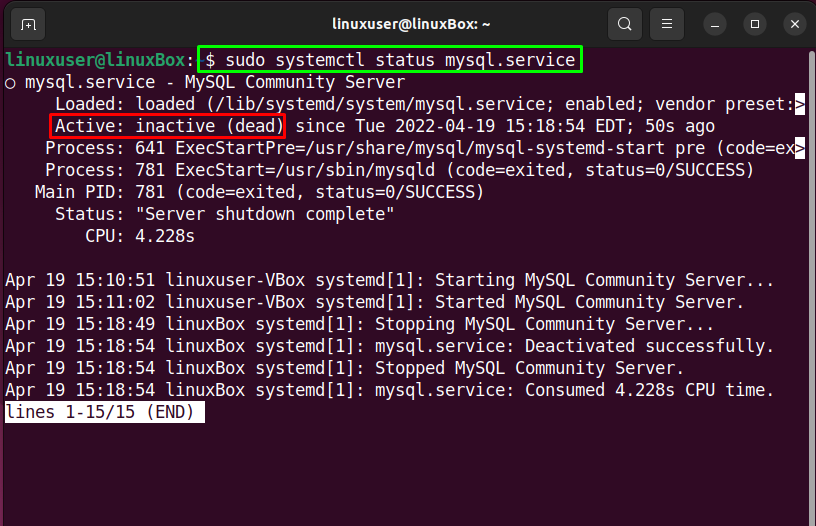
You can verify the MySQL server service status if it’s running or stooped by executing provided command:
$ sudo systemctl status mysql.service
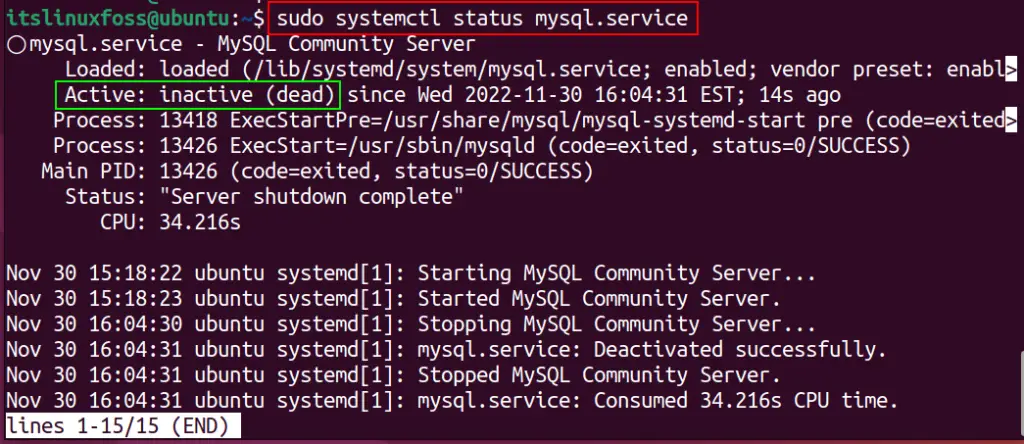
Output shows the system is “inactive”, verifying the MySQL service is stopped.
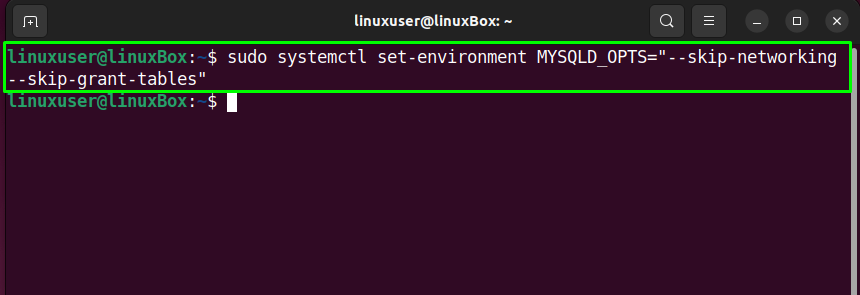
Step 3: Skip Grant Tables and Networking
Grant tables and networking store the user’s information in the MySQL database in Ubuntu 22.04. To access the database without a valid password, you need to skip grants tables and networking by running the following command:
$ sudo systemctl set-environment MYSQLD_OPTS="--skip-networking --skip-grant-tables"
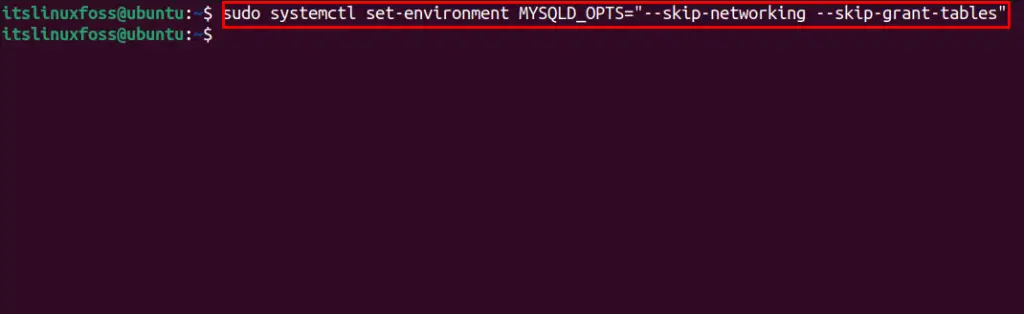
The MySQL environment is set up. We can log in to the MySQL server without using a password.
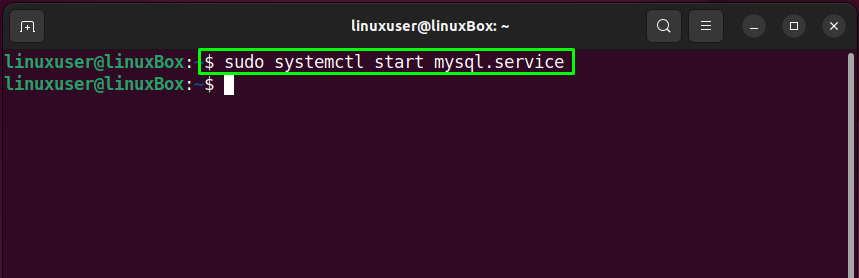
Step 4: Start MySQL Service
After setting the MySQL environment, run this command to start the server:
$ sudo systemctl start mysql.service
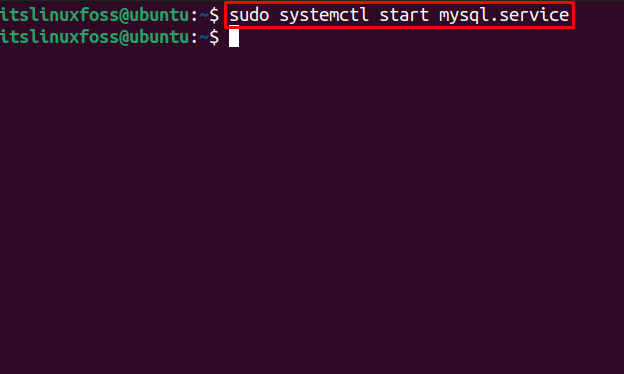
The service for MySQL has started.
Use the following command in the terminal to verify the MySQL server’s status, including whether it is active or not:
$ sudo systemctl status mysql.service
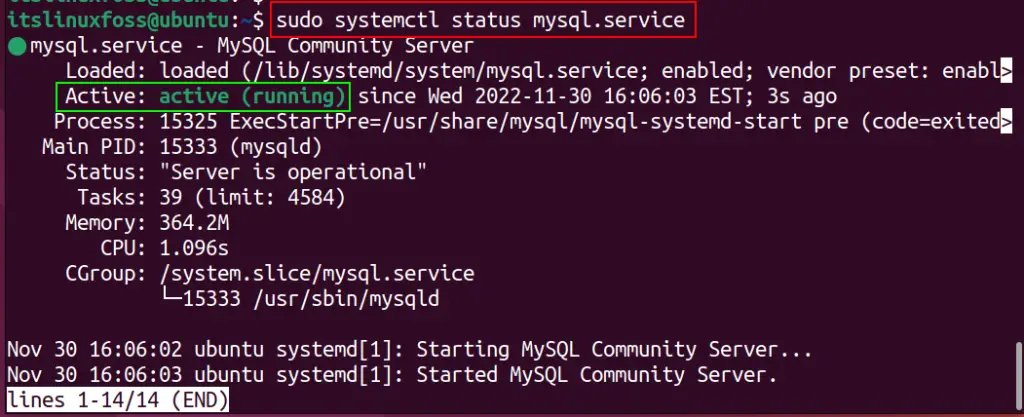
The current state of MySQL is active (running).
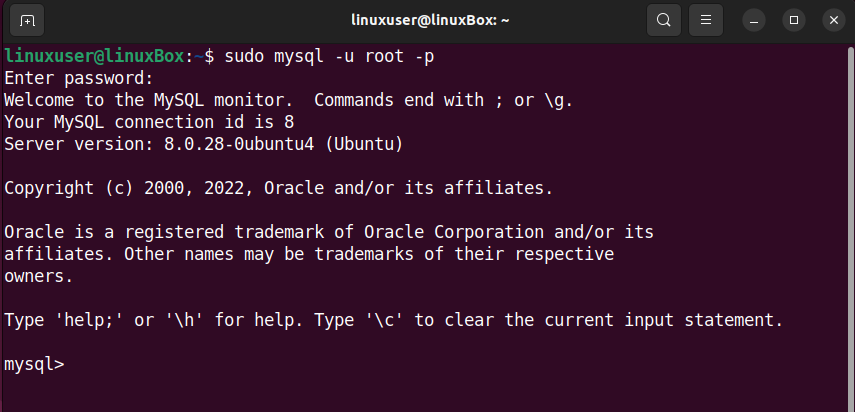
Step 5: Log in as Root User to MySQL
You don’t need a password to log in as the root user. To do so, use the following command:
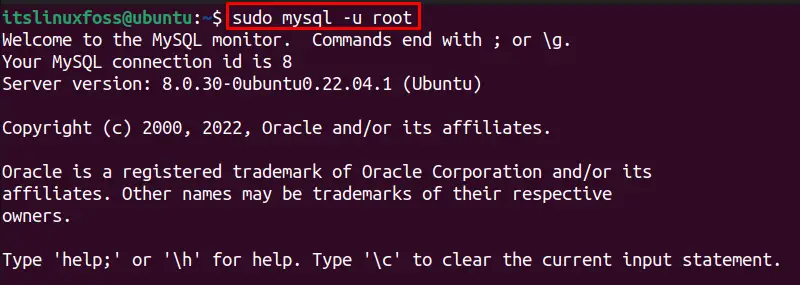
You will be directed to the MYSQL prompt.
Step 6: Change MySQL root password
Now, the root password for MySQL can be modified. Run the following “ALTER” command in MySQL prompt for changing the root password:
> ALTER USER 'root'@'localhost' IDENTIFIED BY 'new_password';
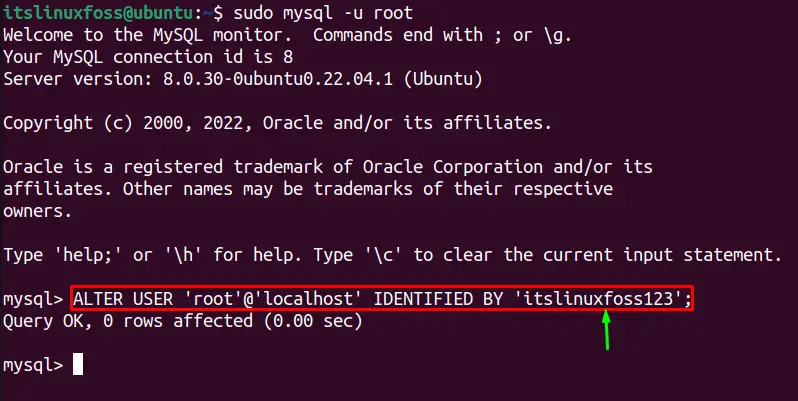
The new MySQL root password is set up in Ubuntu 22.04.
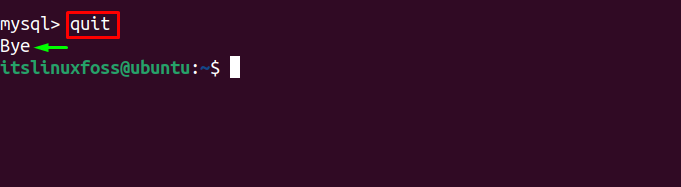
Step 7: Quit MySQL Prompt
To log out, type “quit” in MySQL prompt:
Step 8: Restore Database Normal Settings
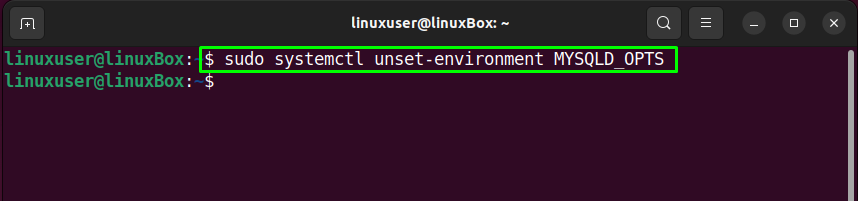
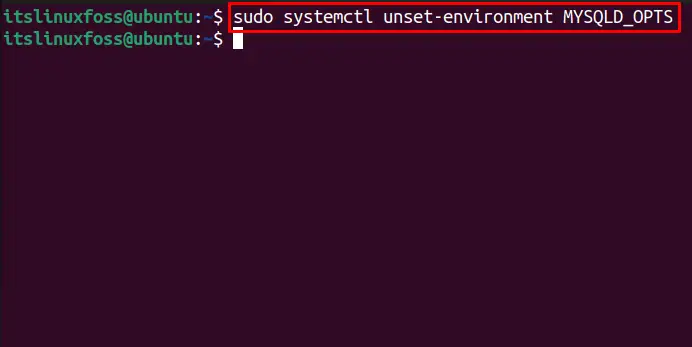
In the previous steps, we changed the environment variable by skipping networking and grant tables. Now, it’s time to restore the MySQL database’s normal setting for a secure configuration. For unsetting the environment variable:
$ sudo systemctl unset-environment MYSQLD_OPTS
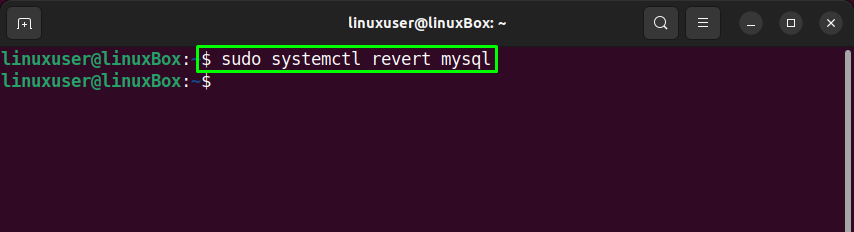
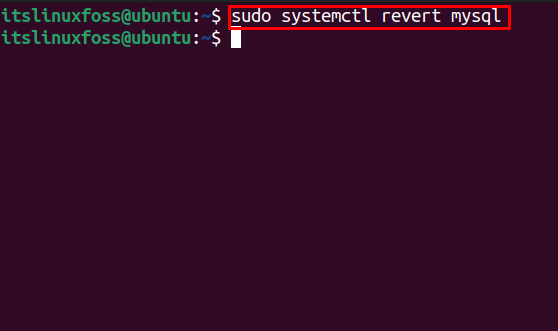
Next, we need to remove the modified system configuration by reverting the MySQL using this command:
$ sudo systemctl revert mysql
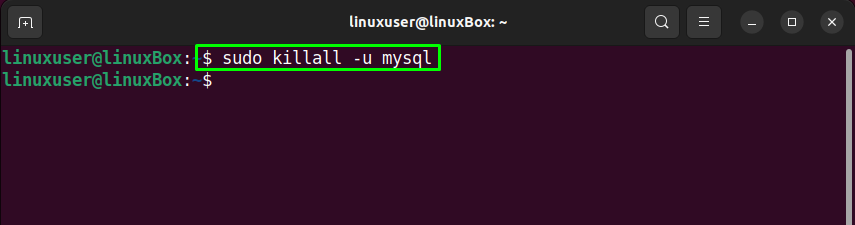
Step 9: Kill All MySQL Services
Now, use the “killall” command to end all MySQL server’s processes:
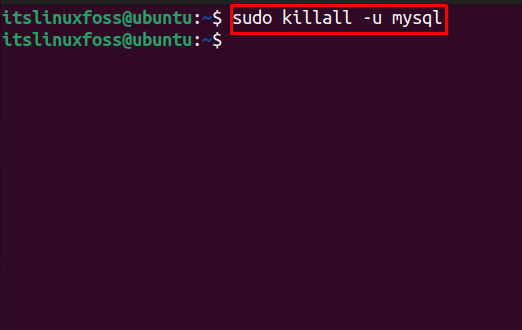
MySQL is completely closed.
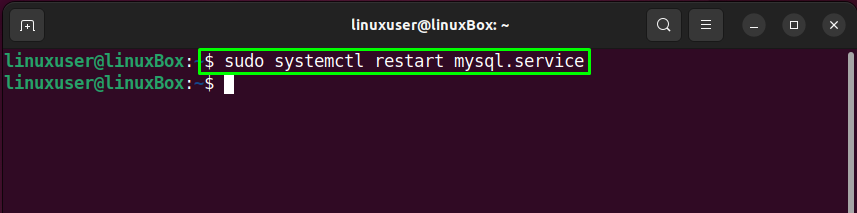
Step 10: Restart MySQL service
Restart the MySQL service after closing all the previous processes using:
$ sudo systemctl restart mysql.service
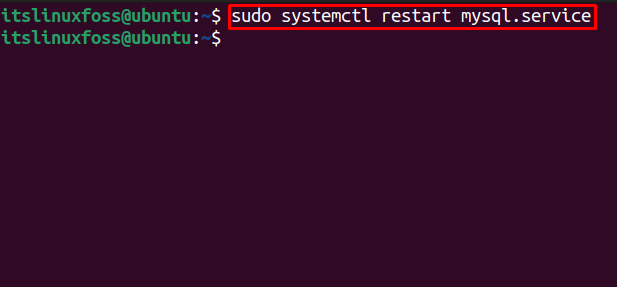
MySQL has been activated again.
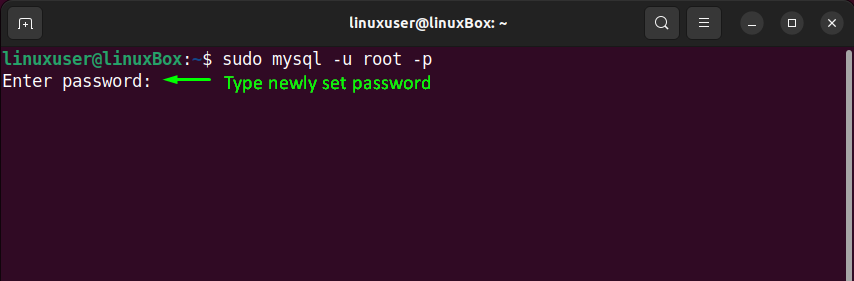
Step 11: Log in to MySQL With New Password
Finally, log in to the MySQL server as a root user with a newly created password:
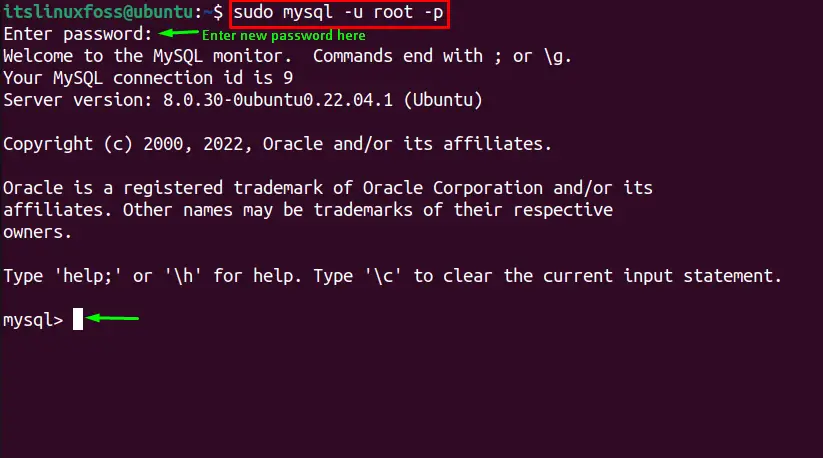
So, we have successfully changed the MySQL root password in Ubuntu.
Conclusion
MySQL root password can be changed in Ubuntu 22.04 using the “ALTER USER ‘root’@’localhost’ IDENTIFIED BY ‘new_password’” command. Before that, we have to access the MySQL database skipping “grant tables” and “networking” that store user privilege information. In this guide, we have demonstrated the essential steps to change MySQL root password in Ubuntu 22.04.