- Introduction:
- Understand the Test Lab for LAN Routing:
- Install LAN Routing service on Windows Server 2019:
- Configure and Enable LAN Routing on Windows Server 2019:
- Verify the LAN Routing Configuration:
- Related Articles:
- Overview:
- Understanding Test Lab Setup:
- Install Routing and Remote Access on Server 2019:
- Configure NAT and LAN Routing on Windows Server 2019:
- Verify NAT Configuration Settings:
- Test NAT functionality from Windows 10:
- Related Article:
- Windows Server 2019. NAT или как включить Forwarding.
- Поехали.
Introduction:
In CCNA, we have learned about IP Routing and routing protocols. Routing is the process of transferring data from one network to another by selecting the best path from all available paths.
We can use a device called router to route traffic between two subnets or networks. For small networks, we can use a Windows server 2019, to perform the IP forwarding and LAN routing.
In this post, we will learn the steps to configure LAN Routing in Windows Server 2019.
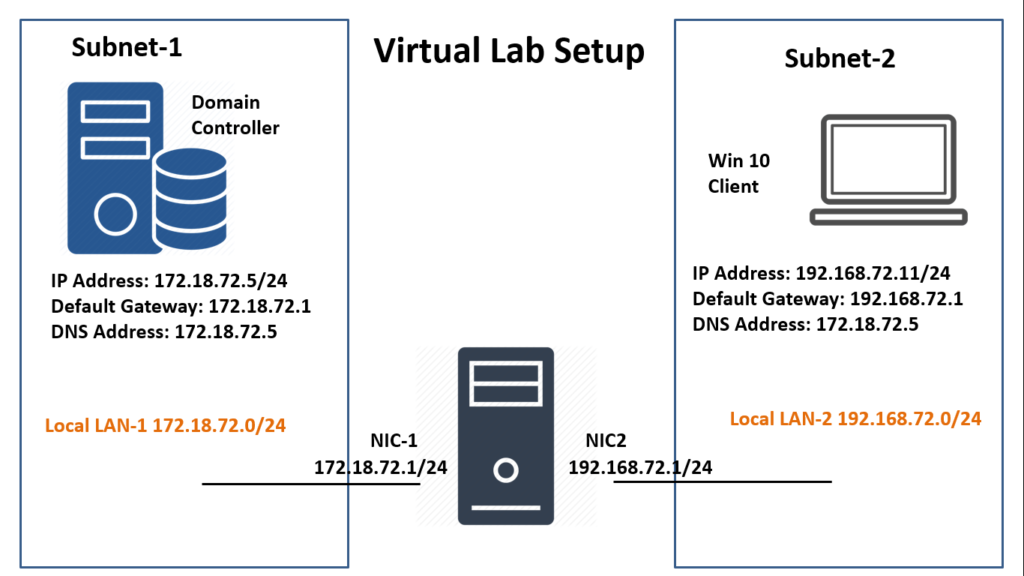
Understand the Test Lab for LAN Routing:
Note: For this guide, we will use the test lab created in VirtualBox.
- WS2K19-DC01: Domain Controller with DNS. (172.18.72.5/24)
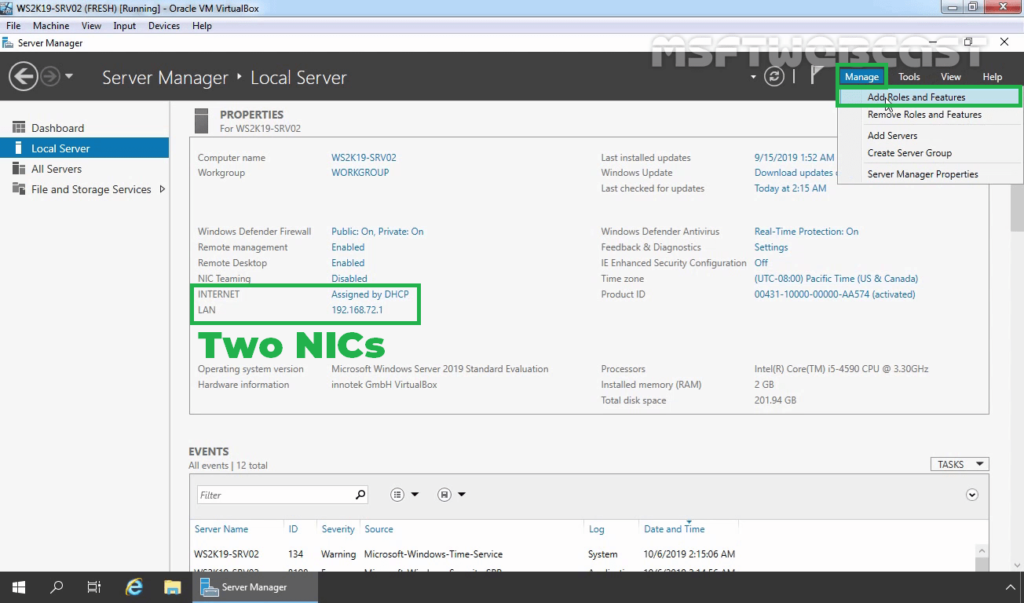
- WS2K19-SRV02: Server 2019 with 2 NICs (NIC-1 with IP 172.18.72.1/24 and NIC-2 with 192.168.72.1/24)
- WS10-1903: Windows 10 client machine. (192.168.72.5/24)
Look at the below image for complete IP configuration details for all VMs.
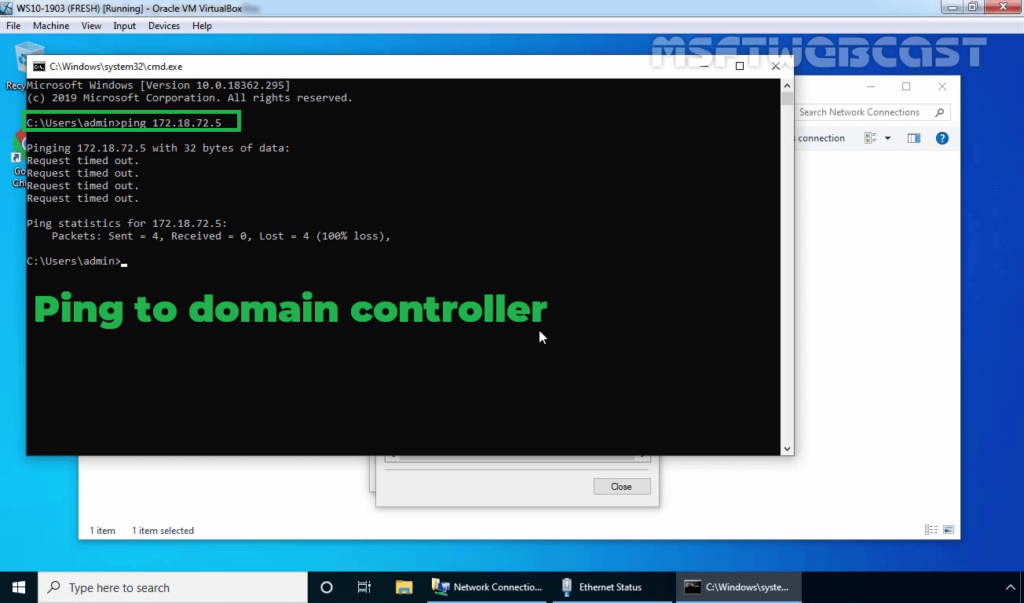
Before we start configuration, check ping from Windows 10 machine to Domain Controller. (Ping 172.18.72.5)
Install LAN Routing service on Windows Server 2019:
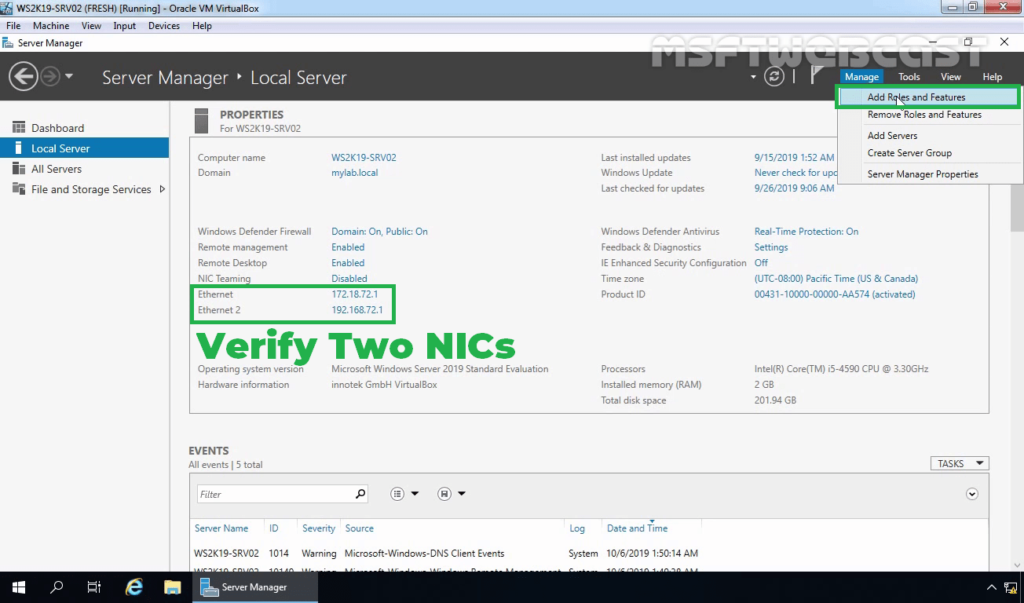
The LAN routing role service is part of the Remote Access server role. Let’s install the Remote Access server role on the WS2K19-SRV02 server. Open Server Manager Console.
1. Click on Manage and select Add Role and Features.
2. On the Before you begin page, click Next.

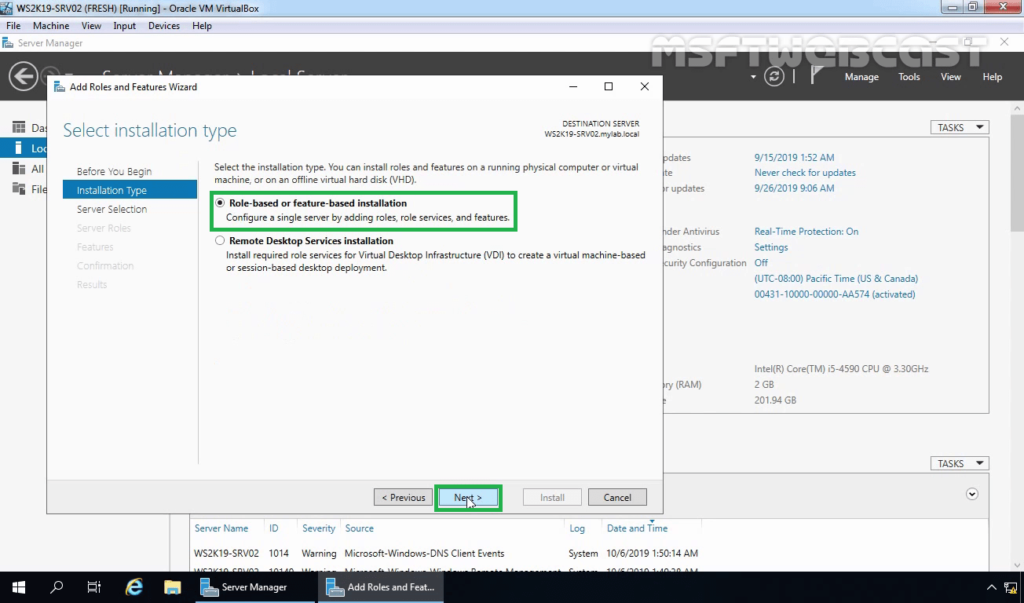
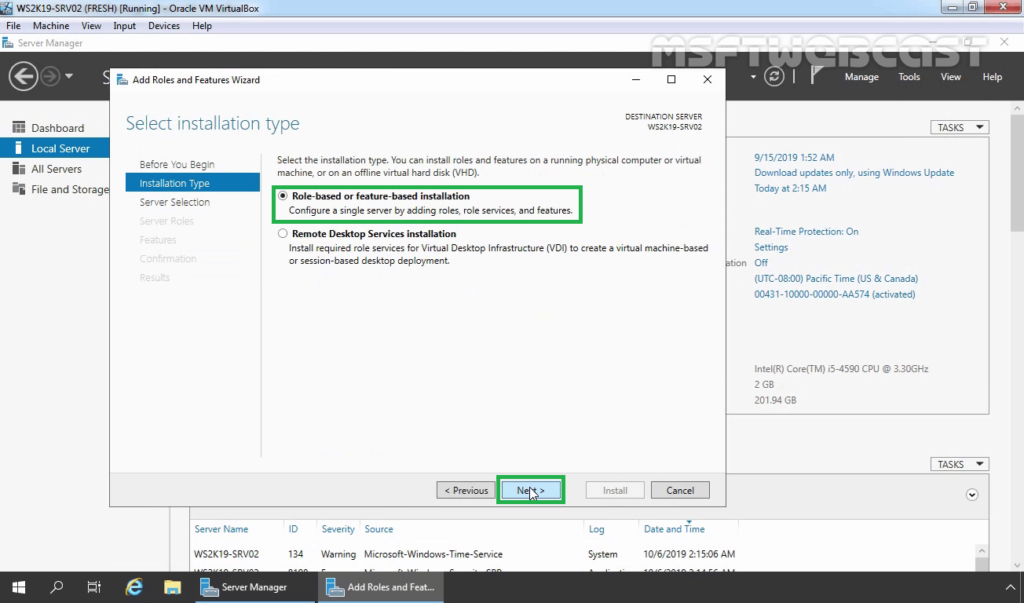
3. Select Role-based or feature-based installation and click Next.
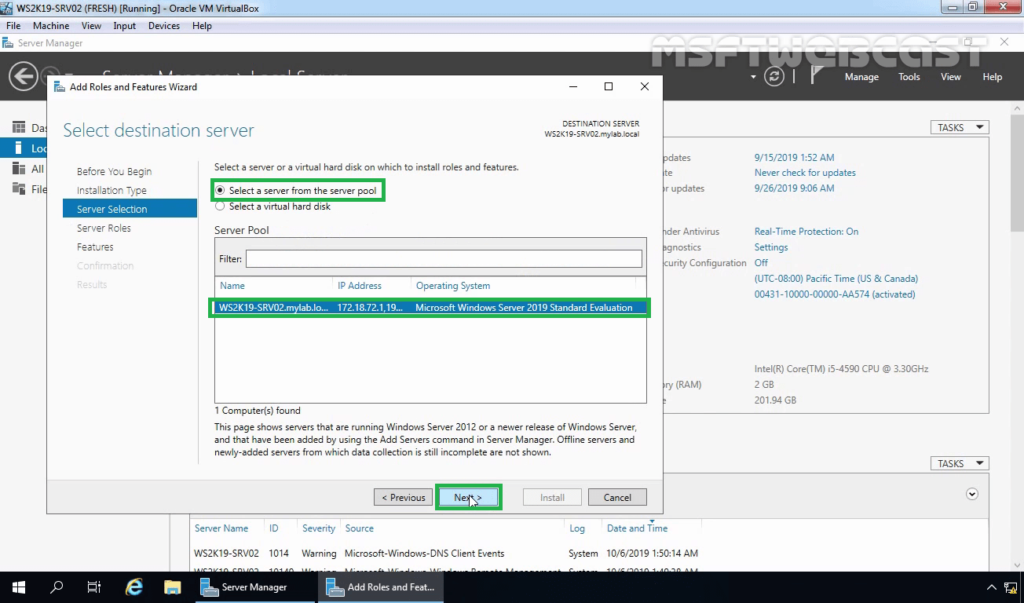
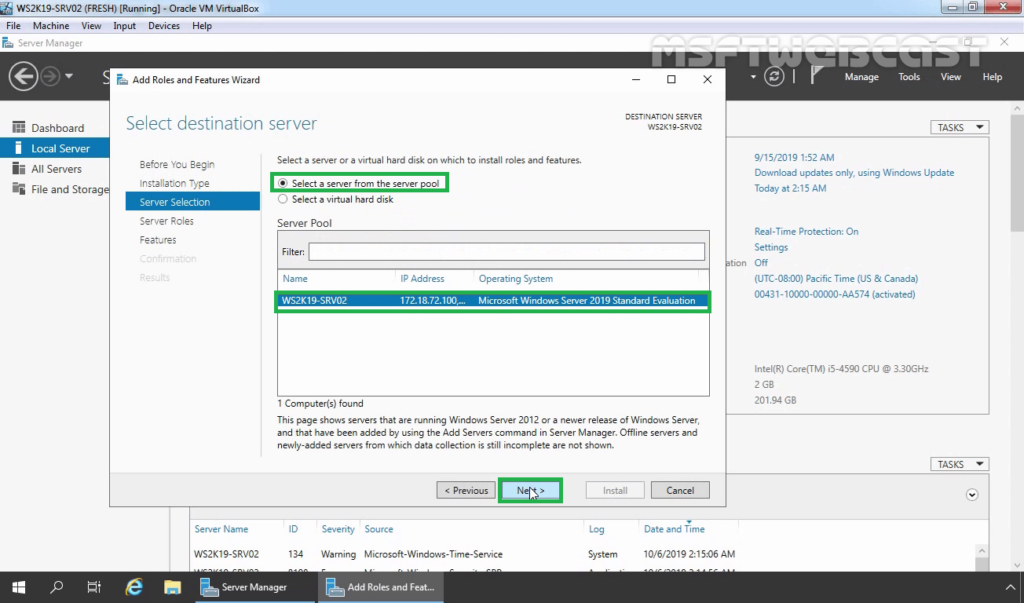
4. Select a server from the server pool on which you want to install the Remote Access Service role, click Next.
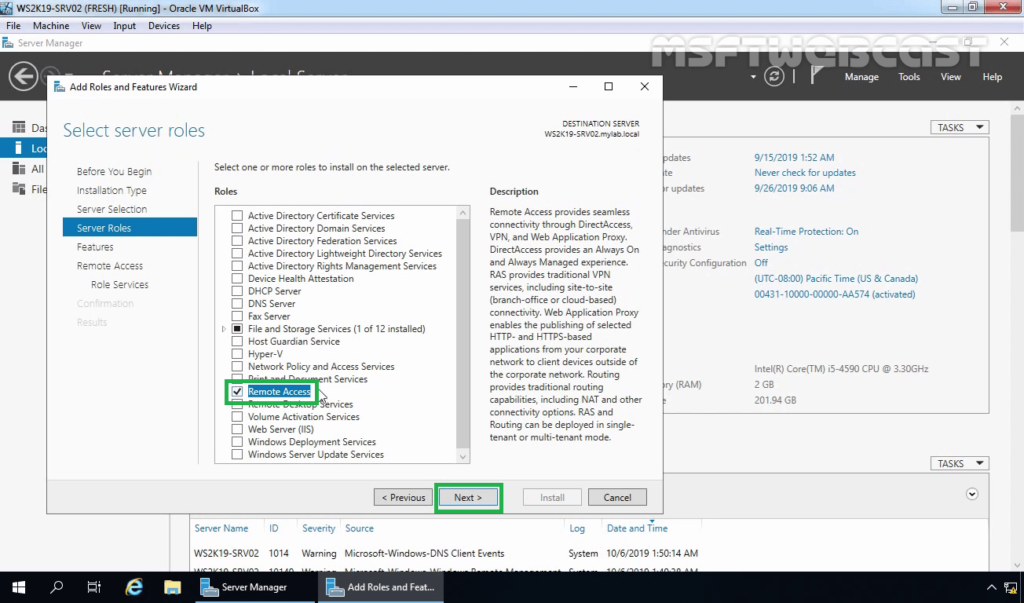
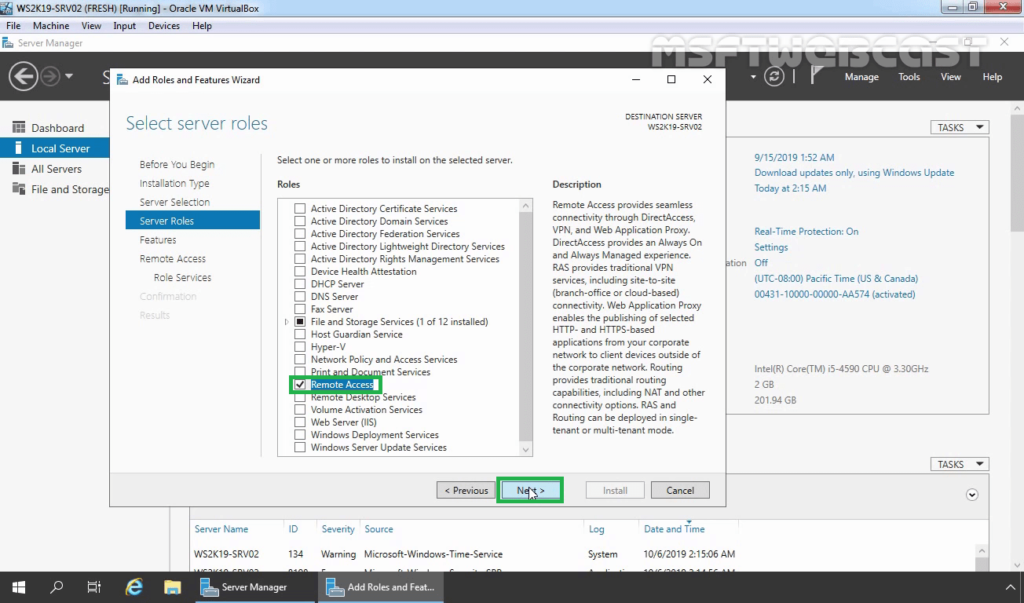
5. On select server roles page, select the Remote Access Service checkbox. Click Next.
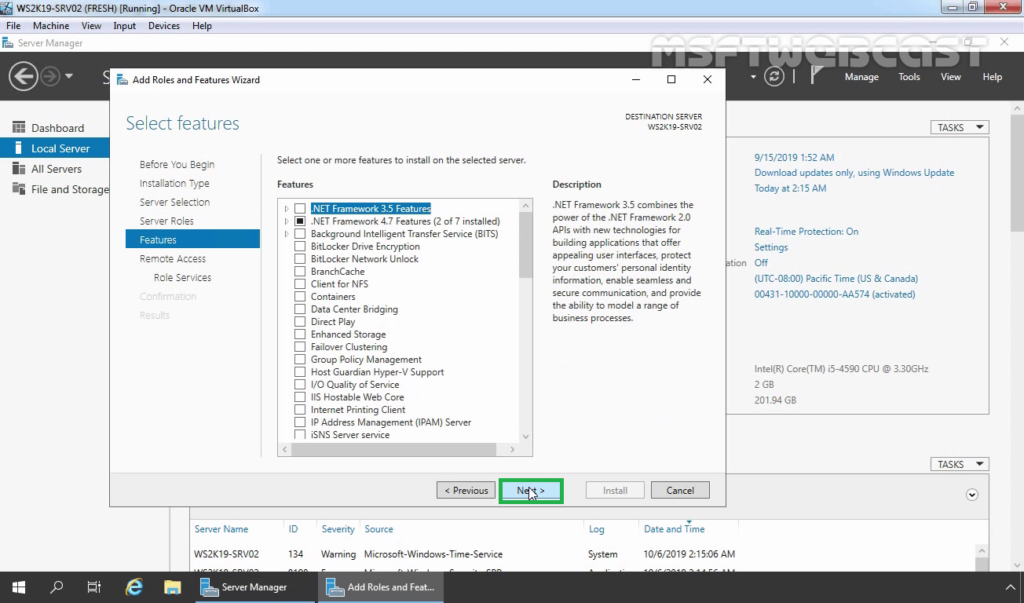
6. On select features, click Next.
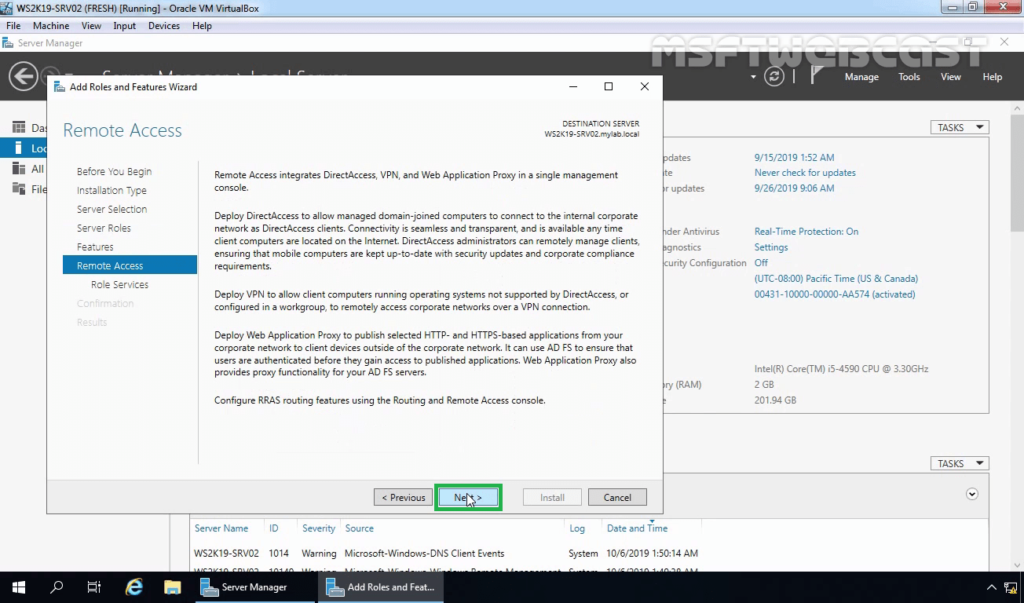
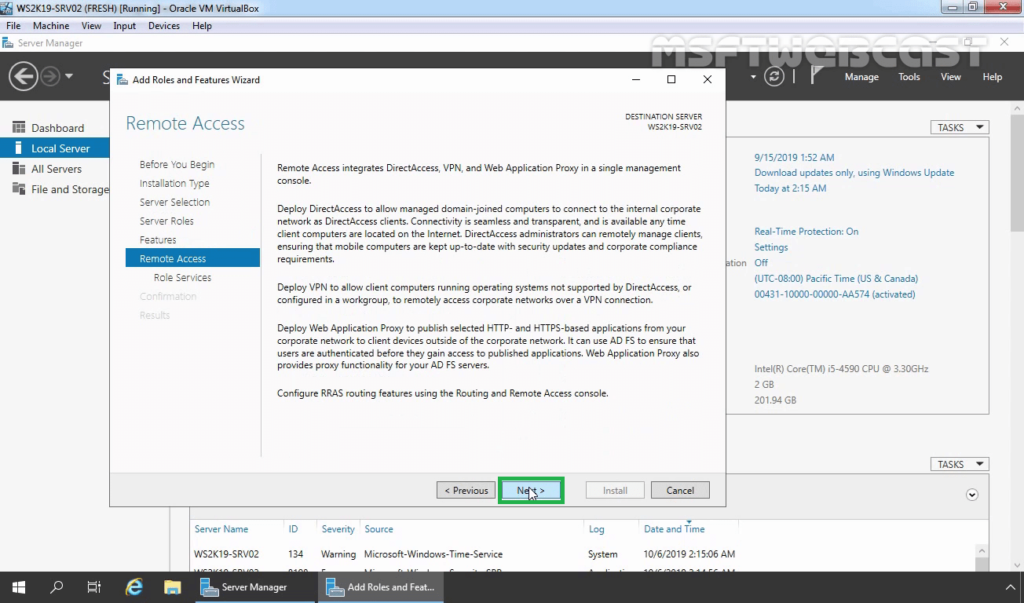
7. Read overview information about Remote Access Services and click Next.
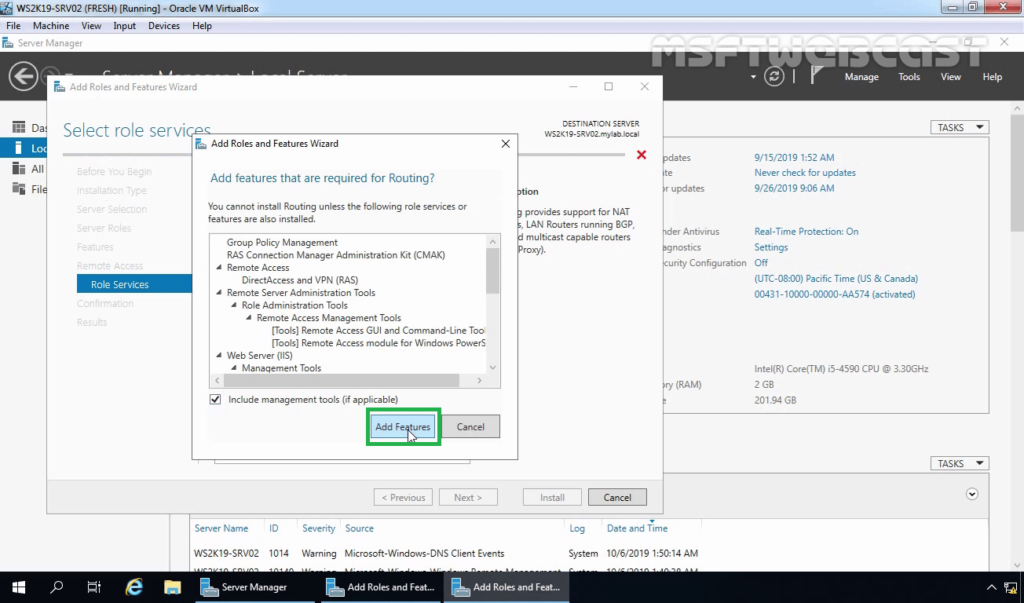
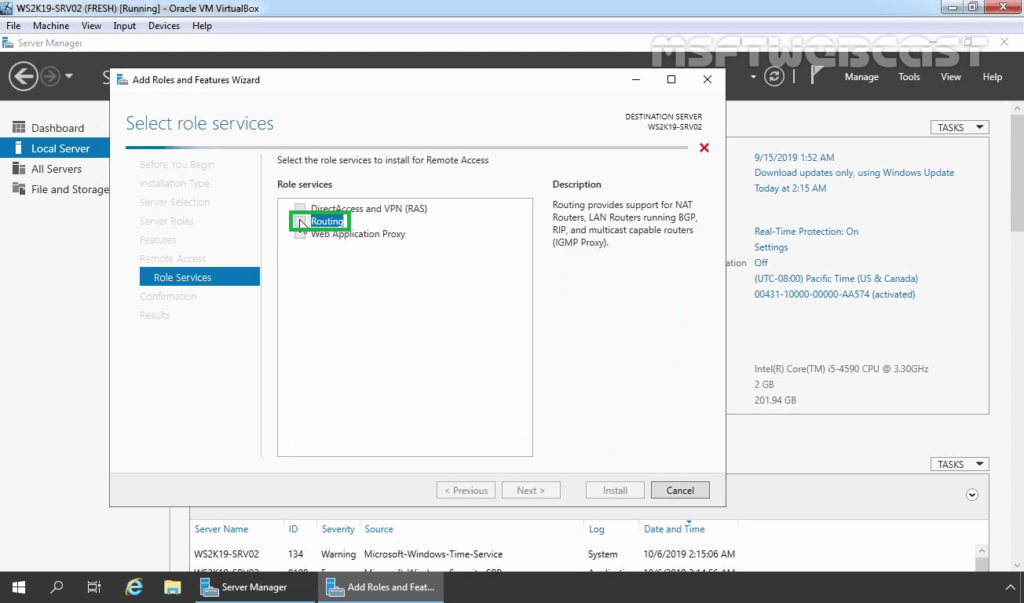
8. On Select Role Service console, select the Routing checkbox to install the LAN Routing role service.
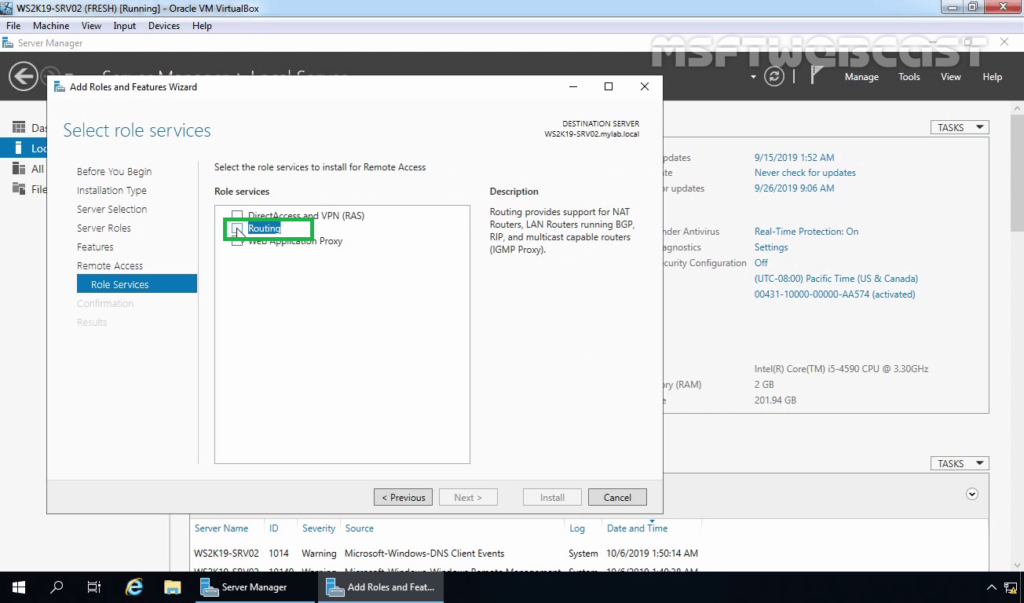
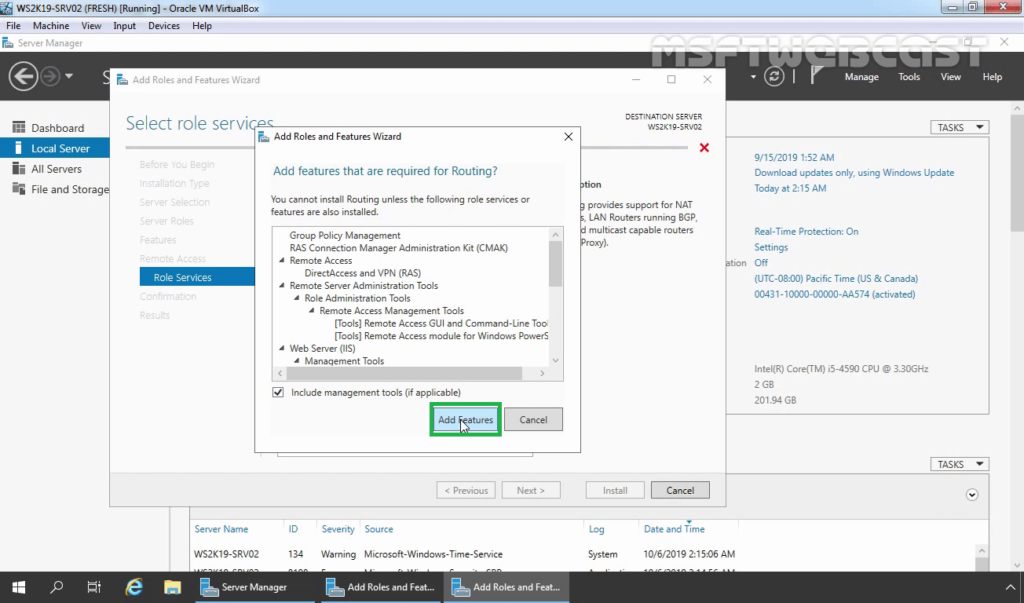
9. Click the Add Features button to add the required feature for LAN Routing. Click Next to continue.
10. Click Next.
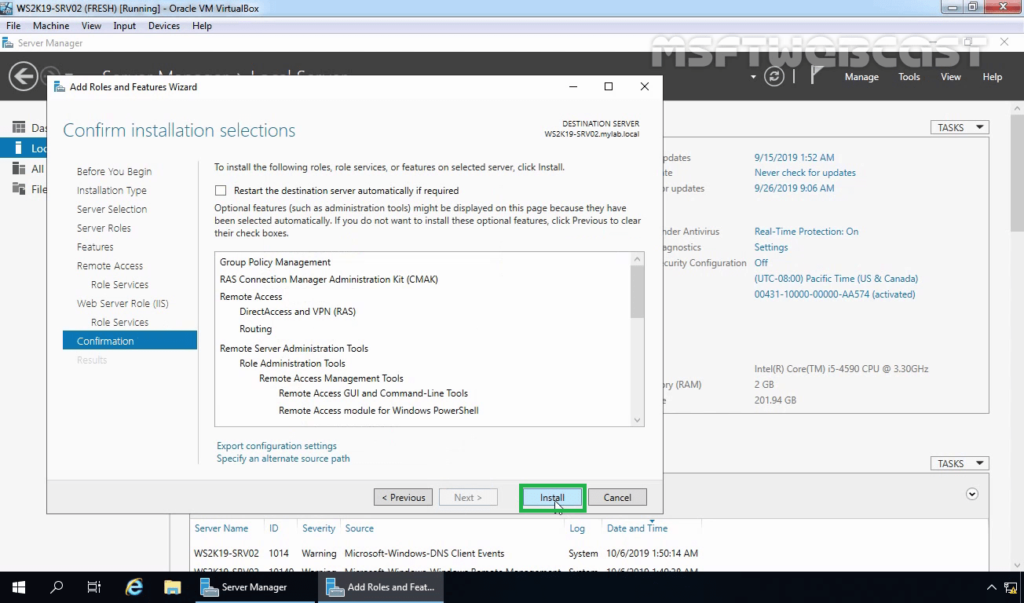
11. Click Install and complete the installation process.
12. Click Close to finish the installation.
Configure and Enable LAN Routing on Windows Server 2019:
To enable and configure LAN routing, open the Remote and Routing Access console using the Server Manager console.
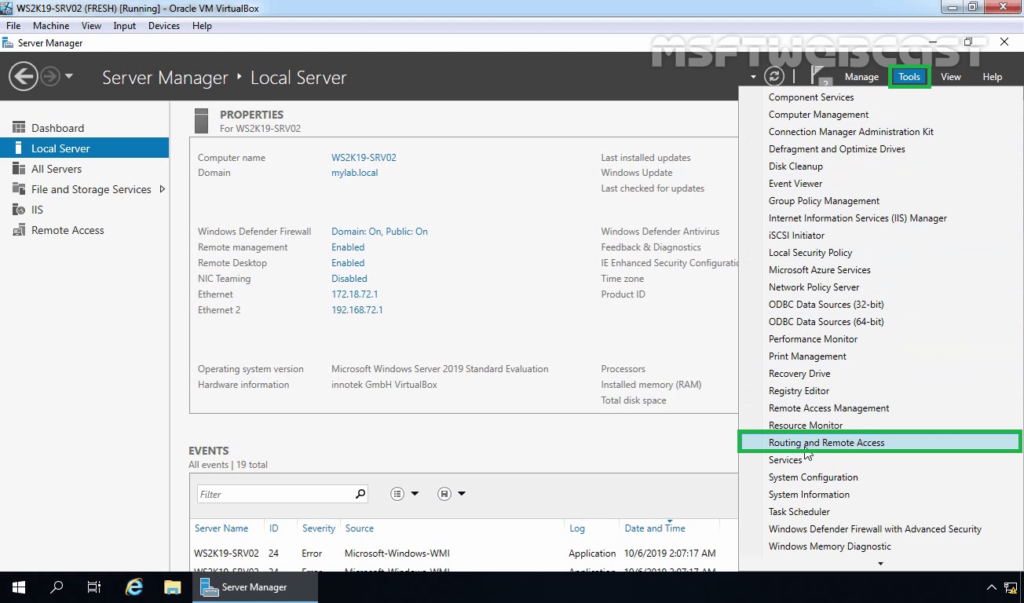
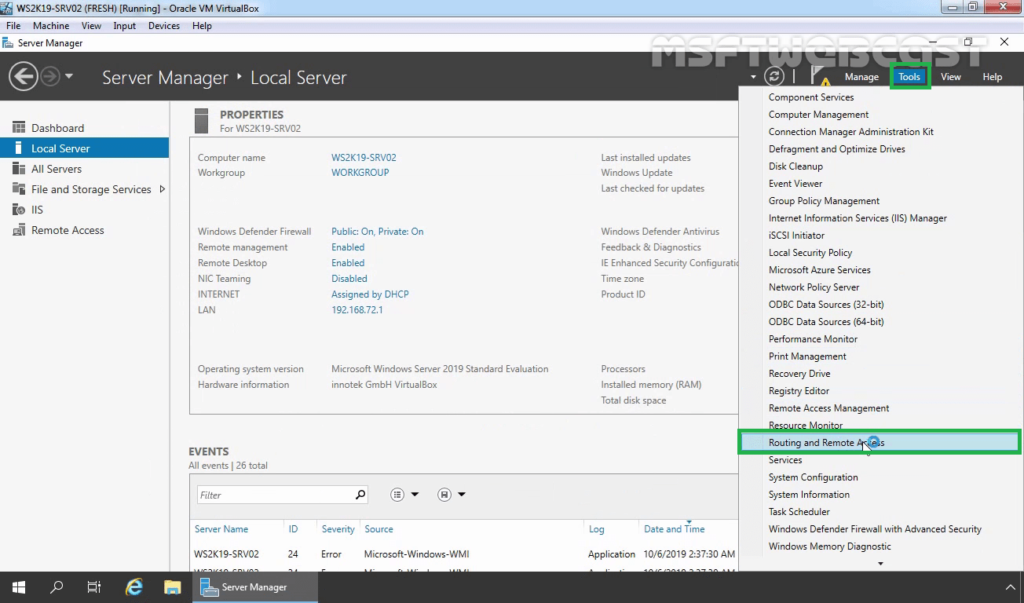
13. Click on Tools and select Remote and Routing Access.
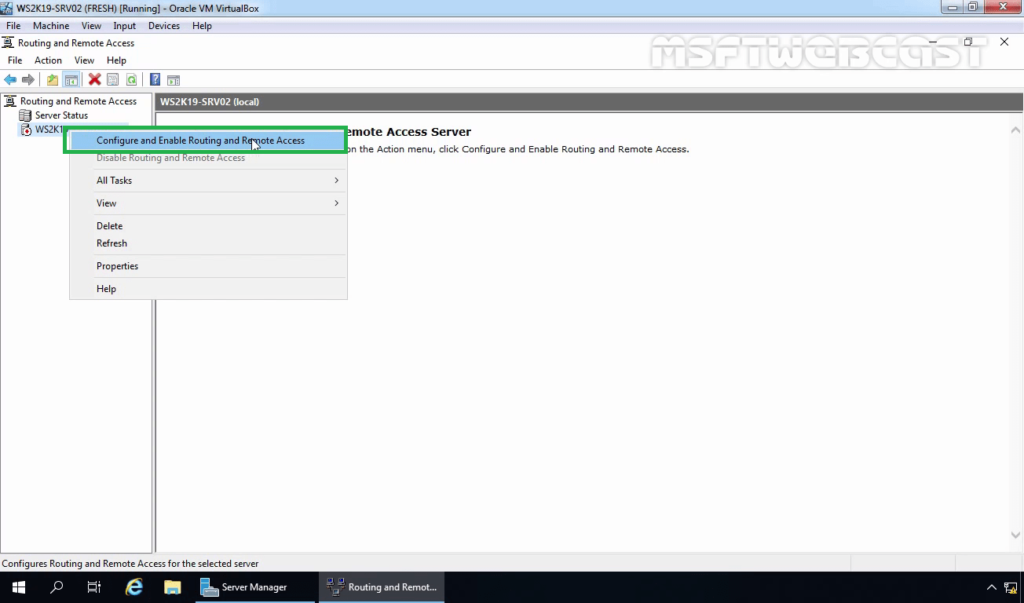
14. Select and right-click on the local server name and then select Configure and Enable Routing and Remote Access.
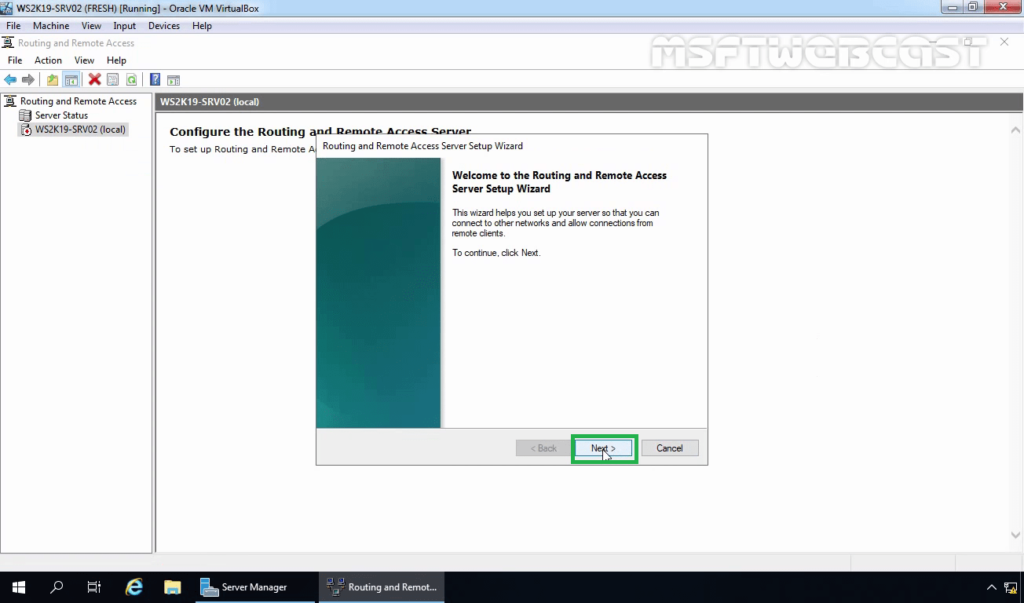
15. On the welcome page, read the description, and click Next.
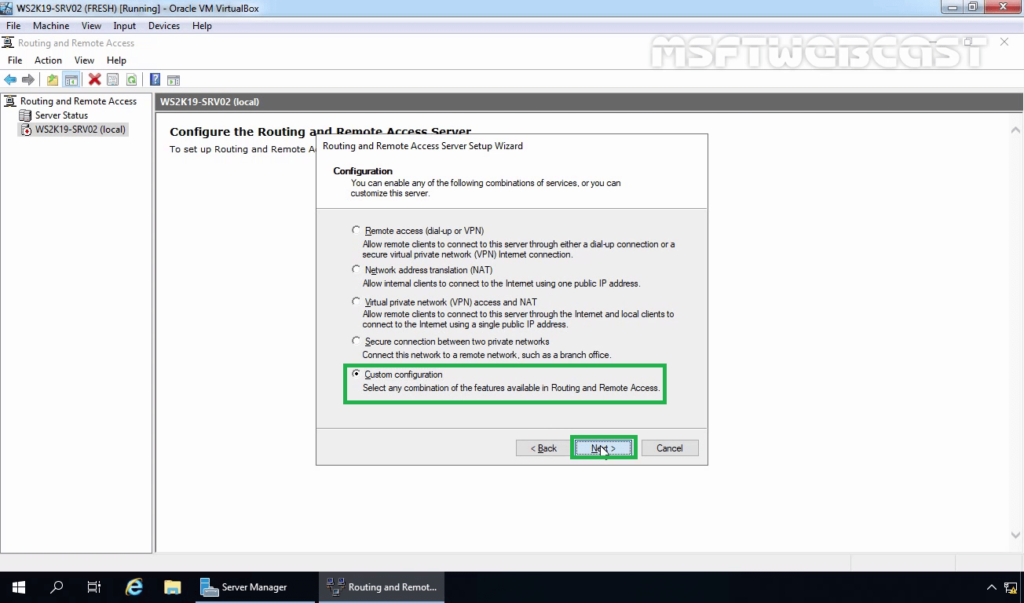
16. On the Configuration page, select custom configuration. Click Next.
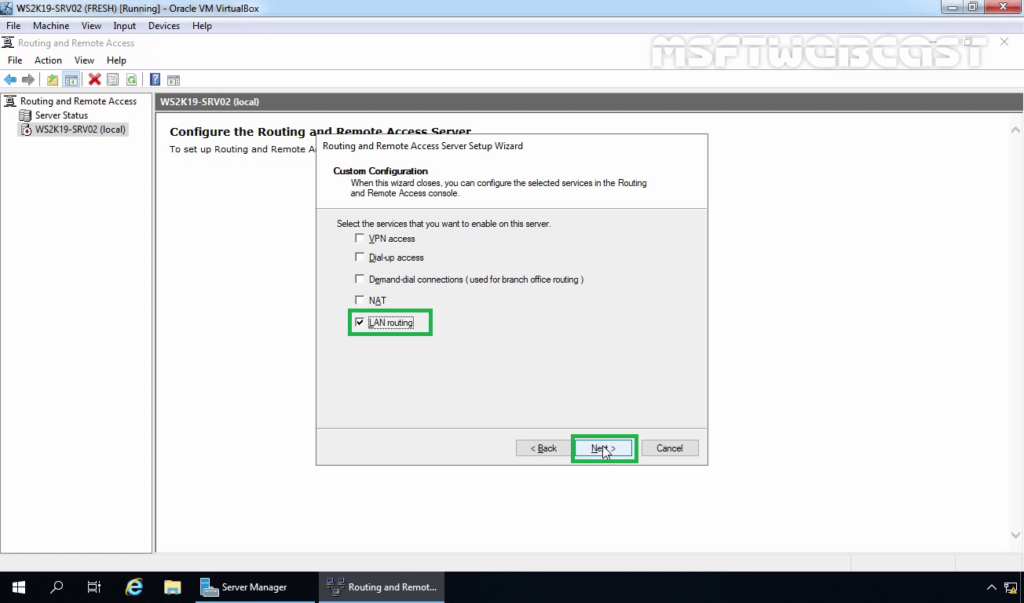
17. On the Custom Configuration page, select the LAN Routing feature and click Next.
18. Click Finish.
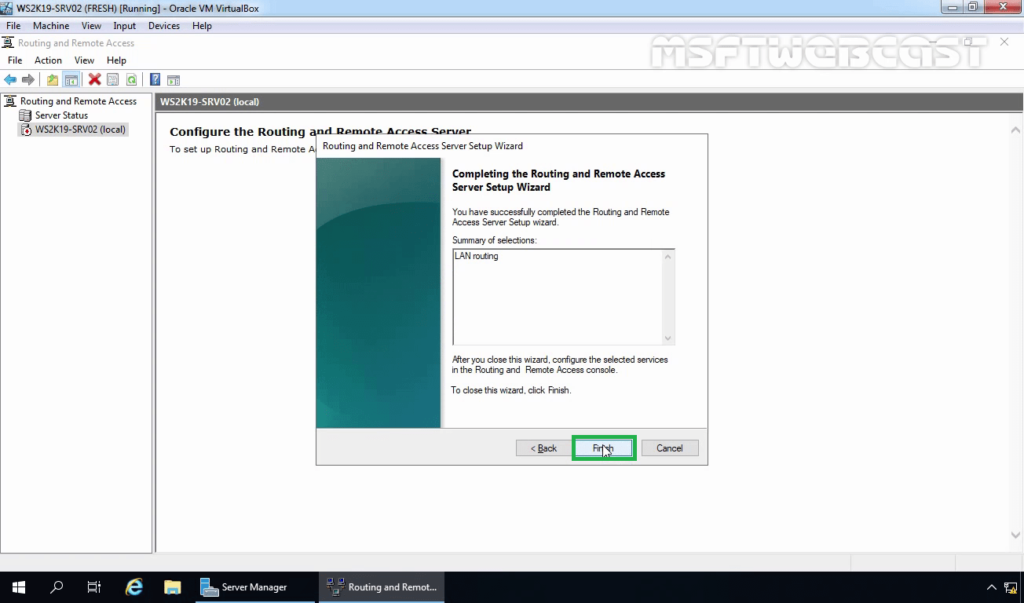
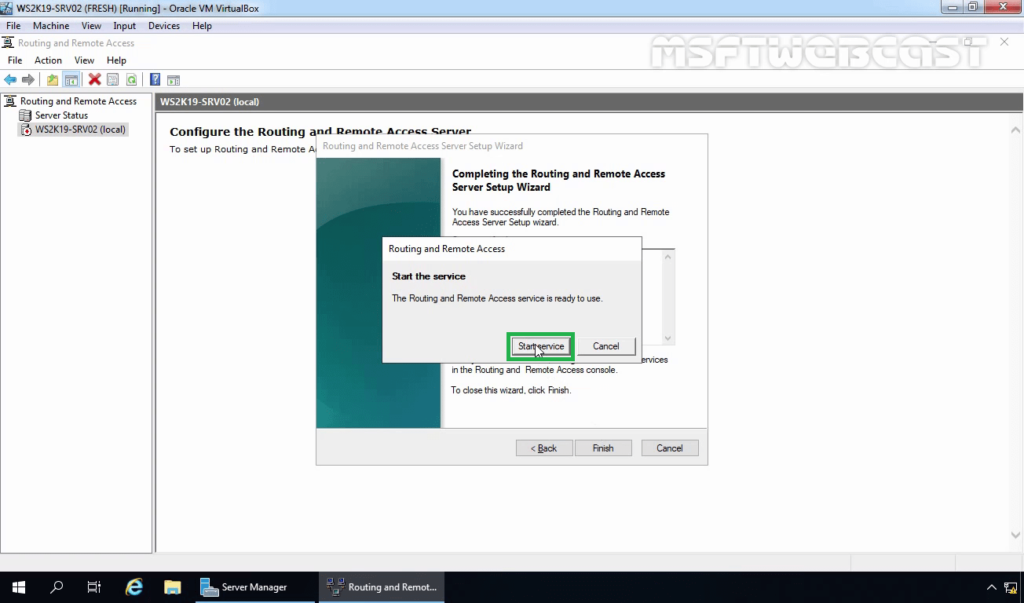
19. When the service message box displays, click Start Service to start the Routing and Remote Access service.
Verify the LAN Routing Configuration:
We have enabled and configured LAN routing on our software router (Windows Server 2019). Now, it’s time to test our LAN Routing configuration.
Before you proceed, make sure the Windows firewall on the router (WS2K19-SRV02) allows the ICMP packet for the ping to pass successfully. Even we can temporarily close the Windows Firewall for testing purposes.
Read this post on how to Create ICMP exception rule in Windows Firewall to allow ping.
Next, move on to Windows 10 machine. Open Command prompt.
First, run the below command: ping 172.18.72.5
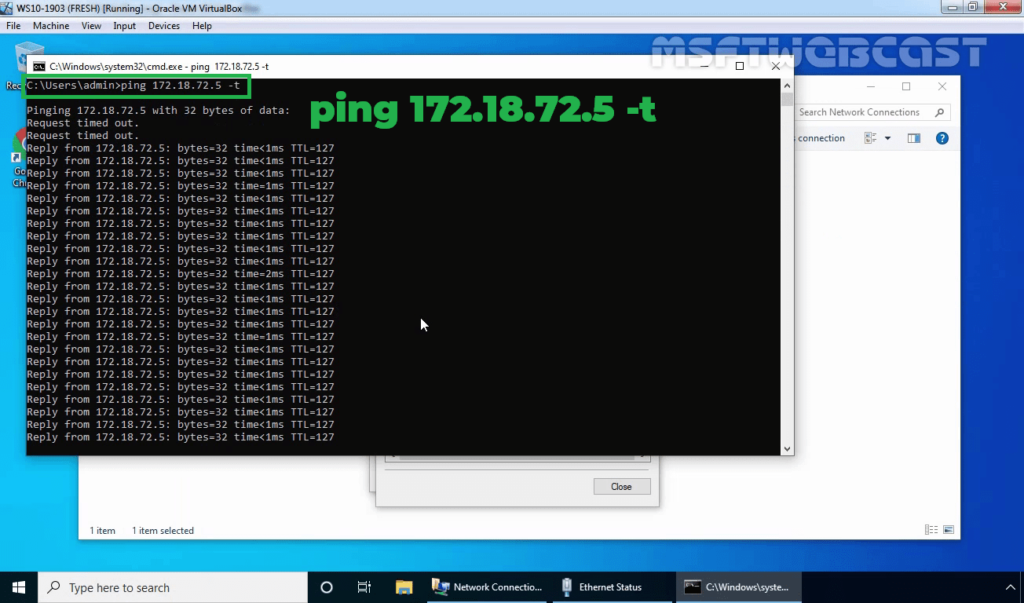
This time you must be able to receive ICMP reply from Domain Controller as we have LAN routing place.
Second, run the below command: tracert 172.18.72.5
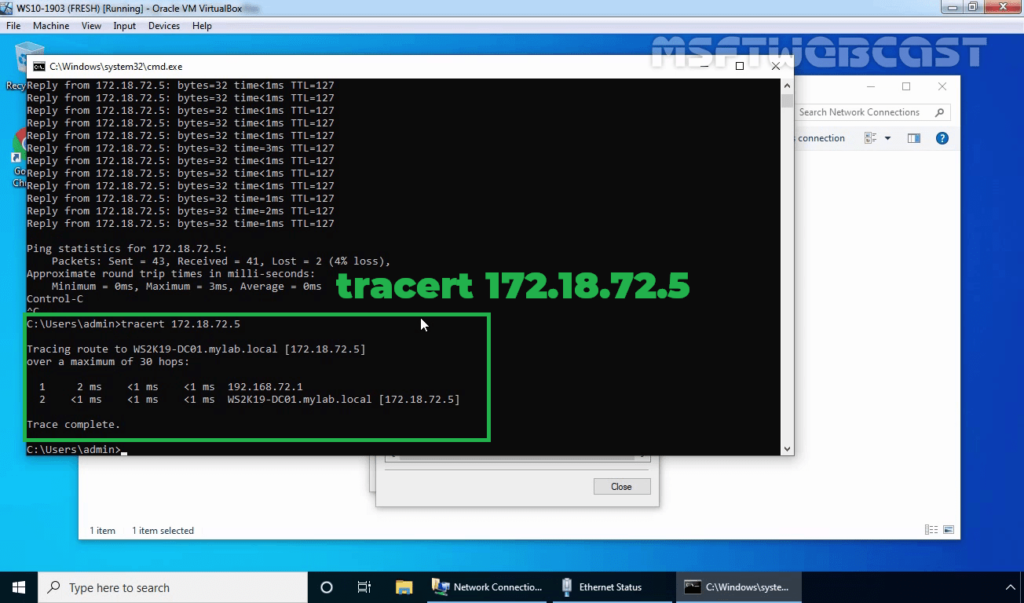
As we see the result, the packet will be first delivered to Router and then to Domain Controller.
In this post, we have learned a step by step guide to enable and configure LAN Routing in Windows Server 2019.
Related Articles:
Overview:
In this post, we will be configuring Windows Server 2019 as a NAT (Network Address Translation) router to route traffic between local LAN and the internet.
The Windows Server 2019 must have two Network Adapters, one configured for the internal local network (LAN) and another one configured to access the internet (Internet).
Understanding Test Lab Setup:
For this guide, we will use the test lab created in VirtualBox.
- WS2K19-SRV02: Server 2019 with 2 NICs (LAN and INTERNET)
- WS10-1903: Windows 10 client machine.
Look at the below image for complete IP configuration details for all VMs.
Install Routing and Remote Access on Server 2019:
Let’s install the Remote Access server role on the WS2K19-SRV02 server. Open Server Manager Console.
1. Click on Manage and select Add Role and Features.
2. On the Before you begin page, click Next.

3. Select Role-based or feature-based installation and click Next.
4. Select a server from the server pool on which you want to install the Remote Access Service role, click Next.
5. On select server roles page, select the Remote Access Services checkbox. Click Next.
6. On select features, click Next.
7. Read overview information about Remote Access Services and click Next.
8. On Select Role Service console, select the Routing checkbox to install the LAN Routing role service.
9. Click the Add Features button to add the required feature for LAN Routing. Click Next to continue.
10. Click Next on Web Server role services page.
11. Click Install and complete the installation process.
12. Click Close to finish the installation.
Configure NAT and LAN Routing on Windows Server 2019:
13. To configure NAT and LAN routing, open the Remote and Routing Access console using the Server Manager console.
14. Click on Tools and select Remote and Routing Access.
15. Select and right-click on the local server name and then select Configure and Enable Routing and Remote Access.
16. On the welcome page, read the description, and click Next.
17. On the Configuration page, select the Network Address Translation (NAT). Click Next.
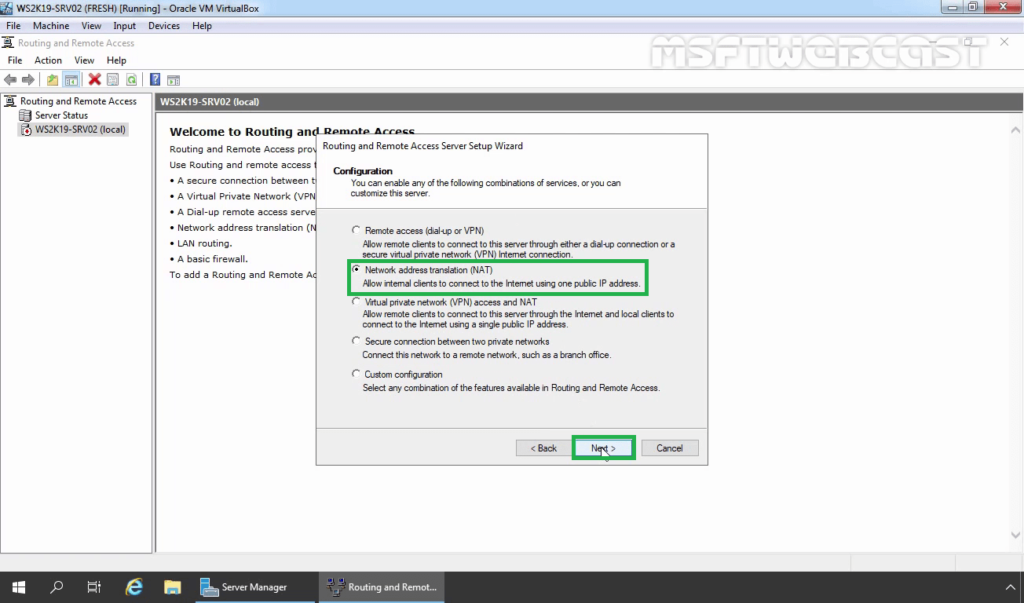
18. On the NAT Internet Connection page, select the network interface your users will use to connect to the internet. Click Next.

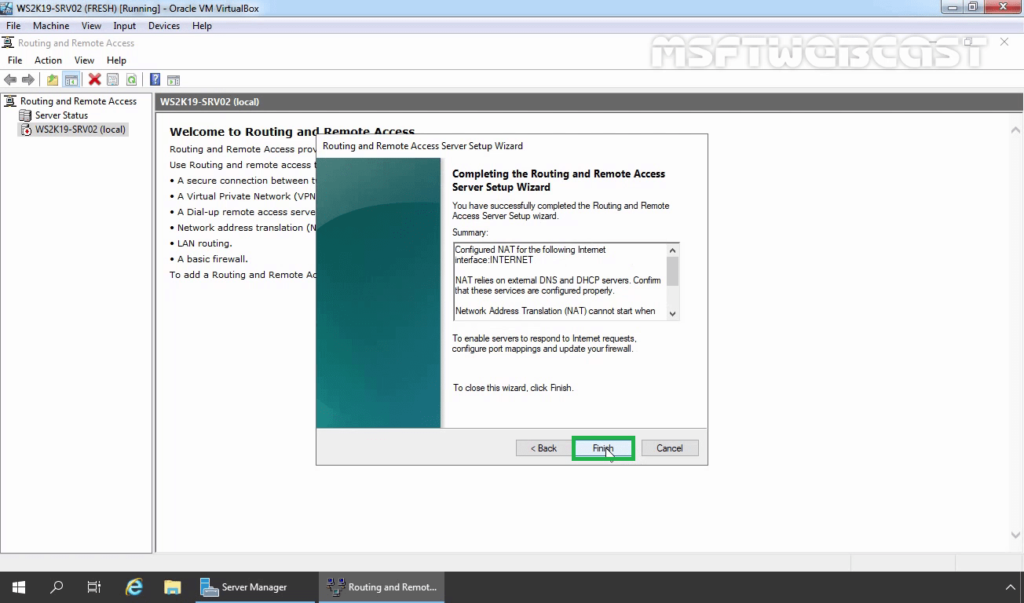
19. Click Finish.
Verify NAT Configuration Settings:
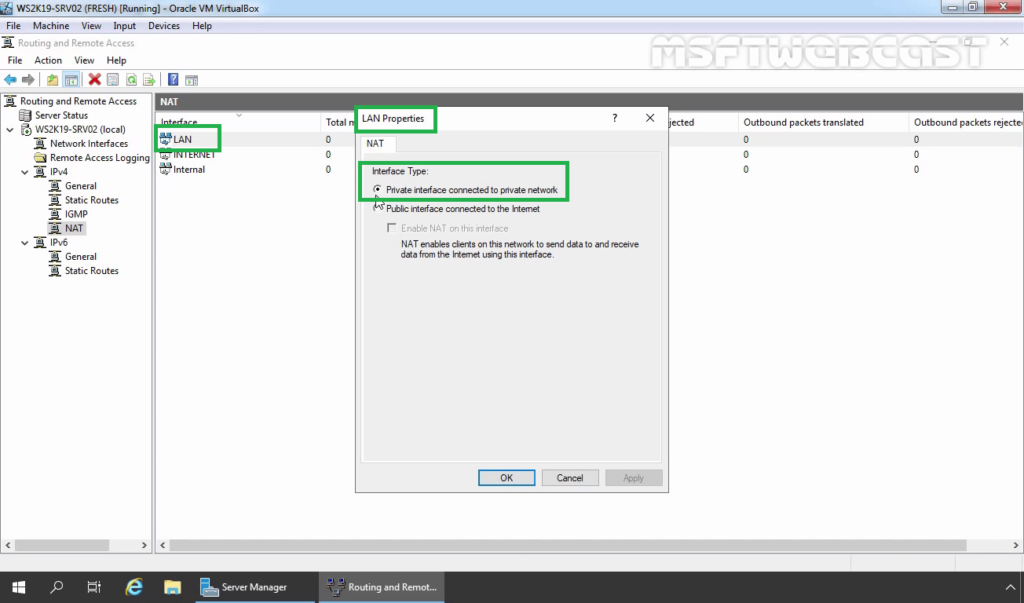
20. On Routing and Remote Access console, expand the local server name, expand IPv4. Click and Expand NAT.
21. Double-click on the LAN interface. Verify Interface type is a Private interface connected to the private network.
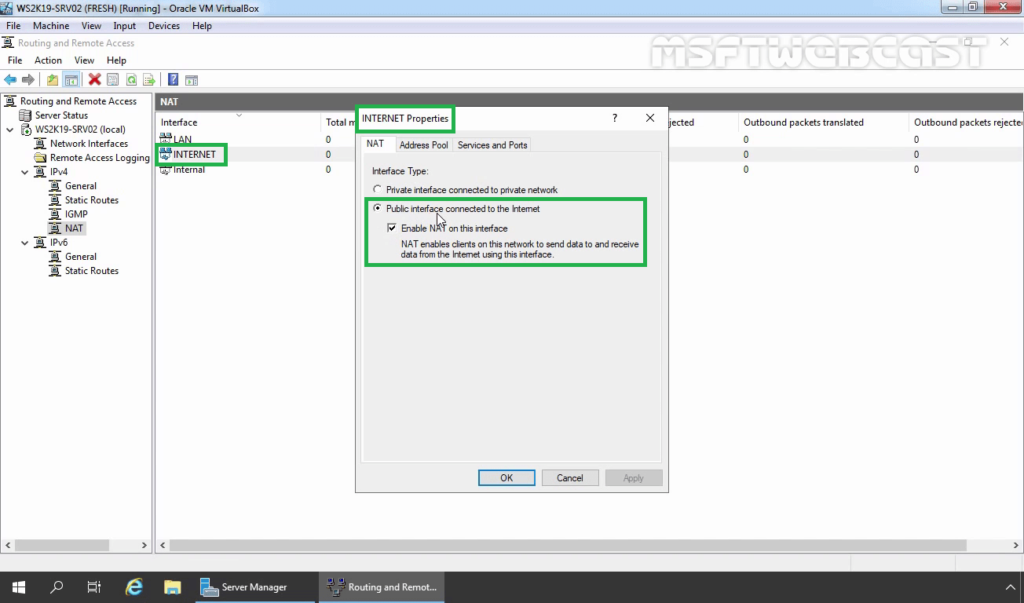
22. Double-click on the INTERNET interface. Verify Interface type is a Public interface connected to the Internet. Make sure that Enable NAT on this interface checkbox is selected.
Test NAT functionality from Windows 10:
To test NAT functionality, move to Windows 10 PC.
23. Open command prompt and ping to googles public dns server. (ping 8.8.8.8)
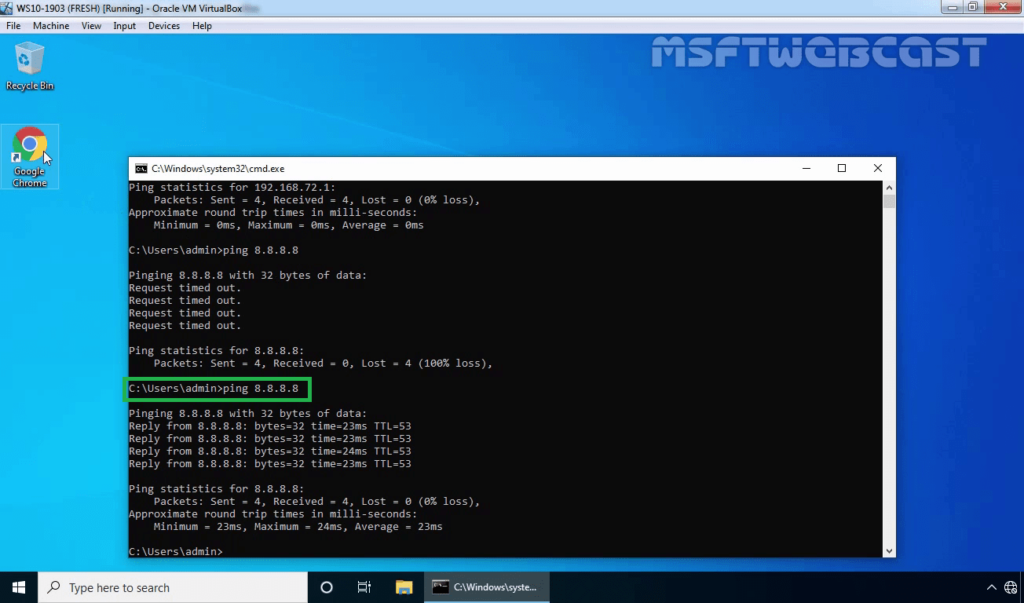
24. Open the web browser and access www.google.com.
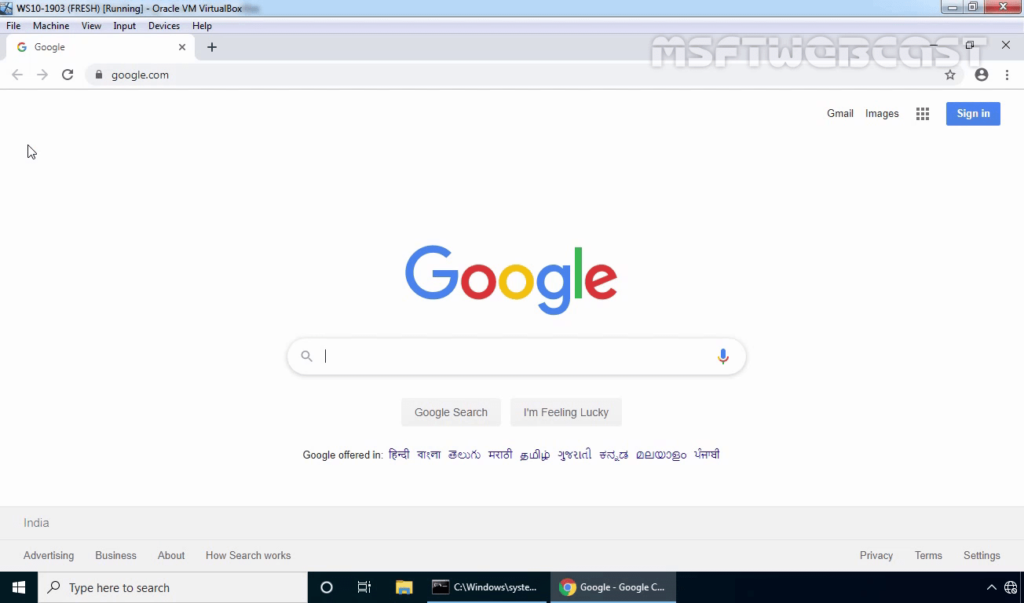
25. If the user can access the www.google.com website successfully, that means NAT is working properly.
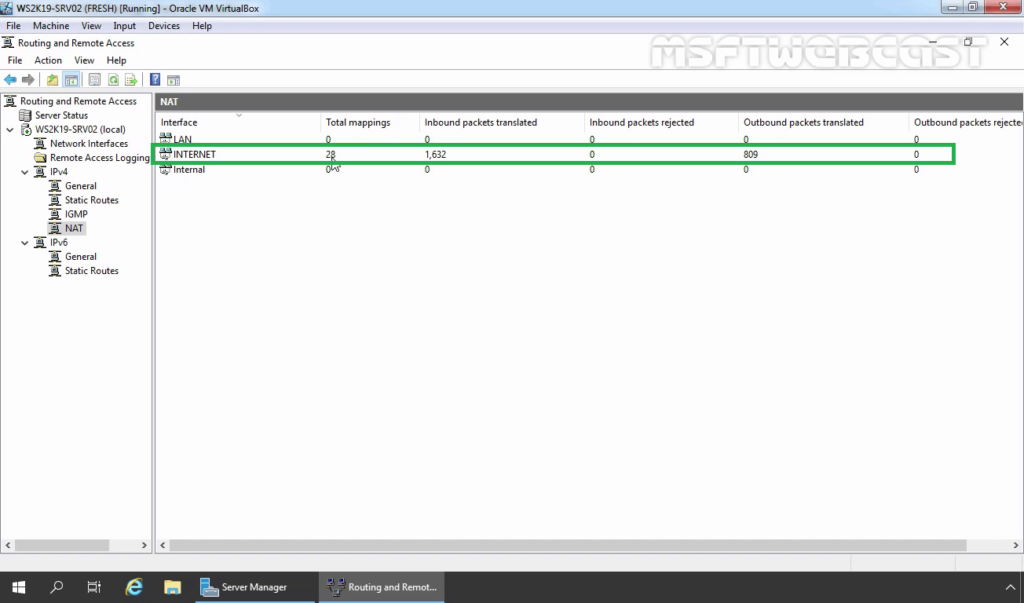
On Windows Server 2019 NAT Router,
26. Click on NAT and you should see that packets have been translated.
In this guide, we have learned the steps to Configure Windows Server 2019 as a NAT Router.
Related Article:
Windows Server 2019. NAT или как включить Forwarding.
Берем типичную ситуацию. У нас есть сервер с двумя сетевыми интерфейсами. Один подключен к интернету, а другой подключен к локальной сети. Нам бы конечно хотелось что бы локальная сеть тоже была в интернете, например для удаленного доступа на локальную машину или просто нужен интернет (Пикабусики там). Получается сервер у нас выступает шлюзом между двумя сетями которые мы хотим объединить. Для этого настроим NAT.

NAT (от англ. Network Address Translation — «преобразование сетевых адресов») — это механизм в сетях TCP/IP, позволяющий преобразовывать IP-адреса транзитных пакетов. Также имеет названия IP Masquerading, Network Masquerading и Native Address Translation. Преобразование адреса методом NAT может производиться почти любым маршрутизирующим устройством — маршрутизатором, сервером доступа, межсетевым экраном. Наиболее популярным является SNAT, суть механизма которого состоит в замене адреса источника (англ. source) при прохождении пакета в одну сторону и обратной замене адреса назначения (англ. destination) в ответном пакете.
Википедия.
Поехали.
Первым делом нам настроить сетевые интерфейсы. Интерфейс который смотрит в интернет (назовем его INT) может получать настройки и по DHCP. А вот локальный ( LOC ) надо настраивать ручками, мы будем шлюзом для всей локальной сети.
Далее нам потребуется добавить роль «Маршрутизация и удалённый доступ» на сервер.


Теперь переходим к настройке маршрутизации :


Настройка и включение маршрутизации — Особая конфигурация — Переадресация сетевых адресов .
Теперь выбираем на сервере маршрутизации протокол IPv4, заходим в папочку преобразование сетевых адресов. И выбираем интерфейс для которого требуется включить NAT.


Вот и все. Теперь нам доступен интернет из локальной сети.

Ошибка в тексте? Выделите её и нажмите «Ctrl + Enter»