- Install and Configure Samba
- What you’ll learn
- What you’ll need
- 2. Installing Samba
- 3. Setting up Samba
- What we’ve just added
- 4. Setting up User Accounts and Connecting to Share
- Connecting to Share
- If you’d like to take your configuration further…
- Установка и настройка Samba в Ubuntu
- Введение
- Установка Samba
- Настройка Samba
- Добавление пользователя сетевого диска
- Подключение к сетевому диску
- Видео
- Samba as a file server
- Install Samba
- Configure Samba as a file server
- Create the directory
- Enable the new configuration
- Further reading
Install and Configure Samba
A Samba file server enables file sharing across different operating systems over a network. It lets you access your desktop files from a laptop and share files with Windows and macOS users.
This guide covers the installation and configuration of Samba on Ubuntu.
What you’ll learn
What you’ll need
If you have everything ready, let’s dive straight into the installation process on the next step!
Originally authored by Aden Padilla.
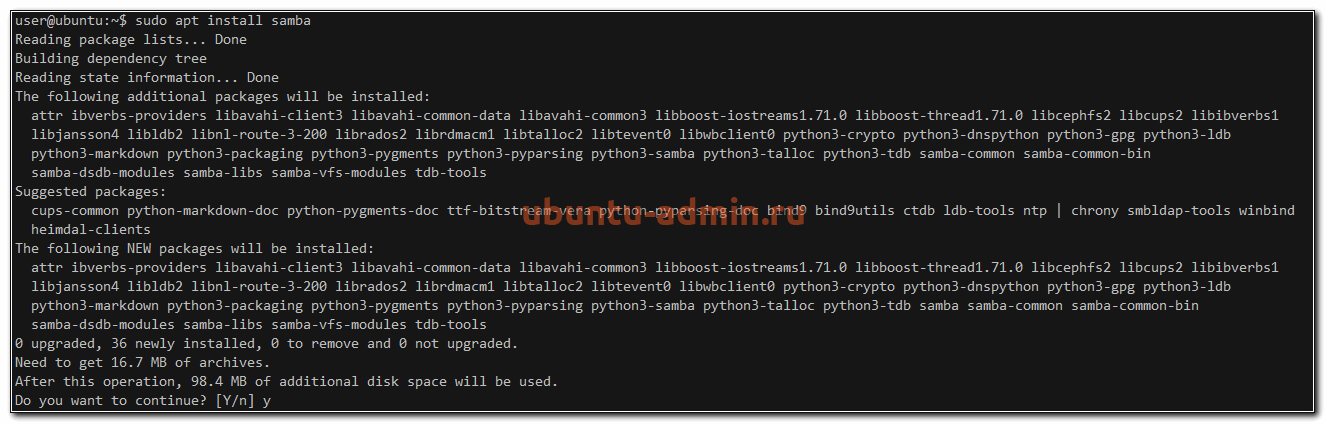
2. Installing Samba
sudo apt update sudo apt install samba We can check if the installation was successful by running:
The following should be its output:
samba: /usr/sbin/samba /usr/lib/samba /etc/samba /usr/share/samba /usr/share/man/man7/samba.7.gz /usr/share/man/man8/samba.8.gz 3. Setting up Samba
Now that Samba is installed, we need to create a directory for it to share:
The command above creates a new folder sambashare in our home directory which we will share later.
The configuration file for Samba is located at /etc/samba/smb.conf . To add the new directory as a share, we edit the file by running:
sudo nano /etc/samba/smb.conf At the bottom of the file, add the following lines:
[sambashare] comment = Samba on Ubuntu path = /home/username/sambashare read only = no browsable = yes Then press Ctrl-O to save and Ctrl-X to exit from the nano text editor.
What we’ve just added
Now that we have our new share configured, save it and restart Samba for it to take effect:
sudo service smbd restart Update the firewall rules to allow Samba traffic:
4. Setting up User Accounts and Connecting to Share
Since Samba doesn’t use the system account password, we need to set up a Samba password for our user account:
sudo smbpasswd -a username Note
Username used must belong to a system account, else it won’t save.
Connecting to Share

On Ubuntu: Open up the default file manager and click Connect to Server then enter:

On macOS: In the Finder menu, click Go > Connect to Server then enter:
On Windows, open up File Manager and edit the file path to:
Note: ip-address is the Samba server IP address and sambashare is the name of the share.

You’ll be prompted for your credentials. Enter them to connect!
If you’d like to take your configuration further…
Установка и настройка Samba в Ubuntu
Файловый сервер Samba позволяет передавать файлы между серверами и компьютерами по сети. С его помощью, к примеру, вы можете получить доступ к файлам на сервере со своего рабочего компьютера или ноутбука. Ниже я расскажу, как установить и настроить файловый сервер Samba на Ubuntu.
Если вы только планируете устанавливать ubuntu, то можете воспользоваться моей подробной статьей на этот счет — установка ubuntu server. Так же вам может быть интересен мой обзор и сравнение сервера убунту с другими linux системами — Ubuntu Server — обзор для начинающих, сравнение, отзывы.
Введение
Если у вас все готово, то приступаем к настройке.
Установка Samba
Для установки Samba, выполняем в консоли:
sudo apt update sudo apt install samba
После того, как установка будет завершена, проверьте, куда установлена samba:
Вы должны увидеть примерно следующее:
samba: /usr/sbin/samba /usr/lib/samba /etc/samba /usr/share/samba /usr/share/man/man7/samba.7.gz /usr/share/man/man8/samba.8.gz
Настройка Samba
Когда Samba установлена, можно приступить к настройке. Нам необходимо создать директорию для сетевой папки.
Команда выше создаст пустую папку, которую мы сделаем сетевой. Для этого настраиваем конфиг Самбы. Он живет по адресу /etc/samba/smb.conf . Отредактируем его и добавим новую сетевую директорию.
sudo nano /etc/samba/smb.conf
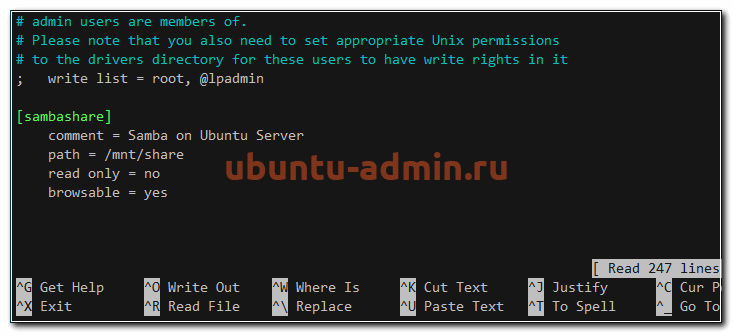
Добавляем туда следующие строки:
[sambashare] comment = Samba on Ubuntu Server path = /mnt/share read only = no browsable = yes
Нажмите Ctrl-O, чтобы сохранить и Ctrl-X, чтобы выйти из редактора nano.
- path — директория для нашей сетевой папки samba
- read only — указали, что файлы в сетевой папке не только для чтения, а значит могут быть изменены
- browsable — сделали возможным просмотр сетевой папки в сетевом окружении обозревателя файлов в операционных системах
Сетевую папку мы настроили, теперь нужно перезагрузить Samba:
sudo service smbd restart
Разрешим работу Samba в фаерволе, если он у вас включен:
Все, на этом настройка Samba закончена. Переходим к проверке работы.
Добавление пользователя сетевого диска
Для того, чтобы получить доступ к сетевой папке Samba, необходимо задать пароль пользователя шары. Он уже должен существовать в системе.
sudo smbpasswd -a shareuser
shareuser — системный пользователь, у которого будет доступ к сетевой папке. Если получите ошибку:
Failed to add entry for user shareuser.
Значит у вас нет системного пользователя. Добавьте его следующим образом:
Подключение к сетевому диску
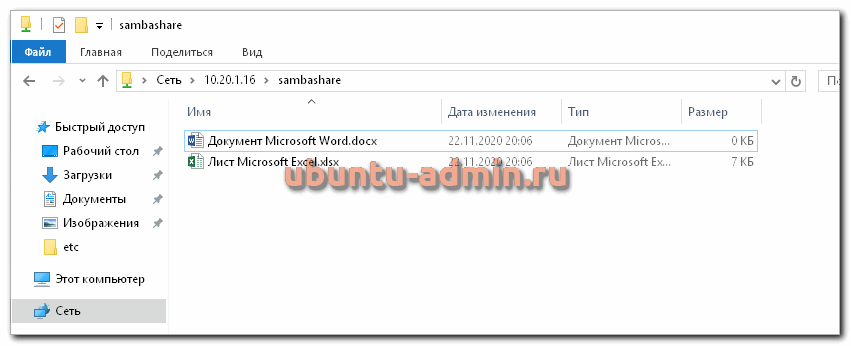
Теперь попробуем зайти на сетевой диск Samba. Для этого в обозревателе файлов перейдите по адресу \\10.20.1.16 , где 10.20.1.16 это ip адрес сервера, на котором мы выполняли настройку samba.
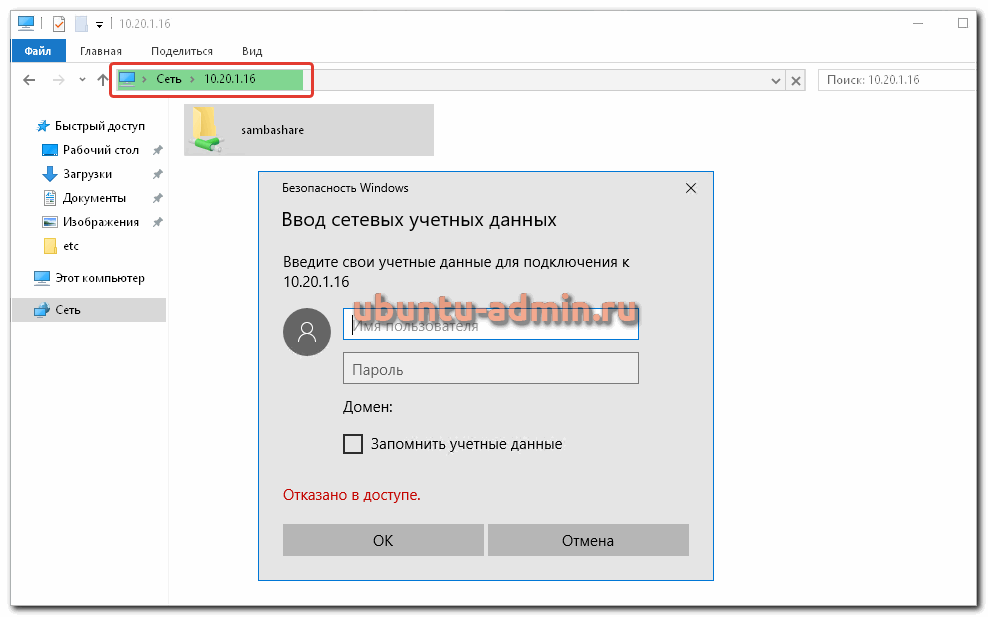
Появится запрос на авторизацию. Укажите имя пользователя и пароль, которые мы задали этапом раньше. Вы окажетесь в сетевой директории. Попробуйте туда скопировать несколько файлов.
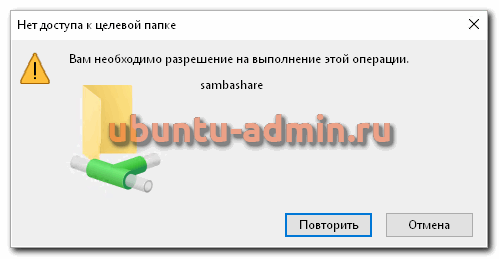
Если получите ошибку — Нет доступа к целевой папке, Вам необходимо разрешение на выполнение целевой операции, значит у пользователя shareuser нет unix прав на запись в директорию /mnt/share . Исправляем это:
chown -R shareuser:shareuser /mnt/share
Попробуйте скопировать еще раз. Теперь должно быть все в порядке.
Все, на этом настройка Samba закончена. Удачной работы и хорошего аптайма!
Видео

Samba as a file server
One of the most common ways to network Ubuntu and Windows computers is to configure Samba as a file server. It can be set up to share files with Windows clients, as we’ll see in this section.
The server will be configured to share files with any client on the network without prompting for a password. If your environment requires stricter Access Controls see Share Access Control.
Install Samba
The first step is to install the samba package. From a terminal prompt enter:
That’s all there is to it; you are now ready to configure Samba to share files.
Configure Samba as a file server
The main Samba configuration file is located in /etc/samba/smb.conf . The default configuration file contains a significant number of comments, which document various configuration directives.
Note:
Not all available options are included in the default configuration file. See the smb.conf man page or the Samba HOWTO Collection for more details.
First, edit the workgroup parameter in the [global] section of /etc/samba/smb.conf and change it to better match your environment:
Create a new section at the bottom of the file, or uncomment one of the examples, for the directory you want to share:
[share] comment = Ubuntu File Server Share path = /srv/samba/share browsable = yes guest ok = yes read only = no create mask = 0755 - comment
A short description of the share. Adjust to fit your needs. - path
The path to the directory you want to share.
Note:
This example uses /srv/samba/sharename because, according to the Filesystem Hierarchy Standard (FHS), /srv is where site-specific data should be served. Technically, Samba shares can be placed anywhere on the filesystem as long as the permissions are correct, but adhering to standards is recommended.
Create the directory
Now that Samba is configured, the directory needs to be created and the permissions changed. From a terminal, run the following commands:
sudo mkdir -p /srv/samba/share sudo chown nobody:nogroup /srv/samba/share/ The -p switch tells mkdir to create the entire directory tree if it doesn’t already exist.
Enable the new configuration
Finally, restart the Samba services to enable the new configuration by running the following command:
sudo systemctl restart smbd.service nmbd.service Warning:
Once again, the above configuration gives full access to any client on the local network. For a more secure configuration see Share Access Control.
From a Windows client you should now be able to browse to the Ubuntu file server and see the shared directory. If your client doesn’t show your share automatically, try to access your server by its IP address, e.g. \\192.168.1.1 , in a Windows Explorer window. To check that everything is working try creating a directory from Windows.
To create additional shares simply create new [sharename] sections in /etc/samba/smb.conf , and restart Samba. Just make sure that the directory you want to share actually exists and the permissions are correct.
The file share named [share] and the path /srv/samba/share used in this example can be adjusted to fit your environment. It is a good idea to name a share after a directory on the file system. Another example would be a share name of [qa] with a path of /srv/samba/qa .
Further reading
- For in-depth Samba configurations see the Samba HOWTO Collection
- The guide is also available in printed format.
- O’Reilly’s Using Samba is another good reference.
- The Ubuntu Wiki Samba page.