- NoMachine Free Remote Desktop Access Tool – Enterprise Features
- NoMachine Free Remote Desktop Access Tool Installation
- Few NoMachine Enterprise Features
- Environment for NoMachine Free Remote Desktop Access
- Install NoMachine Linux Server
- Access Remote Desktop From Client
- Related Articles
- NoMachine
- Installation
- Usage
- Troubleshooting
- Headless server
- Separate NoMachine X session in parallel with existing X session
- Problems with default keyboard in display manager
- Connecting via SSH
- Virtualbox guest audio stream lost on reconnection
- See also
NoMachine Free Remote Desktop Access Tool – Enterprise Features
NoMachine Free Remote Desktop Access Tool for Everybody with enterprise Features enabled. It does not depend on any other packages / tools to get remote desktop. No Machine run’s on NX technology to access remote desktop securely using WAN. Every connection from end to end is encrypted to transfer secured communication.
NoMachine Free Remote Desktop Access Tool Installation
First Step is to download the packages from No Machine site to your Linux machine.
64 Bit Download
#wget http://download.nomachine.com/download/5.3/Linux/nomachine_5.3.9_6_x86_64.rpm Or #wget http://download.nomachine.com/download/5.3/Linux/nomachine_5.3.9_6_x86_64.tar.gz
32 Bit Download
#wget http://download.nomachine.com/download/5.3/Linux/nomachine_5.3.9_5_i686.rpm Or #wget http://download.nomachine.com/download/5.3/Linux/nomachine_5.3.9_5_i686.tar.gz
Above is the package download URL for Free NoMachine software, if you want to download Enterprise / Small business you have to request NoMachine sales.
Few NoMachine Enterprise Features
- Access and Share the Physical Desktop
- SSH Access Via NoMachine
- Desktop Access Via Browser
- Simply Take Remote Desktop from Android and iOS using apps
- Video Streaming
- Audio Streaming
- Screen Recording
- Whiteboard and chat tool
- File Transfer
- Multi-Monitor Support
- PAM Based Authentication
But No Machine Free Remote Desktop Access Tool Free Version can only provides you two concurrent remote connections, If you want more you have to buy enterprise version. Let’s see how to use this software in Linux machine.
Environment for NoMachine Free Remote Desktop Access
Install NoMachine Linux Server
Simple method using rpm command you can install, it does not required any dependencies. Ultimately you have to have GUI enabled in Linux Machine. GNOME
[root@ArkItServ ~]# rpm -ivh nomachine_5.3.9_6_x86_64.rpm Preparing. ################################# [100%] Updating / installing. 1:nomachine-5.3.9-6 ################################# [100%]
Check the Service status and Port is listening
[root@ArkItServ ~]# netstat -an |grep 4000 tcp 0 0 0.0.0.0:4000 0.0.0.0:* LISTEN tcp 0 0 10.103.6.40:4000 192.168.6.31:49634 ESTABLISHED tcp6 0 0 . 4000 . * LISTEN [root@ArkItServ ~]# systemctl status nxserver.service ● nxserver.service - NoMachine Server daemon Loaded: loaded (/usr/lib/systemd/system/nxserver.service; enabled; vendor preset: disabled) Active: active (running) since Tue 2017-08-08 11:02:36 IST; 9min ago Main PID: 8452 (nxserver.bin) CGroup: /system.slice/nxserver.service ├─8452 /usr/NX/bin/nxserver.bin --daemon ├─8554 /usr/NX/bin/nxd └─9132 /usr/NX/bin/nxserver.bin -c /etc/NX/nxserver --login -H 5 Aug 08 11:02:36 ArkItServ.local systemd[1]: Started NoMachine Server daemon. Aug 08 11:02:36 ArkItServ.local systemd[1]: Starting NoMachine Server daemon. 
To Check Server status in Linux Machine Click Applications –> Internet –> No Machine Server Status
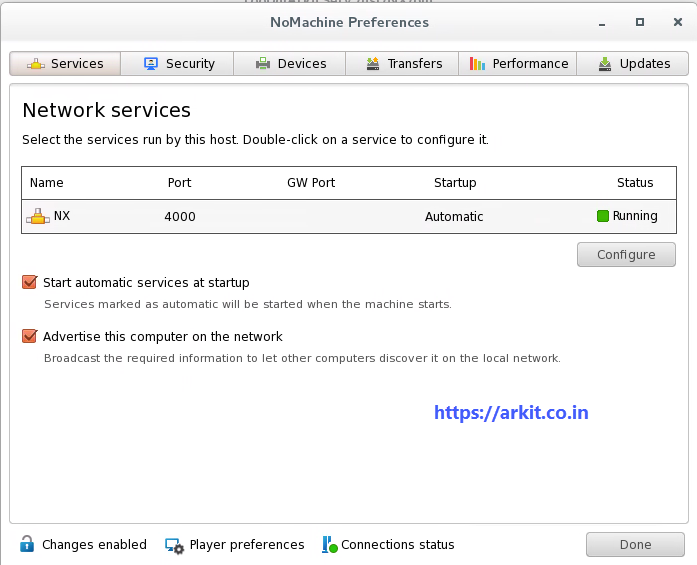
Nomachine Server side Services
Server is running Let’s access Remote Desktop from Client
Access Remote Desktop From Client
Whenever you open No Machine software it will automatically show machines which are having No Machine Server Software. You can also create new connection manually.
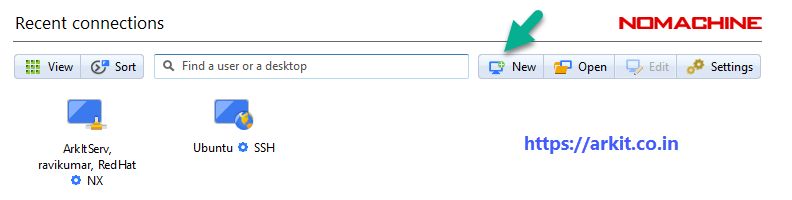
Click on New button to Create New Connection
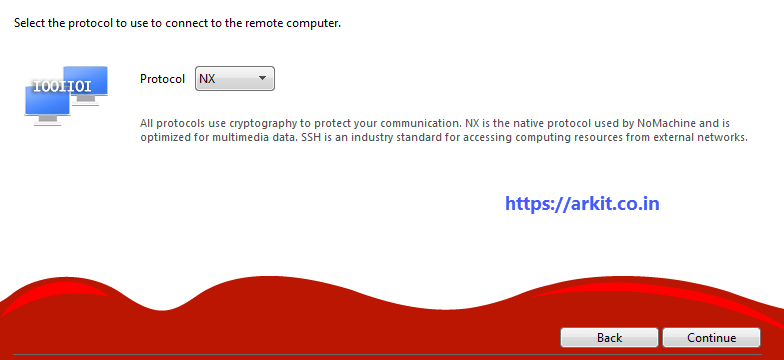
Select Appropriate Protocol either NX Or SSH and Click Continue
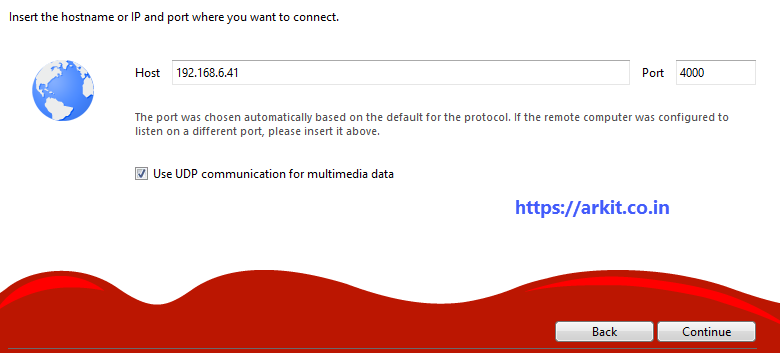
Provide IP and Port Number
Type IP Address of the Server and Continue
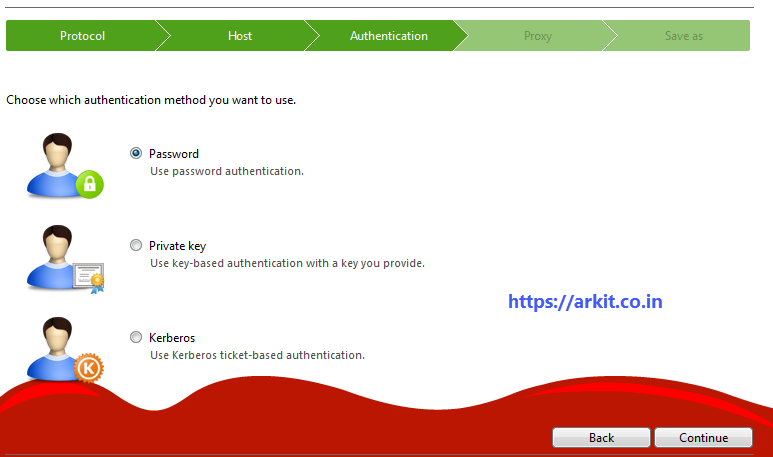
Select Authentication Method
Select one and Click Continue
Proxy Settings if you have proxy in between Client and Server provide Proxy IP or else select Don’t Use a Proxy
Save the connection. Double Click on the Connection
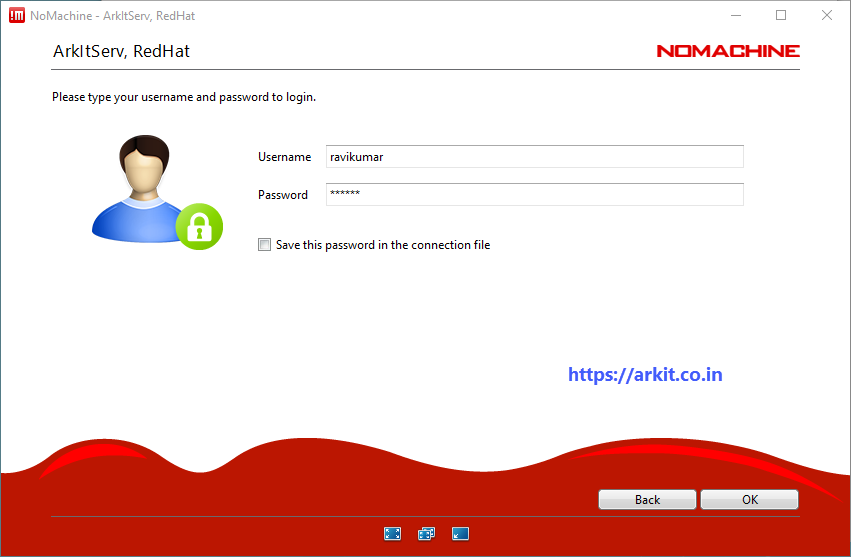
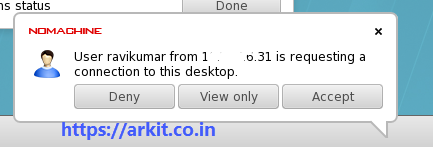
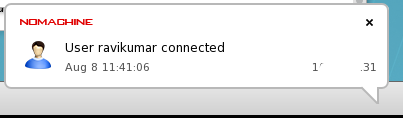
User as to accept connection from server to access remote desktop (It’s based on how you setup Server settings)
Controlling No Machine Remote Desktop
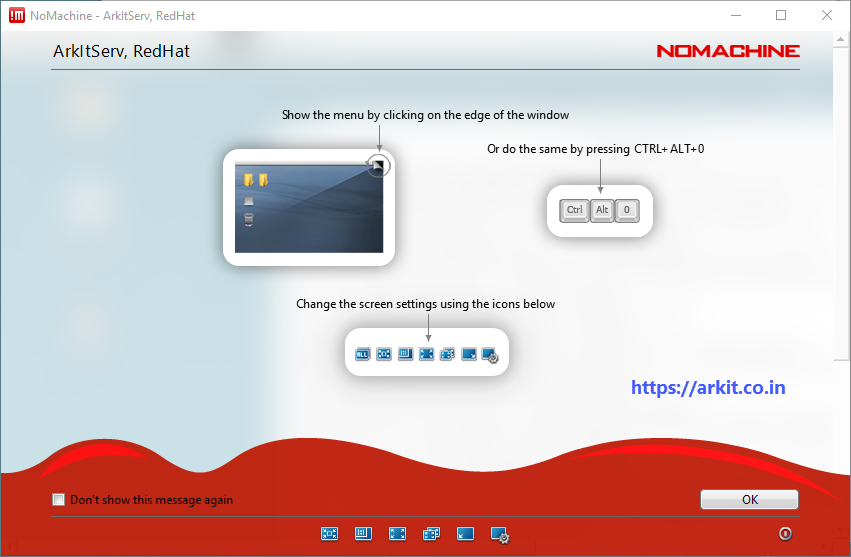
Control Remote Desktop Connection Keys
That’s it you have successfully installed No Machine Free Remote Desktop Access Tool In RHEL 7. Accessed from client Windows machine.
Related Articles
Thanks for your wonderful Support and Encouragement
More than 40000 Techies in our community do you want part of it Join Now
My Name is ARK. Expert in grasping any new technology, Interested in Sharing the knowledge. Learn more & Earn MoreView all Posts
NoMachine
NoMachine enables you to access a graphical desktop of a computer over the network.
Until version 3.x, NoMachine was known as NX and available under GPL. There are derivatives based on core NX libraries like FreeNX and X2Go. The major drawback of these is that they utilise a built-in X server of nxagent, which originates from the year 2005 and some current X applications cannot run due to unsupported features available only in newer versions of X libraries.
Unlike some other remote desktop solutions (e.g. TeamViewer), NoMachine does not require an intermediary server to establish the connection.
Since NoMachine version 4, the software is proprietary and currently two editions are available: Free and Enterprise. Clients exist for Linux, MS Windows, macOS, Android and iOS.
The free edition allows to connect to an existing X display (also known as display shadowing of a live session with a physical display) or, if no X display is available (e.g. on head-less machines), NoMachine tries to start its own X server with the default Desktop environment automatically. The major limitation of the free edition is that only a single remote desktop session may run on the server.
Installation
It includes both server and client tar balls. Note that the setup actually takes place by a post-installation script and therefore the list of files shown by command pacman -Ql nomachine is not complete!
In particular, the majority of NoMachine files are kept within /usr/NX directory, but a few more are added:
/etc/NX /etc/pam.d/nx /usr/lib/systemd/system/nxserver.service /usr/local/share/applications/NoMachine*.desktop /usr/share/polkit-1/actions/org.freedesktop.pkexec.nomachine.policy
The files created by NoMachine Player are stored in:
$HOME/.nx $HOME/Documents/NoMachine
The post-install script also creates a new user nx .
If you have X2Go or FreeNX installed as well, do not get confused that some files use similar names (i.e. /usr/bin/nx ).
The nxserver.service does not need to be enabled and started on computers which will be used only as the client, but it must run on the server.
Usage
On the target computer, start/enable nxserver.service via systemd, or via menu in your desktop: Internet > NoMachine > NoMachine Service, which does the same via a GUI and offers extra info and configuration.
On the client, start the «Player» (menu Internet > NoMachine > NoMachine. Or start it with
It will search the LAN for available NoMachine servers or, if disabled or in a different subnet/WAN, you can type in the target hostname or IP address manually. The login credentials are the same as used for the user on the target computer.
Troubleshooting
Headless server
For correct environment setup those changes are needed:
auth include system-remote-login account include system-remote-login password include system-remote-login session include system-remote-login
Change DefaultDesktopCommand in /usr/NX/etc/node.cfg and add the following in front of your starting command:
env DBUS_SESSION_BUS_ADDRESS=unix:path=/run/user/$(id -u)/bus
DefaultDesktopCommand "env DBUS_SESSION_BUS_ADDRESS=unix:path=/run/user/$(id -u)/bus /usr/bin/startxfce4"
Separate NoMachine X session in parallel with existing X session
In default setup, the Free edition of NoMachine connects the client directly to an existing X session on the remote computer, even if it runs the X Display Manager only. This may be unwanted, because no other user may use the target computer locally at the same moment and because any person with physical access to the target computer can see on the physical display, what the remotely connected user is doing.
However, it is possible to setup NoMachine to check only for a particular DISPLAY, e.g. DISPLAY :10 and it will ignore the existing X session on DISPLAY :0 (standard setup in Arch Linux) and start a new virtual session for the remotely connecting user.
To do so, edit the key PhysicalDisplays in /usr/NX/etc/node.cfg :
Problems with default keyboard in display manager
When NoMachine connects to the display manager on the target computer and the user tries to login as if sitting at the target computer, the user authentication may fail due to a different keymap. A workaround is to type the user’s password e.g. in a text editor and copy it via clipboard to the NoMachine session.
Once the user is logged in to the remote desktop environment, running setxkb cz (‘cz’ stands for the Czech keyboard as an example) should resolve the problem with key mappings.
Connecting via SSH
The free edition of NoMachine does not allow to use the SSH protocol to connect to the target computer and only NX protocol (listening on port 4000 by default) is used.
If it is not preferred to open yet another port on the firewall, a workaround is to create a standard SSH tunnel between client and target computer and connect through it:
On the client computer, for example:
$ ssh -L 4000:localhost:4000 user@targetmachine -fN
Then, start NoMachine Player and try to connect to localhost with the NX protocol. The connection will be tunneled to the targetmachine and redirected to the server’s localhost port 4000 .
Virtualbox guest audio stream lost on reconnection
If using PulseAudio audio interface, nxserver will restart pulseaudio on client disconnection, virtualbox guest machine can not connect to the new pulseaudio automatically, thus audio stream lost. A workaround is to provide a dummy pulseaudio in your PATH for nxserver.
$ ln -s /usr/bin/true /some/path/prior/to/usr/bin/pulseaudio $ which -a pulseaudio /some/path/prior/to/usr/bin/pulseaudio /usr/bin/pulseaudio
Then reinstall the nomachine AUR package to regenerate /usr/NX/etc/node.cfg , and recheck the pulseaudio start command.
$ grep -i pulse /usr/NX/etc/node.cfg AudioInterface pulseaudio CommandStartPulseAudio "/some/path/prior/to/usr/bin/pulseaudio --high-priority=no"