- Chapter 28. Using the Chrony suite to configure NTP
- 28.1. Introduction to chrony suite
- 28.2. Using chronyc to control chronyd
- 28.3. Migrating to chrony
- 28.3.1. Migration script
- How to configure NTP server on RHEL 8 / CentOS 8 Linux
- Software Requirements and Conventions Used
- How to configure NTP server on RHEL 8 / CentOS 8 Linux step by step instructions
- How to configure an NTP client on RHEL 8 / CentOS 8 Linux step by step instructions
- Related Linux Tutorials:
- NEWSLETTER
- WRITE FOR US
- TAGS
- FEATURED TUTORIALS
- LATEST TUTORIALS
Chapter 28. Using the Chrony suite to configure NTP
Accurate timekeeping is important for several reasons in IT. In networking for example, accurate time stamps in packets and logs are required. In Linux systems, the NTP protocol is implemented by a daemon running in user space.
The user space daemon updates the system clock running in the kernel. The system clock can keep time by using various clock sources. Usually, the Time Stamp Counter ( TSC ) is used. The TSC is a CPU register which counts the number of cycles since it was last reset. It is very fast, has a high resolution, and there are no interruptions.
Starting with Red Hat Enterprise Linux 8, the NTP protocol is implemented by the chronyd daemon, available from the repositories in the chrony package.
The following sections describe how to use the chrony suite to configure NTP.
28.1. Introduction to chrony suite
chrony is an implementation of the Network Time Protocol (NTP) . You can use chrony :
- To synchronize the system clock with NTP servers
- To synchronize the system clock with a reference clock, for example a GPS receiver
- To synchronize the system clock with a manual time input
- As an NTPv4(RFC 5905) server or peer to provide a time service to other computers in the network
chrony performs well in a wide range of conditions, including intermittent network connections, heavily congested networks, changing temperatures (ordinary computer clocks are sensitive to temperature), and systems that do not run continuously, or run on a virtual machine.
Typical accuracy between two machines synchronized over the Internet is within a few milliseconds, and for machines on a LAN within tens of microseconds. Hardware timestamping or a hardware reference clock may improve accuracy between two machines synchronized to a sub-microsecond level.
chrony consists of chronyd , a daemon that runs in user space, and chronyc , a command line program which can be used to monitor the performance of chronyd and to change various operating parameters when it is running.
The chrony daemon, chronyd , can be monitored and controlled by the command line utility chronyc . This utility provides a command prompt which allows entering a number of commands to query the current state of chronyd and make changes to its configuration. By default, chronyd accepts only commands from a local instance of chronyc , but it can be configured to accept monitoring commands also from remote hosts. The remote access should be restricted.
28.2. Using chronyc to control chronyd
This section describes how to control chronyd using the chronyc command line utility.
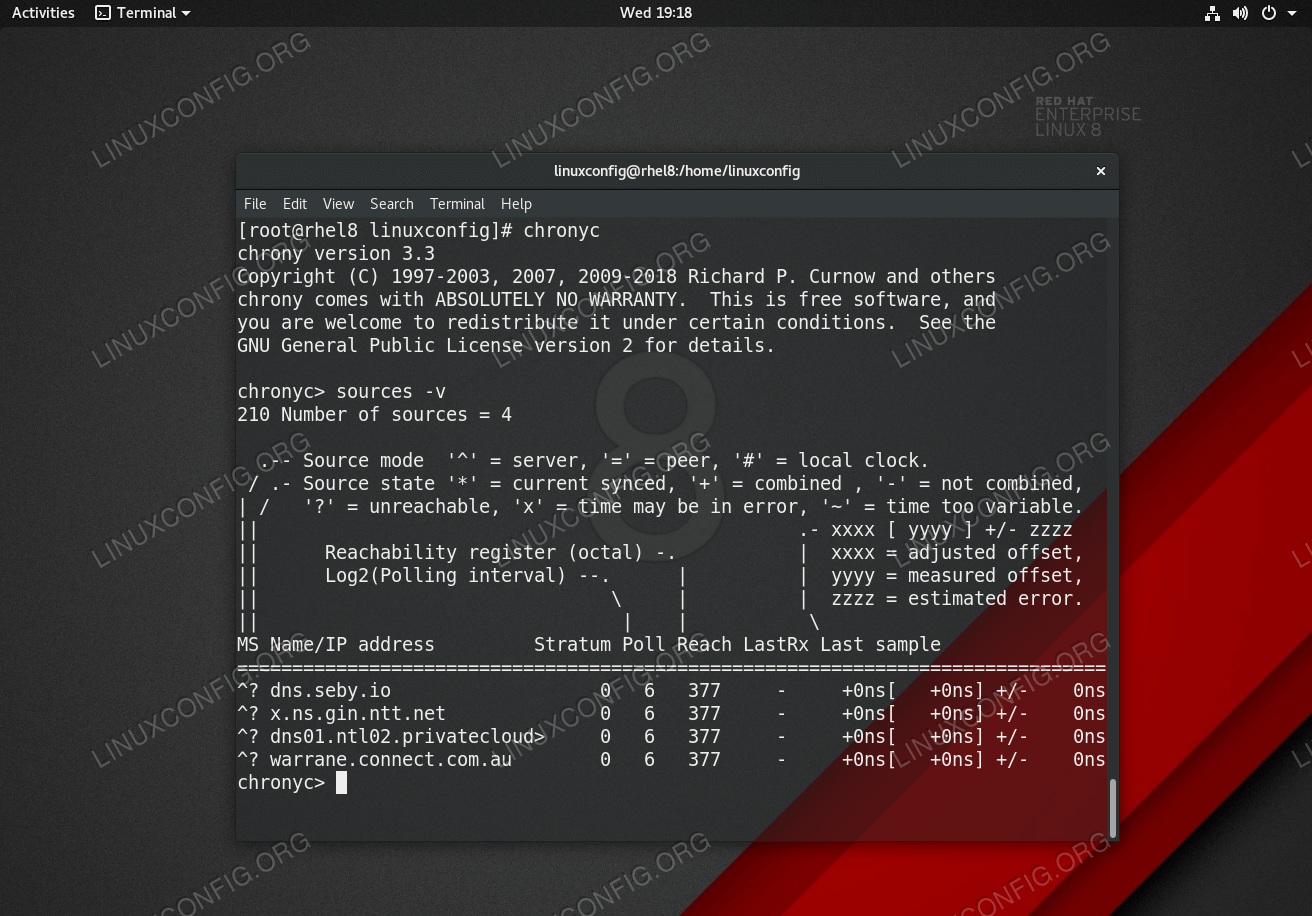
- To make changes to the local instance of chronyd using the command line utility chronyc in interactive mode, enter the following command as root :
chronyc must run as root if some of the restricted commands are to be used. The chronyc command prompt will be displayed as follows:
Changes made using chronyc are not permanent, they will be lost after a chronyd restart. For permanent changes, modify /etc/chrony.conf .
28.3. Migrating to chrony
In Red Hat Enterprise Linux 7, users could choose between ntp and chrony to ensure accurate timekeeping. For differences between ntp and chrony , ntpd and chronyd , see Differences between ntpd and chronyd.
Starting with Red Hat Enterprise Linux 8, ntp is no longer supported. chrony is enabled by default. For this reason, you might need to migrate from ntp to chrony .
Migrating from ntp to chrony is straightforward in most cases. The corresponding names of the programs, configuration files and services are:
Table 28.1. Corresponding names of the programs, configuration files and services when migrating from ntp to chrony
The ntpdate and sntp utilities, which are included in the ntp distribution, can be replaced with chronyd using the -q option or the -t option. The configuration can be specified on the command line to avoid reading /etc/chrony.conf . For example, instead of running ntpdate ntp.example.com , chronyd could be started as:
# chronyd -q 'server ntp.example.com iburst' 2018-05-18T12:37:43Z chronyd version 3.3 starting (+CMDMON +NTP +REFCLOCK +RTC +PRIVDROP +SCFILTER +SIGND +ASYNCDNS +SECHASH +IPV6 +DEBUG) 2018-05-18T12:37:43Z Initial frequency -2.630 ppm 2018-05-18T12:37:48Z System clock wrong by 0.003159 seconds (step) 2018-05-18T12:37:48Z chronyd exiting
The ntpstat utility, which was previously included in the ntp package and supported only ntpd , now supports both ntpd and chronyd . It is available in the ntpstat package.
28.3.1. Migration script
A Python script called ntp2chrony.py is included in the documentation of the chrony package ( /usr/share/doc/chrony ). The script automatically converts an existing ntp configuration to chrony . It supports the most common directives and options in the ntp.conf file. Any lines that are ignored in the conversion are included as comments in the generated chrony.conf file for review. Keys that are specified in the ntp key file, but are not marked as trusted keys in ntp.conf are included in the generated chrony.keys file as comments.
By default, the script does not overwrite any files. If /etc/chrony.conf or /etc/chrony.keys already exist, the -b option can be used to rename the file as a backup. The script supports other options. The —help option prints all supported options.
An example of an invocation of the script with the default ntp.conf provided in the ntp package is:
# python3 /usr/share/doc/chrony/ntp2chrony.py -b -v Reading /etc/ntp.conf Reading /etc/ntp/crypto/pw Reading /etc/ntp/keys Writing /etc/chrony.conf Writing /etc/chrony.keys
The only directive ignored in this case is disable monitor , which has a chrony equivalent in the noclientlog directive, but it was included in the default ntp.conf only to mitigate an amplification attack.
The generated chrony.conf file typically includes a number of allow directives corresponding to the restrict lines in ntp.conf . If you do not want to run chronyd as an NTP server, remove all allow directives from chrony.conf .
How to configure NTP server on RHEL 8 / CentOS 8 Linux
Chrony is a default NTP client as well as an NTP server on RHEL 8 / CentOS 8. This article will provide you with an information on how to perform an installation and basic configuration of an NTP server or client on RHEL 8.
In this tutorial you will learn:
- How to install NTP server on RHEL 8 / CentOS 8.
- How to install NTP client on RHEL 8 / CentOS 8.
- How to open firewall to incoming NTP requests.
- How to configure Chrony as NTP server.
- How to configure Chrony as NTP client.
Software Requirements and Conventions Used
Software Requirements and Linux Command Line Conventions| Category | Requirements, Conventions or Software Version Used |
|---|---|
| System | RHEL 8 / CentOS 8 |
| Software | chronyc (chrony) version 3.3 |
| Other | Privileged access to your Linux system as root or via the sudo command. |
| Conventions | # – requires given linux commands to be executed with root privileges either directly as a root user or by use of sudo command $ – requires given linux commands to be executed as a regular non-privileged user |
How to configure NTP server on RHEL 8 / CentOS 8 Linux step by step instructions
The chances are that Chrony is already installed on your RHEL 8 and currently configured as a client. If this is the case then simply jump directly into Step 3 . Let’s first setup an NTP server for network eg. 192.168.1.0/24 .
# systemctl restart chronyd
# firewall-cmd --permanent --add-service=ntp # firewall-cmd --reload
# ntpdate 192.168.1.150 13 Dec 11:59:44 ntpdate[9279]: adjust time server 192.168.1.150 offset -0.031915 sec
How to configure an NTP client on RHEL 8 / CentOS 8 Linux step by step instructions
In this section we will configure an NTP client to time sync with our new Chrony NTP server located on the 192.168.1.150 IP address:
- Install Chrony NTP package:
# systemctl restart chronyd
# chronyc sources 210 Number of sources = 9 MS Name/IP address Stratum Poll Reach LastRx Last sample =============================================================================== ^* rhel8.localdomain 3 6 7 36 -8235ns[-1042us] +/- 5523us
# chronyc clients Hostname NTP Drop Int IntL Last Cmd Drop Int Last =============================================================================== ntp-client.localdomain 7 0 10 - 48 0 0 - -
Related Linux Tutorials:
NEWSLETTER
Subscribe to Linux Career Newsletter to receive latest news, jobs, career advice and featured configuration tutorials.
WRITE FOR US
LinuxConfig is looking for a technical writer(s) geared towards GNU/Linux and FLOSS technologies. Your articles will feature various GNU/Linux configuration tutorials and FLOSS technologies used in combination with GNU/Linux operating system.
When writing your articles you will be expected to be able to keep up with a technological advancement regarding the above mentioned technical area of expertise. You will work independently and be able to produce at minimum 2 technical articles a month.
TAGS
FEATURED TUTORIALS
- VIM tutorial for beginners
- How to install the NVIDIA drivers on Ubuntu 20.04 Focal Fossa Linux
- Bash Scripting Tutorial for Beginners
- How to check CentOS version
- How to find my IP address on Ubuntu 20.04 Focal Fossa Linux
- Ubuntu 20.04 Remote Desktop Access from Windows 10
- Howto mount USB drive in Linux
- How to install missing ifconfig command on Debian Linux
- AMD Radeon Ubuntu 20.04 Driver Installation
- Ubuntu Static IP configuration
- How to use bash array in a shell script
- Linux IP forwarding – How to Disable/Enable
- How to install Tweak Tool on Ubuntu 20.04 LTS Focal Fossa Linux
- How to enable/disable firewall on Ubuntu 18.04 Bionic Beaver Linux
- Netplan static IP on Ubuntu configuration
- How to change from default to alternative Python version on Debian Linux
- Set Kali root password and enable root login
- How to Install Adobe Acrobat Reader on Ubuntu 20.04 Focal Fossa Linux
- How to install the NVIDIA drivers on Ubuntu 18.04 Bionic Beaver Linux
- How to check NVIDIA driver version on your Linux system
- Nvidia RTX 3080 Ethereum Hashrate and Mining Overclock settings on HiveOS Linux
LATEST TUTORIALS
- Easy Steps to Update Your Raspberry Pi
- Connecting Your Raspberry Pi to Wi-Fi: A How-To
- How to install RealVNC viewer on Linux
- How to check Raspberry Pi RAM size and usage
- How to check Raspberry Pi model
- Understanding UEFI and BIOS in Relation to Linux Nvidia Driver Installation
- How to orchestrate Borg backups with Borgmatic
- How to monitor filesystem events on files and directories on Linux
- Debian USB Firmware Loader Script
- How to install and self host an Ntfy server on Linux
- How to backup your git repositories with gickup
- How to bind an SSH public key to a specific command
- Creating a Bootable USB for Windows 10 and 11 on Linux
- How to list all displays on Linux
- List of QR code generators on Linux
- How to extract text from image
- Linux EOF explained
- How to use xclip on Linux
- List of window managers on Linux
- What is zombie process on Linux