- Ubuntu: Как обновить ядро
- Первый способ
- Второй способ
- How to Update Linux Kernel In Ubuntu
- Tutorial on Updating Ubuntu Kernel
- Option A: Use the System Update Process
- Step 1: Check Your Current Kernel Version
- Step 2: Update the Repositories
- Step 3: Run the upgrade
- Option B: Use the System Update Process to Force a Kernal Upgrade
- Step 1: Back Up Your Important Files
- Step 2: Use the Software Updater
- Step 3: Configure the Software Updater
- Step 4: Force the Upgrade
- Option C: Manually Update the Kernel (Advanced Procedure)
- Step 1: Install Ukuu
- Step 2: Launch Ukuu
- Step 3: Install the Kernel
- Step 4: Reboot the System
- Step 5: In Case of Failure
- Step 6: Uninstalling the Kernel
- Установите или обновите ядро Linux до последней версии на Ubuntu 22.04
- Установите или обновите ядро до последней версии в Ubuntu 22.04 с помощью Ubuntu Mainline Kernel Installer.
- Вывод
Ubuntu: Как обновить ядро
В этой статье описывается, как обновить ядро Linux в операционной системе Ubuntu через интерфейс командной строки.
Первый способ
Первый способ очень прост. Нам нужно ввести в терминале всего одну команду:
sudo apt update && sudo apt -y upgrade Команда sudo apt update обновит кэш репозиториев, а команда sudo apt -y upgrade установит новые версии всех установленных программ, включая ядро linux. Плюс данного способа в том, что будет установлена последняя версия linux ядра, официально поддерживаемого ОС Ubuntu. Минус этого способа в том, что официально поддерживаемое ядро обычно не самое новое. Иногда бывает так, что необходимо установить именно самую новую версию ядра linux. Реальный пример: на вашем новом ноутбуке может быть установлен процессор, поддержка которого обеспечивается только в версии ядра linux 5.12, тогда как официально поддерживаемая версия более старая. И тут на помощь приходит второй способ.
Второй способ
Первым делом нужно зайти на сайт https://kernel.ubuntu.com/~kernel-ppa/mainline/. На этом сайте нужно выбрать папку с последней версией ядра linux (в самом низу страницы). Обратите внимание, что рекомендуется выбирать версию без суффикса “rc”. Суффикс “rc” означает “release candidate”, что в свою очередь значит, что данная версия ядра не является стабильной. На открывшейся странице выбираем папку с архитектурой вашего процессора. Архитектуру можно узнать с помощью команды uname -p . Если вывод этой команды “x86_64”, то выбираем папку amd64. На открывшейся странице будут ссылки на .deb файлы. Нам нужно скачать 4 из них:
linux-headers--generic_._amd64.deb linux-headers-_._all.deb linux-image-unsigned--generic_._amd64.deb linux-modules--generic_._amd64.deb После того, как вы скачали файлы, их нужно установить с помощью команды:
sudo apt install -y ~/Downloads/linux-*.deb Установка будет длиться 1-5 минут. После перезагрузки компьютера будет загружена установленная версия ядра.
Вы имеете право копировать, тиражировать, использовать в коммерческих и некоммерческих целях любую информацию, опубликованную на данном сайте.
How to Update Linux Kernel In Ubuntu
The Linux kernel is like the central core of the operating system. It works as sort of a mediator, providing an interface between software applications and computer hardware.
The Linux kernel is the foundation on which all the different types of Linux, operate. It is Open Source software – anyone can decompile, examine, and modify the code.
As technology progresses, developers discover patches and updates to the Linux kernel. These patches can improve security, add functionality, or even improve the speed at which the operating system functions.
If you’re running a Linux operating system (like Ubuntu), it’s a good idea to check and update the kernel regularly.

- A server running Ubuntu Linux
- Access to the Terminal (CTRL-ALT-T or Applications menu > Accessories > Terminal)
- A user account with sudo privileges
- The apt tool, built into Ubuntu
- The Update Manager, built into Ubuntu (optional)
Tutorial on Updating Ubuntu Kernel
Option A: Use the System Update Process
Step 1: Check Your Current Kernel Version
At a terminal window, type:
The terminal returns an output similar to:
The first two digits (in this case, 4.4) are the overall kernel package. The third digit is the version, and the fourth digit shows you the level of patches and fixes.
For more details, refer to our full guide on checking the Linux kernel version. While inspecting the system, you can also check which version of Ubuntu you are running.
Step 2: Update the Repositories
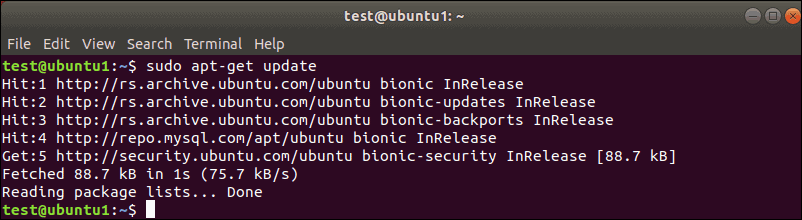
This command refreshes your local list of software, making a note of any newer revisions and updates. If there’s a newer version of the kernel, the command will find it and mark it for download and installation.
Step 3: Run the upgrade
While still in the terminal, type:
The “dist-upgrade” switch asks Ubuntu to handle any dependencies intelligently. That is, if a particular software package is dependent on another software package to run, this command will make sure that the second package is upgraded before upgrading the first one.
This method is a safe way to upgrade your Ubuntu Linux kernel. The kernel updates accessible through this utility have been tested and verified to work with your version of Ubuntu.
Option B: Use the System Update Process to Force a Kernal Upgrade
There are instances in which a newer kernel has been released but not thoroughly tested with your version of Ubuntu. For example, you might be running Ubuntu 17.10 (Artful Aardvark), and you know that Ubuntu 18.04 (Bionic Beaver) is available.
Updating the kernel in this way requires a more substantial process.
Step 1: Back Up Your Important Files
You’ve probably already done this, but it’s important enough that it’s worth repeating.
Step 2: Use the Software Updater
Launch the software updater by hitting the super key (the “windows” key on most keyboards), and search for Update Manager.
The update manager will notify you if there are any updates needed. If you performed the steps in Part A, it should say your computer is up to date.
Click the Settings button.
A new window should open up with several tabs.
Step 3: Configure the Software Updater
Click the Updates tab.
Tick the first three checkboxes, under “Install updates from:”
Then, at the bottom of this tab, look for a drop-down labeled “Notify me of a new Ubuntu version:”
Click that drop-down, and select:
- For long-term support versions (If you want to stick with tested and reliable versions with full support)
- For any new version (If you like playing with the latest-and-greatest, and don’t mind if things are a little buggy)
Close this window, and then re-open it. It should offer the option to upgrade if there’s a new version out. (It usually takes a few days after release for the upgrade to become available, and for the server traffic to lighten up.)
Step 4: Force the Upgrade
If for some reason the system does not offer an upgrade, you can force it by opening a terminal and typing:
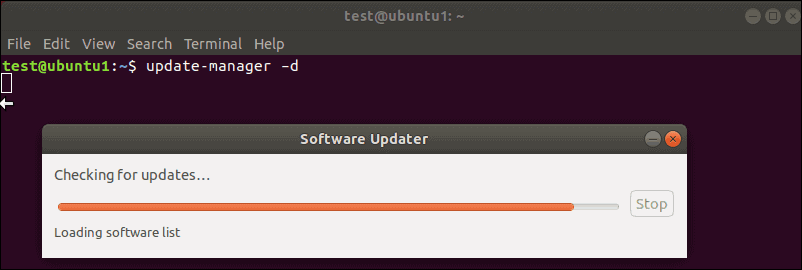
The system should respond with a window showing release notes for the new kernel (and version) of Ubuntu.
If everything looks good, click upgrade, and the process will proceed.
Option C: Manually Update the Kernel (Advanced Procedure)
If you just want to upgrade to the latest (untested) kernel available, and you’re aware of the risks, there’s a third procedure for selecting and installing a new kernel.
Before performing this step, it’s worth checking your system configuration. Are you running any custom drivers (especially video drivers)? Any custom configurations or packages? Those may not be compatible with the new kernel.
If you make a mistake and find that the new kernel is incompatible, a recovery option should be available. But it’s better to take precautions and prevent a problem than to try to fix one.
It’s also a good idea to research the release notes for the kernel you want to install. Note the revision number and any features that you intend to work with.
This process will use Ukuu, a graphical utility for updating the kernel. There are other methods, including manually downloading and installing the kernel, or even getting a copy of the source code and compiling it. Those methods are more complicated, and outside the scope of this guide.
Step 1: Install Ukuu
At the terminal, type the following (hit enter after each line):
sudo apt-add-repository ppa:teejee2008/ppaThe first command adds the TeeJeeTech repositories of open-source software for Linux to your basic repositories. The second command refreshes the database, so you’ve got a list of the latest revisions. The third command installs the Ukuu software.
Step 2: Launch Ukuu
The Ukuu utility will launch and should display a list of the available Linux kernel versions.
Step 3: Install the Kernel
Select the kernel you wish to install, then click the “Install” button on the right-hand side.
Step 4: Reboot the System
Once the kernel finishes installing, reboot your system. Once you’re back into the operating system, you can relaunch Ukuu to verify the installation.
Step 5: In Case of Failure
If there’s a catastrophic problem, the GRUB, or boot utility, will keep a copy of the old kernel that you can select and boot into.
On the boot screen, select Advanced options for Ubuntu – then select the previous kernel (identified by the revision number). There’s no need to use the “upstart” or “recovery mode” options.
Step 6: Uninstalling the Kernel
The Ukuu utility also offers the ability to remove old kernels on Ubuntu. Simply click the same kernel that you installed previously, and click Remove on the right-hand side.
For most users, upgrading the kernel in Ubuntu is pretty straightforward. Most systems will prompt when the upgrade is ready. But if you’re looking for a custom kernel, or want to override the automatic process, this guide provides a good foundation for doing so.
Установите или обновите ядро Linux до последней версии на Ubuntu 22.04
Как пользователь Ubuntu 22.04, вы должны знать, что нынешнее ядро имеет приоритет над надежностью, а не передовыми обновлениями ядра Linux. Это отличный способ добиться бесперебойной и стабильной среды; однако, если вы перешли на новое оборудование, для которого требуется последнее ядро, это необходимо для установки или обновления на нем последнего ядра Linux.
В этом блоге будет продемонстрирован метод установки или обновления до последней версии ядра в Ubuntu 22.04. Давайте начнем!
Установите или обновите ядро до последней версии в Ubuntu 22.04 с помощью Ubuntu Mainline Kernel Installer.
Чтобы установить или обновить до последней версии ядра Ubuntu 22.04, следуйте приведенным инструкциям.
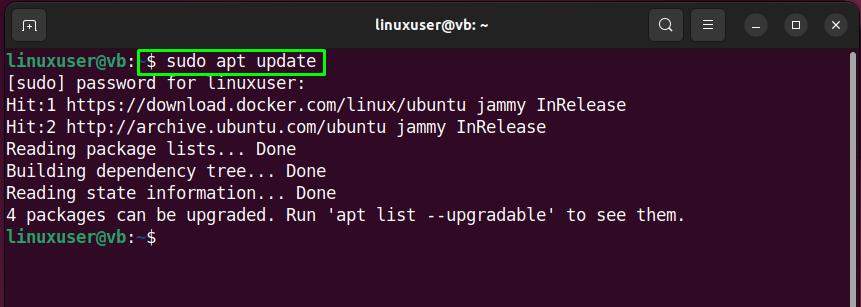
Шаг 1. Обновите системные пакеты
Прежде всего, нажмите «CTRL+ALT+Т” и обновите системные пакеты, выполнив предоставленную команду:
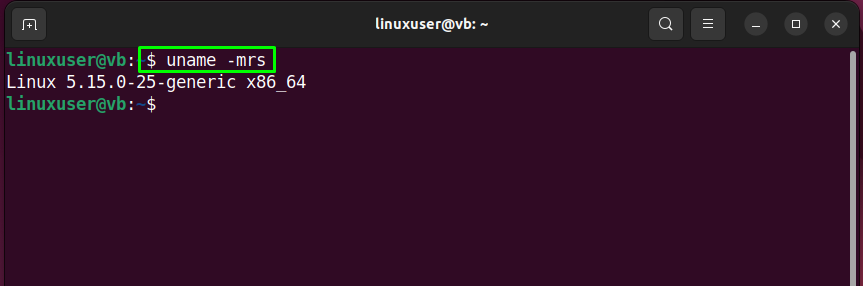
Шаг 2: Проверьте версию ядра
Затем используйте приведенную ниже команду, чтобы узнать версию вашего ядра:
Данный вывод указывает, что у нас есть версия ядра Linux «5.15.0-25-общийв нашей системе Ubuntu 22.04:
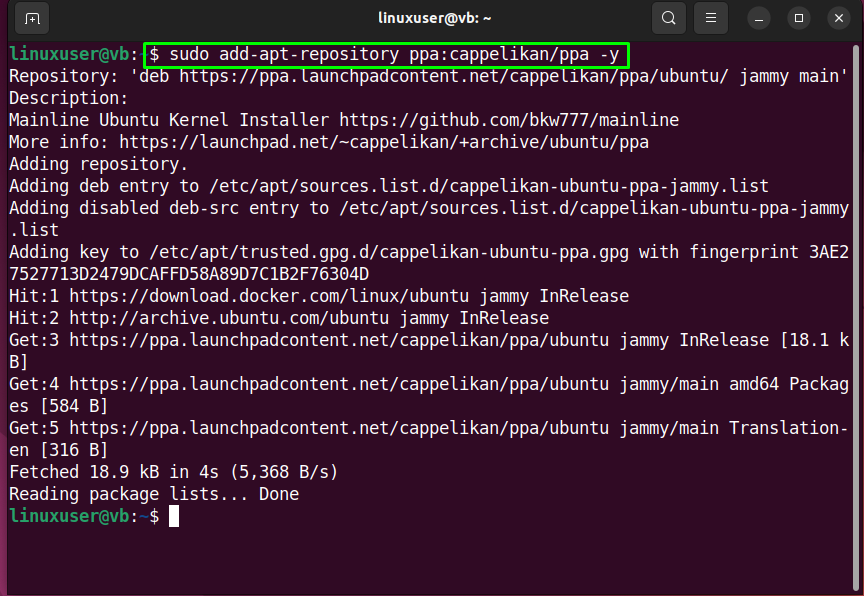
Шаг 3: Добавьте репозиторий
Добавить «каппеликан” репозиторий в вашу систему, так как это требуется для установщика основного ядра Ubuntu:
$ судо add-apt-repository ppa: cappelikan / ппа -у
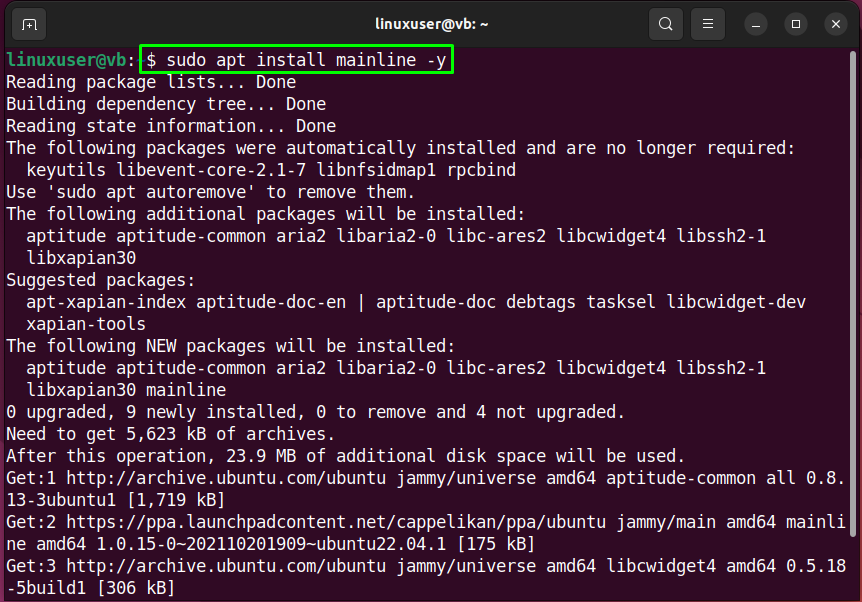
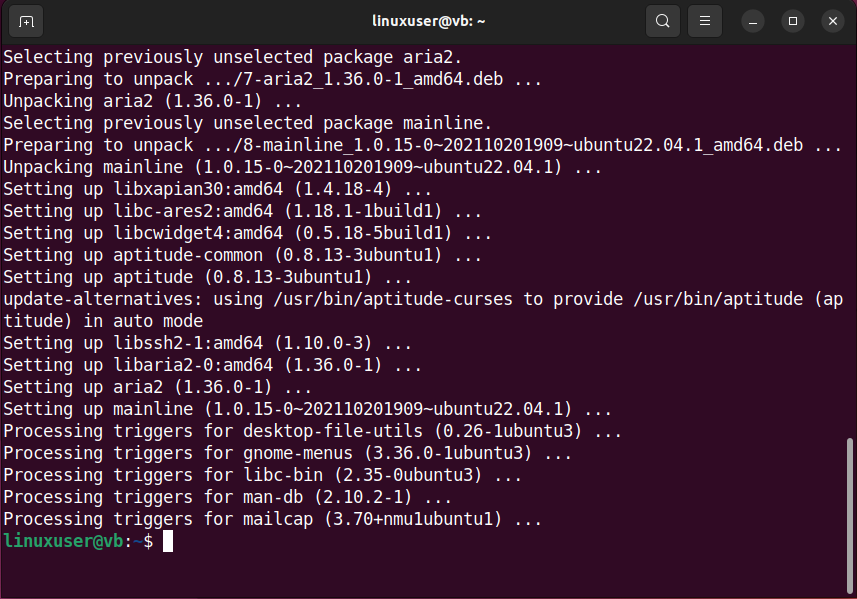
Шаг 4. Установите установщик ядра Ubuntu Mainline.
Затем перейдите к установке установщика Ubuntu Mainline Kernel:
$ судо подходящий установить магистраль -у
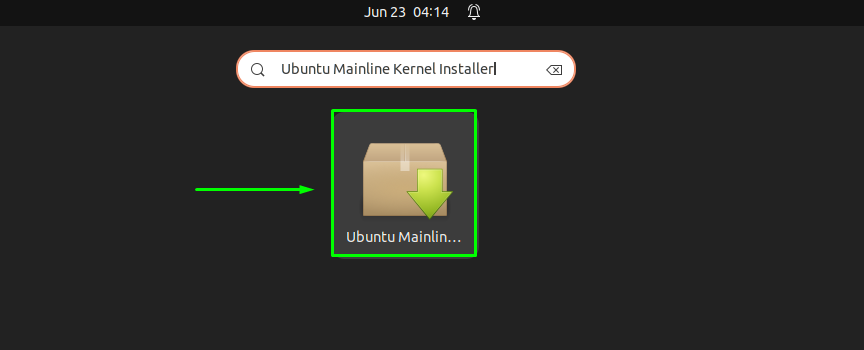
Шаг 5. Откройте установщик ядра Ubuntu Mainline.
После успешной установки Ubuntu Mainline Kernel Installer откройте его, выполнив поиск в папке «мероприятияменю:
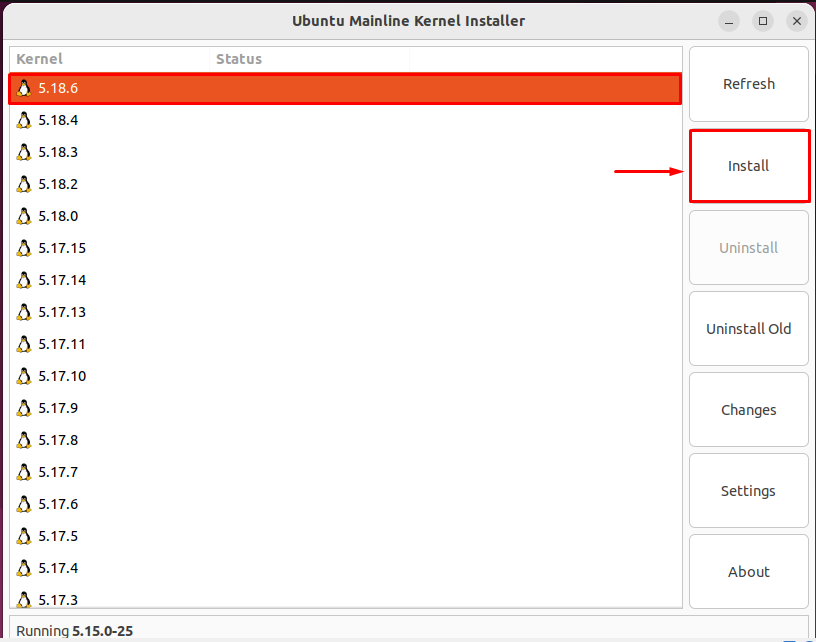
Шаг 6: Установите ядро
Затем выберите ядро, которое вы хотите установить или обновить. В нашем случае мы выбрали версию ядра «5.18.6» и нажал на кнопку «Установить» кнопка:
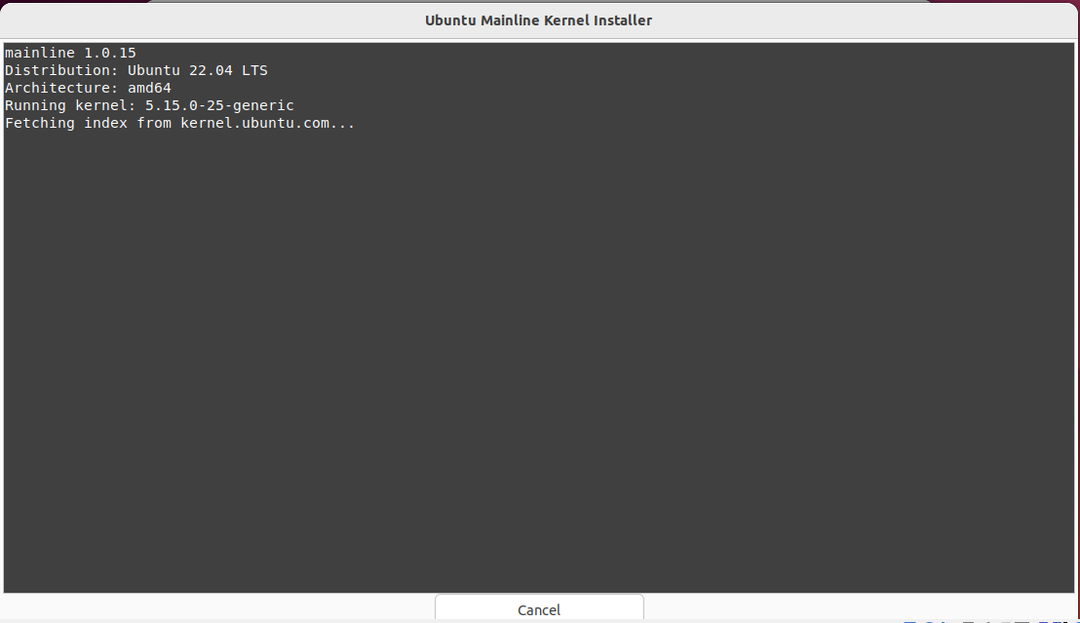
После выполнения ранее указанной операции откроется следующий терминал, и он начнет установку выбранной версии ядра:
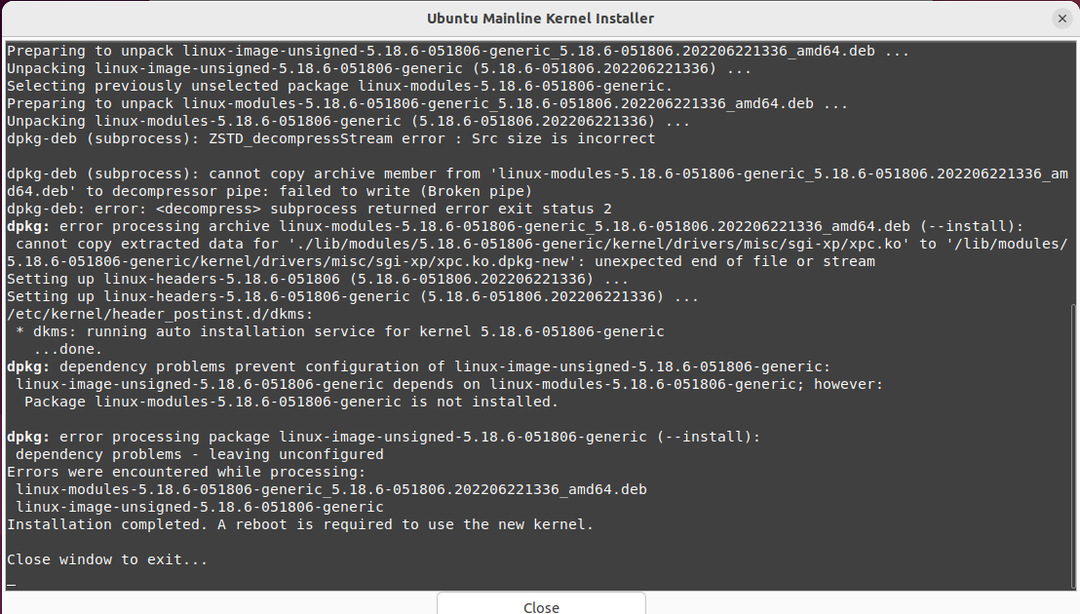
Подождите несколько минут, так как установка ядра займет некоторое время:

Наконец, закройте открытое окно терминала Ubuntu Mainline Kernel Installer:
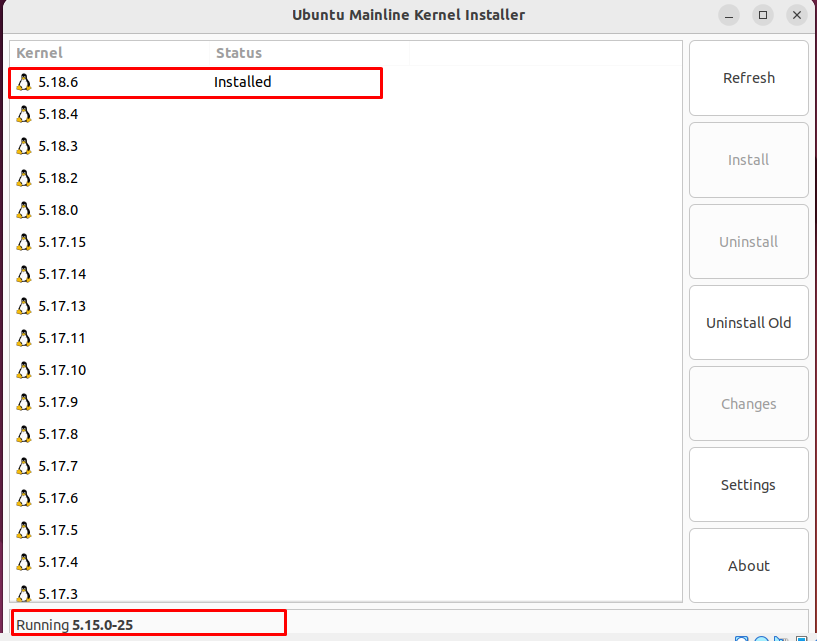
Шаг 7: Проверьте статус установленного ядра
Вернитесь к установщику ядра Ubuntu Mainline, чтобы проверить состояние выбранного ядра. Как видите, ядро «5.18.6” установлен на нашей Ubuntu 22.04:
Шаг 8: Перезагрузите систему
Наконец, перезагрузите систему Ubuntu 22.04, чтобы она могла принять изменения из новой установки ядра:

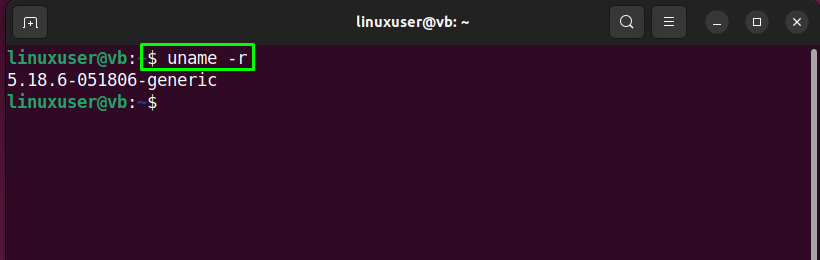
Шаг 9: Проверьте версию ядра
После перезагрузки снова проверьте текущую версию ядра:
Данный вывод указывает на то, что мы успешно установили последнюю версию ядра Linux.5.18.6в нашей системе Ubuntu 22.04:
Мы собрали самый простой способ установки или обновления до последней версии ядра Linux в системе Ubuntu 22.04.
Вывод
Чтобы установить или обновить последнее ядро Linux на Ubuntu 22.04, сначала обновите системные пакеты. Затем проверьте текущую версию ядра. После этого запустите «$ sudo apt установить основную линию -y” на терминале Ubuntu 22.04 для установки приложения Ubuntu Mainline Kernel Installer. Далее открываем установленное приложение, выбираем последнюю версию ядра и нажимаем на кнопку установить. Наконец, перезагрузите систему. В этом блоге продемонстрирована процедура установки или обновления до последней версии ядра Linux в Ubuntu 22.04.