- Access Windows 10 Shared Folder from Ubuntu 18.04
- 4 Answers 4
- How to Mount SMB Share on Linux or Windows
- Why It May Not Work?
- How to Access Samba Share in Linux
- How to Open Samba Shared Folder in Windows
- Wrapping Up
- How to Access Windows Shared Folder in Linux
- How to Share a Folder in Windows:
- How to Access Windows Shared Folder in Linux:
- Search Content List:
Access Windows 10 Shared Folder from Ubuntu 18.04
I would like to share files between Windows and Ubuntu. In Ubuntu 16.04 LTS, I could access shared folder on a Windows machine on my local network my navigating to Other locations in Files (Nautilus), accessing the Windows network, and browse. After upgrading to Ubuntu 18.04 LTS, this no longer works for me. How can I get access to folder shared in Windows 10 from Ubuntu 18.04?
We gone to files->Other locations in linux system and there we could see the windows network. After opening that we could see the windows system there . By clicking on the windows pc we copied the folder from its shared folder.
@Deciletech Please edit your question to add details. It helps to keep the simple Q&A style and could also bring more attention since an edited question gets bounced on the homepage.
4 Answers 4
There was a change in both Windows 10 and Samba. Some of the details are explained here.
The browse by just clicking isn’t working, but you can get there by entering the shared folder link in the address field. Use the server’s IP address or the computer name for the share. In the example I’m using the IP address of the Windows 10 server:
Use Keyboard shortcut Ctrl + L to type in pathname:
Typing that in the file browser will bring up authorization prompt. Use the credentials from your Windows 10 server. This will display all the available shares. You can then click on the share you want access to.
There are two changes steps you may have to do. Set client max protocol = NT1 for the downward compatibility in the /etc/samba/smb.conf file. Place the entry just below the workgroup = WORKGROUP line.
#======================= Global Settings ======================= [global] client use spnego = no client NTLMv2 auth = no ## Browsing/Identification ### # Change this to the workgroup/NT-domain name your Samba server will part of workgroup = WORKGROUP client max protocol = NT1 Once you have manually accessed the desired share, you can make it easily accessible in the future by bookmarking it. You can do this with the keyboard shortcut: Ctrl + D .
You can easily rename your bookmarks to something friend and meaningful by right-clicking the name that appears in the File Browser’s sidebar.
Install necessary packages:
You may have to install smbclient , which will ensure you have the necessary dependents such as the cifs-utils and the actual /etc/samba/smb.conf file.
$ sudo apt install smbclient Works on Lubuntu 18.10 as installed; no additional packages or edits required. Does not support browse by clicking. Works with entering smb://192.168.1.102 in PCManFM-Qt file manager.
On 18.04, I have just had success with the following:
On Ubuntu: Install smbclient and add client max protocol = NT1 to /etc/samba/smb.conf as per L.D. James’ answer (see this post for more info).
On Windows: Create a folder in Windows to share, e.g. named shared . Make sure the folder is shared: I created a new user on Windows, keeping the NewUser name and selected a simple password (I first tried changing the name, but found that change was apparently only skin deep. Perhaps if I had rebooted. ). I logged in with NewUser , then logged back in with my admin account. I activated network sharing on my private network and for the folder specifically (see e.g. this post). Then I right clicked the folder and chose Give access to. , choosing NewUser (you may want additional permissions: see the just linked to post). Under the Sharing tab, the folder now has a network path: //COMPUTERNAME/shared .
Still on Windows: To gain access to the shared folder, I used the IP of the Windows machine instead of the COMPUTERNAME , cf. this.
To find the IP of your Windows machine, right click the network logo, open Network and Sharing Settings and choose Change connection properties . Take note of the IPv4 near the bottom.
In Ubuntu: Finally, open a terminal on you Ubuntu machine and execute
sudo mount -t cifs -o username=NewUser //[insert IPv4 here]/shared /home/your_ubuntu_username/shared and provide the password for NewUser when prompted.
This mounts the shared Windows shared folder as a folder shared in your Ubuntu user’s home directory.
The command is based on suggestions from here, where there are also suggestions for storing login credentials.
I hope it works. Good luck!
How to Mount SMB Share on Linux or Windows
In the previous article, I explained how to mount a Windows shared folder in Linux. There were certain issues due to the fact that Microsoft uses the WS-Discovery protocol, and Linux still poorly supports this protocol. However, if you need to mount a Samba shared folder, the issues will be roughly the same.
In this article, we will look at how to mount a SMB share in Linux or Windows using a graphical interface.
Why It May Not Work?
In the past, the SMB1 protocol had a built-in network discovery feature. Starting with Samba 4.11.0, it is disabled by default and is not recommended for use due to security issues. Now the Zeroconf protocol and Avahi service are used in Linux for that purposes. Recent versions of Samba can publish themselves into the local network using Avahi. So that, in most cases, you will see Samba share on another Linux PC without any troubles.
However, Windows will not see your Linux shares. Microsoft uses the WS-Discovery protocol for network discovery, but the developers of Samba decided not to add support for this protocol. There is already a separate service written in Python that can announce a computer through WS-Discovery, which is called WSDD.
In the next sections, we will look at how to ensure that your Samba server is announced using Avahi, and how to configure the announcement manually. This may be relevant for older versions of Samba. Also, we will configure WSDD so that everything works in Windows as well.
How to Access Samba Share in Linux
In this article, I won’t go into detail about setting up a Samba file server because there are already many instructions on the internet. Let’s focus on how to ensure that it is visible to other Linux machines and troubleshoot if it is not. As I mentioned earlier, this is done using the Avahi service. You need to install it if it is not already installed. The command for Ubuntu is:
sudo apt install avahi-daemon avahi-utils
sudo dnf install avahi avahi-tools
This may be enough for your network folder to be found on another computer because newer versions of Samba can announce themselves via Avahi if they are compiled with this support. This feature can be configured using the multicast dns register option in the global section:
/etc/samba/smb.conf [global] multicast dns register = yes
Usually, it is enabled by default, so no additional settings are needed here and it makes file sharing between Linux systems easier. You can check whether your server is discovered by Avahi using this command:
avahi-browse —all —terminate —resolve
You will see your server’s IP and port 445, in the list. If the automatic announcement does not work, you can configure Avahi to announce Samba service permanently by creating the /etc/avahi/services/samba.service file with the following content:
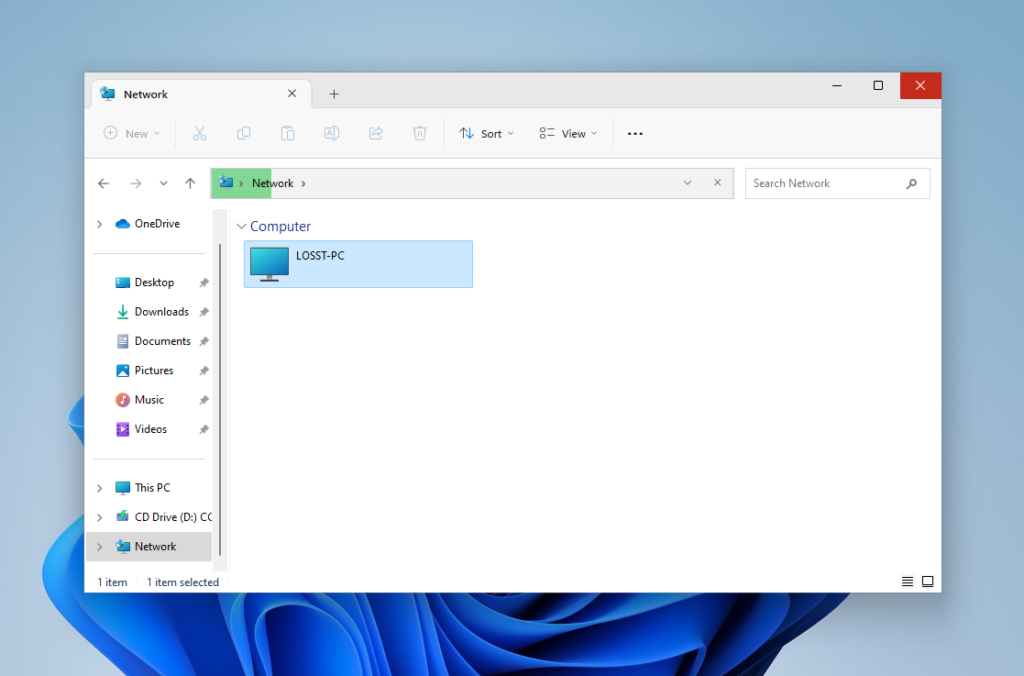
Here, the Samba service is published, along with the computer name LOSST-PC, which will make it easier for users to understand that this is the computer they need. Then you need to set the correct permissions for this file and restart Avahi:
sudo chmod 644 /etc/avahi/services/samba.service sudo systemctl restart avahi-daemon
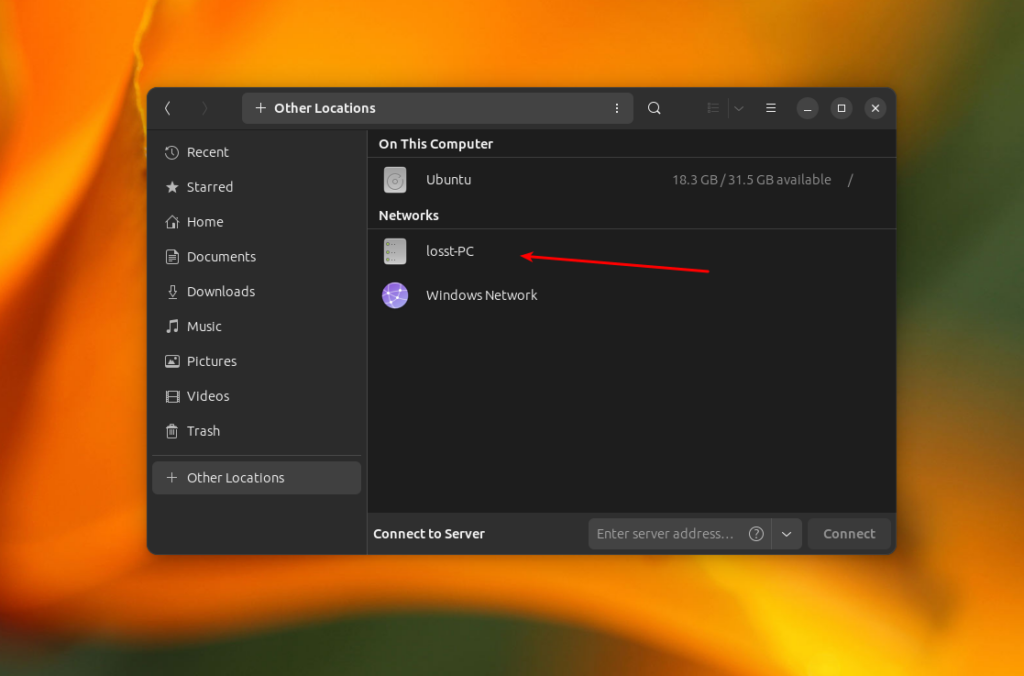
After this, you will be able to find SMB shares on network. Ensure that you can see smb shares on another PC. If you use GNOME and Nautilus, open Other Locations, and your remote share will appear right here in the Networks list:
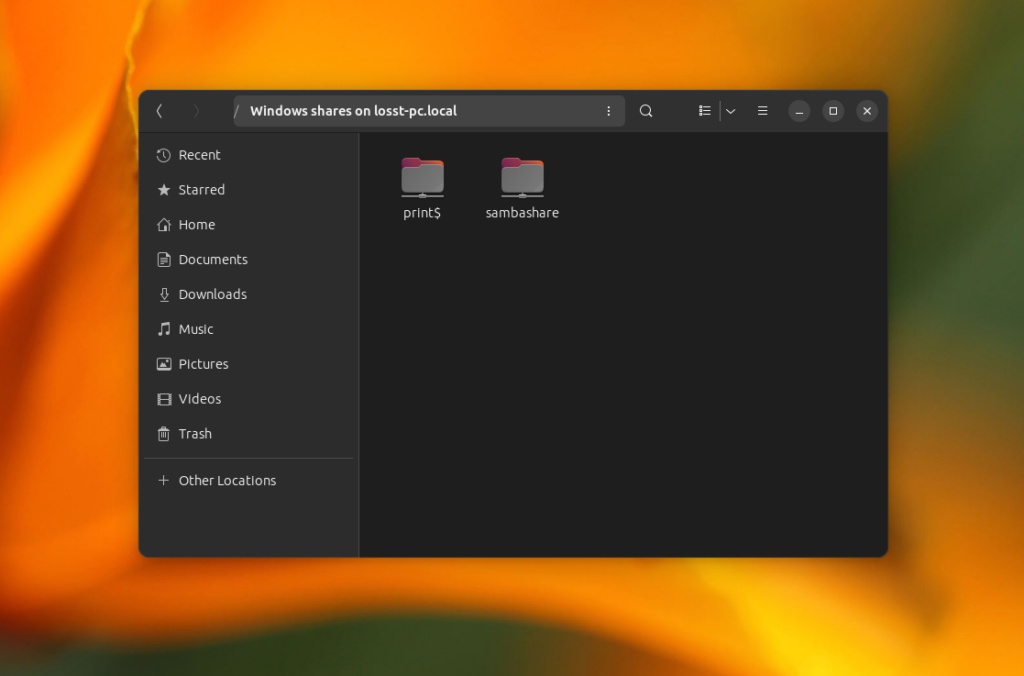
You just need to enter the password for it, and after this, you will see shared files:
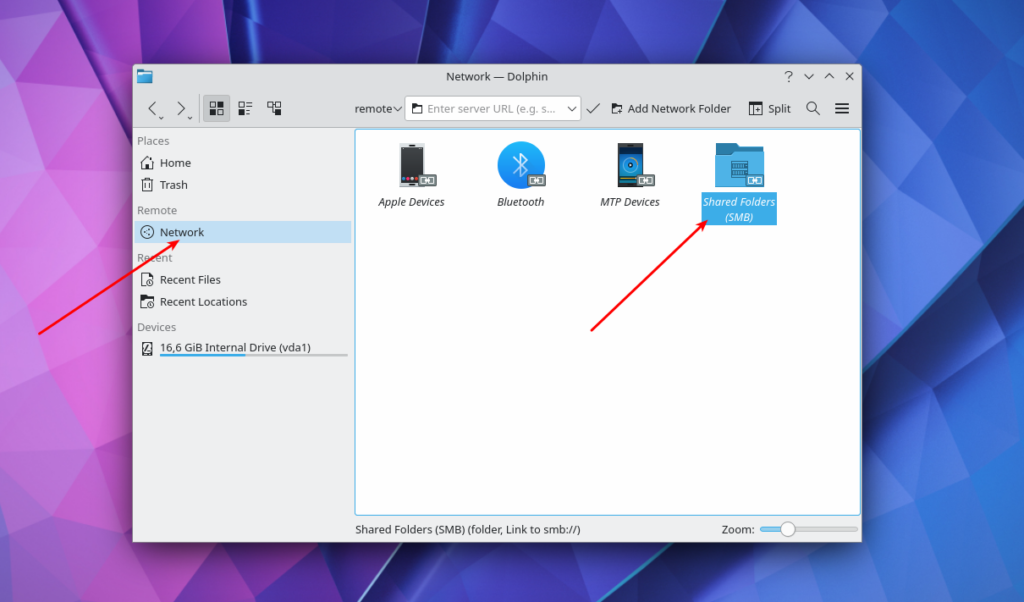
In the Dolphin file manager you can open the Shared Folders Item in the Network section:
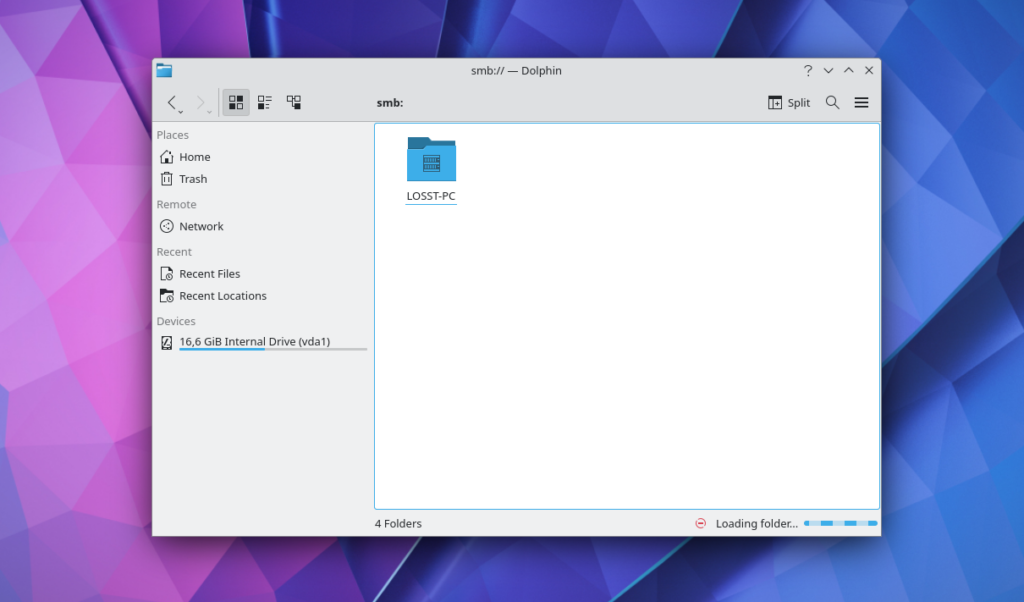
There you will see your share:
How to Open Samba Shared Folder in Windows
If you want your Samba network share to be visible and accessible in Windows, Avahi won’t help. You need to install and start the WSDD service. Execute the following command for its installation in Ubuntu:
Before starting the service, you should disable IPv6 support, as this can cause connection problems with Windows in the future. To do this, open the file /etc/default/wsdd and add the —ipv4only option to the WSDD_PARAMS variable:
/etc/default/wsdd WSDD_PARAMS=»—ipv4only»
Note, that you need root privileges to edit files in the /etc/ directory. Then start the wsdd service and add it to the autoload:
sudo systemctl enable —now wsdd
After this, open the Network section in the Explorer on windows machine and make sure everything works:
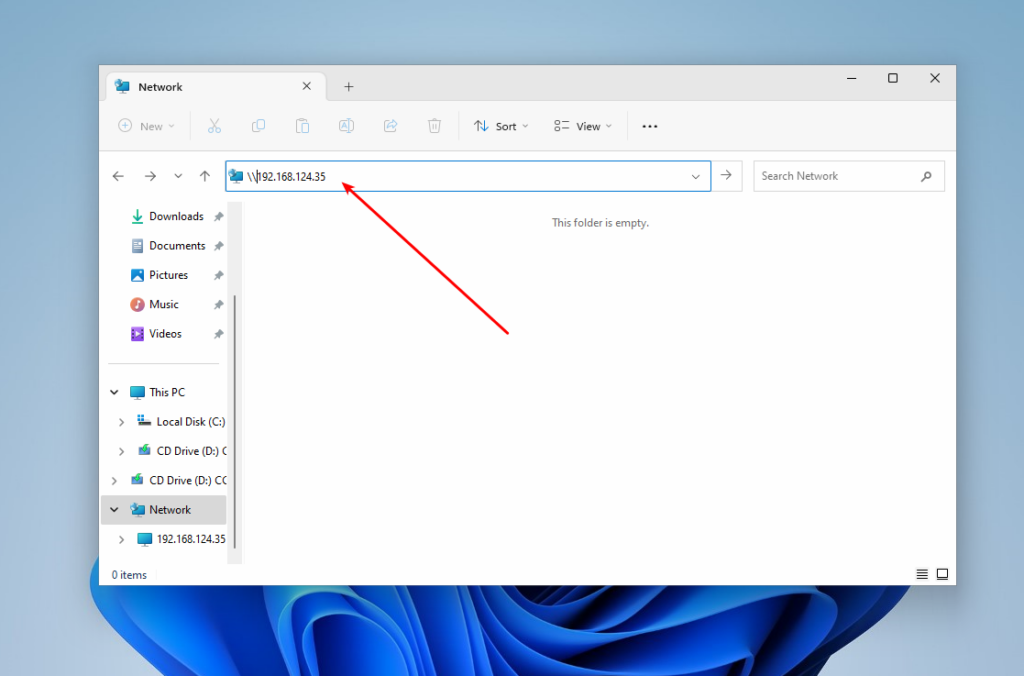
If despite these settings you still can’t find your SMB server in Windows, or you get an error, you can try to connect to remote host directly. To do this, type two slashes and its IP address in the address bar. For example, //192.168.124.35:
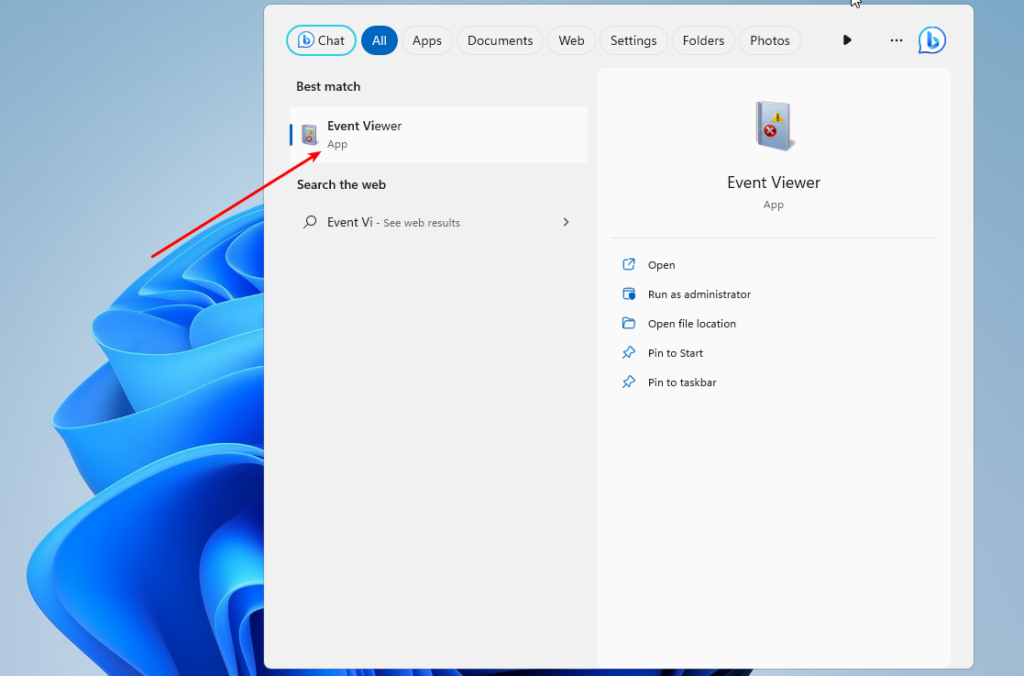
If for some reason something still doesn’t work, you can check what went wrong using the Event Viewer utility in Windows. It can be launched from the main menu:
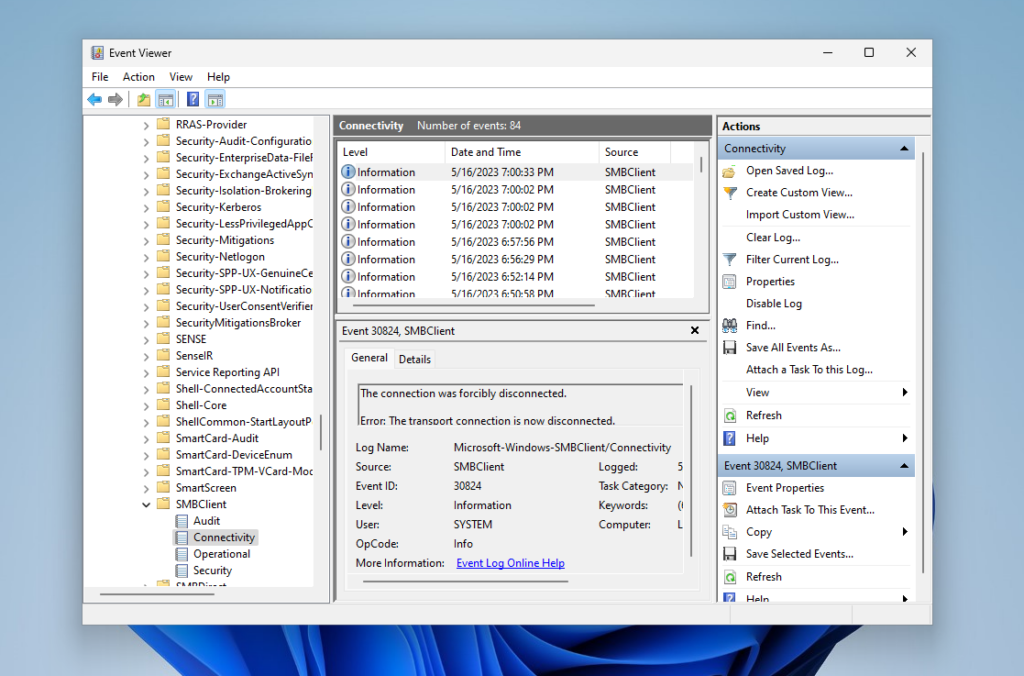
Here you need to open Applications and Services Logs, then Microsoft, then Windows, and in this list, find SMBClient. Here are the SMB client logs, by analyzing which you can understand what went wrong:
Wrapping Up
In this article, we looked at how to mount a Samba share in Linux and Windows. If you want to mount such a folder permanently, look at the article on mounting Windows folders, everything works similarly there as there is used the same SMB protocol.
Found a mistake in the text? Let me know about that. Highlight the text with the mistake and press Ctrl+Enter.
How to Access Windows Shared Folder in Linux
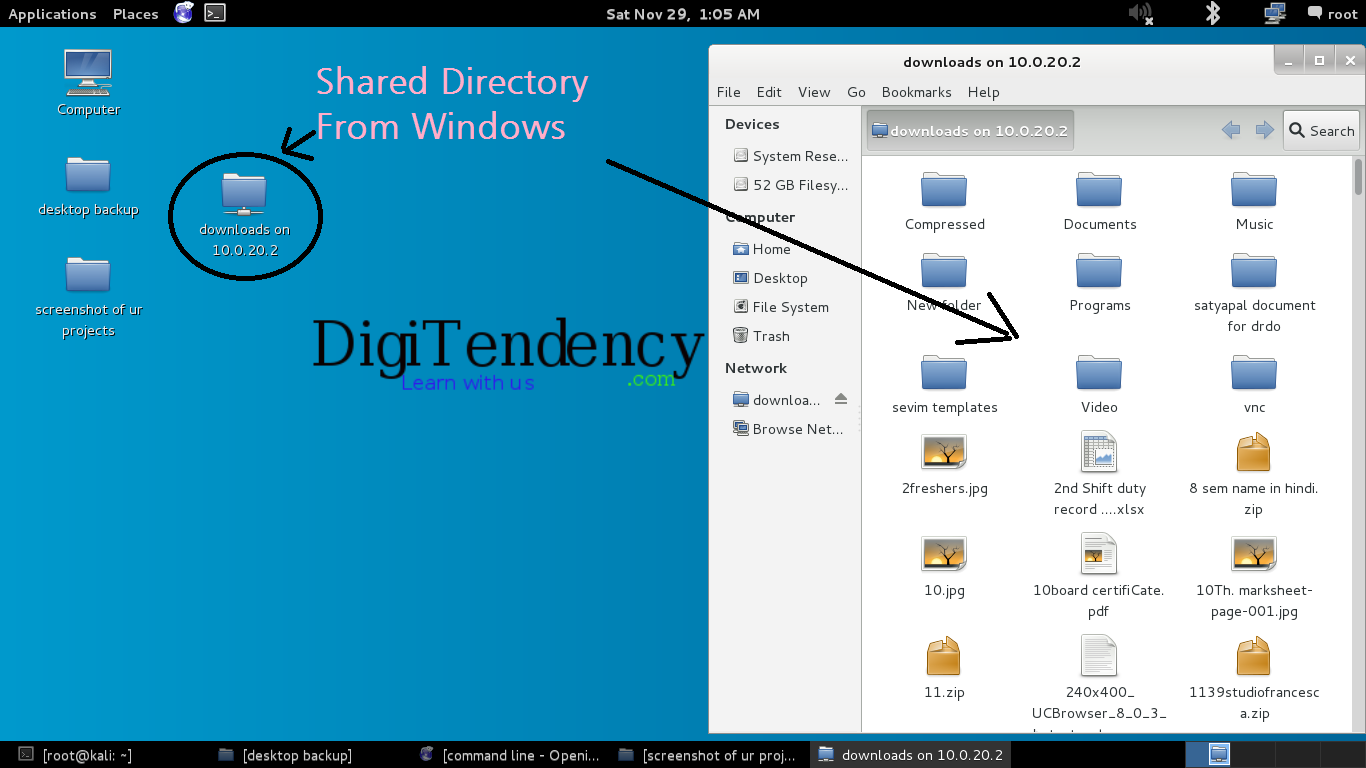
File sharing is the most famous utility in Local Network(LAN). Because No one want to use CD/DVD/USB again again & again if they work in Local Network. In simple way, If many computers are connected to each other via switches or buses, Then we call they exists in the Local Network. So today we learn How to Access Windows Shared Folder in Linux .Firstly we shared a folder from Windows OS.
.jpg)
How to Share a Folder in Windows:
Firstly you select the folder which you want to share. Right Click on Folder goes to properties. and select sharing tab from top. After this click on Advance sharing & mark the share this folder, Click Apply & ok. Now your work is done your folder is shared on Network.
How to Access Windows Shared Folder in Linux:
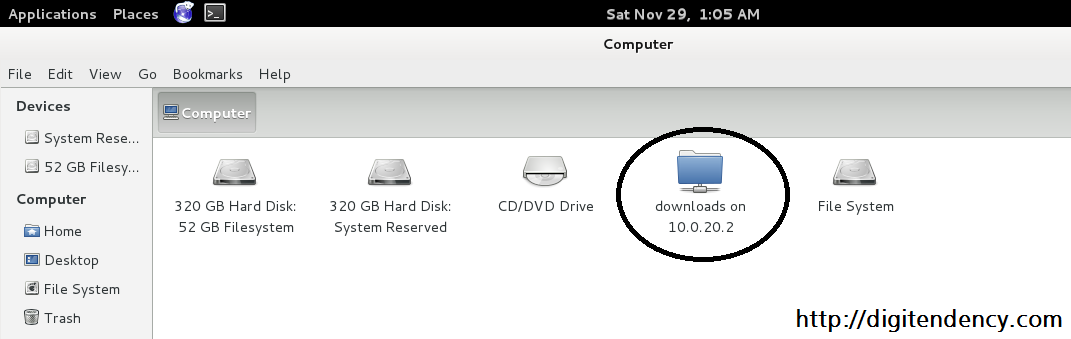
Step 1: First open your file explorer. You can directly open your file explorer via double click on Computer icon. You can also use terminal.
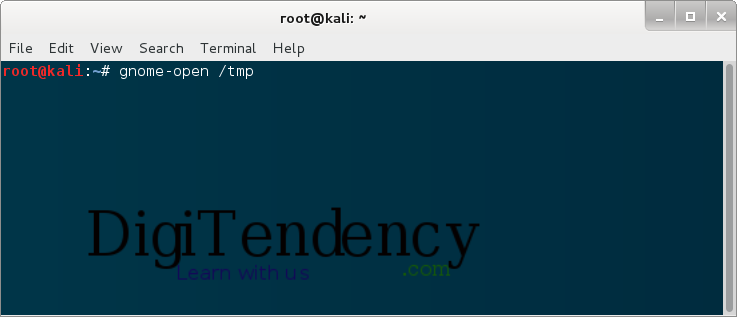
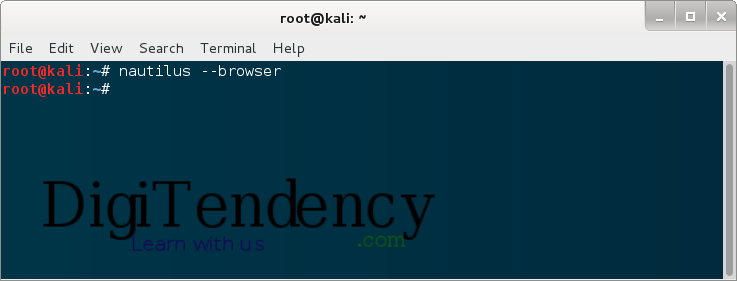
if you want to use terminal then type following commands:
If you use above first command then temp directory open in your explorer. and if you use nautilus command then explorer open your home directory.
Image look like this:
.png)
.png)
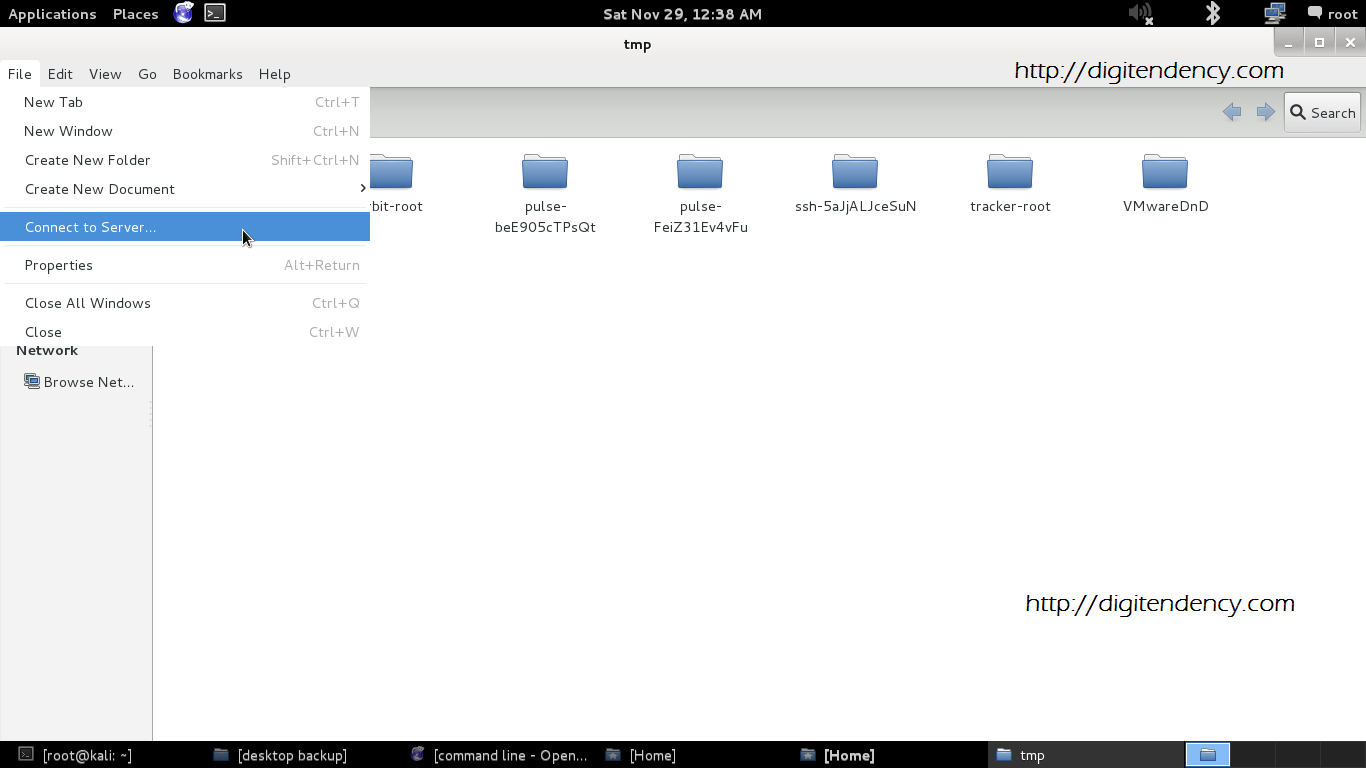
Step 2: After open file explorer. Go to File Menu & Select Connect to server option. Image look like this:
.png)
.png)
.png)
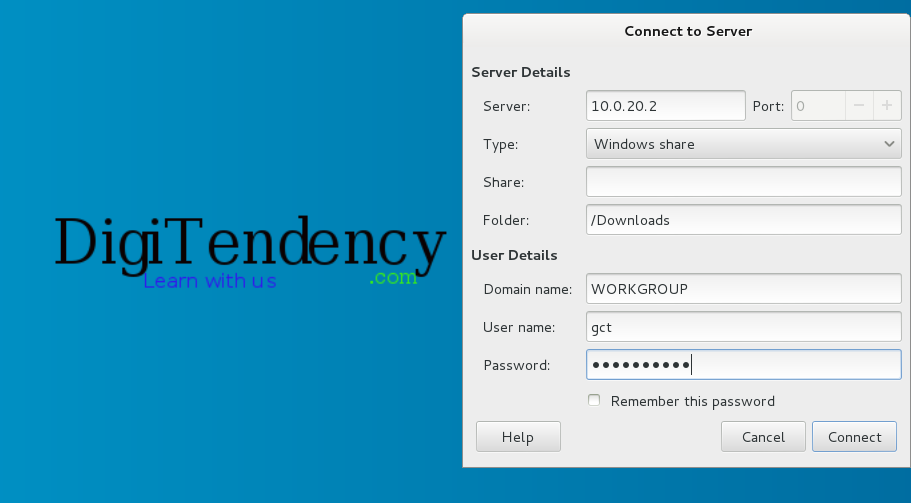
Domain name: Type “WORKGROUP” . The WORKGROUP is default domain name of windows OS. if you change your domain name in your system then enter your domain name in this field.
After the fill above fields click on Connect Button.
.png)
.png)
Search Content List:
- How to Access Windows Shared Folder in Kali Linux.
- How to Access Shared Folders in LAN via Linux.
- How to Access Shared Folder in LAN on Linux.
- How to use Folder Sharing in Linux.
- How to Customize Folder Sharing in Linux.