Oracle linux with vmware
What is Oracle Linux?
Oracle Linux is an open source operating system available under the GNU General Public License (GPL) and is available for free download.
Oracle Linux includes two kernels:
Unbreakable Enterprise Kernel, tracks mainline Linux kernel closely, and offers the latest features and
tested performance and stability
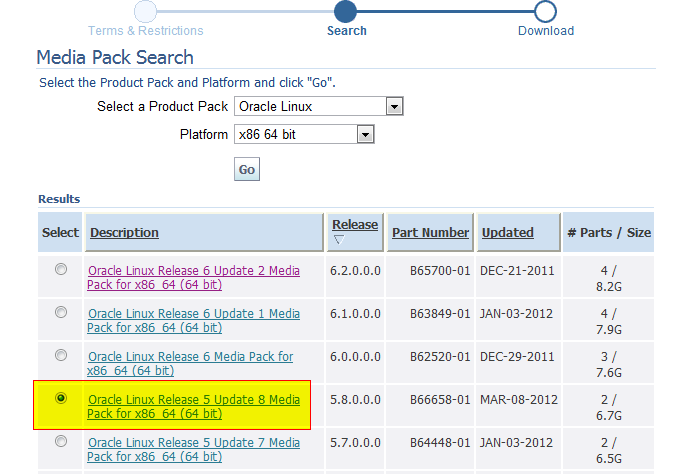
In this tutorial we are going to install Oracle Linux 5 Update 8 (64 bit) prepared to install Orcale Database 11g on it.
What we are going to cover:
1. New virtual image creation
2. Linux Installation using Linux ISO Image download from Oracle eDelivery website
We will include into installation Oracle Validated package (rpm included in distribution) which is automatically configuring system components like Linux kernel parameters, creates oracle users and groups, installs rpm packages required by Oracle products and Oracle Universal Installer. It makes OS ready for installation of most Oracle products, like Oracle Database or WebLogic Server, without additional manual configuration steps – very handy.
1. Once we have downloaded and installed VMware Player or Workstation from www.vmware.com website we are ready to launch the application and press Create a New Virtual Machine button.
In the end press Edit Virtual Machine Settings and configure all image parameters.
Don’t forget to mount Downloaded Linux ISO image as CD/DVD device.
Note: 1GB Memory , 1 CPU and 20 GB hard disk would also be enough.

2. Power up virtual machine and Linux Installer will boot up.
As we mentioned above we are going to include oracle-validated package from System Tools packages group.
As you can see at the last screenshot, the oracle user has been created and has been assigned to oinstall and dba groups (one of the several actions performed by oracle-validated package).
UPDATE: There is one package which oracle-validated doesn’t install – unixODBC-2.2.11-10.el5.i386.rpm
That package is required by the Oracle Universal Installer when installing Oracle Database 11g R2 on Oracle Linux 64 bit.
Let’s install missing package.
You have still Linux ISO image mounted in vmware machine.
As “root” user run the following commands:
[[email protected] ~]# mount /dev/cdrom /media mount: block device /dev/cdrom is write-protected, mounting read-only [[email protected] ~]# rpm -Uvh /media/Server/unixODBC-2.2.11-10.el5.i386.rpm warning: /media/Server/unixODBC-2.2.11-10.el5.i386.rpm: Header V3 DSA signature: NOKEY, key ID 1e5e0159 Preparing. ########################################### [100%] 1:unixODBC ########################################### [100%]
That’s it. System is ready for an Oracle Database installation.
Creating a VMware Workstation For Oracle Database Installation
Andy Kerber, Senior Consultant In this article we are going to cover how to create a VMware workstation to be used to install the Oracle database software. We are going to use VMware workstation 12, and Oracle Enterprise Linux 6.7. Please note that VMware workstation is absolutely not suitable for true business applications. While it can be very useful for learning Oracle methods and techniques, it is absolutely not suitable as an enterprise (or even small business) platform for Oracle. This article assumes that you have VMware workstation properly installed on your PC. The minimum hardware I recommend for VMware workstation is 16G RAM, 2 TB HD, and a quad core processor. My laptop has 32G RAM and my desktop has 64G RAM. Remember that you will need to run both, in order to use this virtual machine and still be able to do your regular work, so sufficient resources are critical. The first step is to create an account on the Oracle web site. Proceed to oracle.com, and choose Sign In/Register to create an account. No payment is required.
Step 1: Download the Oracle Enterprise Linux software
After creating an account, proceed to eDelivery.oracle.com to download the Oracle Enterprise Linux software:  From there, sign in and proceed to the next screen:
 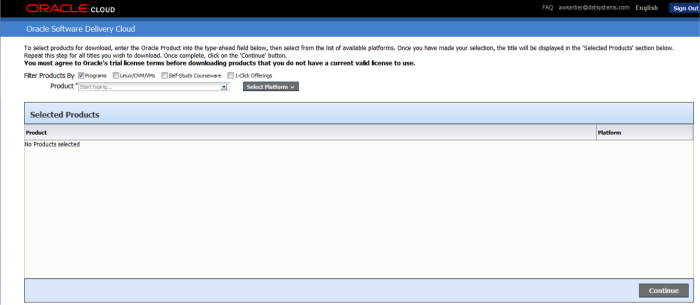 Choose your product, and select the platform.
 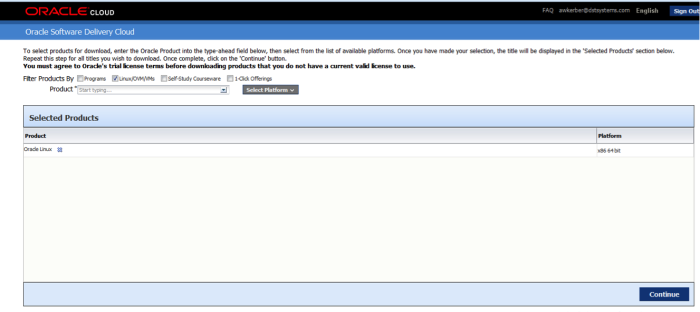 OEL 7.1 will come up as the default, choose a different version and select version 6.
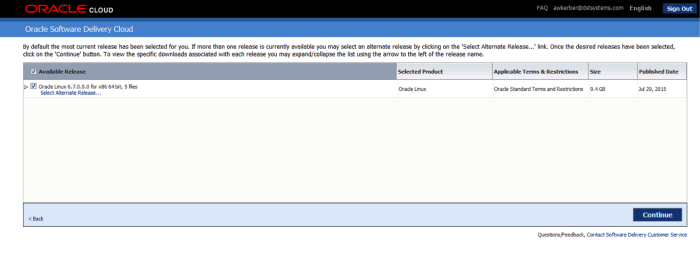
For installation, the best choice is the just the OEL 6.7 DVD, V77197-01.iso 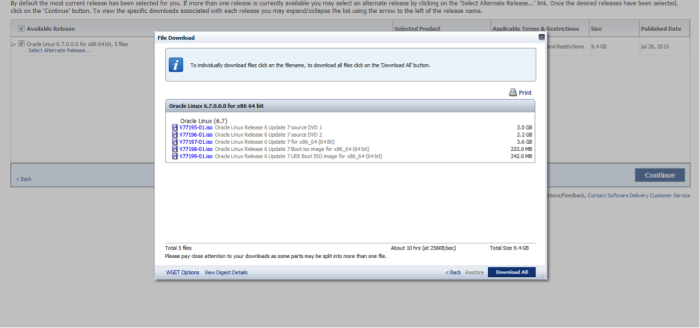
 Once the download is complete, you can begin the creation of your virtual machine. It does not download as a zip file, so it is not necessary to extract any files.
Step 2: Create the Virtual Machine
Start the wizard by choosing, File->New Virtual Machine in the VMware menu. Choose a custom VM. 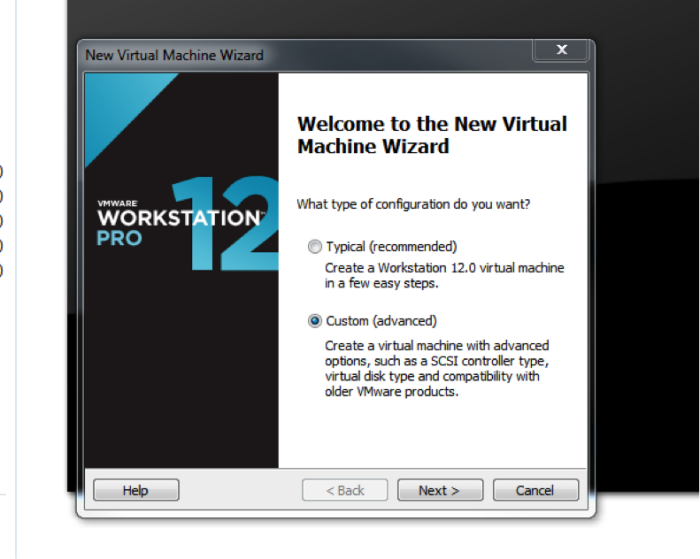 Hardware compatibility isn’t particularly critical, but choosing the most recent version is best.
 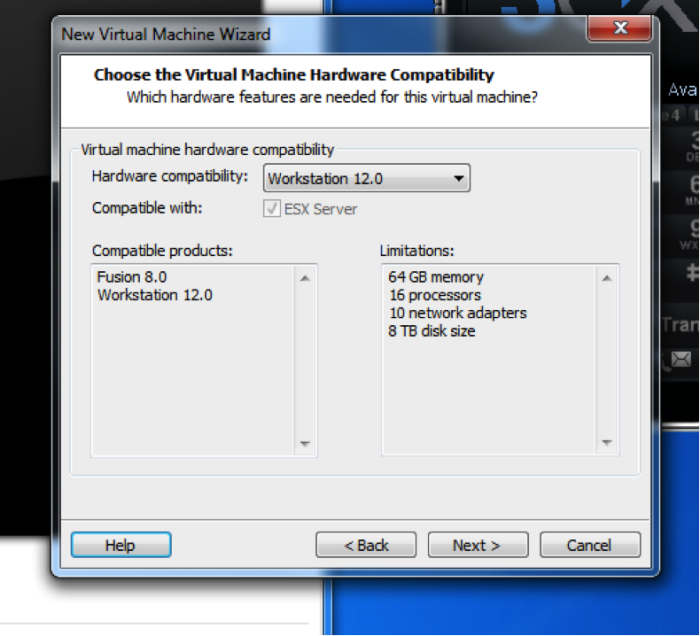 Next, when it comes to guest operation system installation, choose the Installer disc from disk image file. Point this to the OEL installation ISO you just downloaded.
  Choose a virtual machine name. This is just the name that you will see on the VMware workstation menu, so the name you choose is not critical.
 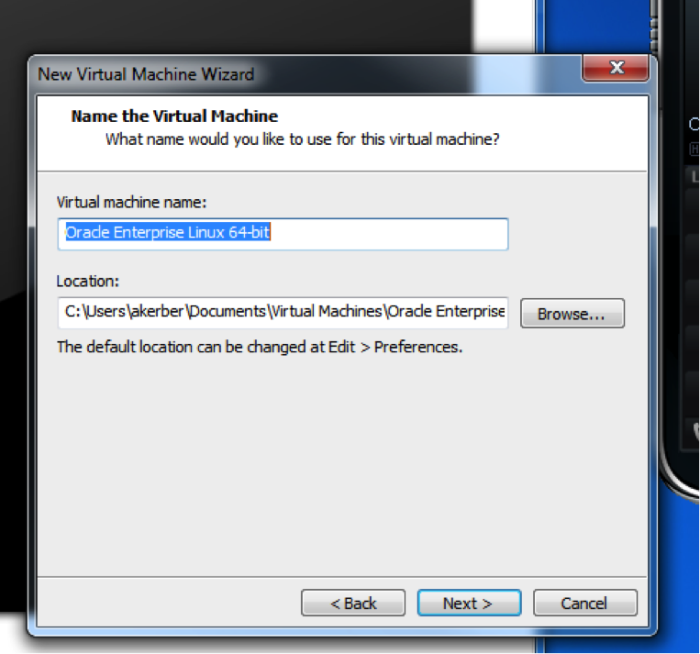 Since this is on your personal computer, you do not want to dedicate a lot of resources to it. Therefore, one processor is appropriate.
 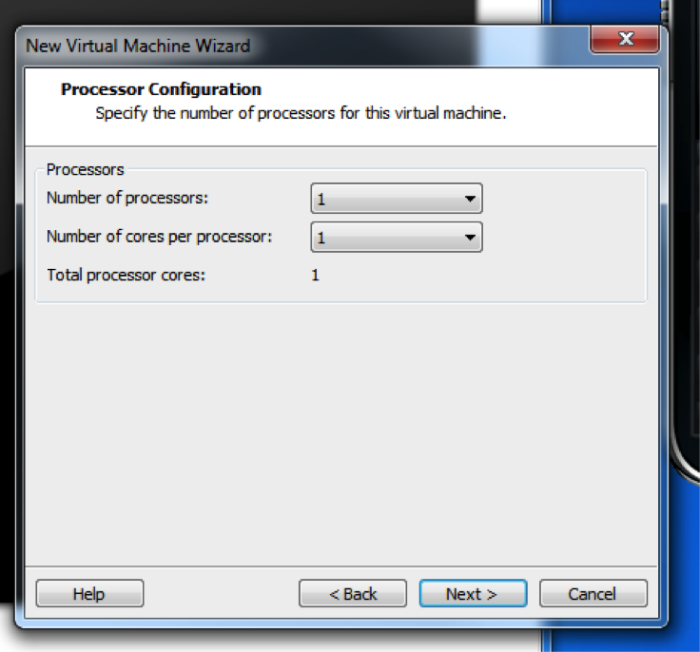 For an Oracle installation, 8G RAM is really the minimum in order to get enough performance to do any kind of work at all.
 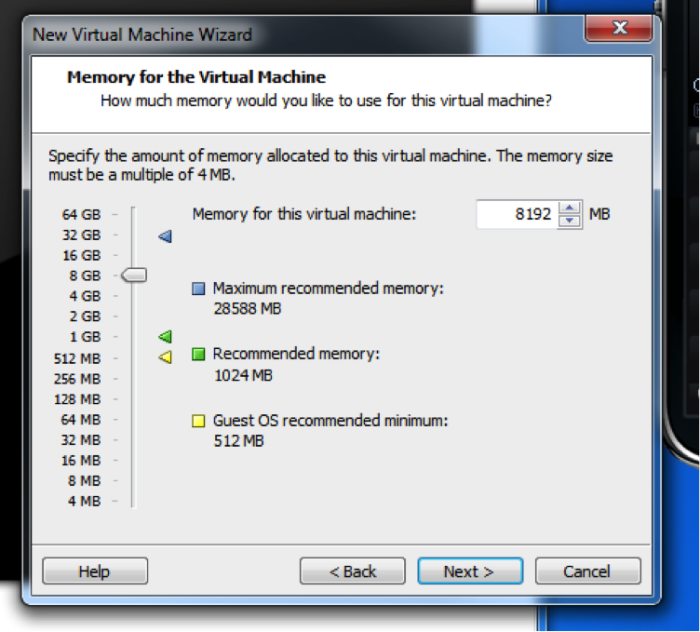 If you have a home router, it is often best to use bridged networking so you can make sure that your test Oracle server has the same IP address all the time. If you are not concerned about this, you can use NAT.
 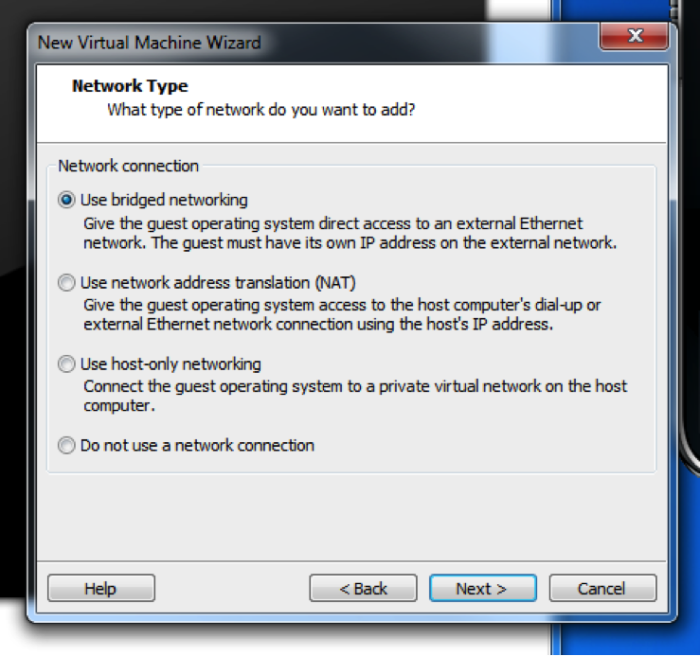 Choose the default controller.
  Select the disk type of SCSI.
 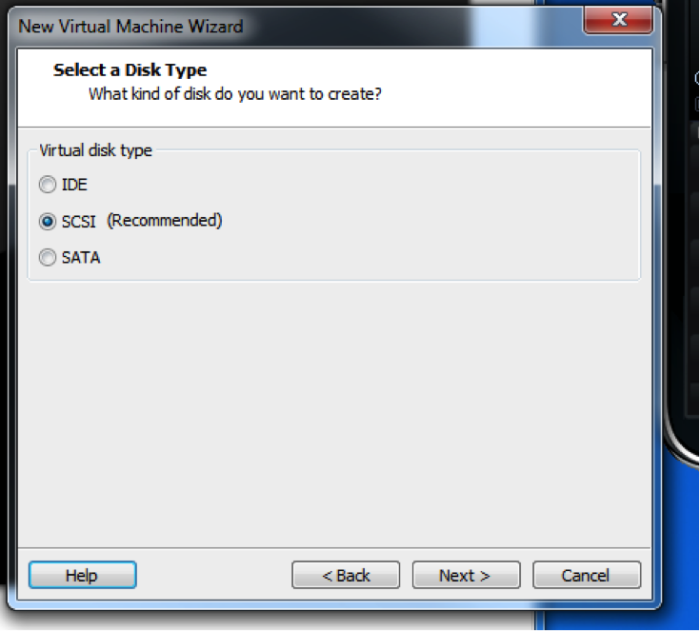 Normally you will create a new virtual disk.
  40G is the absolute minimum size for the installation. Remember you will need space for the Oracle binaries, swap space, temp space, and the Linux operating system. Therefore for best performance, allocate all disk space upon creation. Otherwise substantial time will be spent whenever the disk needs to expand.
 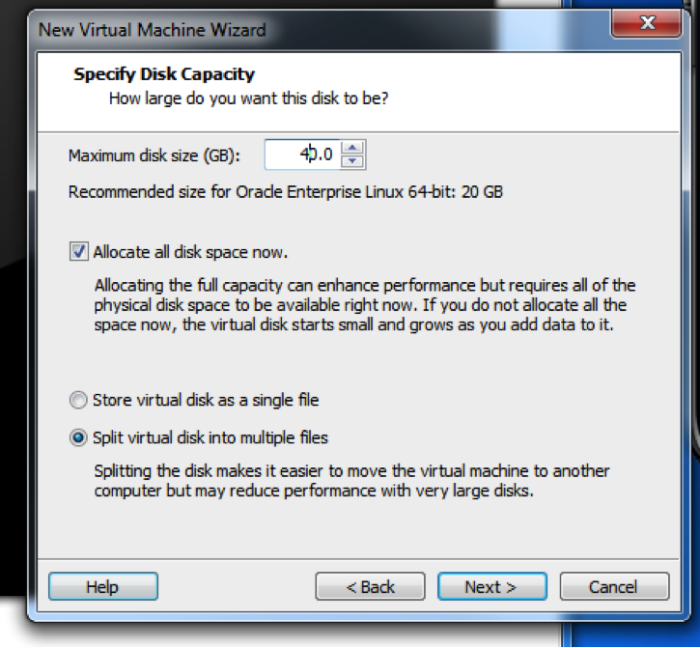 Make sure that there is sufficient space on your hdd for the virtual disk (VMDK).
 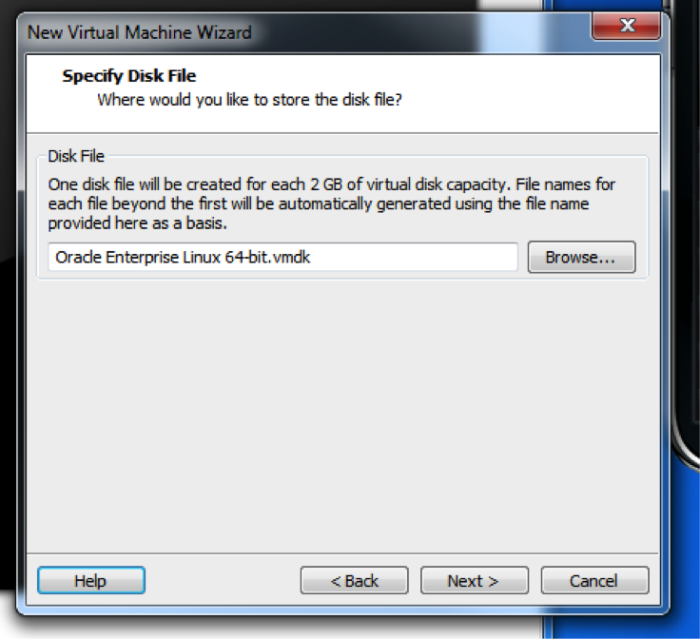 Review the configuration data, and proceed to create the virtual machine.
 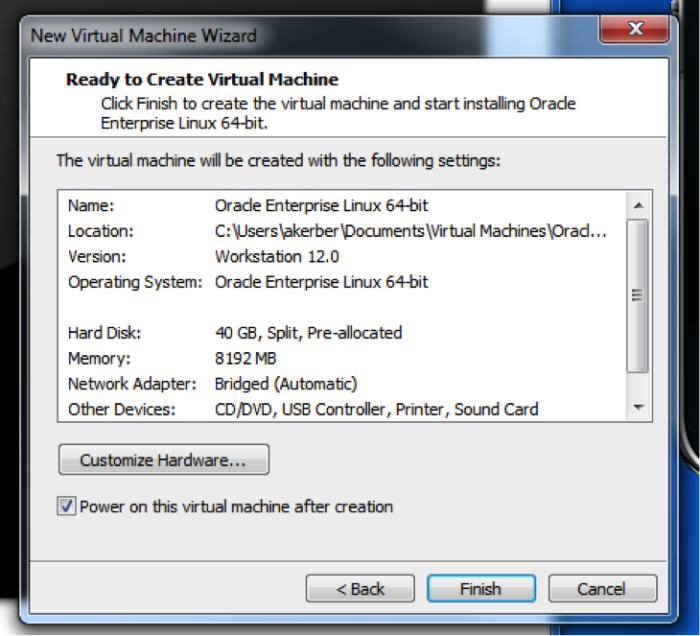 There will be a substantial waiting period as the hard disk is pre-allocated.
 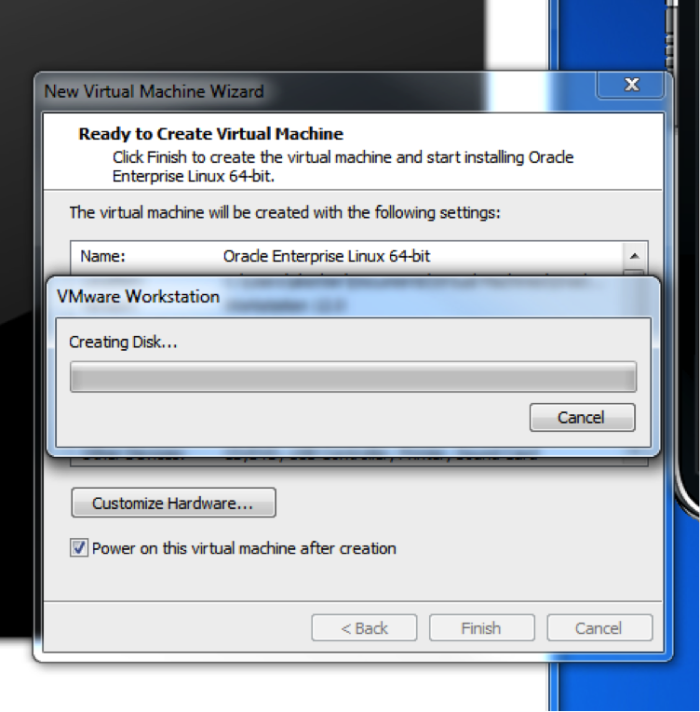 Once the disk space is allocated, the VM will boot from the OEL ISO image specified earlier.
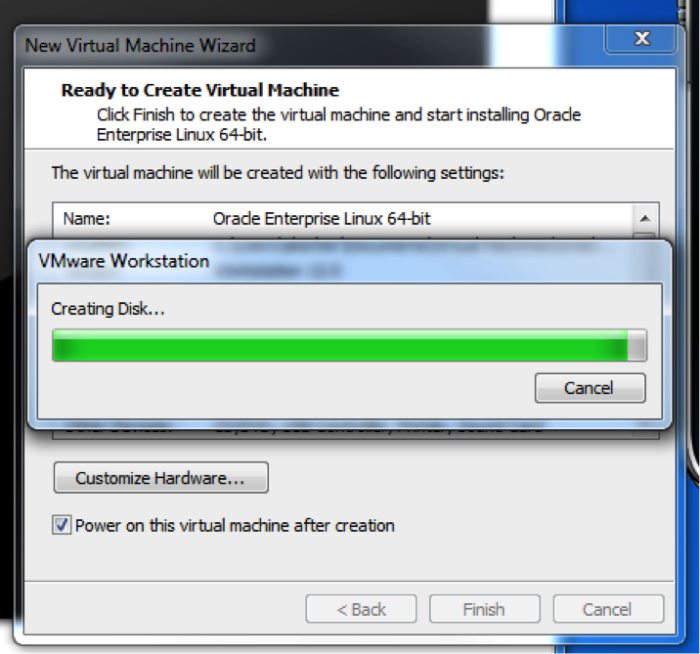
Step 3: Install the Oracle Enterprise Linux Software
Please note that with Enterprise level systems, normally this software will be installed using a puppet (or similar tool) to ensure that each installation is the same. This manual method should be used only for this sort of personal installation. 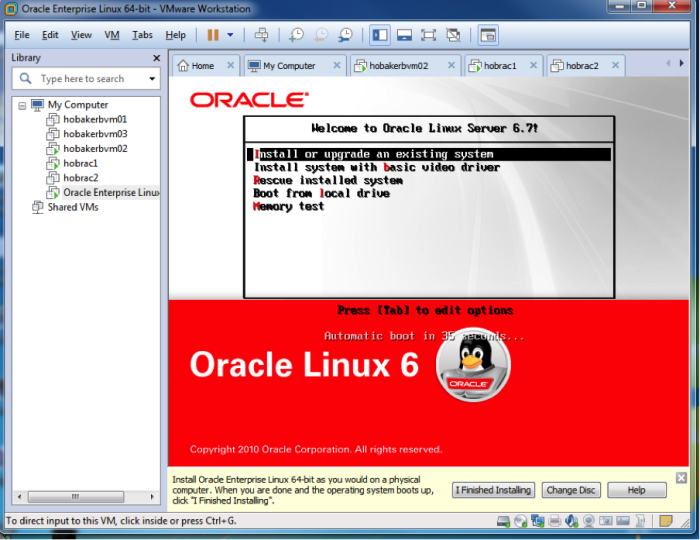 On the next screen, it is safe to skip the media test. Note that the mouse will not work on this screen, so you will need to use the tab and space bar or tab and enter key.
 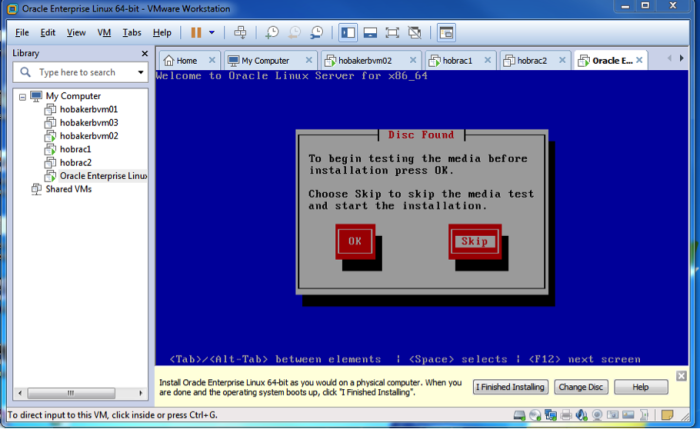 On the next screen, the mouse will work again, so use it to choose ‘next’.
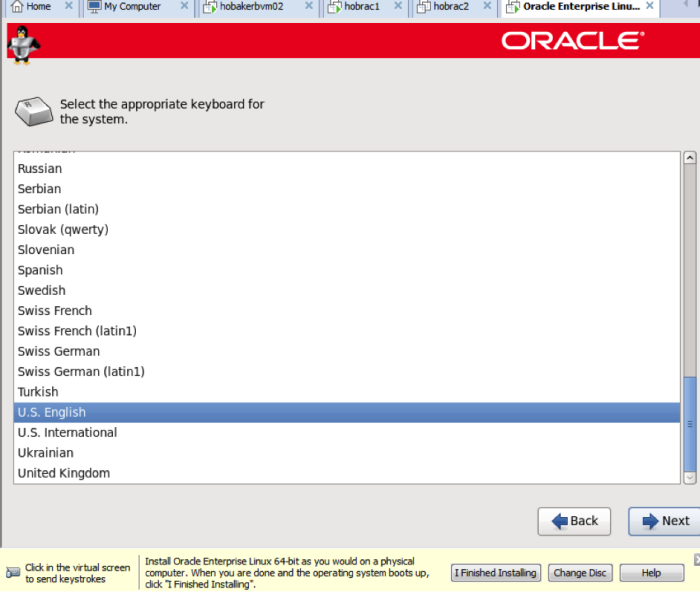
 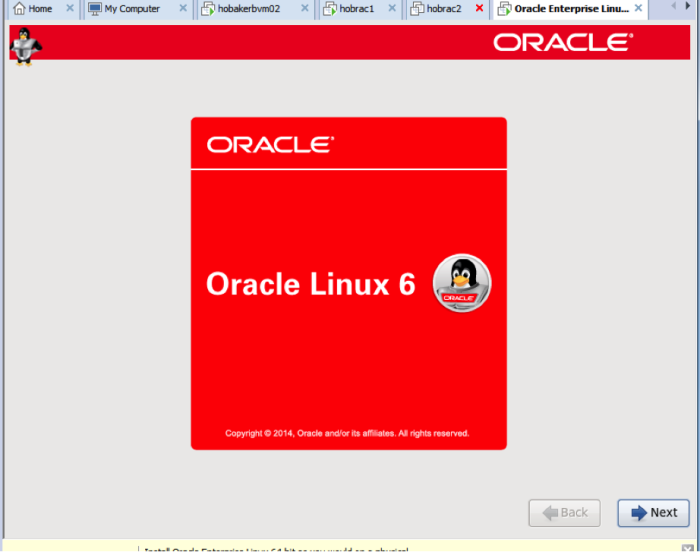 On the next two screens, choose ‘English’, then ‘US English’.
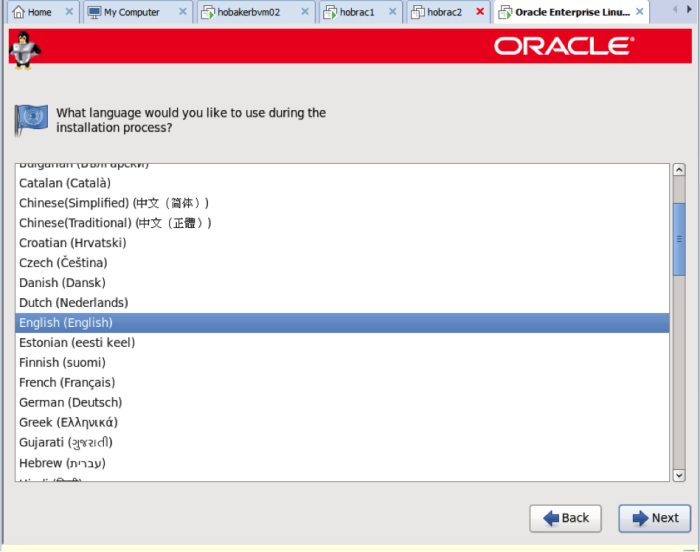
 On the next screen, choose basic storage devices.
 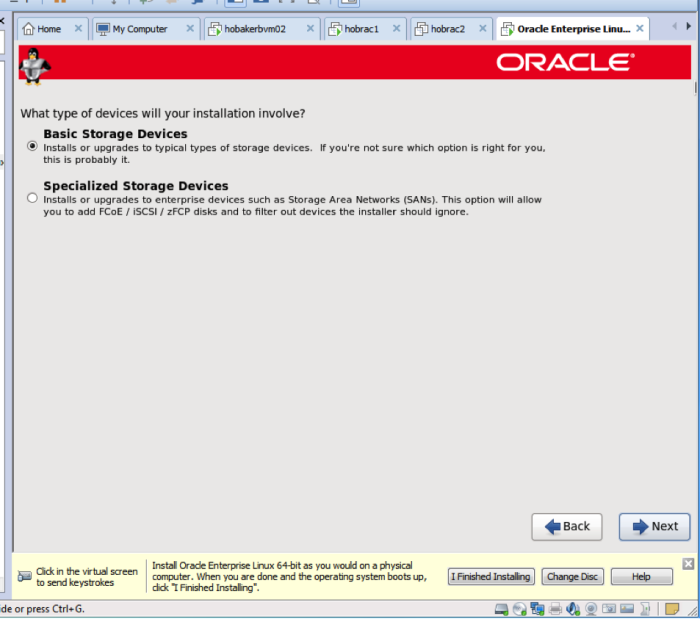 If you get the message below, ignore it and discard the data. Any data on the VMDK is just blank disk space that once had valid data on it.
  On the screen below, choose an appropriate name. Then choose configure network.
 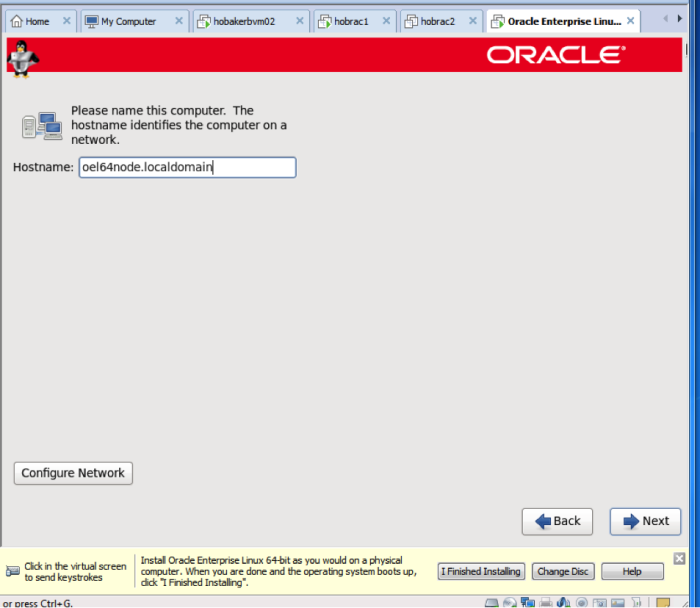 Click on the Ethernet device, and choose edit.
 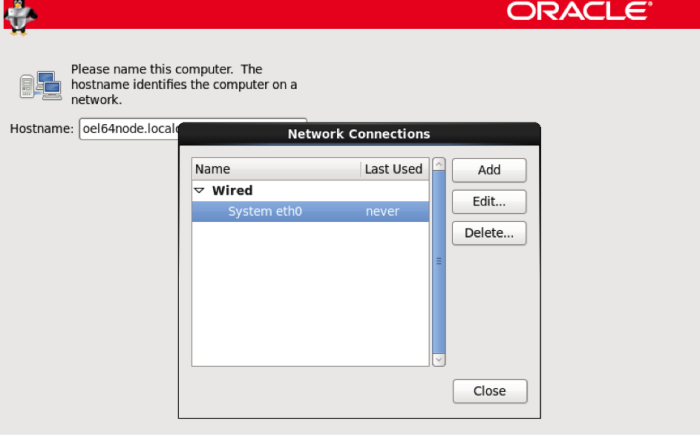 If necessary, set the IPV4 settings, and check the ‘Connect automatically’ and ‘Available to all users’ boxes. Then click apply.
 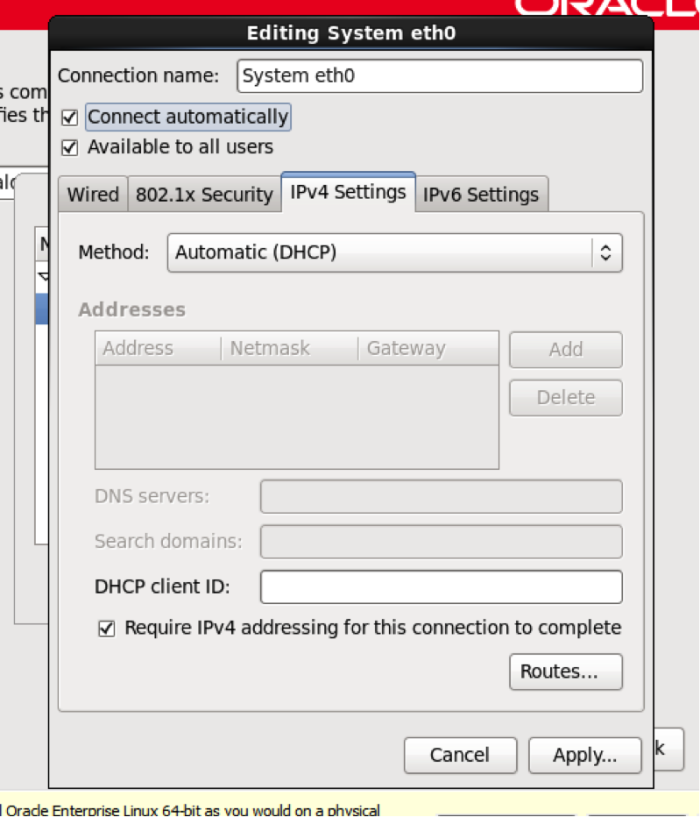 On the next screen, choose your time zone. I am in the central time zone, so I chose America/Chicago.
 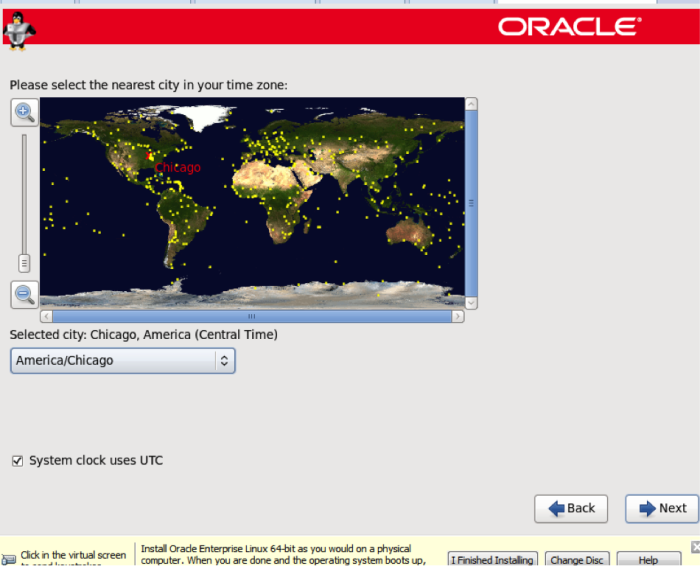 Choose a root password that you will remember and write it down.
 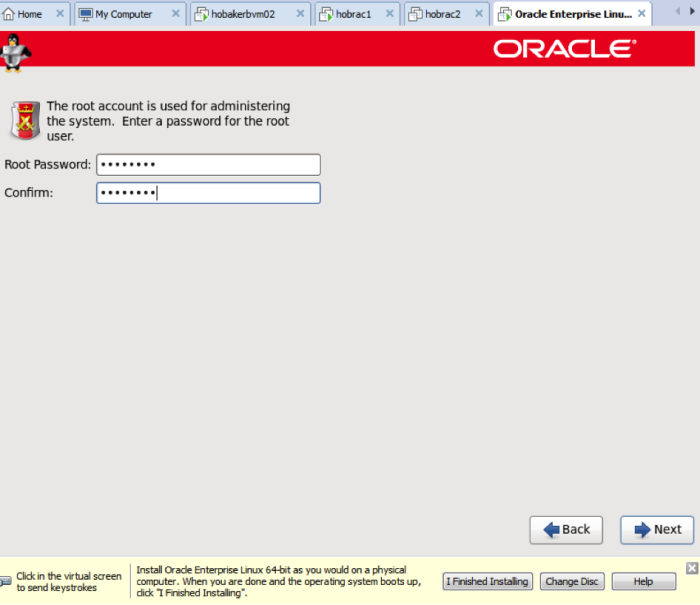 On the following screen, choose ‘use all space’, and make sure that the ‘review and modify partitioning layout’ box is checked. The partitioning must be modified for an Oracle installation.
 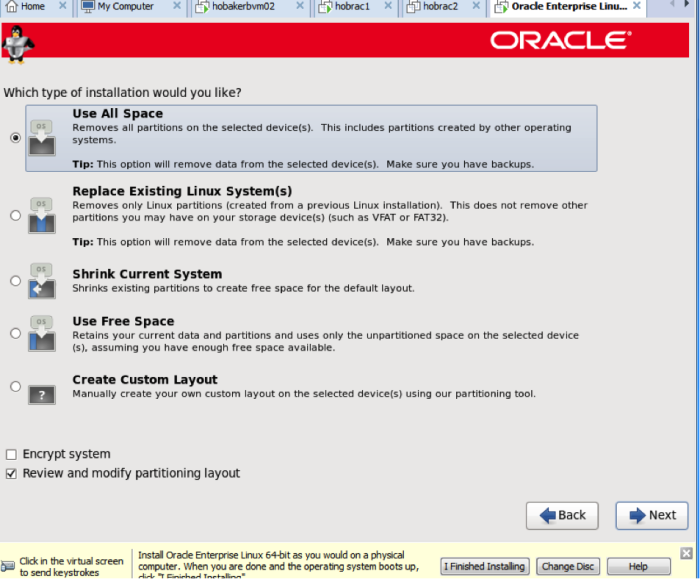 On the screen below, ensure that you have at least 8G swap. Note that if you have more than 8G RAM, swap should equal RAM up to 16G. At 16G RAM and more, only 16G swap is required.
 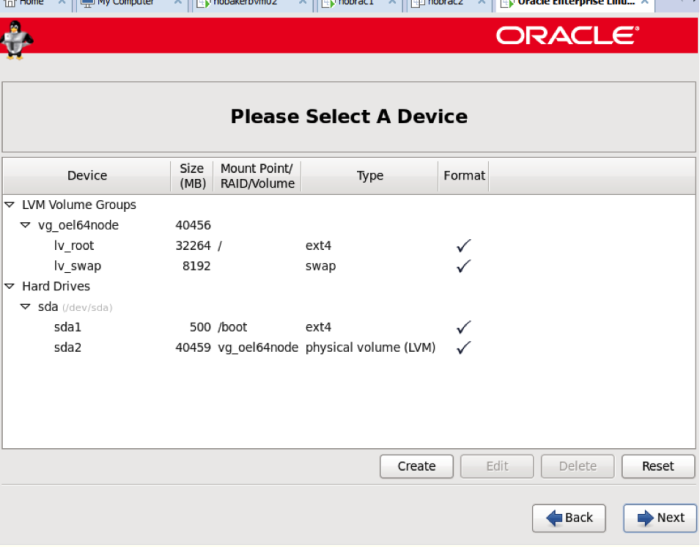 Click next and write changes to disk.
 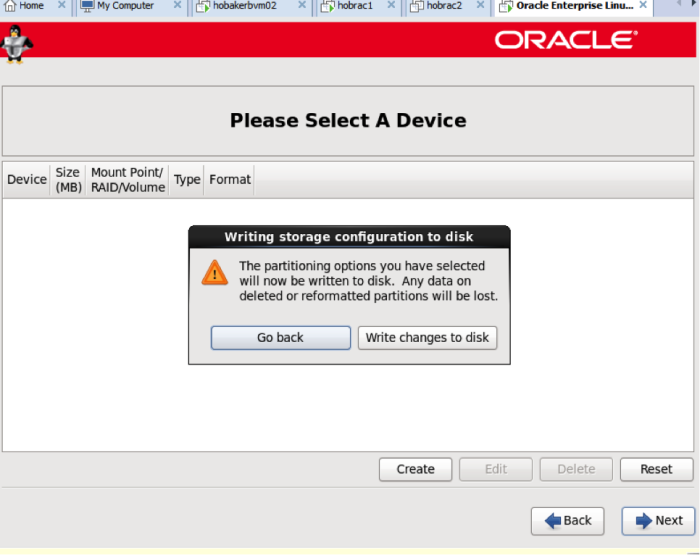 Accept the defaults on the following page.
  On the next screen choose database server, click on the customize now radio button, and then click next.
 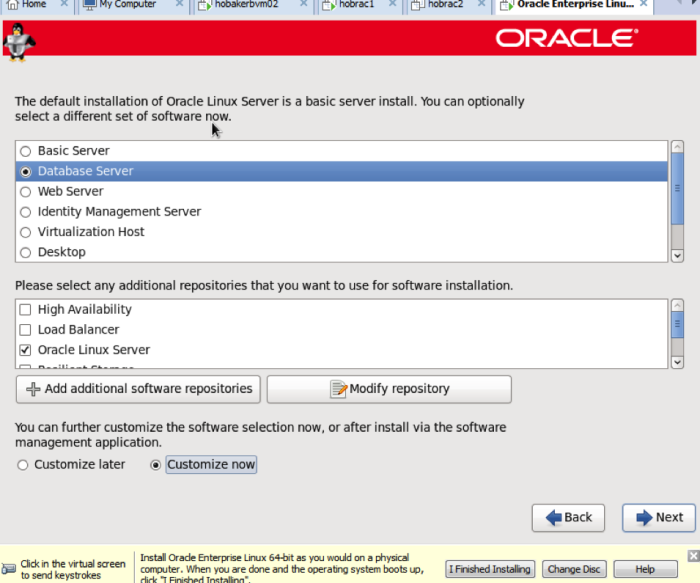 With servers highlighted, choose the packages shown on the right. Click on the ‘optional packages’ button.
 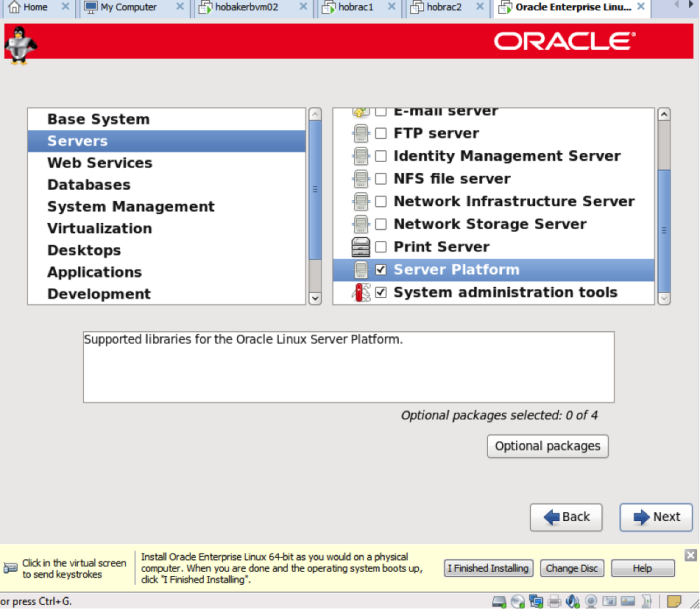 Under optional packages, choose the packages below. This will make your eventual Oracle installation much easier.
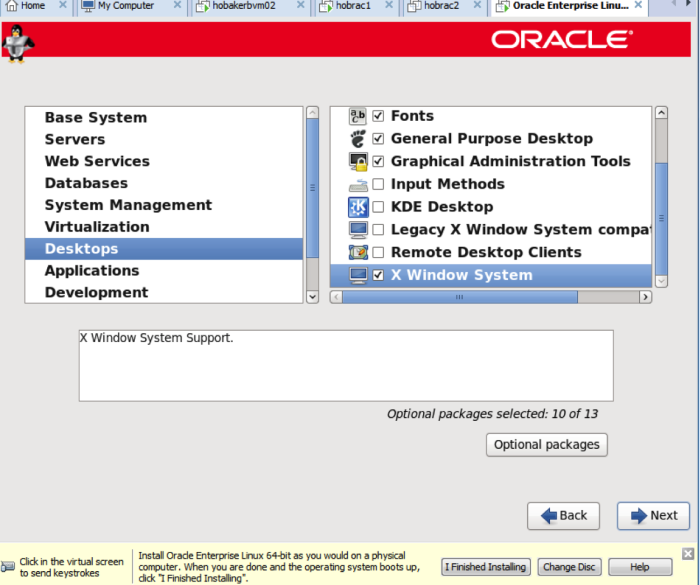
 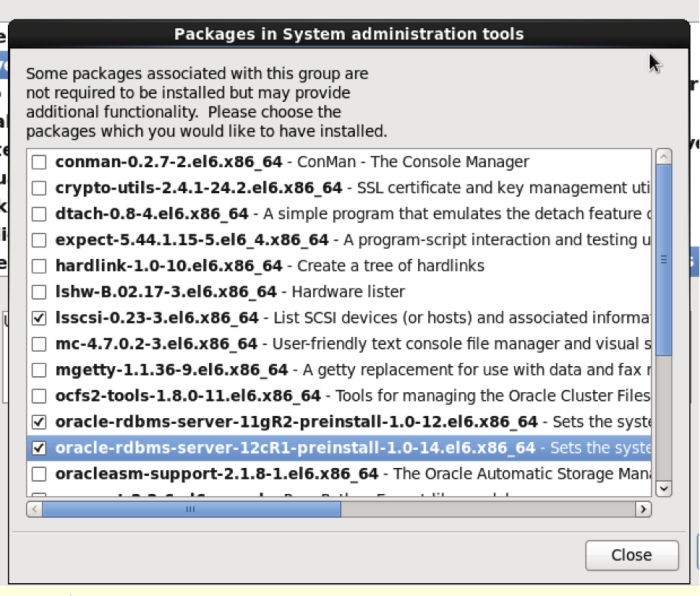 Next, under Desktops, choose the items shown on the right: Desktop, Desktop debugging and performance, Desktop Platform, fonts, general purpose desktop, graphical administration tools, and X-Windows system.
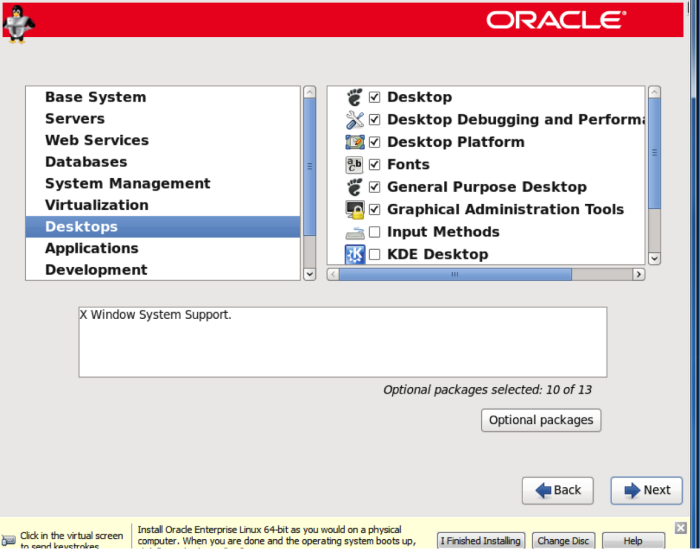
 Next, the system will be configured and your chosen packages will be installed.
 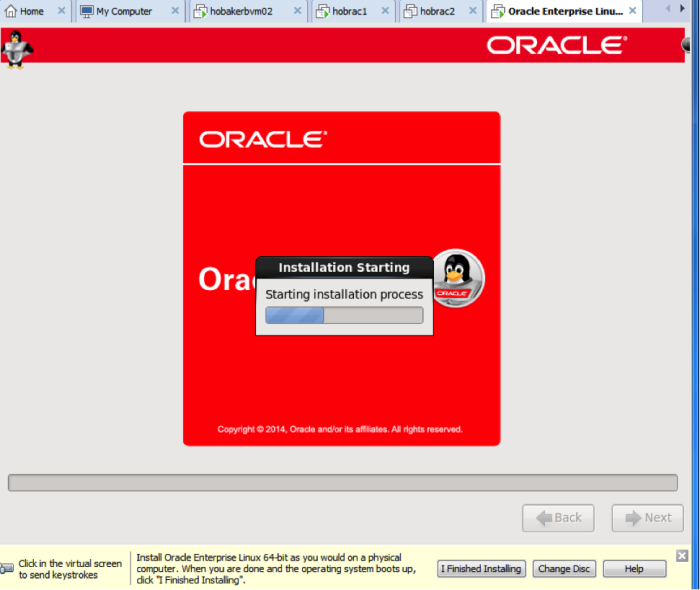 When installation is complete, you will be prompted to reboot the system.
 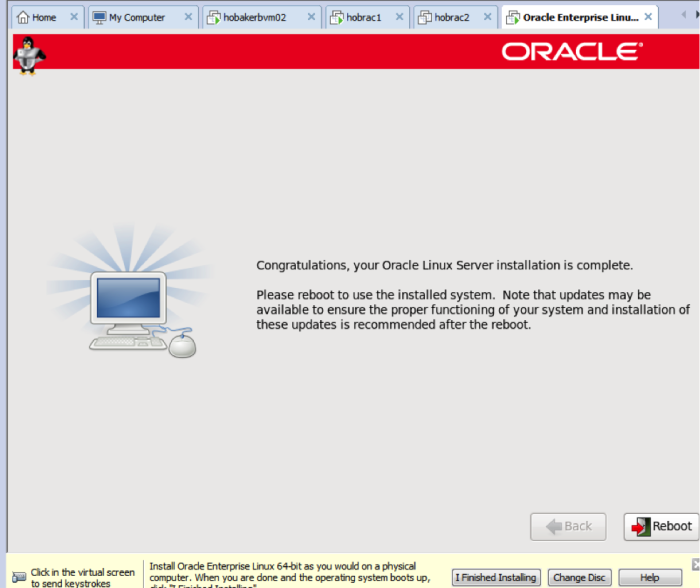 Next, it will take you through a few more steps in order to complete installation.
 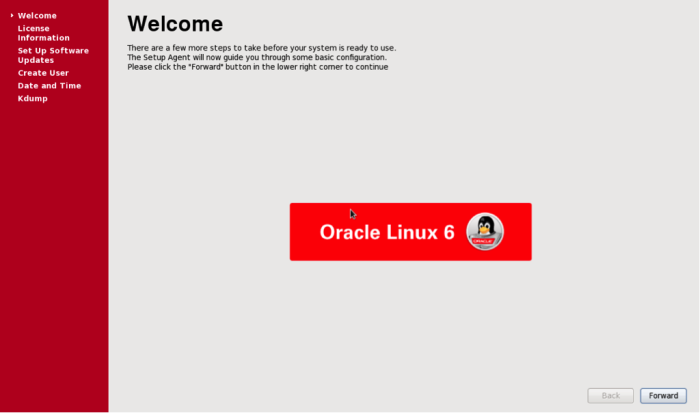 After clicking forward, accept the license if you choose (of course you cannot proceed until you accept it).
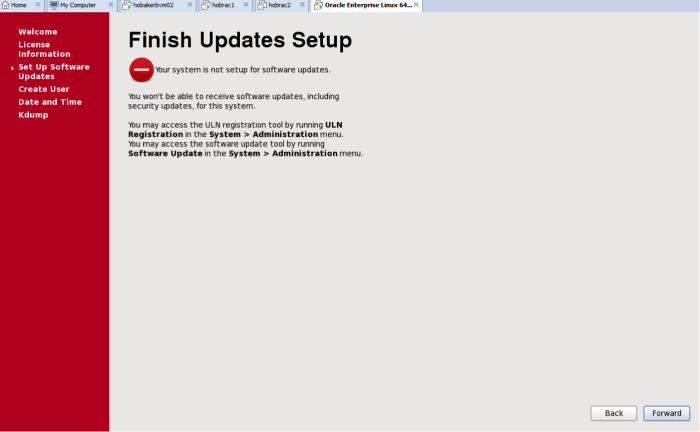
 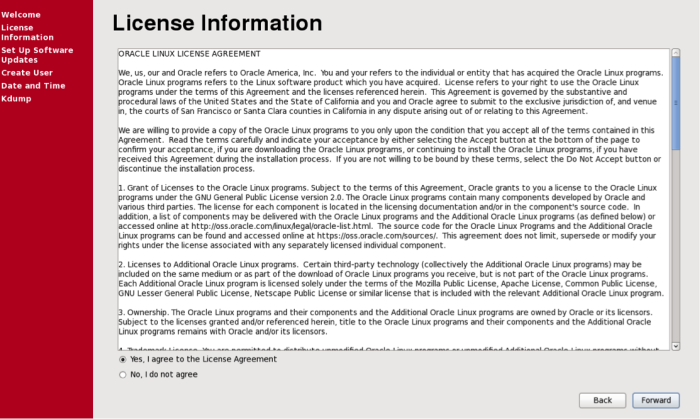 Next comes the software updates setup screens. If you have purchased Oracle Enterprise Linux you can enter that information at this time. If you have not, you will be set up with the public OEL Yum repository by default.
 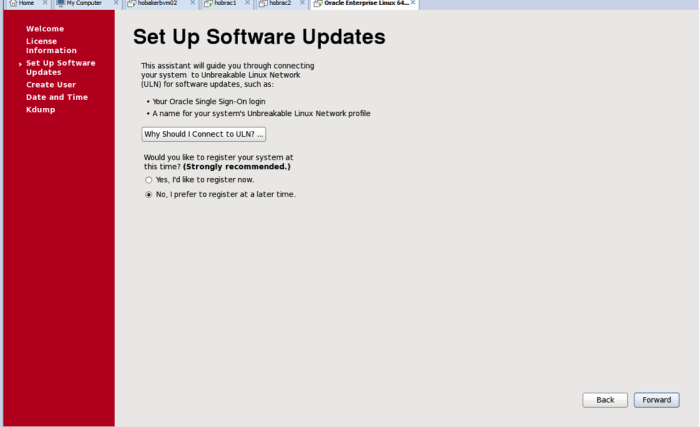 Oracle really wants you to sign up for the OEL network. The last time I checked, it cost about $100/year, so its not necessarily cost prohibitive. However, the price has probably changed since I last checked, so you will need to check with Oracle to confirm the cost if you are interested in paying for a license.
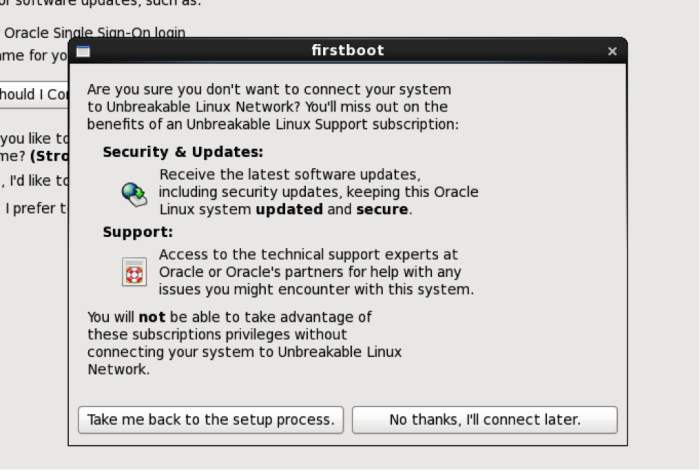
 Skip the following screen. The Oracle database packages chosen earlier will create the Oracle user, and this article will show the activation of the Oracle user.
 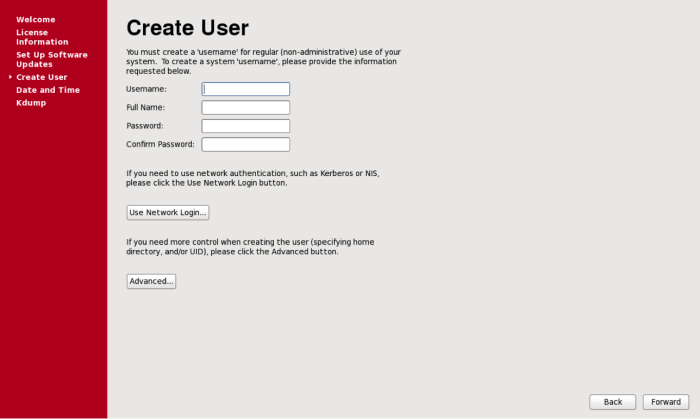 For data and time, choose the network synch option (if this VM will be able to access the internet). Otherwise, you can try synching with your computer (local time source), or just skipping this option.
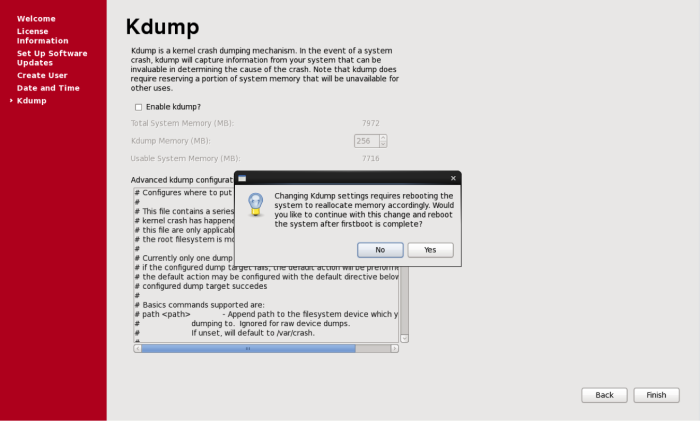
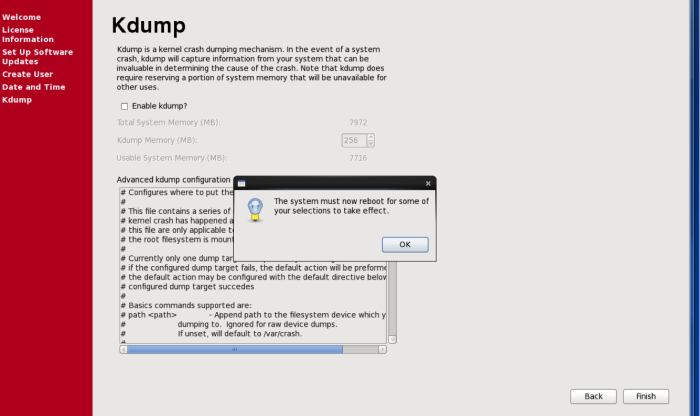
 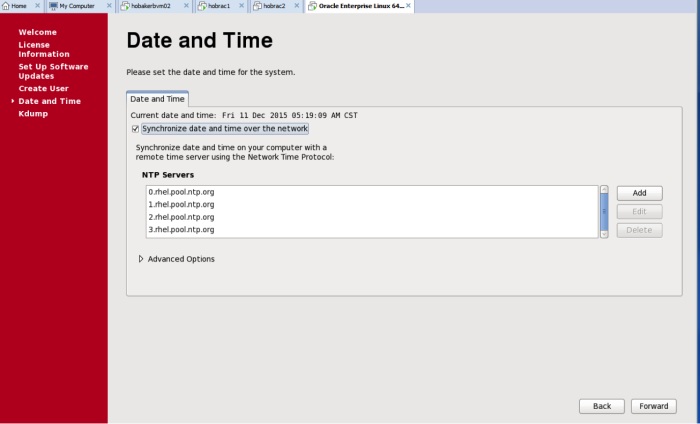 Enable kdump if you choose, and reboot the machine.
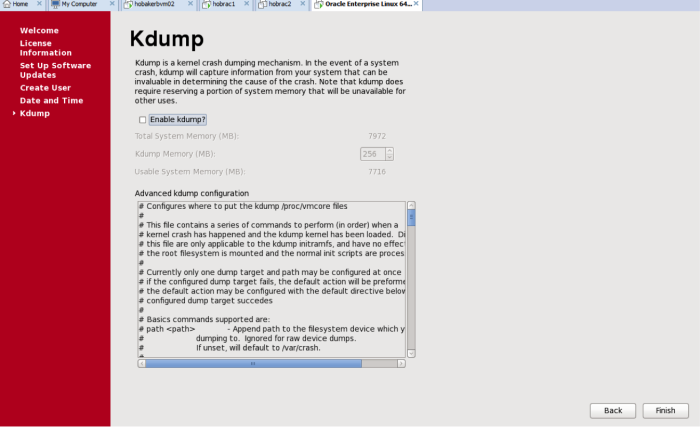
Step 4: Complete the VM Configuration for Oracle
- Log in as root
- Enter the command: passwd oracle
- Enter the Oracle password
- Reenter the Oracle password when prompted
- At this point ,the account is enabled and the Oracle user can log in using the password you provided:
[root@oel64node Desktop]# passwd oracle Changing password for user Oracle. New password: BAD PASSWORD: it is based on a (reversed) dictionary word Retype new password: passwd: all authentication tokens updated successfully. [root@oel64node Desktop]#
Next, still logged in as the root user, install the available updates. To do this, enter the command “yum –y update”. This command will take quite a bit of time to complete as all the available updates are installed.
passwd: all authentication tokens updated successfully.
[root@oel64node Desktop]# yum -y update
Loaded plugins: refresh-packagekit, security, ulninfo