- Simple Instructions to Help Setup a Port Forward on the ZTE F660 Router
- When you use Network Utilities you get your port forwarded right now!
- Step 1
- Step 2
- ZTE Usernames and Passwords
- Step 3
- Step 4
- Testing if Your Ports are Open
- More Resources
- More From Portforward
- Пробрасываем порты на роутере ZTE F670 от МГТС/Ростелеком
Simple Instructions to Help Setup a Port Forward on the ZTE F660 Router
Your ZTE F660 router includes a basic firewall that helps to protect your home network. A firewall is made to block connections to and from the Internet. Sometimes you need some of these connections opened for a game or application. This process of opening a connection or port is called a port forward because it is forwarding a port from the Internet directly into your home network.
The steps in opening a port are:
- Setup a static IP address on the device or computer you want a port forwarded to.
- Login to your ZTE F660 router.
- Navigate to the port forwarding section.
- Click the Application link.
- Click on Port Forwarding.
- Click on Advanced.
- Create a port forward entry.
This may sound difficult, don’t worry, we will be walking you through each step in the process.
We think that forwarding a port should be easy. That’s why we created Network Utilities. Our software does everything that you need to forward a port.
When you use Network Utilities you get your port forwarded right now!
Step 1
It is important to setup a static ip address in the device that you are forwarding a port to. This ensures that your ports will remain open even after your device reboots.
- Recommended — Our free Static IP Setter will set up a static IP address for you.
- Another way to get a permanent IP address is to set up a DHCP reservation.
- Or, manually create a static ip address with our Static IP Guides.
Step 2
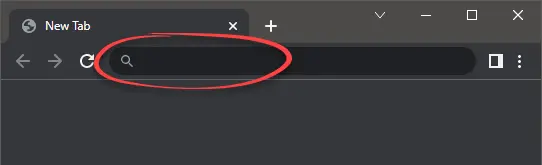
It is time to login to your router. The ZTE F660 router has a web interface, meaning you login to it using a web browser. This can be any web browser from Chrome to Internet Explorer. It usually doesn’t matter which browser you decide to use. After opening the web browser you need to find the address bar. This is usually at the top of the page like this: Above is an example of what a web browser address bar looks like. Find the address bar in your router and type in your router’s IP address.
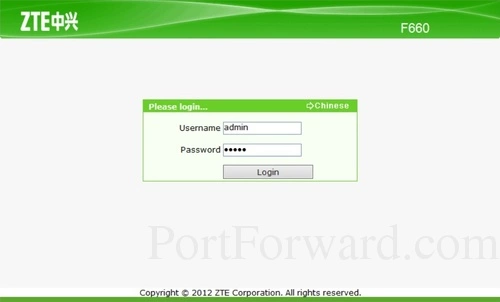
If you have changed the IP address in the past and don’t remember what you changed it to, use this guide to help you find it. After you have entered the IP address of the ZTE F660 router simply press the Enter key. You should be taken to a page similar to this one: You are on the right page if you see a Login page.
- The Default ZTE F660 Router Username is: admin
- The Default ZTE F660 Router Password is: admin
Simply enter your username and password, and click the Login button to access to your ZTE F660 router.
ZTE Usernames and Passwords
Did the above username and password not work? We recommend trying some other common default ZTE passwords. Check them out here on our Default ZTE Router Passwords page.
If you still can’t login it is probably because you changed the username and password in the past and have forgotten it. We have a Find Password App that will help you to find a lost password on your home network.
The very last resort if nothing works is to reset your router back to the original factory defaults. Don’t do this unless you have exhausted all other troubleshooting methods. Learn how to do this in our How to Reset a Router guide.
Step 3
Once you have successfully logged into the the ZTE F660 router you need to find the port forwarding section of the router. To do this start from the following page:
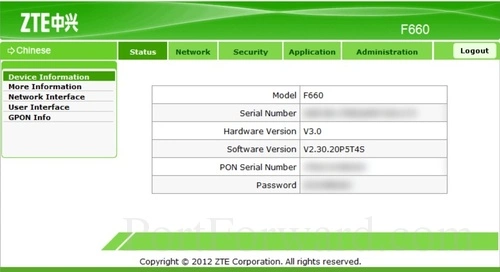
Select the Application option at the top of the page in green.
Next, look in the left sidebar. Select the option of Port Forwarding
Then select Advanced.
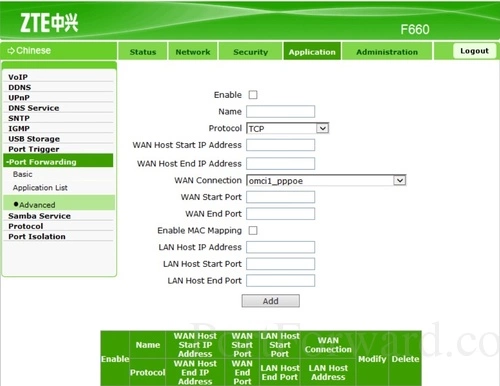
Step 4
- TCP Ports: 3074
- UDP Ports: 3074
- Browsing our List of Games
- Check out our our List of Games by Genre
- See our List of all Applications
Make sure that the Enable checkbox is checked.
Put a name for this forward in the Name box so that you can remember why you set this forward up. The name does not matter so pick something that has meaning to you.
Select the protocol type of the ports you are forwarding from the Protocol box.
Choose an available connection from the WAN Connection dropdown box.
If you are forwarding a range of ports, enter the lowest number of the range into the WAN Start Port and LAN Host Start Port boxes. Then enter the highest number of the range into the WAN End Port and LAN Host End Port boxes. If you are forwarding a single port, enter that port number into the WAN Start Port, WAN End Port, LAN Host Start Port and LAN Host End Port boxes.
Enter the IP address to forward these ports to into the LAN Host IP Address box. If you are forwarding ports so you can run a program on a device other than your computer then you can enter your device’s IP address into that box.
Click the Add button when you are finished.
Don’t forget to click the Add button after you complete each entry.
Testing if Your Ports are Open
It is always a good idea to check and see if the ports were forwarded correctly. To do this on your ZTE F660 router we recommend using our free Open Port Checker. This is found in our Network Utilities. Learn more about this tool on this page.
More Resources
Congratulations on getting your ports forwarded. If you enjoyed this guide check out some more in the left sidebar or one of these:
- Check out our Game Walkthroughs.
- More router specific guides for your ZTE F660.
- We have a very large database of Router Screenshots.
- Learn to Port Forward Through Two Routers.
More From Portforward

Open Ports on Your Router for Chivalry 2
Forwarding some ports for Chivalry 2 in your router can help improve your online multiplayer experiences.

Port Forwarding and Hosting a Minecraft Server
This guide provides detailed instructions on how to host a Minecraft game server including complete walkthroughs on how to port forward for Minecraft.

Forwarding Ports in Your Router for Star Wars: Battlefront II (2017)
Forward some ports to help make it easier to connect with others and improve your connections in Star Wars: Battlefront II (2017).

How to Create a Port Forward in Your Router for Bleeding Edge
Forwarding some ports for Bleeding Edge in your router can help you connect with more players and help improve your connections.

Open Ports on Your Router for Guild Wars 2
Forwarding some ports in your router for Guild Wars 2 can help with improving your online connections.

Creating a Port Forward in Your Router for ARMA Reforger
Forwarding some ports can help improve your online connections in ARMA Reforger and enable you to more easily play with others.

How to Open a Port in Your Router for Call of Duty: Modern Warfare II
You can help improve connections and connect with others in Call of Duty: Modern Warfare II more easily by forwarding some ports.

Open Ports on Your Router for Yu-Gi-Oh! Master Duel
You can help improve your online connections for Yu-Gi-Oh! Master Duel by forwarding some ports in your router.
Пробрасываем порты на роутере ZTE F670 от МГТС/Ростелеком
Это не совсем статья — это скорее инструкция с элементами художественного повествования для самых маленьких. Пишу я это, потому что в свое время мне очень не хватало наглядного руководства по теме проброса необходимого порта именно на роутере от МГТС (по большей части они дают в аренду своим абонентам именно эту железку — ZTE F670), а служба поддержки очень неохотно общается с «мамкиными девопсами» типа меня. И так, приступим.
До начала работы с портом вы должны подключить услугу «Статический iP адрес». Без нее вы конечно можете в панели маршрутизатора пробросить нужный порт, но по факту ничего работать не будет. Чтобы подключить Статический iP обратитесь в службу поддержки своего оператора
В приведенном ниже тексте представлен пример проброса двадцать второго (22) порта для подключения по SSH. Текст достаточно прост с технической точки зрения. Я полагаю и даже надеюсь, что он поможет многим новичкам начать постигать основы администрирования сетей, но вы должны понимать и осознавать риски, которые несет подключение своих устройств к глобальной сети и открытие к ним портов. Множество хакеров безостановочно сканируют все возможные IPv4 адреса (на то, что бы просканировать весь интернет на скорости 1 г/б уйдет примерно 25 минут) и если им попадется ваш незащищённый сервер или компьютер с открытым 22ым портом вы станете самой желанной целью для всяких неприятностей. Поэтому позаботьтесь о безопасности своих устройств — настройте авторизацию по SSH ключу, настройте файрвол и так далее. Все риски связанные с безопасностью своей сети и устройств в ней вы берете на себя.
Для начала немного (совсем чуть-чуть) теории — что и зачем мы собираемся делать?
Мы собираемся пробросить порты. Ага. Что это значит? В институте мне гвооили что-то на подобие «Проброс портов — это технология, которая позволяет обращаться из Интернет к компьютеру во внутренней сети за маршрутизатором, использующим NAT». Вроде понятно. У вас дома стоит компьютер (допустим на Ubuntu), имеет выход в интернет, локальный ip адрес вида 192.168.1.X (где X — любое число от 2 до 256, например 7 . Узнать мы это можем с помощью команды ip addr ). Вы можете с другого компьютера подключиться к первому по SSH c помощью команды SSH user@192.168.1.7 . Все это прекрасно, когда вы сидите дома и все ваши компьютеры подключены к одному роутеру (находятся в одной, локальной сети). Но вот вы взяли ноутбук, пришли другу в соседнем доме и хотите показать ему какую крутую программу вы запустили на своем домашнем компьютере, вводите SSH user@192.168.1.7 и ничего не работает. Конечно ничего не работает, вы же не в локальной сети со своим компьютером. Вы расстроились, друг над вами смеется. Вы приходите домой и понимаете, что нужно как-то сделать доступ к своему компьютеру из внешней сети. Но у вас роутер от МГТС и вы никак не можете найти понятную и подробную инструкцию о том, как же это настроить. И тут (без лишней скромности) появляюсь я.
Надеюсь вы читали предусловие в начале статьи и уже имеете статический ip адрес. Любым удобным способом узнаем его (2ip.ru, ifconfig и т.д) и записываем/запоминаем. В моем случае это 91.123.12.21. Теперь определимся с тем, какой именно порт будем пробрасывать (на эту тему в интернете полно статей, в целом список всех портов и их назначений есть в википедии https://ru.wikipedia.org/wiki/Список_портов_TCP_и_UDP). В примере выше я приводил подключение по SSH. Смотрим в таблицу и видим, что для ssh по умолчанию используется порт 22 (его можно и даже стоит поменять, но это совсем другая история).
Приступим. Для начала пишем в строку браузера 192.168.1.1 и попадаем на страницу авторизации.
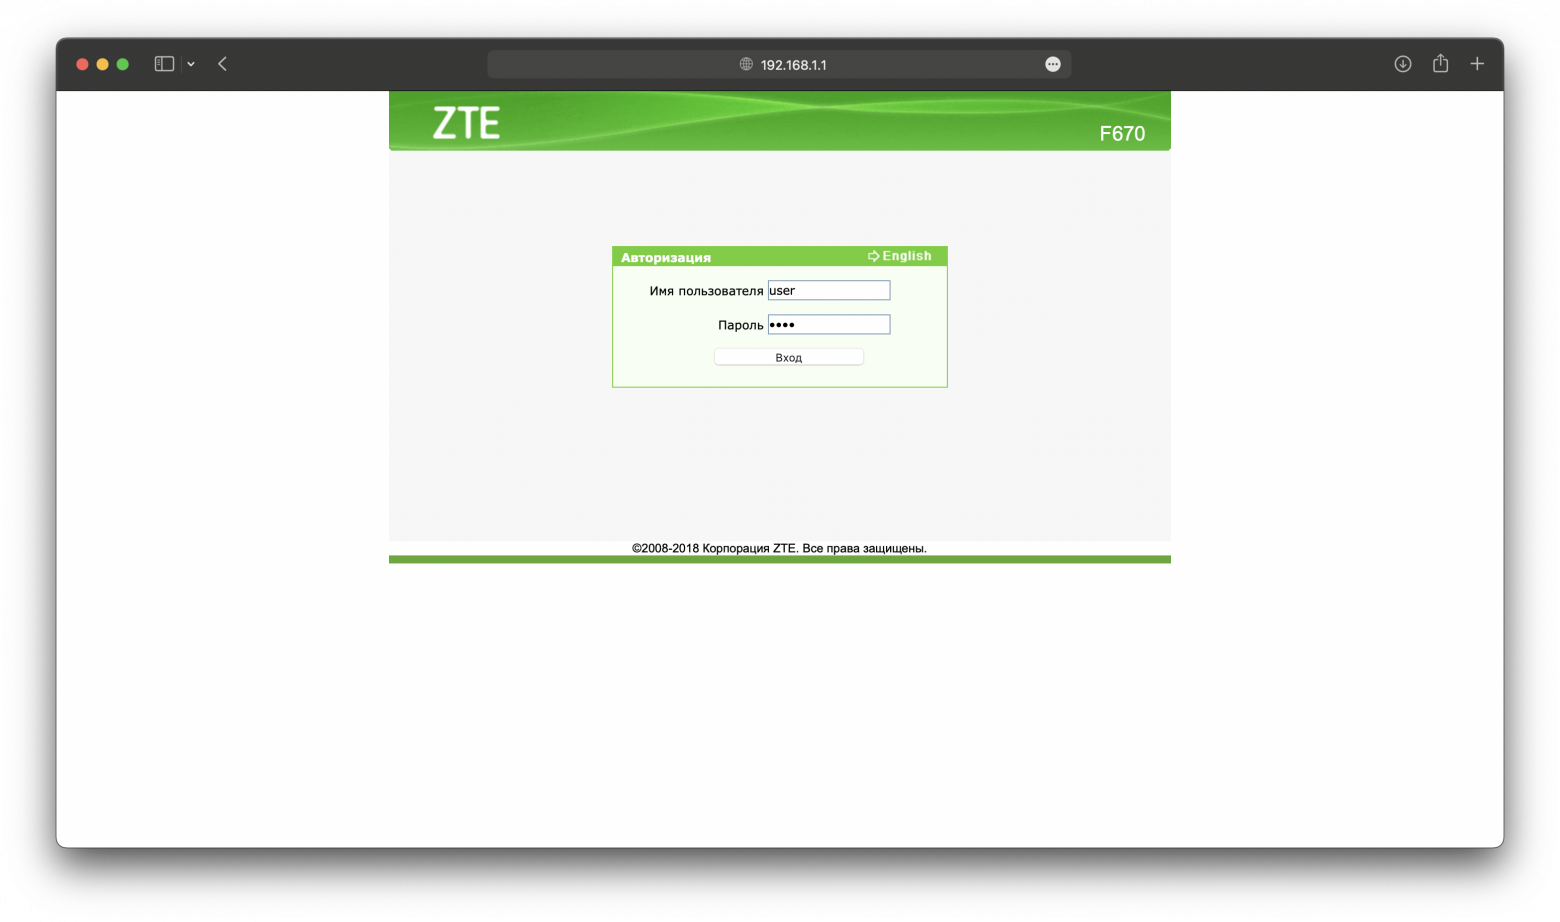
Логин — user, пароль — user (если не работает, пробуем admin, admin. Если и это не подходит, звоним в службу поддержки, там помогут).
Вошли. Справа видим меню, переходим во вкладку Сеть (1), подпункт LAN (2).
И ставим галочку «Включить DHСP-Сервер (3)»

Здесь мы видим список подключённых к сети устройств (4). Мы уже знаем, что наш компьютер находится в локальной сети под ip адресом 192.168.1.7, но вы можете найти нужный вам компьютер (или другое устройство — камера, принтер, сервер).
Главное, что нам нужно помимо ip адреса — это MAC-адрес (уникальный идентификатор сетевого модуля устройства). Мы должны привязать локальный ip адрес к MAC-адресу устройства. чтобы при любых манипуляциях с устройством (перезагрузка, переподключение к сети) его локальный ip адрес не сбрасывался.
Для этого переходим во вкладку Привязка DHCP (1), в соответствующие поля вводим локальный ip адрес устройства и его MAC-адрес. Нажимаем Добавить (2).

Далее переходим к самому главному — непосредственно пробросим порта. Для этого переходим во вкладку Приложения (1), подпункт Переадресация порта (2). Заполняем необходимые поля по следующей схеме:
Ставим галочку Включить
Имя — любое имя для обозначения какой порт и к какому устройству привязан (для своего удобства)
Протокол — TCP AND UDP
Начальный IP-адрес WAN хоста и Конечный IP-адрес WAN хоста — оставляем пустыми
Начальный WAN-порт и Конечный WAN-порт — ставим 22 (или другой необходимый порт)
LAN IP-адрес хоста — локальный IP адрес устройства
Начальный LAN-порт и Конечный LAN-порт — ставим 22 (или другой необходимый порт)

Нажимаем кнопку Добавить и видим как внизу страницы появляется все, что мы только что заполнили.

Готово. переходим в терминал, пишем ssh root@ и подключаемся к своему компьютеру. Congratulations! По этой же схеме вы можете пробросить 80ый порт для HTTP, 443 для HTTPS, развернуть на своем домашнем сервере веб-сайт и не платить корпоратам за аренду хостинга)
Помните о безопасности в сети, постигайте методологию DevOps с самых азов и удачи.