- How to configure pip per config file to use a proxy (with authentification) in Python?
- Method 1: Use Environment Variables
- Method 2: Edit pip.ini configuration file
- Method 3: Use command line options
- How to Use pip behind a Proxy
- On Windows
- On Linux
- How to Use Pip with a Proxy Server
- Why Use a Pip Proxy Server?
- How to Use Pip with a Proxy Server
- How to Use Pip With a Proxy Server in a Virtual Environment
- An alternative solution to Python security and package management – Try ActiveState’s Platform
- Python Dependency Management In Action
How to configure pip per config file to use a proxy (with authentification) in Python?
When using Python and its package manager, pip, it is sometimes necessary to configure it to use a proxy in order to access the internet, especially in corporate or enterprise environments. This can become more complicated if the proxy requires authentication, as it requires passing extra information to pip in order to access the internet. Here are several methods to configure pip to use a proxy with authentication:
Method 1: Use Environment Variables
To configure PIP to use a proxy with authentication using environment variables, you can follow these steps:
export HTTP_PROXY=http://username:password@proxy_address:port export HTTPS_PROXY=https://username:password@proxy_address:portecho $HTTP_PROXY echo $HTTPS_PROXYFor example, to install the requests package, run:
- If you want to use the proxy for all PIP commands, you can add the environment variables to your shell profile file (e.g. ~/.bashrc or ~/.zshrc ).
echo "export HTTP_PROXY=http://username:password@proxy_address:port" >> ~/.bashrc echo "export HTTPS_PROXY=https://username:password@proxy_address:port" >> ~/.bashrcAfter adding the environment variables to your shell profile file, you need to reload it by running:
That’s it! Now PIP should be able to use the proxy with authentication using the environment variables you set.
Method 2: Edit pip.ini configuration file
To configure PIP per config file to use a proxy (with authentication) using the pip.ini configuration file, follow these steps:
- Locate the pip.ini configuration file. On Windows, it is typically located at C:\Users\\pip\pip.ini . On Linux and macOS, it can be found at ~/.config/pip/pip.conf .
- Open the pip.ini configuration file in a text editor.
- Add the following lines to the [global] section of the pip.ini configuration file:
[global] proxy = http://username>:password>@proxy_address>:proxy_port>Replace and with your proxy authentication credentials, with the address of your proxy server, and with the port number of your proxy server.
- Save the pip.ini configuration file.
- Test your configuration by running a command that requires PIP to download a package, such as pip install requests .
Here is an example of what the pip.ini configuration file should look like:
[global] proxy = http://myusername:mypassword@proxy.example.com:8080Note that if your proxy server requires HTTPS, you should use https instead of http in the proxy URL.
That’s it! Now PIP will use your proxy server with authentication for all package downloads.
Method 3: Use command line options
To configure PIP to use a proxy with authentication via command line options, you can follow these steps:
- Open your terminal or command prompt.
- Use the following command to install a package via PIP with a proxy server and authentication:
pip install package_name> --proxy proxy_server>:port> --proxy-user username> --proxy-password password>Replace with the name of the package you want to install, with the address of your proxy server, with the port number used by your proxy server, with your proxy server username, and with your proxy server password.
- Use the following command to list all installed packages with a proxy server and authentication:
pip list --proxy proxy_server>:port> --proxy-user username> --proxy-password password>Replace , , , and with the same values you used in the previous command.
pip search package_name> --proxy proxy_server>:port> --proxy-user username> --proxy-password password>Replace , , , , and with the same values you used in the previous commands.
pip uninstall package_name> --proxy proxy_server>:port> --proxy-user username> --proxy-password password>Replace , , , , and with the same values you used in the previous commands.
That’s it! You can now use PIP with a proxy server and authentication via command line options.
How to Use pip behind a Proxy
I often need to use the python package manager pip to install a python package on my office computer that is behind a proxy. Without specifying the proxy info, it always pop up Connection refused errors. Following settings and commands can be used to make ‘pip install’ work smoothly.
On Windows
You can manually set up proxy environment variables through right-click on This PC (Windows 10) or Computer (Widnows 7) –> Proporties –> Advanced system settings –> Environment variables then add environment variables:
- User variable(only for current login user):
- Variable: HTTP_PROXY
- Value: http://proxyserver:port and
- Variable: HTTPS_PROXY
- Value: https://proxyserver:port
- System variable(all users):
- Variable: HTTP_PROXY
- Value: http://proxyserver:port and
- Variable: HTTPS_PROXY
- Value: https://proxyserver:port
You can also set up the proxy through comand lines:
set http_proxy=http://[username:password@]proxyserver:port set https_proxy=https://[username:password@]proxyserver:port After setting up proxies, then you can install packages through running:
Alternativelly, you can also specify proxy settings in the pip command:
pip install --proxy=https://[username:password@]proxyserver:port somepackage On Linux
export https_proxy=https://[username:password@]proxyserver:port or specify proxy in pip command:
sudo pip install --proxy=https://[username:password@]proxyserver:port somepackage How to Use Pip with a Proxy Server
Try a faster and easier way to manage your Python dependencies. Use Python 3.9 by ActiveState and build your own runtime with the packages and dependencies you need. Get started for free by creating an account on the ActiveState Platform or logging in with your GitHub account.
By default pip installs third party packages from the Python Package Index (PyPI). In corporate environments located behind a firewall, you may require the use of an HTTP proxy server to redirect internal traffic to pypi.org, or any other repository that hosts Python packages.
Why Use a Pip Proxy Server?
A proxy server for pip is most commonly used for security and privacy, but can also be used for control:

- Security & Privacy – a proxy server can be used in combination with firewalls in order to improve internal network security since requests from users on the local network are anonymized via a proxy server.
- Control – organizations with an internal repository of Python packages may prefer to redirect any outbound traffic directed at pypi.org to their private repository instead, in order to prevent developers from installing unapproved packages.
For example, the ActiveState Platform provides the ActiveState Artifact Repository (AAR) that contains Python wheels built from source code. By using a proxy, you can ensure your developers are always working with secure, approved packages.
How to Use Pip with a Proxy Server
Pip supports basic HTTP-based authentication. This is done by embedding username/password login credentials in the URL.
Pip also supports command line completions in bash. To set up to use bash for proxy settings at a Linux command prompt, enter:
python -m pip completion --bash >> ~/.profile
To install Python packages via a proxy server, do the following:
Use the pip –proxy command option to specify a proxy in the following format:
sudo pip install —proxy http://: @ :
pip install —proxy http://: @ :
For proxies that only require a username:
pip install —proxy http:// @ :
To install a requirements.txt file via a proxy, enter:
pip install --proxy http:// @ : requirements.txt
How to Use Pip With a Proxy Server in a Virtual Environment
When you have a proxy server between your virtual environment and Python package repository, you’ll need to set the proxy server environment variables:
# Append below text pattern at the end of ‘~/.bashrc’:
HTTP_PROXY=http://: @: Export HTTP_PROXY
Remember to export the variables after setting them, to make them available to the outer shell session.
# Add to environment variables: set HTTP_PROXY=: You can also modify the environment variable: PIP_USER_AGENT_USER_DATA to include a JSON-encoded string in the user-agent variable used in pip’s requests.
An alternative solution to Python security and package management – Try ActiveState’s Platform
Dependency resolution is at the core of the ActiveState Platform. When you create a project and start adding requirements, the Platforms tell you what dependencies those requirements have.
The ActiveState Platform is a cloud-based build tool for Python. It provides build automation and vulnerability remediation for:
- Python language cores, including Python 2.7 and Python 3.5+
- Python packages and their dependencies, including:
- Transitive dependencies (ie., dependencies of dependencies)
- Linked C and Fortran libraries, so you can build data science packages
- Operating system-level dependencies for Windows, Linux, and macOS
- Shared dependencies (ie., OpenSSL)
- Find, fix and automatically rebuild a secure version of Python packages like Django and environments in minutes
The ActiveState Platform aims to handle every dependency for every language. That means handling libraries down to the C/C++ level, external tools, and all the conditional dependencies that exist. To take things even further, our ultimate goal is to support multi-language projects. That means that you can create a project using both Python and Perl packages, and we’ll make sure that both languages are using the same (up to date) OpenSSL version.
Python Dependency Management In Action
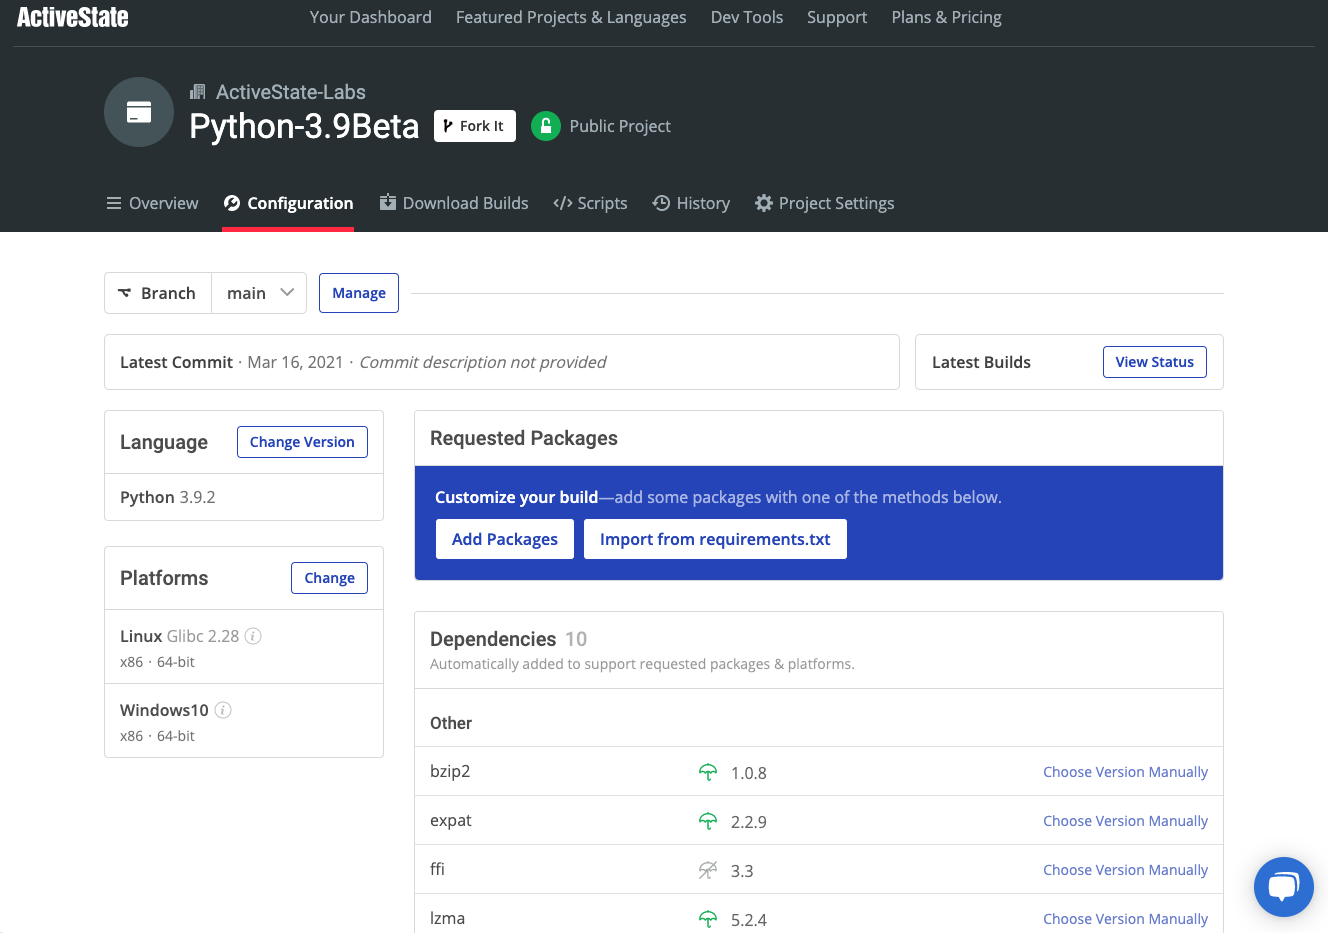
Get a hands-on appreciation for how the ActiveState Platform can help you manage your dependencies for Python environments. Just run the following command to install Python 3.9 and our package manager, the State Tool:
powershell -Command "& $([scriptblock]::Create((New-Object Net.WebClient).DownloadString('https://platform.activestate.com/dl/cli/install.ps1'))) -activate-default ActiveState-Labs/Python-3.9Beta" Now you can run state install . Learn more about how to use the State Tool to manage your Python environment.
Let us know your experience in the ActiveState Community forum.
Watch this video to learn how to use the ActiveState Platform to create a Python 3.9 environment, and then use the Platform’s CLI (State Tool) to install and manage it.
