- How do I verify the speed of my NIC?
- 9 Answers 9
- How to Test Network Speed in Linux via CLI
- Test Network Speed on Linux Via Command Line
- Using speedtest-cli to Test Internet Speed
- Using fast-cli to Test Internet Speed
- Using CMB to Show Network Speed
- Using iperf to Measure Network Speed Between Two Devices
- Using nload to View Incoming and Outgoing Network Traffic
- Using tcptrack to Test Network Activity
- Using iftop to Test Speed on a Network Interface
- Using wget to Test Download Speed
- Using youtube-dl to Test Internet Speed
How do I verify the speed of my NIC?
I just installed a new gigabit network interface card (NIC) in Linux. How do I tell if it is really set to gigabit speeds? I see ethtool has an option to set the speed, but I can’t seem to figure out how to report its current speed.
9 Answers 9
Just use a command like: ethtool eth0 to get the needed info. Ex:
$ sudo ethtool eth0 | grep Speed
If you want to have the full list of all your interfaces with theyr speed, you can use this command: for i in $(netstat -i | cut -f1 -d» » | tail -n+3) ; do echo «$i: $(ethtool «$i» | grep Speed | sed ‘s/Speed://g’)» ; done
This only gives you the negotiated speed of your current network configuration (hence your ethernet port must be connected). The speed indicated also depends on the cable and the other end of the connection. This does NOT give the max supported speed of the NIC on your PC. For that, you need to look under Supported link modes also shown in ethtool . 1000baseT means gigabit ethernet, etc.
It is possible to use the information from the kernel when ethtool is missing:
Example for interface named eth0:
@Christian Yes it is thanks, but only on some of my interfaces which I’ve read is expected so I’m all good
What does it mean if cat /sys/class/net/eth1/speed shows 10000 but «ip a» does only show 1000. Can someone clarify?
It seems /sys/class interface was right. Dmesg also lists 100Mbit/s # dmesg|grep duplex [ 5.417536] smsc95xx 1-1.1:1.0 eth0: link up, 100Mbps, full-duplex, lpa 0xC5E1 . I am running on a special purpose OS build without ethtool .
NOTE: the man page for mii-tool has this disclaimer:
This program is obsolete. For replacement check ethtool. Use mii-tool to watch the negotiated network speed.
eth0: no link eth1: negotiated 100baseTx-FD, link ok For Debian based systems, ethtool is not installed by default. But mii-tool is, as part of the essential «net-tools» package. So this was the best solution for me.
I see this in the man page for mii-tool «This program is obsolete. Valid media are only 100baseT4, 100baseTx-FD,100baseTx-HD, 10baseT-FD and 10baseT-HD ethernet cards. For replace-ment check ethtool.» 😐
While mii-tool reports ‘negotiated 100baseTx-FD flow-control, link ok’, both ethtool and cat /sys/class/net/eth…/speed agree on ‘1000Mb/s Full duplex’. This is for a USB 3.0 controller, namely ASIX AX88179 (‘ax88179_178a’ driver for Linux).
There are some great answers here, I just wanted to add a few more options.
1. I know this is not quite what you asked (read on for other ways). But if you want to know the real world performance of your NIC, rather than what your computer says it should be, you can use iperf. I usually do this — because you never know. I bought a 1Gb NIC recently that that only transferred at 672Mbps but it’s uplink was 1Gb. Good thing I checked.
On computer one, run iperf in server mode:
On the other, run iperf in client mode:
If you want to see the full duplex speed, try this instead:
Substitute 192.168.0.10 for the servers IP address
2. On Ubuntu systems, /var/log/kern.log has limited logging of kernel events. It will record link speed and status of a NIC when it changes. I’m sure other distributions probably do something similar or can be setup to do so.
$ tail -n 300 /var/log/kern.log.1 | grep slave0 Aug 28 12:54:04 haze kernel: [ 9452.766248] e1000e: slave0 NIC Link is Up 1000 Mbps Full Duplex, Flow Control: Rx/Tx Aug 28 12:54:41 haze NetworkManager[921]: [1472403281.8486] device (slave0): link disconnected Aug 28 12:54:41 haze kernel: [ 9489.898476] e1000e: slave0 NIC Link is Down 3. You’ll probably never, ever need to go this far, but you can write c code that to get the speed. Tested working and root is not required.
#include #include #include #include #include #include #include #include #include int main (int argc, char **argv) < int sock; struct ifreq ifr; struct ethtool_cmd edata; int rc; sock = socket(PF_INET, SOCK_DGRAM, IPPROTO_IP); if (sock < 0) < perror("socket"); exit(1); >strncpy(ifr.ifr_name, "eth0", sizeof(ifr.ifr_name)); ifr.ifr_data = &edata; edata.cmd = ETHTOOL_GSET; rc = ioctl(sock, SIOCETHTOOL, &ifr); if (rc < 0) < perror("ioctl"); exit(1); >switch (ethtool_cmd_speed(&edata)) < case SPEED_10: printf("10Mbps\n"); break; case SPEED_100: printf("100Mbps\n"); break; case SPEED_1000: printf("1Gbps\n"); break; case SPEED_2500: printf("2.5Gbps\n"); break; case SPEED_10000: printf("10Gbps\n"); break; default: printf("Speed returned is %d\n", edata.speed); >return (0); > Using iperf as you stated is the answer if one wants to get current speed and not simply the nic potential speed.
As Khaled mentioned, you should be able to run ethtool with just the interface as an argument. This will list the supported speeds, the advertised speeds, the current speed, and a bunch of other things too:
Settings for eth0: Supported ports: [ TP ] Supported link modes: 10baseT/Half 10baseT/Full 100baseT/Half 100baseT/Full 1000baseT/Full Supports auto-negotiation: Yes Advertised link modes: 10baseT/Half 10baseT/Full 100baseT/Half 100baseT/Full 1000baseT/Full Advertised auto-negotiation: Yes Speed: 1000Mb/s Duplex: Full Port: Twisted Pair PHYAD: 0 Transceiver: internal Auto-negotiation: on Supports Wake-on: d Wake-on: d Current message level: 0x00000007 (7) Link detected: yes You can also run dmesg , and grep for your interface, but this might not work if your system has been running for a long time and the current buffer no longer has that information (in that case, you’ll have to grep the older /var/log/dmesg.* files):
dmesg |grep eth0 [ 2.867481] e1000: eth0: e1000_probe: Intel(R) PRO/1000 Network Connection [ 19.429444] ADDRCONF(NETDEV_UP): eth0: link is not ready [ 19.431555] e1000: eth0 NIC Link is Up 1000 Mbps Full Duplex, Flow Control: None [ 19.449341] ADDRCONF(NETDEV_CHANGE): eth0: link becomes ready [ 26.972379] e1000: eth0: e1000_set_tso: TSO is Enabled [ 29.920458] eth0: no IPv6 routers present How to Test Network Speed in Linux via CLI
With the increase in people staying at home and spending more time on the Internet, ISPs have seen traffic loads higher than ever. If you noticed your network speed was slower at times, this global overload is the reason.
There are many online tools to test internet speed. However, Linux users can do this from the command prompt window. Some of the utilities for testing both local and internet speed we will cover are:
- Speedtest
- Fast
- Color Bandwidth Meter (CBM)
- iPerf
- nload
- Tcptrack
- Iftop
- Wget
- youtube-dl
Follow the instructions in this article to learn how to test network connection speed on Linux using the terminal. The steps work in both normal and headless mode.

- A machine running Linux
- sudo / root permissions
- Access to a terminal / command-prompt window
Test Network Speed on Linux Via Command Line
The tools in this guide help you check the Internet and LAN speed on a Linux machine. The article uses Ubuntu 20.04 for instructions, but the utilities work for any Linux distribution.
Note: Use the appropriate package manager for your Linux distribution, for example, yum for RHEL / CentOS, to install the apps.
Using speedtest-cli to Test Internet Speed
One of the most famous online internet connection test apps is speedtest.net. To install Speedtest on Linux via the terminal, use a package manager for your distro.
sudo apt install speedtest-cli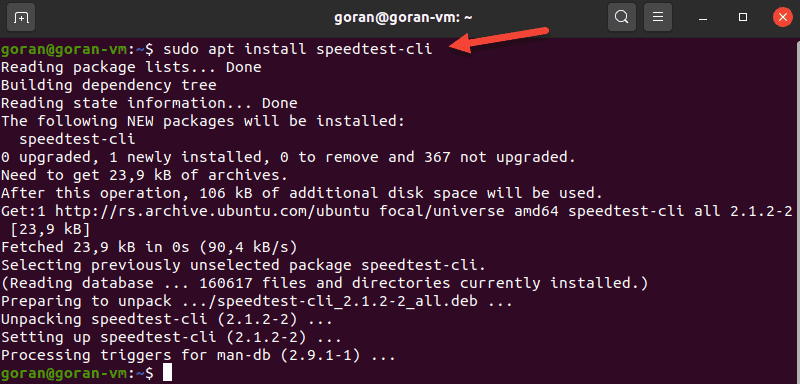
Optionally, use pip to install speedtest-cli in Python:
sudo pip install speedtest-cli
The standard speedtest-cli output shows all steps, including selecting a server. To display a shorter output, enter:
The test is simple to use and provides multiple options. To view all of them, pass the -h flag to display the speedtest-cli help file.
Using fast-cli to Test Internet Speed
Fast is a lightweight CLI utility based on the web speed test fast.com. The test uses Netflix servers to provide results.
Fast-cli is simple to use, but you need the node package manager (NPM) on your machine. The package comes with Nodejs.
For example, to install Node.js version 15, enter these commands:
curl -sL https://deb.nodesource.com/setup_15.x | sudo -E bash -Then, run the install command:
sudo apt install -y nodejsIf needed, run the npm init command and then install Fast:
npm install --global fast-cli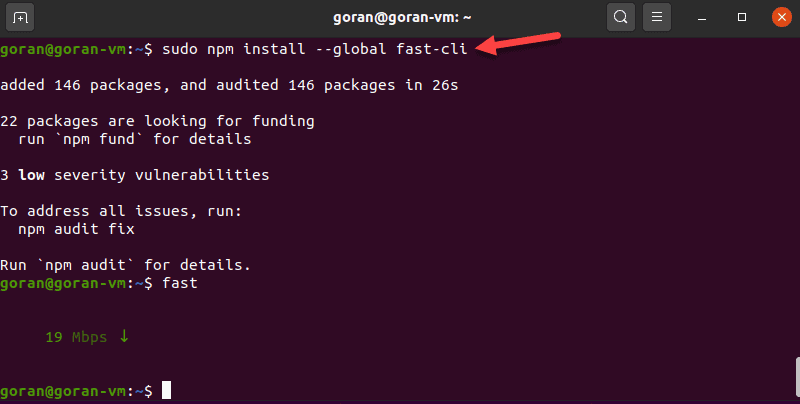
To test the download speed, enter:
To show both the download and upload speed, add the -u option:
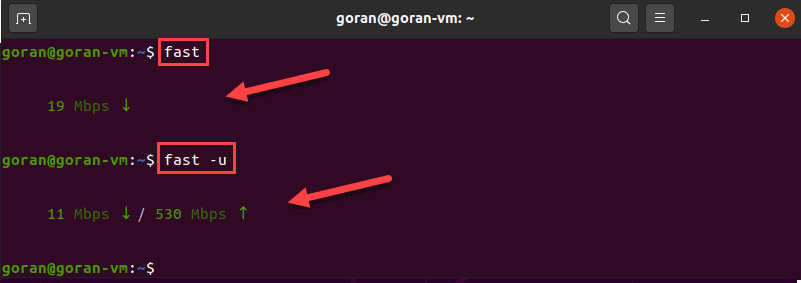
This internet speed test aims to provide only the information about your connection speed, without any bells and whistles.
Note: Since NPM is a requirement, it can be a hassle to install fast-cli. If you need more help with NPM installation, see our guides How To Install Node.Js And NPM On CentOS or How To Install Node.Js & NPM On Ubuntu.
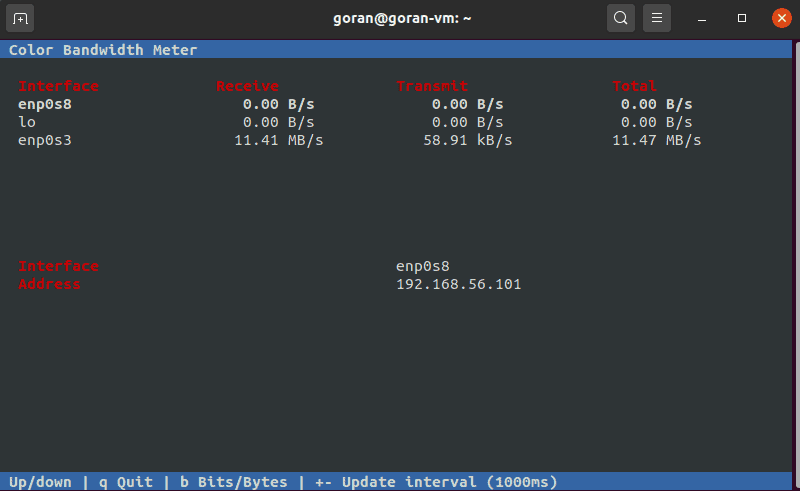
Using CMB to Show Network Speed
The Color Bandwidth Meter (CMB) is a Linux tool that displays activity on all network interfaces. After the installation, run the tool to see network speeds in color-coded columns.
To install CBM, run this command:
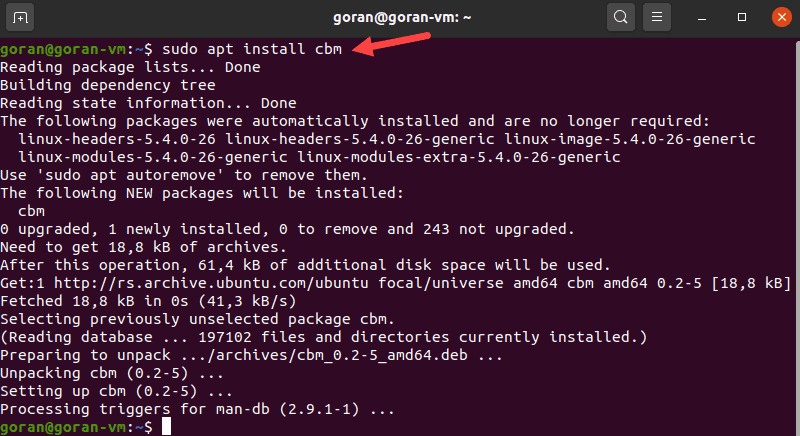
When the process finishes, run the tool:
The output displays the transmit, receive, and total speed. Use the arrows to switch between the interfaces.
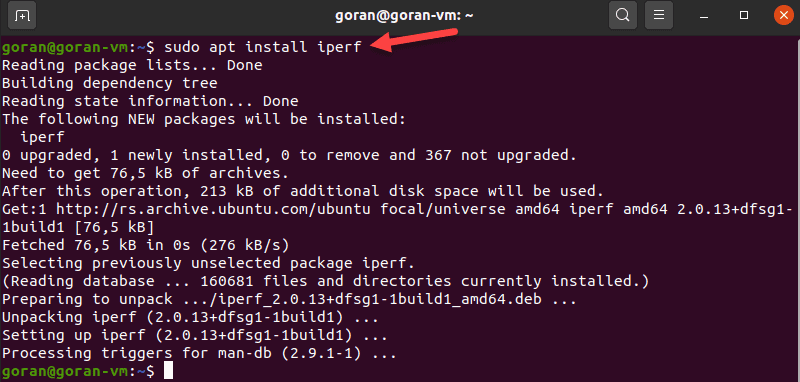
Using iperf to Measure Network Speed Between Two Devices
The iPerf tool provides many options for testing connection speed between a server and a client. Hence, to perform a test, you need to install the utility on both machines:
Make sure the client can reach the server. For quick confirmation, run a ping test.
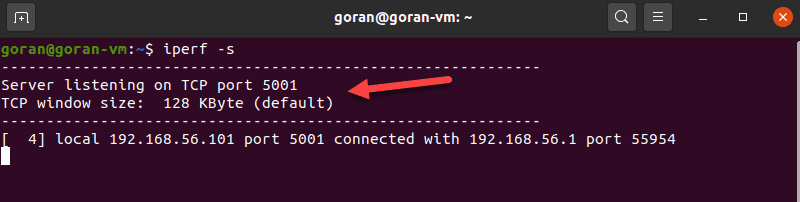
If port 5001 is open, the connection works. So, on the server machine, enter:
The device starts listening for a connection request.
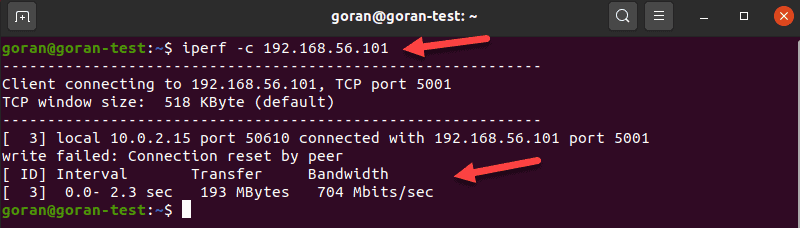
On the other machine, enter:
The output shows the transfer and bandwidth information:
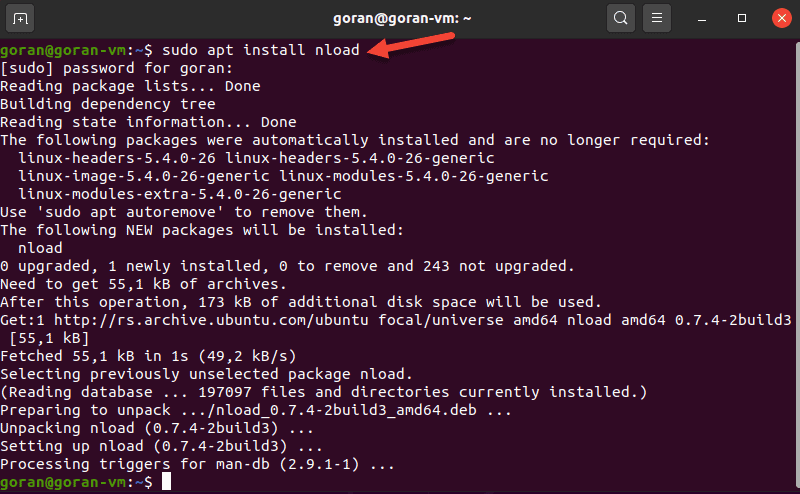
Using nload to View Incoming and Outgoing Network Traffic
Nload is a tool that monitors incoming and outgoing activity on a network interface you specify. The application splits the traffic into two sections for easier data analysis.
To install the tool, enter:
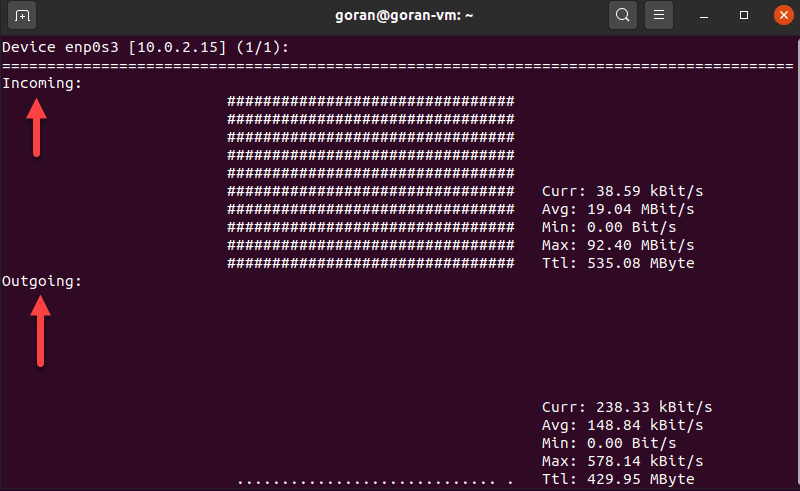
To run the application, specify the network interface:
If there is activity on the selected interface, nload displays network speed details.
Using tcptrack to Test Network Activity
TCPtrack shows the connection status for a network interface. When your machine’s network is active, run this tool to view and monitor bandwidth speed and usage.
To install tcptrack on Linux Ubuntu, enter:
sudo apt install tcptrack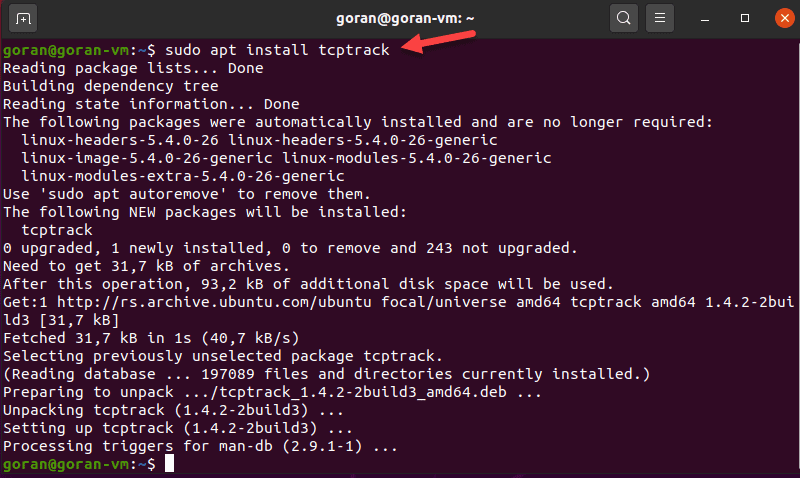
To view network activity with TCPtrack, specify the network interface. To find the device name, use the ifconfig tool.
In our case, it is enp0s3
The terminal displays the network activity on the selected interface. The total network speed is at the bottom of the terminal:
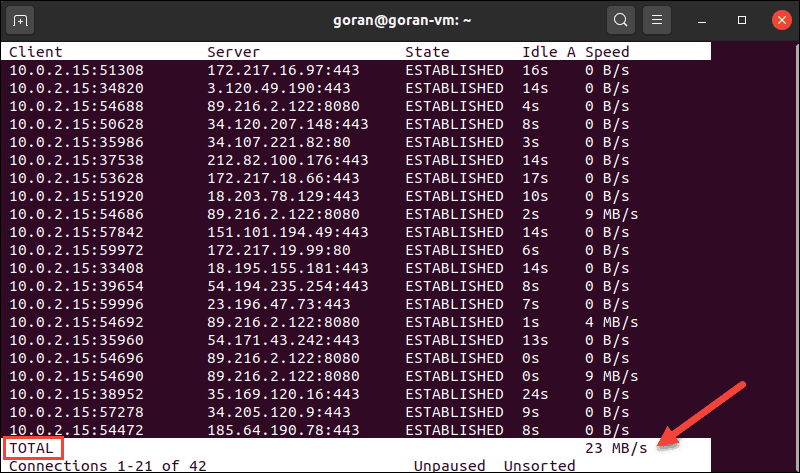
Note: Make sure you run tcptrack with sudo . Otherwise, this error pops up: pcap_open_live: enp0s3: You don’t have permission to capture on that device (socket: Operation not permitted)
TCPtrack is customizable and offers options to narrow down the test to specific ports, for example.
To do so, pass the port option and the port number:
sudo tcptrack -i enp0s3 port 443If there is no activity on the port, the output is blank.
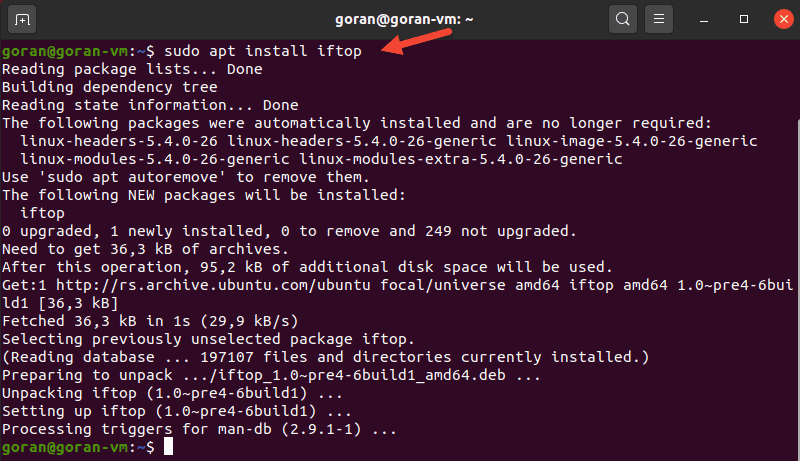
Using iftop to Test Speed on a Network Interface
Iftop lets you view network speed for a defined interface. The tool shows a similar output to what tcptrack provides.
To install iftop, run this command:
To launch the utility, use the -i flag and specify your network interface.
In our case:
The output shows the activity for the device. The bottom of the screen provides a traffic summary.
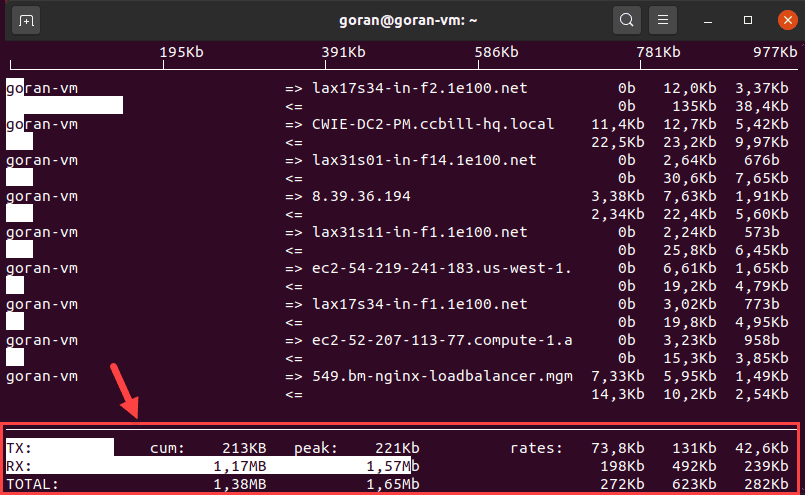
If you do not specify a network interface, iftop selects the first available. Make sure you run the command with sudo to avoid any errors.
Using wget to Test Download Speed
Wget is a CLI tool for downloading content from web servers. Since the tool does not upload files, you can only test the download speed.
If you do not have wget on your Ubuntu machine, enter this command to install it:
Now, choose a reliable server to download a file and test your internet speed. For example, use phoenixNAP’s 1GB test file from the list.
This example uses a server located in Phoenix:
wget -O /dev/null -q --show-progress http://174.138.175.114/PHX-1GB.test
Using youtube-dl to Test Internet Speed
An unconventional way to test your download speed is to use the youtube-dl CLI utility. The tool allows you to download YouTube videos and view the download speed.
To install youtube-dl, enter:
sudo apt install youtube-dlThe application takes around 268MB of space. While the installation is in progress, choose a video you want to download and save the URL.
When the process finishes, use this command but replace the URL with the one you selected:
youtube-dl -f best --no-part --no-cache-dir -o /dev/null --newline https://www.youtube.com/watch?v=8TLsqgLDMN4The terminal shows the download progress, file size, download speed, and ETA.
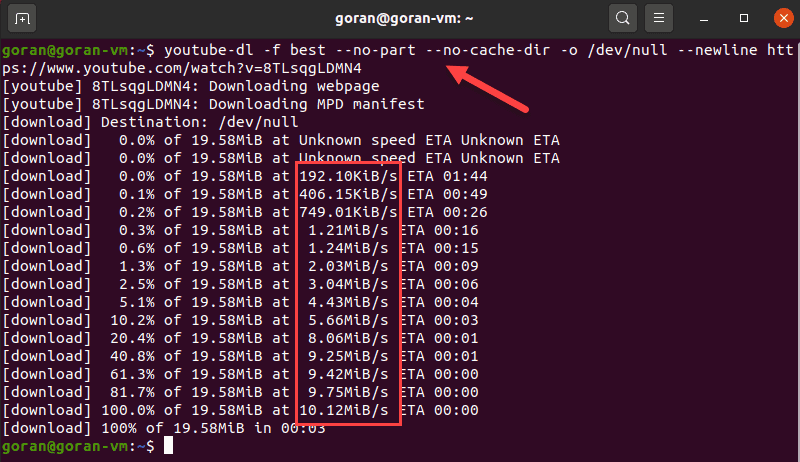
The command above does not save the file to any filesystem, hence the /dev/null part.
This example used a short phoenixNAP BMC demo video of around 19MB. Choose a longer video for more precise results.
The article showed you nine ways to test network speed in Linux via CLI. Choose the tool depending on whether you want to test local network speed, internet speed, etc.
The tools work for all Linux distributions, so make sure you use the right package manager.