How to Set up Bluetooth in Arch Linux
Let’s learn together on YouTube!
I installed Arch Linux on my new laptop a couple of months ago, and strangely enough, never used Bluetooth on it yet. Bluetooth in Arch Linux can be fun and interesting at times. I wanted to use my favorite Sony headphones on my laptop (It only has Arch Linux on it, no Windows!), so I thought I’d document the process.
Step 1: Install Bluez and Blueman
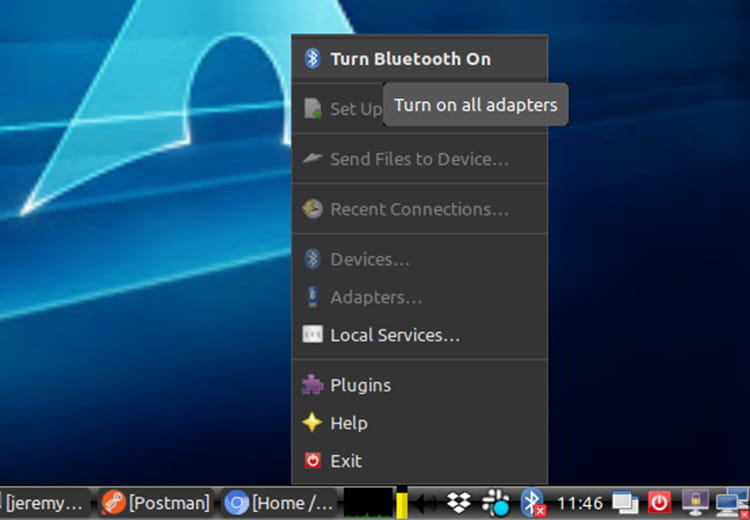
sudo pacman -S bluez sudo pacman -S bluez-utils sudo pacman -S blueman These should install without a problem. You’ll see a neat icon here:
Next, make sure the btusb Kernel module is loaded:
Here’s a trick to help it find adapters, even if you plug one in:
sudo vim /etc/bluetooth/main.conf 2. Enable the Service
Next, we want to try starting up the service:
sudo systemctl start bluetooth.service If you want it to start up automatically, enable it:
sudo systemctl enable bluetooth.service Now we should be up and running. You can turn on all adapters with Blueman:
Now you should be ready to connect and pair.
3. Pairing
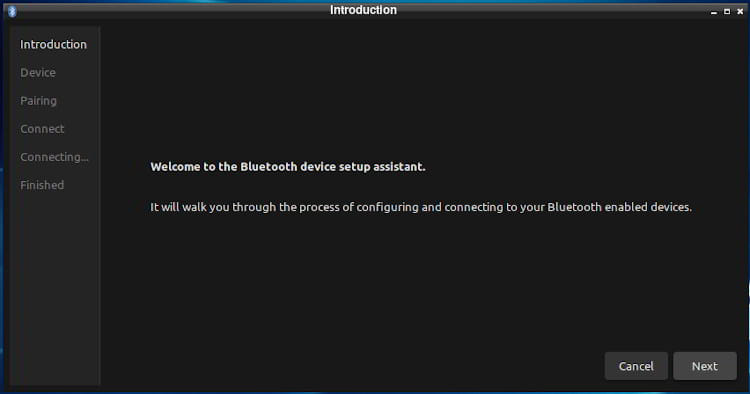
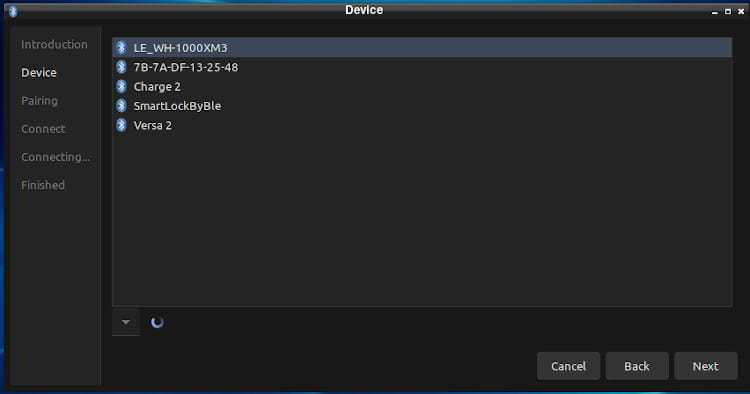
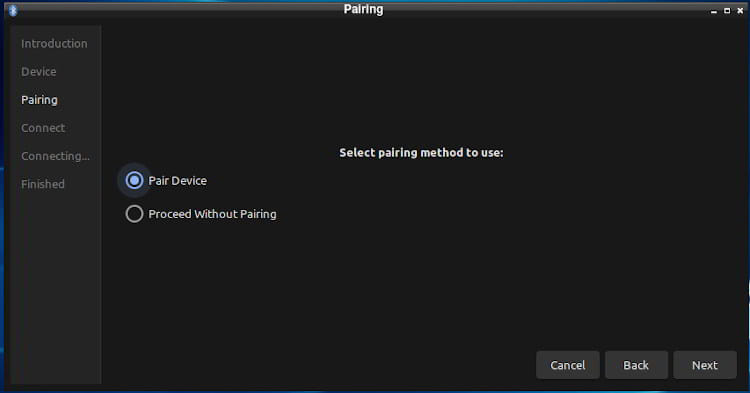
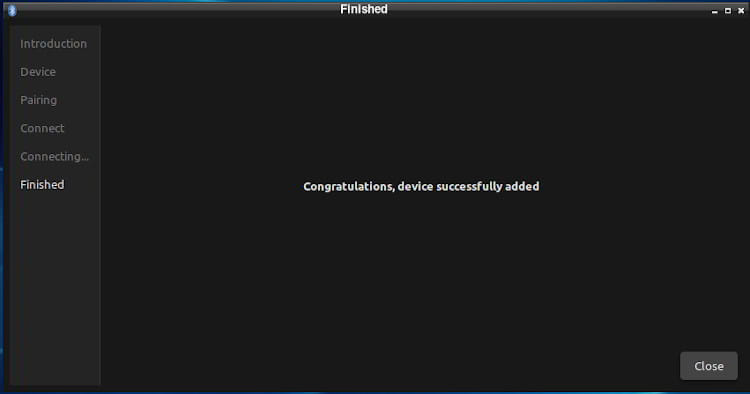
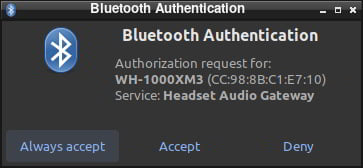
Blueman makes pairing pretty easy:
And you’re done connecting!
If you’re connecting headphones like I am, there are a few more steps.
Connecting Audio
First off, I’ll install pulseaudio and the Bluetooth extension.
sudo pacman -S pulseaudio sudo pacman -S pulseaudio-bluetooth sudo systemctl pulseaudio start If you want it to start up automatically:
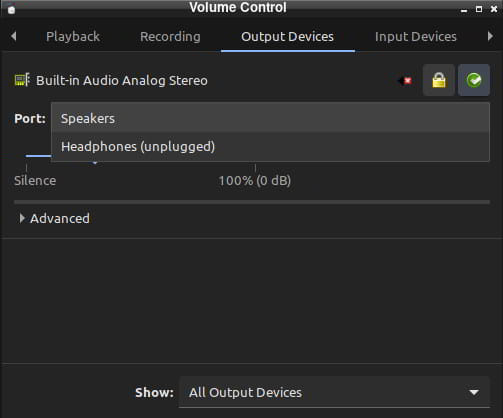
sudo systemctl start pulseaudio One utility I like to use to control audio (point it towards my speakers or the headphones) is Pavucontrol.
sudo pacman -S pavucontrol pavucontrol This is a great way to switch back and forth:
Note: If You Have a2dp
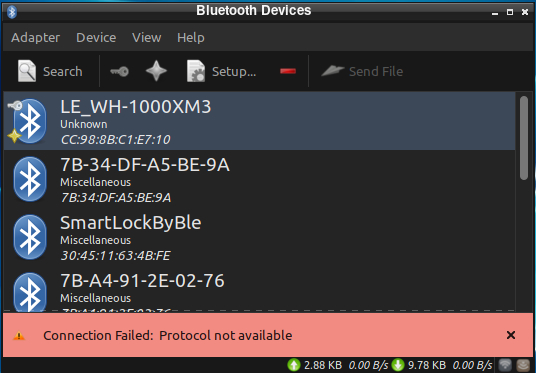
If your audio devices uses a2dp (Advanced Audio Distribution Profile), you may get the following error:
Connection Failed: Protocol not available
Here’s how to fix it. There’s a gdm fix, so it connects upon login (if you’re using GDM)
cd ~/src git clone https://aur.archlinux.org/pulseaudio-bluetooth-a2dp-gdm-fix.git makepkg -i You’ll also need to do this:
Here’s a hotfix that I found that worked. Check out this gist.
Use this content for your bt-autoenable-a2dp.sh file:
mkdir -p ~/.config/scripts/xorg vim ~/.config/scripts/xorg/bt-auto-enable-a2dp.sh sh ~/.config/scripts/xorg/bt-auto-enable-a2dp.sh Create a udev rules file and add this content
sudo vim /etc/udev/rules.d/20-bt-auto-enable-a2dp.rules Now you should be up and running and listening to audio! It worked for my WH-1000MX3 headphones.
Questions, comments? Let me know!
Want to learn more about Linux? Of course you do. Check out this Linux Fundamentals course. You can sign up for a free trial here and take it today!

Published: Apr 30, 2020 by Jeremy Morgan. Contact me before republishing this content.


