Puppy Linux Discussion Forum
How to install a Nvidia driver using getnvidia program and driver run package
bigpup Moderator Posts: 5249 Joined: Tue Jul 14, 2020 11:19 pm Location: Earth, South Eastern U.S. Has thanked: 420 times Been thanked: 976 times
How to install a Nvidia driver using getnvidia program and driver run package
Post by bigpup » Thu Jul 16, 2020 10:51 am
Installing a Nvidia driver run package
This is the Nvidia manufactures driver package, that gives you an install of the Nvidia provided hardware driver and settings control program.
Will need following items:
1.Nvidia driver run package
2.Puppy version DEVX SFS package
3.Puppy version kernel source SFS
4.Getnvidia program
Nvidia driver run package:
Download from official Nvidia web site.
http://www.nvidia.com/Download/index.aspx
Get the specific Nvidia driver run package recomended for your hardware.
Make sure to get the bit version you need. (32bit or 64 bit)
Put the Nvidia run package in /mnt/home.
This Nvidia search site will give you a listing of all driver packages that should work for your hardware.
https://www.nvidia.com/Download/Find.aspx?lang=en-us
To see a complete list set Recommended/Beta to all.
Puppy version DEVX SFS package and kernel source SFS package:
First try this in a terminal:
If not listed for download, you will have to go to the specific Puppy version repository to get them.
http://distro.ibiblio.org/puppylinux/
The DEVX SFS is usually where the Puppy version iso is located.
The kernel source SFS is in the Puppy version pet packages.
Note:
Some Puppy versions may provide these SFS’s in their topic in the Puppy forum.
To use Getnvidia:
Well, install it.
Download the Nvidia run package, place in /mnt/home
Using SFS-Load-On-The-Fly program.
Load the devx and kernel source sfs packages.
Run Getnvidia.
It will walk you through the process.
Along with installing the driver.
It also gives option to make a pet and or a sfs package of the driver.
The making of a pet and sfs package, are not part of the install. Just added stuff Getnividia can do.
Note:
The process of unpacking, compiling, and installing the driver needs free storage space and memory.
The Nvidia package is around 40 to 50 MB.
You need 3 times that space to run the process.
Note:
Understand this will install the nvidia driver.
If you checked make pet, make sfs. It will also make them.
The pet and sfs are just extra things it does.
Not necessary to just install the driver.
UN-check them if you do not want to have a pet or sfs of the driver.
Also, the pet and sfs package is kernel specific.
The kernel being used when making them.
They will only work in a Puppy that is using that specific Linux kernel.
WARNING
If you try a driver package and it does not work.
Uninstall it before trying to install a different driver.
Hopefully, the driver run package install process will replace what is already installed, but that is not 100% sure to happen.
BIG WARNING
Do not let the Nvidia driver build process make a new xorg.conf.
Select no if asked.
It will make one that will not work in Puppy.
When completed.
Reboot.
Use Puppies xorgwizard to make any changes to xorg.conf.
More information
Installing the Nvidia driver run package will install programs to control the graphics. These are not the normal ones used by Puppy.
Nvidia X Server Settings control program.
It controls the settings for Nvidia graphics hardware when using the Nvidia driver.
This is very good at making setting adjustments.
Use it for making any setting changes.
«Warning»
On the X Server Display Configuration Window is an option:
Save to X Configuration File
DO NOT USE THIS OPTION
It will make an xorg.conf file that does not work in Puppy and replaces the working Puppy xorg.conf.
If you are using very old Nvidia hardware that needs to use one of the very old Nvidia drivers.
(drivers in the 0 to 100, 200 and some 300 series)
You may not be able to compile the driver in newest Puppy versions.
The problem is the needed support software is actually just too new and the driver compiling process can not use it to compile.
The Nvidia driver run package, for the very old driver, is wanting to use software to do the compile, that is not there or now works differently.
Forum Global Moderator
The things you do not tell us, are usually the clue to fixing the problem.
When I was a kid, I wanted to be older.
This is not what I expected
6. Как настроить компоненты компьютера
Принтер настроить не сложно. Запустите «Меню | Система | Менеджер печати CUPS», и следуйте указаниям. Этого достаточно, чтобы настроить большинство принтеров. Если модели вашего принтера нет в списке, попробуйте выбрать сходную модель, например если у вас superjet 23e, попробуйте superjet 23 или superjet 23f.
На момент настройки принтер должен быть подключен и включен.
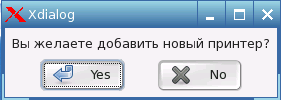
Отвечаем положительно «Yes». Чтитаем краткую инструкцию

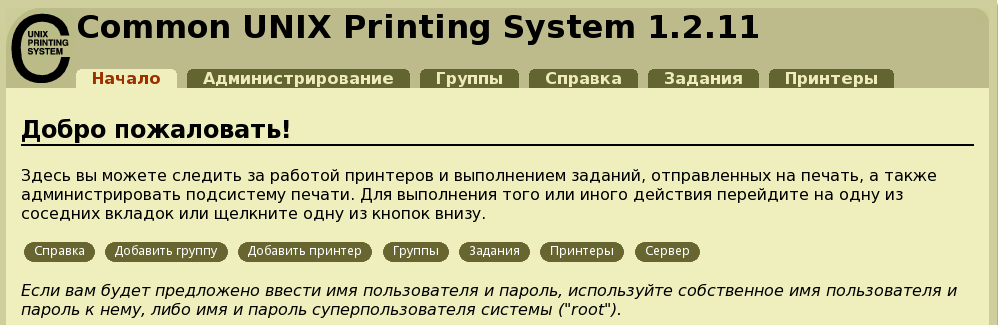
Ждём появления в браузере окна настройки CUPS и нажимаем «Добавить принтер»
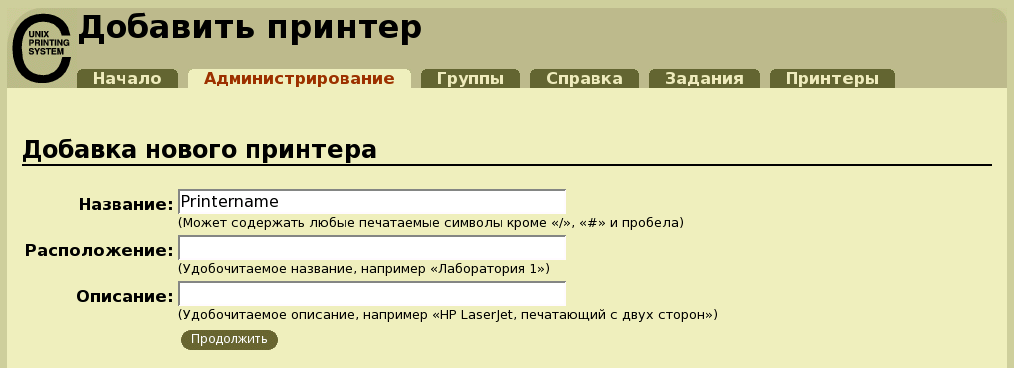
Вводим любое имя принтера. Остальные строчки можно не заполнять.Нажимаем «Продолжить»
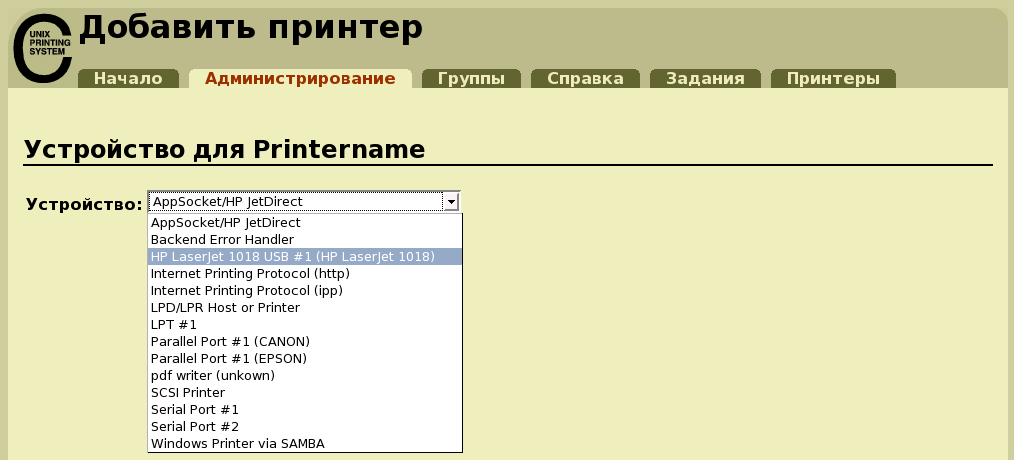
В выпадающем меню находим, где определился принтер и кликаем эту строчку. Если принтер сетевой, выбираем протокол соединения HTTP , IPP или SAMBA (для принтера на Win-машине) Нажимаем «Продолжить»
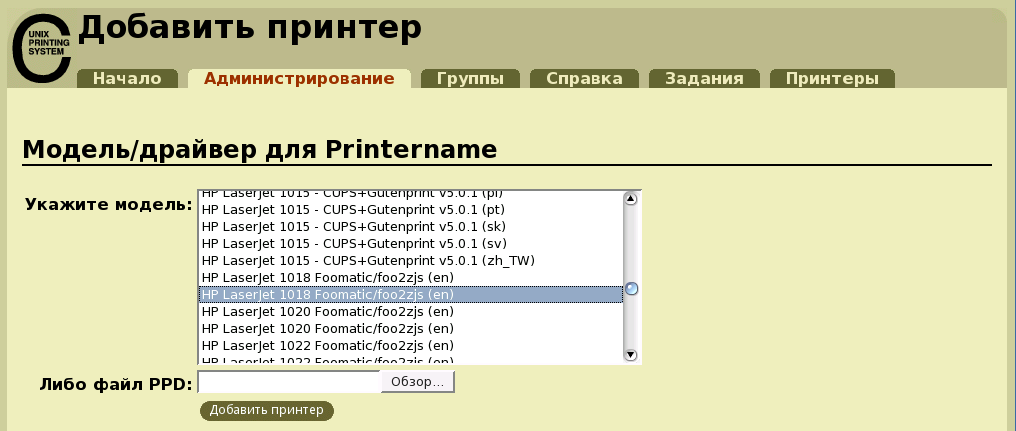
Находим драйвер в длинном списке, обычно определяется автоматически. Нажимаем «Добавить принтер»
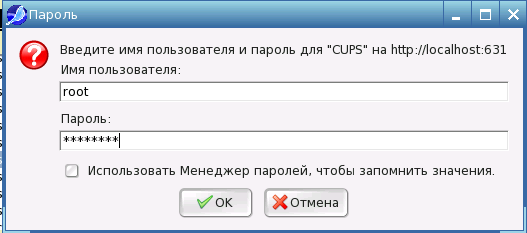
Вводим логин «root» и пароль «woofwoof», если вы, конечно, не сменили пароль.
Принтер установлен. Можете перейти на вкладку «Принтеры» и распечатать пробную страницу.
Некоторые принтеры, например HP LaserJet 1018, требуют установки дополнительного драйвера foo2zjs. Пакет можно скачать отсюда.
Puppy не обеспечивает автоматической отправки прошивки на такие принтеры. Прошивка отправляется командой
cat /usr/share/foo2zjs/firmware/sihp1018.dl > /dev/usb/lp0
. Пример приведён для HP LaserJet 1018, для другого принтера название прошивки (sihp1018.dl) будет отличаться.
Подсказка. Как сделать Ваш принтер доступным по сети.
Надо открыть как текст /etc/cups/mime.types и /etc/cups/mime.convs, и раскомментировать (убрать знак »#» в начале строки) строчку application/octet-stream и перезапустить службу CUPS.
Теперь Ваш принтер доступен по сети через http://192.168.1.3:631/printers/printername . Вместо «printername» подставьте имя, которое Вы дали вашему принтеру во время настройки.
6.3 USB флэш накопители / внешние жесткие диски
USB флэш накопители и внешние жесткие диски настраивать не надо. «HotPup» автоматически добавит значок устройства на рабочий стол. После нажатия на значок файловый менеджер ROX автоматически запустится и покажет файлы на вашем USB устройстве.
Также вы можете произвести монтирование USB фпэш накопителя вручную. Для этого откройте терминал urxvt и введите:
mount /dev/sdax /mnt/sdax (например для первичного раздела: mount /dev/sda1 /mnt/sda1)
6.4 Раскладка клавиатуры
В PuppyRus уже предусмотрено переключение раскладки клавиатуры, независимо, используете вы сервер Xvesa или у вас Xorg. Для добавления другой раскладки используйте Меню | Настройки | Настройка мыши/клавиатуры.