- How To Install PyCharm on CentOS 7 and 8
- System Requirements
- Installation
- Installation
- CentOS 7 and 8 Install
- Install the Toolbox App
- Start PyCharm
- Conclusion
- Start Your Development Journey Today!
- Related Articles:
- About the Author: Ellen Sletton
- Как установить PyCharm на CentOS 8
- Установите PyCharm на CentOS 8
- Шаг 1. Во-первых, давайте начнем с проверки актуальности вашей системы.
- Шаг 2. Установка PyCharm на CentOS 8.
- Шаг 3. Доступ к PyCharm.
- How To Install PyCharm on CentOS 8
- Install PyCharm on CentOS 8
How To Install PyCharm on CentOS 7 and 8
PyCharm is an IDE (or Integrated Development Environment) for the Python programming language. It is a cross-platform development environment that is compatible with Windows, macOS, and Linux. It provides a tool that integrates code analysis, graphical debugging, unit testing, and also contains an integrated terminal that supports development on remote hosts and virtual machines.
PyCharm was created by JetBrains based on the IntelliJ IDEA platform. There are two main versions of PyCharm.
- The PyCharm Community Edition — This version is used for development without the framework options and other features that are necessary for writing Enterprise solutions.
- The PyCharm Professional Edition — This version is used to develop software for large projects where frameworks and additional libraries are needed. This version contains support for Scientific and Python development and supports HTML, JS, and SQL.
For successful developers, it is crucial to have excellent tools that lessen their workload and save time. Additionally, PyCharm utilizes various plugins and extensions, written by both IntelliJ IDEA and other third-party contributors to increase functionality. The Professional Edition has a free trial period during which users can familiarize themselves with it and its use or the open-source Community Edition which allows for continued free usage.
System Requirements
| Requirement | Minimum | Recommended |
| RAM | 4 GB of RAM | 8 GB RAM |
| Disk | 2.5 GB/1 GB caches | 5 GB SSD |
| Monitor | 1024×768 | 1920×1080 |
| OS | Windows 8 > macOS 10.13 > Linux | 64-bit OS |
| GUI | Linux Gnome, KDE, or Unity DE | *GUI is required |
| Java | You do not need to install to run PyCharm because JetBrains Runtime is bundled with the IDE (based on JRE 11) | |
| Python | Python 2.7 Python 3.5+ |
Installation
The installation of PyCharm is the same both on CentOS 7 and CentOS 8, but for the sake of being thorough, we will cover both in this tutorial.
We begin the installation process by updating our server packages.
[root@host ~]# yum -y update Last metadata expiration check: 0:57:00 ago on Wed 08 Apr 2020 08:23:11 AM EDT. Dependencies resolved. Nothing to do. Complete! [root@host ~]#[root@host ~]# dnf update Last metadata expiration check: 0:27:11 ago on Tue Apr 14 16:33:55 2020. Dependencies resolved. Nothing to do. Complete! [root@host ~]#Installation
CentOS 7 and 8 Install
The default installation process recommended by JetBrains utilizes their Toolbox application to install PyCharm. For the sake of brevity, we have condensed the installation using a single terminal command.
Install the Toolbox App
Download and install the Toolbox App from the JetBrains web page.
curl -L https://raw.githubusercontent.com/nagygergo/jetbrains-toolbox-install/master/jetbrains-toolbox.sh | bash && sh /opt/jetbrains-toolbox/jetbrains-toolbox.shThis will install and run the PyCharm toolbox locally on our system.
Now, we need to select the product type and version we want to install. After we run the Toolbox App for the first time, it will automatically add the Toolbox App icon to the main menu.
Start PyCharm
Now let’s start PyCharm. This step is essential as, on some systems, we are advised to reboot the system and then, start the software.
We can start PyCharm either by clicking on the desktop icon or by running the following command.
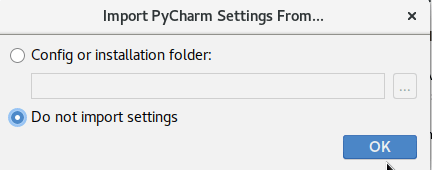
[root@host ~]# pycharm [root@host ~]# A window will pop up and ask where it can find and load the settings if you previously had them. In the 2019 version, JetBrains did so that the settings synchronized with your account and automatically loaded, but sometimes it is not very convenient.
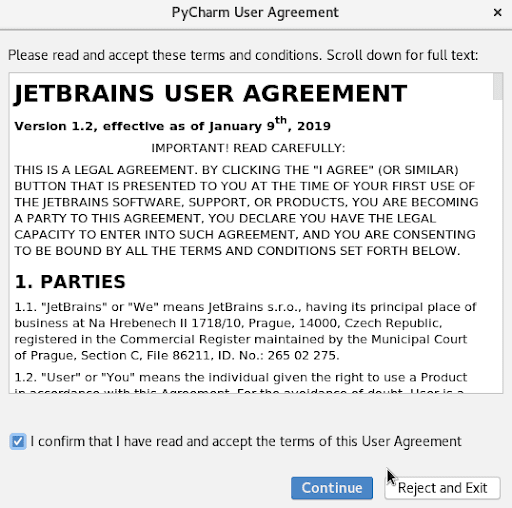
Next, we will accept the license agreement and click Continue.
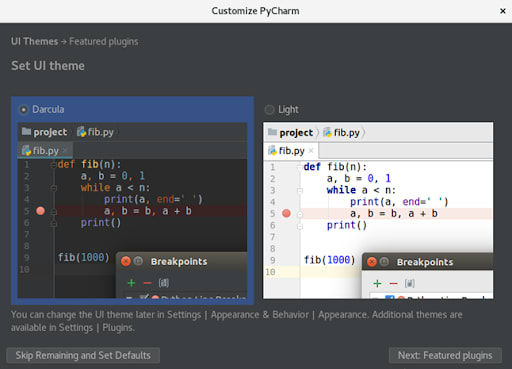
Next, we can choose which theme we would like to use.
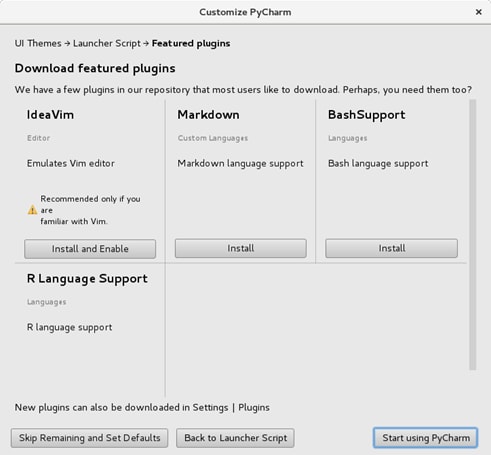
Now, we can click on Skip Remaining to complete setting up using the defaults, or download and install selected plugins.
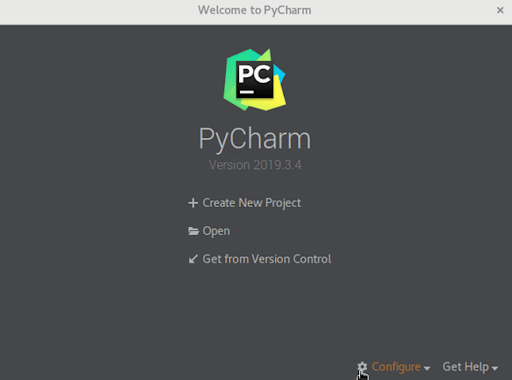
Done! We can now click Create New Project or Open a folder with an existing project. We can also load projects from GitHub.
Conclusion
In this tutorial, we have learned what PyCharm is, what it is used for, and how to install it. Overall, PyCharm is an intelligent, well-rounded code editor that will improve our development and debugging skills.
Start Your Development Journey Today!
Are you looking for a new, modern development platform in which to create your software or web app? Look no further! Liquid Web provides multiple development environments in which PyCharm can be utilized.
Give us a call at 800.580.4985, or open a chat or ticket with us to speak with one of our knowledgeable Solutions Team or an experienced Hosting Advisor today!
Related Articles:
About the Author: Ellen Sletton
I’m 23 years old Linux Tech who always takes NO as Next Opportunity. Every day I’m trying to learn something new and share my knowledge with others. My free time I spend with my dog Emil or doing some UI/UX design or simply making an inspiring photo for my blog 🙂 Sharing knowledge helps me generate new ideas and stay motivated.

Join our mailing list to receive news, tips, strategies, and inspiration you need to grow your business
Как установить PyCharm на CentOS 8

В этом руководстве мы покажем вам, как установить PyCharm на CentOS 8. Для тех из вас, кто не знал, PyCharm — это IDE для разработки Python, которая была признана экспертами одной из лучших IDE Python. IDE поставляется с профессиональной версией и версией для сообщества. Версия для сообщества бесплатна, но профессиональная версия имеет больше функций.
В этой статье предполагается, что у вас есть хотя бы базовые знания Linux, вы знаете, как использовать оболочку, и, что наиболее важно, вы размещаете свой сайт на собственном VPS. Установка довольно проста и предполагает, что вы работаете с учетной записью root, в противном случае вам может потребоваться добавить sudo к командам для получения привилегий root. Я покажу вам пошаговую установку PyCharm на сервере CentOS 8.
Установите PyCharm на CentOS 8
Шаг 1. Во-первых, давайте начнем с проверки актуальности вашей системы.
Шаг 2. Установка PyCharm на CentOS 8.
Теперь мы загрузим PyCharm с официальной страницы загрузки PyCharm:
sudo wget https://download-cf.jetbrains.com/python/pycharm-professional-2018.3.2.tar.gz
Затем извлеките загруженный пакет с помощью следующей команды:
tar -xvf pycharm-professional-2018.3.2.tar.gz cd pycharm-professional-2018.3.2
Затем запустите PyCharm, как обычные программы, вы должны создать символическую ссылку, используя следующую команду:
sudo ln -s ./pycharm-community-2018.3.2/bin/pycharm.sh /usr/bin/pycharm
Шаг 3. Доступ к PyCharm.
После установки вы можете запустить PyCharm, используя следующую команду:
Поздравления! Вы успешно установили PyCharm . Благодарим за использование этого руководства для установки PyCharm в системе CentOS 8. Для получения дополнительной помощи или полезной информации мы рекомендуем вам посетить официальный сайт PyCharm .
How To Install PyCharm on CentOS 8
In this tutorial, we will show you how to install PyCharm on CentOS 8. For those of you who didn’t know, PyCharm is an IDE for Python development and has been considered one of the best Python IDE by experts. The IDE comes with a professional and community edition. The community edition is free of cost, but the professional edition has more features.
This article assumes you have at least basic knowledge of Linux, know how to use the shell, and most importantly, you host your site on your own VPS. The installation is quite simple and assumes you are running in the root account, if not you may need to add ‘ sudo ‘ to the commands to get root privileges. I will show you the step-by-step installation PyCharm on a CentOS 8 server.
Prerequisites
- A server running one of the following operating systems: CentOS 8.
- It’s recommended that you use a fresh OS install to prevent any potential issues.
- SSH access to the server (or just open Terminal if you’re on a desktop).
- A non-root sudo user or access to the root user . We recommend acting as a non-root sudo user , however, as you can harm your system if you’re not careful when acting as the root.
Install PyCharm on CentOS 8
Step 1. First, let’s start by ensuring your system is up-to-date.
Step 2. Installing PyCharm on CentOS 8.
Now, we will download PyCharm using the official PyCharm download page:
sudo wget https://download-cf.jetbrains.com/python/pycharm-professional-2018.3.2.tar.gz
Then, extract the downloaded package using the following command:
tar -xvf pycharm-professional-2018.3.2.tar.gz cd pycharm-professional-2018.3.2
Next, run PyCharm like normal programs you should create a symbolic link using the following command:
sudo ln -s ./pycharm-community-2018.3.2/bin/pycharm.sh /usr/bin/pycharm
Step 3. Accessing PyCharm on CentOS.
Once installed, you can launch PyCharm using the following command:
Congratulations! You have successfully installed PyCharm. Thanks for using this tutorial for installing PyCharm on CentOS 8 system. For additional help or useful information, we recommend you check the official PyCharm website.
If you don’t have time to do all of this stuff, or if this is not your area of expertise, we offer a service to do “VPS Manage Service Offer”, starting from $10 (Paypal payment). Please contact us to get the best deal!