- How to install Ubuntu Core on your Raspberry Pi
- What you’ll learn
- What you’ll need
- 2. Prepare the SD Card
- 3. Create an Ubuntu SSO account
- 4. Boot and configure Ubuntu Core
- Generating an SSH key pair
- 5. SSH in
- 6. That’s all folks!
- Further reading
- How to install Ubuntu Desktop on Raspberry Pi 4
- What you’ll learn
- What you’ll need
- 2. Prepare the SD Card
- 3. Boot your Desktop
- 4. (optional) Boot from USB with an external SSD
- 5. That’s all, folks!
- Further Reading
How to install Ubuntu Core on your Raspberry Pi
In this tutorial, we will walk you through the process of installing Ubuntu Core on a Raspberry Pi, connecting it to the internet and using it remotely.
Keep in mind that Ubuntu Core is aimed at production deployments. We recommend you use Ubuntu Core on Raspberry Pi to test production-ready scenarios or for “fire and forget” purposes where you want a stable appliance-like experience.
With Ubuntu Core, you are able to execute remote updates and patches for your appliances and devices, but for easier development and prototyping, we recommend Ubuntu Server. Let’s start!
What you’ll learn
- How to create a bootable Ubuntu Core microSD card
- How to setup internet connectivity on the Raspberry Pi
- How to access your Raspberry Pi remotely
What you’ll need
- A microSD card (4GB minimum, 8GB recommended)
- A computer with a microSD card drive
- A Raspberry Pi 2, 3 or 4
- A micro-USB power cable (USB-C for the Pi 4)
- A Wi-Fi network or an ethernet cable with an internet connection
- A monitor with an HDMI interface
- An HDMI cable for the Pi 2 & 3 and a micro HDMI cable for the Pi 4
- A USB keyboard
2. Prepare the SD Card
Warning
Following these steps will erase all existing content on the microSD card.
- Insert the microSD card into your computer
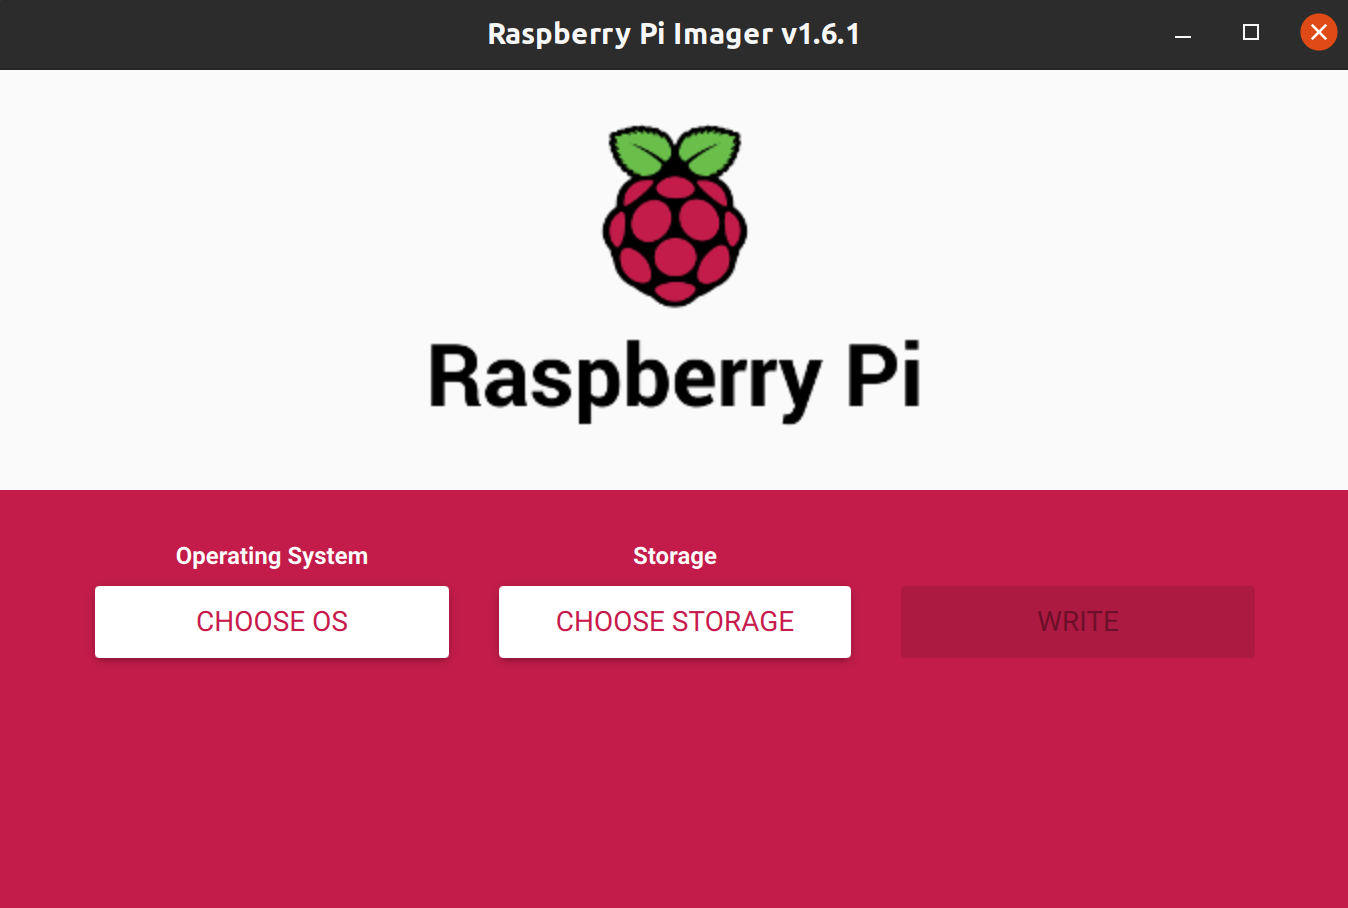
- Install the Raspberry Pi Imager tool for your operating system. You can do this with the following links:
- Raspberry Pi Imager for Ubuntu
- Raspberry Pi Imager for Windows
- Raspberry Pi Imager for macOS
Or, if you are on Ubuntu, you can run:
sudo snap install rpi-imager 

- Here you can select Ubuntu and see a list of download options. For this tutorial we recommend you select the latest version of Ubuntu Core 32-bit armhf download. As indicated in the imager this will work for the Raspberry Pi 2,3, 3+ and any of the 4’s. If you intending to install an application that requires 64-bit compatibility, such as MicroK8s, make sure you alternatively select Ubuntu Core 20 64-bit IoT OS for arm64 architecture.


- Finally, click “WRITE” and wait for the magic to happen… (This magic might take a few minutes depending on the SD card speed)
3. Create an Ubuntu SSO account
An Ubuntu SSO (Single Sign-On) account allows you to store SSH public keys and tie them to an email address. This allows your Ubuntu Core devices to authorize SSH connections only from devices with public keys matching the ones in your SSO account.
Obviously, if you already have an SSO account you can skip this step, you will have one if you used Ubuntu Core before, or if you have an account in the snapstore. If you do not, you need to go to the Ubuntu SSO login site, select that you don’t have an account and fill in your details. Once you have created your account come back to this tutorial and carry on.
4. Boot and configure Ubuntu Core
Insert the flashed SD card into your Raspberry Pi. Attach your monitor and keyboard to the Pi and connect it to your power source.
From this point, it can take around five minutes for the system to instantiate itself. You will see typical Linux output on the screen, periods where there’s just a flashing cursor, and messages like Installing the system, please wait for a reboot. When this process has finished, you will see instructions on your screen.
- Press enter to configure
- Press OK to configure the network and setup an admin account on this all-snap Ubuntu Core system
- If you are using ethernet you simply need to connect your ethernet cable and select done. If you are wanting to use a local wifi network, use the arrow keys on your keyboard to navigate to wlan0 and hit enter. Here you will be able to configure your wifi settings.
- Select “Done” and the network config will progress.
Note: For this simple tutorial you will only need to input your network SSID and password. Once you have done that you won’t need to do any other network configuration. Using DHCP for IPv4 is fine.
Note: Don’t dawdle, for security reasons if you’re inactive for more than a minute the Pi will ask you to start over.
Once the setup is complete, the device will automatically update and if necessary restart. This could take another 10 minutes to complete.
Now, if you made an SSO account for the first time during this tutorial, you will not have any SSH keys. If you don’t have any SSH keys follow this next step. If you do, feel free to jump to the next section.
Generating an SSH key pair
For this, you need to open a terminal on your computer and run the following commands:
mkdir ~/.ssh chmod 700 ~/.ssh ssh-keygen -t rsa This will generate a 2048-bit RSA key pair, which is secure enough for most use cases (you may optionally pass in the -b 4096 flag to the ssh-keygen command, to create a larger 4096-bit key). You’ll see what this actually means in a few moments.
After entering the command, you should see the following output:

Press ENTER to save the key pair into the .ssh/ directory in your home directory or specify an alternate path.
If you had previously generated an SSH key pair, you may see the following prompt: “If you choose to overwrite the key on disk, you will not be able to authenticate using the previous key anymore.” Be very careful when selecting “yes”, as this is cannot be reversed and your existing key will be overwritten.
You should then see the following prompt:

Here, you enter a secure passphrase. A passphrase adds an additional layer of security to prevent unauthorized users from logging in.
You should then see something like the following output:

You now have a public and private key that you can use to authenticate. The next step is to place the public key on your Raspberry Pi so that you can use SSH-key-based authentication to log in.
So, now you will need to copy the contents of the file you just created to this site: https://login.ubuntu.com/ssh-keys
In the terminal and copy the result into the text field on the website. Click import and if you have copied everything correctly you will have the key set up.
5. SSH in
Once you have inputted your email and the Pi has connected to your account it will give you an ssh command to connect to your pi. Run that command. It will be something like:
And your terminal should welcome you to Ubuntu Core.

6. That’s all folks!
You are done! Up and running on Ubuntu Core.
You also might want to install some software on your Pi. You can use the snap command to install snap packages. The Snap Store is where you can find the best Linux open source and proprietary apps to install on your Raspberry Pi and get started with any project!
Further reading
How to install Ubuntu Desktop on Raspberry Pi 4
In this tutorial, we walk you through the process of installing Ubuntu Desktop on a Raspberry Pi. If you are looking to install Ubuntu Server on your Raspberry Pi, you can follow this link to that tutorial

What you’ll learn
- How to create a bootable Ubuntu Desktop microSD card
- How to setup your Ubuntu Desktop for daily use
What you’ll need
- A microSD card (9GB minimum, 16GB recommended)
- A computer with a microSD card drive
- A Raspberry Pi 4
- A micro USB-C power cable
- A monitor with an HDMI interface
- A micro HDMI cable
- A USB keyboard
2. Prepare the SD Card
Warning
Following these steps will erase all existing content on the microSD card.
First, insert the microSD card into your computer.
You need to install the right Raspberry Pi Imager for your operating system. You can do this on ubuntu by running:
sudo snap install rpi-imager Or on other operating systems follow these links:
Once this is done, start the Imager and open the “CHOOSE OS” menu.
Scroll down the menu click “Other general-purpose OS”.
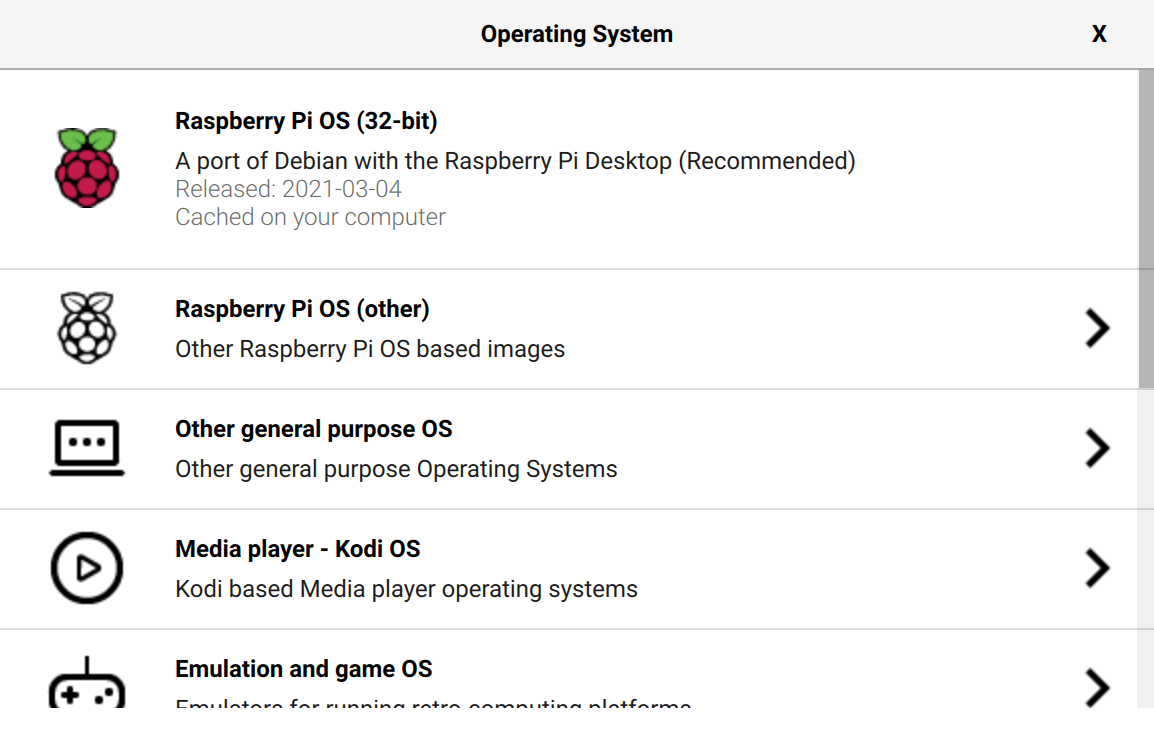
You will then be able to see a list of Ubuntu downloads to choose from. Select the “Ubuntu 20.10 Desktop (Raspberry Pi 4)” option. As indicated in the imager this only works for the Raspberry Pi 4 with 4GB or 8GB RAM.
Select the image and open the “SD Card” menu. Select the microSD card you have inserted, and click “WRITE”. Then just sit back and wait for the magic to happen… (This magic might take a few minutes).
Now you have your Ubuntu SD card. Before going on, make sure your Pi is off and insert this SD card. This is what the Pi uses to load all the software you’re about to use.
3. Boot your Desktop
Now, ensure your HDMI screen and a USB keyboard are plugged in before plugging in and powering on the Raspberry Pi. You will be able to see the boot process on screen and, eventually, the first run wizard.

Then set your keyboard layout. For British vs American keyboards you can use the ‘@’ and ‘ “ ‘ keys to check that they are in the right place for you.

Now pick yourself a timezone. This is used to give you the correct time and so it knows when to change for the summer:

Once that’s sorted we ask you to set up a user and set a password:

And finally, welcome to your Ubuntu Desktop:

4. (optional) Boot from USB with an external SSD
Using an external SSD connected to your Raspberry Pi via a USB 3.0 port can dramatically improve performance as well as give you more flexibility for your storage.
All 8GB Raspberry Pi 4s and newer 4GB models are pre-configured to boot from a USB drive automatically as long as there is no SD card inserted.
For older 4GB models released pre-2021 there is some additional configuration required which is linked on the Discourse version of this Tutorial.
The easiest way to spot if your Pi will support USB boot out-of-the-box is by looking for the trio of black squares between the power supply port and the nearest micro-HDMI port that is only present with the newer models.
The process for using an SSD with your Raspberry Pi is exactly the same as for an SD Card. Simply connect the SSD you want to use to your computer and launch the Raspberry Pi Imager. Select Ubuntu Desktop as your Operating System as before, but this time select the SSD as your Storage option.
The flashing process should continue exactly as before.
When you connect the SSD to your Raspberry Pi and power it on it should automatically boot from the external drive!
Remember!
Make sure you don’t have an SD Card inserted if you want to boot from USB.
5. That’s all, folks!
For more details about the Raspberry Pi Ubuntu Desktop you can refer to our website.
You might also want to install some software on your Pi. Ubuntu has extensive repositories available, that you can browse at packages.ubuntu.com.
You can use the snap command to install snap packages. The Snap Store is where you can find the best Linux open source and proprietary apps to install on your Raspberry Pi and get started with any project!
Further Reading
Check out these tutorials for ideas on other Pi Projects!
And for more advanced users: