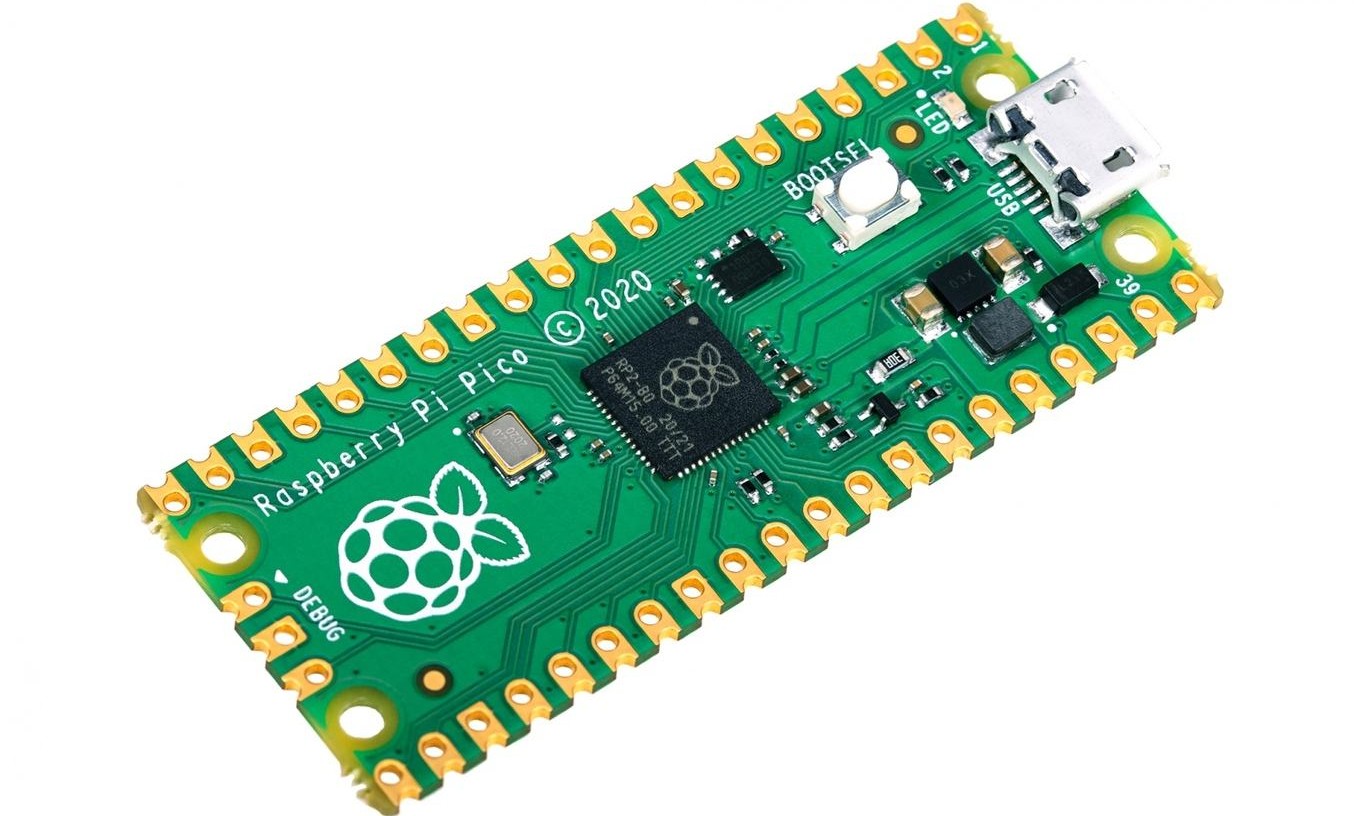
- Using the Raspberry Pi Pico on Ubuntu
- Get the SDK
- Build and run examples
- LED Blink Example
- Hello World serial example
- Create your own project
- Set Up Raspberry Pi Pico SDK on Ubuntu 22.04
- Prepare environment
- Install SDK
- Build program
- Upload program
- Test program
- Uninstall SDK
- Related
- The 3 Comments Found
- Поскольку на Raspberry Pi Pico не встанет Linux, умелец портировал на плату Fuzix
Using the Raspberry Pi Pico on Ubuntu
NB. Ubuntu 21.04 was used for this article, but the process should be the same for other recent versions of Ubuntu.
Get the SDK
# NB. SDK can be installed into any directory, this is just an example mkdir -p ~/pico cd ~/pico/ git clone -b master https://github.com/raspberrypi/pico-sdk.git cd pico-sdk git submodule update --init # Add SDK path to your environment echo 'export PICO_SDK_PATH=$HOME/pico/pico-sdk' >> ~/.bashrc Build and run examples
LED Blink Example
cd ~/pico git clone -b master https://github.com/raspberrypi/pico-examples.git cd pico-examples mkdir build cd build cmake .. cd blink make -j $(nproc) To run the blink firmware:
- Hold the BOOTSEL button on the Raspberry Pi Pico, plug the USB connection on the Pico in to the development machine, then release the BOOTSEL button.
- The Pico should appear as a mass storage device on the computer. Copy ~/pico/pico-examples/build/blink/blink.uf2 on to the mass storage device.
- The Pico should automatically reboot and run the blink firmware. The LED on the Pico board should start blinking.
Hello World serial example
The Pico can use its USB port to provide a serial connection to the processor to allow for STDIO.
cd pico-examples/build/hello_world make -j $(nproc) To run the Hello, World example:
- Hold the BOOTSEL button on the Raspberry Pi Pico, plug the USB connection on the Pico in to the development machine, then release the BOOTSEL button.
- The Pico should appear as a mass storage device on the computer. Copy ~/pico/pico-examples/build/hello_world/usb/hello_usb.uf2 on to the mass storage device.
- The Pico will reboot and present to the development machine as a USB serial device.
- Use sudo dmesg | tail to identify the name of the serial port (Typically /dev/ttyACM0 ).
- Connect to the serial port using screen screen /dev/ttyACM0 115200
The serial port should show:
Hello, world! Hello, world! Hello, world! . To disconnect from a terminal in screen use Ctrl-A , k , and y .
Create your own project
cd ~/pico mkdir my_project cd my_project/ touch my_project.c touch CMakeLists.txt cp $PICO_SDK_PATH/external/pico_sdk_import.cmake . In my_project.c add the following example:
#include #include "pico/stdlib.h" #include "hardware/gpio.h" const uint LED_PIN = 25; int main() stdio_init_all(); gpio_init(LED_PIN); gpio_set_dir(LED_PIN, GPIO_OUT); while (1) gpio_put(LED_PIN, 0); sleep_ms(250); gpio_put(LED_PIN, 1); printf("Hello World\n"); sleep_ms(1000); > > In CMakeLists.txt add the following text:
cmake_minimum_required(VERSION 3.13) include(pico_sdk_import.cmake) project(my_project C CXX ASM) set(CMAKE_C_STANDARD 11) set(CMAKE_CXX_STANDARD 17) pico_sdk_init() add_executable(my_project my_project.c ) pico_enable_stdio_usb(my_project 1) pico_enable_stdio_uart(my_project 0) pico_add_extra_outputs(my_project) target_link_libraries(my_project pico_stdlib) NB. By default STDIO is connected to UART0 (Raspberry Pi Pico pins 1 and 2). pico_enable_stdio_uart(my_project 0) disables STDIO on UART0, and pico_enable_stdio_usb(my_project 1) enables STDIO via USB UART.
# Prepare for build mkdir build cd build cmake .. # Build/rebuild make To run the my_project firmware:
- Hold the BOOTSEL button on the Raspberry Pi Pico, plug the USB connection on the Pico in to the development machine, then release the BOOTSEL button.
- The Pico should appear as a mass storage device on the computer. Copy ~/pico/my_project/build/my_project.uf2 on to the mass storage device.
- The Pico will reboot and present to the development machine as a USB serial device, and the onboard LED will blink.
Set Up Raspberry Pi Pico SDK on Ubuntu 22.04

The Raspberry Pi Pico SDK is a collection of libraries, headers, and tools that allows to develop programs for the RP2040 based devices such as the Raspberry Pi Pico using C, C++ or assembly language.
This tutorial explains how to set up Raspberry Pi Pico SDK on Ubuntu 22.04.
Prepare environment
Make sure you have installed build-essential package in your system.
sudo apt install -y build-essential| No. | Software | Installation instructions |
|---|---|---|
| 1. | Git | Read |
| 2. | CMake | Read |
| 3. | Arm GNU Toolchain | Read |
Install SDK
Clone the Raspberry Pi Pico SDK repository:
sudo git clone https://github.com/raspberrypi/pico-sdk.git /opt/pico-sdksudo git -C /opt/pico-sdk submodule update --initSet the PICO_SDK_PATH environment variable, which specifies where SDK is installed:
echo 'export PICO_SDK_PATH=/opt/pico-sdk' | sudo tee -a /etc/profile.d/pico-sdk.shTo make changes to take effect, logout and login to your system or run the following command to apply the changes immediately:
source /etc/profile.d/pico-sdk.shBuild program
Create a new directory to store project files and navigate to this directory:
mkdir helloworld && cd helloworldOnce the file is opened, add the following lines of code:
Create a CMakeLists.txt file:
Add the following content:
cmake_minimum_required(VERSION 3.13) include($ENV/external/pico_sdk_import.cmake) project(myapp C CXX ASM) set(CMAKE_C_STANDARD 11) set(CMAKE_CXX_STANDARD 17) pico_sdk_init() add_executable($ main.c) pico_add_extra_outputs($) target_link_libraries($ pico_stdlib) pico_enable_stdio_usb($ 1) pico_enable_stdio_uart($ 0)Create a build directory and navigate to it:
Prepare CMake build directory by running the following command:
Now run the make command to build program:
Using the ls command, you can check a list of generated files.
CMakeCache.txt cmake_install.cmake generated myapp.bin myapp.elf myapp.hex pico-sdk CMakeFiles elf2uf2 Makefile myapp.dis myapp.elf.map myapp.uf2The myapp.uf2 is a program which can be moved into storage of the Raspberry Pi Pico.
Upload program
Hold down the BOOTSEL button and connect the Raspberry Pi Pico to your PC via micro USB cable. Once Pico is connected, release the BOOTSEL button. This button puts Raspberry Pi Pico into USB mass storage device mode.
Find the USB mass storage device called RPI-RP2:
sudo blkid -o list | grep RPI-RP2/dev/sdb1 vfat RPI-RP2 (not mounted) 0034-04C4Mount device to /mnt/pico directory:
sudo mount /dev/sdb1 /mnt/picoIf you can see the following files, then the USB mass storage device has been mounted correctly:
Copy program into storage device:
Flush memory buffer to the storage device:
Raspberry Pi Pico will disconnect as a USB mass storage device and runs the code.
Note: if you want to upload new code to the Raspberry Pi Pico, disconnect it from power and hold down the BOOTSEL button when connecting Pico to power.
Test program
Program prints message to USB CDC (USB serial). So, you can open the serial port to see messages:
sudo screen /dev/ttyACM0 115200To quit screen session, press CTRL+A and then \ .
Uninstall SDK
If you decided to completely remove Raspberry Pi Pico SDK, delete the installation directory:
Remove pico-sdk.sh file that is used to set environment variable:
sudo rm -rf /etc/profile.d/pico-sdk.shYou can also remove build tools:
sudo apt purge --autoremove -y build-essential cpp make binutilsRelated

Go is a programming language developed by Google. It’s an open-source, statically typed, compiled language.


Protocol buffers also known as protobuf is a cross-platform data format for serializing structured data.
The 3 Comments Found
This was a huge help — thank you. I actually used it to install the RPi PICO SDK on Ubuntu 22.04! There were only a couple of work-arounds needed, and it’s actually working now — I’ve just uploaded & run the helloworld app.
Wonderful article — helped me to sanitise my setup. If I leave the ASM in the CMakeLists.txt file, I get an Error 2 failure at the end when building — however, if I remove it everything builds okay and the created u2f file runs okay on the PICO.
I use minicom to view the output and I see a Hello world output.
Do I need the ASM? If so, what do I need to do extra to set it up?
Hi,
In some cases, assembler is required because Raspberry Pi Pico SDK has assembler source code. I recommend reading separate post how to install Arm GNU Toolchain.
When I run the cmake command, I get output which contains:
PICO compiler is pico_arm_gcc -- The C compiler identification is GNU 12.2.1 -- The CXX compiler identification is GNU 12.2.1 -- The ASM compiler identification is GNU -- Found assembler: /opt/gcc-arm-none-eabi/bin/arm-none-eabi-gccПоскольку на Raspberry Pi Pico не встанет Linux, умелец портировал на плату Fuzix
16 февраля 2021 года разработчик Дэвид Гивен представил порт ОС Fuzix для микроконтроллера Raspberry Pi Pico RP2040. Причем буквально за несколько дней перед этим он портировал Fuzix на микроконтроллер ESP8266 и записал об этом отдельное видео.
В порте Fuzix на RP2040 есть поддержка SD-карт для установки файловой системы UNIX и файла подкачки, а также поддерживается полный набор основных инструментов, включая запуск до 15 процессов, запуск пользовательских двоичных файлов, использующих до 64 КБ кода и данных каждый, работает последовательная консоль на UART0, доступен полный набор бинарных файлов ядра Fuzix — fsck, оболочка Bourne, стандартные инструменты Unix, клон vi, а также несколько простых игр.
Гивен пояснил, что текущий порт Fuzix на RP2040 запускается стабильно, но еще требует доработки. На данный момент в нем нет поддержки многозадачности, пайпов и бортовой флэш-памяти NAND.
Разработчик уточнил, что это наоборот хорошо, что порт использует только одно ядро двухъядерного чипа Arm Cortex-M0+, оставляя возможность для задействования другого ядра и PIO блоков для различных других целей. Вдобавок порт Fuzix потребляет для работы только часть из 269 КБ оперативной памяти устройства.
Гивен заметил, что Raspberry Pi Pico работает немного медленнее ESP8266, но он еще не пробовал разгонять микроконтроллер. Он рассказал, что при штатных частотах производительности RP2040 вполне достаточно для интерактивного Unix.
Для создания порта Fuzix на RP2040 Гивен использовал существующую документацию и SDK Raspberry Pi Pico. Для сборки системы он использовал cmake. Также он использовал при создании порта OpenOCD для Pico.
Инструкция по установке ОС Fuzix и схема программирования микроконтроллера Raspberry Pi Pico RP2040 находятся в этом архиве.
В январе этого года Raspberry Pi Foundation представила микроконтроллер Pi Pico за $4 на своем кремнии. За обработку данных отвечает двухъядерный процессор Arm Cortex M0+, работающий на частоте до 133 МГц. Также присутствует 264 КБ встроенной оперативной памяти и 2 МБ флэш-памяти, USB 1.1 и каналы ввода-вывода общего назначения (пользователю доступны 26, из которых три являются аналоговыми входами). Подробное описание микроконтроллера приведено в этой публикации.
Fuzix — это UNIX-подобная минималистичная операционная система (потребляющая очень мало объема ресурсов) для слабых процессоров, например, на базе архитектуры Zilog Z80. Ее создал в 2014 году разработчик ядра Linux Алан Кокс. Fuzix состоит из ядра, компилятора C и набора основных UNIX-подобных приложений.