- How do I recover Windows files on Ubuntu?
- Can I use Linux to recover Windows files?
- How do I access Windows Live files from Ubuntu?
- How do I recover files after installing Ubuntu?
- Is Linux data recovery better?
- How can I recover my data?
- How do I transfer files from Ubuntu to Windows?
- How do I access drive D in Ubuntu?
- How do I access my external hard drive in Ubuntu?
- How do I restore Windows 10 after installing Ubuntu?
- How do I access Windows after installing Ubuntu?
- How do I repair the Windows bootloader?
- Recover Removed Files from Windows NTFS Drive using Live Ubuntu DVD
- Removing Files from Windows NTFS Drive:
- Creating a Live Ubuntu Bootable USB:
- Finding the NTFS Drive to Recover:
- Finding Removed Files:
- Recovering Removed Files:
- About the author
- Shahriar Shovon
- Performing Windows and Word Recovery, Linux Style
- Using Linux for Windows File Recovery
- Trinity Rescue Kit
- Windows and Word Recovery with Linux TRK
- References
How do I recover Windows files on Ubuntu?
Recovering files stored in Windows with Ubuntu is as easy as opening a folder. There is no Linux terminal involved here. Just click the folder icon in the Ubuntu launcher to open the file manager. You’ll see your Windows drive under Devices in the sidebar; click on it and you will see your windows file system.
Can I use Linux to recover Windows files?
You will need a Linux Live CD or USB. ISO file, a free program called rufous, an empty USB drive to place the Live CD and another USB drive to place the recovered files. The USB drive for your recovery files must be formatted in the FAT32 file format.
How do I access Windows Live files from Ubuntu?
Access hard drive data using Ubuntu Live USB
- Insert the Ubuntu Live USB and start the computer.
- As the computer boots, enter the boot menu options. …
- Select Onboard or USB from the boot options depending on the location of the Ubuntu Live USB. …
- Once the installation screen loads, select Try Ubuntu.
How do I recover files after installing Ubuntu?
- Have an external drive ready to save the recovered data before proceeding. …
- Boot your Ubuntu LiveCD («Try Ubuntu») and then install testdisk by: .
- Mount your external backup drive in the live session (for example, with Nautilus) so that you can store the recovered data later.
Is Linux data recovery better?
Yes! By using Linux distributions, you can boot your system without messing with partitions or risking data deletion. There are so many data recovery tools available but it can take time and some of them can even cost you the earth.
How can I recover my data?
Steps to recover data from crashed or damaged hard drive
- Download and install Disk Drill for Windows or Mac OS X.
- Launch Disk Drill recovery software, select the damaged hard drive and click: …
- Preview the files you found with Quick or Deep Scan. …
- Click the Recover button to recover your lost data.
How do I transfer files from Ubuntu to Windows?
- Install the Open SSH package on Ubuntu. …
- Check the status of the SSH service. …
- Install the network tools package. …
- IP of the Ubuntu machine. …
- Copy the file from Windows to Ubuntu via SSH. …
- Enter your Ubuntu password. …
- Check the copied file. …
- Copy the file from Ubuntu to Windows via SSH.
How do I access drive D in Ubuntu?
- sudo fdisk -l. 1.3 Then run this command in your terminal to access your drive in read/write mode.
- mount -t ntfs-3g -o rw /dev/sda1 /media/ EITHER. …
- sudo ntfsfix /dev/
How do I access my external hard drive in Ubuntu?
Once mounted, you can access it normally via Nautilus (Ubuntu’s default GUI file explorer). It should appear in the list on the left hand side; if it isn’t, press Ctrl + L and type /media/Skliros_Diskos . Or you access it in the terminal with cd /media/Skliros_Diskos.
How do I restore Windows 10 after installing Ubuntu?
- Boot an Ubuntu LiveCD.
- On the top taskbar, click the «Places» menu.
- Select your Windows partition (it will be displayed by its partition size and may also have a label like «OS»)
- Go to windows/system32/dllcache.
- Hall copy. dll from there to windows/system32/
- Restart.
How do I access Windows after installing Ubuntu?
Open the Boot Repair Application and select Advanced Options -> Other Options tab -> Repair Windows Boot Files. The boot prompt should be placed on the same partition that Ubuntu is installed on.
How do I repair the Windows bootloader?
Fix the MBR in Windows 10
- Boot from the original installation DVD (or recovery USB)
- On the Welcome screen, click Repair your computer.
- Choose Troubleshoot.
- Choose Command Prompt.
- When the command prompt loads, type the following commands: bootrec /FixMbr bootrec /FixBoot bootrec /ScanOs bootrec /RebuildBcd.
Recover Removed Files from Windows NTFS Drive using Live Ubuntu DVD
![]()
If you’ve mistakenly deleted some files from your Windows NTFS drive and would like to get them back, then this article is for you. In this article, I am going to show you how to recover removed files from your Windows NTFS drive using Ubuntu Live DVD. So, let’s get started.
Removing Files from Windows NTFS Drive:
I have some files in my NTFS formatted 32 GB USB thumb drive.
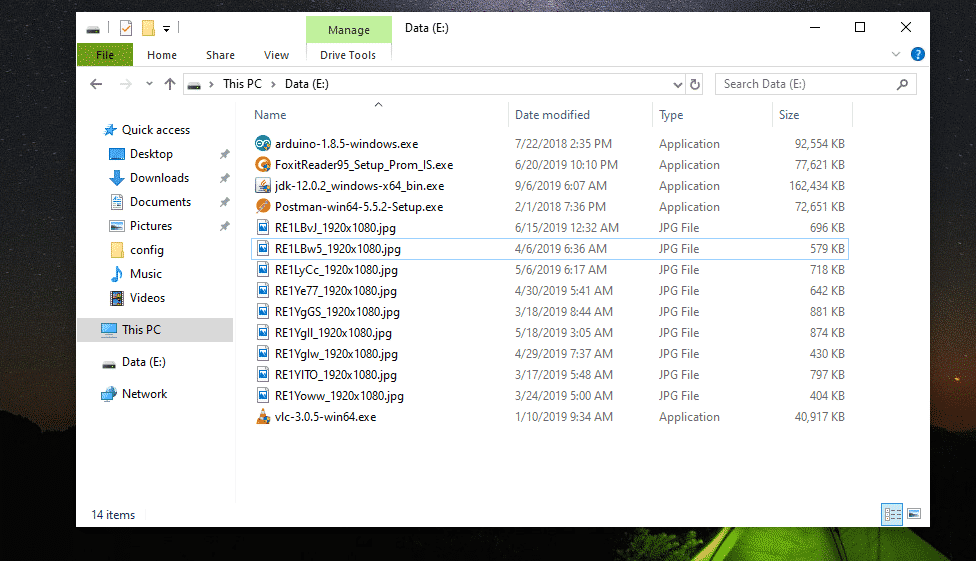
Now, I am going to remove all the JPG image files from this USB thumb drive. Let’s assume I removed them by mistake.
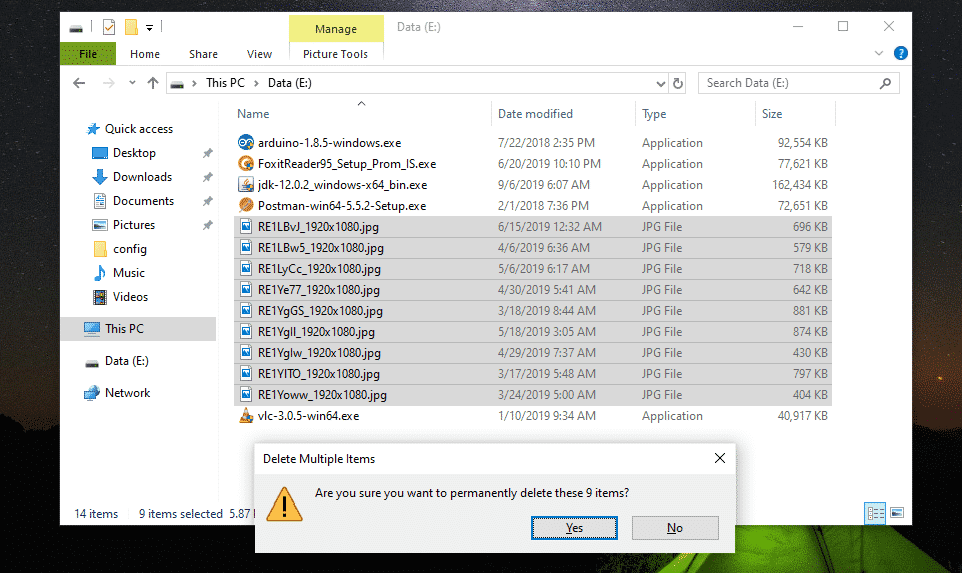
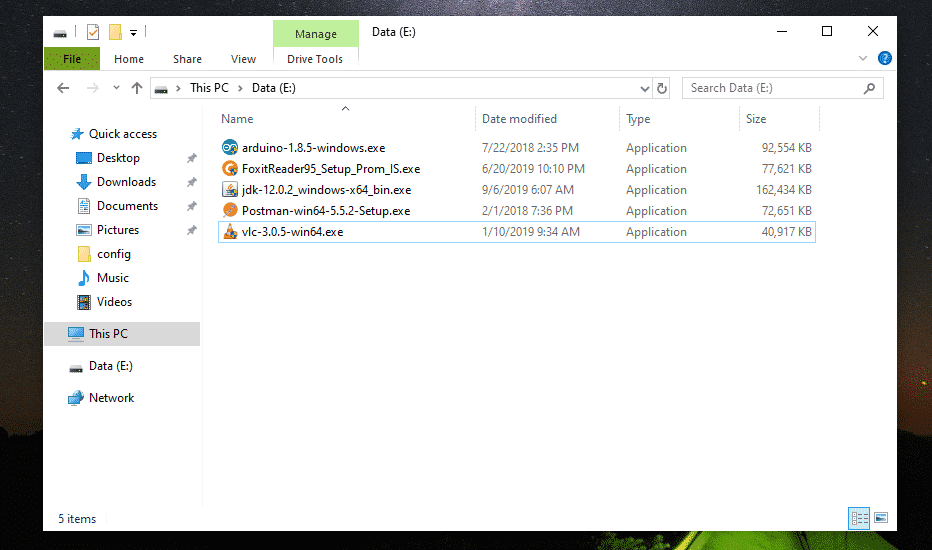
Oh no! My important files are gone.
If you remove some important files by mistake and would like to get them back, then I advise you to eject the drive as soon as possible. If you’re not able to eject the drive (if it’s an internal hard drive), then at least do not modify the contents of the drive (i.e add, remove, copy, cut files/directories from the drive). Doing so would reduce the chance of recovering these removed files.

Creating a Live Ubuntu Bootable USB:
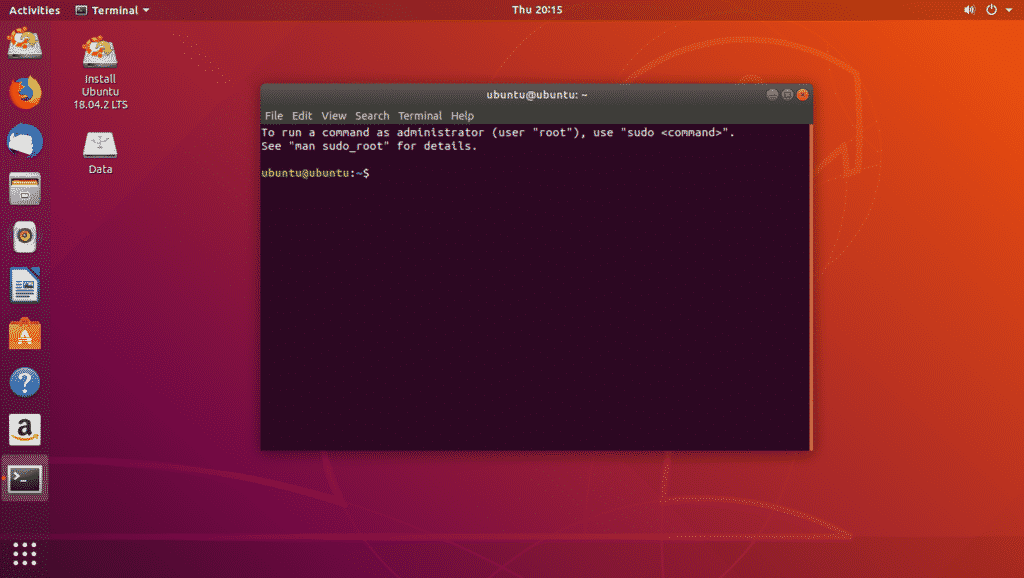
Now, read the article Rufus Bootable USB to Install Ubuntu 18.04 LTS to create a new Live Ubuntu Bootable USB thumb drive and boot from it. Once you boot from the USB thumb drive, Ubuntu should start in Live mode. Now, open the Terminal app.
Finding the NTFS Drive to Recover:
You can find the drive name with the following command:
As you can see, the 32 GB NTFS thumb drive is sdb1.

Now, unmount the NTFS drive with the following command:

Now, install ntfs-3g with the following command:

Now, press Y and then press to confirm the installation.

ntfs-3g should be installed.
Now, check whether ntfsundelete command is available as follows:
ntfsundelete is available in the path /sbin/ntfsundelete.

Finding Removed Files:
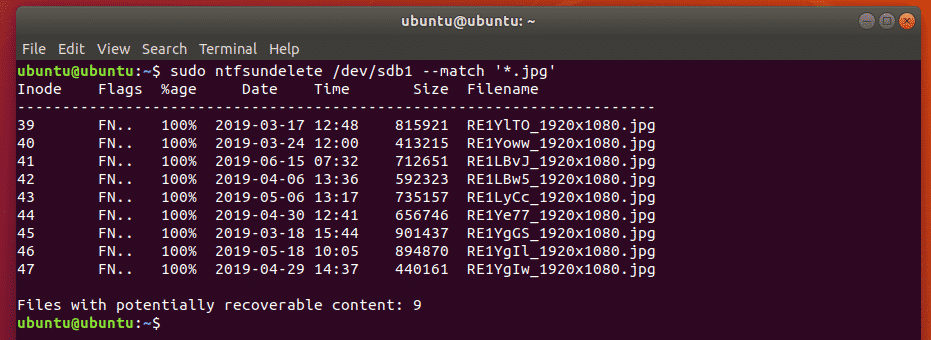
You can scan for removed files in the drive from where you’ve removed it as follows:

As you can see, all the removed files are listed in a tabular format. You can find the Inode number of the removed files, how much of each file is recoverable (%age), the last modified date and time of the file, the size of the file (in bytes) and the name of the file.

In the end of the output, ntfsundelete will show you how many files can be recovered. In my case, I can recover 9 files.

You can also specify the scan criteria of the removed files.
If you already know the file size of the file(s) that you’re trying to recover, then you can specify a range of file size as follows:
NOTE: k = kilobyte, M/m = megabyte, g = gigabyte, t = terabyte

As you can see, the removed files in the file size range 700 KB to 1 MB is listed.

You can also tell ntfsundelete to list the files that were last modified since the last 60 months as follows:
NOTE: d = days, w = weeks, m = months and y = years

If you know part of the filename or extension of the removed files, then you can find the removed files as follows:
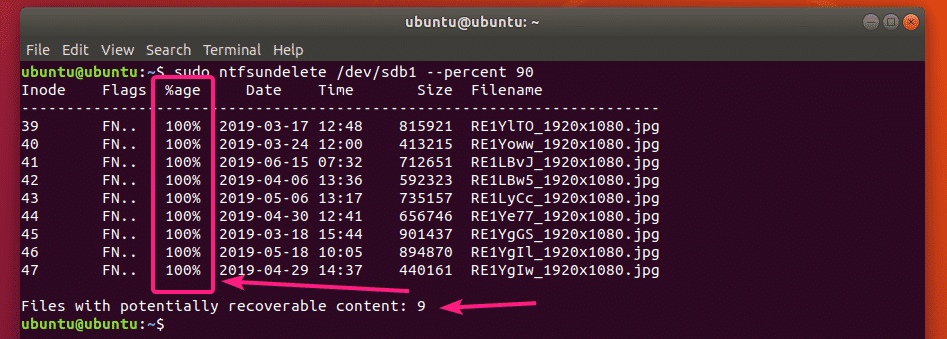
You can also search for files that has a certain percentage of content (let’s say 90%) you can recover as follows:
Recovering Removed Files:
Let’s say, you want to recover the file with the Inode number 39.

To do that, you can run the following command:

The file should be recovered and saved in the current working directory.

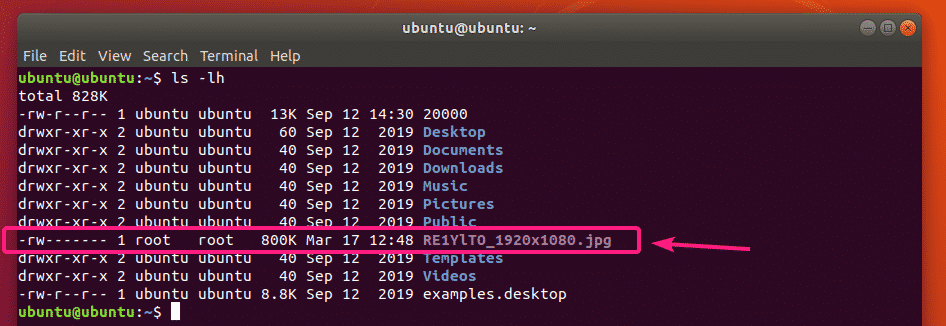
As you can see, the image file is saved in the current working directory.
You can also specify a range of Inodes of the files to recover as follows:
You can also mix specific Inode number, and ranges of Inodes as follows:
By default, ntfsundelete rounds the file size to nearest multiples of 512 bytes (block size). So, the file size of the recovered file will be a little bit larger.
To avoid that, you can use the –truncate option as follows:

You can also specify an output file name as follows:

As you can see, the recovered image file is saved as test.jpg.

You can also specify a filename pattern to recover all the files that match the pattern altogether as follows:

You can also save the recovered file in a specify directory.
First, create a new directory recovery/ as follows:

Now, recover the files and save them in the recovery/ directory as follows:
The files will be recovered.

Now, add read and write permissions to the recovered files as follows:

Now, you can copy these files to a safe place.

I copied the recovered files to my 32 GB USB thumb drive.

So, that’s how you recover removed files from Windows NTFS drives using Live Ubuntu DVD. Thanks for reading this article.
About the author
Shahriar Shovon
Freelancer & Linux System Administrator. Also loves Web API development with Node.js and JavaScript. I was born in Bangladesh. I am currently studying Electronics and Communication Engineering at Khulna University of Engineering & Technology (KUET), one of the demanding public engineering universities of Bangladesh.
Performing Windows and Word Recovery, Linux Style

In the event of a hardware failure or disc media corruption, data can be lost, leaving you high and dry. Recovery might be possible, but this can often involve following an exact set of steps in a specific time period, something that may not be possible for you to achieve.
Therefore you might be looking at some alternative ways to recover your data. You might even consider the rather outlandish sounding Word document recovery in Linux.
Thanks to the open source platform employing a different file system, Linux can be used to recover lost Windows files, including .DOC format files from Microsoft Word.
Using Linux for Windows File Recovery
Various methods are available for recovering Windows data in Linux. These typically require the use of a “Live CD” which loads the Linux OS of your choice into your computer’s RAM. Whether your PC has suffered from a severe crash or your Word document is corrupt and needs recovering in some way, Linux can be used in the “Live” form to either read or recover lost documents or to apply some file system fixes to aid in the recovery of data.
Trinity Rescue Kit

Using the freeware Trinity Rescue Kit LIVE Linux distribution (which can be run from CD or USB stick) you can take advantage of a series of tools that can be used to apply recovery and repair operations on a Windows PC or laptop.
- recovery and undeletion of files
- recovery of lost disk partitions
- evacuation data from “dying” hard disk drives
This is all made possible via an easy to use text menu interface. Trinity Rescue Kit – also known as TRK – is one of the top recovery tools for PC engineers “in the know” and can be used to save a lot of time hauling failed PCs back to the lab to repair.
Windows and Word Recovery with Linux TRK
To take advantage of TRK, first visit the website above and download the ISO. Next, burn it to disc – you’re ready to use TRK!
Usage is via the optical drive on your target computer; if you’re planning on effecting recovery on a notebook with no optical drive then you will need to make sure that an external device is available, or you could use the ISO on a bootable USB Flash Disk.
With the disc inserted and Trinity Rescue Kit running, use the Easy menu > Backup and restore utilities option to begin scanning your hard disk drive for Windows and Word files that you want to recover. This is done with the ntfsundelete utility that is packaged in TRK, and can be used to recover files and automatically apply new filenames to them as well as saving recovered data to a new location.