- How to install Red Hat Enterprise Linux 8.1 in VMware Workstation 15.5 Pro
- Step 1 – Download Red Hat Linux ISO image
- Step 2 – Locate the downloaded file
- Step 3- Open VMWare Workstation
- Step 4 – Launch VMware Workstation New Virtual Machine installation wizard.
- Step 5- Welcome to the new Virtual Machine Wizard dialog box appears
- Step 6- Select installation media or source
- Step 7- Easy Install Information
- Step 8- Enter the Name of the Virtual Machine
- Step 9- Specify disk capacity
- Step 10- Ready to create Virtual Machine Dialog Box
- Step 11 – Power on Virtual Machine
- Step 12 – Red hat Enterprise Linux 8 installation begins
- Red Hat Linux 8 activation – Register System With Red Hat
- Check the status of your Red Hat Subscription
- Register System with Red Hat Subscription manager
- Check subscription status using terminal
- Register with Red Hat
- Subscribe to Red Hat
- Check subscription if it is successful
- Update Red Hat Enterprise Linux
- How to install Redhat Linux on vmware workstation ?
How to install Red Hat Enterprise Linux 8.1 in VMware Workstation 15.5 Pro
Red Hat has released a new version of its flagship Linux operating system which is Red Hat Linux 8. In this blog, I will show you how to install Red Hat Enterprise Linux 8.1 in VMware Workstation Pro 15.5. We can use the developer version which is free for development or the Enterprise version of the Red Hat Enterprise Linux 8.1 which can be used for 1 years for free.
After you install Red Hat Linux, you must register and subscribe with Red Hat, else you will not be able to install software or make any changes to the system. Without registering with Red Hat, you system will be of no use. I have described how you can register and subscribe in this blog. Please follow along.
I will use Trial version of Red Hat Linux 8.1 for this blog so that we can install the latest version of Red Hat. Normally, developer version is not the current version of Red Hat Linux. But Developer version is good because you get a fully functional Red Hat Linux for free.
Red Hat Website – Register
If you have not install VMware Workstation 15.5 Pro yet, please follow my post Step by Step – Install VMware Workstation 15 Pro in Windows 10
Please note that VMware Workstation Pro 15 has support for Red Hat Linux 8 from build 15.1.0 build-13591040 on wards. If you don’t see Red Hat Linux 8 option, it means that you are not using the updated version of VMware Workstation. I would recommend that you update VMware Workstation 15 from the menu option Help -> Software Update before proceeding to avoid any installation issues.
I have a Youtube video on this topic also.

Step 1 – Download Red Hat Linux ISO image
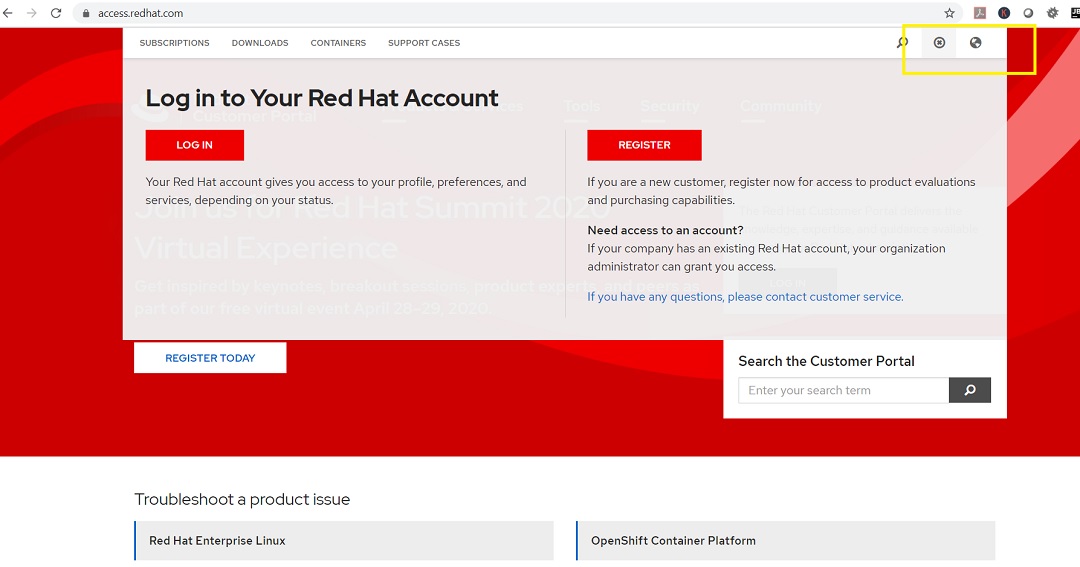
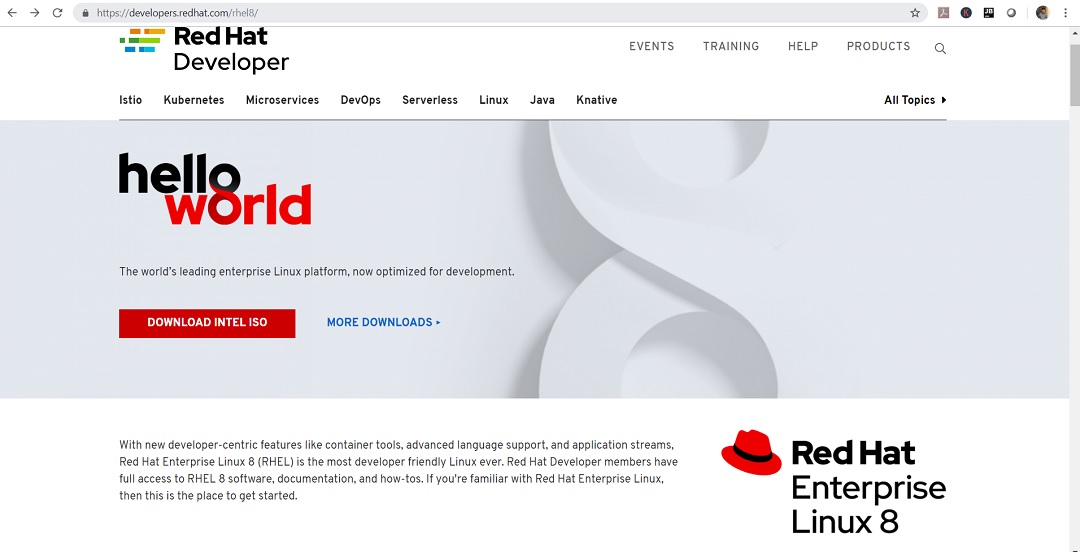
- https://access.redhat.com/ – From this website, you can download the latest version of Red Hat Linux 8 which is offered to enterprise customers and is not free. This however does offer you one year trial. In this blog, we will use this version and activate it, which is discussed later in the blog.To download the image, please visit the official download page. You will have to login to download the image.

Redhat Linux 8 download page
Red Hat Linux Enterprise Linux 8 – Web page
Step 2 – Locate the downloaded file
You can find the downloaded image file in the downloads folder, if you have not changed the default settings. The filename would be something like rhel-8.1-x86_64-dvd.iso. The file size would be around 7.3 GB.
Step 3- Open VMWare Workstation
Open VMware Workstation from Windows Start menu or from you desktop if you have VMware Workstation icon there.
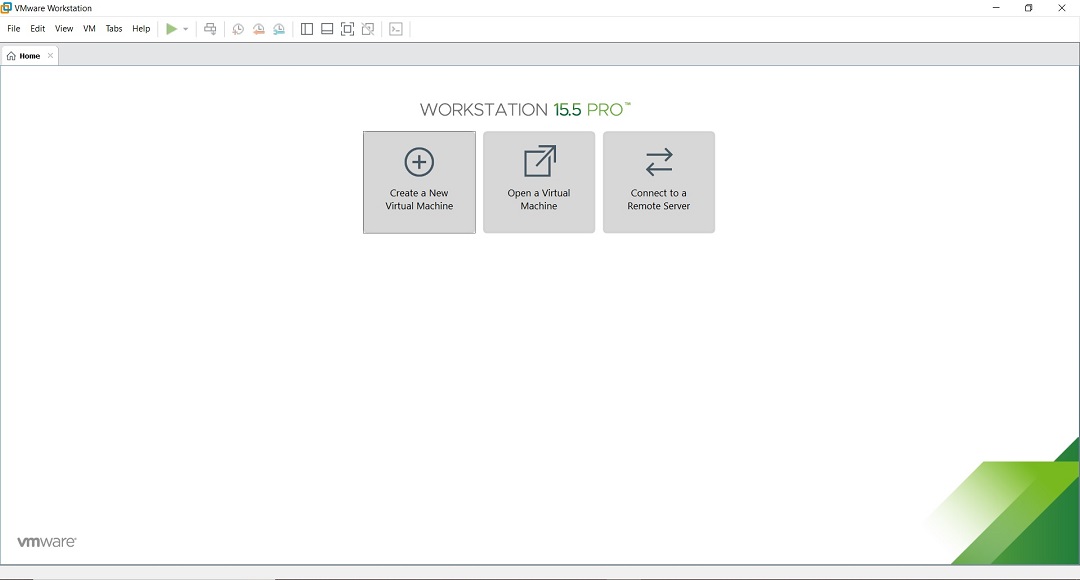
VMware Workstation 15.5 Pro Home Screen
Step 4 – Launch VMware Workstation New Virtual Machine installation wizard.
To launch the wizard to create a new virtual machine, Click on Create a New Virtual Machine or File -> New Virtual Machine. Welcome to the new Virtual Machine Wizard dialog box will open. Select typical and click on next.
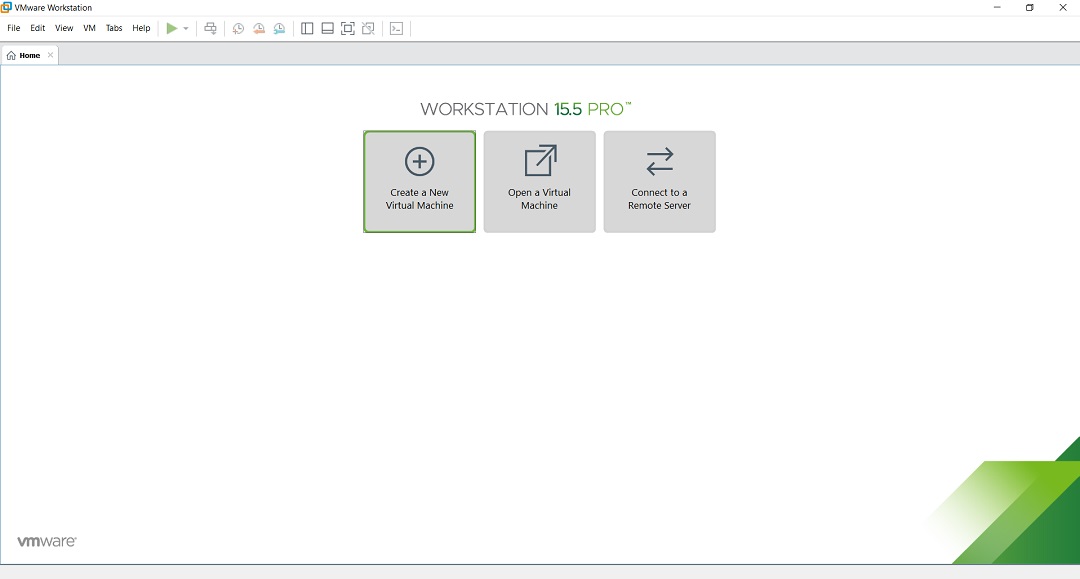
VMware workstation – create a new virtual machine screenshot
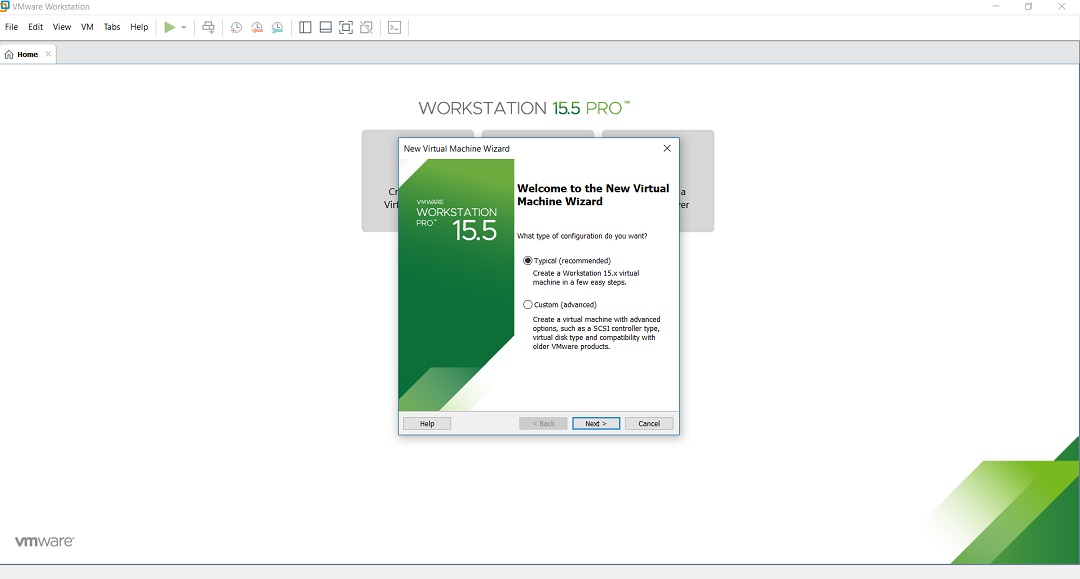
Step 5- Welcome to the new Virtual Machine Wizard dialog box appears
This is where you get a chance to select the way virtual machine will be created. Typical is predefined or mostly the defaults. Custom is where you get to set advanced options such as compatibility with older Virtual Machines, SCSI controller type, etc. We will go with the default options. Select Typical and click Next.
VMware workstation – create a new virtual machine screenshot
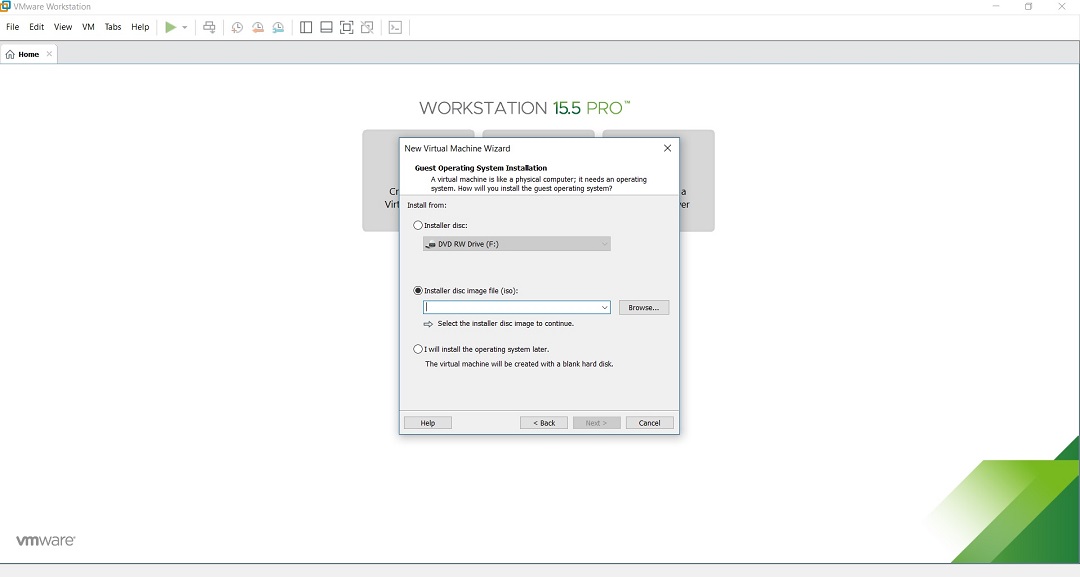
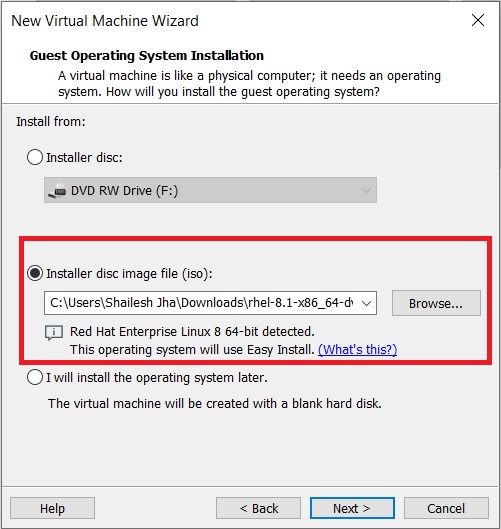
Step 6- Select installation media or source
In this dialog box you will have to browse to the downloaded ISO file and click next. Generally, VMware Workstation detects the OS automatically and initiates what they call as the Easy Install. In the latest version of VMware Workstation 15, Red Hat Enterprise Linux 8 ISO will be detected and available for easy install.
Kali Linux Installation – New Virtual machine Wizard – Browse Guest Operating System
VMware Workstation – Virtual machine installation
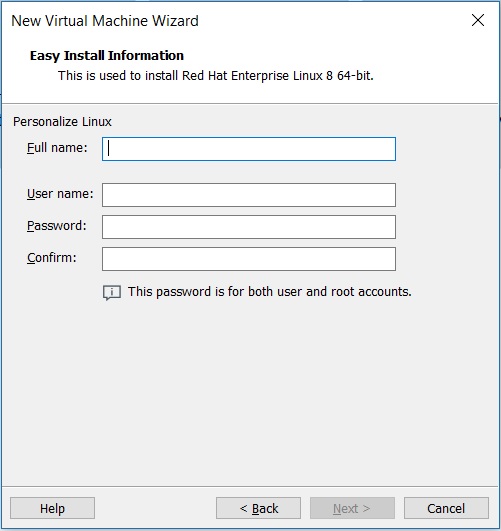
Step 7- Easy Install Information
In this dialog box, you will be asked to enter the Full name, User name and password. Enter the details and click on next.
VMware Workstation – Easy Install Information
Remember the password, same will be used for logging into Red Hat Linux after installation completes.
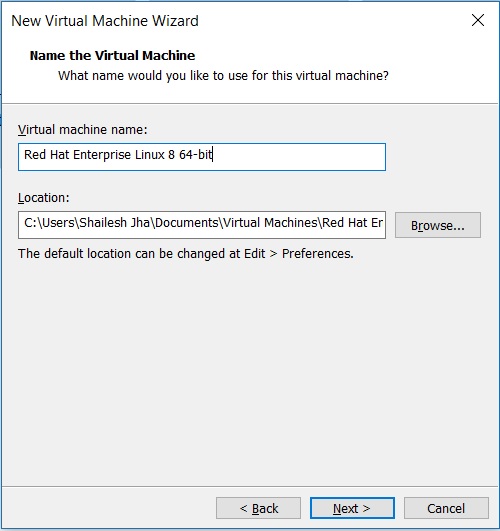
Step 8- Enter the Name of the Virtual Machine
In this dialog box, you will be asked to provide the name of the virtual machine. You can provide any name you like. You can also change the location of the virtual machine. By default it is place in the Documents/Virtual Machine folder. Leaving it as the default is also fine.
VMware Workstation – VM Installation – Enter VM name
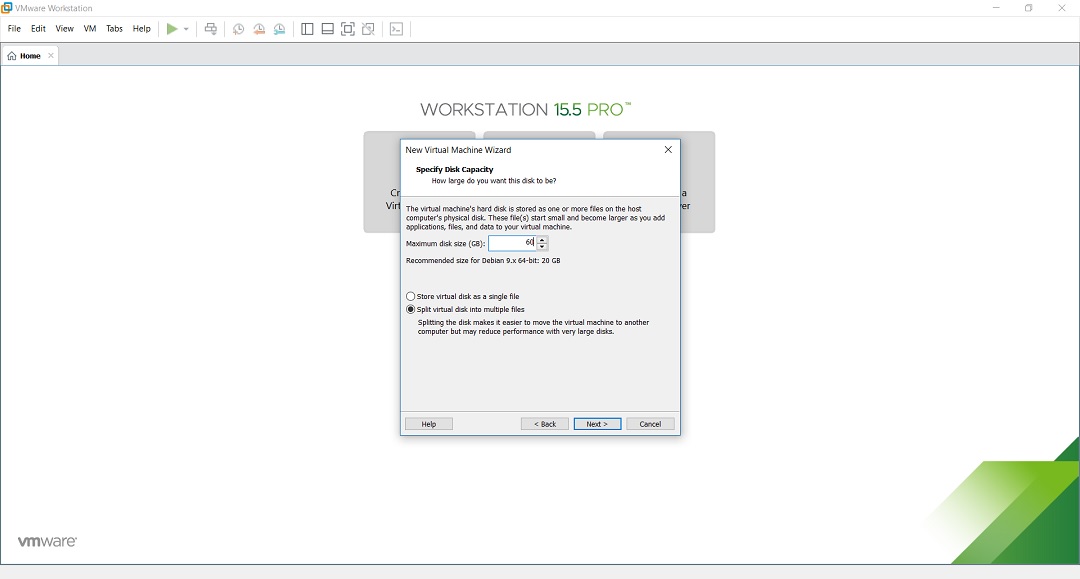
Step 9- Specify disk capacity
This dialog box asks you to specify the disk capacity. This is the maximum amount of disk space it will utilize once the Virtual Machine is created. The default value was 8 GB for me. Its too low. I allocated 60 GB. but if you are running low on disk space, you can reduce it to 20 GB. This is generally sufficient if you are not planning to install heavy disk using software’s such as Photoshop. Such software’s reduce the performance of your Virtual Machine if your Computer is not powerful enough.
Check Split Virtual Disk into multiple files. This is the default option. Say if you specify 60 GB, all of 60 GB will not be utilized or say 60 GB will not be blocked at once. These Virtual Disks expand according to the usage with a Maximum size you specified as the disk capacity. On a fresh install normally it takes 10 GB of space which will grow according to the software’s you install in the VM.
VMware Workstation – Create new virtual machine – specify disk capacity
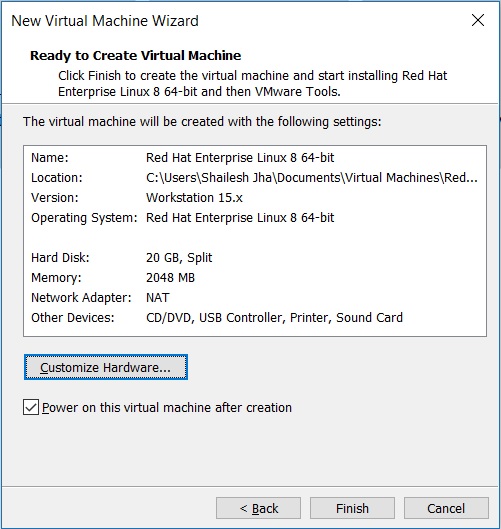
Step 10- Ready to create Virtual Machine Dialog Box
This is the final dialog box and what you see is all the options you have selected in previous dialog boxes.
VMware Workstation – ready to create virtual machine
Normally I increase the RAM and memory before clicking finish. This helps to finish the installation process faster. If you have sufficient RAM and CPU on your host Windows machine, I suggest even you should increase RAM and CPU. To increase the RAM, before clicking Finish, click on customize hardware. Increase the memory using the slider.
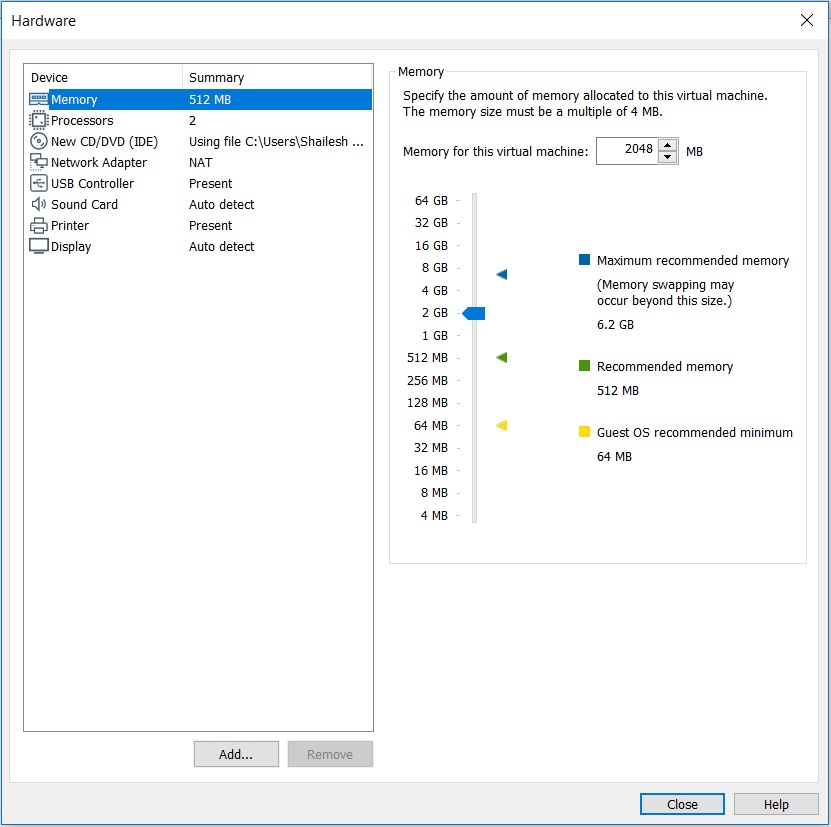
VMware Workstation – Virtual machine hardware settings – memory
Leave “Power on this virtual machine after creation” option checked. By default it is checked. This will create start the VM automatically
To increase the CPU, Enter the values number of processors and number of cores. Click on Finish to start the installation process.

VMware Workstation – Virtual machine hardware settings – processors
Click on Close and Finish to start the installation process
Step 11 – Power on Virtual Machine
If you have left the “Power on this virtual machine after creation” option checked, VM will be created and will start automatically. If not, start it manually as shown in the below screenshot. You can see the option to power on the VM on top left hand side.
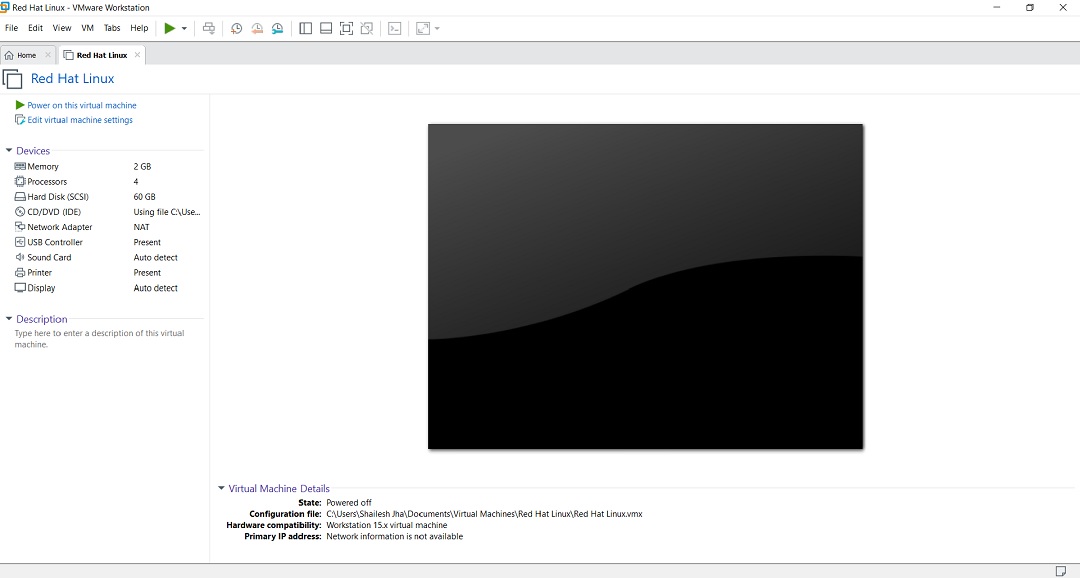
VMware Workstation – Power on Virtual Machine
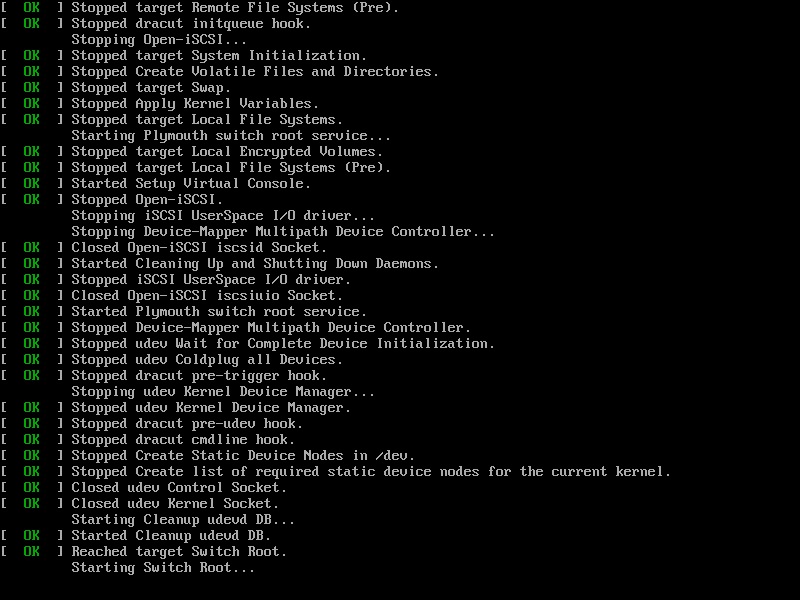
Step 12 – Red hat Enterprise Linux 8 installation begins
After the VM starts, you will see the Red Hat Enterprise Linux 8 boot up. After this the installation process will start.
You will see installation summary. All the options in the Installation summary will be configured automatically. VMware easy install will take care of the installation process on its own. wait for the process to complete.
Below screenshot is for illustration only. All the values will be configured by VMware Workstation.
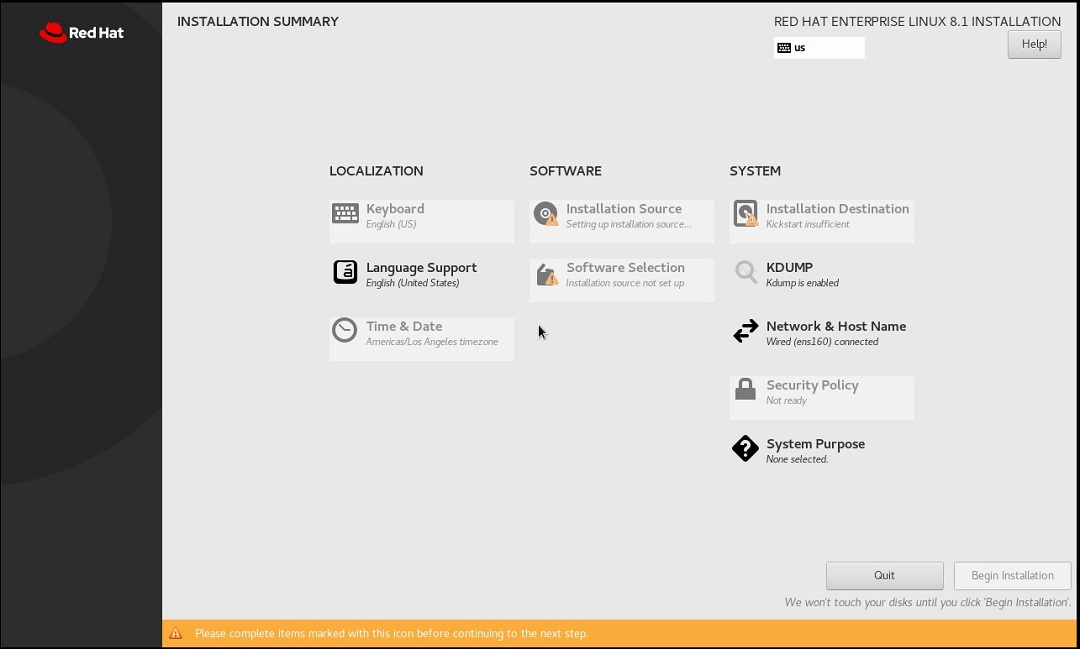
Red Hat Enterprise Linux 8 – Installation summary
Installation will begin, wait for the process to complete.

Red Hat Linux 8 – Installation progress
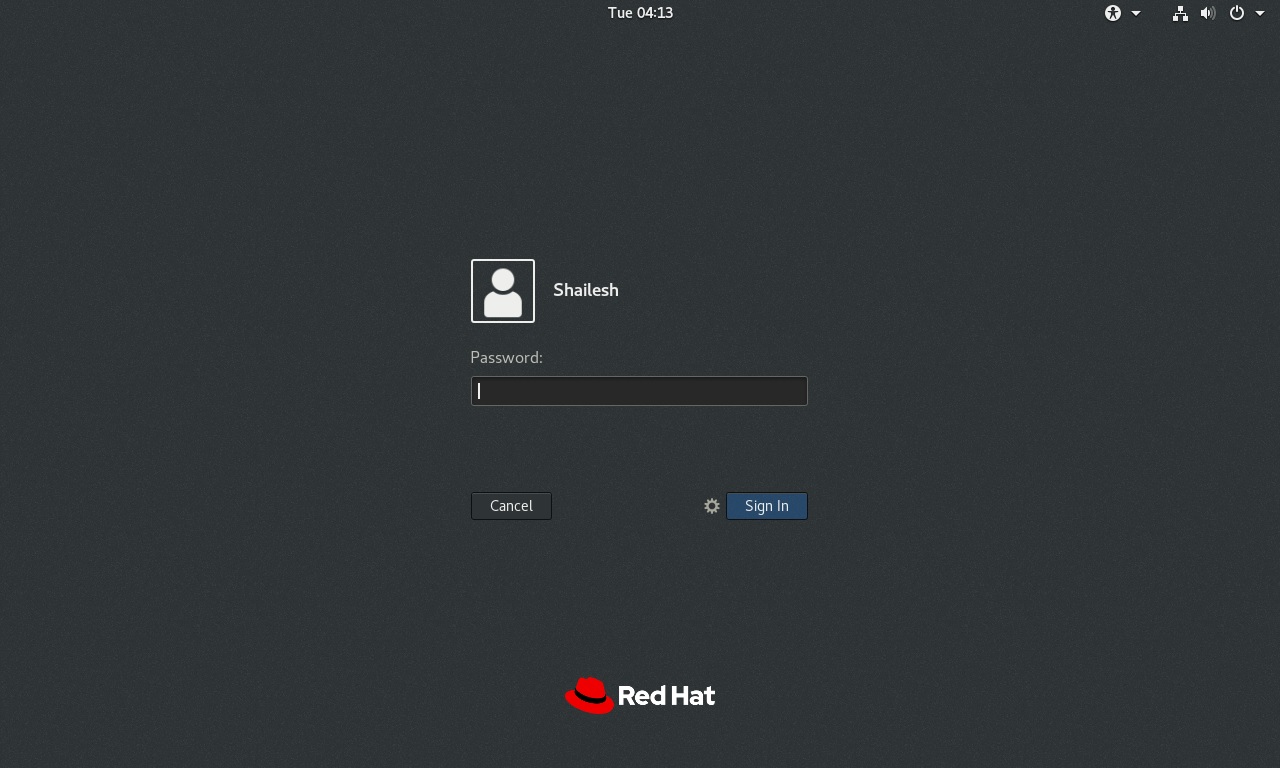
After the installation completes, VM will restart automatically. Wait for it to restart, you will see the Red Hat Linux 8 login screen with your user name. Click on the username and enter the password you entered in the earlier steps.
You can login as root use as well as with the username you created. The password will remain the same for both root and the user you created during installation until you change it.
In this blog, I will login with my user account and not as root.
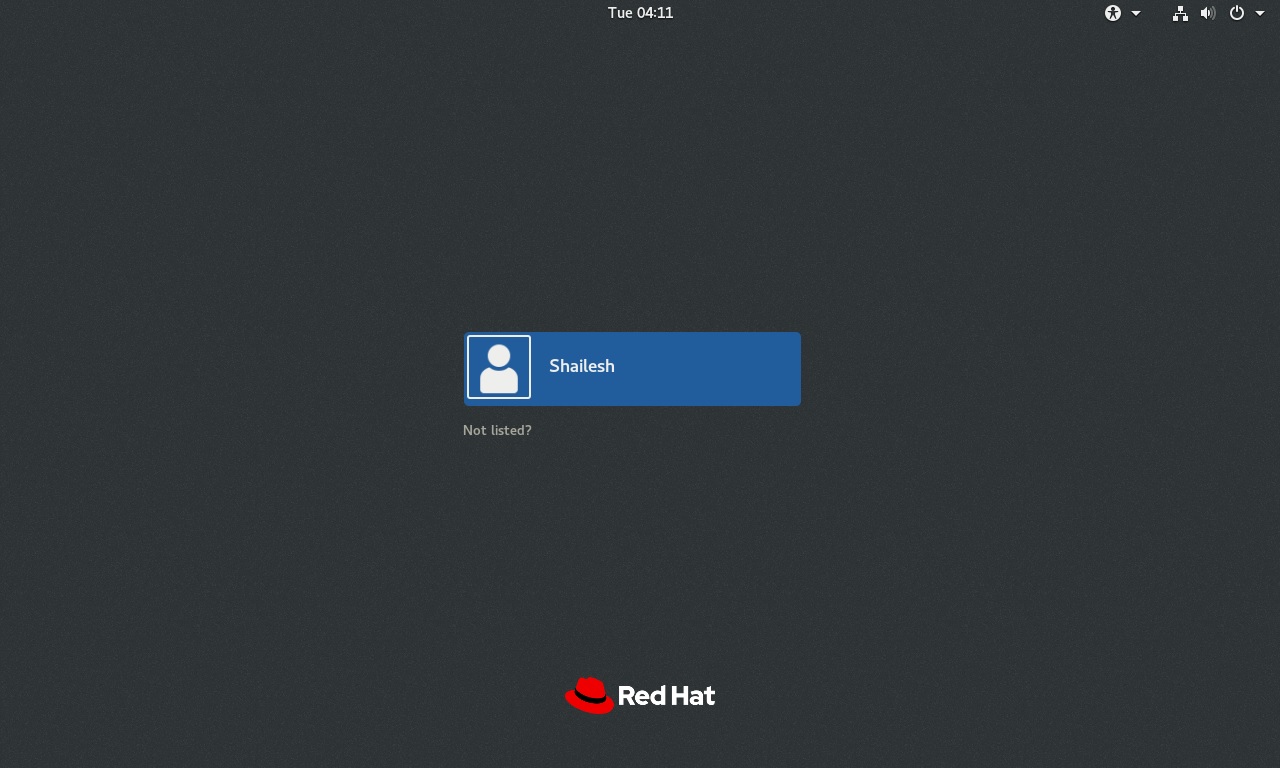
Red Hat Linux Login screen
Enter the password to login
You will see the Red Hat 8 desktop. That’s it you are done with the installation process.
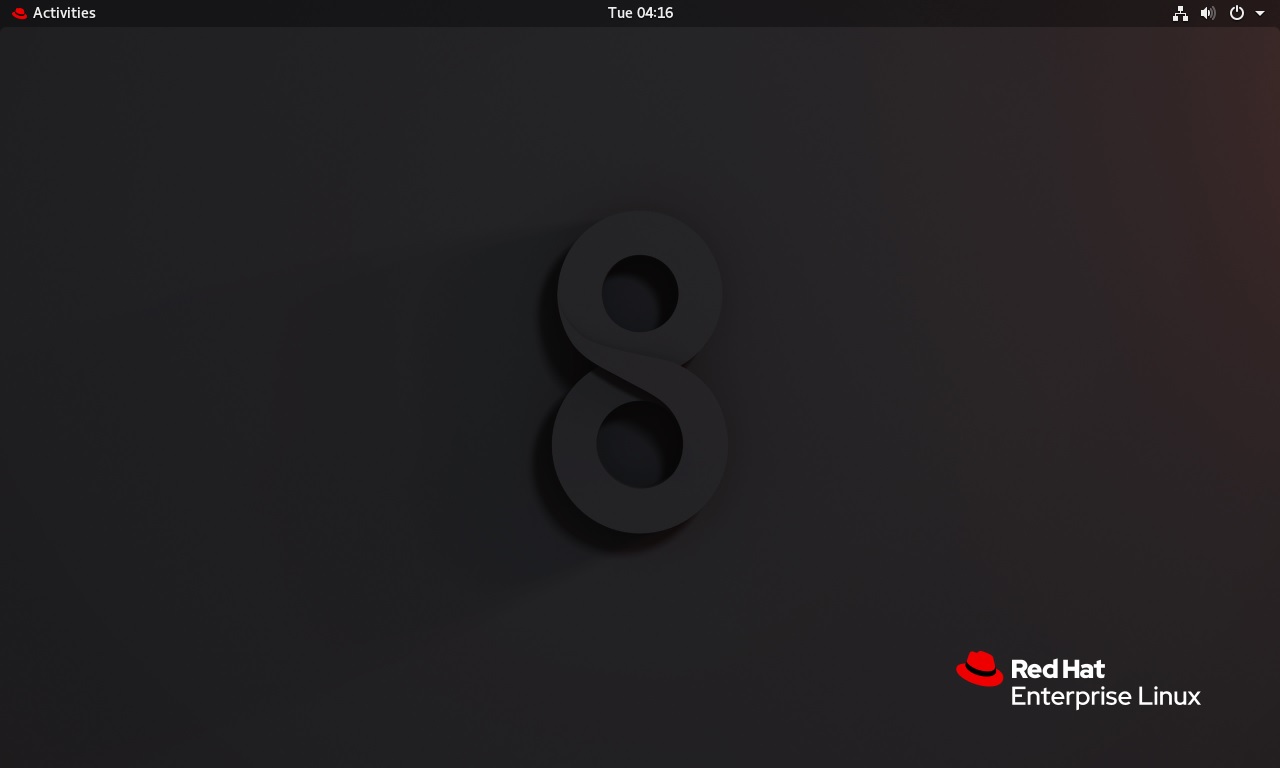
In my case, there was no need for me to install the VMware tools separately. It was installed automatically and I could switch to full screen mode easily without any issues.
Red Hat Linux 8 activation – Register System With Red Hat
When you install Red Hat, a lot of features are blocked until you register with Red Hat. Without registration, your Red Hat Installation is useless as you will not be able to access software and install anything.
Check the status of your Red Hat Subscription
You can check the status of your subscription using Red Hat Subscription Manager.
Goto Activities -> Show Applications -> Red Hat Subscription Manager
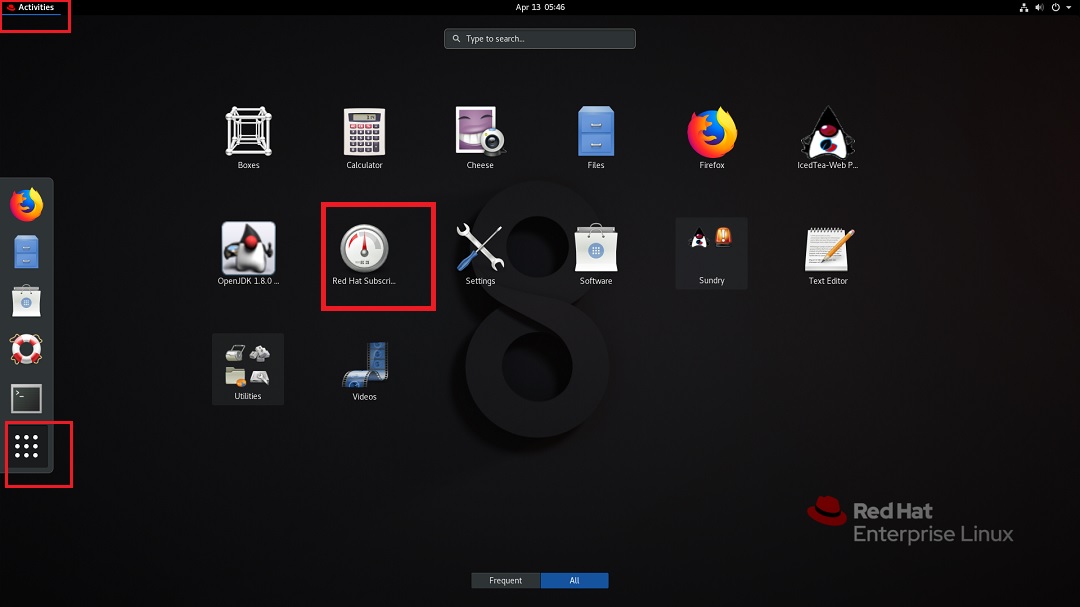
Red Hat Linux – Red Hat Subscription Manager
You will see Authentication Required dialog box. Enter your password and click Authenticate.
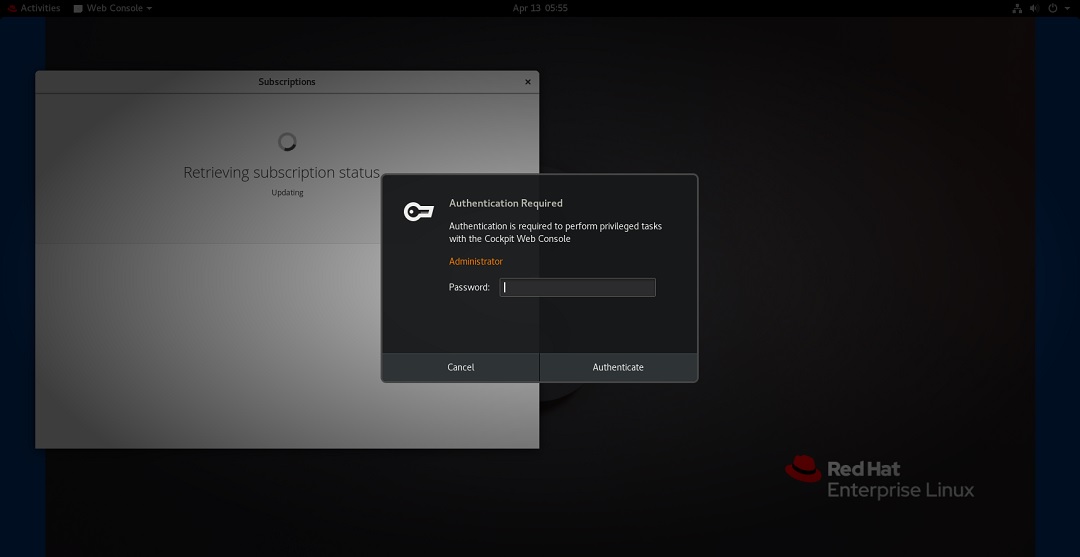
Red Hat Subscription Manager – Authentication required
In the Subscriptions dialog box, you will see status as not registered.
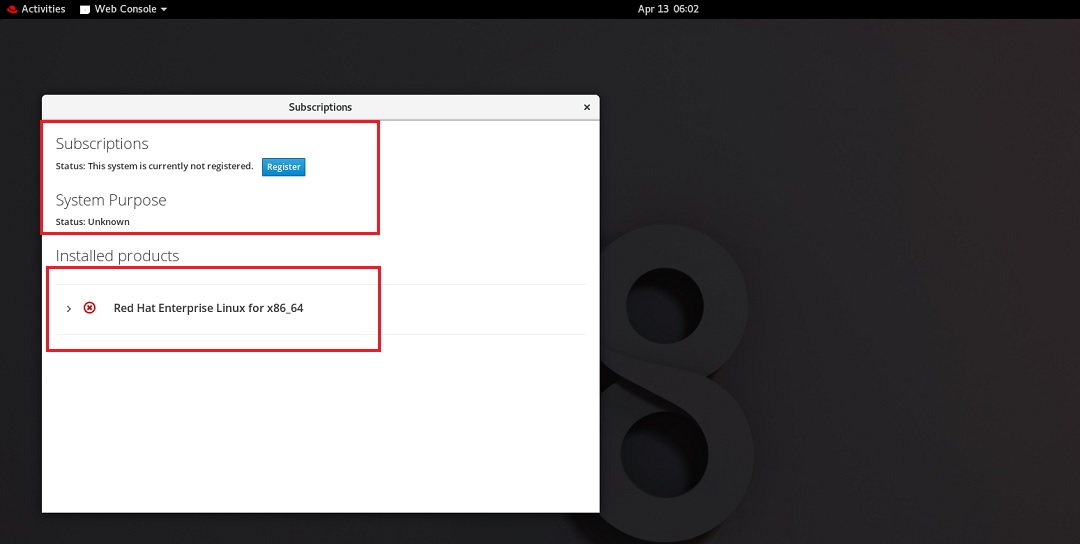
Red Hat Subscription Manager – Subscriptions
Register System with Red Hat Subscription manager
Red Hat ships with Red Hat Subscription Manager to manage your subscriptions with Red Hat. We will use the terminal and Red Hat Subscription manager command line tool to register.
Open terminal: Activities-> Terminal
Check subscription status using terminal
Type subscription-manager status in terminal and provide your password for root access when asked. In the output, you will see that the status is unknown.

Red Hat Subscription Manager – Status
Register with Red Hat
Type the command in terminal to register Red Hat Linux with Red Hat. subscription-manager register
Provide root access when asked Provide your username and password for your Red Hat account. This will register your system with Red Hat.
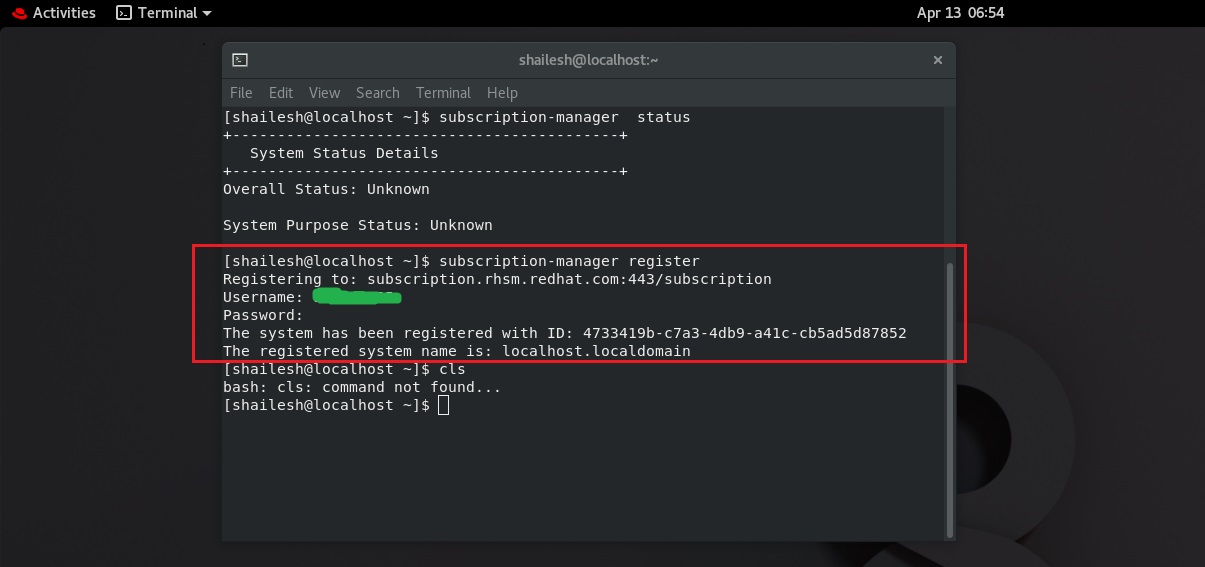
Red Hat Subscription Manager – Register System
Subscribe to Red Hat
After registering your system with Red Hat, you will have to subscribe to Red Hat. Enter the following commands in terminal. subscription-manager subscribe Enter root password if asked, you will see that the system get subscribed to Red Hat.
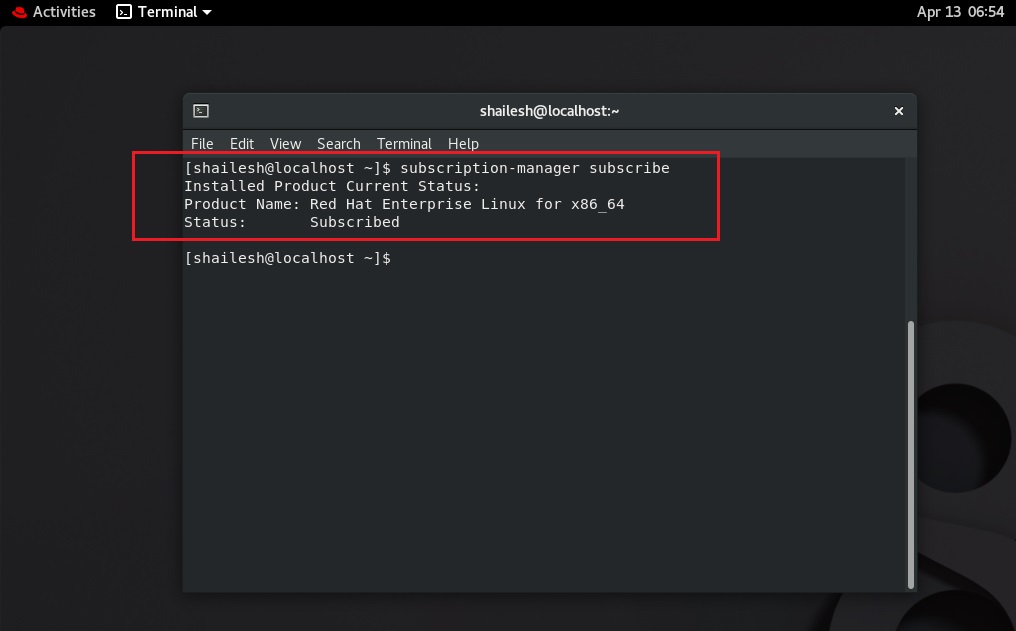
Red Hat Subscription Manager – Subscribe system
Check subscription if it is successful
Now lets check if our system has successfully registered with Red Hat. Enter the following commands in terminal. subscription-manager list —consumed Enter root password if asked, you will see under subscription name that you have subscribed to the developer version of Red Hat Linux Enterprise 8
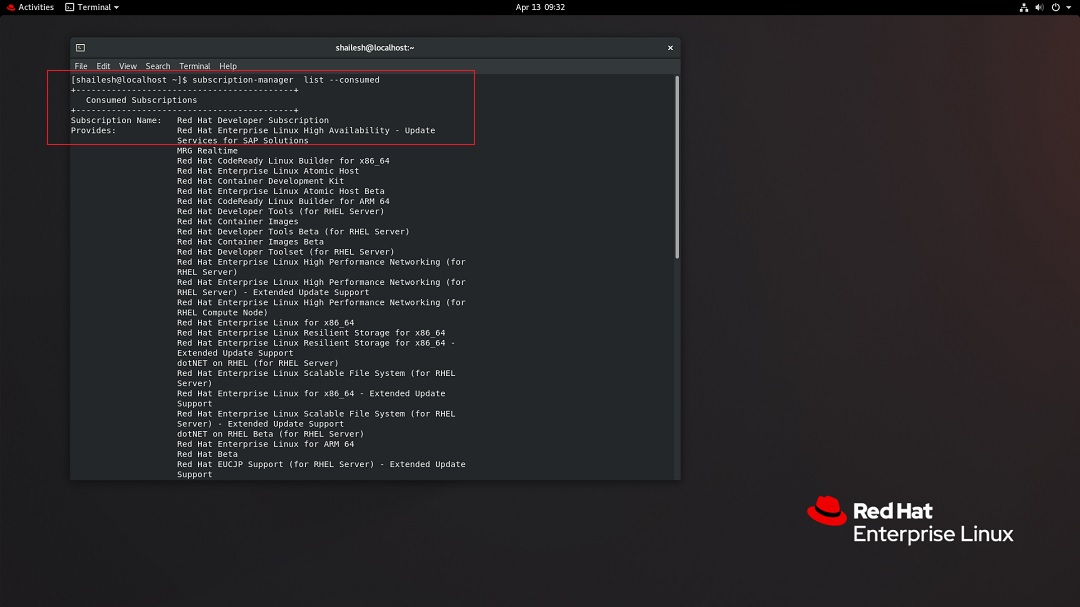
Red Hat Subscription Manager – Subscription List
When you scroll down you will see that your subscription is valid for 1 year from the start and end date.
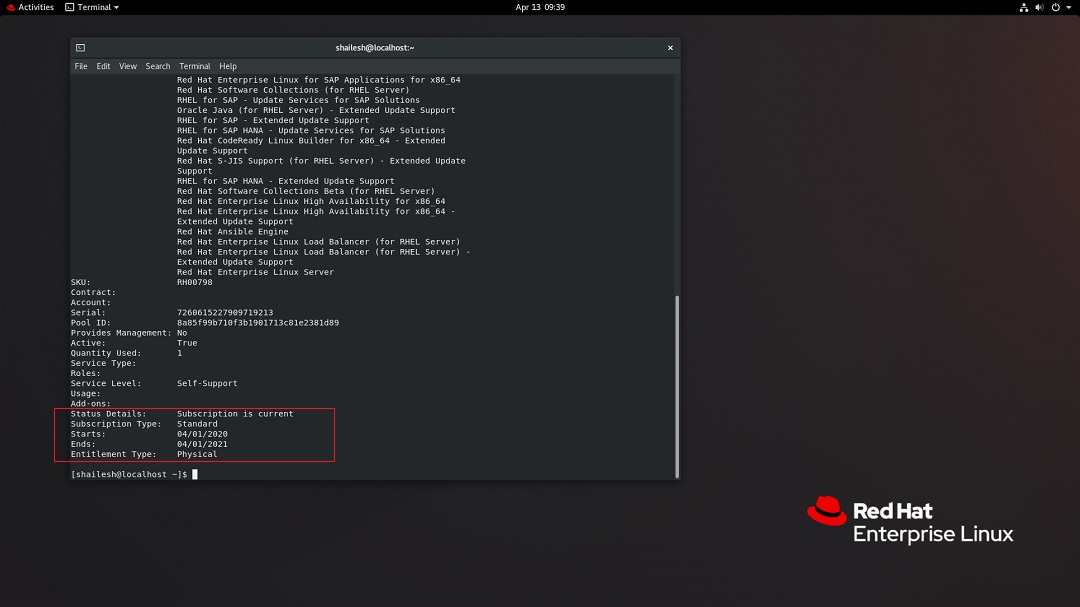
Red Hat Subscription Manager – Subscription List
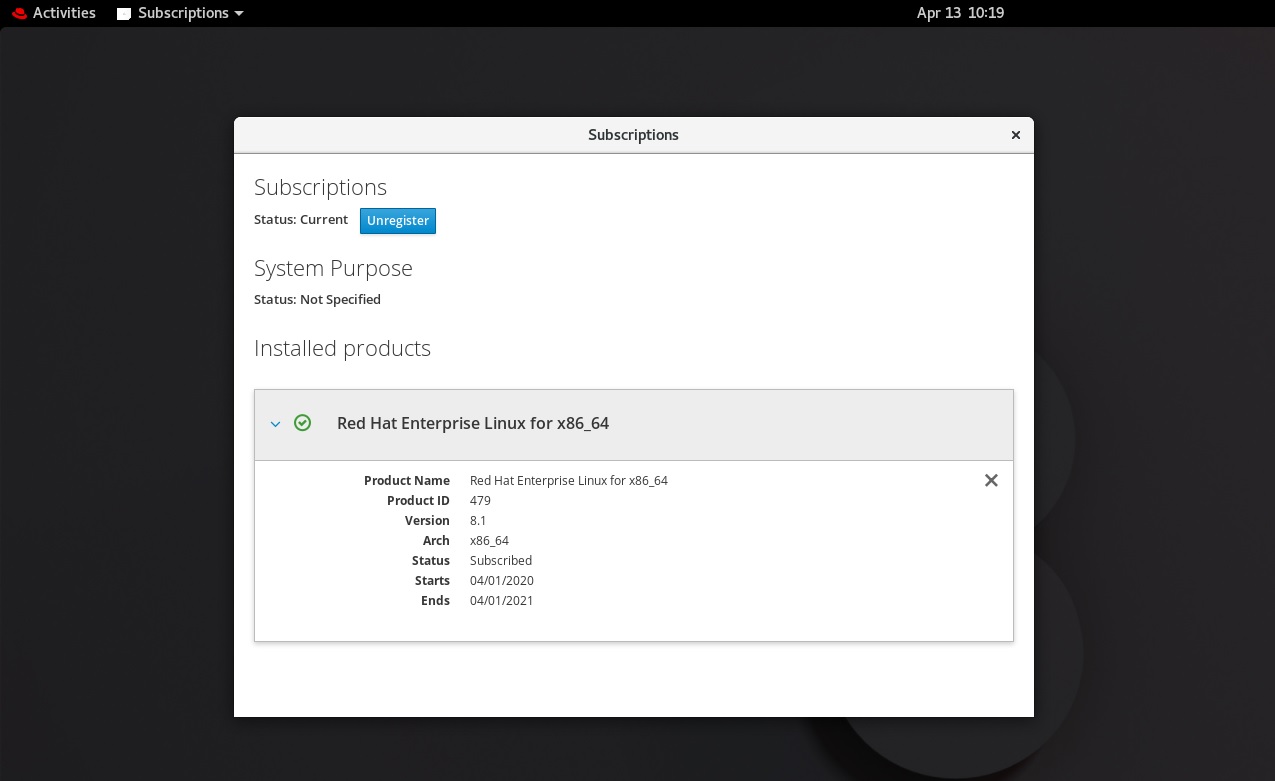
Red Hat Enterprise Linux – Subscription manager window
Update Red Hat Enterprise Linux
After you have successfully registered and subscribed with Red Hat, now you can access all the repositories and software. Lets update the system to see if it is successful.
Goto Activities -> Show applications -> Software

Red Hat Enterprise Linux – Show applications
When the software window opens, in updates click on download to start the update process

Red Hat Linux Enterprise – Software update
Wait for the process to complete, and will see Restart and update. Click on it to restart the system.
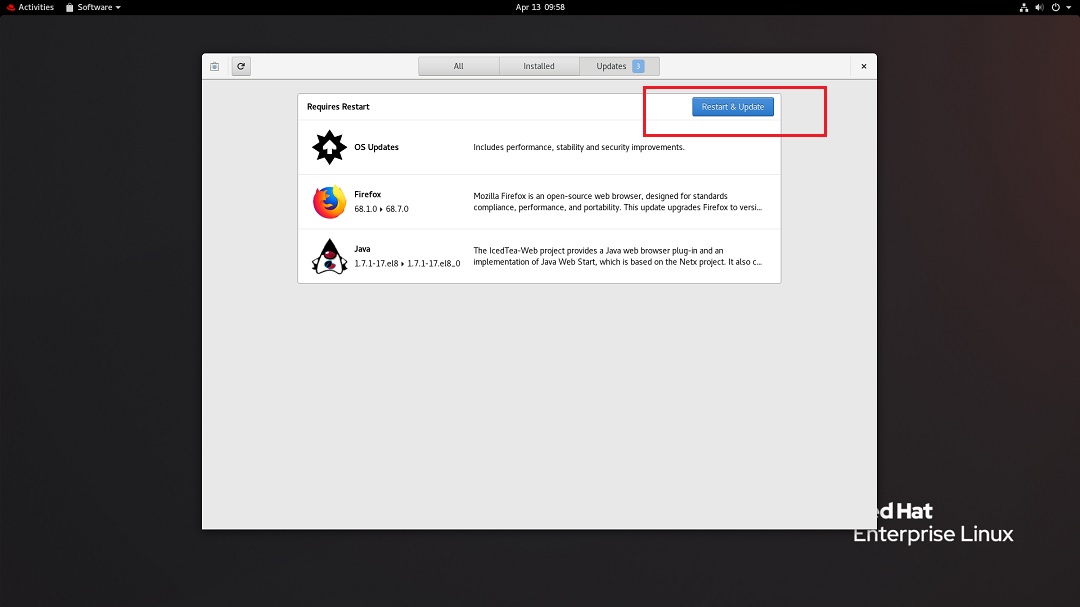
Red Hat Enterprise Linux – Software Update – Restart system
System will restart and the update will continue. Wait for the process to complete.
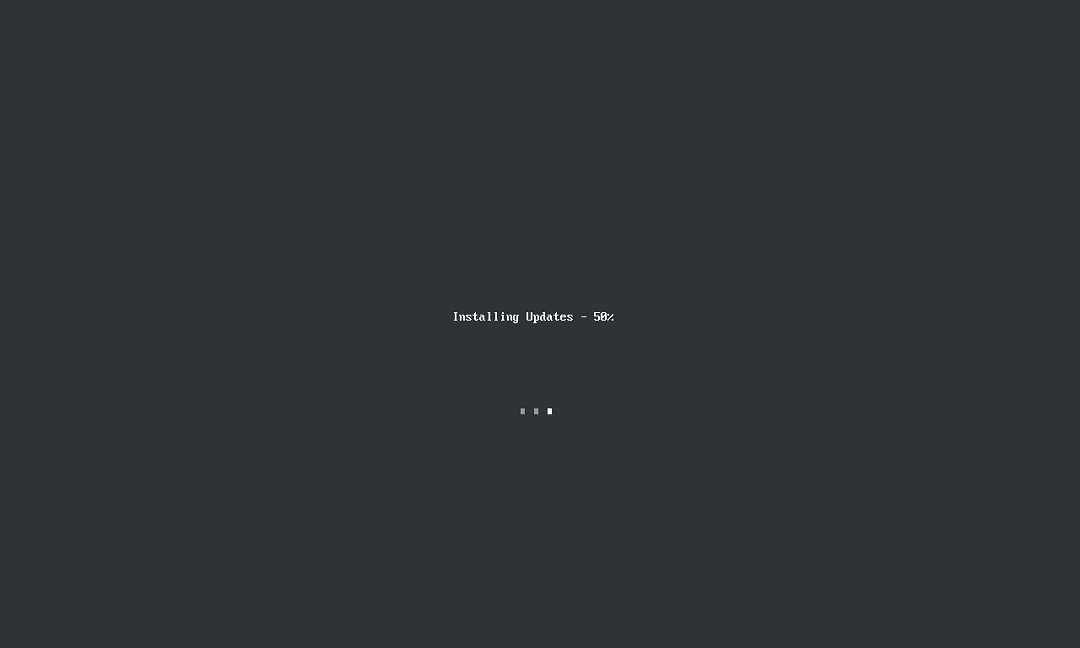
Red Hat Enterprise Linux – software update
After the update completes, you will see the login screen and you can login to Red Hat Enterprise Linux.
Thanks for visiting my blog.
How to install Redhat Linux on vmware workstation ?
Installing Redhat Linux is very simple,But most of the Linux beginners may wondering how to do that. Here i have used vmware workstation to show installation of Redhat Linux .The installation steps will be same if you install it in physical servers as well.If you are not familiar with vmware workstation,you can see how i have created Solaris virtual machine.In this you just need to change operating system type as Redhat Linux.
Here is my virtual machine configuration:

Once you power on the virtaul machine,it will boot from DVD and you will get below screen
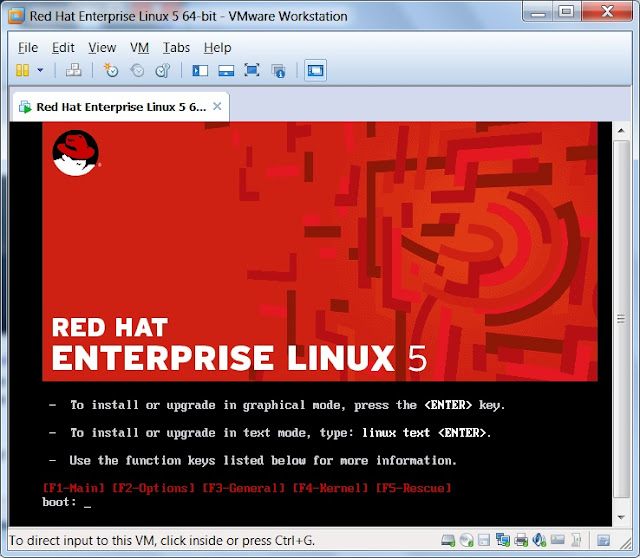
Here OS will prompt for DVD testing,you can just skip this task


After couple of screen you will get below screen to remove existing partition on the harddisk.Just select remove all partition and Click on Next

Another importing thing select correct timezone,you can select desire timezone by just clicking the right countries.