Запуск Redmine в Debian 11.1 и Ubuntu Server 21.10
Краткая инструкция по установке и первоначальной настройке менеджера проектов Redmine в связке с веб-сервером Apache и СУБД MariaDB на ОС Debian GNU/Linux 11.1 и Ubuntu Server 21.10.
В первую очередь необходимо залогиниться с правами суперпользователя root. Если сервер разворачивается на Ubuntu Server, то вводим
Устанавливаем консольный браузер Links для удобства
# apt install mariadb-client mariadb-server
Далее запускаем первоначальную настройку MariaDB
# /usr/bin/mysql_secure_installation
Установим необходимые пакеты
# apt install build-essential ruby-dev libxslt1-dev libmariadb-dev libxml2-dev zlib1g-dev imagemagick libmagickwand-dev curl
а также Apache с модулем passenger
# apt install apache2 libapache2-mod-passenger
Теперь добавим пользователя redmine и определим его в группу www-data
# useradd -r -m -d /opt/redmine -s /usr/bin/bash redmine # usermod -aG redmine www-data
После этого входим в консоль mysql
и создадим базу данных redmine_db с пользователем dbuser, который будет иметь на БД полные права:
CREATE DATABASE redmine_db; GRANT ALL PRIVILEGES ON redmine_db.* to 'dbuser'@'localhost' IDENTIFIED BY '147258'; FLUSH PRIVILEGES; EXIT;
147258 — это пароль пользователя БД dbuser.
Далее с помощью консольного браузера Links заходим на сайт Redmine и скачиваем архив последней версии в /tmp/
Затем распаковываем этот архив в директорию /opt/redmine/ с правами пользователя redmine
# sudo -u redmine tar xzf /tmp/redmine-4.2.3.tar.gz -C /opt/redmine/ --strip-components=1
После этого входим под пользователем redmine
копируем конфиги из примеров (example)
# cp /opt/redmine/config/configuration.yml.example /opt/redmine/config/configuration.yml # cp /opt/redmine/config/database.yml.example /opt/redmine/config/database.yml # cp /opt/redmine/public/dispatch.fcgi.example /opt/redmine/public/dispatch.fcgi
открываем файл конфигурации базы данных
находим секцию production и приводим её к такому виду:
production: adapter: mysql2 database: redmine_db host: localhost username: dbuser password: "147258" encoding: utf8
Далее выходим из пользователя redmine
Теперь переходим в домашний каталог пользователя redmine
Затем снова входим под пользователем redmine
# bundle install --without development test --path vendor/bundle
генерируем сессионные токены
# bundle exec rake generate_secret_token
создаём структуру базы данных
# RAILS_ENV=production bundle exec rake db:migrate
вносим данные конфигурации по умолчанию
# RAILS_ENV=production REDMINE_LANG=ru bundle exec rake redmine:load_default_data
после выполнения этой команды должно появиться такое сообщение:
Default configuration data loaded
задаём пользовательские права на необходимые директории
# chown -R redmine:redmine files log tmp public/plugin_assets # chmod -R 755 /opt/redmine
запускаем тест сервера с использованием webrick
# bundle exec rails server webrick -e production
на другой машине в сети в адресной строке браузера вводим:
http://IP_адрес_сервера:3000
должна появиться домашняя страница Redmine
выходим из режима тестирования сочетанием клавиш Ctrl + C и из консоли пользователя redmine
Переходим к конфигурации Apache. Открываем файл:
# nano /etc/apache2/sites-available/000-default.conf
и в конце допишем такой блок:
Listen 3000ServerName localhost RailsEnv production DocumentRoot /opt/redmine/public Allow from all Require all granted ErrorLog $/redmine_error.log CustomLog $/redmine_access.log combined
# systemctl restart apache2
и проверим работу модуля passenger
# /usr/sbin/apache2ctl -M | grep passenger
в консоли должна появиться такая строчка:
После этого на другой машине в сети в адресной строке браузера вводим:
http://IP_адрес_сервера:3000
логинимся: admin / admin
и попадаем в консоль администратора Redmine, где необходимо настроить работу менеджера проектов из дашборда.
Похожие посты:
Запуск Redmine в Debian 11.1 и Ubuntu Server 21.10: 3 комментария
Споткнулся на тесте сервера. Кстати, было бы круто, если бы вы добавили bb теги для кода) redmine@Debian:/opt/redmine$ bundle exec rails server webrick -e production
Traceback (most recent call last):
8: from bin/rails:4:in `’
7: from bin/rails:4:in `require’
6: from /opt/redmine/vendor/bundle/ruby/2.7.0/gems/railties-6.1.6/lib/rails/commands.rb:18:in `’
5: from /opt/redmine/vendor/bundle/ruby/2.7.0/gems/railties-6.1.6/lib/rails/command.rb:48:in `invoke’
4: from /opt/redmine/vendor/bundle/ruby/2.7.0/gems/railties-6.1.6/lib/rails/command/base.rb:69:in `perform’
3: from /opt/redmine/vendor/bundle/ruby/2.7.0/gems/thor-1.2.1/lib/thor.rb:392:in `dispatch’
2: from /opt/redmine/vendor/bundle/ruby/2.7.0/gems/thor-1.2.1/lib/thor/invocation.rb:127:in `invoke_command’
1: from /opt/redmine/vendor/bundle/ruby/2.7.0/gems/thor-1.2.1/lib/thor/command.rb:27:in `run’
/opt/redmine/vendor/bundle/ruby/2.7.0/gems/railties-6.1.6/lib/rails/commands/server/server_command.rb:130:in `perform’: wrong number of arguments (given 1, expected 0) (ArgumentError)
9: from bin/rails:4:in `’
8: from bin/rails:4:in `require’
7: from /opt/redmine/vendor/bundle/ruby/2.7.0/gems/railties-6.1.6/lib/rails/commands.rb:18:in `’
6: from /opt/redmine/vendor/bundle/ruby/2.7.0/gems/railties-6.1.6/lib/rails/command.rb:48:in `invoke’
5: from /opt/redmine/vendor/bundle/ruby/2.7.0/gems/railties-6.1.6/lib/rails/command/base.rb:69:in `perform’
4: from /opt/redmine/vendor/bundle/ruby/2.7.0/gems/thor-1.2.1/lib/thor.rb:392:in `dispatch’
3: from /opt/redmine/vendor/bundle/ruby/2.7.0/gems/thor-1.2.1/lib/thor/invocation.rb:127:in `invoke_command’
2: from /opt/redmine/vendor/bundle/ruby/2.7.0/gems/thor-1.2.1/lib/thor/command.rb:20:in `run’
1: from /opt/redmine/vendor/bundle/ruby/2.7.0/gems/thor-1.2.1/lib/thor/command.rb:34:in `rescue in run’
/opt/redmine/vendor/bundle/ruby/2.7.0/gems/thor-1.2.1/lib/thor/base.rb:525:in `handle_argument_error’: ERROR: «rails server» was called with arguments [«webrick»] (Thor::InvocationError)
Usage: «rails server -u [thin/puma/webrick] [options]»
How to install Redmine in Linux, Windows and OS X using BitNami Redmine Stack
BitNami Redmine Stack is an all-in-one installer that makes it easy to install Redmine on your computer. It is free, easy to use and self-contained. That means it bundles and automatically configures every piece of software (dependency) necessary to run Redmine for development or production purposes, including Apache, MySQL, Subversion and Ruby on Rails.
You can download the latest version of BitNami Redmine stack for Windows, Linux and OS X at http://bitnami.org/stack/redmine.
Installing BitNami Redmine Stack
Regardless of which operating system you are running (Windows / Linux / Mac), the install process is the same.
Download the latest version of Redmine Stack from the BitNami website.
Find the installer you just downloaded (the filename will be similar to bitnami-Redmine-VERSION-linux-installer.run). Double click on the icon to launch the installer.
Note: If you are using Linux you will have to give executable permissions to the file first, using this command: chmod +x /path/to/bitnami-redmine-VERSION-linux-installer.run
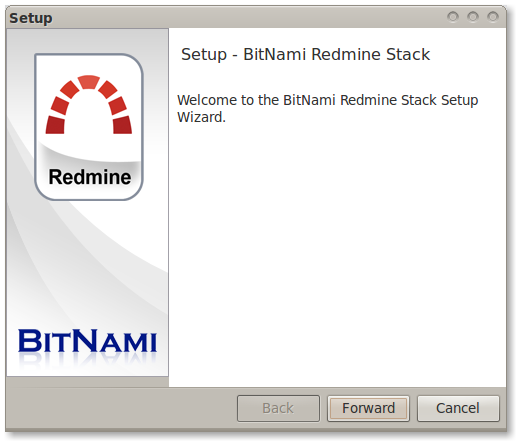
Click «Forward».

Now it will ask where do you want to install the program. Provide the location where you want to install the BitNami Redmine stack and click «Forward» when you are done.
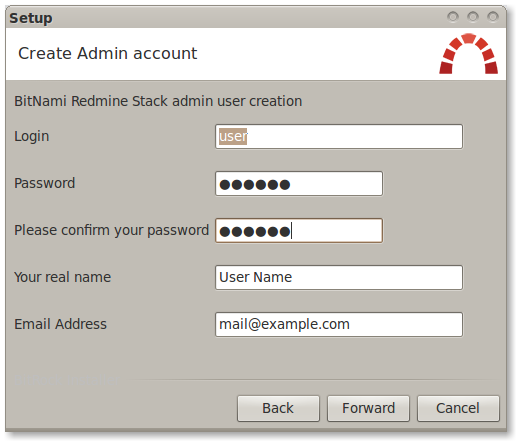
The user and password you provide here will be used to create the admin account in Redmine Click «Forward» when you are done.
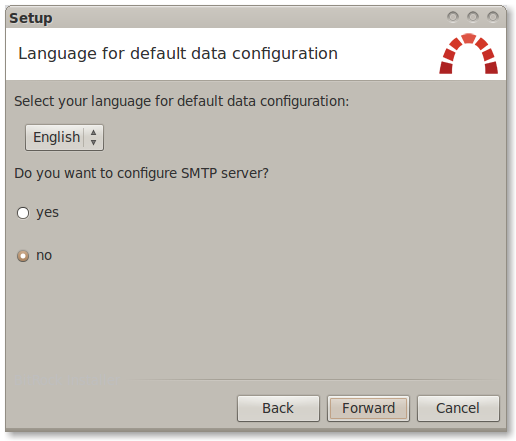
Type in the name you want to use for your Redmine site, and click «Forward».
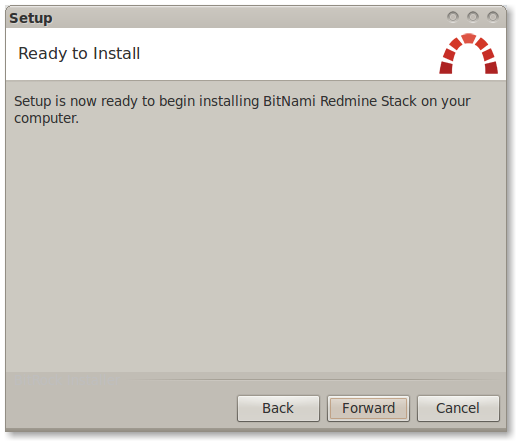
The installer is now ready to begin the installation process. Click «Forward».
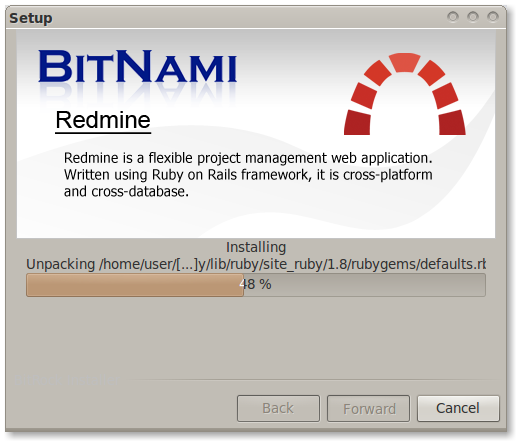
Wait a minute while the installer copies the files and configures your Redmine installation.
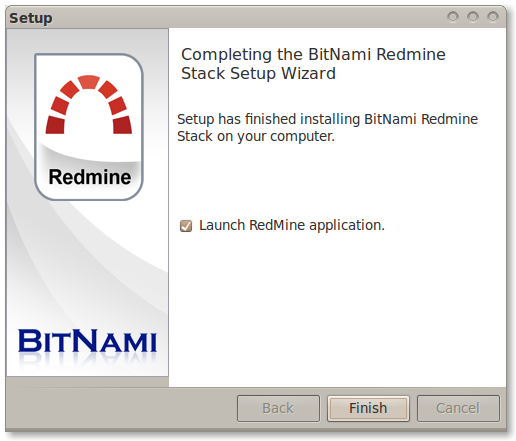
Redmine is now set up and ready to be used. Click «Finish» to launch the application.
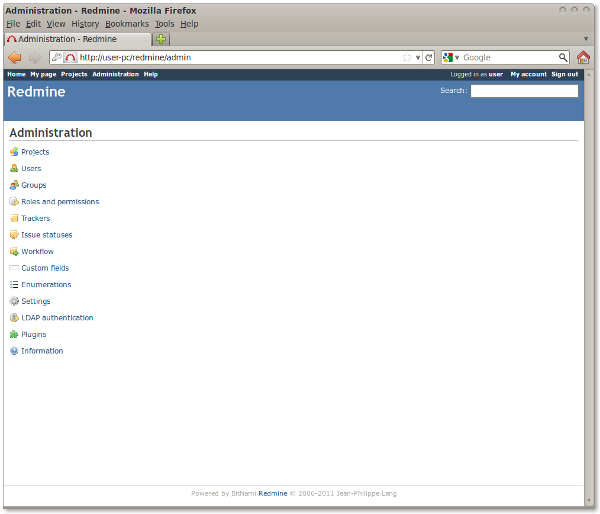
You can now log in using the username and password you provided during the installation.
| redmine_installing.png (52,1 КБ) redmine_installing.png | Josue Alvarez, 2011-08-04 18:09 |
| redmine_launch.png (48,9 КБ) redmine_launch.png | Josue Alvarez, 2011-08-04 18:09 |
| Main_application.png (47,7 КБ) Main_application.png | Josue Alvarez, 2011-08-04 18:09 |
| Redmine_welcome_screen.png (42,9 КБ) Redmine_welcome_screen.png | Josue Alvarez, 2011-08-04 18:09 |
| Choose_directory.png (25 КБ) Choose_directory.png | Josue Alvarez, 2011-08-04 18:09 |
| User_data.png (33,1 КБ) User_data.png | Josue Alvarez, 2011-08-04 18:09 |
| redmine_settings.png (27,5 КБ) redmine_settings.png | Josue Alvarez, 2011-08-04 18:09 |
| redmine_ready_to_install.png (21,8 КБ) redmine_ready_to_install.png | Josue Alvarez, 2011-08-04 18:09 |
| tf00000010.xlsx (16,9 КБ) tf00000010.xlsx | Mukesh Narayan, 2017-04-18 12:10 |