- How to Use ‘fsck’ to Repair Linux File System Errors
- When to Use fsck Command in Linux
- fsck Command Options
- Run fsck Command to Repair Linux File System Errors
- Understanding fsck Exit Codes
- Fsck Repair Linux Filesystem
- How to Run fsck on Linux Root Partition
- Force fsck Upon System Boot
- Run fsck in Rescue Mode
- Related Posts
- 37 thoughts on “How to Use ‘fsck’ to Repair Linux File System Errors”
- How to Repair a Damaged Filesystem in Ubuntu
- How to Repair Ubuntu Filesystem
- Create a Bootable Ubuntu USB Drive
- Repair Ubuntu Filesystem Using Fsck Command
How to Use ‘fsck’ to Repair Linux File System Errors
Linux Filesystems are responsible for organizing how data is stored and recovered. One way or another, with time, the filesystem may become corrupted and certain parts of it may not be accessible. If your filesystem develops such inconsistency it is recommended to verify its integrity.
This can be completed via a system utility called fsck (file system consistency check), which checks the root file system automatically during boot time or ran manually.
In this article, we are going to review the fsck command and its usage to help you repair Linux disk errors.
When to Use fsck Command in Linux
There are different scenarios when you will want to run fsck. Here are a few examples:
- The system fails to boot.
- Files on the system become corrupt (often you may see input/output error).
- The attached drive (including flash drives/SD cards) is not working as expected.
fsck Command Options
The fsck command needs to be run with superuser privileges or root. You can use it with different arguments. Their usage depends on your specific case. Below you will see some of the more important options:
- -A – Used for checking all filesystems. The list is taken from /etc/fstab .
- -C – Show progress bar.
- -l – Locks the device to guarantee no other program will try to use the partition during the check.
- -M – Do not check mounted filesystems.
- -N – Only show what would be done – no actual changes are made.
- -P – If you want to check filesystems in parallel, including root.
- -R – Do not check the root filesystem. This is useful only with ‘ -A ‘.
- -r – Provide statistics for each device that is being checked.
- -T – Does not show the title.
- -t – Exclusively specify the Linux filesystem types to be checked. Types can be comma-separated lists.
- -V – Provide a description of what is being done.
Run fsck Command to Repair Linux File System Errors
In order to run fsck, you will need to ensure that the partition you are going to check is not mounted. For the purpose of this article, I will use my second drive /dev/sdb mounted in /mnt .
Here is what happens if I try to run fsck when the partition is mounted.
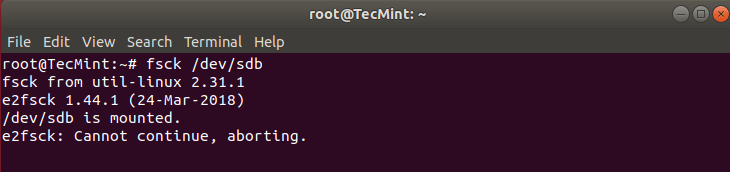
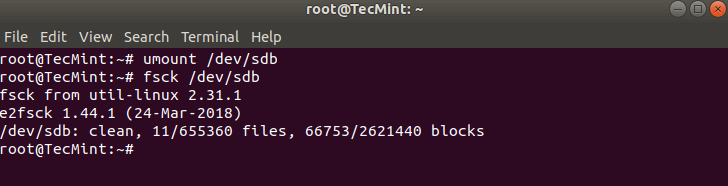
To avoid this unmount the partition using.
Then fsck can be safely run with.
Understanding fsck Exit Codes
After running fsck, it will return an exit code. These codes can be seen in fsck’s manual by running:
# man fsck 0 No errors 1 Filesystem errors corrected 2 System should be rebooted 4 Filesystem errors were left uncorrected 8 Operational error 16 Usage or syntax error 32 Checking canceled by user request 128 Shared-library error
Fsck Repair Linux Filesystem
Sometimes more than one error can be found on a filesystem. In such cases, you may want fsck to automatically attempt to correct the errors. This can be done with:
The -y flag, automatically “yes” to any prompts from fsck to correct an error.
Similarly, you can run the same on all filesystems (without root):
How to Run fsck on Linux Root Partition
In some cases, you may need to run fsck on the root partition of your system. Since you cannot run fsck while the partition is mounted, you can try one of these options:
We will review both situations.
Force fsck Upon System Boot
This is relatively easy to complete, the only thing you need to do is create a file called forcefsck in the root partition of your system. Use the following command:
Then you can simply force or schedule a reboot of your system. During the next bootup, the fsck will be performed. If downtime is critical, it is recommended to plan this carefully, since if there are many used inodes on your system, fsck may take some extra time.
After your system boots, check if the file still exists:
If it does, you may want to remove it in order to avoid fsck on every system boot.
Run fsck in Rescue Mode
Running fsck in rescue mode requires a few more steps. First, prepare your system for reboot. Stop any critical services like MySQL/MariaDB etc and then type.
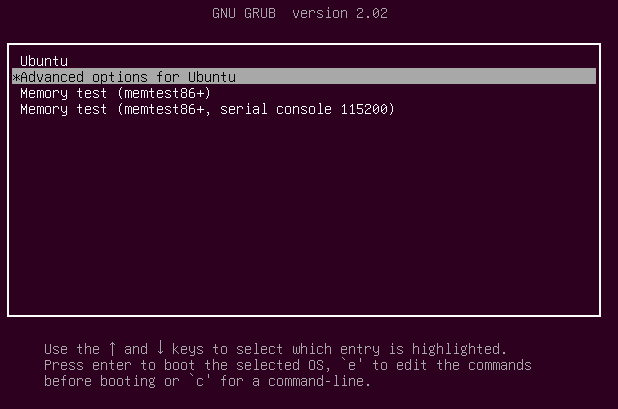
During the boot, hold down the shift key so that the grub menu is shown. Select “Advanced options”.
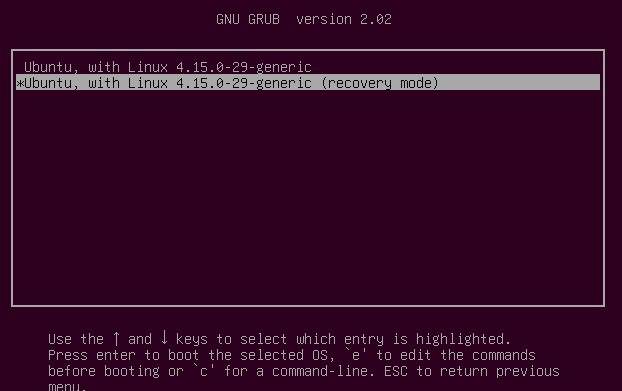
Then choose “Recovery mode”.
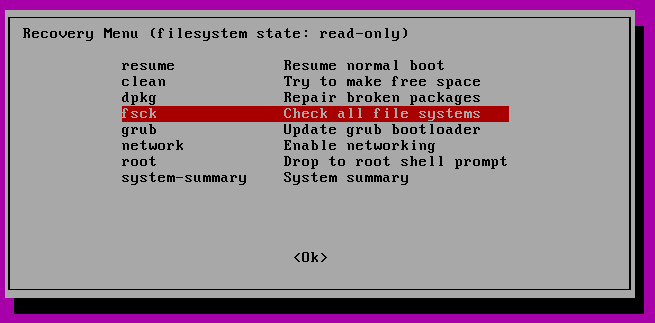
In the next menu select “fsck”.
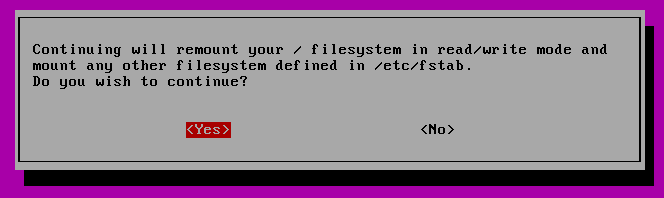
You will be asked if you wish to have your / filesystem remounted. Select “yes” .
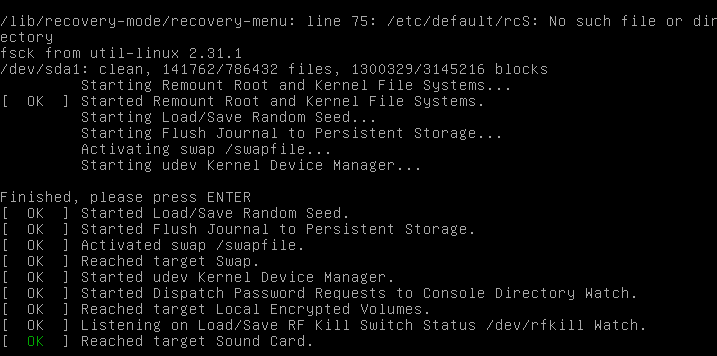
You should see something similar to this.
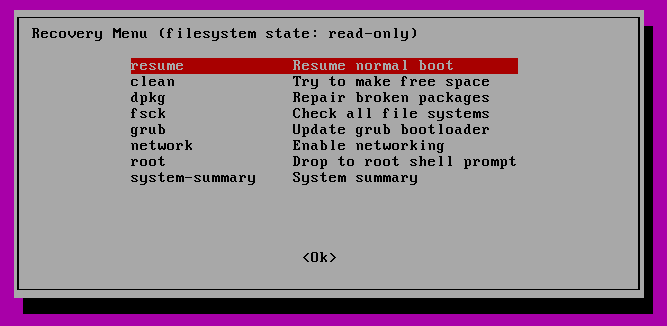
You can then resume normal boot, by selecting “Resume”.
Conclusion
In this tutorial, you learned how to use fsck and run consistency checks on different Linux filesystems. If you have any questions about fsck, please do not hesitate to submit them in the comment section below.
I am a bachelor in computer science and a Linux Foundation Certified System Administrator. Currently working as a Senior Technical support in the hosting industry. In my free time I like testing new software and inline skating.
Each tutorial at TecMint is created by a team of experienced Linux system administrators so that it meets our high-quality standards.
Related Posts

37 thoughts on “How to Use ‘fsck’ to Repair Linux File System Errors”
fsck from util-linux 2.38.1 fsck.ext2: Bad magic number in super-block while trying to open /dev/SDA /dev/SDA : the super-block could not be read or does not describe a valid ext2/ext3/ext4 filesystem.
If the device is valid and it really contains an ext2/ext3/ext4 filesystem (and if not swap or ufs or something else), then the superblock is corrupt, and you might try running e2fsck with an alternate superblock:
# e2fsck -b 8193 or e2fsck -b 32768
Found a dos partition table in /dev/SDA. When I try to run the e2fsck commands it gave, it shows sh: syntax error: unexpected newline. And then when I try to unmount /dev/SDA it can’t unmount because it’s an invalid argument? I’m a total beginner at Linux and I really don’t know what to do now Reply
Capitalization and spelling matter on the shell. Device names are never capitalized (so sda, not SDA). unmount should be umount, too. Reply
I updated to the newest version of Ubuntu, now it will not boot. I get the BusyBox black screen and when I used the exit command, here’s the output: /init: line 866: logsave: not found
Failure: File system check of the root filesystem failed
The root filesystem in /dev/sda6 requires a manual fsck But when I attempt to do so, I get a text file busy error. How can I fix this? Reply
Good morning, happy new year to you. Thank you for the article and your time spent on this website your time spent doing this is very much appreciated by me. I am using a laptop and ran a disk check using the smart control application which stated errors were found. Although I deleted the partition and reformatted the drive the errors remained which made me curious about error checking and cyclic redundancy checks which lead me to do a little research on physical drive checks and more detailed analysis. Doing searching online drove me here and to the FSCK command which even though I had wiped the drive still showed a wealth of errors (As I ran it without the -y flag initially), your article provided some clarity I was missing and made me wonder if some of these errors are reached because there is still junk data left on the drive because I have not low-level formatted it. So now I am running the command as ‘sudo fsck -y -c /dev/sdb’ Now it will search for errors, fix them as found, and display ongoing progress… Which begs the question… If I low-level formatted this drive by overwriting it with zero, would these errors then be wiped free? And if that is true, then the error that may still be found would be from smart control querying the device bios to see if it’s detected possible hardware failure (As the drive would now be wiped completely clean of any software issues) which means that fsck is really only untangling crosslinked files/sectors/clusters, etc. Forgive the stupid questions, I am not well educated on computer drives from a hardware perspective, or a read/write/data perspective so I am aware I’m ignorant and most articles I’ve read only give so much in-depth information. In any case, I am going to let this command run in its entirety and see what the outcome is. Thank you for your time. Thank you for the article. Reply
Does Linux (ubuntu) install run fsck before installing? or format automatically “note” the problematic sectors on the new partitions? I try to install Ubuntu and always ran into disc problems How to force a correction before the install? Reply
How to Repair a Damaged Filesystem in Ubuntu
The reputation of the various Linux operating system distributions speaks for itself. These prime operating system environments continue to be secure, open-source, open to frequent software updates, and are embraced by a growing user community and developers’ support.
However, these Linux OS attributes and stripes do not guarantee a bulletproof status. Sometimes you do not have control of what happens or what will happen to your Linux OS filesystem.
A Linux filesystem tends to get damaged or corrupted due to unavoidable circumstances like the unsafe removal of a media or drive hosting the Linux OS, instantaneous system crashes, and unexpected power losses.
How to Repair Ubuntu Filesystem
When victimized by filesystem damage or corruption on a Linux system, a user’s first instinct is usually to install a fresh copy of the operating system.
The inconvenience of this approach is that you could spend unnecessary hours backing up your data and reinstalling the Linux OS when a quick solution could be right in front of a terminal. Ubuntu is well-equipped with terminal-based tools that can quickly repair/fix a damaged/corrupted filesystem.
The most ideal tool for this job is the fsck (file system consistency check) utility. However, using the fsck command on a mounted filesystem is highly discouraged as it might result in additional damages to those files.
We, therefore, have the option of attempting an on-boot repair of the damaged filesystem.
Create a Bootable Ubuntu USB Drive
Download an Ubuntu OS ISO file and use it to create a bootable USB drive. This bootable USB drive should have the Ubuntu OS image inside it. A straightforward tool for this job is balenaEtcher.
Once you created a bootable Ubuntu USB drive, connect to the machine and restart your machine and press the boot devices to associate keys e.g. F12 , to reveal a boot menu.
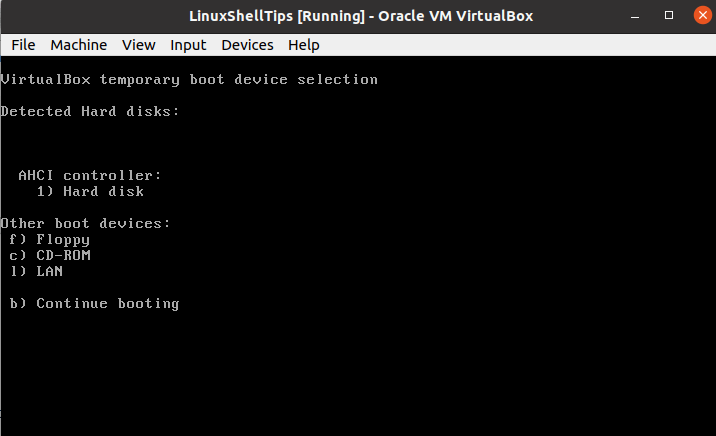
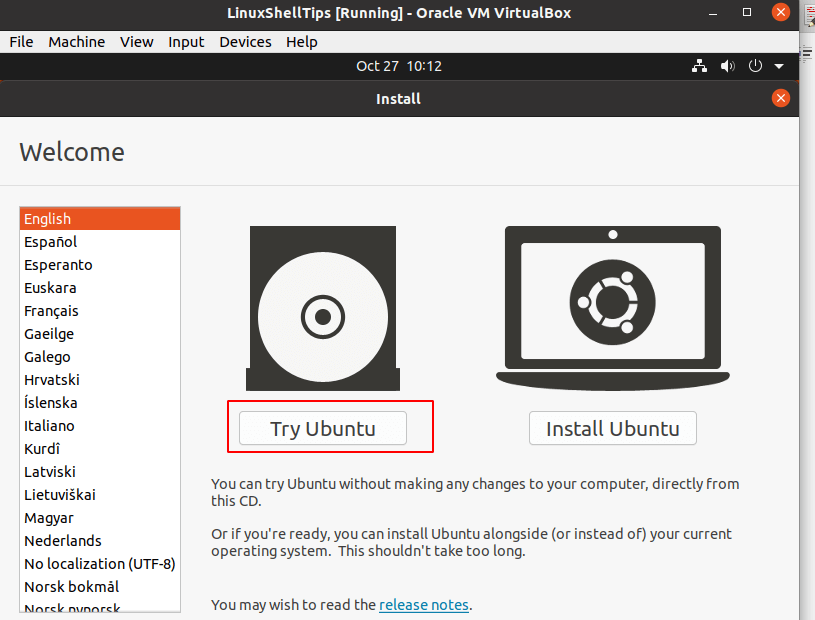
Trace the menu option associated with the USB/CD-ROM drive and press [Enter]. It will boot your Ubuntu into Live mode, here go with the Try Ubuntu option.
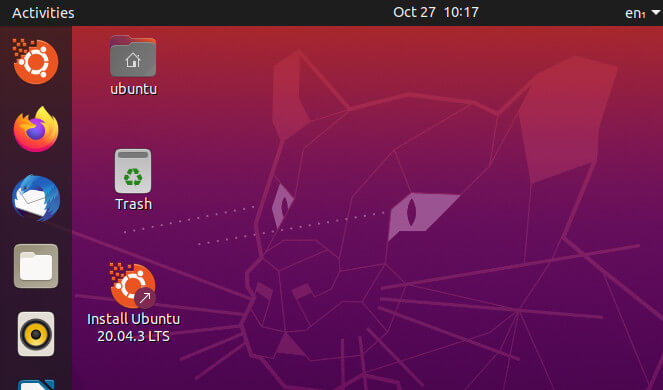
You will be logged in to an Ubuntu desktop environment (Live CD approach). From here, you will have more control of your initial Ubuntu OS installation and its associated filesystem.
At this point, we are comfortable enough to start executing the needed commands that will help us to identify the associated filesystem partitions to repair our damaged filesystem.
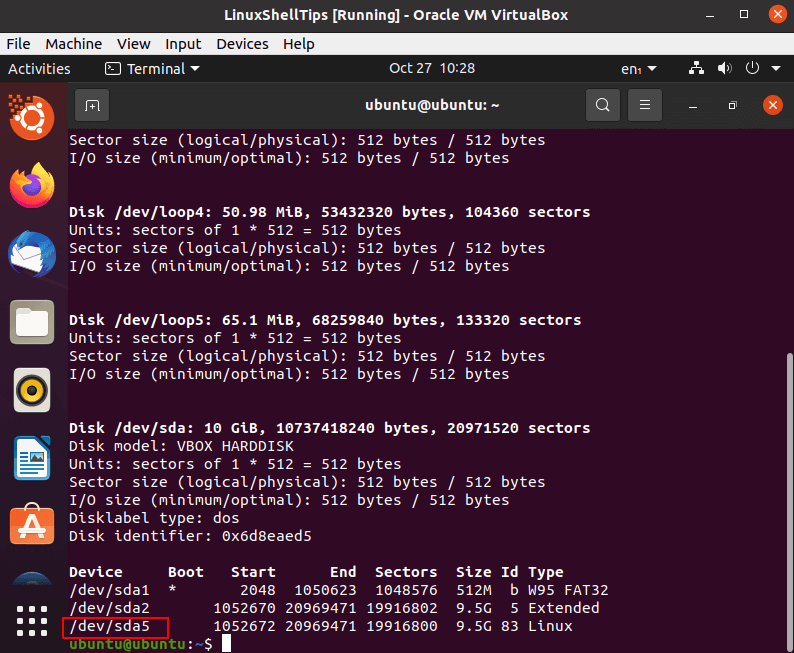
In this case, the targeted filesystem partition with Ubuntu installation is /dev/sda5 .
Repair Ubuntu Filesystem Using Fsck Command
First, unmount the filesystem partition you suspect is damaged. In most cases, it is usually unmounted but we need to be certain:
To trace and repair the possibility of any file damages on this filesystem partition, we need to execute the following fsck command.
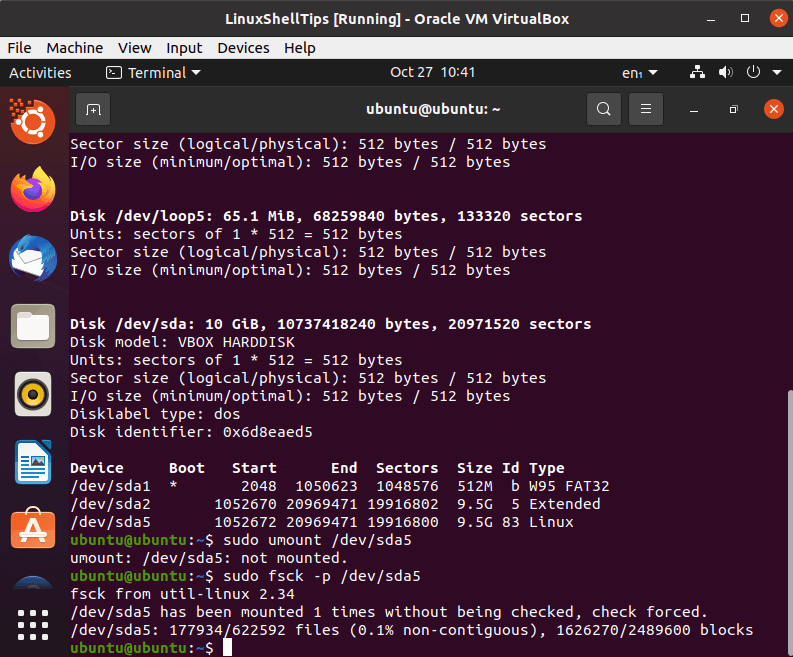
You can re-use the above fsck command syntax with other Linux filesystems you suspect to be damaged.
From here, you can comfortably exit the terminal and restart your computer to default to the originally installed Ubuntu OS version.
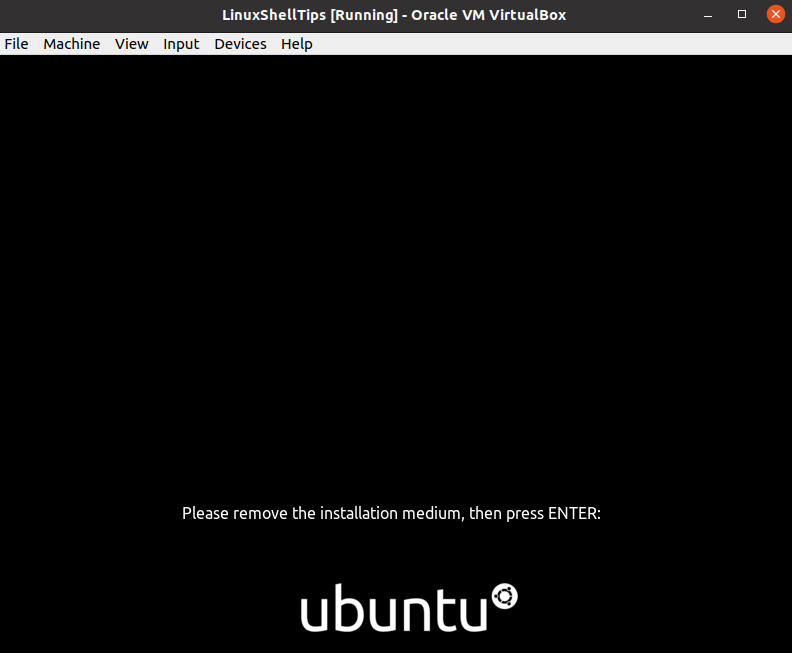
If your Ubuntu OS filesystem had any fixable issues or file damages, they should now be resolved.
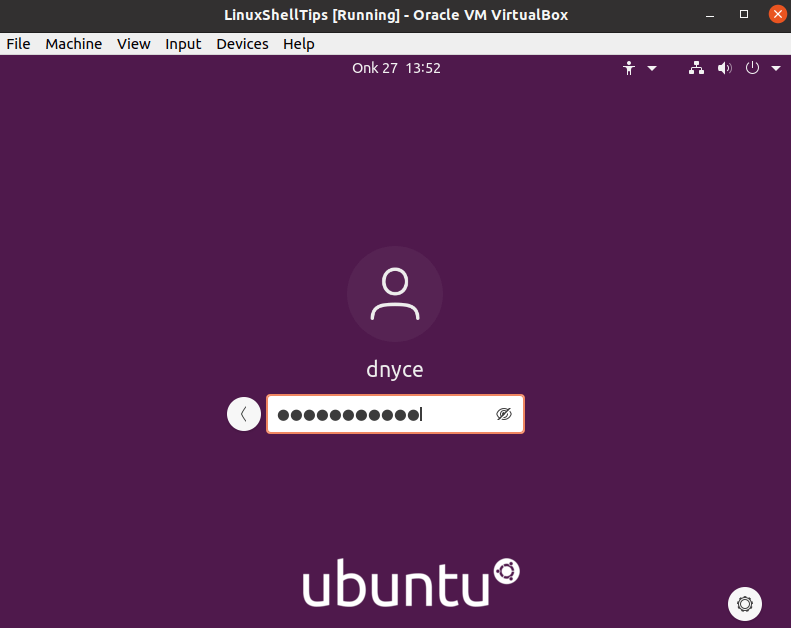
Being able to repair your damaged Ubuntu filesystem through this approach saves you from the headache of having to backup data and re-install your Linux OS. This methodology is efficient such that you don’t have to deal with filesystem partition mount issues while running FSCK.