Configuring DMZ on the RV34x Series Router
The documentation set for this product strives to use bias-free language. For the purposes of this documentation set, bias-free is defined as language that does not imply discrimination based on age, disability, gender, racial identity, ethnic identity, sexual orientation, socioeconomic status, and intersectionality. Exceptions may be present in the documentation due to language that is hardcoded in the user interfaces of the product software, language used based on RFP documentation, or language that is used by a referenced third-party product. Learn more about how Cisco is using Inclusive Language.
Objective
The objective of this document is to show you how to configure Demilitarized Zone (DMZ) Host and Hardware DMZ on RV34x series routers.
Introduction
- If you want to expose something to the Internet, but you have an all-in-one server, or you don’t have spare public IP addresses, you should use DMZ Host. Place the server in one of your VLANs and set it up as the DMZ Host. Then the external user can access the server by the router’s WAN IP.
- If you want to expose something to the Internet, and you have several servers (each with a specific service) and the same amount of public IP addresses, you should use Hardware DMZ. Connect these servers to the specified DMZ port (i.e. LAN 4 for RV340) and configure them with the same public IP addresses you configure in the router or subnet). Then the external user can access each of the servers by those IP addresses.
Note: In this example, we will have a switch plugged into the DMZ port of the router when configuring DMZ Subnet.
To learn how to enable SSH on a switch, please refer to this article: Enabling SSH service on 300/500 Series Managed Switches.
To learn how to configure DMZ on the RV160/RV260, please see this article: DMZ Options for RV160/RV260 Routers.
Host DMZ Topology
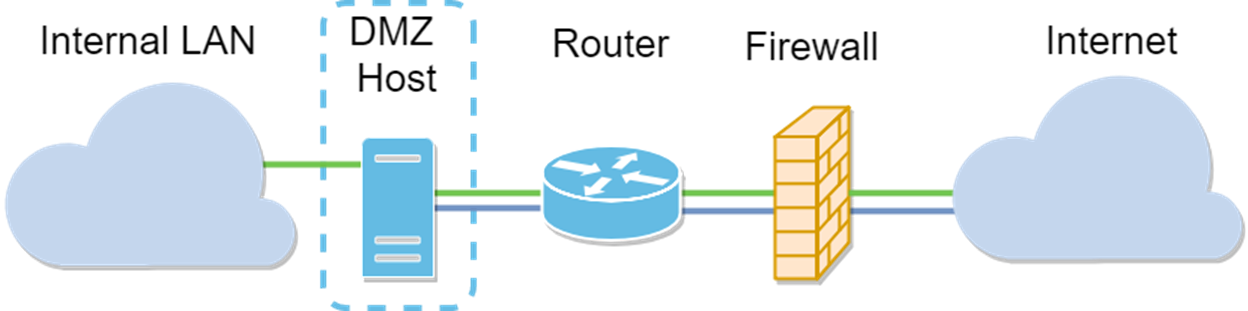
Note: When using a host DMZ, if the host is compromised by a bad-actor your internal LAN may be subject to further security intrusion.
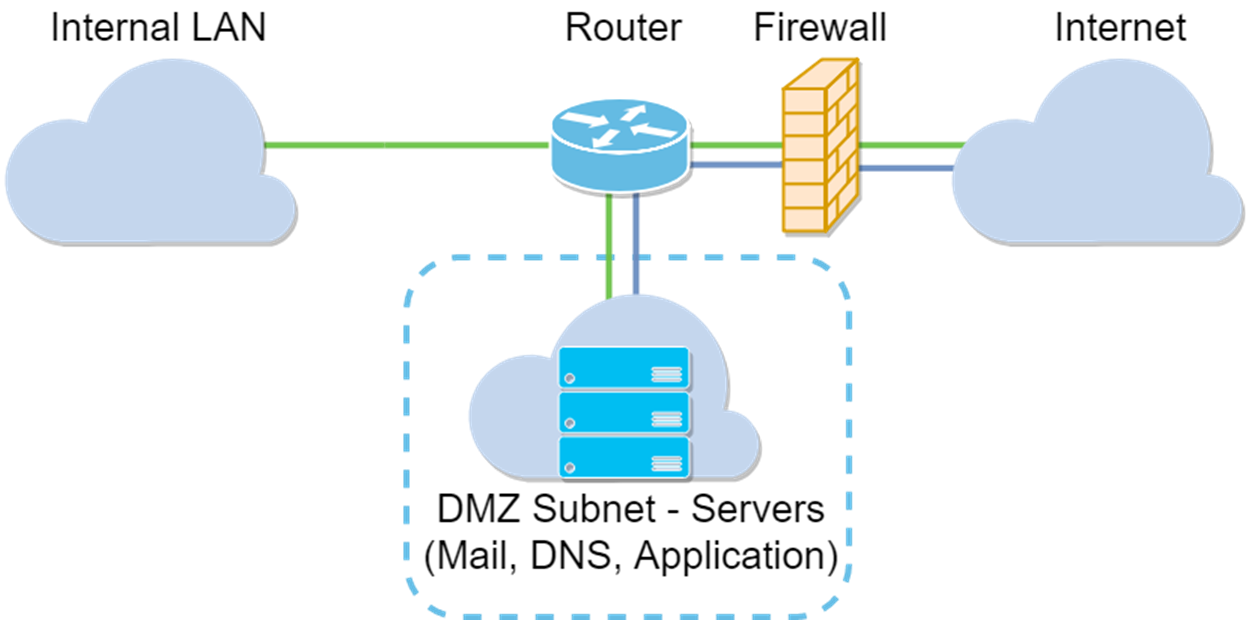
Subnet DMZ Topology
Applicable Devices
Software Version
Configuring DMZ Host
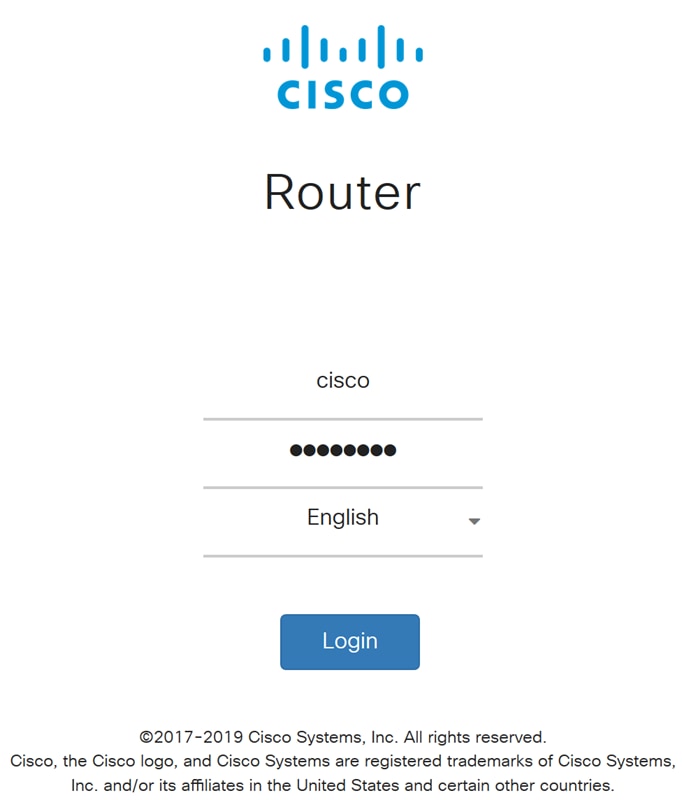
Step 1. Log in to the web configuration page of your router.
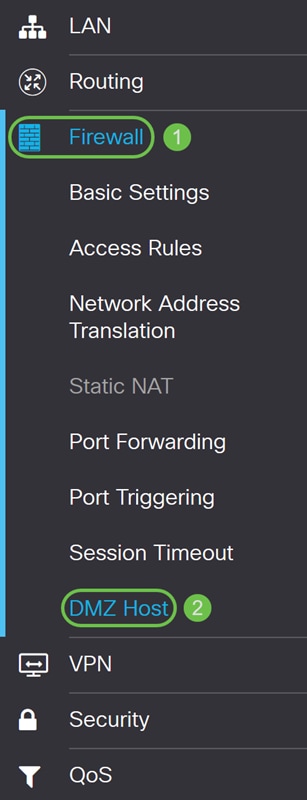
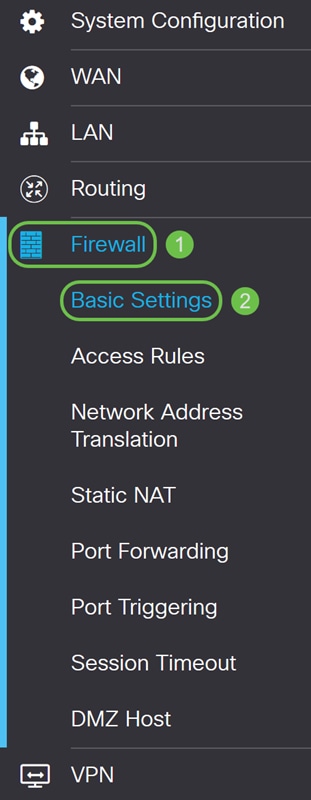
Step 2. Navigate to Firewall > DMZ Host.
Step 3. In the DMZ Host field, check the Enable checkbox to enable DMZ Host.
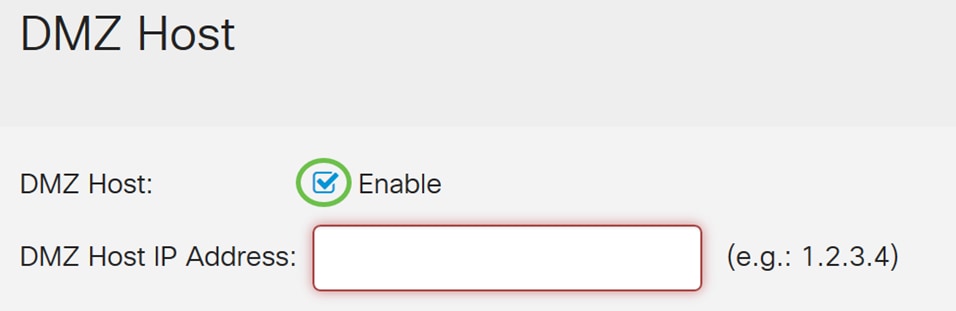
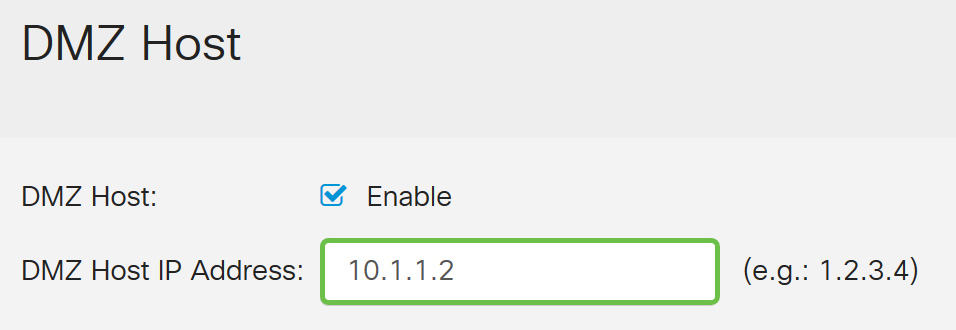
Step 4. Enter the IP address of the host in the DMZ Host IP address that will be exposed to the Internet to use services such as Internet gaming, video conferencing, web, or email servers.
Note: The LAN DMZ host needs to be given a fixed or static IP address for the DMZ host feature to work properly. Make sure it is on the same network as your router. You can also configure this when the DMZ is in another VLAN.
Step 5. Click Apply save your configuration.

You should now have successfully enabled DMZ host.
Step 6. (Optional) In the next few steps, we will be showing you one way to verify DMZ host. Navigate to Firewall > Basic Settings.
Step 7. (Optional) In this example, Remote Web Management is enabled with HTTPS selected. This is to log in to the web configuration page remotely via the WAN IP address. In this step, we will be adjusting the port number to 6000. The range is from 1025-65535.
Note: If you have configured this while accessing the web management page remotely, your page may hang at the loading screen. This means that the port has changed to what you have adjusted.

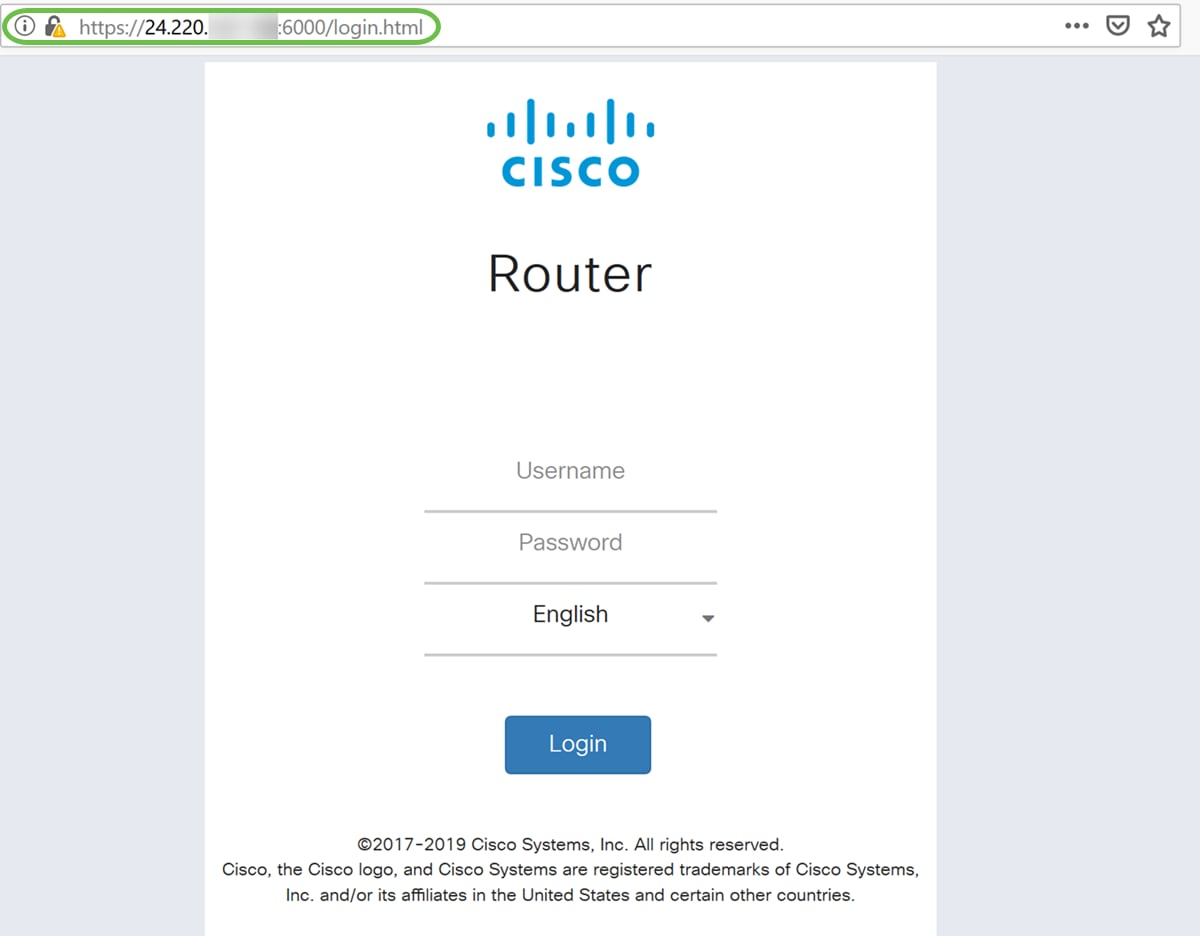
Step 8. Verify that you can access the web configuration page of your router by typing https://[WANIPaddress]:port, where the WAN IP address is your actual WAN IP address of the router and then the :port for the port number that you have set in step 5 for this section. In this example, we entered https://24.220.x.x:6000, but you would include the actual numbers and not x. The x is to hide our public WAN IP address.
Note: Make sure you are off the VPN, sometimes being on the VPN will not allow you to access the web configuration page.
Step 9. You should now be able to access the web configuration page of your device that is in the DMZ port by using the WAN IP address without adding the port number.
https://24.220.x.x:6000 – will display the web configuration page of the router.
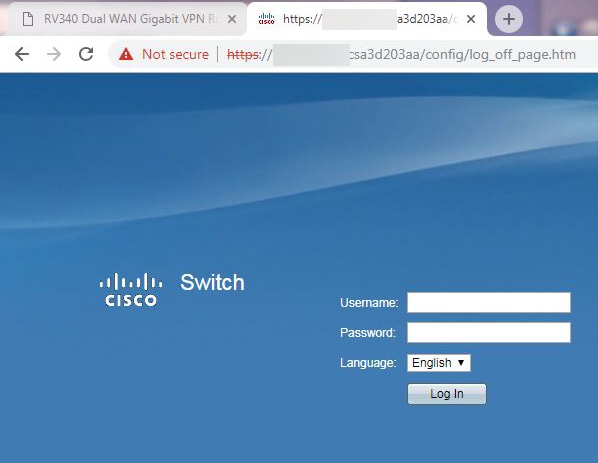
https://24.220.x.x – will display the web configuration page of the switch.
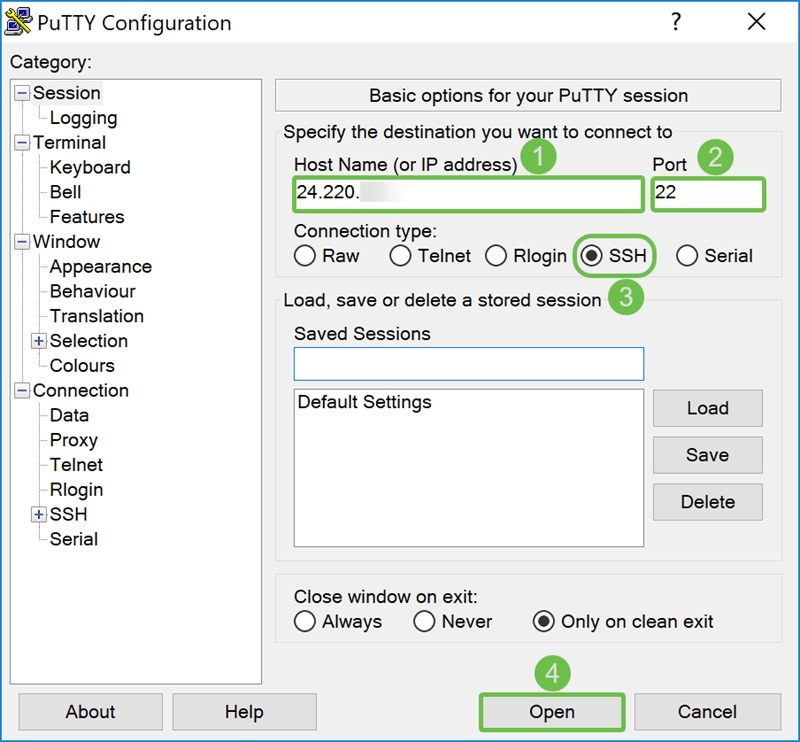
Step 10. We will be using PuTTY to SSH into the switch. Enter the public IP address of your device under the Host Name (or IP address) field. Ensure port 22 is entered and SSH is selected. Click Open to start your connection.
Note: If you want to SSH into the switch, remember to enable SSH on the switch first. In most switches, you can navigate to Security > TCP/UDP Services to enable SSH Service. To SSH using Windows, you can download PuTTY. Check this document for more information on: How to Access an SMB Switch CLI using SSH or Telnet. SSH is recommended and Telnet is not as SSH is more secure.
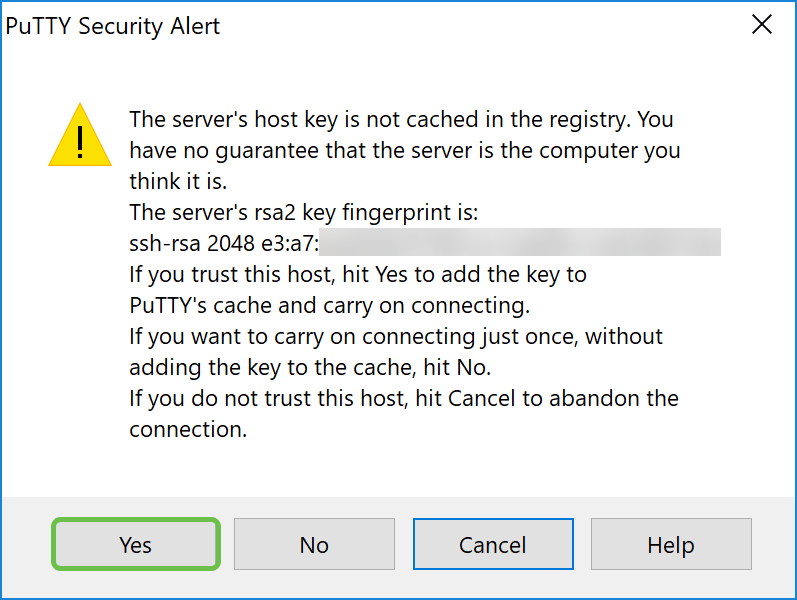
Step 11. A PuTTY Security Alert may appear. Click Yes to continue to connect.
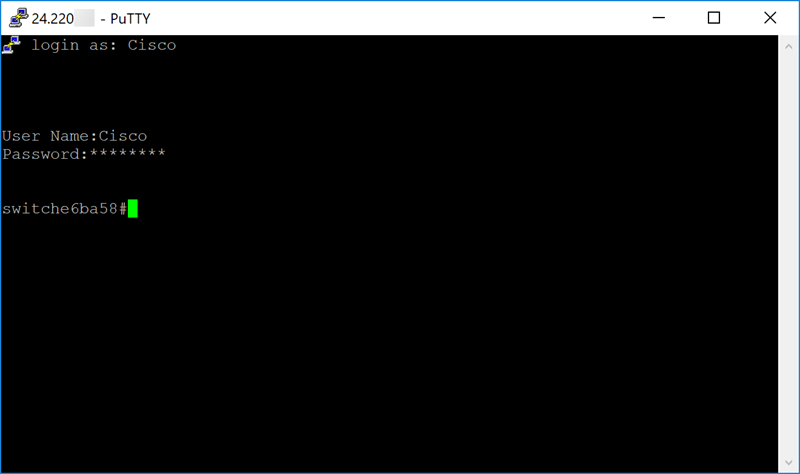
Step 12. If your connection is successful, you will be prompted to log in with your credentials.
Configuring Hardware DMZ
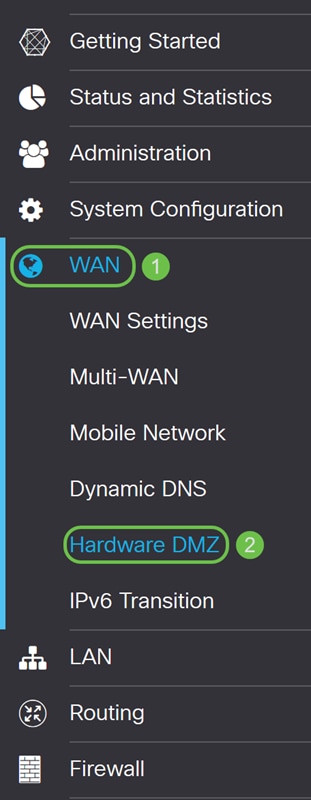
Step 1. If you want to configure Hardware DMZ instead of DMZ Host, navigate to WAN > Hardware DMZ.
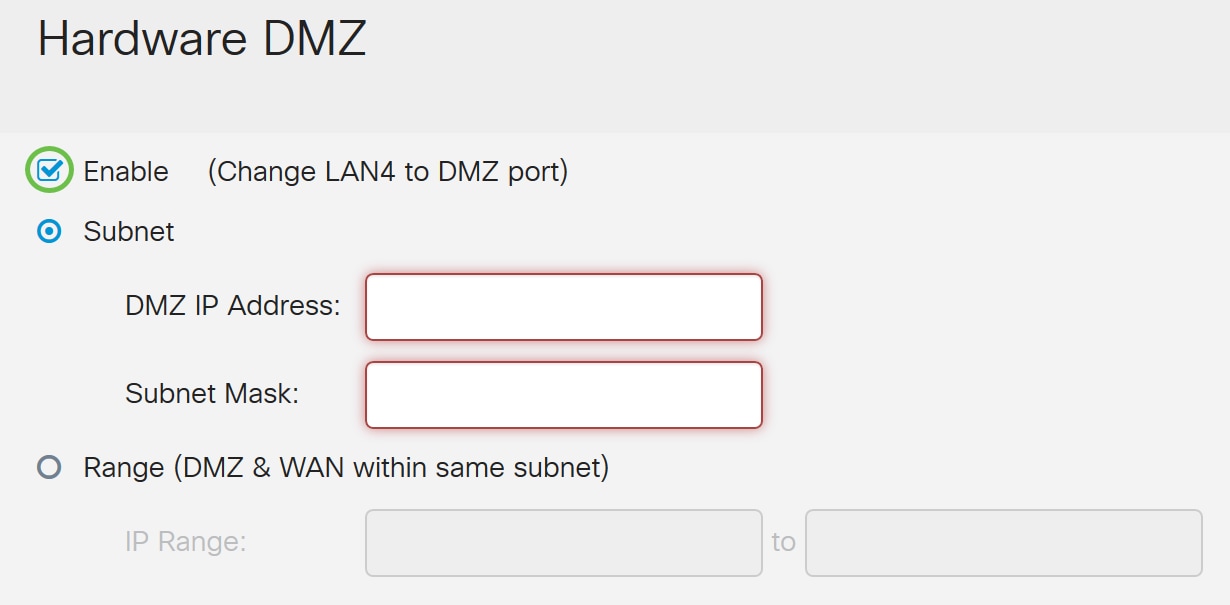
Step 2. Check Enable checkbox to change LAN4 to DMZ port.
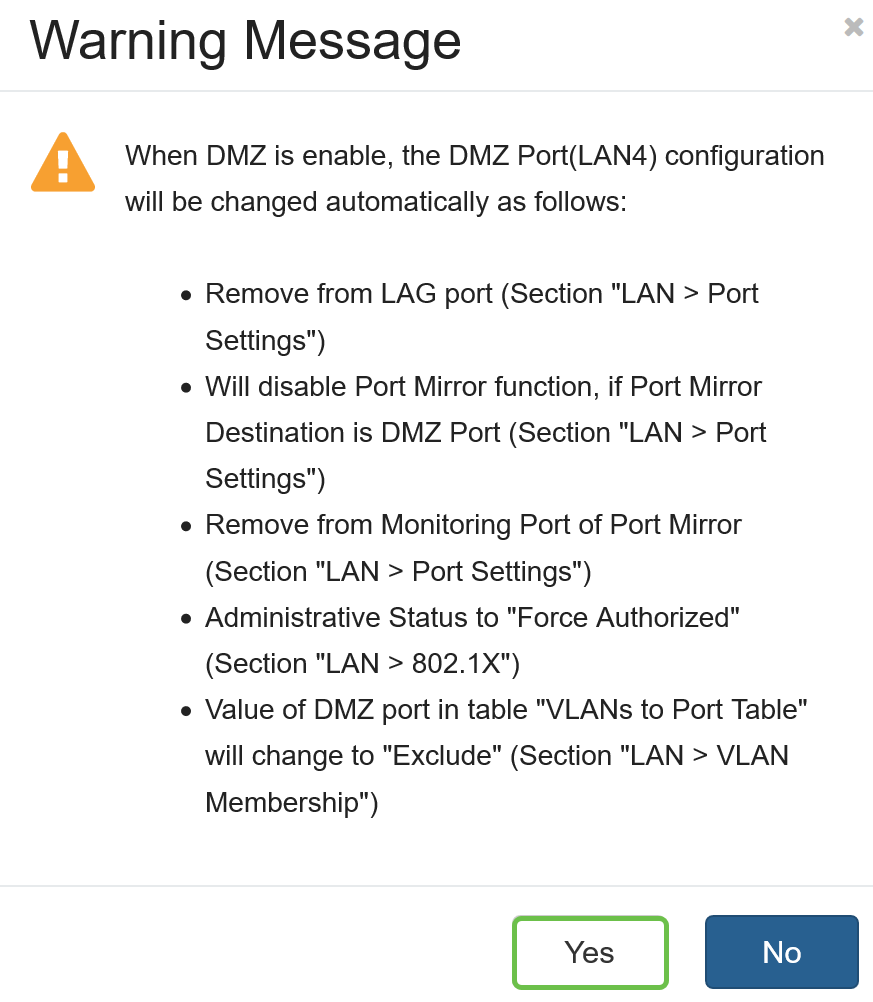
Step 3. A warning message will appear. Click Yes to accept the changes that the router would make to the DMZ port (LAN4) or No to deny the changes.
When DMZ is set at enable, the DMZ Port (LAN4) configuration will be changed automatically as follows:
- Remove from LAG port (Section “LAN > Port Settings”)
- Will disable Port Mirror function, if Port Mirror Destination is DMZ Port (Section “LAN > Port Settings”)
- Remove from Monitoring Port of Port Mirror (Section “LAN > Port Settings”)
- Administrative Status to “Force Authorized” (Section “LAN > 802.1X”)
- Value of DMZ port in table “VLANs to Port Table” will change to “Exclude” (Section “LAN > VLAN Membership”)
In this example, we will be clicking Yes.
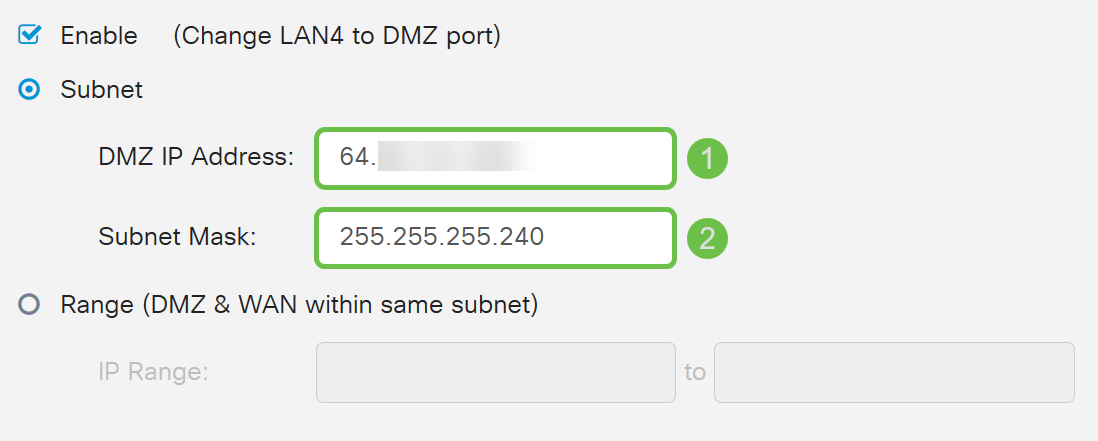
Step 4. Select either Subnet or Range (DMZ & WAN within same subnet). In this example, we will be selecting Subnet.
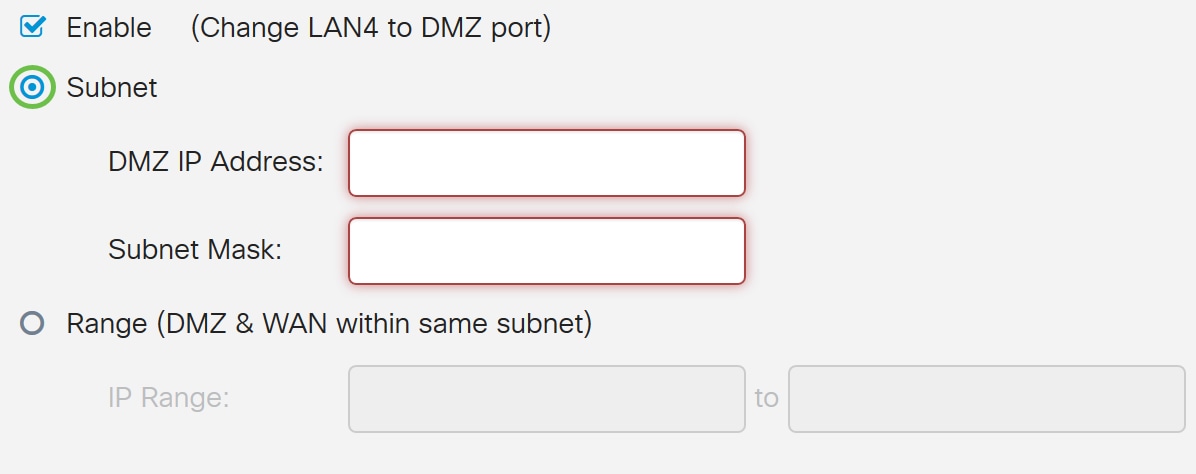
Step 5. Enter in the DMZ IP Address and Subnet Mask. Anything that is plugged into the LAN4 segment must be in this network.
Note: Make sure that the device connected to the DMZ port has that static IP address. This IP address may need to be outside of your WAN subnet.
In this example, we will be using a public IP address for the DMZ.
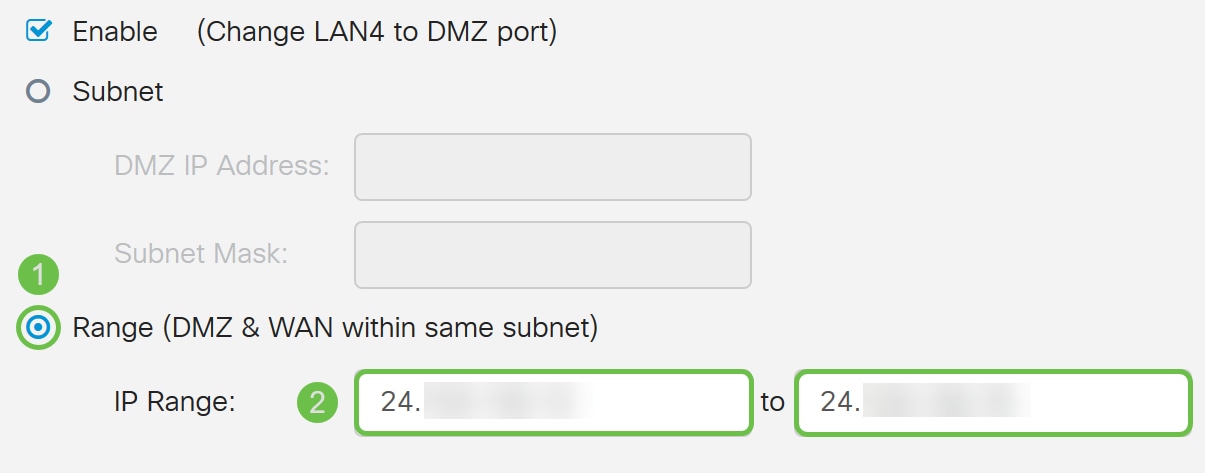
Note: If you intend to use the Range method, then you will need to click the Range radio button, then enter the range of IP addresses assigned by your ISP. This is usually used when you have multiple public IP address from your ISP for multiple devices that are in your DMZ network.
If you have a single public IP address and subnet does not work for you, enter the single public IP address in both fields under the IP Range field. The IP address needs to be a different free IP from the WAN IP subnet, it cannot use the WAN IP address. For example, if you are given a single public IP address of 24.100.50.1 which is within the same subnet as your WAN IP address then enter in 24.100.50.1 to 24.100.50.1 in the IP Range field.
Step 6. Click Apply in the upper right hand corner to accept the DMZ settings.
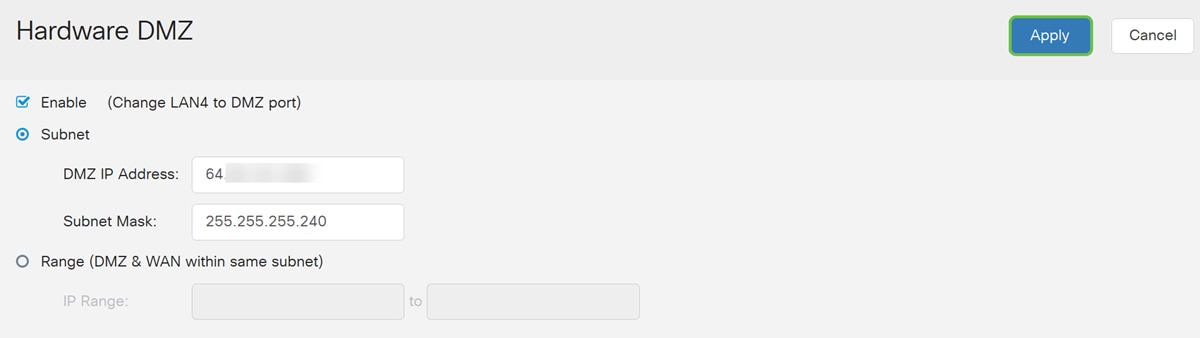
You should have successfully enabled Hardware DMZ.
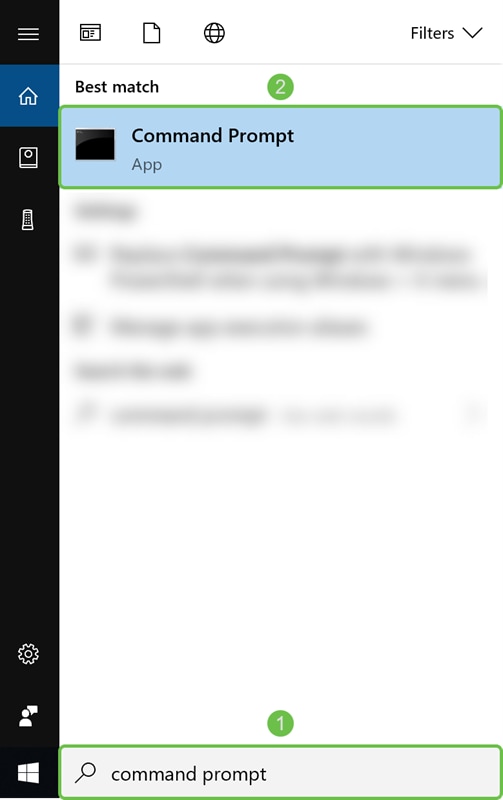
Step 7. (Optional) To verify this, open command prompt on your PC by navigating to the search bar at the bottom left and typing in command prompt. Click the command prompt application when it appears.
Note: We are using Windows 10 for this example.
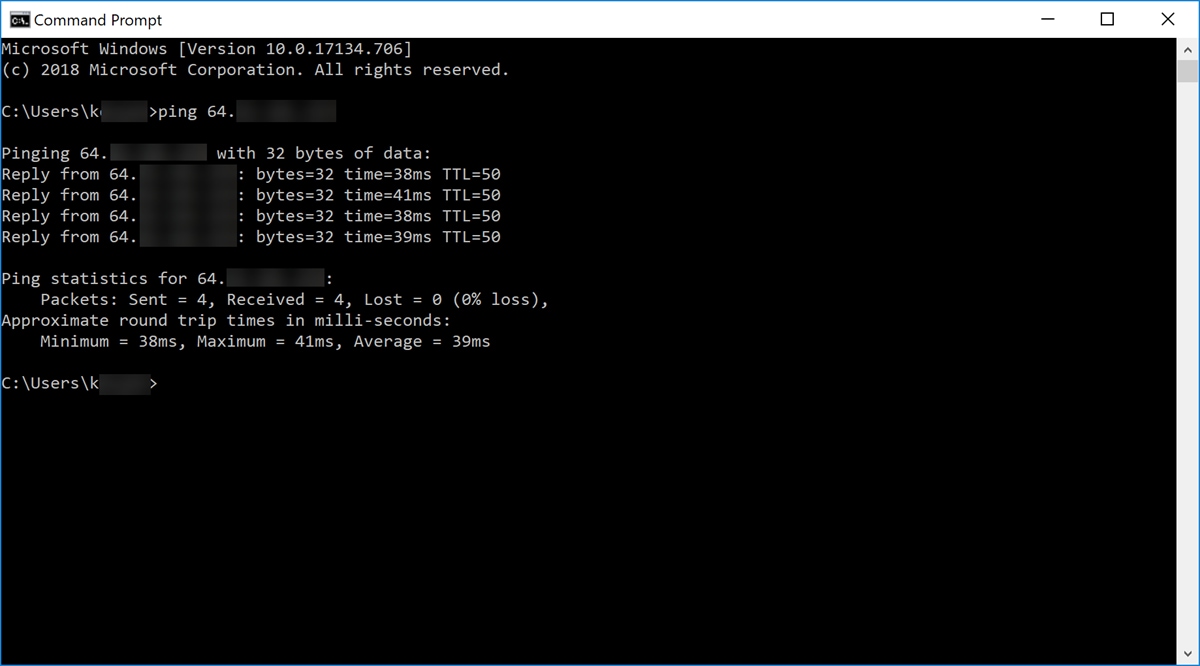
Step 8. (Optional) A Command Prompt window will open. We will be executing a ping command to the DMZ IP address to see if there is any connectivity. Use the ping DMZ_IP_Address command. Hit the enter key when you want to start the ping. If you got replies from that IP address, it means you have connectivity between you and the DMZ. If you received any sort of messages like “Request timed out” or “Destination host unreachable” then you should check your configuration and connections.
In this example, we will be typing in ping 64.x.x.x.x. 64.x.x.x is our public IP address for the DMZ.
Note: Check out this great document: Troubleshooting on RV160 and RV260 Routers. This troubleshooting document will cover some of the areas to analyze when troubleshooting connectivity. Even though this document is for the RV160 and RV260, you may be able to use some similar troubleshooting steps in there.
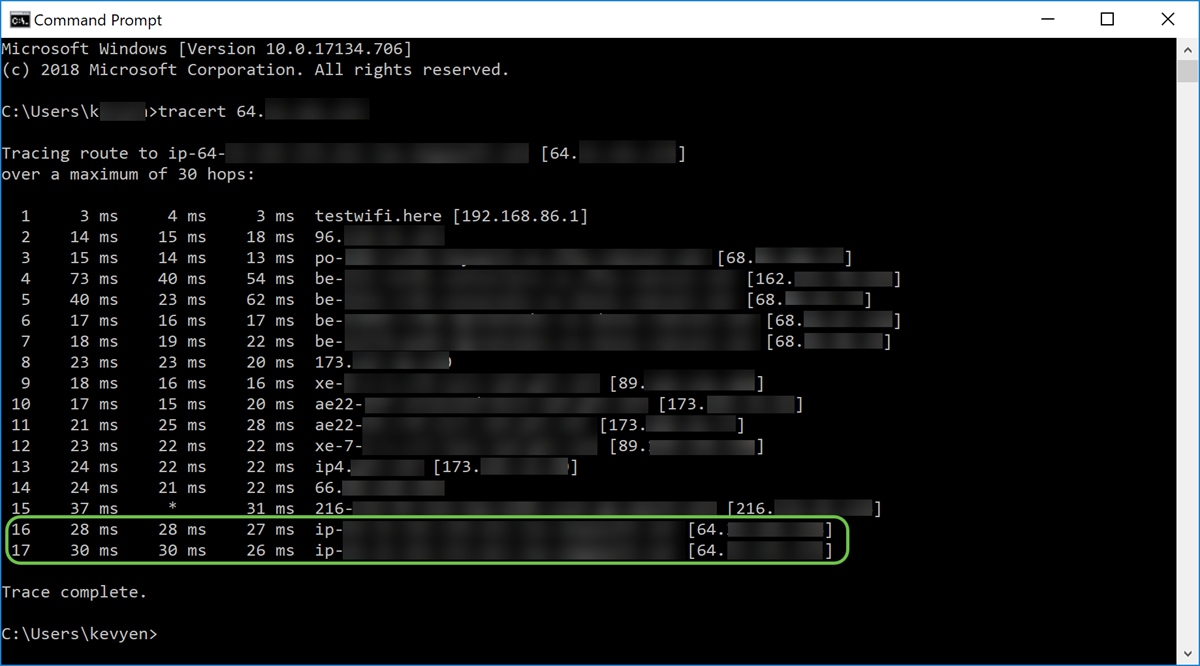
Step 9. (Optional) We can also execute a traceroute command to see the path that the packets take to get to the destination. Use the tracert DMZ_IP_Address command and hit the enter key to start the process. In this example, we can see that the trace is complete when it hits the DMZ IP address at the end. It will also display “Trace complete” once it hits the destination.
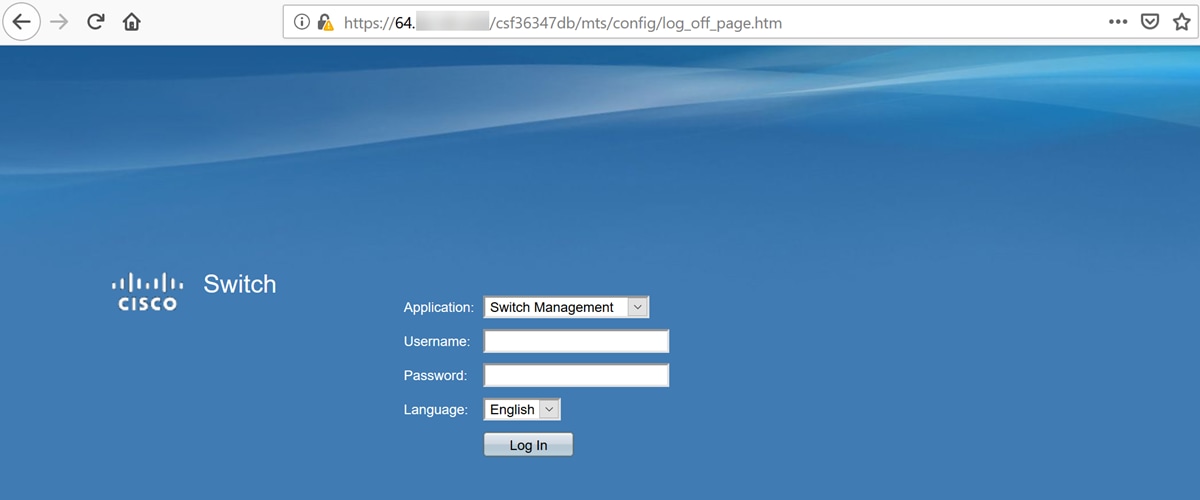
Step 10. (Optional) In this example, we have a switch connected to the DMZ port with the static IP address of 64.x.x.x (public IP address). We can try and access the Graphical User Interface (GUI) of the switch by entering the public IP address in the browser at the top.
We have entered https://64.x.x.x which brings us to the GUI page of the switch.
You should now know a couple ways to verify that your DMZ is working properly.
Configuring Access Rules (Optional)
If you have configured a public IP address or a range of IP address for Hardware DMZ, this section will show you an example of how to configure access rules for your DMZ. DMZ should work properly without having to configure access rules. Configuring access rules are optional but it is recommended to be configured to provide basic level of security for accessing your network. For example, if we don’t configure access rules by default, all packets passing through the router could be allowed to all parts of our network. Access rules can allow one host, range of IP addresses, or a network, while preventing another host, range of IP addresses, or a network from accessing the same area (host or network). By using access rules, we can decide which types of traffic we forward or block at the router interfaces.
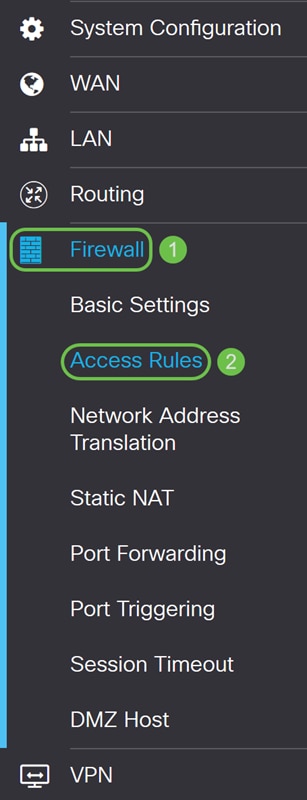
Step 1. Navigate to Firewall > Access Rules.
Step 2. In the IPv4 Access Rules Table, click the Plus icon to add a new IPv4 access rule.
Step 3. Ensure that the Enable checkbox is checked. This will enable the rule.
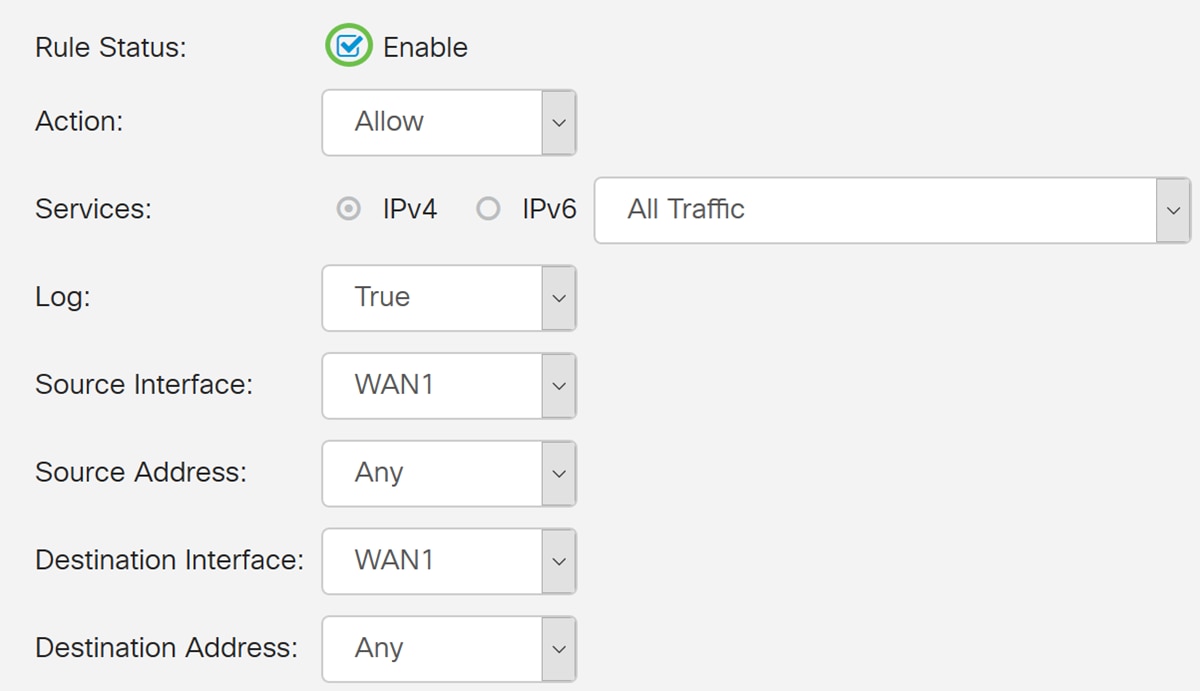
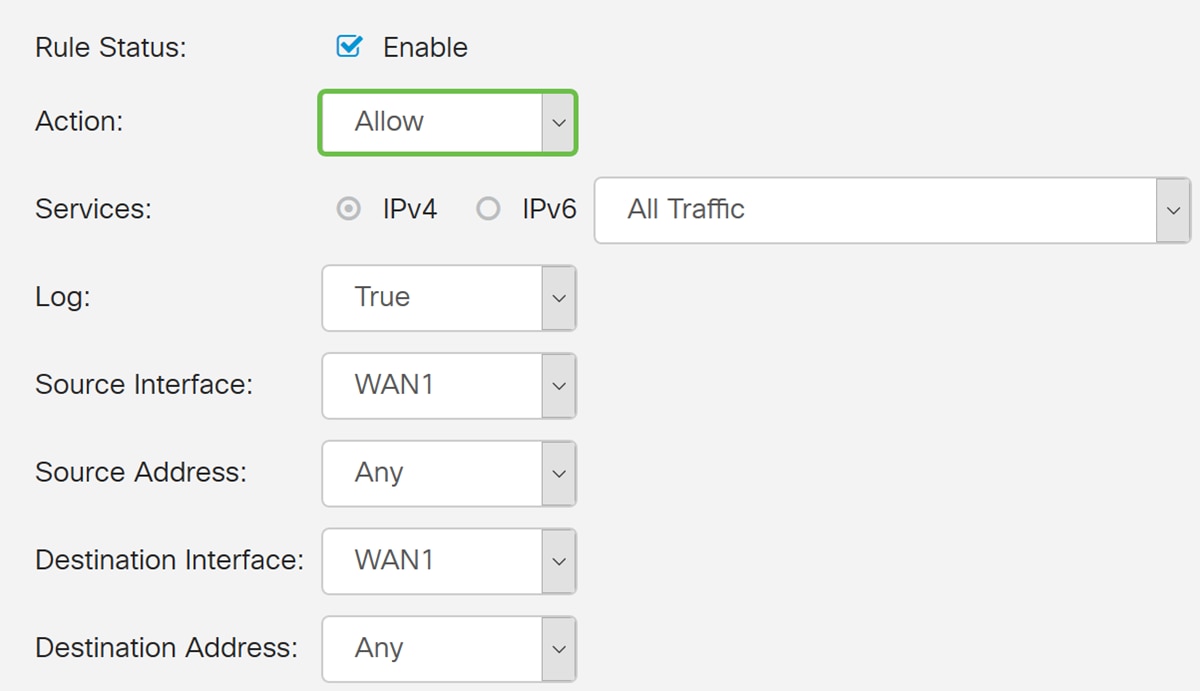
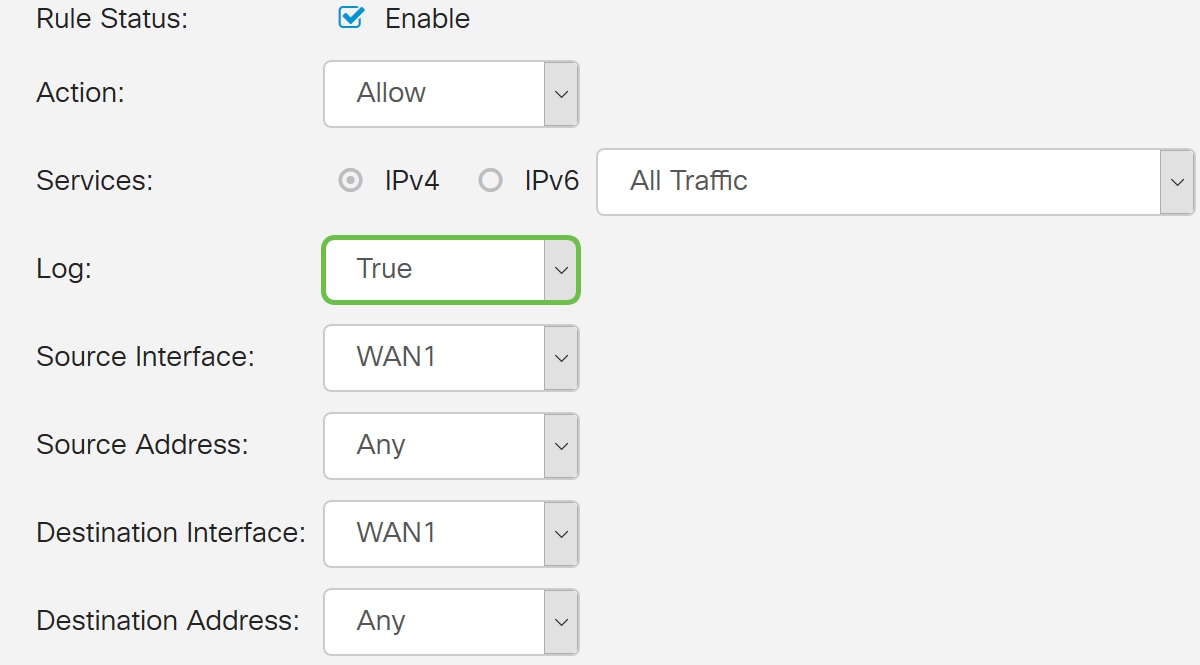
Step 4. In the Action field, select Allow in the drop-down list.
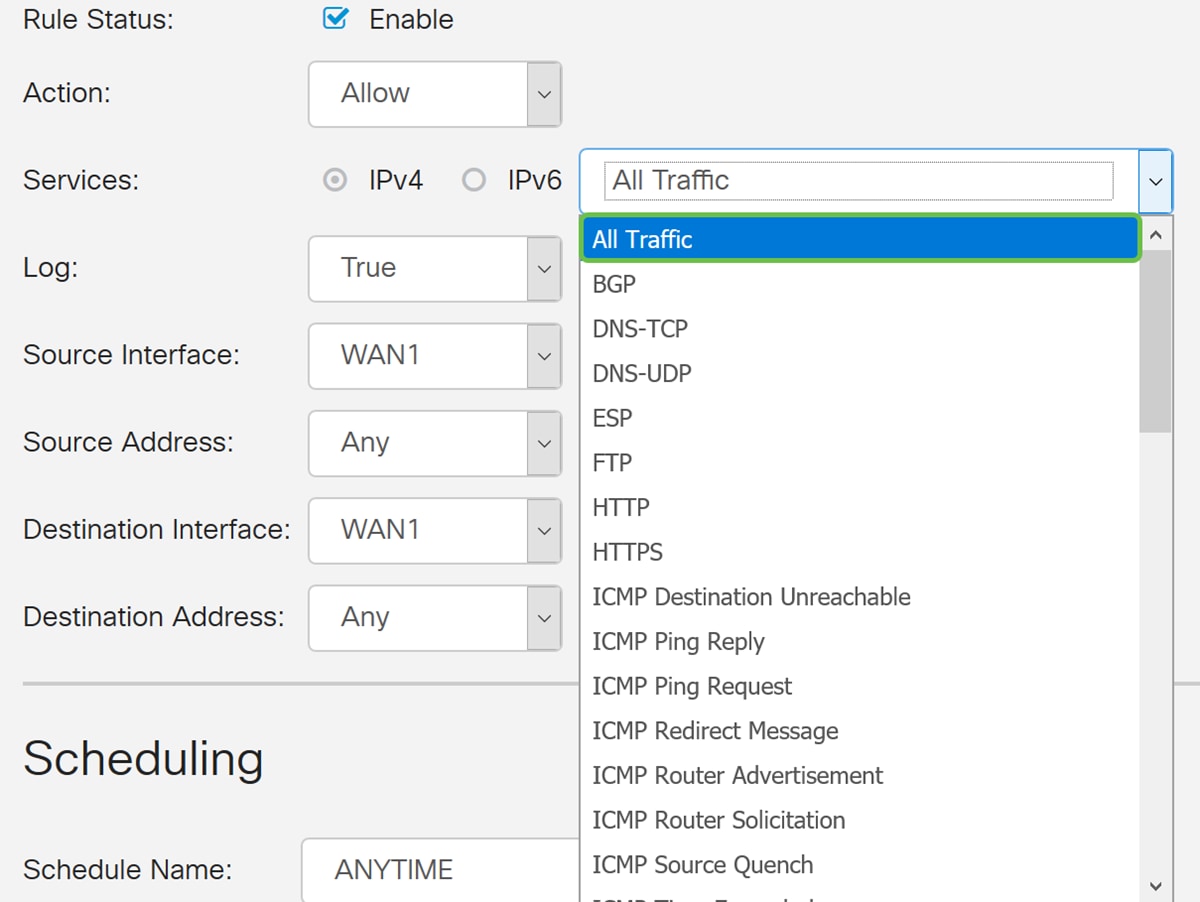
Step 5. Select a service in the Services field. We will be leaving it as All Traffic.
Step 6. Select Never or True from the drop-down list
In this example, we will be leaving it as True.
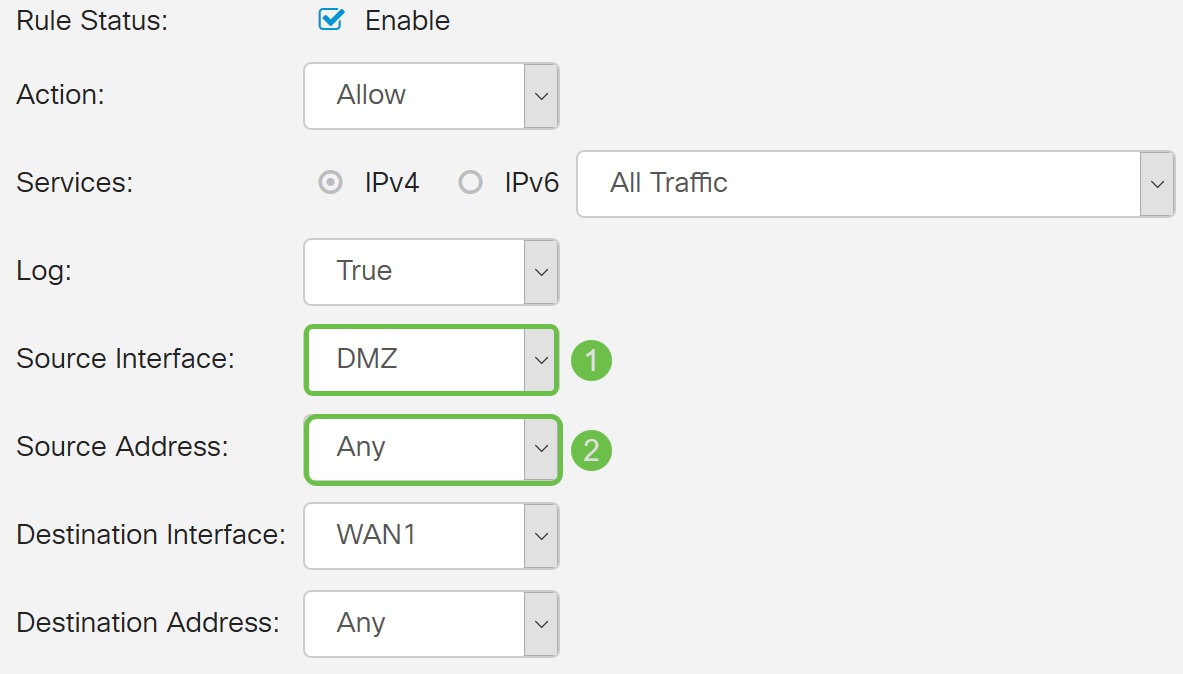
Step 7. Select the Source Interface and Source Address from the drop-down list.
In this example, DMZ and Any was selected.
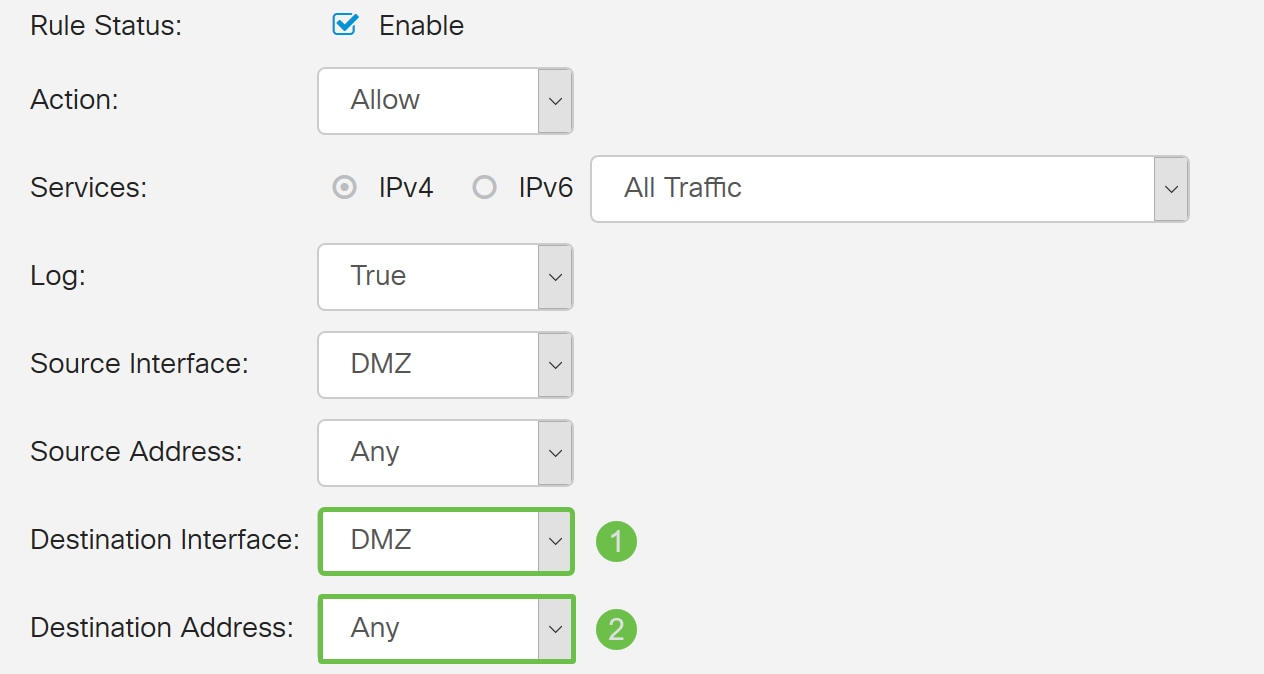
Step 8. Select the Destination Interface and Destination Address from the drop-down list.
In this example, DMZ and Any was selected.
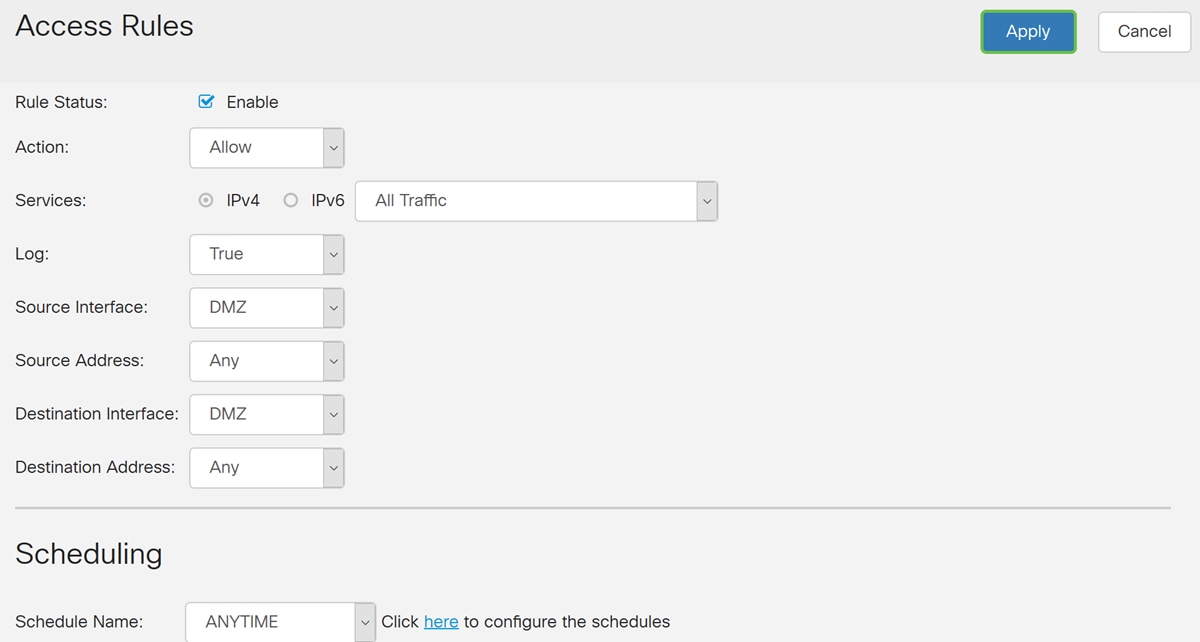
Step 9. In the Scheduling section, select a time from the drop-down list to apply the firewall rule. If you want to configure your own schedule, click the here link.
In this example, we will be using ANYTIME as our schedule.

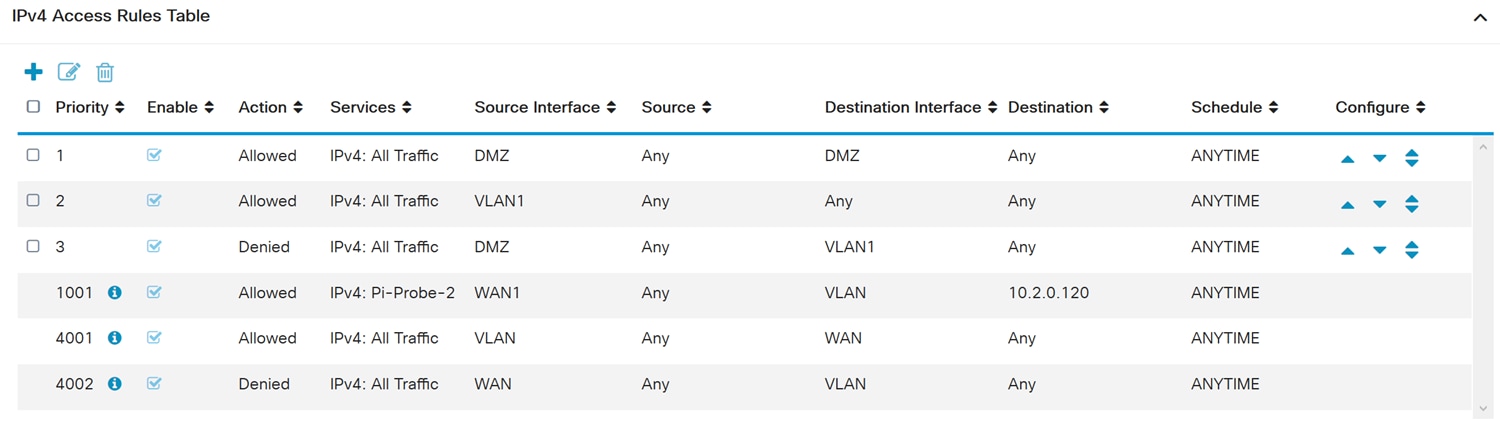
Step 10. Click Apply to add the new rule. This rule says that any DMZ traffic going to any DMZ will be allowed.
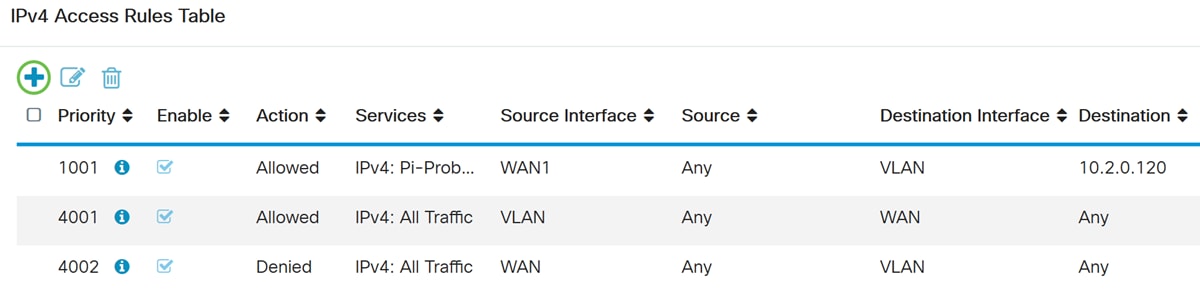
Here’s an example that was created. You can see that we added in a rule about DMZ not being able to communicate with any destination in VLAN 1. This is because we don’t want the DMZ to be able to access anything from VLAN 1.
Verifying Using the Router
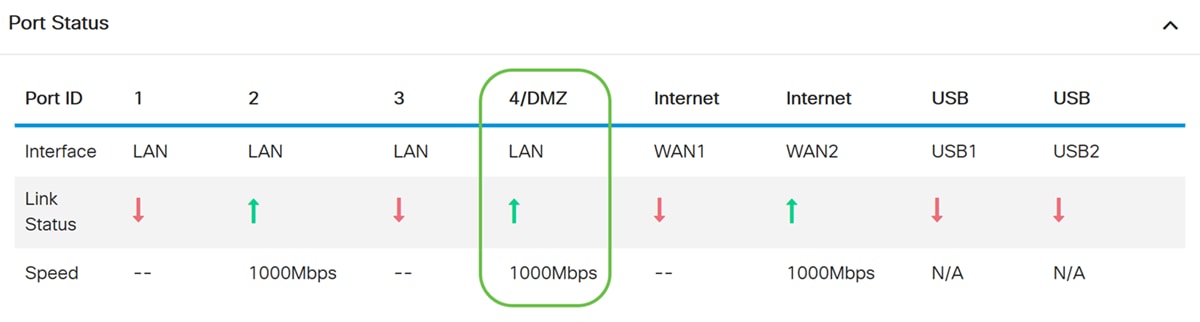
Step1. To verify your device is connected in the DMZ port on the router, navigate to Status & Statistics, the page will load the System Summary page automatically. Port 4 or LAN 4 will list the status of the DMZ as “UP”.
Pinging the IP of the device will let us know the reachability status of the device. It will be good to verify the DMZ configuration for any specific service/port using the public IP address used.
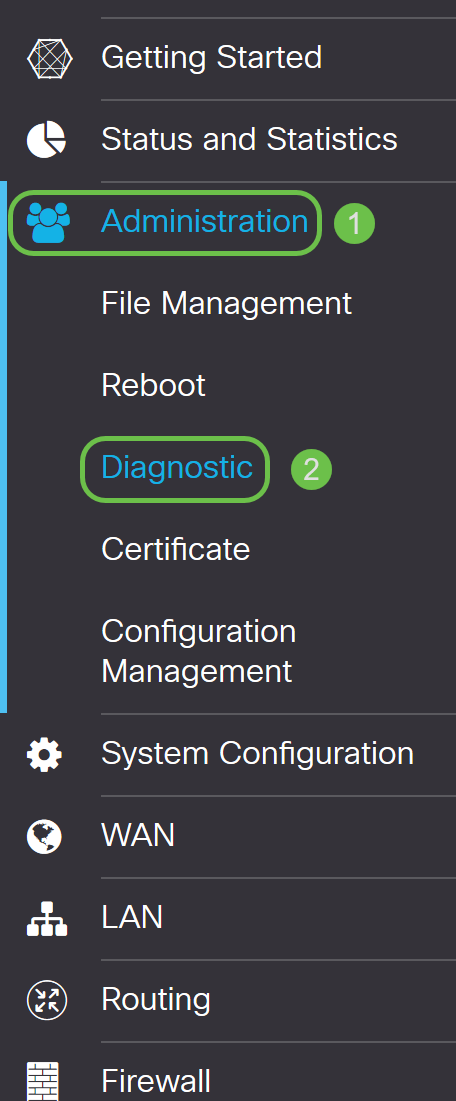
Step 2. Navigate to Administration > Diagnostic.
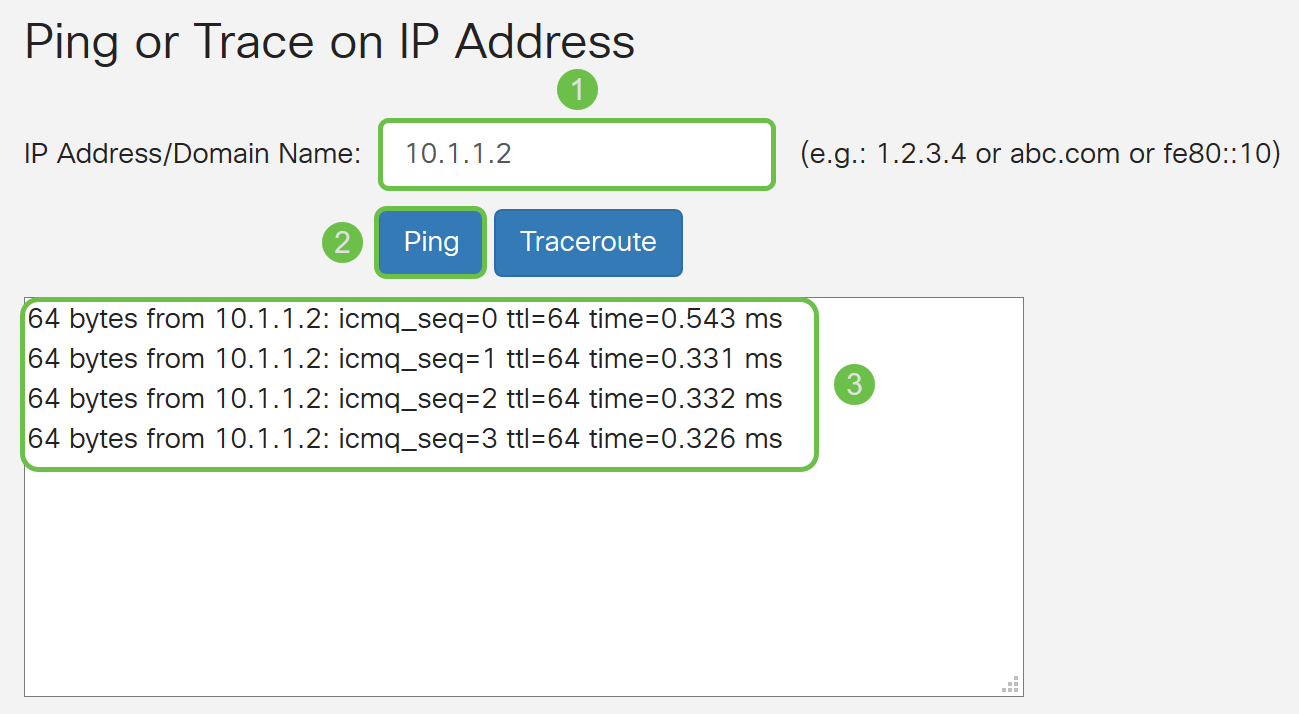
Step 3. Enter the IP address of the DMZ and click the Ping button.
In this example, we will be using the IP address of the DMZ that was configured in DMZ Host section.
Note: If the ping is successful you will see a message like shown below. If the ping fails, it means the DMZ is unable to be reached. Check your DMZ settings to ensure they are configured appropriately.
Conclusion
Now that you have completed the setup of the DMZ, you should be able to access the services from outside the LAN.