- How To Install Ruby On Rails On Ubuntu 20.04
- Prerequisites
- Install Dependencies
- Install Node.js
- Install Yarn
- Install Ruby
- Using rbenv (Recommended)
- Using RVM
- Install Rails
- Create Rails Application
- Install MariaDB Database
- Create Database
- Create Rails Application
- Validate Rails Application
- Conclusion
- Install Ruby On Rails on Ubuntu 22.04 Jammy Jellyfish
- Installing Ruby
- Configuring Git
- Installing Rails
- Setting Up A Database
- Setting Up MySQL
- Setting Up PostgreSQL
- Final Steps
- Editing Code
- Solutions
How To Install Ruby On Rails On Ubuntu 20.04
Ruby on Rails® simply known as Rails, is an open-source web application framework written in Ruby that helps you create highly powerful web sites and applications.
This post will help you to install Ruby on Rails on Ubuntu 20.04 using two methods:
Prerequisites
Install Dependencies
Install the curl and other required packages for Ruby on Rails installation.
sudo apt update sudo apt install -y curl gnupg2 dirmngr git-core zlib1g-dev build-essential libssl-dev libreadline-dev libyaml-dev libsqlite3-dev sqlite3 libxml2-dev libxslt1-dev libcurl4-openssl-dev software-properties-common libffi-dev Install Node.js
Rails need a Javascript runtime for application development in Linux. So, for that, we will install the LTS version of Node.js (v12.x).
If you want to use Node.js’s latest feature, install Node.js v14.x.
curl -sL https://deb.nodesource.com/setup_12.x | sudo -E bash - sudo apt install -y nodejs Install Yarn
Add the Yarn repository in case if you want to install the Yarn package manager to manage packages.
curl -sL https://dl.yarnpkg.com/debian/pubkey.gpg | sudo apt-key add - echo "deb https://dl.yarnpkg.com/debian/ stable main" | sudo tee /etc/apt/sources.list.d/yarn.list Install Yarn with the below command.
sudo apt update && sudo apt install -y yarn Install Ruby
Using rbenv (Recommended)
The rbenv lets you install and manage the versions of Ruby easily, and it is lighter than RVM.
To install rbenv on your system, run the below commands. The below commands will install rbenv into your home directory and set appropriate environment variables.
cd git clone https://github.com/rbenv/rbenv.git ~/.rbenv echo 'export PATH="$HOME/.rbenv/bin:$PATH"' >> ~/.bashrc echo 'eval "$(rbenv init -)"' >> ~/.bashrc exec $SHELL git clone https://github.com/rbenv/ruby-build.git ~/.rbenv/plugins/ruby-build echo 'export PATH="$HOME/.rbenv/plugins/ruby-build/bin:$PATH"' >> ~/.bashrc exec $SHELL For this post, we will install the latest version of Ruby (v2.7.1).
You can also install other versions of ruby with rbenv install command.
Set Ruby v2.7.1 as the default version for all login shells.
ruby 2.7.1p83 (2020-03-31 revision a0c7c23c9c) [x86_64-linux]
Using RVM
RVM stands for Ruby Version Manager. It helps install and manage ruby versions efficiently and independently by automatically downloading its dependencies.
Import public key in your system.
gpg --keyserver hkp://keys.gnupg.net --recv-keys 409B6B1796C275462A1703113804BB82D39DC0E3 7D2BAF1CF37B13E2069D6956105BD0E739499BDB Use the curl command to install RVM in your system.
curl -sSL https://get.rvm.io | bash -s stable Load RVM environment variables using the below command.
Use the following command to install Ruby 2.7.0.
You can also install other versions of ruby using the rvm install command.
Set default Ruby version to 2.7.1 in case your system has multiple versions of ruby.
Using /home/raj/.rvm/gems/ruby-2.7.1
ruby 2.7.1p83 (2020-03-31 revision a0c7c23c9c) [x86_64-linux]
Install Rails
Use gem install rails command to install the latest stable release of Rails.
You can also use gem install rails –version= to install a specific version of rails.
Create Rails Application
We will now create an application with MariaDB support to check the Ruby on Rails installation.
Install MariaDB Database
Rails uses sqlite3 as the default database, and it is not recommended to use it in a production environment. For production installation, you should probably need to go with MySQL or PostgreSQL.
For this demo, we will install MariaDB (v10.3) from the Ubuntu repository and use it as a database server.
sudo apt install -y mariadb-server mariadb-client Next, install the below development files package.
sudo apt install -y libmariadb-dev Create Database
Create a database user for your application.
CREATE USER 'itzgeek'@'localhost' IDENTIFIED BY 'password'; GRANT ALL PRIVILEGES ON *.* TO 'itzgeek'@'localhost'; exit
Install the MySQL2 extension.
Create Rails Application
Create an application with database support as a standard user.
NOTE: Running the Rails server as the root user is not recommended.
cd ~ rails new itzgeekapp -d mysql cd itzgeekapp Update configuration file with the database information.
Enter the DB user details shown like below.
default: &default adapter: mysql2 encoding: utf8mb4 pool: %> username: itzgeek password: password socket: /var/run/mysqld/mysqld.sock
Created database 'itzgeekapp_development' Created database 'itzgeekapp_test'
Validate Rails Application
Start the Rails application.
=> Booting Puma => Rails 6.0.3.1 application starting in development => Run `rails server --help` for more startup options Puma starting in single mode. * Version 4.3.5 (ruby 2.7.1-p83), codename: Mysterious Traveller * Min threads: 5, max threads: 5 * Environment: development * Listening on tcp://0.0.0.0:3000 Use Ctrl-C to stop
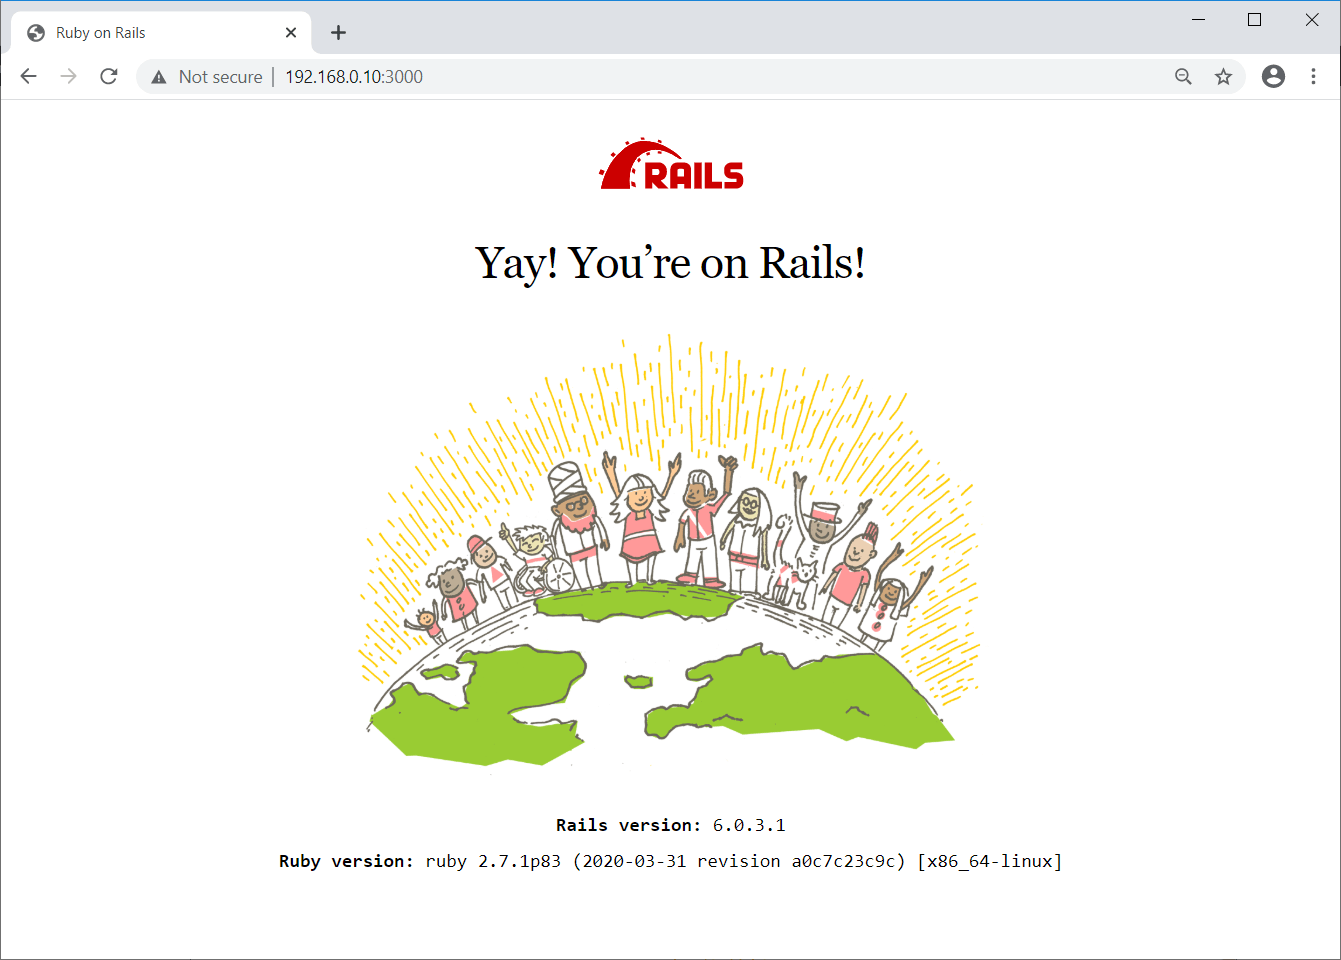
By now, the Rails application should be running on port 3000.
Access the Rails application by going to the below URL in a web browser.
You should get the following page.
Conclusion
That’s All. I hope you have learned how to install Ruby on Rails on Ubuntu 20.04.
Install Ruby On Rails on
Ubuntu 22.04 Jammy Jellyfish
We will be setting up a Ruby on Rails development environment on Ubuntu 22.04 Jammy Jellyfish.
The reason we’re going to be using Ubuntu is because the majority of code you write will run on a Linux server. Ubuntu is one of the easiest Linux distributions to use with lots of documentation so it’s a great one to start with.
You’ll want to download the latest Desktop version here: http://releases.ubuntu.com/22.04/
Some of you may choose to develop on Ubuntu Server so that your development environment matches your production server. You can find it on the same download link above.
Installing Ruby
The first step is to install dependencies for compiling Ruby. Open your Terminal and run the following commands to install them.
sudo apt-get update sudo apt-get install git-core zlib1g-dev build-essential libssl-dev libreadline-dev libyaml-dev libsqlite3-dev sqlite3 libxml2-dev libxslt1-dev libcurl4-openssl-dev software-properties-common libffi-devNext we’re going to be installing Ruby using a version manager called ASDF.
The reason we use ASDF over rbenv, rvm or others is that ASDF can manage other languages like Node.js too.
Installing asdf is a simple two step process. First you install asdf , and then add it to your shell:
cd git clone https://github.com/excid3/asdf.git ~/.asdf echo '. "$HOME/.asdf/asdf.sh"' >> ~/.bashrc echo '. "$HOME/.asdf/completions/asdf.bash"' >> ~/.bashrc echo 'legacy_version_file = yes' >> ~/.asdfrc echo 'export EDITOR="code --wait"' >> ~/.bashrc exec $SHELLThen we can install ASDF plugins for each language we want to use. For Rails, we can install Ruby and Node.js for our frontend Javascript.
asdf plugin add ruby asdf plugin add nodejsChoose the version of Ruby you want to install:
To install Ruby and set the default version, we’ll run the following commands:
asdf install ruby 3.2.2 asdf global ruby 3.2.2 # Update to the latest Rubygems version gem update --systemConfirm the default Ruby version matches the version you just installed.
which ruby #=> /home/username/.asdf/shims/ruby ruby -v #=> 3.2.2Then we can install the latest Node.js for handling Javascript in our Rails apps:
asdf install nodejs 18.16.1 asdf global nodejs 18.16.1 which node #=> /home/username/.asdf/shims/node node -v #=> 18.16.1 # Install yarn for Rails jsbundling/cssbundling or webpacker npm install -g yarnConfiguring Git
We’ll be using Git for our version control system so we’re going to set it up to match our Github account. If you don’t already have a Github account, make sure to register. It will come in handy for the future.
Replace my name and email address in the following steps with the ones you used for your Github account.
git config --global color.ui true git config --global user.name "YOUR NAME" git config --global user.email "YOUR@EMAIL.com" ssh-keygen -t ed25519 -C "YOUR@EMAIL.com"The next step is to take the newly generated SSH key and add it to your Github account. You want to copy and paste the output of the following command and paste it here.
Once you’ve done this, you can check and see if it worked:
You should get a message like this:
Hi excid3! You've successfully authenticated, but GitHub does not provide shell access.Installing Rails
Choose the version of Rails you want to install:
Now that you’ve installed Rails, you can run the rails -v command to make sure you have everything installed correctly:
If you get a different result for some reason, it means your environment may not be setup properly.
Setting Up A Database
Rails ships with sqlite3 as the default database. Chances are you won’t want to use it because it’s stored as a simple file on disk. You’ll probably want something more robust like MySQL or PostgreSQL.
There is a lot of documentation on both, so you can just pick one that seems like you’ll be more comfortable with.
If you’re new to Ruby on Rails or databases in general, I strongly recommend setting up PostgreSQL.
If you’re coming from PHP, you may already be familiar with MySQL.
Setting Up MySQL
You can install MySQL server and client from the packages in the Ubuntu repository. As part of the installation process, you’ll set the password for the root user. This information will go into your Rails app’s database.yml file in the future.
sudo apt-get install mysql-server mysql-client libmysqlclient-devThe libmysqlclient-dev package gives you the necessary files to compile the mysql2 gem which is what Rails will use to connect to MySQL when you setup your Rails app.
When you’re finished, you can skip to the Final Steps.
Setting Up PostgreSQL
For PostgreSQL, we’re going to add a new repository to easily install a recent version of Postgres.
sudo apt install postgresql libpq-devThe postgres installation doesn’t setup a user for you, so you’ll need to follow these steps to create a user with permission to create databases. Feel free to replace chris with your username.
sudo -u postgres createuser chris -s # If you would like to set a password for the user, you can do the following sudo -u postgres psql postgres=# \password chrisFinal Steps
And now for the moment of truth. Let’s create your first Rails application:
#### If you want to use SQLite (not recommended) rails new myapp #### If you want to use MySQL rails new myapp -d mysql #### If you want to use Postgres # Note that this will expect a postgres user with the same username # as your app, you may need to edit config/database.yml to match the # user you created earlier rails new myapp -d postgresql # Move into the application directory cd myapp # If you setup MySQL or Postgres with a username/password, modify the # config/database.yml file to contain the username/password that you specified # Create the database rake db:create rails serverYou can now visit http://localhost:3000 to view your new website!
Now that you’ve got your machine setup, it’s time to start building some Rails applications.
Getting an «Access denied» error?
If you received an error that said Access denied for user ‘root’@’localhost’ (using password: NO) then you need to update your config/database.yml file to match the database username and password.
Editing Code
Then run Ctrl+Shift+P and select «Install ‘code’ command in PATH». This will add the code command to your shell so you can open up VS Code from your terminal.
Lastly, run this command to configure VS Code as your editor. This allows you to edit Rails credentials in your terminal.
echo 'export EDITOR="code --wait"' >> ~/.bashrc exec $SHELLThat’s it! Let us know in the comments below if you run into any issues or have any other protips to share!
Screencast tutorials to help you learn Ruby on Rails, Javascript, Hotwire, Turbo, Stimulus.js, PostgreSQL, MySQL, Ubuntu, and more. Icons by Icons8