- How to Run Linux or Unix on Windows 10 with VirtualBox
- What is VirtualBox?
- Step1: Install Oracle VM VirtualBox
- Step2: Install Linux
- Run Ubuntu on Windows 10
- About Subhash D
- Comments
- Share Your Views: Cancel reply
- Recent Posts
- Как установить Linux используя Virtualbox
- Install Linux Inside Windows Using VirtualBox [Step by Step Guide]
- Installing Linux inside Windows using VirtualBox
- Requirements
- Troubleshooting: AMD-V is disabled in the BIOS
- Any questions?
How to Run Linux or Unix on Windows 10 with VirtualBox
As a student of computer science student, I was always happy to own a Windows laptop. In my third year of engineering, I had to practice Linux commands for Operating systems practical as mentioned in the academic curriculum. When I talked to my laptop vendor, I got two options either uninstall Windows and Install Linux or Install Linux in dual booting. But I was not happy to implement any of these two solutions. I explored and found that I can use VirtualBox on my Windows laptop and run all the Linux commands but only at the command line. That’s a relief to hear. So here is the list of steps you need to follow if you too need to Run Linux or Unix commands in Windows with VirtualBox.
What is VirtualBox?
VirtualBox is an open-source virtualization tool developed by Oracle that can be used for personal or professional assignments. It is a good solution for those people who need to install and run multiple operating systems on one machine.
Step1: Install Oracle VM VirtualBox
To install and use VirtualBox, first ensure that your system has at least 4GB RAM for an efficient virtualization solution. Now download the installation file from Downloads and save it to the local storage drive.
Double-click the downloaded file and execute the file to run it.

Follow the installation process by pressing the Next Buttons on screens appearing on your screen. Wait until the installation is completed. Press Finish to complete the setup process.

Now launch the Oracle VM VirtualBox manager. Here you can install the OS you need to run. We will show you it with Ubuntu.

Step2: Install Linux
The second step is to download Linux ISO files from a reliable source. I downloaded the Linux ISO file from Ubuntu’s official site at https://www.ubuntu.com/desktop.
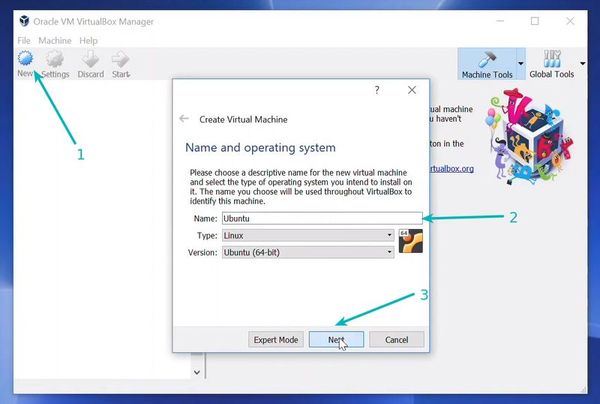
To create a Virtual Machine with Ubuntu as OS you have to install it in the Oracle Virtual box. Press Ctrl+N or select the New from Machine option or press New Icon on the manager. Enter the name of the Operating System, Destination folder in your computer; Select the type of Operating system and its version in this dialog box. Press Next once you are done.

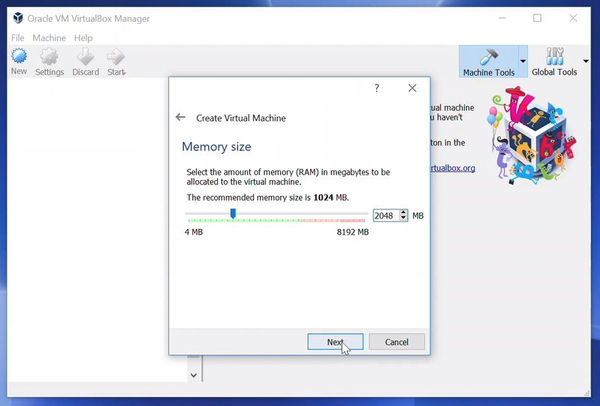
I have allocated 1GB of RAM from the 4GB available RAM for the VM. You can allocate any amount that you can spare from your computer’s main memory depending upon the work that you will be doing in Linux.

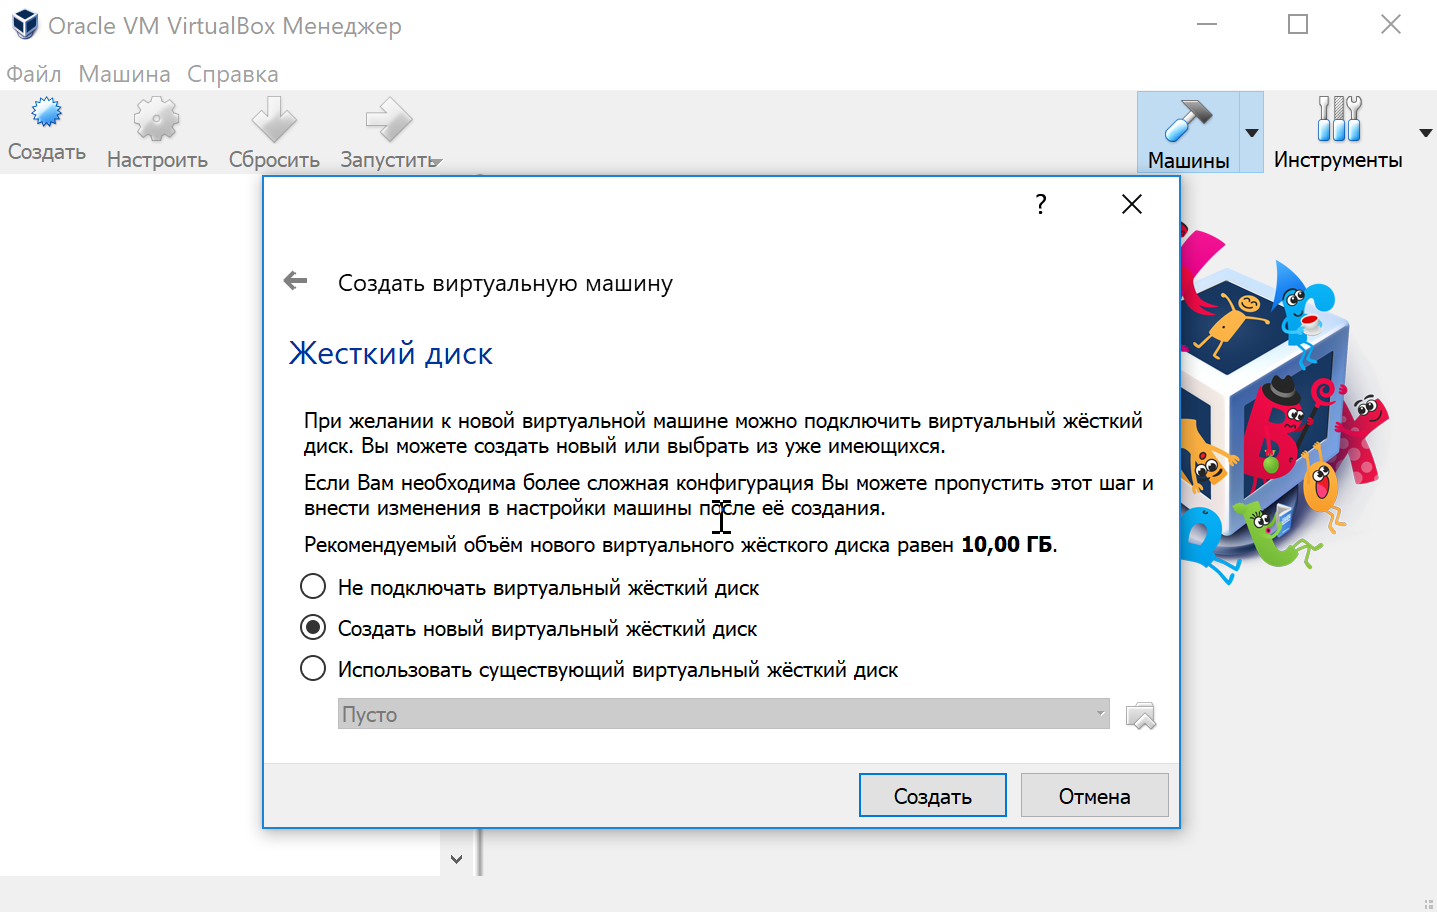
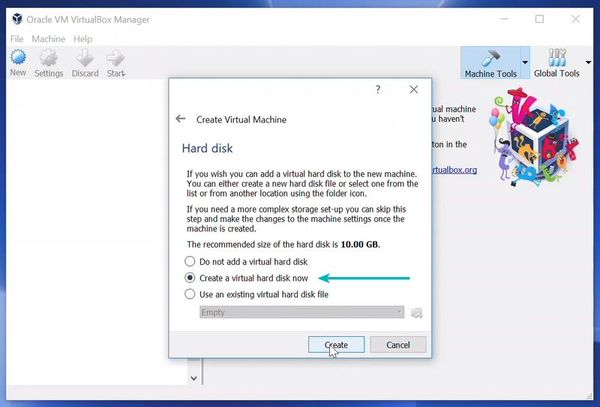
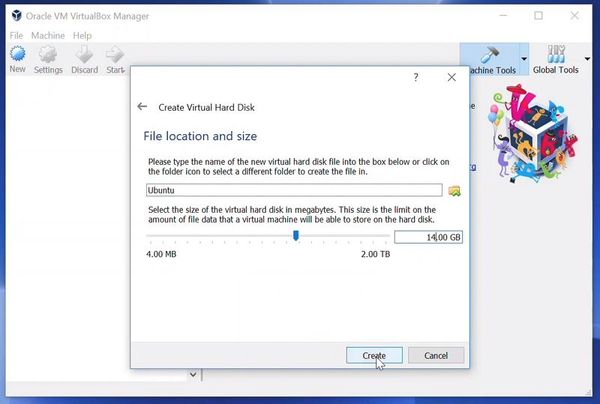
Now is the time to create a virtual hard disk. You can select the size of your virtual hard disk by pressing the Create button and selecting the size from the slider bar similar to the Memory Size Dialog box seen previously.

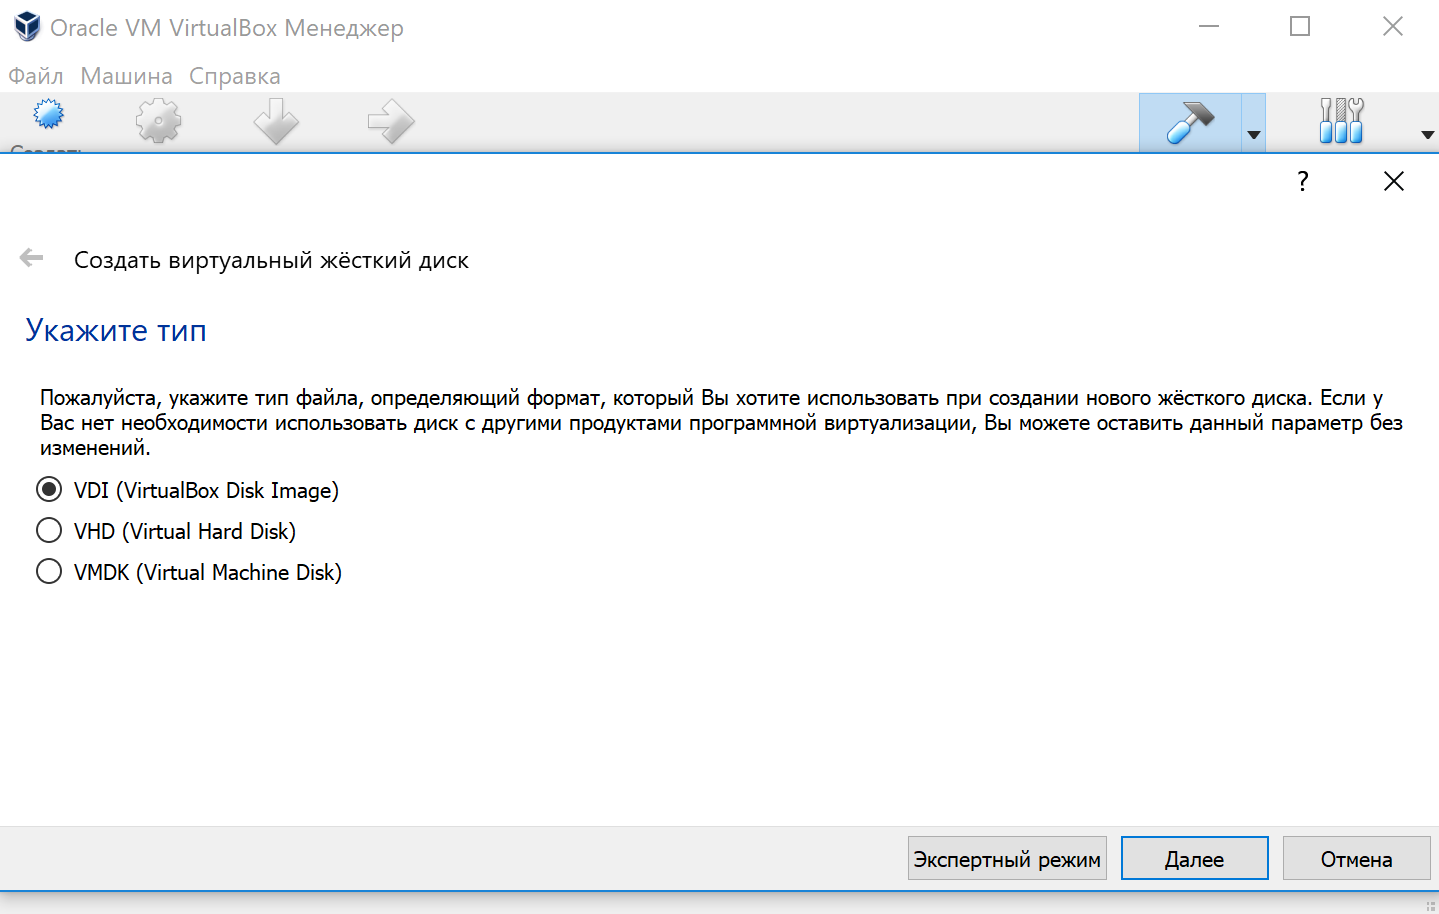
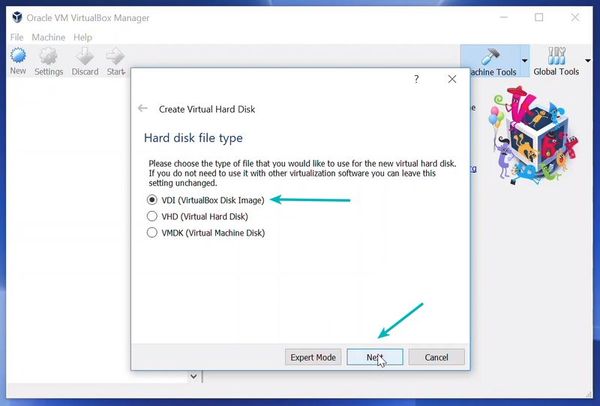
Select the VDI option and press Next.

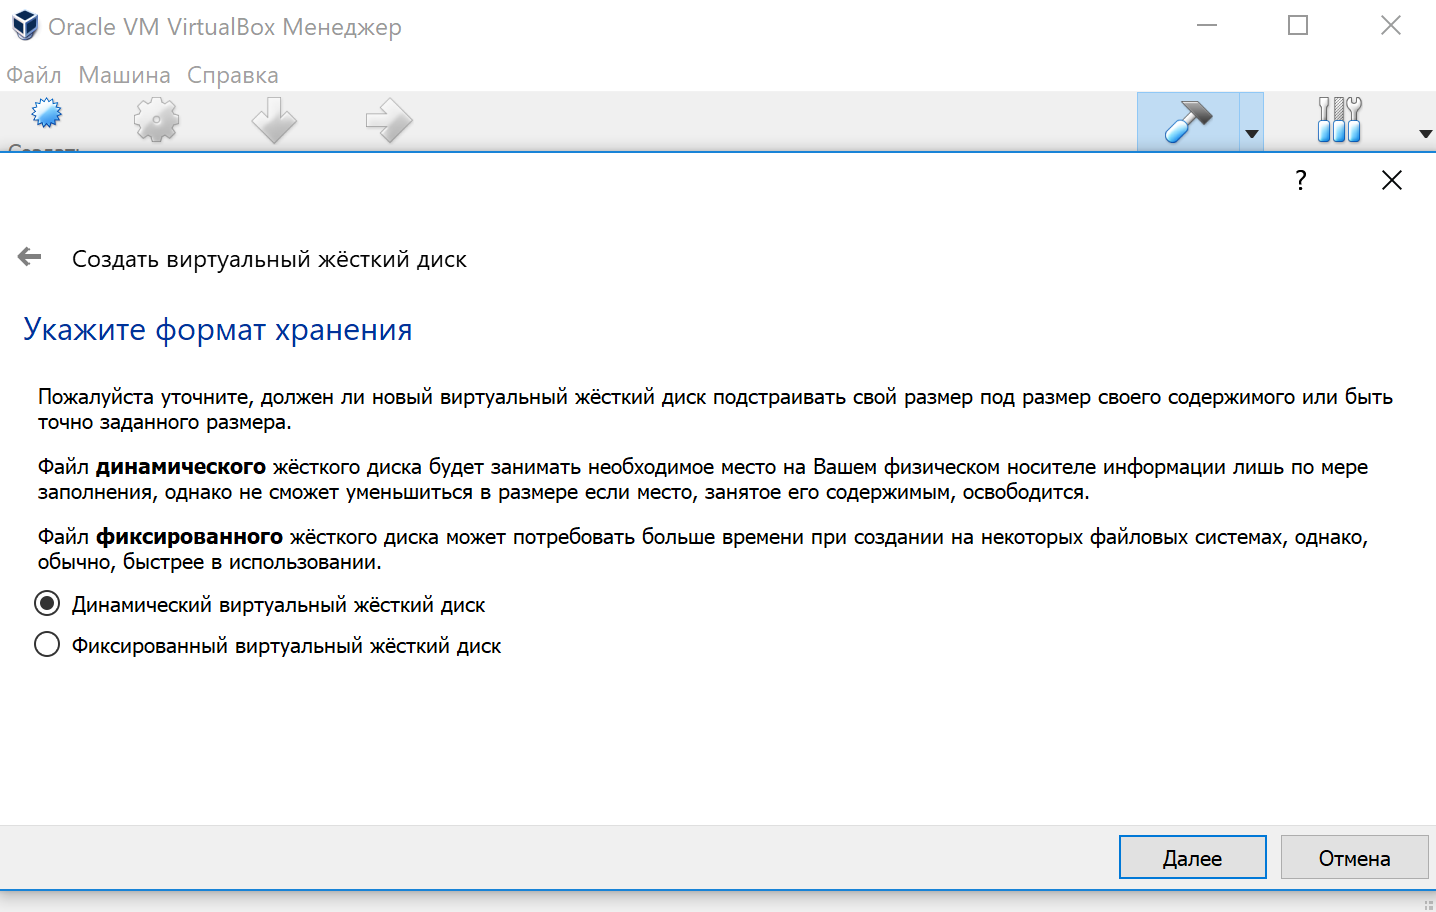
Press Next in the storage allocation window.

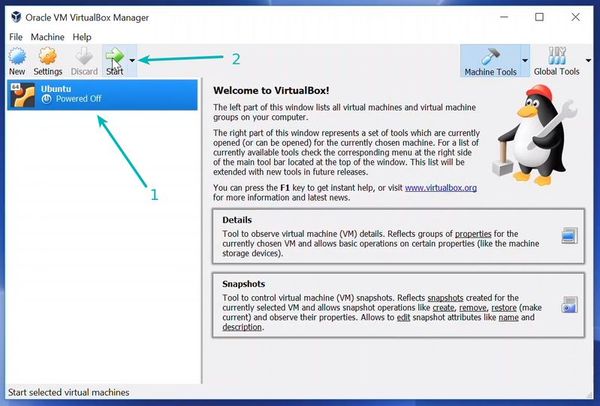
This is the screen that will be shown displaying the name of your VM created for Ubuntu. Now is the time for the installation of the OS in the Virtual Machine you have created on your computer.
From the Oracle VM, VirtualBox Manager ensures that Ubuntu is selected and press the Start icon.

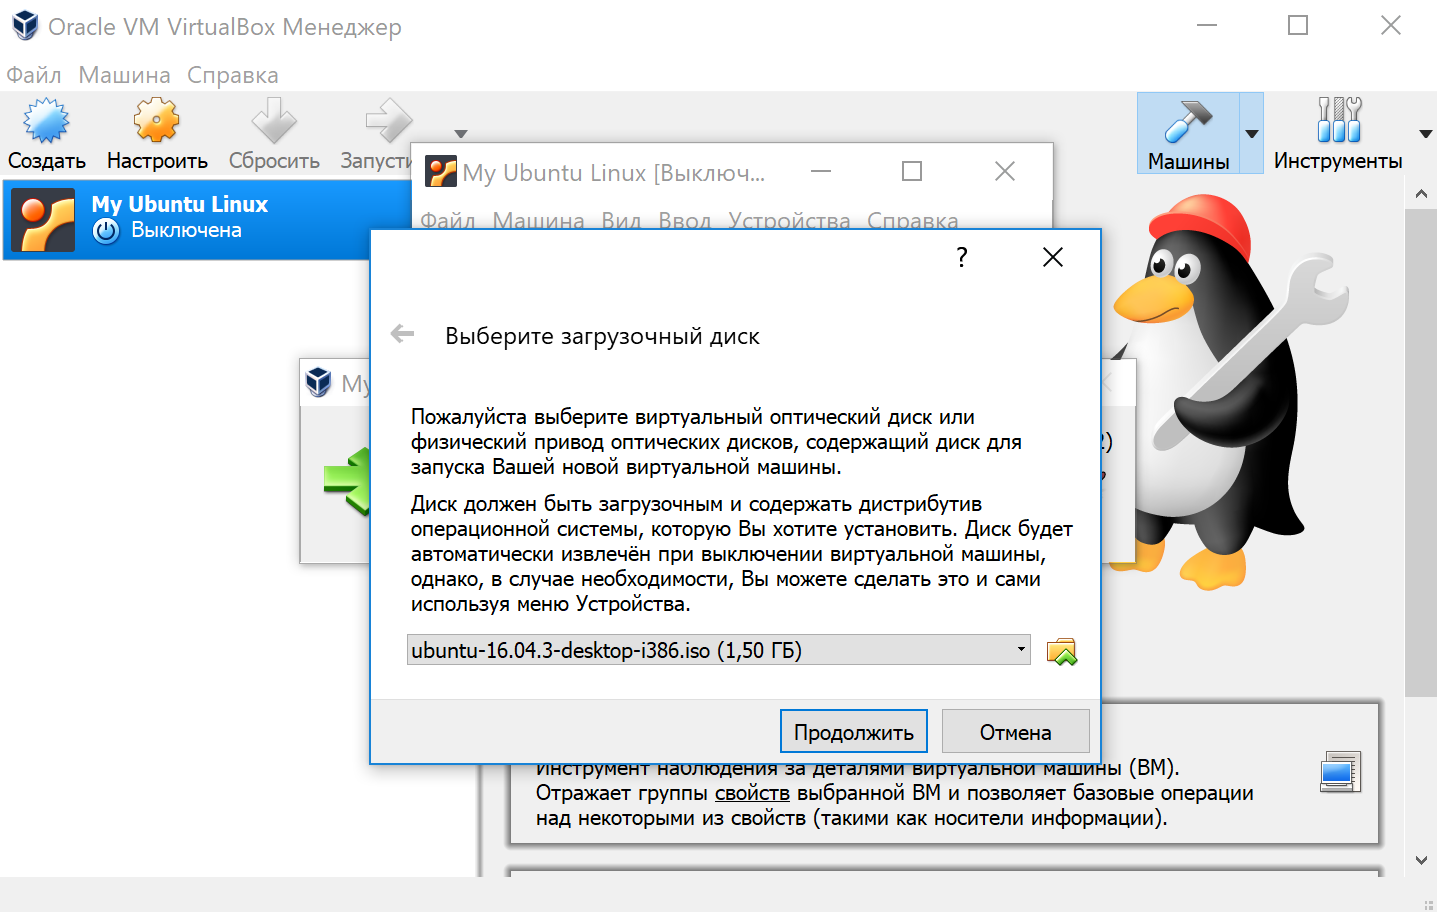
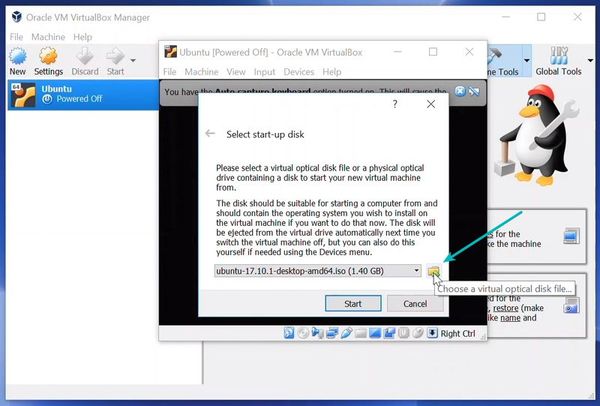
If the Ubuntu ISO file is not detected by the VM installer, select it by pressing the directory icon next to the drop-down option.

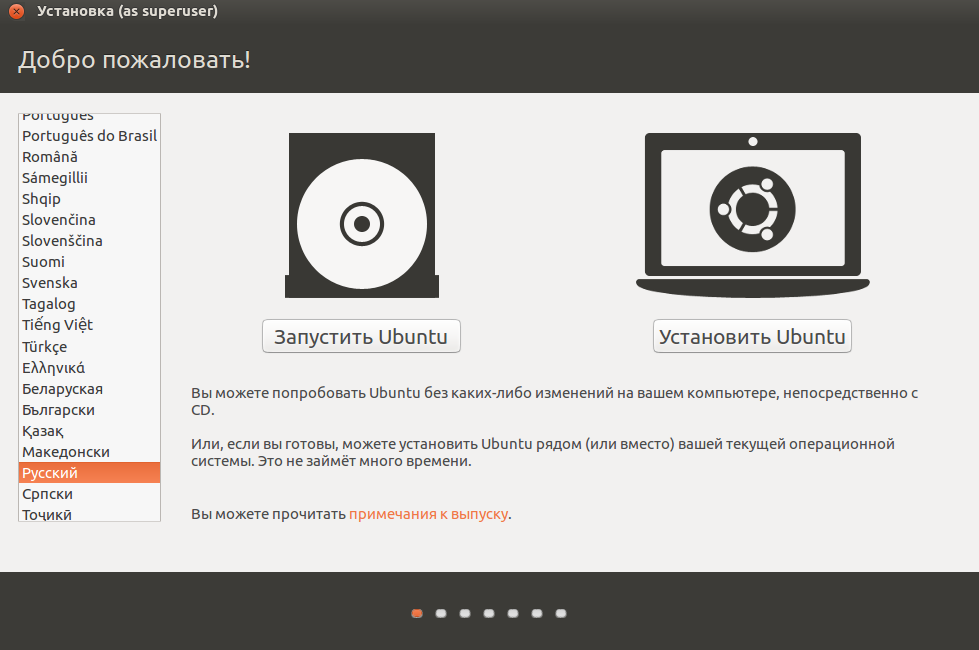
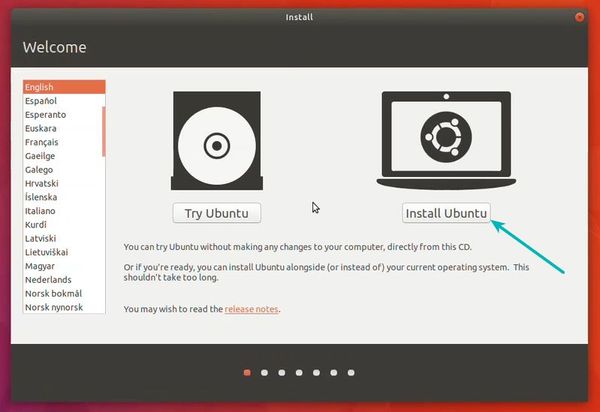
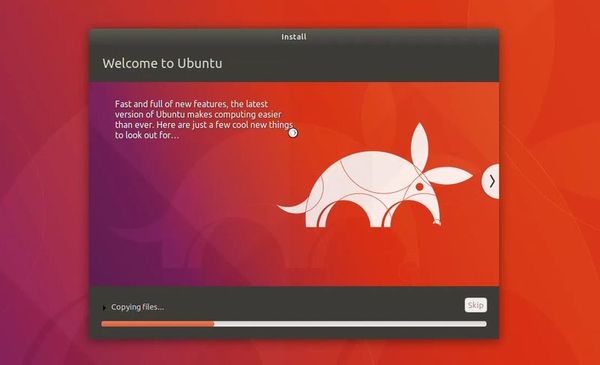
Press the “Install Ubuntu” Option and installation will start. It will take 8 to 10 minutes.

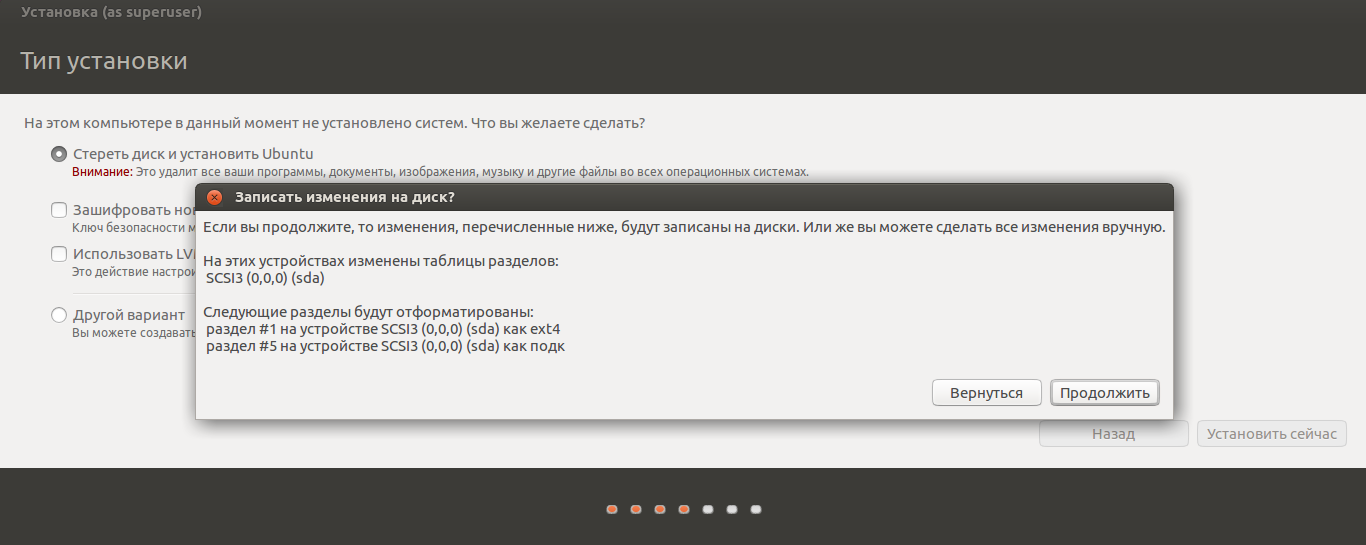
Keep the “Erase disk and install Ubuntu” option selected. There is no threat to the Windows OS of your machine because the part of the hard disk you allocated to this VM will be erased. So don’t be scared, believe me, all you need is to press “Install Now” now.


And the installation will be complete. After installation, it may seem that the Ubuntu screen is not responding. Just close the window and start the Oracle Virtual Box again. Select the Ubuntu VM from the Manager window and press the Start icon. Ubuntu will start running in the VM and you have to select the user and enter the password to sign in.

This is the VM running Ubuntu for you. If you want to run the Unix commands, search for the terminal and execute it.

This is the running terminal ready to accept Linux commands.

I have experimented with the ‘ls’ command for you

Run Ubuntu on Windows 10
So as you now understand that it is so easy to create a Virtual Machine in windows with the help of Oracle Virtual Box and run any OS you need. Here we have done with Ubuntu. Try with another OS of your choice and share your experience with us.
About Subhash D
A tech-enthusiast, Subhash is a Graduate Engineer and Microsoft Certified Systems Engineer. Founder of it4nextgen, he has spent more than 20 years in the IT industry.
Comments
while typing password you cannot see it just type the password and press enter. On the left side hover your mouse until you see ubuntu updates and download those. Done, you are good to go.
Share Your Views: Cancel reply
Recent Posts
Как установить Linux используя Virtualbox
Если вы работаете на Windows версии ниже 10 или хотите получить изолированную операционную систему Linux, да ещё и с графическим окружением, то можно воспользоваться сторонним бесплатным программным продуктом под названием VirtualBox.
Общая информация о технологии виртуализации
- Инсталлятор Oracle VM VirtualBox для Windows Hosts Ссылка на скачивание: Download Oracle VM VirtualBox
- Образ операционной системы Ubuntu Linux в формате ISO Ссылка на скачивание: Download Ubuntu Desktop
Для начала необходимо установить и запустить приложение VirtualBox.

Нажимаем кнопку «Создать», выбираем из списка тип операционной системы «Linux», если нет своих предпочтений по дистрибутиву, то выбираем версию «Ubuntu» 32 или 64 битной архитектуры, а название можно ввести любое.

Указываем объём оперативной памяти выделенной под виртуальную систему. Рекомендованный объём составляет 1024 MB.

Указываем объём дискового пространства выделенного под виртуальную систему. Рекомендованный объём составляет 10 GB.
Тип виртуального жёсткого диска можно оставить как есть — VDI (VirtualBox Disk Image).
Формат хранения данных выберите исходя из личных предпочтений. Динамический виртуальный жёсткий диск растёт по мере заполнения, а фиксированный создаётся сразу того размера, который был указан на предыдущем шаге.
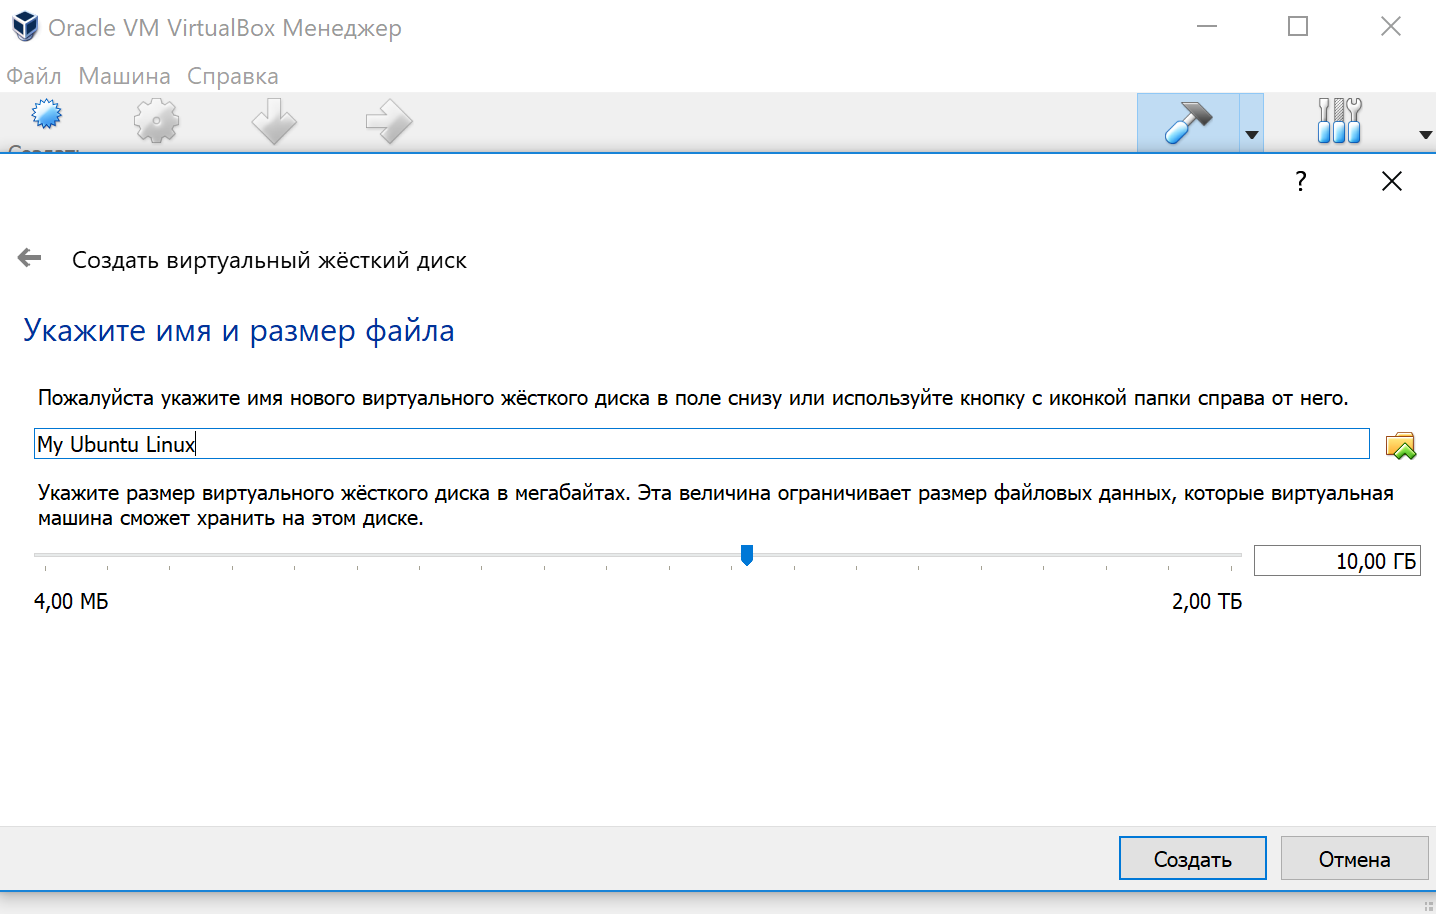
Имя и размер файла можно оставить без изменений и сразу нажать на кнопку «Создать».
По завершению у вас будет создана виртуальная машина, но она пока без операционной системы. Для того чтобы её установить, нужно скачать Ubuntu Linux (32-bit или 64-bit, в зависимости от того, что было выбрано на шаге, где мы указывали тип ОС).
Нажатие на кнопку «Запустить» должно привести к появлению диалогового окна с предложением указать путь до скаченного ISO образа. Сделайте этого и нажмите кнопку «Продолжить»
Виртуальная машина автоматически будет выполнять часть процессов, но в некоторых операциях всё же потребуется участие пользователя.
Выберите языковую поддержку в списке слева и нажмите «Установить Ubuntu».
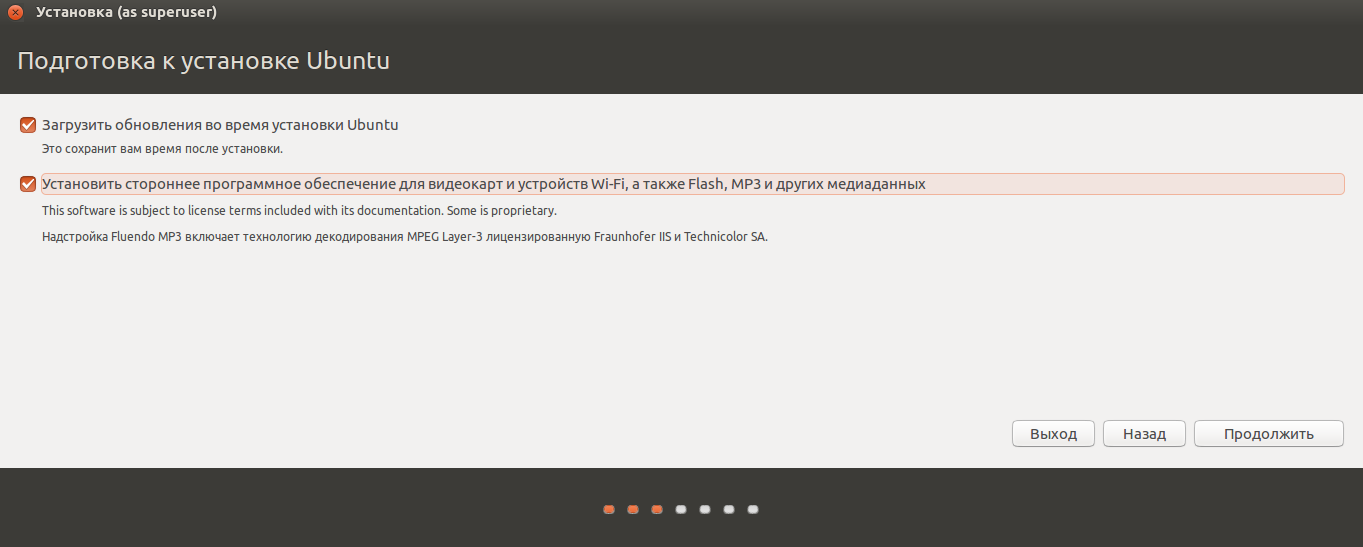
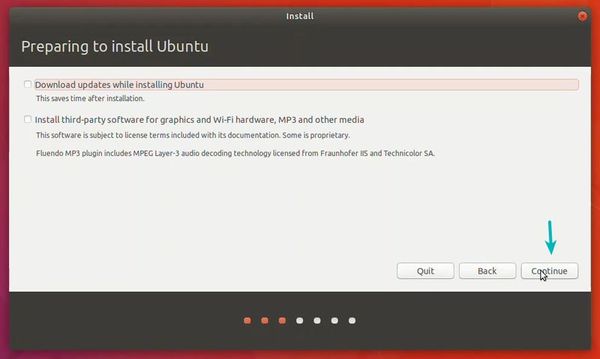
Можно загрузить обновления сразу на этапе установки.
Без особых опасений выбираем пункт «Стереть диск и установить Ubuntu» и двигаемся дальше.
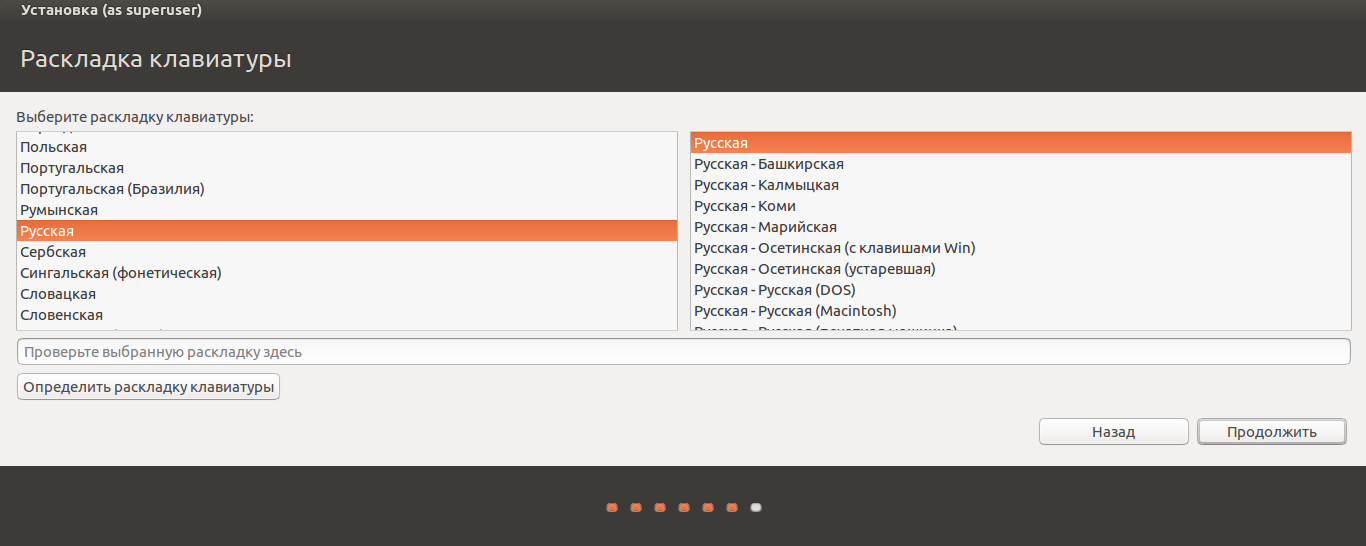
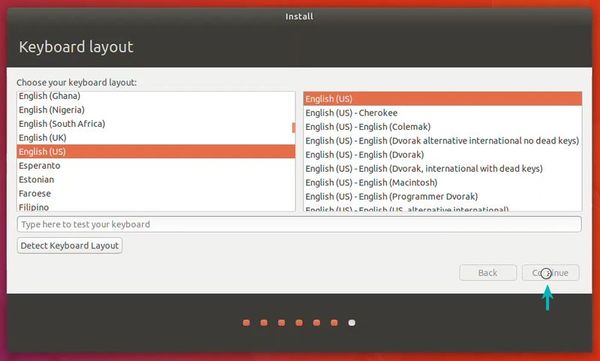
Если вы выбрали русский язык на первом этапе установки, то вам предложат русскую раскладку клавиатуры в качестве дополнительной.
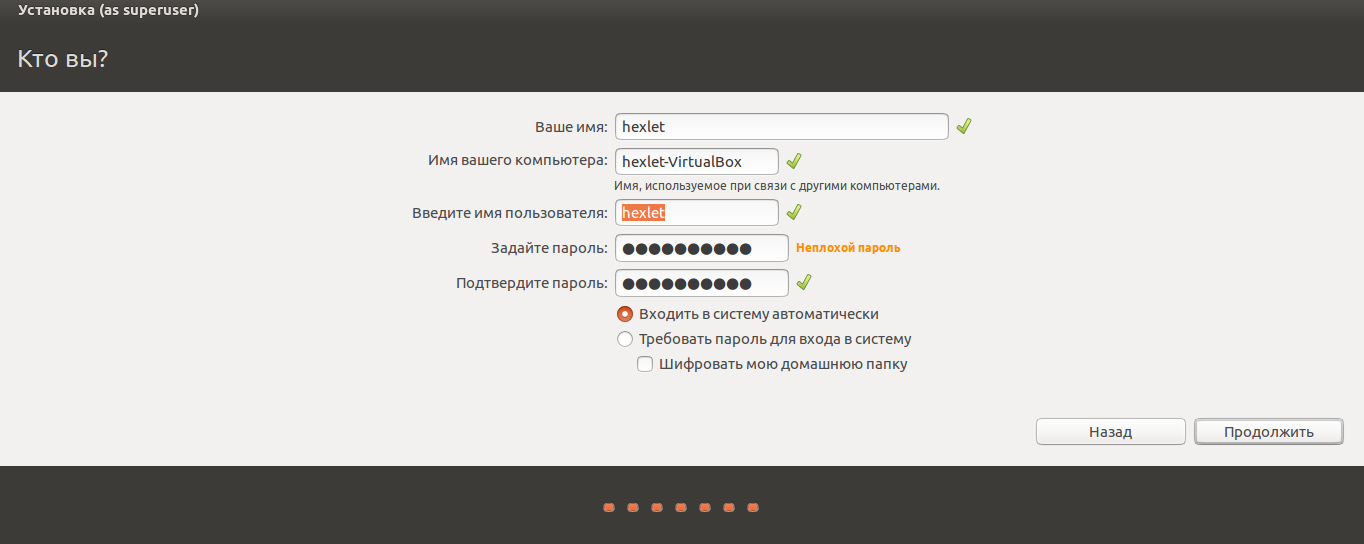
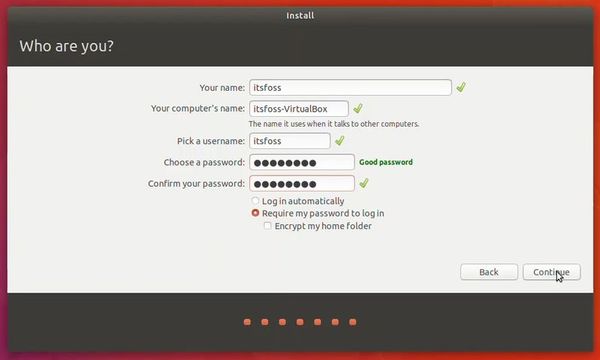
Заполните поля и выберите режим входа в систему.
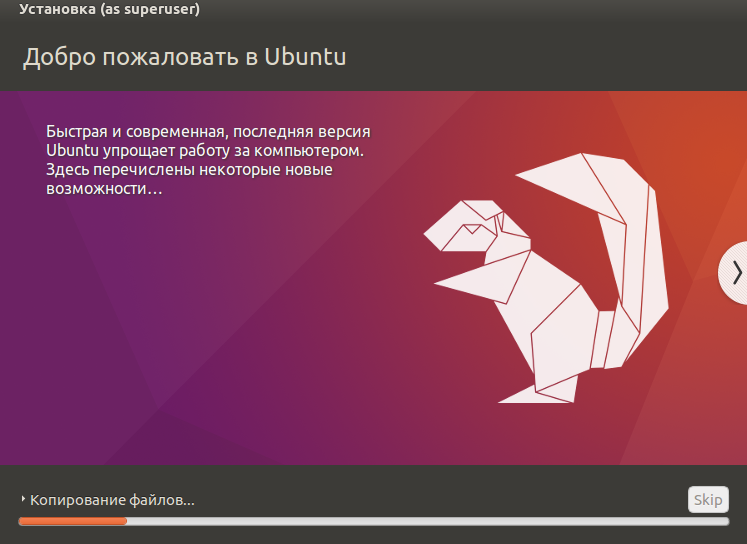
Далее начнётся процедура разметки диска, переноса файлов, установка обновлений и другие процессы, которые не потребуют прямого участия пользователя.
По завершению виртуальный компьютер перезагрузится и вы попадёте в уже установленную среду Ubuntu Linux.
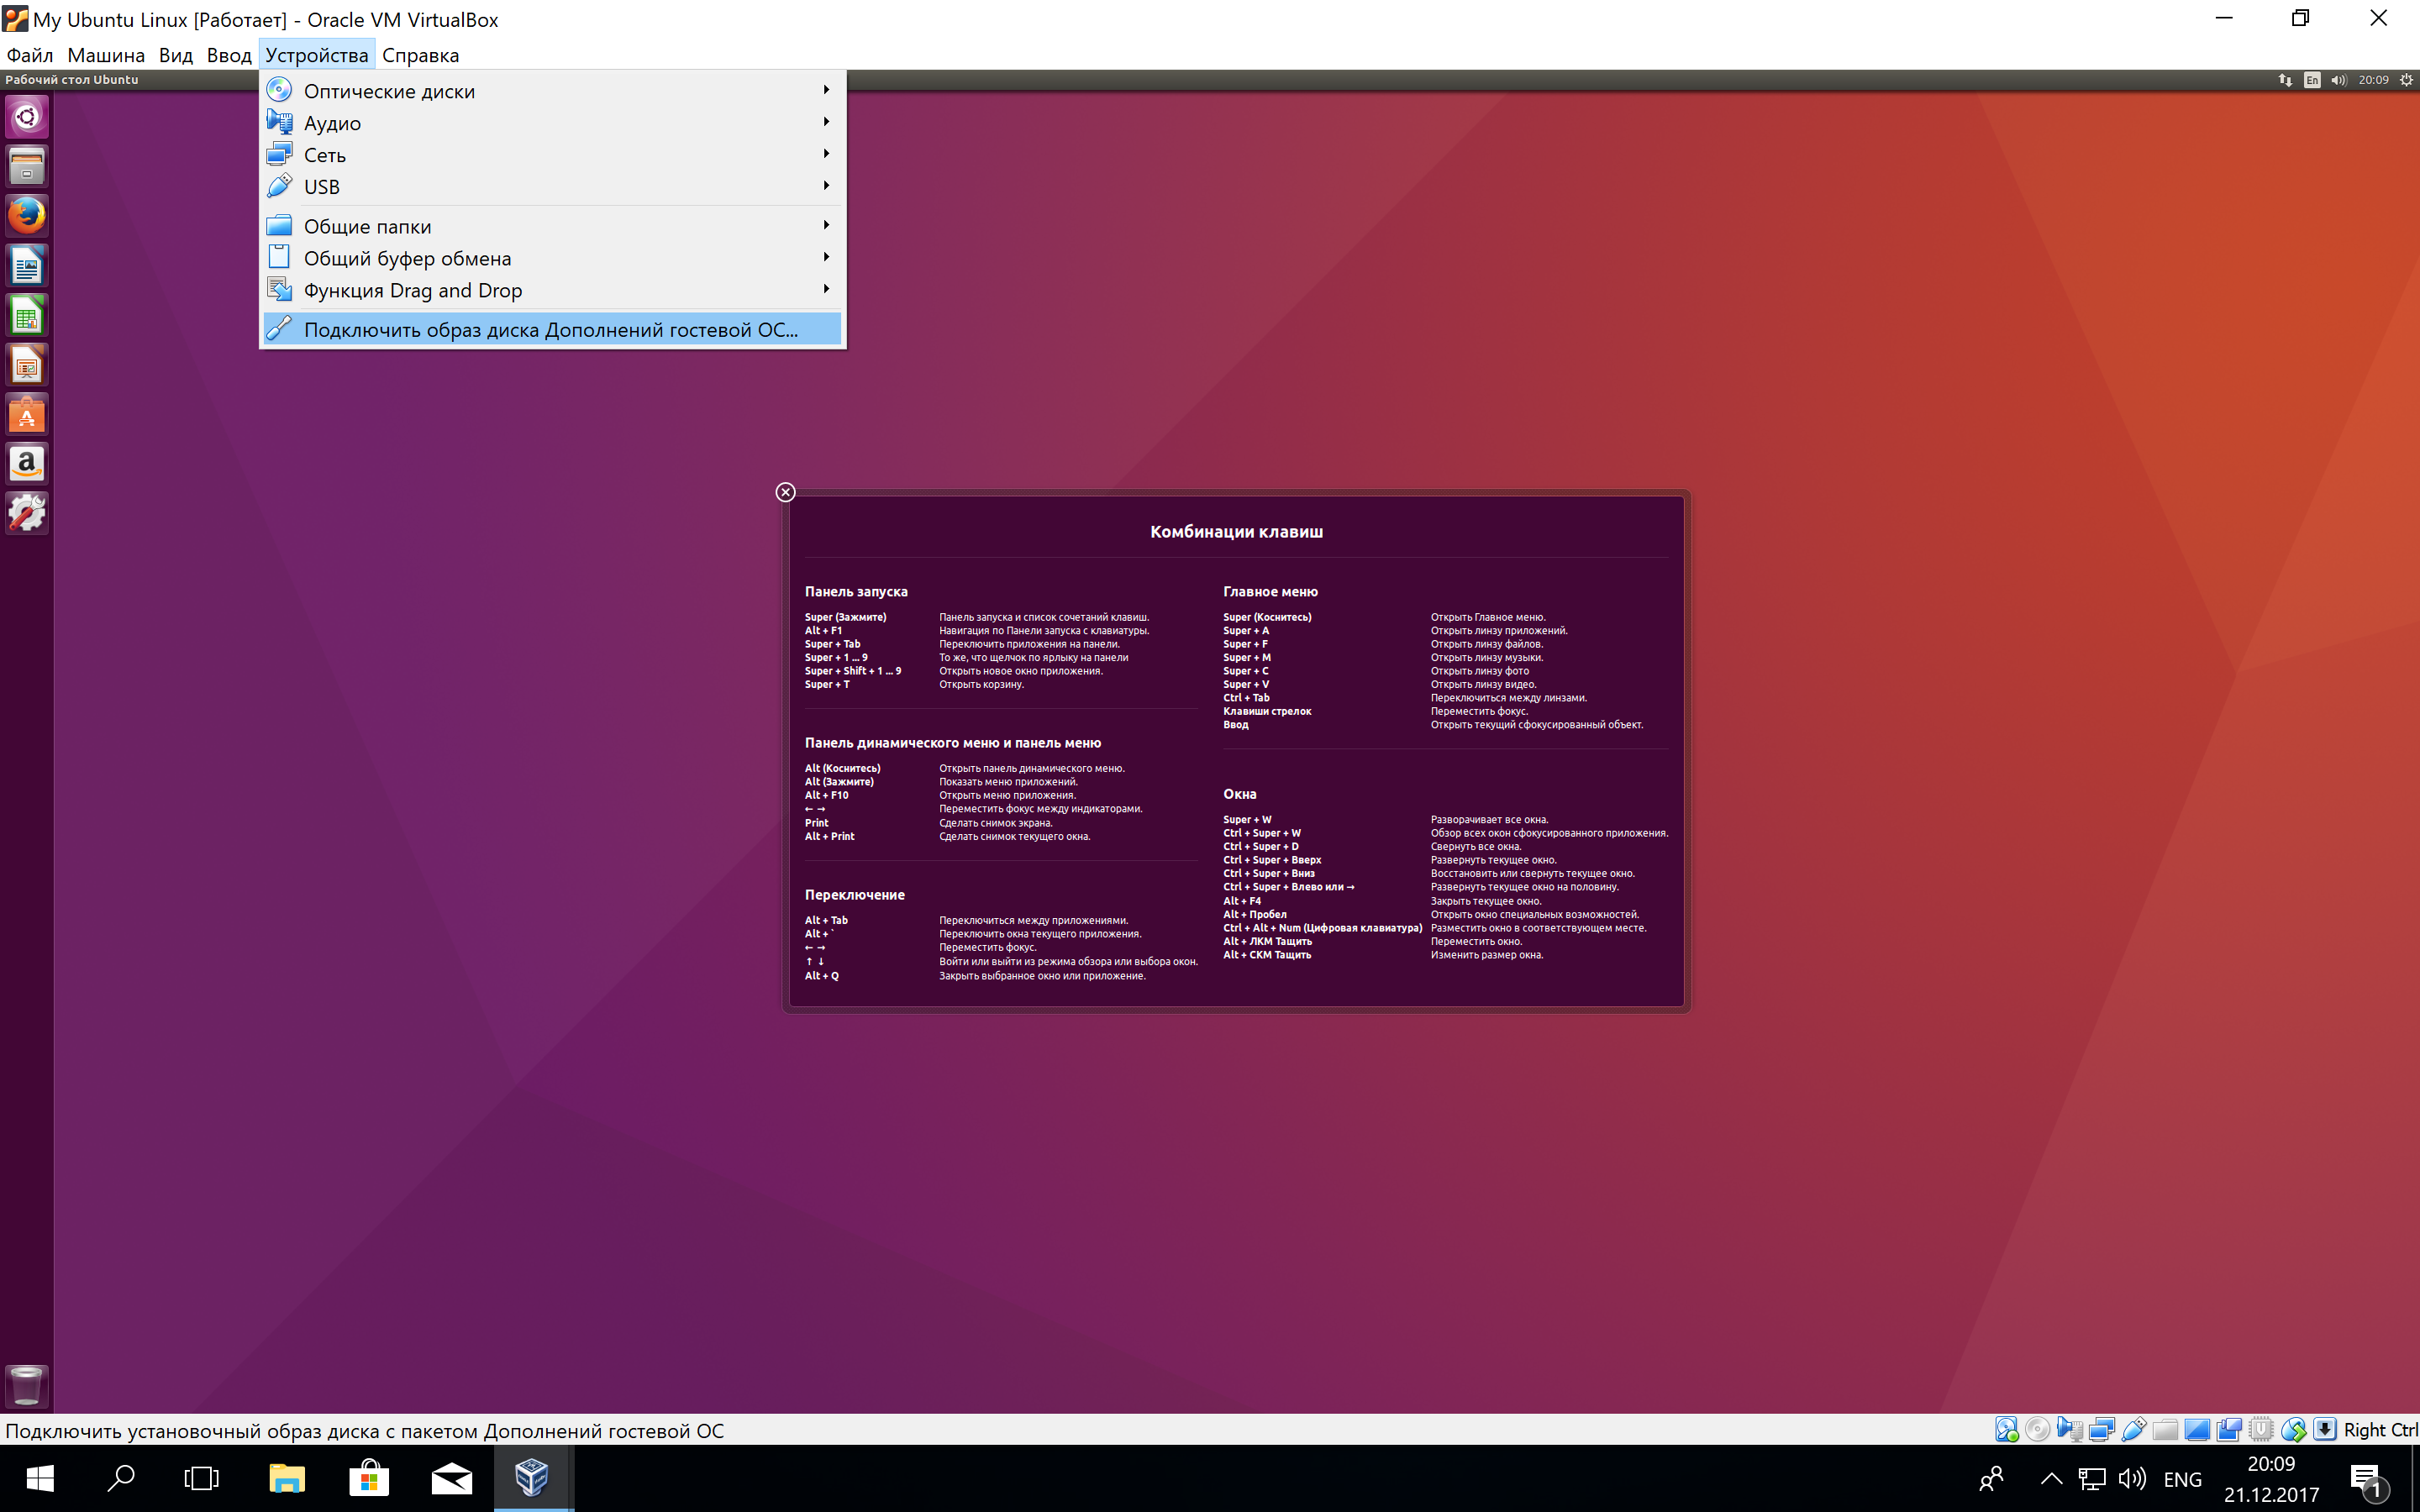
Но это ещё не всё. Весьма желательно установить так называемые «Дополнения гостевой ОС». Они содержат драйверы и прочие системные файлы, необходимые для наилучшей производительности и обеспечения дополнительных функциональных возможностей между виртуальной и гостевой операционными системами.
Выберите пункт меню «Устройства» программы VirtualBox, подпункт «Подключить образ диска Дополнений гостевой ОС…» и дождитесь предложение запустить приложение для автоматического запуска с виртуального привода.
Виртуальная ОС Ubuntu Linux установлена и готова к работе.
Ссылка на официальную документацию: Oracle VM VirtualBox User Manual
Install Linux Inside Windows Using VirtualBox [Step by Step Guide]
Using Linux in a virtual machine allows you to try Linux within Windows. This step-by-step guide shows you how to install Linux inside Windows using VirtualBox.
- You can clean everything from your system and install Linux.
- You can dual boot Linux with Windows and choose one of the operating systems at the boot time.
- You can even install Linux within Windows from Microsoft Store (though this only provides you with the command line version of Linux).
But if you want to use Linux without making any changes to your Windows system, you can go the virtual machine route.
Basically, you install and use Linux like any regular Windows application. When you just want to try Linux for limited use, virtual machines provide the most comfortable option.
In this tutorial, I’ll show you how to install Linux inside Windows using VirtualBox.
Installing Linux inside Windows using VirtualBox
VirtualBox is free and open source virtualization software from Oracle. It enables you to install other operating systems in virtual machines. It is recommended that your system should have at least 4GB of RAM to get decent performance from the virtual operating system.
Requirements
- Good internet connection to download software and Linux ISO. (You can also use some other computer with an internet connection to download these files.)
- Windows system with at least 12 GB of free space.
- Windows system with 4GB of RAM. (It can work with less RAM as well, but your system will start to lag while using Linux in the virtual machine.)
- Make sure to enable virtualization in the BIOS (some system need it)
I am installing Ubuntu 17.10 in this tutorial, but the same steps apply to any other Linux distribution. If you prefer videos, you can watch the one below from our YouTube channel:
Allocate RAM to the virtual OS. My system has 8GB of RAM and I decided to allocate 2GB of it. You can use more RAM if your system has enough extra.
Create a virtual disk. This serves as the hard disk of the virtual Linux system. It is where the virtual system will store its files.
I recommend using the VDI file type here.
You can choose either the “Dynamically allocated” or the “Fixed size” option for creating the virtual hard disk.

The recommended size is 10 GB. However, I suggest giving it more space if possible. 15-20 GB is preferable.
Once everything is in place, it’s time to boot that ISO and install Linux as a virtual operating system.
If VirtualBox doesn’t detect the Linux ISO, browse to its location by clicking the folder icon as shown in the picture below:
Soon you’ll find yourself inside Linux. You should be presented with the option to install it.
Things from here are Ubuntu-specific. Other Linux distributions may have slightly different looking steps, but it won’t be complicated at all.
Select ‘Erase disk and install Ubuntu’. Don’t worry. It won’t delete anything on your Windows operating system. You are using the virtual disk space of 15-20GB that we created in previous steps. It won’t impact the real operating system.


Things are pretty straightforward from here.
Try to choose a password that you can remember. You can also reset the password in Ubuntu if you forget it.
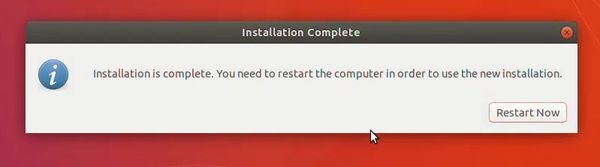
You are almost done. It may take 10-15 minutes to complete the installation.
Once the installation finishes, restart the virtual system.
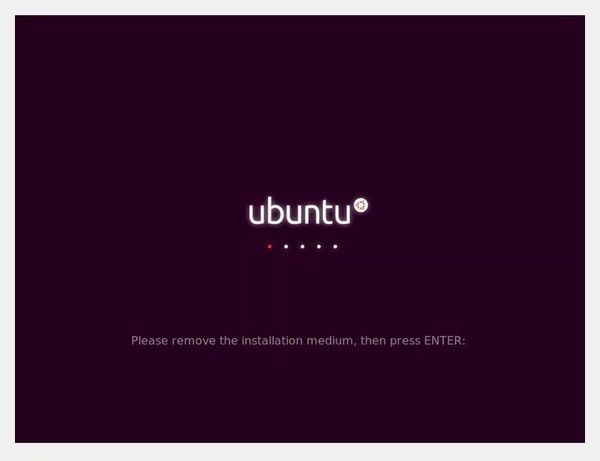
If it gets stuck on the screen below, you may close the VirtualBox.
And that’s all. From now on, just click on the installed Linux virtual machine. You’ll be able to use it directly. The installation is a one time only process. You can even delete the Linux ISO that you downloaded earlier.
I strongly recommend using VirtualBox Guest Additions on Ubuntu for it provides better compatibility and you would be able to use copy-paste and drag-drop between Linux and Windows.
Troubleshooting: AMD-V is disabled in the BIOS
If you face this error while using the virtual machine:
Not in a hypervisor partition (HVP=0) (VERR_NEM_NOT_AVAILABLE).
AMD-V is disabled in the BIOS (or by the host OS) (VERR_SVM_DISABLED).
Result Code:
E_FAIL (0x80004005)
Component:
ConsoleWrap
Interface:
IConsole
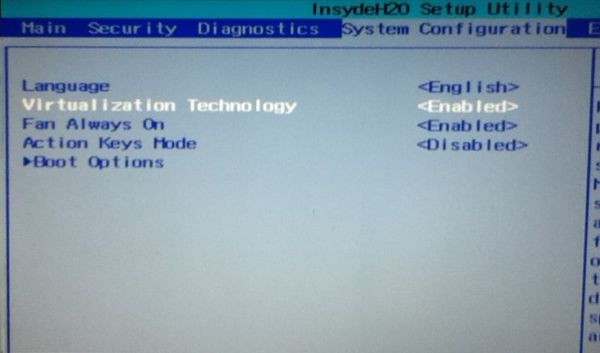
This means that virtualization is blocked on your system. You’ll have to activate it in your BIOS settings first.
Reboot your system and as soon as it powers up, press F2/F10/F12 to access BIOS settings. You have to look for the virtualization option in the BIOS and enable it.
Any questions?
That’s all you need to do to install Linux in VirtualBox on Windows.
If you have any doubts, or if you encounter any issues, please feel free to ask your questions in the comment box below.