- Running Unity Editor on Linux dedicated servers
- UnityHub installation
- Install Unity Editor using UnityHub
- Activate license
- Install modules
- Adding Android support
- Linux
- Additional resources:
- Linux
- Additional resources:
- Unity Editor is Now Available for Linux! Learn to Install it
- Official Support for Ubuntu and CentOS 7
- Step 1: Installing Unity Hub on Linux
- Method 1: Install Unity Hub via terminal (for Ubuntu and Debian)
- Method 2: Install Unity Hub through Flatpak
- Method 3: Install Unity Hub using AppImage
- Step 2: Installing Unity using the Unity Hub tool
- Unity Enterprises
- Wrapping Up
Running Unity Editor on Linux dedicated servers
Unity supports running on dedicated Linux servers, but there are some gotchas on how to install Unity, activate license, install modules, and make it run properly.
Running Unity on cloud servers can be useful for many cases: — using it for your CI/CD pipeline, to build application and run tests — performing some long-running CPU-heavy tasks, such as generating navigation mesh for all of your levels
In this specific case, I used Unity 2020.3.26 (free license) with Linux server hosted on Azure. But in general, it should work with any Unity version and any hosting provider.
UnityHub installation
First, we need to install UnityHub (steps taken from official documentation):
sudo sh -c 'echo "deb https://hub.unity3d.com/linux/repos/deb stable main" > /etc/apt/sources.list.d/unityhub.list' wget -qO - https://hub.unity3d.com/linux/keys/public | sudo apt-key add - sudo apt update sudo apt install unityhub Before running UnityHub, we need to install some dependencies:
sudo apt install libgbm-dev libasound2 libgconf-2-4 UnityHub requires X server in order to run, so we will use virtual X server environment to run it. This can be done using a program called xvfb .
To verify that UnityHub is working properly, run:
xvfb-run unityhub --headless help If it displays usage information, then you are good to go.
Install Unity Editor using UnityHub
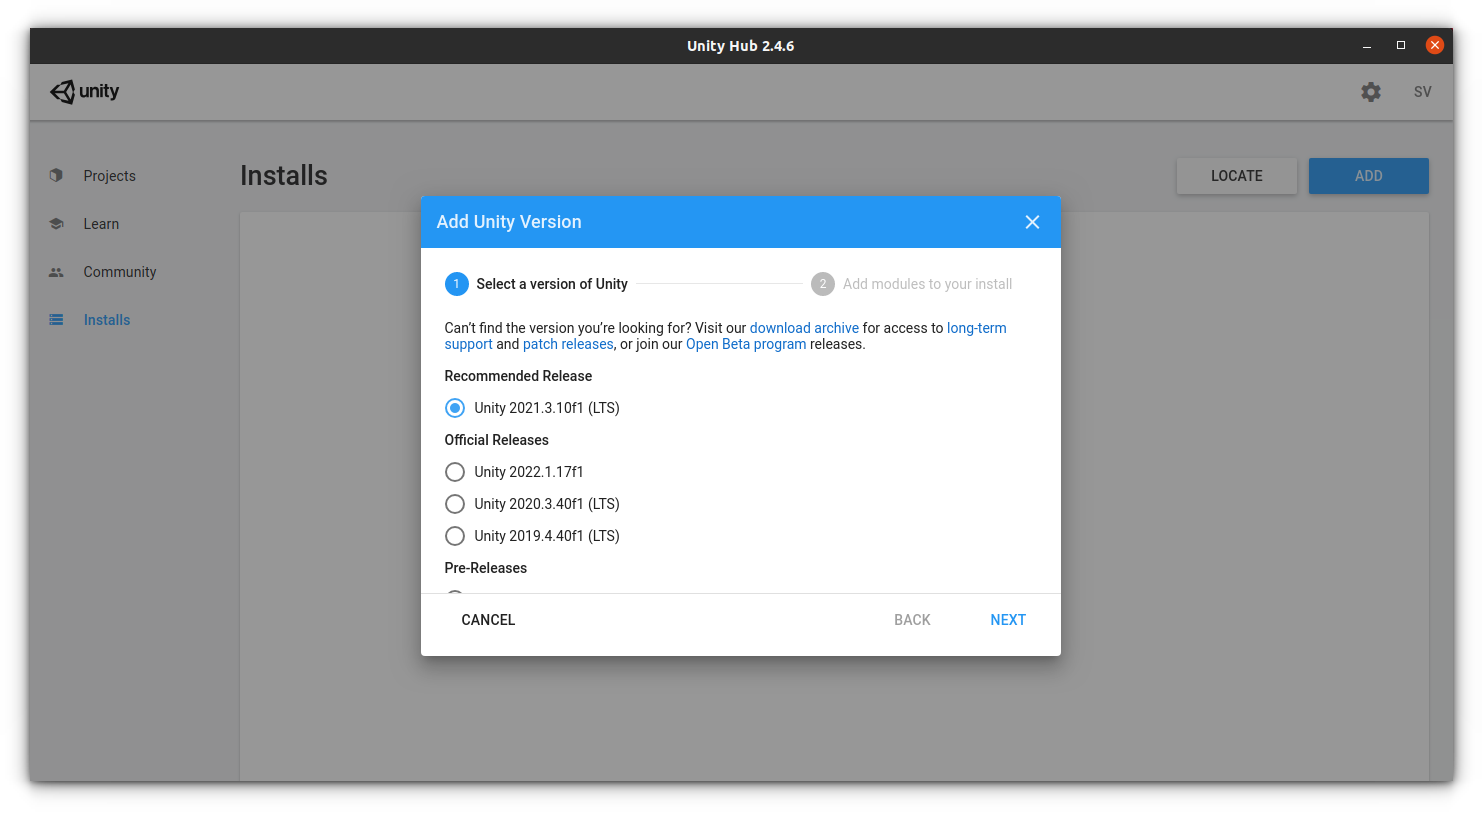
Find the changeset for the Unity version you want to install. Changeset is located on the release notes page, eg https://unity3d.com/unity/whats-new/2020.3.26 .
xvfb-run unityhub --headless install --version 2020.3.26f1 --changeset 7298b473bc1a Unity Editor should now be installed at ~/Unity/Hub/Editor/2020.3.26f1/ .
Activate license
In order to use Editor, you need to activate license. If you are using free license, you can’t simply activate it by providing username and password on the command line. Instead, you have to use different approach described here.
First step is to generate a license activation file (.alf):
xvfb-run Unity/Hub/Editor/2020.3.26f1/Editor/Unity -quit -batchmode -nographics -createManualActivationFile Next, you need to request a Unity license file (.ulf) using your generated .alf file, as described in documentation.
Once you obtain .ulf file, you are ready to activate license:
xvfb-run Unity/Hub/Editor/2020.3.26f1/Editor/Unity -quit -batchmode -nographics -manualLicenseFile yourLicenseFile.ulf Now you should be able to run Unity Editor, eg to build game for Linux:
xvfb-run Unity/Hub/Editor/2020.3.26f1/Editor/Unity -quit -batchmode -nographics -logFile - -projectPath path/to/your/project -buildTarget Linux64 -buildLinux64Player "Build.x86_64" Install modules
By default, Editor will only have Linux build module installed. If you want to build the game for other platforms, you will need to install their build modules.
For example, to add build module for Windows (Mono):
xvfb-run unityhub --headless install-modules --version 2020.3.26f1 --module windows-mono To see all available build modules, check out official documentation.
Adding Android support
To install Android build module:
xvfb-run unityhub --headless install-modules --version 2020.3.26f1 --module android android-sdk-ndk-tools android-open-jdk If, while building for Android, you get this error:
UnityException: JDK not found Java Development Kit (JDK) directory is not set or invalid. Please, fix it in Preferences -> External Tools , you need to allow execution of all binaries in Android folder:
chmod --recursive +x ~/Unity/Hub/Editor/2020.3.26f1/Editor/Data/PlaybackEngines/AndroidPlayer/ If your project is targeting Android API level which is not installed by default (eg 28), you can install it this way:
export JAVA_HOME="$HOME/Unity/Hub/Editor/2020 .3.26f1/Editor/Data/PlaybackEngines/AndroidPlayer/OpenJDK" ~/Unity/Hub/Editor/2020.3.26f1/Editor/Data/PlaybackEngines/AndroidPlayer/SDK/tools/bin/sdkmanager "platforms;android-28" Linux
Unity provides support for developing applications on Linux. You can build your application as a standalone executable and run it on Linux systems that support the same architecture that Unity supports. You can also build your application as a library and use it as a plug-in A set of code created outside of Unity that creates functionality in Unity. There are two kinds of plug-ins you can use in Unity: Managed plug-ins (managed .NET assemblies created with tools like Visual Studio) and Native plug-ins (platform-specific native code libraries). More info
See in Glossary in other applications.

| Topic | Description |
|---|---|
| Linux Player Settings | Use Player Settings to set the different options required for the final game built by Unity applicable for the Linux platform. For a description of the general Player Settings, refer to Player Settings Settings that let you set various player-specific options for the final game built by Unity. More info See in Glossary . |
| Linux Build Settings | Use Build Settings to set up and begin the build process for your application on Linux. It contains settings to create development builds A development build includes debug symbols and enables the Profiler. More info See in Glossary and for publishing your final build. |
| Troubleshooting Linux Editor issues | Lists workaround for the known issues with the Linux Editor. |
Additional resources:
Linux
This section of the User Manual contains documentation on developing an application for the Linux platform. It covers the following topics:
| Page | Description |
|---|---|
| Linux Player Settings | Use Player Settings to set the different options required for the final game built by Unity applicable for the Linux platform. For a description of the general Player Settings, see Player Settings Settings that let you set various player-specific options for the final game built by Unity. More info See in Glossary . |
| Linux Build Settings | Use Build Settings to set up and begin the build process for your application on Linux. It contains settings to create development builds A development build includes debug symbols and enables the Profiler. More info See in Glossary and for publishing your final build. |
Additional resources:
For information on building Linux IL2CPP A Unity-developed scripting back-end which you can use as an alternative to Mono when building projects for some platforms. More info
See in Glossary Players, see Linux IL2CPP cross-compiler.
Unity Editor is Now Available for Linux! Learn to Install it
If you are a designer, developer, or artist, you probably should have known about Unity Editor and its wide range of features. It’s encouraging news that Unity offers several installation methods in Linux distributions.
While this is exciting news, what Linux distributions does it officially support? Let us talk about a few more details.
Non-FOSS Alert: Unity Editor on Linux (or any other platform) is not open-source software. It is covered here because it supports to install in Linux distribution.
Official Support for Ubuntu and CentOS 7
No matter whether you have a personal or a professional license, you can access the editor if you have Unity 2019.1 installed or later.
In addition, they are prioritizing the support for Ubuntu 20.04, and CentOS 7.
In their Linux Installation Instructions, they also mentioned the configurations supported for their 2021 LTS release:
- CPU: X64 architecture with SSE2 instruction set support
- Graphics API: OpenGL 3.2+ or Vulkan-capable, Nvidia, and AMD GPUs.
- Additional: Gnome desktop environment running on top of X11 windowing system, Nvidia official proprietary graphics driver or AMD Mesa graphics driver
You can always try on anything else – but it’s better to stick with the official requirements for the best experience.
A Note on 3rd Party Tools: If you happen to utilize any 3rd party tool on any of your projects, you will have to separately check whether they support it or not.
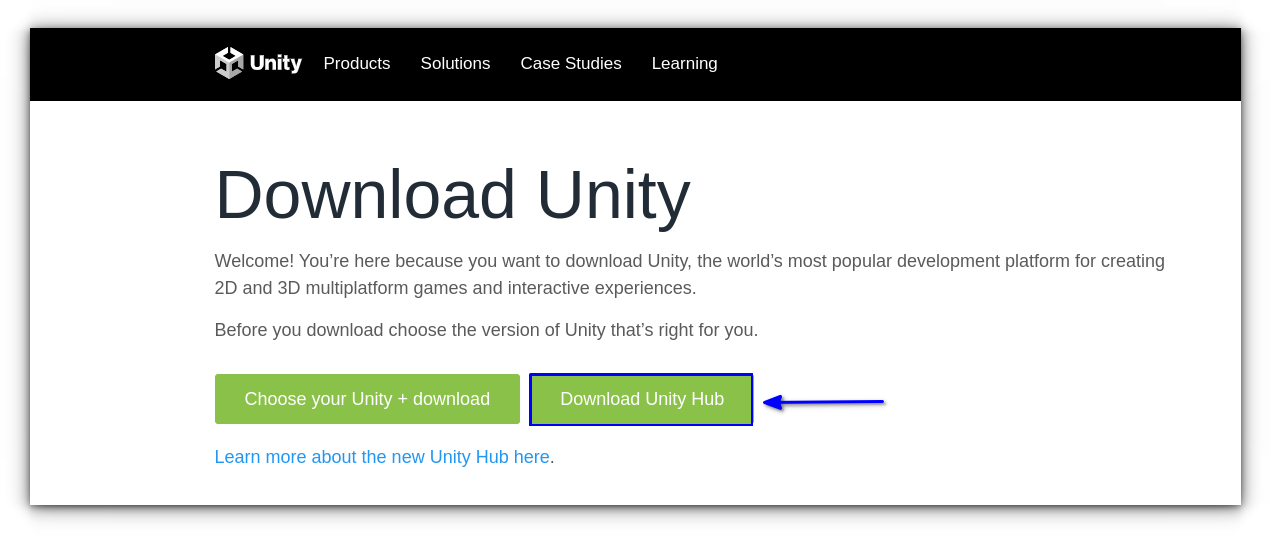
Step 1: Installing Unity Hub on Linux
You are required to install a tool called Unity Hub first. It’s a management tool that can manage multiple installations of Unity. Once installed, the Unity Hub tool downloads and installs the Unity editor.
Method 1: Install Unity Hub via terminal (for Ubuntu and Debian)
This is the recommended way of installing Unity Hub on the supported devices, that is Ubuntu and CentOS.
This method will work only in Ubuntu 20.04, 19.04, and CentOS 7. If you are running any of these, let’s jump right in.
Open a terminal and enter the commands one after another:
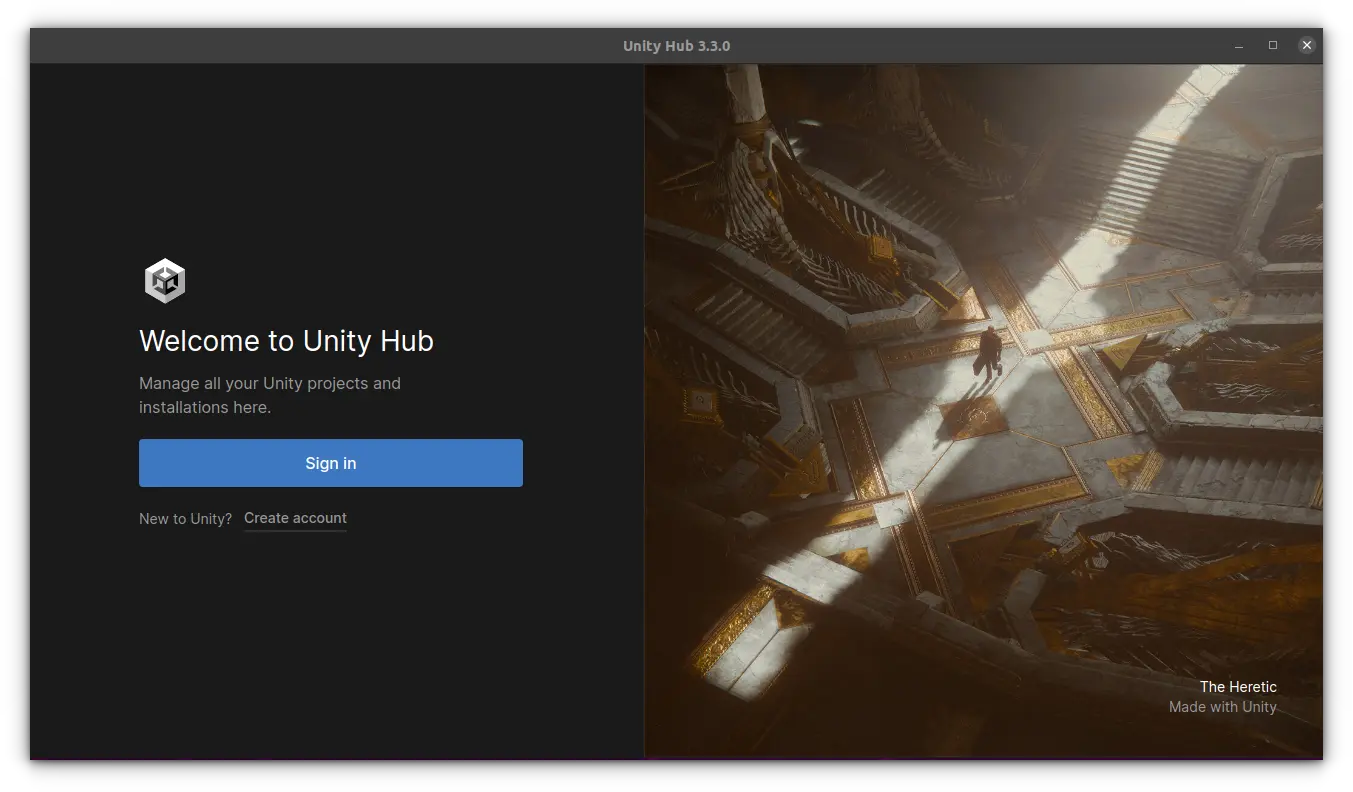
sudo sh -c 'echo "deb https://hub.unity3d.com/linux/repos/deb stable main" > /etc/apt/sources.list.d/unityhub.list' wget -qO - https://hub.unity3d.com/linux/keys/public | sudo apt-key add - sudo apt update sudo apt-get install unityhubThis will install Unity Hub to your system. You will be greeted by a screen as shown below:
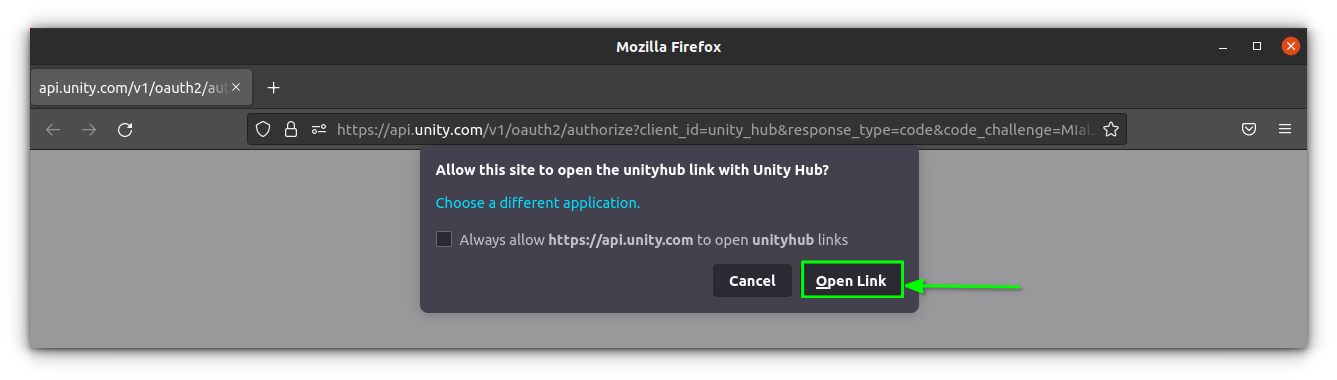
You now need to sign in with your Unity account. Clicking the sign-in button will open a browser tab and you need to allow the link to open in Unity Hub app:
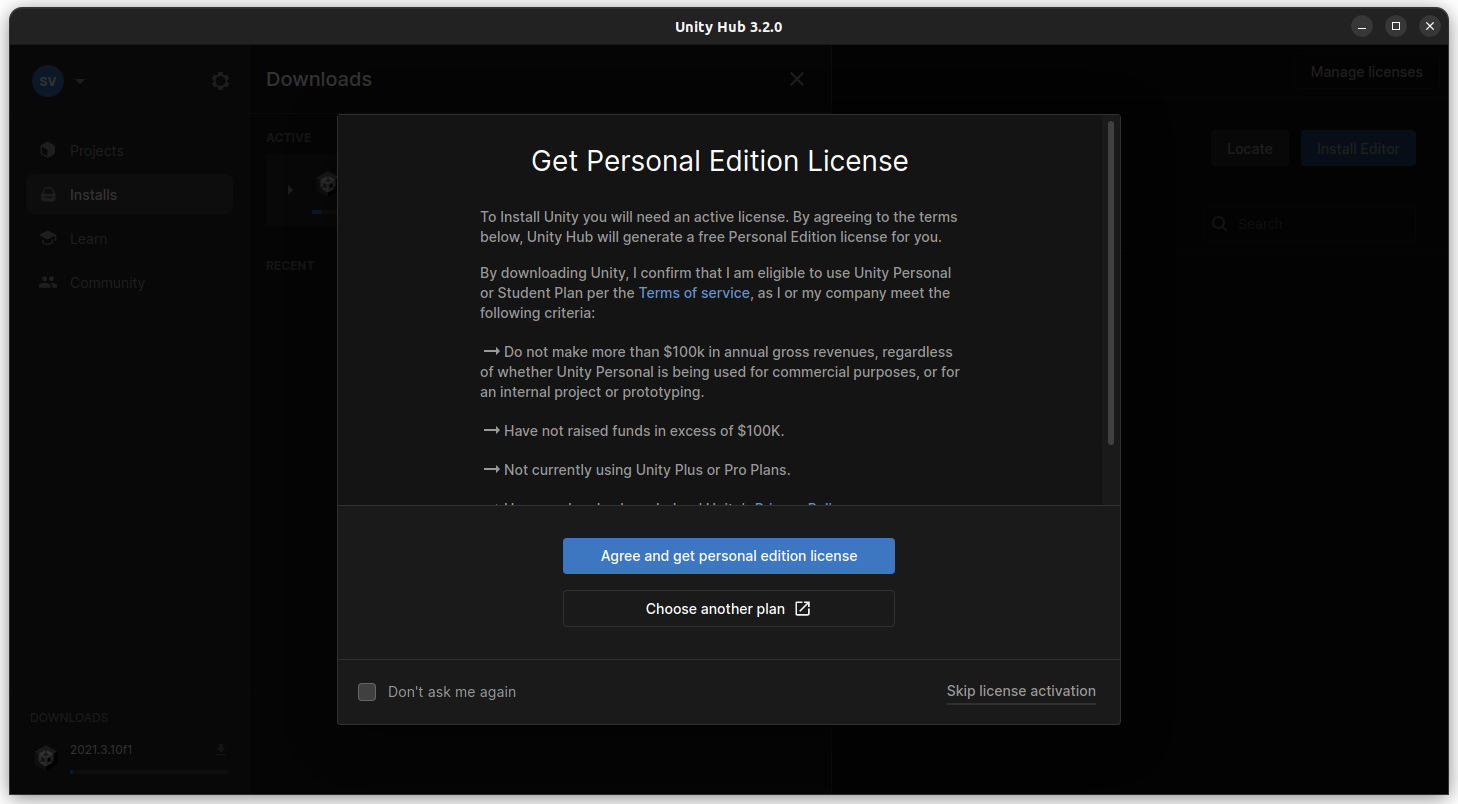
Now, you will need to choose license Personal, if you do not have a paid plan, from the next screen:
On the next screen, you will be asked to download an editor to work with projects. It normally takes several GBs of download. So sit back and relax while the download completes.
You can now start working on your projects, once everything is finished.
Method 2: Install Unity Hub through Flatpak
Luckily, Unity Hub is available as a flatpak version, so you can install it in any Linux distribution. You can read how to work with flatpak apps, if you are confused.
If you have flatpak installed and flathub repo added, open a terminal and execute the following command:
flatpak install flathub com.unity.UnityHubThe rest of the setup is the same as above.
Method 3: Install Unity Hub using AppImage
To install Unity, you will have to download and run the Unity Hub AppImage.
Simply, make it executable and run it. In case you are not aware of it, you should check out our guide on how to use AppImage on Linux.
Step 2: Installing Unity using the Unity Hub tool
Once you launch the Unity Hub, it will ask you to sign in (or sign up) using your Unity ID to activate the licenses. For more info on how the licenses work, do refer to their FAQ page.
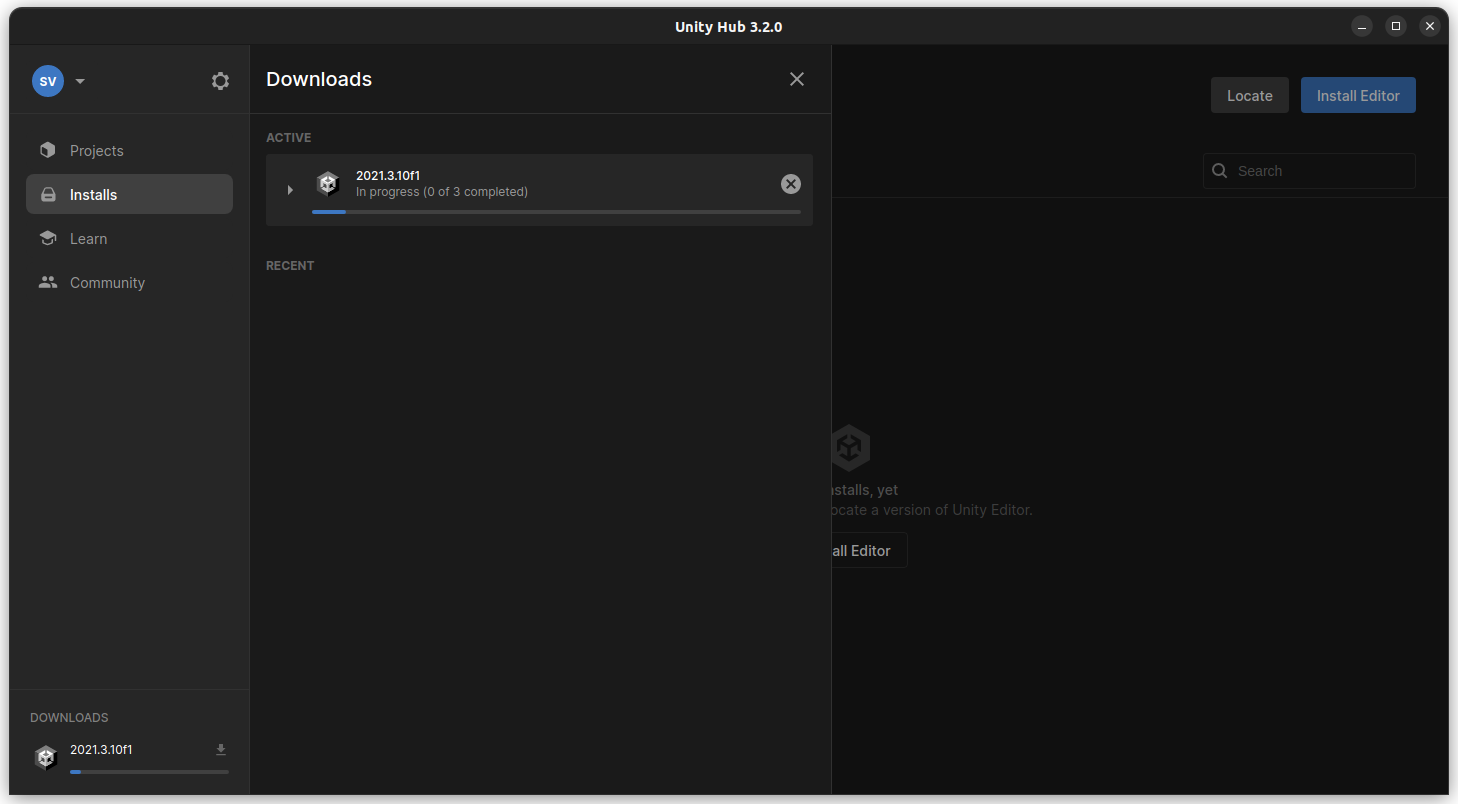
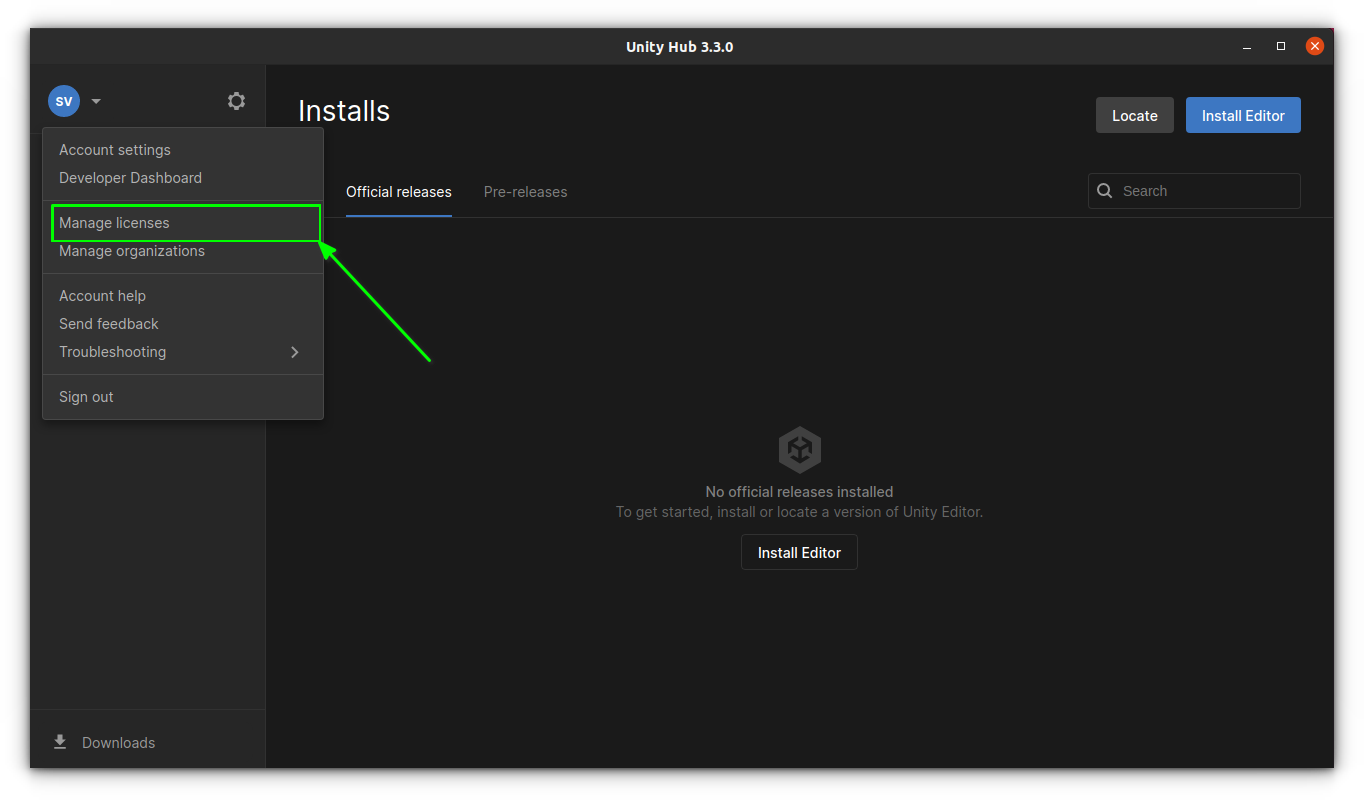
After you sign in using your Unity ID, go to the “Installs” option (as shown in the image below) and add the version/components you want.
This will Install an older version of Unity Hub, which will not get any automatic updates.
Unity Enterprises
Unity editor needs a license to work. If you are a new user of Unity, you can work with their personal or student license, which is free. Also, unity offers several tiers of licenses like Teams, Enterprise, etc.
While you can purchase the licenses for Teams from their website, You cannot purchase the enterprise license. In order to get the enterprise license, you need to talk to their representative.
You can add your Pro or other licenses with the corresponding serial number through Unity Hub interface.
That’s it! This is the best way to get all the latest builds and get it installed in a jiffy.
Wrapping Up
It’s good to see Unity providing support for the Linux platform. The centralized way of installing everything through Unity Hub keeps things organized. What do you think?