How to Install Samba on ArchLinux
![]()
Samba is a free and open-source software that provides a seamless means of file sharing between Windows and Linux/Unix systems on a network. Samba is essentially an open-source re-implementation of SMB (Server Messaging Block) and CIFS (Common Internet File System) networking protocols. Aside from sharing files between clients and hosts, Samba also allows for sharing, printing, and domain control services within the network.
This tutorial will show you how to set up and configure Samba on an ArchLinux client or server.
Installation
To install Samba from the official repository, simply enter the following command:
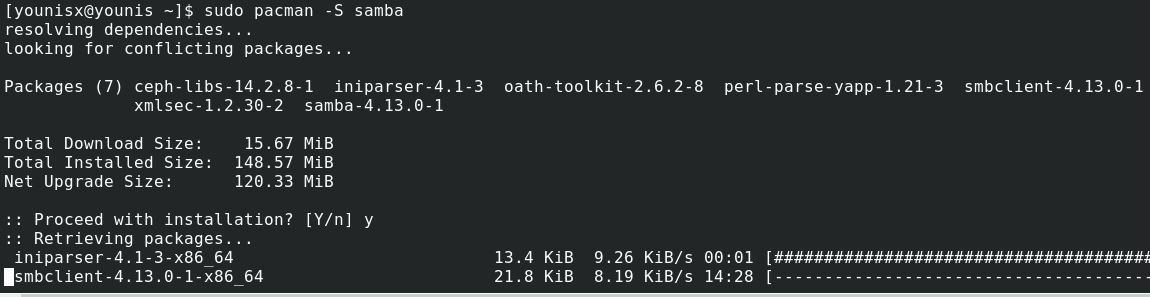
Samba should now be installed on your system.
Configuration
Before proceeding to configure Samba, first, copy the configuration file:

See that this configuration file does not have any misplaced syntax by running the following:

We will now create a Linux user by the name of dom. This Linux user wil have access to the server.

The second command line creates a user account named dom. You will then be asked to give a new password to log in with. You can change this password anytime.

To save these changes, reboot the service by entering the following:

Share Samba Services
Enable Samba by running the following command:

To automatically start the Samba upon system boot, issue the following:

Conclusion
In this tutorial, you learned how to install and enable Samba on your ArchLinux system. Your client-server networks of either Linux or Windows can now share files and printing services. With Samba, your server can now exchange files with your remote clients. You can also provide centralized printing services if your server has a printer connected to it.
That is all we have for you today. We hope that you found this guide easy to follow. To learn more, visit linuxhint.com.
About the author
Younis Said
I am a freelancing software project developer, a software engineering graduate and a content writer. I love working with Linux and open-source software.
Как установить Samba на ArchLinux
Samba — это бесплатное программное обеспечение с открытым исходным кодом, которое обеспечивает беспрепятственный обмен файлами между системами Windows и Linux/Unix в сети. Samba — это, по сути, повторная реализация с открытым исходным кодом сетевых протоколов SMB (Server Messaging Block) и CIFS (Common Internet File System). Помимо совместного использования файлов между клиентами и хостами, Samba также позволяет предоставлять общий доступ, печать и службы управления доменом в сети.
Это руководство покажет вам, как установить и настроить Samba на клиенте или сервере ArchLinux.
Установка
Чтобы установить Samba из официального репозитория, просто введите следующую команду:

Теперь Samba должна быть установлена в вашей системе.
Конфигурация
Прежде чем приступить к настройке Samba, сначала скопируйте файл конфигурации:

Убедитесь, что этот файл конфигурации не имеет неправильного синтаксиса, выполнив следующее:

Теперь мы создадим пользователя Linux с именем dom. У этого пользователя Linux будет доступ к серверу.

Вторая командная строка создает учетную запись пользователя с именем dom. Затем вам будет предложено ввести новый пароль для входа в систему. Вы можете изменить этот пароль в любое время.

Чтобы сохранить эти изменения, перезагрузите службу, введя следующее:

Совместное использование служб Samba
Включить Samba выполнив следующую команду:

Для автоматического запуска Samba при загрузке системы введите следующее:

Заключение
В этом руководстве вы узнали, как установить и включить Samba в вашей системе ArchLinux. Ваши клиент-серверные сети Linux или Windows теперь могут обмениваться файлами и службами печати. Благодаря Samba ваш сервер теперь может обмениваться файлами с вашими удаленными клиентами. Вы также можете предоставлять централизованные услуги печати, если к вашему серверу подключен принтер.
Это все, что у нас есть для вас на сегодня. Мы надеемся, что вам было легко следовать этому руководству. Чтобы узнать больше, посетите linuxhint.com.