How to install and enable Samba in Linux mint
Samba is a free implementation of the Microsoft Windows file sharing protocol (formerly called SMB, later renamed to CIFS) for UNIX-like systems. Why is it important? By installing Samba on Linux Mint, you can share resources and folders with Windows computers. Best of all, it is integrated from the file browser.
Samba is an open-source project that implements the Windows file sharing protocol for UNIX-like operating systems, such as Linux. The main feature of this application is that Linux computers can interact in a stable and efficient way with Windows networks.
What do I mean by interacting? Well, with Samba you can:
- Share various file systems.
- Share printers, with installation on the server as well as on the clients.
- Provide or assist with a WINS name resolution server.
Linux Mint and Ubuntu, which are two of the most widely used distributions in all of Linux, provide packages and configurations, so you can install without too much hassle.
Installing and enabling a Samba server in Linux Mint
Before you begin, it’s a good idea to update the entire operating system.
Open a terminal by pressing the CTRL + ALT + T keys or from the main menu. Then, run
sudo apt update sudo apt upgradeAfter this, you can install the samba package, which is the main package of the protocol.
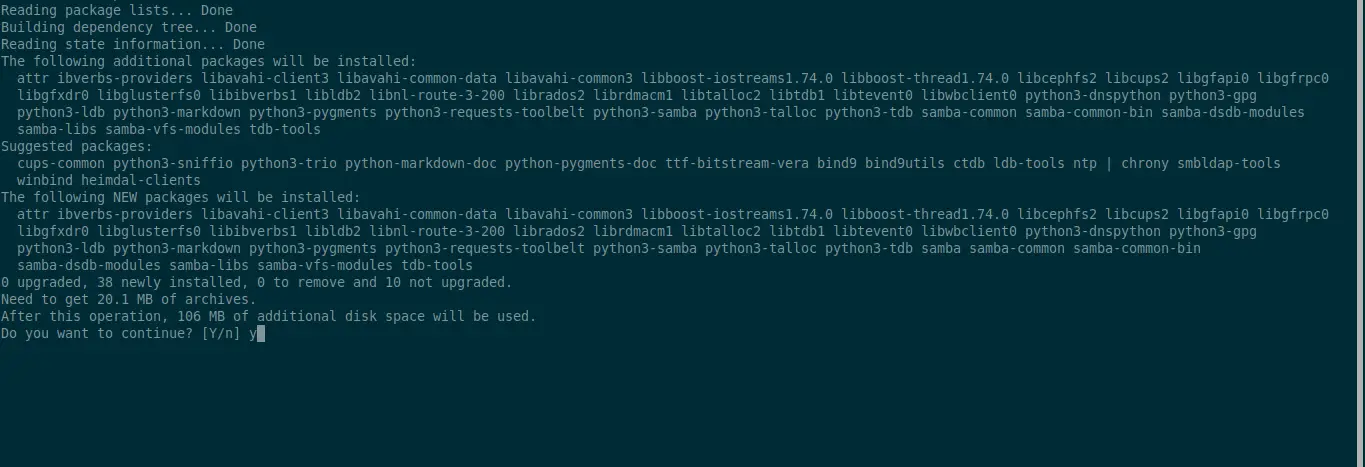
Samba runs as a system service, so you will need to enable it and run it to start up
sudo systemctl enable --now smbd Synchronizing state of smbd.service with SysV service script with /lib/systemd/systemd-sysv-install. Executing: /lib/systemd/systemd-sysv-install enable smbdIf you want to check that everything is OK, you can run
sudo systemctl status smbdThis command will check the status of the Samba service.
● smbd.service - Samba SMB Daemon Loaded: loaded (/lib/systemd/system/smbd.service; enabled; vendor preset: enabled) Active: active (running) since Fri 2022-12-16 22:36:11 UTC; 9s ago Docs: man:smbd(8) man:samba(7) man:smb.conf(5) Main PID: 2204 (smbd) Status: "smbd: ready to serve connections. " Tasks: 4 (limit: 2258) Memory: 10.4M CPU: 121ms CGroup: /system.slice/smbd.service ├─2204 /usr/sbin/smbd --foreground --no-process-group ├─2206 /usr/sbin/smbd --foreground --no-process-group ├─2207 /usr/sbin/smbd --foreground --no-process-group └─2208 /usr/lib/x86_64-linux-gnu/samba/samba-bgqd --ready-signal-fd=45 --parent-watch-fd=11 --debuglevel=0 -F Dec 16 22:36:11 imaginelinux systemd[1]: Starting Samba SMB Daemon. Dec 16 22:36:11 imaginelinux update-apparmor-samba-profile[2198]: grep: /etc/apparmor.d/samba/smbd-shares: No such file or directory Dec 16 22:36:11 imaginelinux update-apparmor-samba-profile[2201]: diff: /etc/apparmor.d/samba/smbd-shares: No such file or directory Dec 16 22:36:11 imaginelinux systemd[1]: Started Samba SMB Daemon.Configuring Samba to share a folder
The main goal of installing and configuring Samba is to make the machine able to interact with Windows machines by sharing files.
So first, it is necessary to back up the Samba configuration file. Because it is useful to have it in case there are problems with the new configuration.
This way it will be backed up.
Now you can create a public folder which, while not recommended, can be useful for quick sharing.
So, first create it and assign it the appropriate permissions
sudo mkdir -p /var/public/ sudo chmod -R 0777 /var/publicAs you can imagine, you can set the path and folder name to whatever values you prefer.
It is recommended that, as it is a public folder, it does not belong to any user on the system. To do this.
sudo chown -R nobody:nogroup /var/publicAnd configure it to be used by Samba.
sudo chgrp sambashare /var/publicFor testing purposes, you can create an empty file or something so that the process is noticeable
sudo touch /var/public/imaginelinux.txtThen, edit the Samba configuration file to add the new configuration related to this new folder.
sudo nano /etc/samba/smb.confAt the bottom of the file, you can add the following settings
[public] path = /var/public browseable = yes guest ok = yes guest only = yes read only = no force user = nobody force create mode = 0777 force directory mode = 0777- Sets the directory path
- Makes it navigable and will be used only by guest users
- It is editable
The rest are security settings that make the folder unusable with permissions besides those set and by different users.
Save the changes and close the editor.
To apply the changes, simply restart the server
sudo systemctl restart smbdRemember that you can check the status of the service
sudo systemctl status smbdFinally, using the Linux Mint file browser, you can make the connection
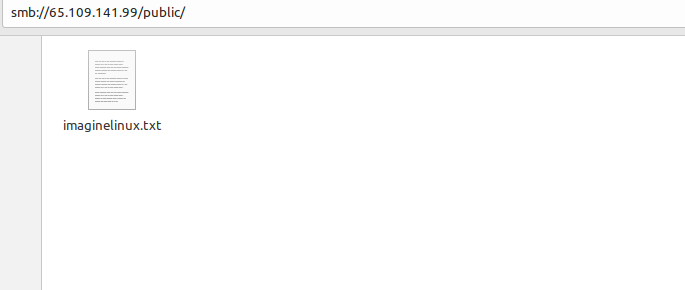
It is best to do this from the address bar.
Recommended: Creating a private folder in Samba
If you want to create a private folder to improve security and control access to it then there are a few more steps to take
First create a group for Samba
Then add the user to the group. You can also create it if it doesn’t exist.
sudo usermod -aG samba userOf course, you can choose a name besides user .
Now use samba to set a password for this user. Don’t confuse this password with the system password, you may want it to be a different one.
New SMB password: Retype new SMB password: Added user user.Now create the private folder with the required permissions
sudo mkdir -p /smb/private sudo chmod -R 0770 /smb/privateAgain, you can assign the path of your choice.
Change the owner of the folder
sudo chown -R root:samba /smb/privateAgain edit the Samba configuration file
sudo nano /etc/samba/smb.conf[Private] path = /smb/private valid users = @samba guest ok = no writable = yes browsable = yesSave the changes and close the editor.
To apply the changes, restart the Samba service
sudo systemctl restart smbdOpen your file browser, and you should see the changes made. For example, try to access the private folder.
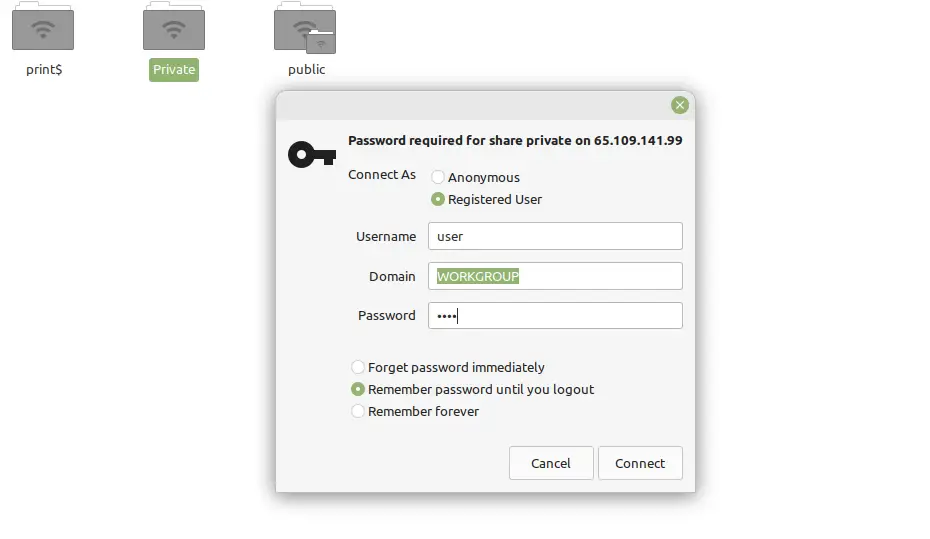
You will be prompted for a username and password. Enter them, and you should be able to quickly access them.
Samba is an important tool with which you can share files between Windows and Linux systems, but also between Linux clients only. Because it is so flexible, it has many options to increase security.
I hope you liked this post and can share it with friends.
Как в Linux Mint 20.1 установить и настроить сервер Samba
С помощью Samba можно организовать общий доступ к папке в локальной сети. Создать файловое хранилище (файловый сервер). Установить Samba можно в любой системе Linux. Процесс установки и настройки практически везде одинаковый за исключение некоторых моментов. Сегодня расскажу как установить сервер Samba в ОС Linux Mint 20.1 и настроить общий доступ как папкам.
Вообще для организации файлового хранилища лучше использовать NAS. Но так как он стоить недешево, можно воспользоваться FreeNAS как относительно бесплатной альтернативой. Это операционная система которая устанавливается на обычный компьютер. С её помощью можно организовать более менее надежное файловое хранилище.
Так же рекомендую прочитать следующие статьи касающиеся этой темы.
Файловый сервер Samba на Linux Mint
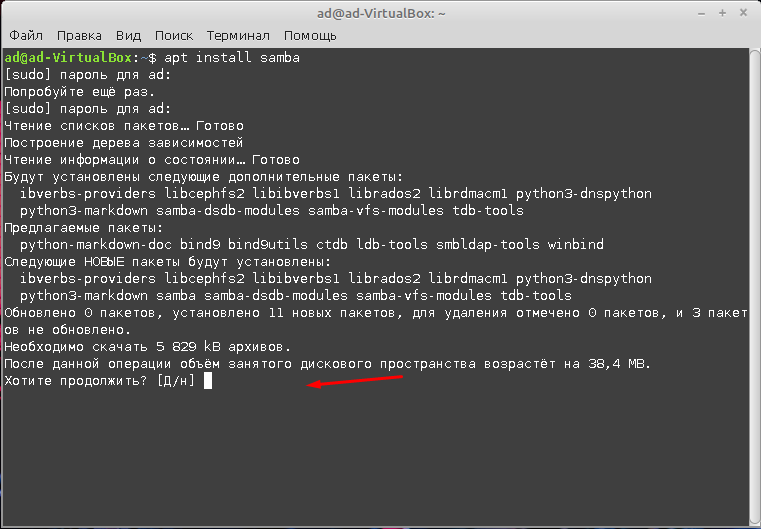
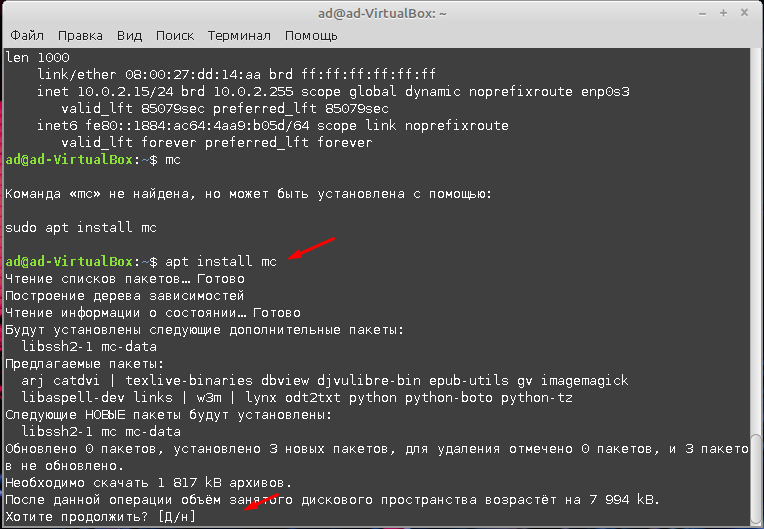
Устанавливать Samba лучше через терминал, для этого нужно ввести соответствующие команду и пароль суперпользователя.

Дальше подтверждаем установку.
После установки нужно настроить файл smb.conf. Сделать это будет намного удобней используя файловый менеджер MC (Midnight Commander). Для того чтобы его установить нужно ввести команду.
Дальше запускаем установленный файловый менеджер введя команду
Для начала создадим папку к которой будем открыть общий доступ, назовем её для примера, «Share», располагаться она будет тут /home/ad/share. Создать её можете через графически интерфейс, либо используя MC для этого нужно нажать клавишу F7.
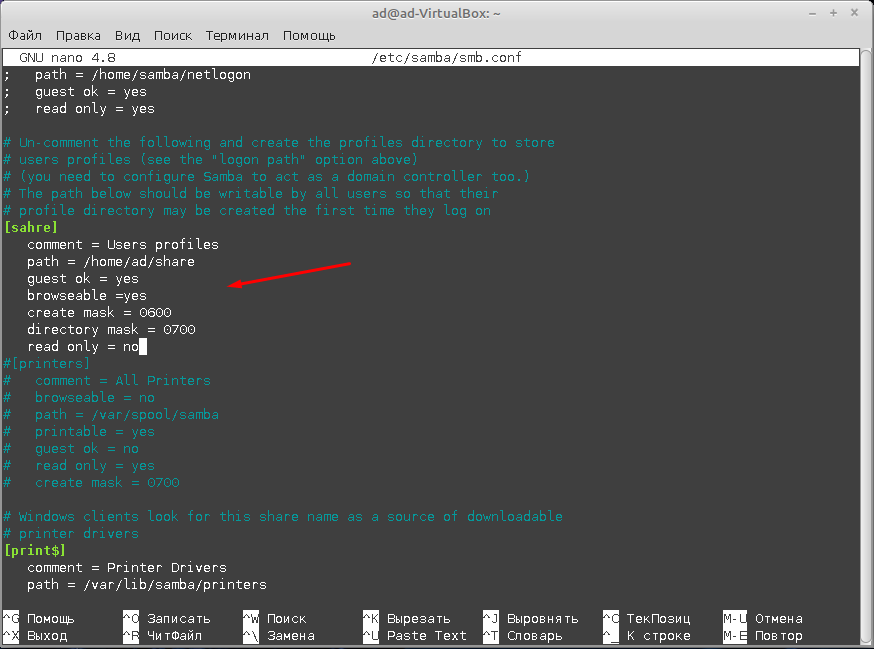
Дальше нам нужно открыть и отредактировать файл smb.conf, найти его можно по этому пути /etc/samba/, для редактирования нажимаем клавишу F4.

В открывшемся файле пишем следующие.
comment = Users profiles — комментарий не обязательно!
path = /home/ad/saher — путь до созданной ранее папки
guestok = yes — разрешаем гостевой доступ
browseable = yes — разрешаем отображение папки
create mask = 0600 — не обязательно!
directiry mask = 0700 — не обязательно!
read only = no права на запись
После чего сохраняем файл нажав сочетание клавиш Win + O.
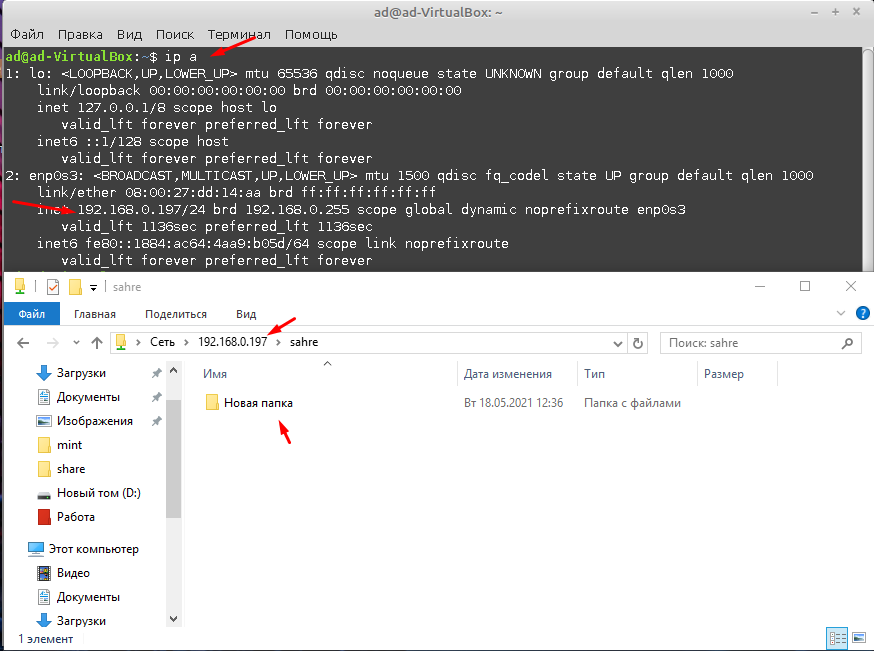
Далее пере запускаем службу командой.
И проверяем доступность созданной общей папки. Для этого можно открыть проводник Windows и ввести IP адрес сервера Samba. После чего должна отобразиться папка «Share», оно должна открываться и быть доступной для записи, т.е. создания файлов и папок.
Это минимальная настройка Samba которая позволяет создать общий ресурс для всех пользователей сети. При необходимости можно ограничить доступ по пользователям с различными правами, но об этом уже в следующей статье.