- Resetter – Simple way to reset Ubuntu/Linux Mint to factory defaults
- How to install Resetter ?
- How to use Resetter ?
- How to reset Ubuntu, Linux Mint settings to default without need of reinstalling
- Resetting Ubuntu to factory settings
- You may also like
- How to install and use Neovim on Ubuntu
- Unlock Remote Desktop Management with Remmina on Ubuntu
- Customizing your Ubuntu Desktop with Themes and Icons
- How to set up password-less SSH login on.
- Fixing ‘Repository does not have a Release file’.
- The 20 Best Themes for Ubuntu [2023 Edition]
- 4 comments
Resetter – Simple way to reset Ubuntu/Linux Mint to factory defaults
Since ages we heard about Factory default reset option for mobile phones. Now, its possible on Linux distributions.
Resetter is an application built with python and pyqt that will help users to reset an Ubuntu, Linux Mint and few other Linux distributions to factory defaults alike back to its factory settings . It means, the system will go back to the initial system state (fresh installation state).
This will reset the operating system to fresh installation state without manual re-install by using a live usb/cd/dvd image.
Resetter will find packages that have been installed after the initial system install by using the manifest file against the system. After gathering packages list, it will remove those, and delete user accounts too (even our own system account and offers new credentials).
There is no impact for data since it’s removing only application which was installed by you after the fresh install.
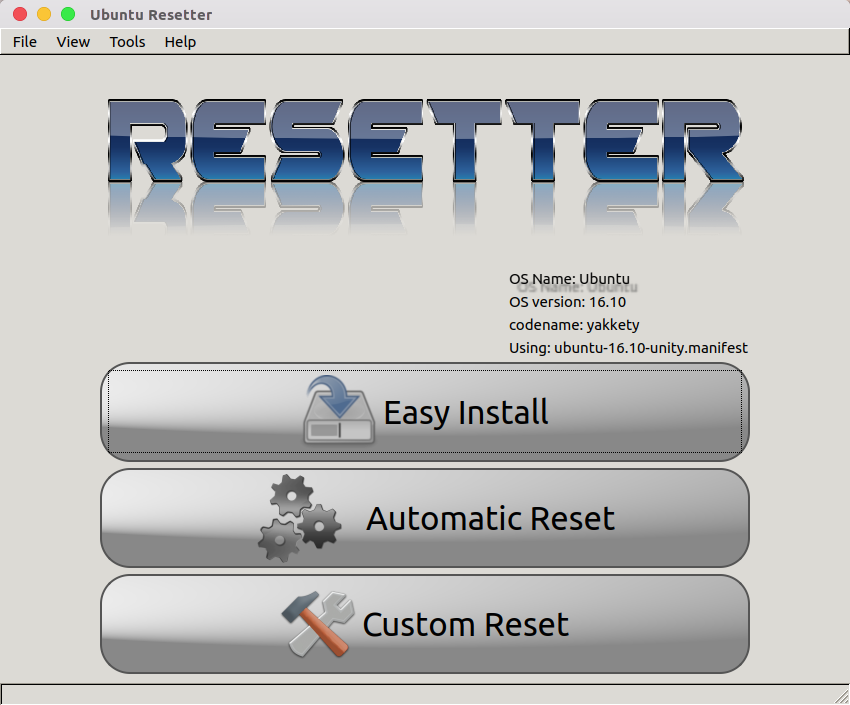
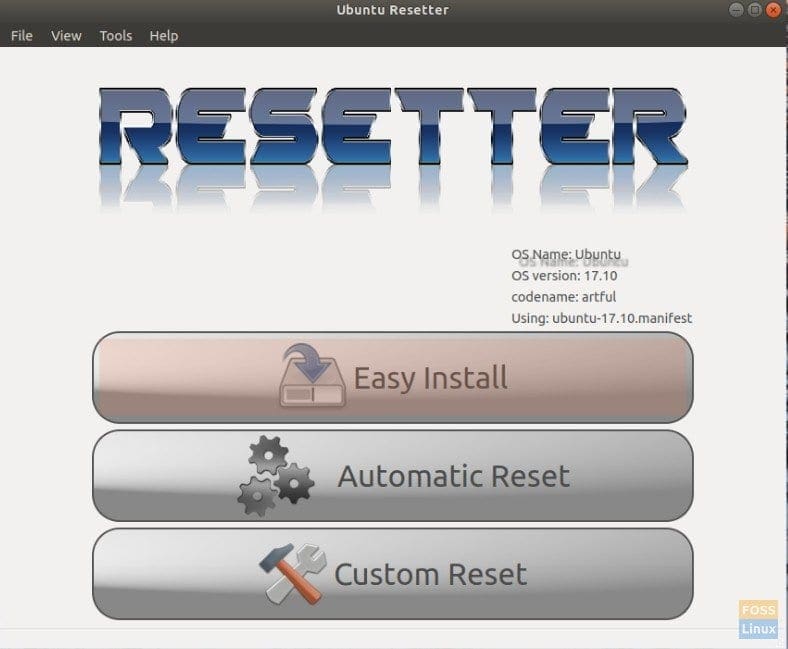
We have two major option for system reset Automatic Reset & Custom Reset.
Automatic Reset : This method is basically not recommended to anyone because it doesn’t has any option (we can exclude only applications) and remove everything from system after fresh installation like application, users (including user home directory will be deleted, so you will lose everything), kernel, etc. If you are planning to reinstall the system then go with this option blindly and it will do the job as you expected.
Custom Reset : This is commonly recommended method for everyone where you will get bunch of option to bypass application & users removal as per your requirements.
To make the resetter application more user friendly developer add few additional tools which will help users to save lots of time for installing new applications & PPA’s.
- Easy install : It’s alike a tweak tool, we can build our own favorite applications lists which needs to be installed after reset or fresh install. If you saved the favorite apps before go reset or fresh install, you will be able to restore the apps from that list if they’re available to install.
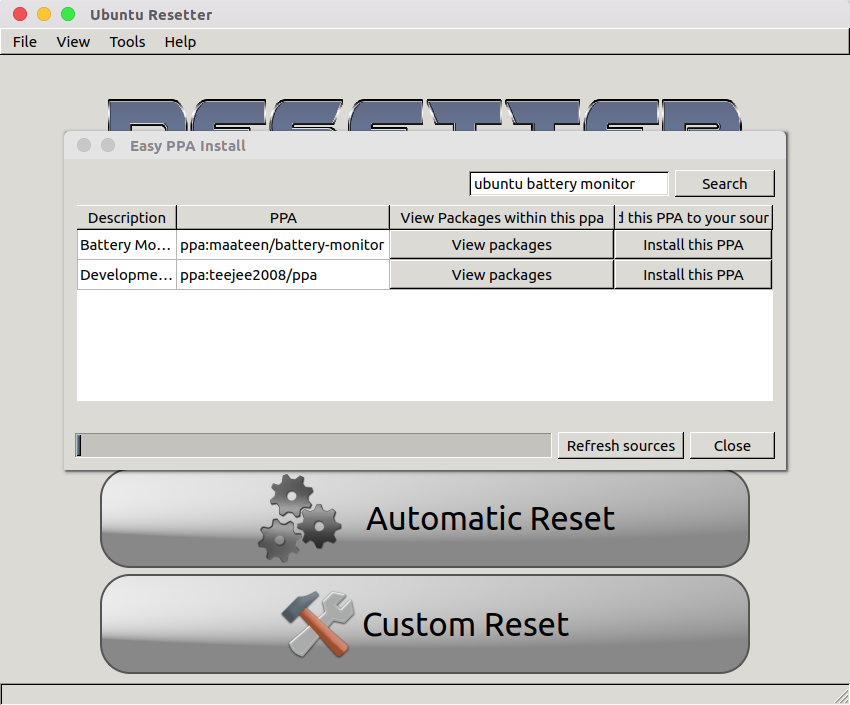
- Easy PPA : You can directly search & install apps which has PPA’s in launchpad.net through resetter. It will bypass our manual work for adding PPA, also grab the ppa’s key automatically.
- Source Editor : Is a kind of normal editor and you can search for the ppa that you want to edit which is unique feature from other source editor.
Resetter has reached stable version (1.0.0-stable) and officially supported below Linux distributions.
Officially supported distros [64-bit]
- Linux Mint 18.1
- Linux Mint 18
- Linux Mint 17.3
- Ubuntu 17.04
- Ubuntu 16.10
- Ubuntu 16.04
- Ubuntu 14.04
- Elementary OS 0.4
- Debian jessie ~ delayed but will come via resetter-cli
- Linux Deepin 15.4
How to install Resetter ?
We can easily install resetter by downloading .deb file from developer github page. Use dpkg command to install the package.
$ wget https://github.com/gaining/Resetter/releases/download/v1.0.0-stable/resetter_1.0.0-stable_all.deb $ sudo dpkg -i resetter_1.0.0-stable_all.deb $ sudo apt-get -f install
How to use Resetter ?
Once you have installed launch it from application menu.
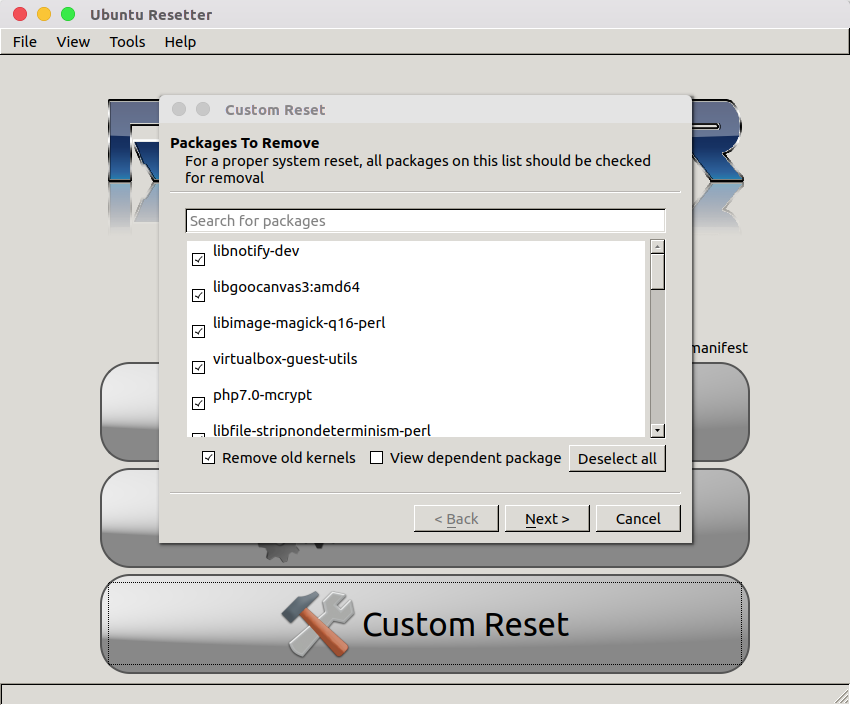
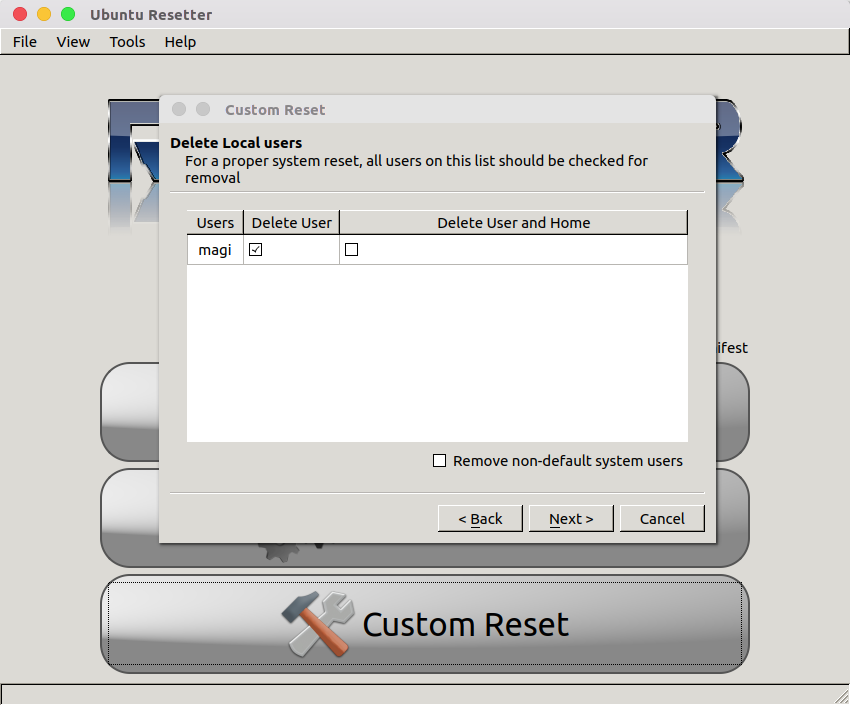
Hit Custom Reset button and select the application which you want to remove then hit Next button.
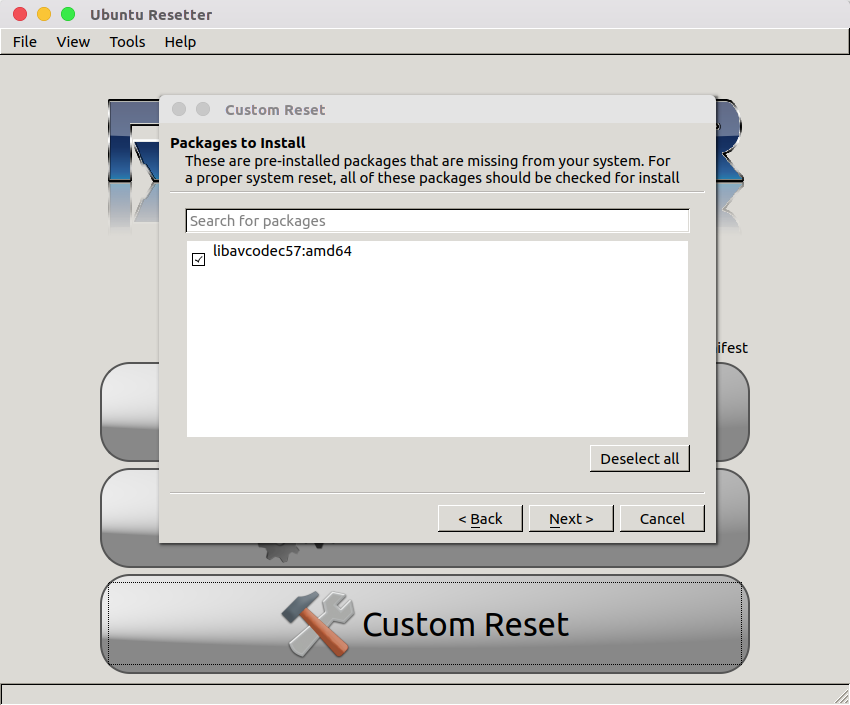
This will install missed pre-installed packages as per manifest file.
Select the users which you want to remove. Be careful while choosing this option, when you select the option Delete User and Home which will remove user account and its home directory which leads to lose the user data. Users are advised to chose Delete User options.
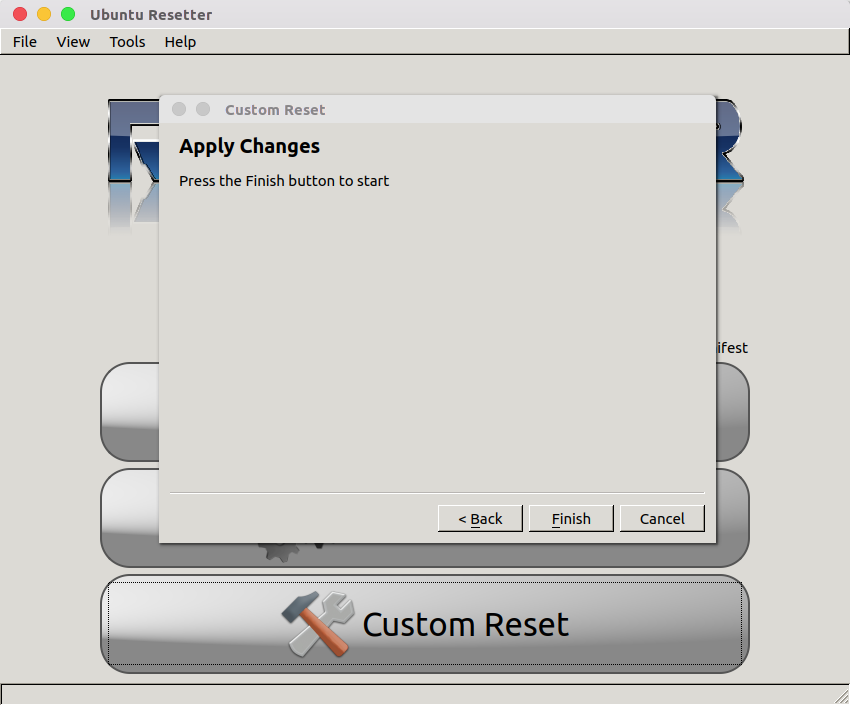
Hit Finish button to apply changes.
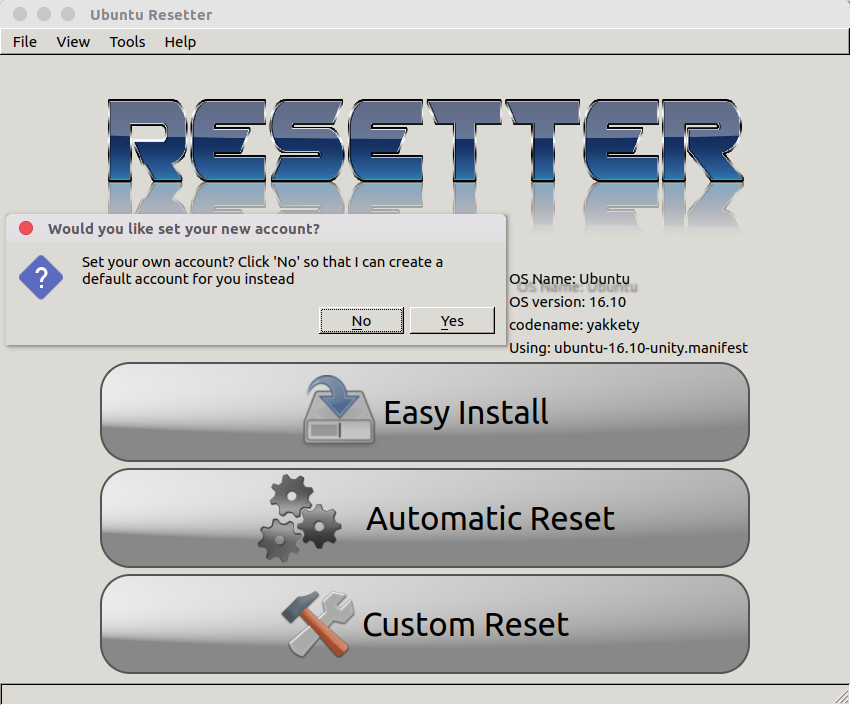
Hit Yes to create your own account instead of system default account.
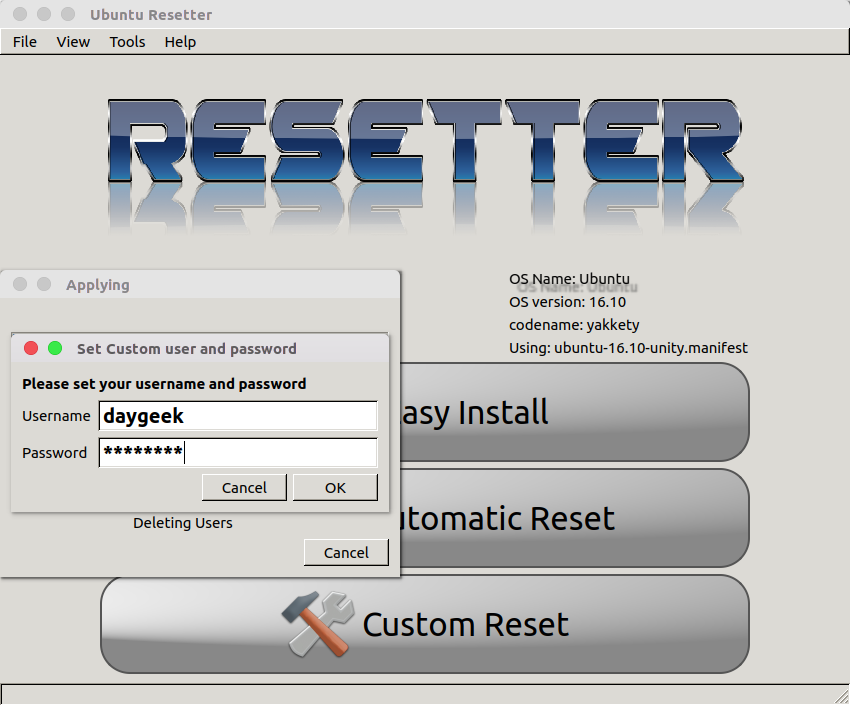
Enter your desired username and password, then hit Ok .
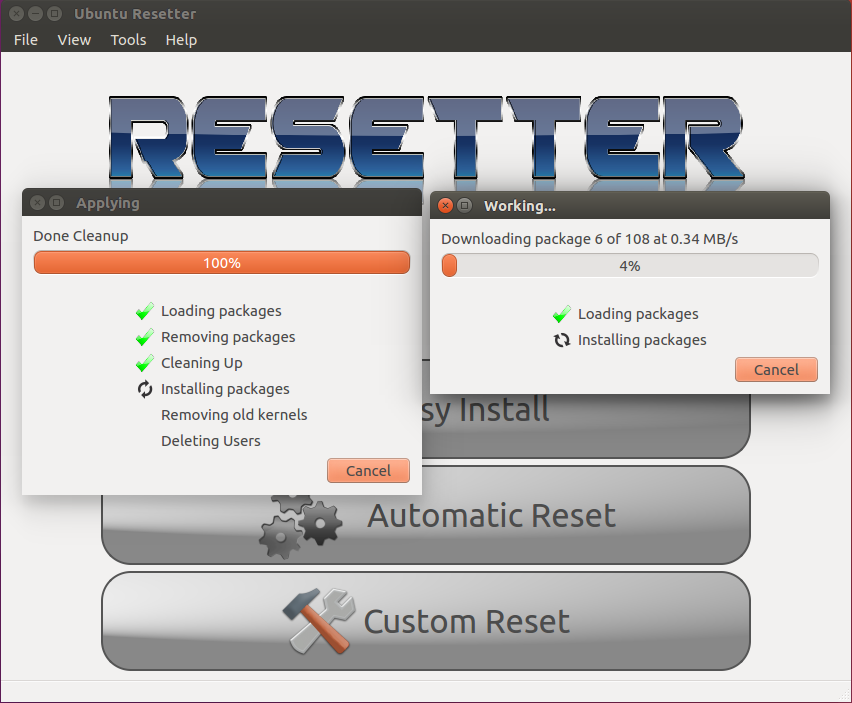
That’s it our part is over. Here after resetter will take care. It will delete selected applications, users & old kernel after fresh installation.
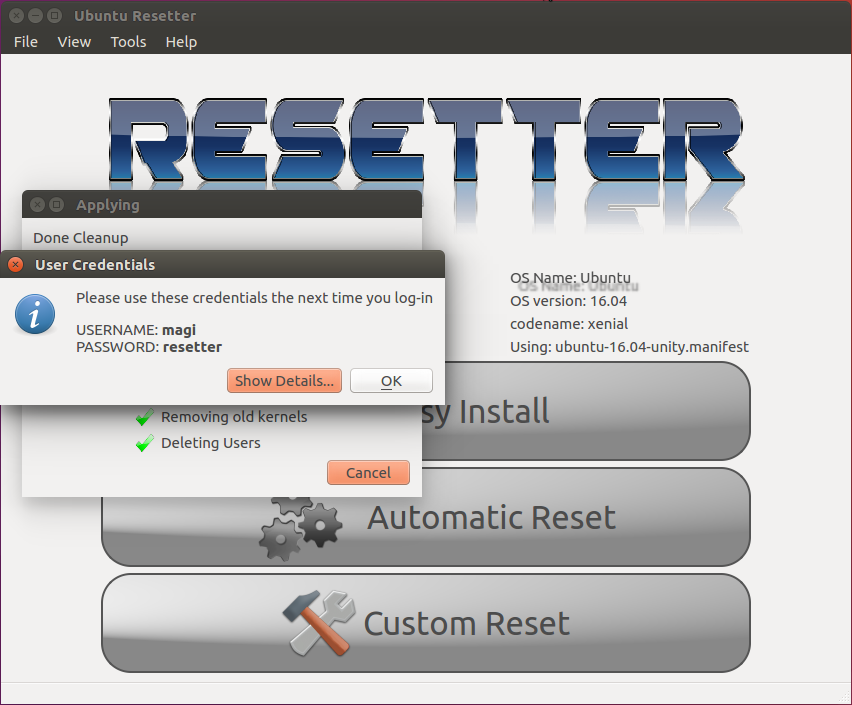
After cleaning up everything, it will display the given username and its password.
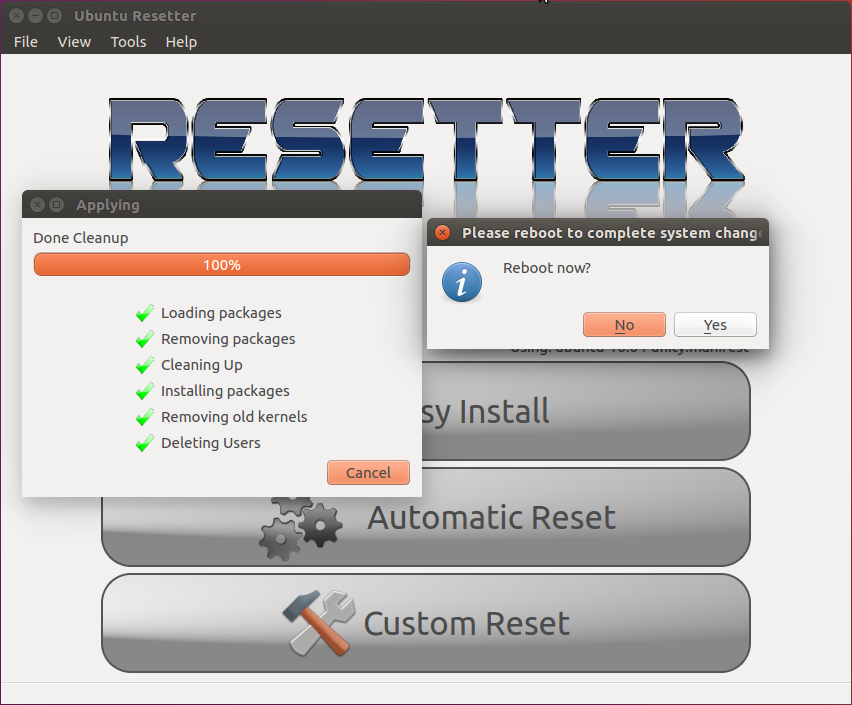
Finally select Yes to reboot your system.
It worked as charm, give a try and let us know your feedback.
How to reset Ubuntu, Linux Mint settings to default without need of reinstalling
I t is common for Linux newbies to run into issues due to accidental changes in settings, leading to unstable and erratic system performance. How about an idea of having a master reset button that allow you to reset the computer to factory settings?
Resetter is a promising free utility for Ubuntu based distributions. It will help to reset an Ubuntu, Linux-Mint, elementary OS and derivatives to stock, without having to reinstall entire OS again. Seems like the idea popped up from the existing factory reset feature in smartphones.
Resetting Ubuntu to factory settings
STEP 1: Download Resetter from the official Github page. The file name should be similar to resetter_1.1.3-stable_all.deb, except the version number may be different depending on when you download it.
STEP 2: The downloaded file is a .deb binary. So all you need to do is double-click on it and install.
STEP 3: After installation is complete, launch ‘Terminal’ and enter the following command to launch ‘Resetter’. The program will only work in root mode. Hence it won’t work if you just launch it from applications menu.
Launching Resetter in Ubuntu 17.10 Terminal
STEP 4: You have two options to reset:
Automatic Reset: This option will reset everything including the user account registered in the PC. It will however create a new user ‘default’ and provide you the password at the end so that you can login and start using the brand new installation.
Custom Reset: You get selective options on how you want to reset the PC. You can check the settings individually that needs to be reset, for a controlled factory restore.
You can choose either one depending on your need. In my test PC, I choose to ‘Automatic Reset’.
STEP 5: Click ‘Yes’ to confirm.
STEP 6: It will list all the packages that will be removed. Click ‘OK’.
Packages that will be removed
STEP 7: After the reset process is done, it will create a new user account and show you the login credentials. Make sure to note it down, else you can’t login to the PC.
STEP 8: Finally, reboot to complete the factory reset. Enjoy!
You may also like
How to install and use Neovim on Ubuntu
Unlock Remote Desktop Management with Remmina on Ubuntu
Customizing your Ubuntu Desktop with Themes and Icons
How to set up password-less SSH login on.
Fixing ‘Repository does not have a Release file’.
The 20 Best Themes for Ubuntu [2023 Edition]
4 comments
please help me. how to reset all the settings and applications without losing Home partition. I can’t find how to do it. thank you sir.
1/ save your /home partition on external drive
2/ erase and reinstall your system
3/ import your /home saved partition and datas on your new system.
If I reinstall the system, and I do not save my home directory, will a new home directory be created? I currently have Mint 19.4 Tricia and would like to restore it back to it’s original installation of Mint 19.3 Tina. Thanks.
Run your live ISO
Copy data from your /home folder to an external HDD
Run the installer.
Choose option — O Something Else….
Now click on your main HDD; choose to change it; choose use as EXT4, and check the box to format. Don’t forget to select
the mount point. Make it ” / “.
Next, find your external drive in the list (needs to be formatted ext4 already) and choose to change it.
Change it from “Do not use” to “ext4″, just like in step 5. Now the tricky part…. choose to mount this at ” /home ” , and
MAKE SURE the ‘Format’ box IS NOT CHECKED.
Disk for bootloader should be set on your main HDD. (Mine is, for example, ” /dev/sda ”
Click install now. Your /home folder will now be on the external drive, and it will not be erased during the installation.
