- Программы для работы со сканером
- Xsane
- Simple Scan
- Skanlite
- Skanpage
- gscan2pdf
- gImageReader
- scanimage
- Introduction
- SANE
- Setting up SANE
- Setting up Network Scanning
- Troubleshooting SANE
- VueScan
- Legacy Content
- Supported Scanners
- Manufacturer-Specific Installation
- Basic setup of sane
- Specific Scanners
- Network Scanning
- Setup and Troubleshooting
- How To Scan For Devices on Your Network
- Finding Network Devices Via Your Router
- Finding Network Devices Via An App
- Scan for Network Devices in Linux and MacOS
- Stay on the Cutting Edge
Программы для работы со сканером
Интерфейс — это программа, которая взаимодействует с SANE для получения отсканированного вывода в желаемом формате.
Xsane
Xsane (пакет xsane ) — графический интерфейс для получения изображения со сканера. Может быть вызван из GIMP.
- предварительное сканирование (просмотр);
- ручное и автоматическое выделение необходимой области для сканирования;
- сканирование в файл формата JPEG, PDF, PNG, PNM, PostScript, TEXT, TIFF;
- настройка сканирования в файл с уникальным именемж
- создание многостраничных документов (пакетное сканирование);
- возможность работы как плагин к редактору изображений GIMP.
Xsane предоставляет возможность создать многостраничный документ, минуя промежуточный этап сохранения страниц в виде отдельных графических файлов и использования вспомогательных утилит. Возможно создание документа в формате pdf, tiff или PostScript.
Для возможности вызова Xsane из GIMP должен быть установлен пакет xsane-gimp2 :
# apt-get install xsane-gimp2 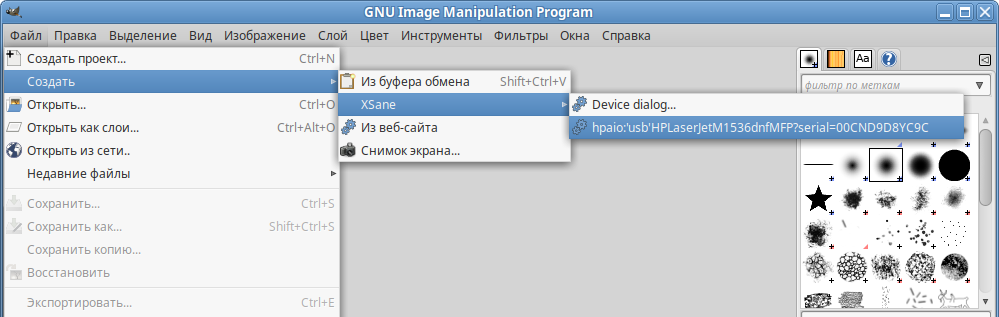
Simple Scan
Simple Scan (пакет simple-scan ) — это простое в использовании приложение, предназначенное для того, чтобы пользователи могли подключить свой сканер и быстро получить изображение/документ в соответствующем формате. Программа предоставляет базовый набор функций и настроек для сканирования.
# apt-get install simple-scan 
Сохранить документ можно в формате pdf (может содержать несколько страниц) или в форматах png, jpg и webp (для каждой отсканированной страницы будет создан отдельный файл).
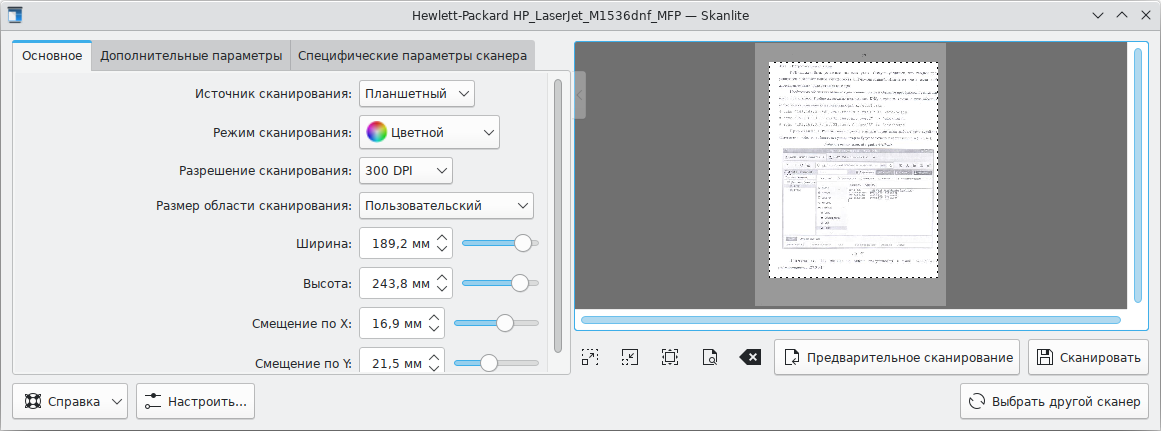
Skanlite
Skanlite (пакет kde5-skanlite ) — простое приложение от KDE для получения и сохранения изображения со сканеров.
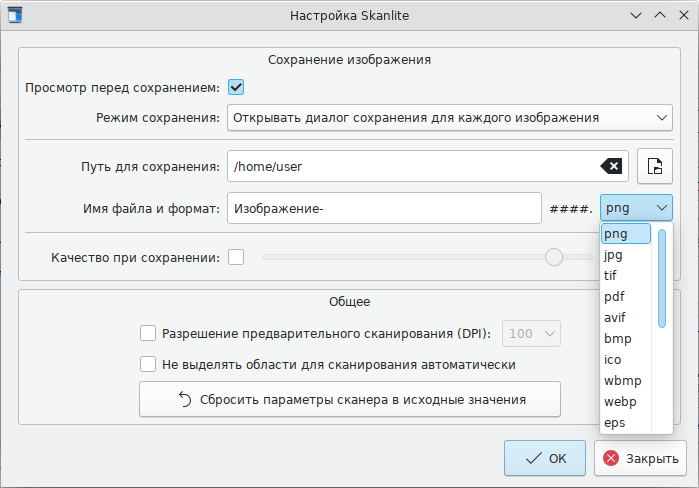
- показ диалога сохранения для каждого полученного со сканера изображения или автоматическое сохранение в заданную папку с автоматическим формированием имён файлов по заданным правилам:
- поддержка сетевых сканеров;
- предварительный просмотр с выбором области для сканирования;
- сканирование нескольких областей одного изображения.
# apt-get install kde5-skanlite Skanpage
Skanpage (пакет kde5-skanpage ) — простое приложение от KDE для сканирования и сохранения документов и изображений, состоящих из нескольких страниц.
- поддержка планшетных сканеров и сканеров с устройством автоматической подачи;
- настройка параметров сканирования;
- упорядочивание, вращение, удаление отсканированных страниц;
- поддержка формата PDF для сохранения документов и форматов файлов изображений.

# apt-get install kde5-skanpage gscan2pdf
gscan2pdf (пакет gscan2pdf ) — программа сканирования документов с возможностью их сохранения в формате PDF или DjVu.
- позволяет сканировать и сохранять всё или только выделенное в форматах PDF или DjVu, включая метаданные;
- распознавание текста;
- импорт отсканированных документов и изображений;
- наличие инструментов для минимальной обработки изображений при сканировании: повороты, установка порога, очистка документа, негатив, нерезкая маска и кадрирование.

gImageReader
gImageReader программа для распознавания текста (GUI Tesseract).
- поддерживаемые форматы изображений: jpeg, png, tiff, gif, pnm, pcx, bmp;
- поддержка формата электронных документов PDF. Возможность выбрать отдельные страницы и диапазон страниц для распознавания;
- автоматическое обнаружение расположения страницы;
- выделение области с текстом для распознавания;
- проверка орфографии;
- получение изображения напрямую со сканера.
gImageReader имеет возможности прямого получения изображения со сканера, но при этом отсутствует операция предварительного сканирования.
# apt-get install gimagereader-common 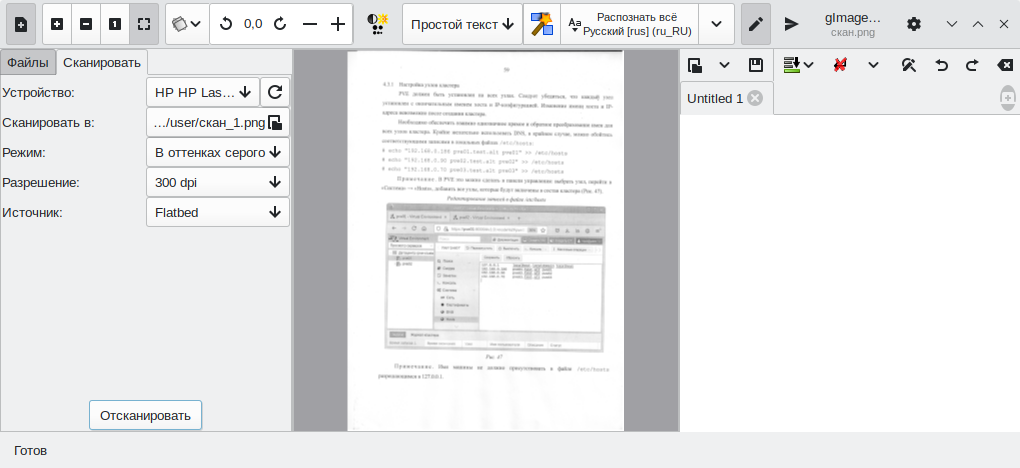
scanimage
scanimage — интерфейс командной строки для управления сканированием.
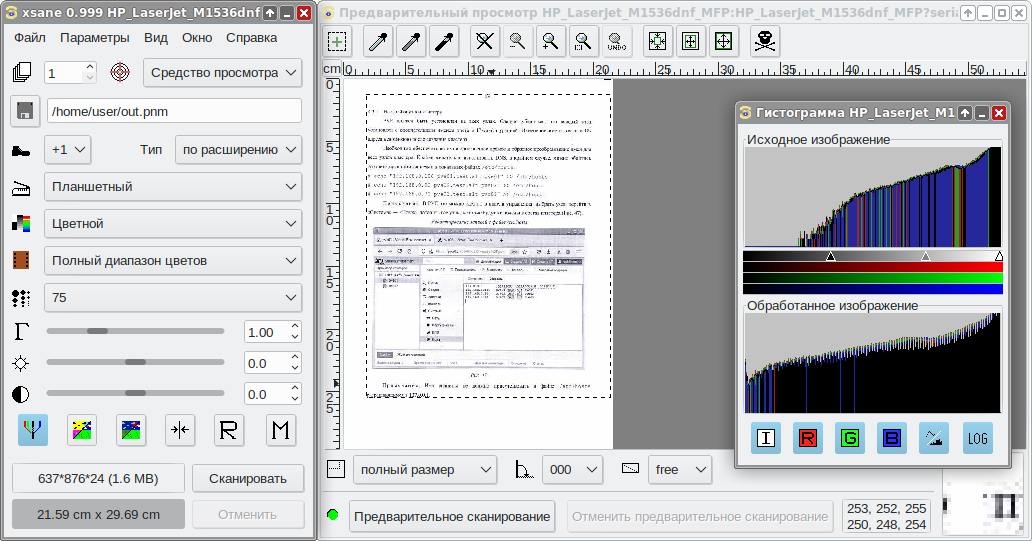
Список доступных сканеров:
$ scanimage -L device `hpaio:/usb/HP_LaserJet_M1536dnf_MFP?serial=00CND9D8YC9C' is a Hewlett-Packard HP_LaserJet_M1536dnf_MFP all-in-one
$ scanimage -T -d 'hpaio:/usb/HP_LaserJet_M1536dnf_MFP?serial=00CND9D8YC9C' scanimage: scanning image of size 637x876 pixels at 1 bits/pixel scanimage: acquiring gray frame, 1 bits/sample scanimage: reading one scanline, 80 bytes. PASS scanimage: reading one byte. PASS scanimage: stepped read, 2 bytes. PASS scanimage: stepped read, 4 bytes. PASS scanimage: stepped read, 8 bytes. PASS scanimage: stepped read, 16 bytes. PASS scanimage: stepped read, 32 bytes. PASS scanimage: stepped read, 64 bytes. PASS scanimage: stepped read, 128 bytes. PASS scanimage: stepped read, 127 bytes. PASS scanimage: stepped read, 63 bytes. PASS scanimage: stepped read, 31 bytes. PASS scanimage: stepped read, 15 bytes. PASS scanimage: stepped read, 7 bytes. PASS scanimage: stepped read, 3 bytes. PASS
где ‘hpaio:/usb/HP_LaserJet_M1536dnf_MFP?serial=00CND9D8YC9C’ — актуальное имя подключенного устройства.
Сканирование с сохранением результата в файл:
$ scanimage --format=png -d 'hpaio:/usb/HP_LaserJet_M1536dnf_MFP?serial=00CND9D8YC9C' > ~/scan.png
Introduction
Scanning on Linux is generally a quick and easy process that just works.
There are many for scanning in Linux, like SANE and skanlite. But there are many options in the software store. So if you don’t like one of them, chose another.
SANE
SANE («Scanner Access Now Easy») is the open source software that powers scanning on most Linux devices. This software allows Linux devices to use various image scanner hardware (flatbed scanner, auto document feed scanners, hand-held scanners, video- and still-cameras, frame-grabbers, etc.).
The SANE software is comprised of three parts —
First is the standard API (Application Programming Interface) that is designed to allow various components of scanning hardware and software to work together. This allows programmers a stable interface to write scanning software to.
Second part is the SANE back end. This is the actual software that communicates directly with the scanner to produce the images. A few manufacturers have even produced scanners with a SANE back-end built in to them.
The third part is the SANE front end. Their are a number of front ends that allow you to interface with the scanner. These programs communicate with the back end to communicate with the scanner. SANE back ends include command line programs, Windows programs, Mac programs, php programs, Android apps and many, many more.
Setting up SANE
- If you need general help setting up SANE on your computer, see the SANE Tutorial.
- If you need help with setting up a specific scanner, see the SANE Scanners page.
Setting up Network Scanning
Network scanning allows you to set up your scanner on a server, then share that scanner or scanners out to your entire network. This is very useful in office and educational environments where you have to share a scanner among many computers, or where a single workstation needs to access several scanners.
If you need to set up network scanning with SANE, see the Sane Daemon Tutorial
Troubleshooting SANE
- Ubuntu SANE Troubleshooting guide. This guide contains basic troubleshooting commands and tools, the known issues and workarounds for sane problems on Ubuntu and other useful information on troubleshooting sane issues. This guide also includes how to install the SANE Project’s PPA, giving you the most up-to-date version of SANE.
- Compile SANE from source — ADVANCED. This how to takes you through the process of downloading, compiling and installing the latest sane code from the git repository.
- Supported Scanner Lists (note: These lists are currently outdated)
- SANE Project Supported Scanners — The official SANE Project database of supported scanners.
- Scanners in Ubuntu — Scanner functionality reported by the Ubuntu Community.
VueScan
VueScan is comercial scanning software for Linux. It supports a wide range of scanners. VueScan website.
Legacy Content
Supported Scanners
* SANE Project Supported Scanners — The official SANE Project database of supported scanners.
* Scanners in Ubuntu — Scanner functionality reported by the Ubuntu Community.
Manufacturer-Specific Installation
- HP All-in-One Printers — Setup HP Print/Scan/Copy printers using HP tools.
- Epson Scanners — Linux Drivers for many Epson scanners.
- Brother scanners — Linux drivers for Brother scanners. Please note that which scanner populates in the support search box is dependent on which «Country (Language)» is currently selected. For example, if one searches for model DCP-J715W while «United States(English)» is selected, it won’t be found. However, if one has «Deutschland(Deutsch)» it is found.
- Kodak Scanners — Linux drivers for several Kodak scanners.
Basic setup of sane
Basic set-up instructions for SANE can be found on the sane page.
Specific Scanners
Network Scanning
Setup and Troubleshooting
- Update to Latest Sane — ADVANCED. How to download and install the latest sane code from the git repository.
- Permissions — If you can scan as root, but not user, read this.
- ScanningHowTo — Tips on setting up your scanner.
- Scanner Clone Check — ADVANCED. A small percentage of the unsupported scanners may actually be clones of a scanner that is already supported. If this is the case, adding support should be relatively easy.
- SimpleScanHardwareIssues — Information what to do when your scanner does not work (perfectly) using the default «Simple Scan» scanning application.
Scanners (последним исправлял пользователь lnee 2022-02-02 21:24:36)
The material on this wiki is available under a free license, see Copyright / License for details
You can contribute to this wiki, see Wiki Guide for detailsHow To Scan For Devices on Your Network
Find the names and IPs of all devices connected to your router.

Finding a device on your network is an important task. It is wise to keep an eye on what machines are on your network, and what they are doing.
Also knowing the hostname or IP address of a machine means we can remotely connect to it, for example via SSH. If, for example, you have a Raspberry Pi hooked up but can’t remember its name, scanning the network will give you that information.
In this how-to, we will learn the various means to scan your home network and find the machines which are on it. To illustrate the task we’re going to search for a Raspberry Pi running the latest version of Raspberry Pi OS.
Finding Network Devices Via Your Router
Each router is a little different, but most will offer a means to show all of the devices on your network. To see this, you will need to login to your router and navigate the options searching for “Devices”. Here we can see the Device Name (hostname) and the IP Address of machines on our network.
Finding Network Devices Via An App
Our preference is to use an app that will search our network and retrieve the details for us. We have used Fing on our Android devices for many years and it reliably returns the details of networked devices. Fing also offers an app for Windows and Mac.
1. Download and install Fing for your OS.
2. Create an account and follow the sign up process.
3. Open Fing and click on Devices.
4. Click on Refresh to run a search for networked devices.
5. Click on the device that you wish to connect to. Our example uses a Raspberry Pi.
The hostname and IP address are now visible. Our hostname was “raspberrypi,” and we have two IP addresses as our Pi is connected via Wi-Fi and Ethernet.
6. Scroll down and click on Find Open Ports to start a scan.
7. An optional step. Scroll down the page, click on Find open ports to run a port scan of the device. SSH is traditionally set to port 22.
Scan for Network Devices in Linux and MacOS
Linux users can use nmap, a network scanning tool to search for all the devices on their home network and then display their open ports. Here we are using an Ubuntu 22.04 install.
1. Open a terminal and update the list of software repositories.
2. Install nmap using the apt package manager.
3. Using sudo, invoke the nmap command with the -Pn argument to scan all IP addresses on your network. Our network uses the IP range 192.168.0.0 to 192.168.0.255, your network may not. Adjust the IP address range to match your network.
4. Scroll through the returned results to find the device that you wish to SSH into. Our target was a Raspberry Pi, and we can see two IP addresses that match. Both of these are the same machine, connected via Wi-Fi and Ethernet.
Stay on the Cutting Edge
Join the experts who read Tom’s Hardware for the inside track on enthusiast PC tech news — and have for over 25 years. We’ll send breaking news and in-depth reviews of CPUs, GPUs, AI, maker hardware and more straight to your inbox.
By submitting your information you agree to the Terms & Conditions and Privacy Policy and are aged 16 or over.
Les Pounder is an associate editor at Tom’s Hardware. He is a creative technologist and for seven years has created projects to educate and inspire minds both young and old. He has worked with the Raspberry Pi Foundation to write and deliver their teacher training program «Picademy».