How to Take Screenshots on Linux Mint
![]()
A screenshot is nothing more than a simple screen capture which is quite simple to create. We will talk about how to capture a screenshot on Linux Mint in this article. Linux offers us several alternative ways to capture screenshots of the Windows screen, among other things. We may easily take screenshots using the various tools which are supplied by Linux such as the “screenshot” utility, “flameshot”, etc. Using the appropriate command on the Linux system’s terminal, we can also snap screenshots. We will now explain how to take screenshots using these techniques or tools in a Linux system.
How to Snap a Screenshot on Linux Mint
This section explains various techniques to take screenshots on Linux Mint. Linux has a wide range of methods to take screenshots of Windows, the entire screen, a specific part, etc. A snapshot picture is instantly saved with the “Screenshot” file name and the time and date that it was captured in the “Pictures Screenshots” directory in your home directory. But by selecting the folder name before saving the screenshot, we may also save it where we want such as on the desktop or in any other folder.
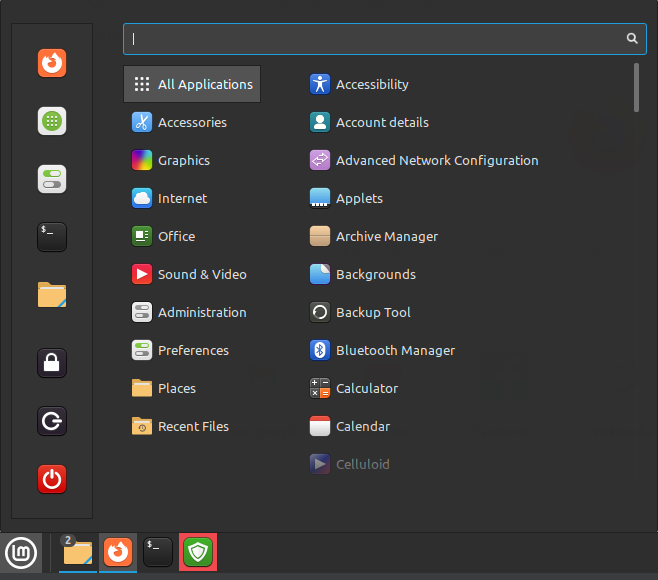
Let’s move on to the first method of how to take a screenshot on Linux. First, to open the menu on the screen, click the “menu” button on the desktop. When you do, a list of all the applications in the software is displayed as seen in the following image:
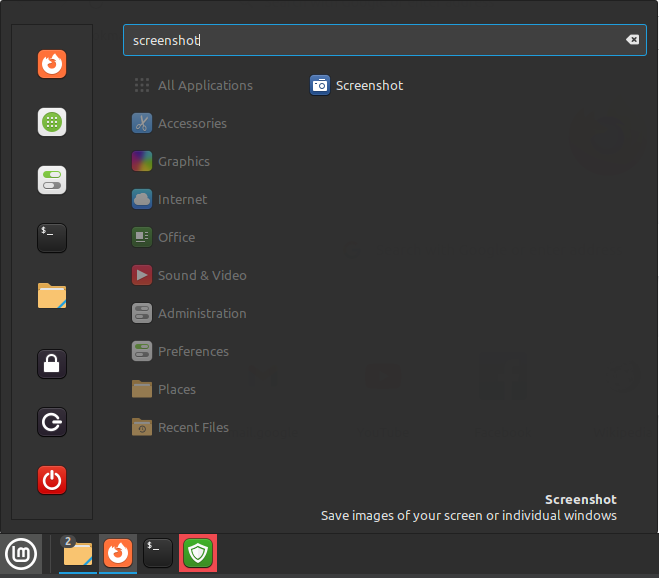
We want to take a screenshot, so we type “screenshot” into the search box and a screenshot option appears on the screen. We now choose the option to open it.
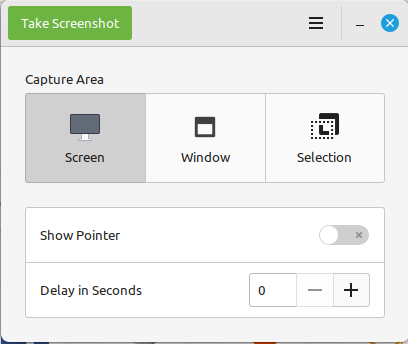
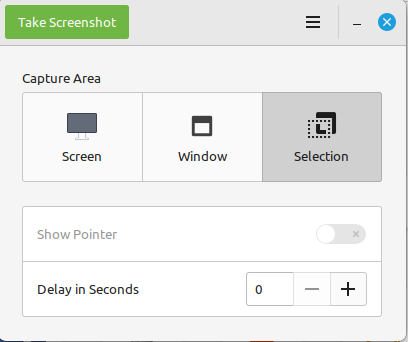
When we open it, a window with three options appears on the screen: “Screen”, “Window”, and “Selection”. If we choose the screen option, the complete screen is captured. If we choose the selection button, the area that you picked by dragging with the mouse is captured. And if we choose the window button, the window is captured. Thus, in this section, we first choose the screen button to take a screenshot of the entire screen. After that, click the “Take Screenshot” button which is located at the top-left corner of the displayed window.
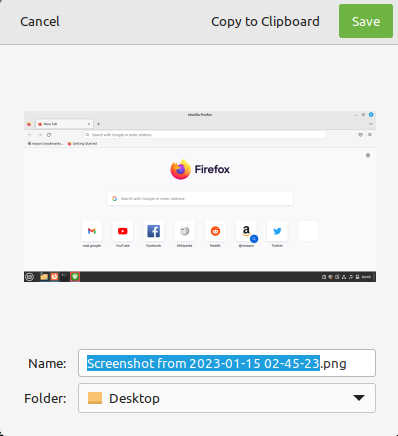
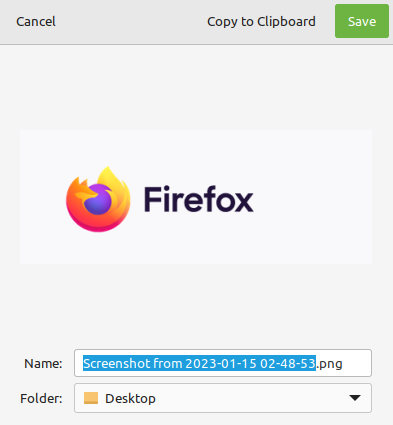
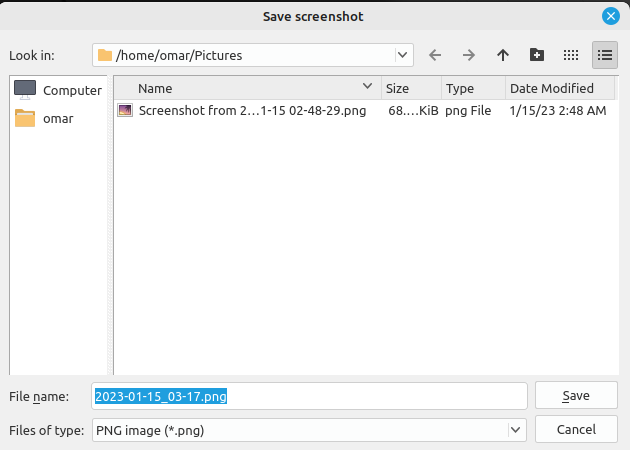
The screenshot is now taken. The next stage involves displaying a window on the screen with it and prompting the user to enter the screenshot’s location and name. Since we want to place the screenshot where we want it to be, we select to save it in the desktop folder without changing its name. Next, we click the “save” button which is situated on the top-right as seen in the following image:
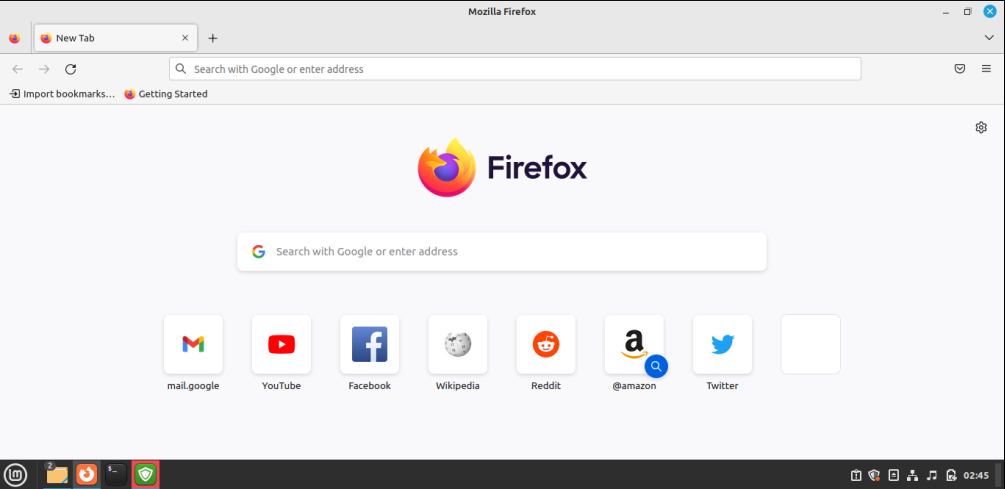
The snapshot is now successfully saved to the desktop. You can view the screenshot now. It is also displayed in the following image by selecting it, performing a right-click, and selecting the option to open it from the desktop. We capture a screenshot of the screen while Firefox is opened in Linux. Therefore, this is the screenshot:
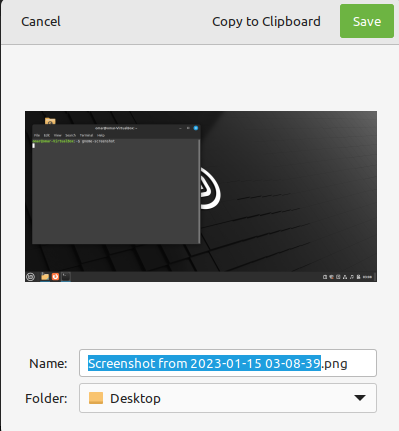
Now, in the following section, we use the selection button of the screenshot tool. Using this button, we have the opportunity to select the part of the screen that we want to capture by dragging it with the mouse. In this case, we take a screenshot of just the Firefox, so we drag the area where it is displayed. Otherwise, the process is the same as in the previous section except that this time, we choose the selection button instead of the screen button.
Now, the portion of the screen that we selected with the mouse is screenshotted. Next, it asks for its location and name like it did earlier. Since we want to store the screenshot on the desktop, we select the desktop as the place for it. Then, we select the save box to store it.
The screenshot is now saved to the specified place. This means that it is saved to the desktop. When we open the screenshot from the desktop, it appears as seen in the following screenshot:

Using the Linux Gnome-Screenshot Command to Take a Screenshot
In this section, we capture a screenshot of the active screen using the Linux gnome-screenshot command. The GNOME application gnome-screenshot enables the users to take screenshots of the display screen, a panel, or a user-defined portion of the screen with additional aesthetic boundaries. To accomplish this, we must first open the terminal and then input the “gnome-screenshot” command into the terminal’s text field.
When we run this command, a screenshot of the screen is taken and a dialogue is displayed, asking where you want to save the screenshot or its name. Here, we choose the desktop folder since we want the screenshot to be saved on the desktop. Then, we hit the save option to save it.
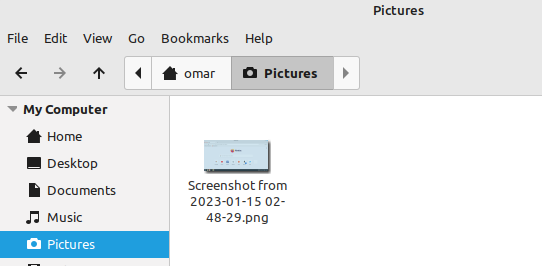
The captured image is now saved to the desktop. We now open it from the desktop which is displayed in the following:
Taking a Screenshot with the Keyboard’s (prt-sc) Key
The “prt-sc” key on the keyboard is all that is required to use this method which is among the simplest ways to take screenshots of the screen in Linux. Print screen is what this “prt-sc” refers to. After opening the window or screen that we want to take a screenshot of, we just hit the “prt-sc” key and the screenshot is taken. This key automatically saves the screenshot that you took into the photos folder.
Flameshot
We now take a screenshot using the “Flameshot” tool. With Flameshot, you can snap a picture and modify them with several tools. Flameshot is a strong, feature-rich, and simple snapshot program. It is entirely free to obtain and set up and is an open source. First, we use the sudo command in the terminal to install the flameshot tool on our Linux system. We enter the command on the terminal by first typing “Sudo”, followed by “apt”, and then the “install flameshot”.
When we run this command, sudo prompts us for a password which we input as our Linux system password. After we enter the password, the utility is installed.
Now that Flameshot is installed, you can see it in the following image:
Reading package lists. . . Done
Building dependency tree. . . Done
Reading state information. . . Done
The following additional packages will be installed:
The following NEW packages will be installed:
0 upgraded, 2 newly installed, 0 to remove and 34 not upgraded.
Need to get 567 KB of archives.
After this operation, 2 , 289 KB of additional disk space will be used.
Do you want to continue ? [ Y / n ]
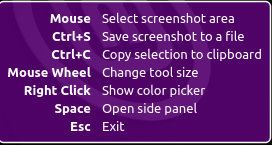
Now that you opened the desktop menu, search for “flameshot” in the search bar and click to open the tool. This gives you options to take screenshots of a selected area with the mouse, save them to a file when we press “Ctrl+S”, display the color picker when we right-click, and more options will appear shortly.
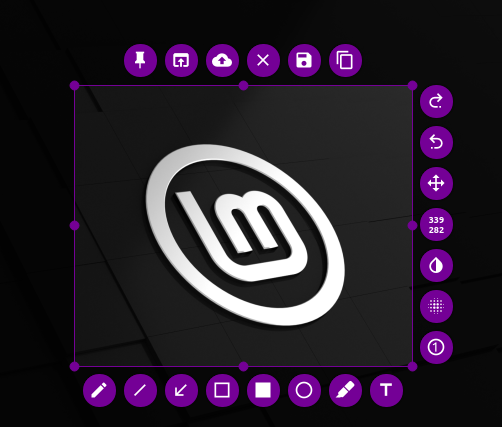
Now that we’re using this tool to take a screenshot of the Linux Mint icon, we use the mouse to select the icon from the desktop and then click the save button to store it. At the top, the save icon is the second-last option from the left to the right.
The screenshot is instantly stored in the photos directory after pressing the save button.
Conclusion
Linux gives us several ways to capture the windows and select the portions of screens as screenshots. This article covered several different methods to take the screenshots on Linux Mint. To capture the screenshots in the first section, we used the Linux-provided screenshot tool. To take screenshots in the second section, we used the gnome-screenshots command. In the third portion, we demonstrated how to quickly take a screenshot using the keyboard. And in the last portion, we used the flameshot tool to take screenshots.
About the author
Omar Farooq
Hello Readers, I am Omar and I have been writing technical articles from last decade. You can check out my writing pieces.