How to *secure erase* a NVMe SSD
Since SSD has write amplification, I want to reset the SSD to the initial out-of-box performance. Most tutorials are for SATA SSD ( hdparm —secure-erase ), I want to know how to erase a partition of NVMe SSD (maybe use nvme command?). One more question: does dd if=/dev/zero of=/dev/nvme0n1 help? Or does fio —filename=/dev/nvme1n1 —direct=1 —buffered=0 —rw=trim —bs=4k —size=100G —numjobs=16 —iodepth=32 —group_reporting —name=trim help? Thanks!
One partition or entire device? See nvme help & then nvme help format I have in my notes this but never used it. It will erase entire drive. sudo nvme format -s1
3 Answers 3
To totally erase a NVMe drive.
This will erase entire drive.
You may need to first install nvme — the NVMe storage command line interface utility (nvme-cli). Then review commands and list all nvme devices. List wil also show firmware revision & you should check that you have latest firmware.
sudo apt install nvme-cli nvme help nvme --help nvme --help format sudo nvme list sudo nvme format -s1 fred@z170-focal-k:/mnt/data$ sudo nvme list [sudo] password for fred: Node SN Model Namespace Usage Format FW Rev ---------------- -------------------- ---------------------------------------- --------- -------------------------- ---------------- -------- /dev/nvme0n1 S4P2NF0M514514L Samsung SSD 970 EVO Plus 500GB 1 164.30 GB / 500.11 GB 512 B + 0 B 2B2QEXM7 See comment below y rootkea, if using more than one namespace.
Use -n 0xffffffff to format all the namespaces.
How long should this secure erase take? I tried doing this and got Success formatting namespace:1 after only about 2-3 seconds. It seems way too fast for a 480 GB drive.
In general, securely erasing an SSD does not involve writing every bit, which would take a long time. And the NVME standard has secure erase built in, so the drive maker (presumably) made this very fast.
@Brad I suspect that secure erase mostly entails destroying (forgetting) the key used to encrypt and decrypt the data and generating a new key.
@Brad Use -n 0xffffffff to format all the namespaces. @oldfred please update the answer adding this bit. Thanks!
For resetting to Out Of Box performance you DO NOT want to use the «write zeroes» technique of dd/fio. There is a BIG semantic difference saying «this area must contain and maintain zeroes» (fio/dd technique) and saying «this area is must be empty» (secure erase). For example the Solid State Storage (SSS) Performance Test Specification (PTS) specifies techniques it considers reasonable for preconditioning.
As OldFred’s post states, you need to use an actual secure erase utility, such as the nvme-cli package.
The reason this will run so quickly is because the drive’s contents are already transparently encrypted. That is, if you were to read the flash chips directly, you would not find any of the content you see on your drive when accessing it normally. The onboard controller handles this process completely transparently, storing the encryption key in a secure enclave within the controller.
This is useful both from a security and longevity standpoint. Encrypting data helps soften repetitive pattern writes from being so repetitive, which in turn helps to decrease the wear and tear on flash cells.
When you run a secure erase on an SSD, no data is actually being erased — instead, the controller is generating a new encryption key and writing it into the secure enclave, overwriting the old key in the process and permanently rendering all binary data on the flash cells unrecoverable.
Securely wipe an SSD with its built in commands
Modern SSDs now come with built in commands that can wipe a disk for you. This is an action that should normally be performed when you’re about to give/sell it away.
As an overview you’ll need to find out the disk’s label, unfreeze the disk, set a password, and then issue the erase command. We’ll perform these steps on Ubuntu using the hdparm and dd tools.
Plug it in
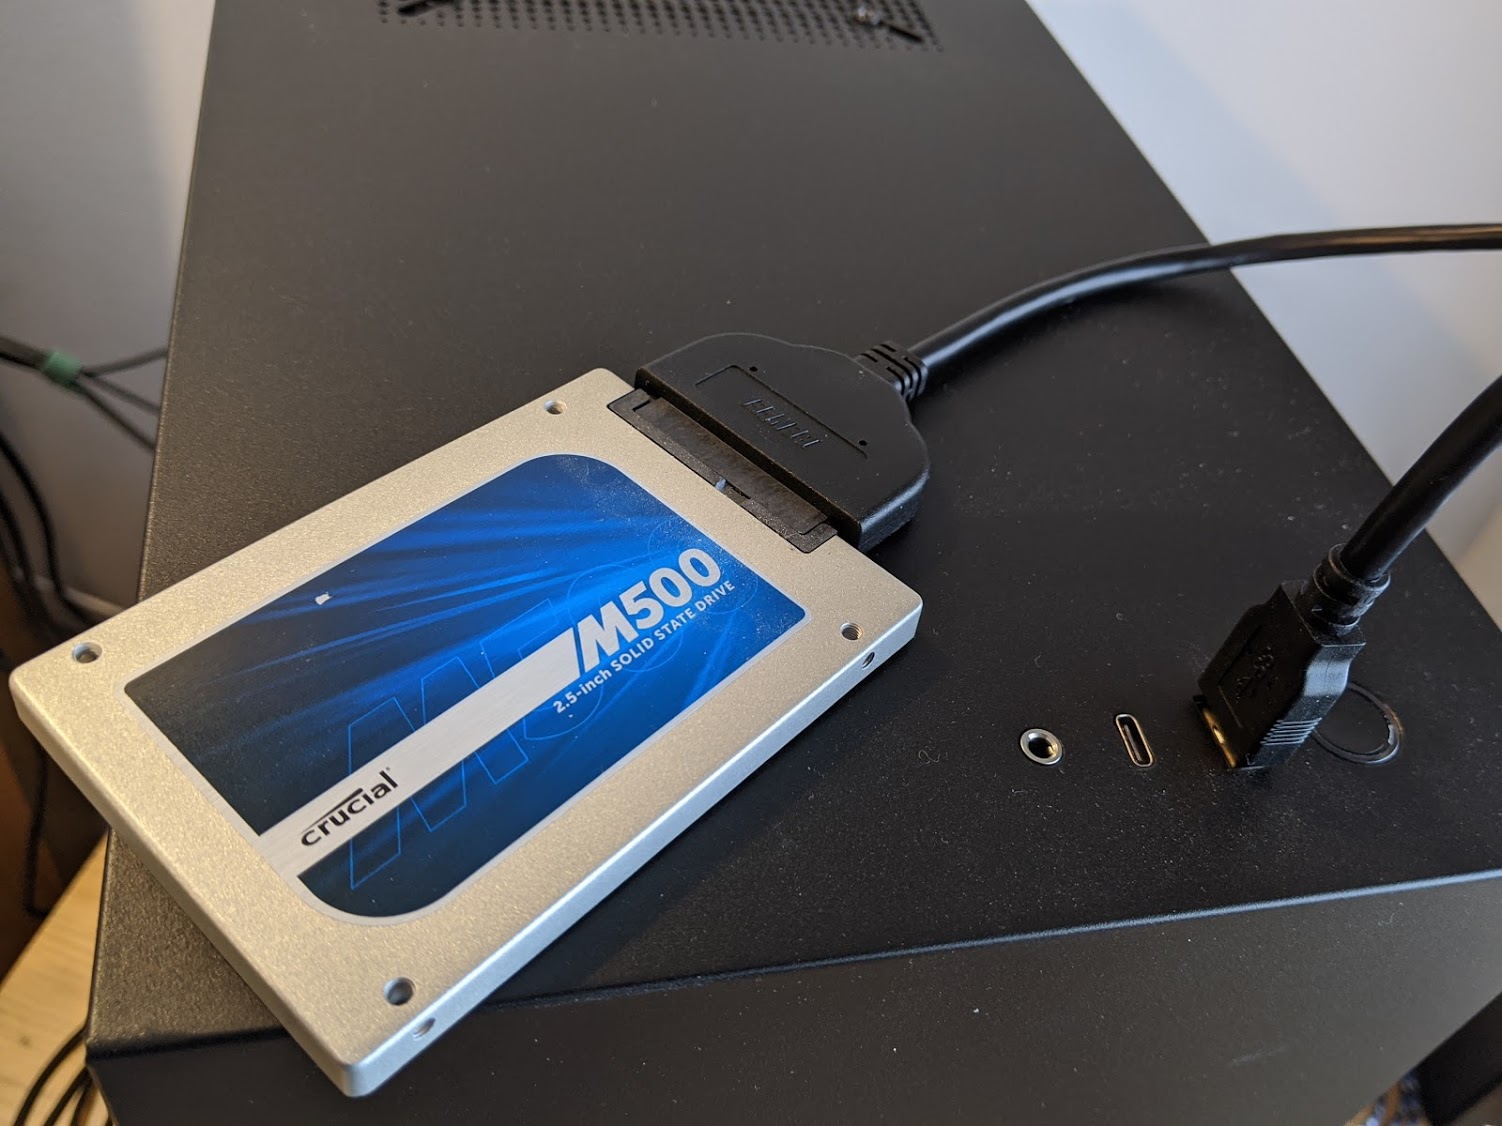
If the disk is already connected to your motherboard, you can leave it there. If you’ve already removed it from the case, you can connect it to your machine with a USB-SATA converter. Preferably, do this over SATA but the option exists to use USB.
There have been some forum posts about disks being bricked when attempting these operations over USB, however I have wiped about a dozen SSDs without issue. Your mileage may vary.
Find out its label
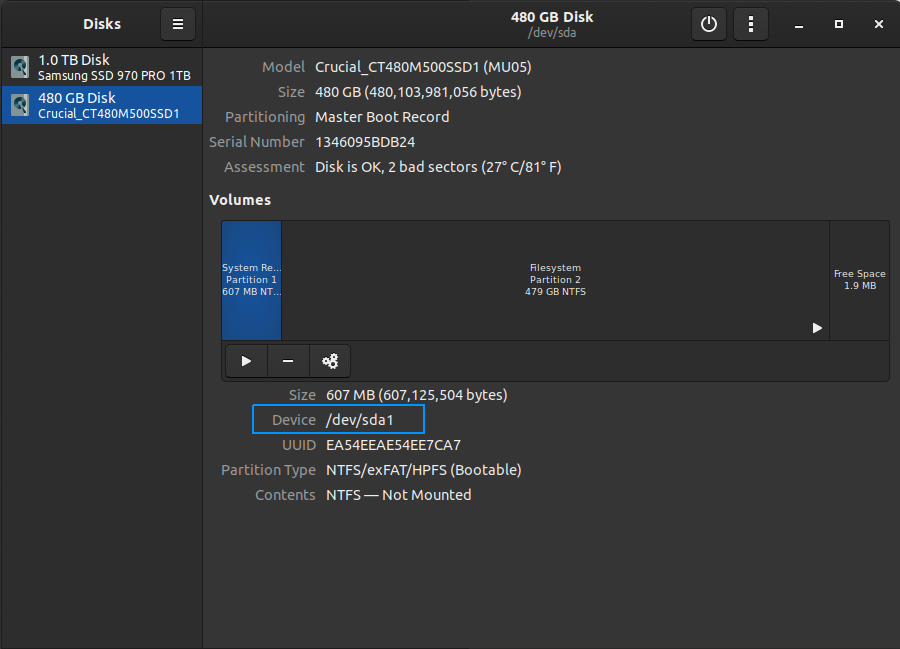
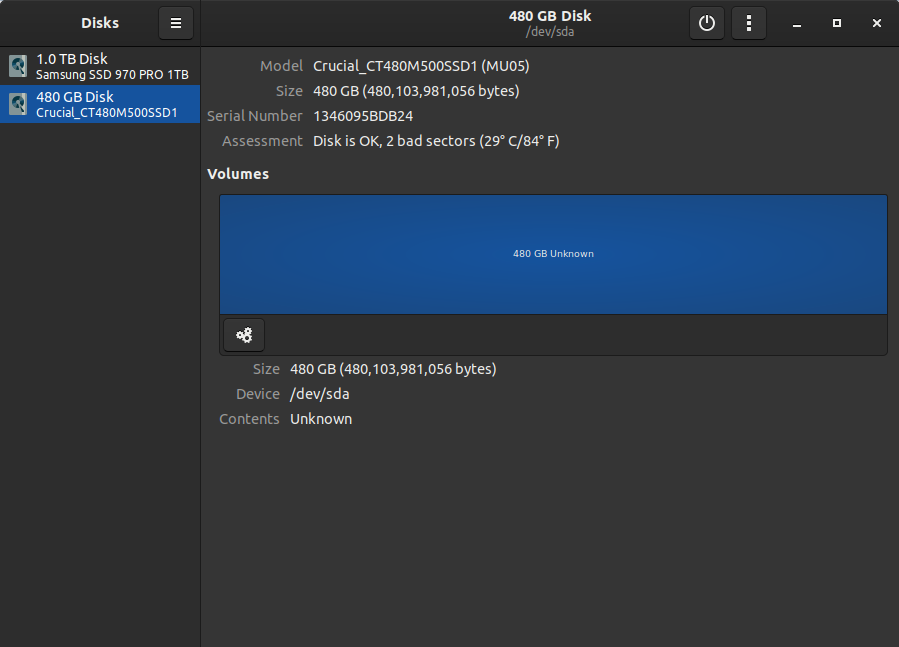
You’ll need to know the correct hard drive label to feed into later commands. The easiest way to do this is to open up the Ubuntu Disks application and look for the hard drive that you’ve plugged in.
You can also use the sudo fdisk -l command, and look for your disk there.
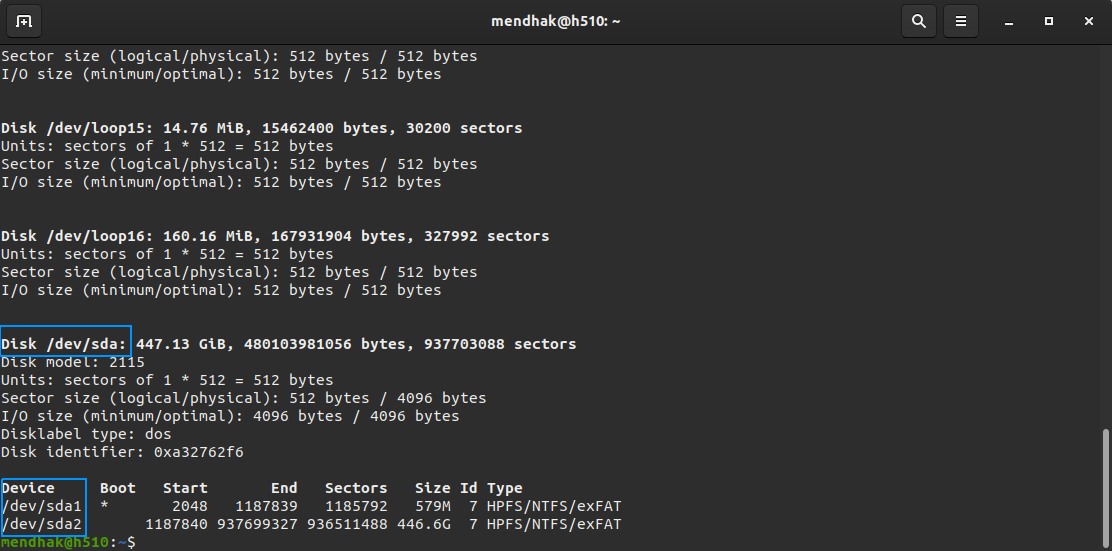
In this case, the drive is /dev/sda — though if you have other SATA SSDs then there may be a mix of sda, sdb, sdc and so on in there. For reference the drive will just be referenced as /dev/sdX from here on.
It is really important to get this step right, as working with the wrong label can wipe your main disk.
If in doubt, try disconnecting any other drives you have, except the primary OS drive.
The safest way would be to do this from an Ubuntu Live USB and disconnect all other drives.
Install hdparm
The tool to use here is hdparm — if it isn’t already install, just install it using
hdparm allows you to work with ATA disks and the ATA disk’s built in commands.
Unfreeze the drive.
SSDs will sometimes be in a ‘frozen’ state, which is designed to prevent malicious attacks against your disk, including wiping it.
You can check if your disk is frozen using
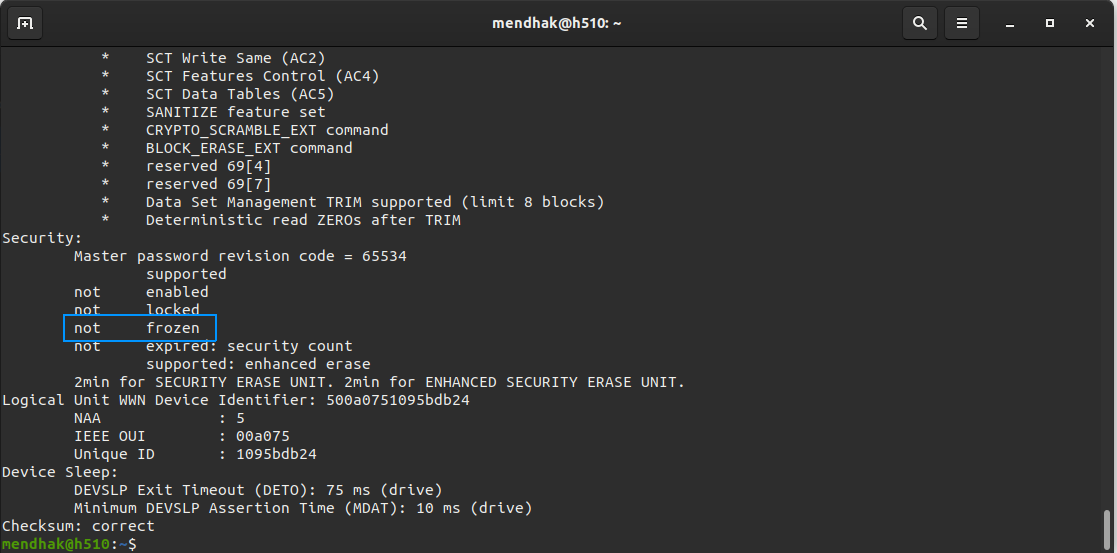
If you see not frozen then you’re OK to proceed. But if you just see frozen , you will need to unfreeze the disk.
The quickest way is to suspend your computer and then reawaken it. You can do this using
and then power it back on.
If that doesn’t work, a simple reboot should be enough. Try the command again and you should see that the disk is no longer frozen.
Set a password
According to the spec, as a prerequisite to issuing an erase command, you’ll need to set a password to enable security on the disk. Any password will do, and this password will disappear once the drive has been securely erased.
sudo hdparm --user-master u --security-set-pass hunter2 /dev/sdX 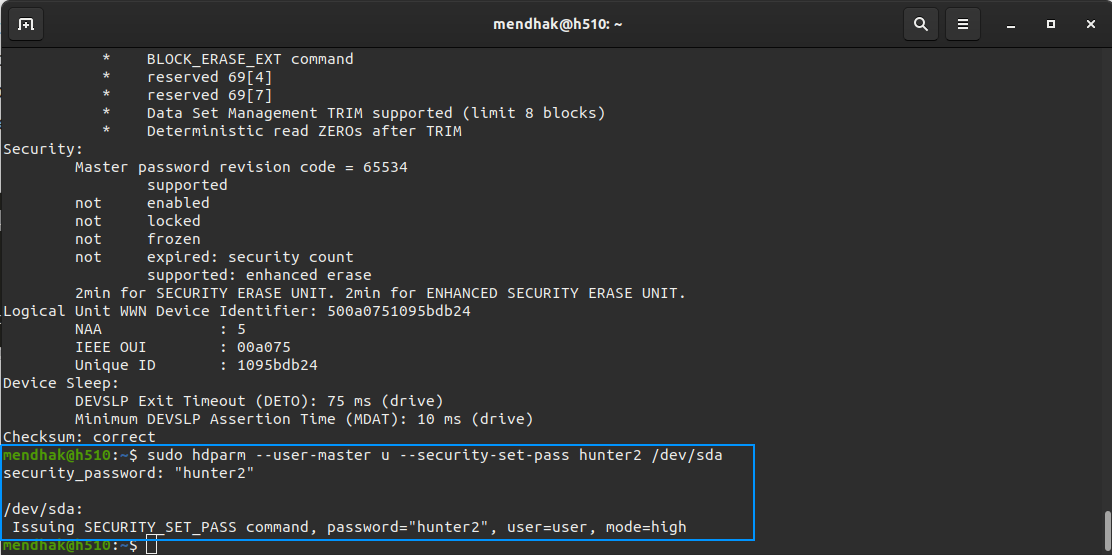
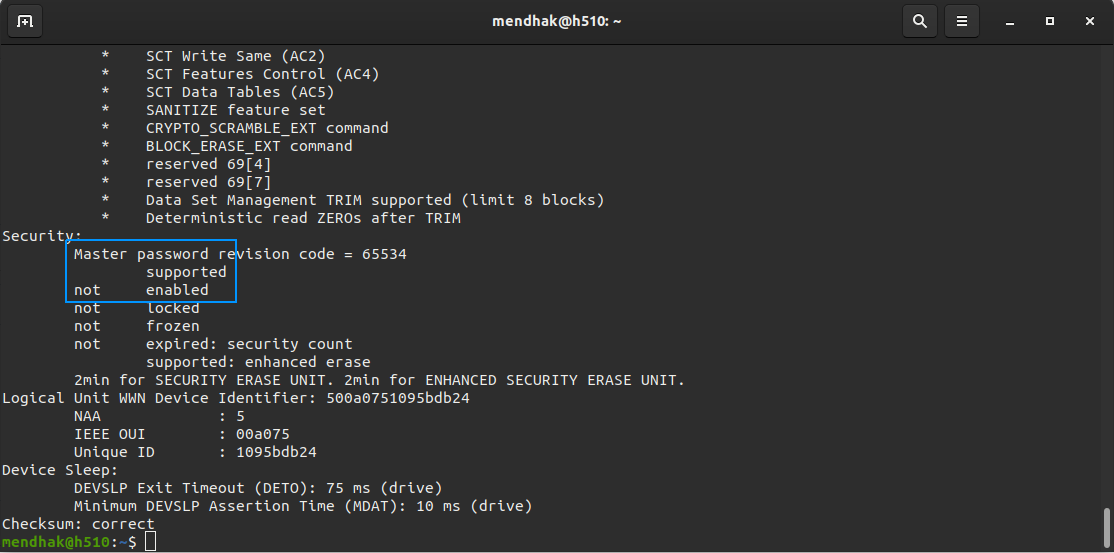
Test to make sure that the password has indeed been set.
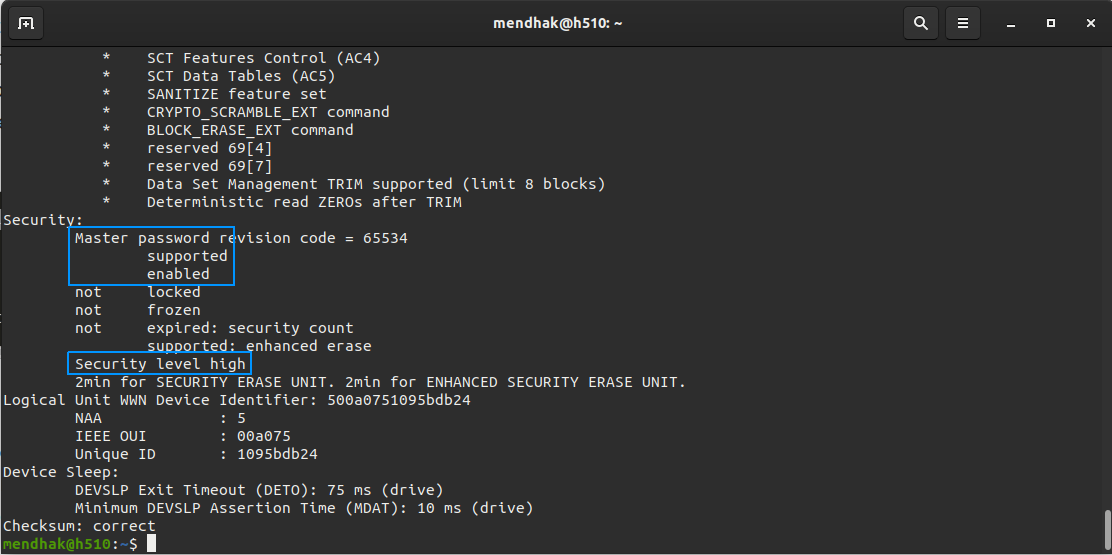
This time you should see, under Master password , the not enabled has become enabled . The line Security level high also appears at the bottom of the list.
Security Erase or Enhanced Security Erase
The hdparm output also shows what kind of erase the drive supports.
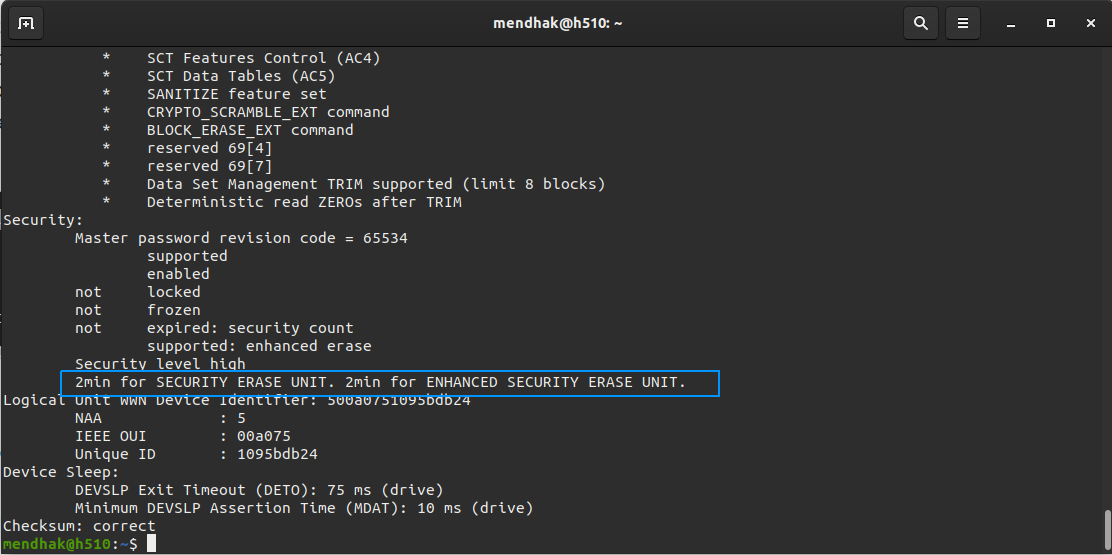
The SECURITY ERASE UNIT command will rotate the disk’s internal encryption key, rendering the data on disk invalid.
The ENHANCED SECURITY ERASE UNIT will rotate the encryption key and also write a manufacturer-determined pattern to the disk as an added measure.
Take note of how long the estimate is; it can be anywhere from a minute to hundreds of minutes; the time depends on what method the disk uses to erase data.
Actually erase it
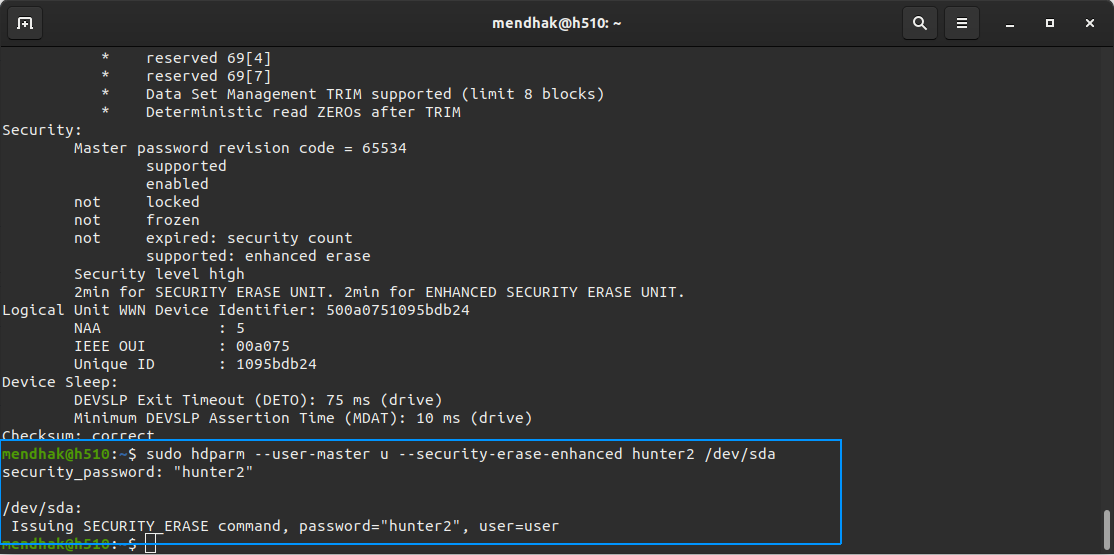
To perform an Enhanced Security Erase,
sudo hdparm --user-master u --security-erase-enhanced hunter2 /dev/sdX To perform a normal Security Erase,
sudo hdparm --user-master u --security-erase hunter2 /dev/sdX Be sure to wait a few minutes more than the estimate.
Test that it’s erased
Notice that the Security level high line no longer appears. Under Master password the status has returned to not enabled . This tells us that the disk has been reset.
Unplug and re-plug the SSD, then open the Disks application. The disk should appear but without any of your previous partitions.
You can also verify by reading bytes directly off the disk with the dd command.
sudo dd if=/dev/sda bs=1M count=5 If you’ve done an Enhanced Erase you will see the pattern which was set by the manufacturer.
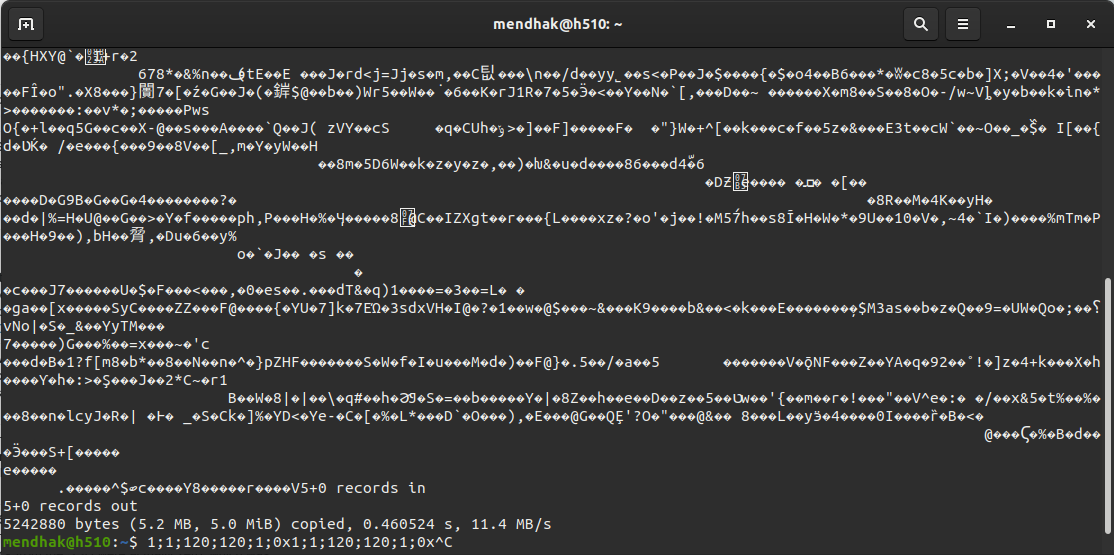
In the case of a regular erase you will see nothing.
Paranoid mode
Although there is an ATA spec proposal for the erase operations, there is no real standardization in secure erase. An SSD could report that it has erased the disk but without inspecting the code, there is no guarantee that it has done so.
The erase should be occurring by changing the internal encryption key thereby making the data useless; in some cases the disk will perform both the normal erase and the security enhanced erase in the same way. But manufacturers are not forthcoming about these kinds of details, so a level of suspicion or paranoia here is not unusual.
To address this paranoia, you can take this a step further by performing a dd write to disk anyway. This command will fill the disk with zeroes.
sudo dd if=/dev/zero of=/dev/sdX bs=1M status=progress Wait until the ‘no space left on device’ error appears.

Between all of these steps performed, the disk is now in a state to be sold or given away.