7 Free Tools to Check Who is on Your WiFi [2023 List]
Setting up your own WiFi network with adequate protection like WPA2 and a strong password is vital. But that still doesn’t mean other people aren’t using your network without your knowledge. It’s possible friends, neighbors, or family members have shared the WiFi credentials with others and people you don’t know could have access to your network and your shared files. While many routers have additional security measures such as MAC address filtering, these might not be configured or someone has circumvented them.
A lot of modern routers will give you a list of the wired and wireless devices making a connection to the network, but some do not and some people wouldn’t actually know how to find that information. Another simple way is using a tool to get the list of connected devices, here’s 7 for you to try out.
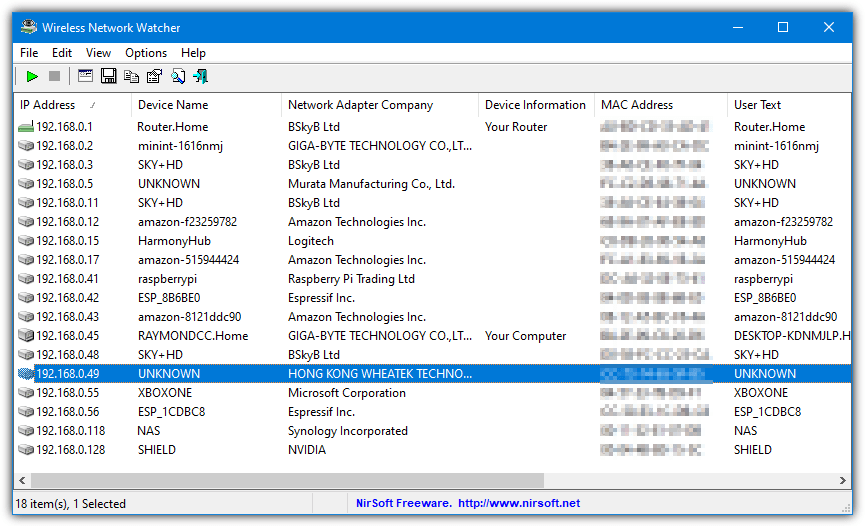
Wireless Network Watcher is another one of Nirsoft’s small and useful tools that does what it’s supposed to very well. The good thing is it requires no setting up of IP address ranges and starts scanning your main network adapter automatically for connected devices. If you wish to scan a different adapter or a custom IP address range, use the Advanced Options by pressing F9.
Scanning the IP range is fast and only takes a few seconds, after which you get information like IP address, device name, MAC address, adapter manufacturer, detection count, and activity state. The “User Text” column can be used to enter your own custom message or label to help with identification. Double click the entry to add your own text.
While Wireless Network Watcher is open, a background scan continuously looks through the IP range to detect new and disconnected devices. You can set a tray balloon and audio warning when devices are detected or disconnected. Turn on “Put Icon on Tray” to enable tray notifications. The background scan interval can be set from the Advanced Options window (F9). A portable or installer version is available.
2. Fing Desktop
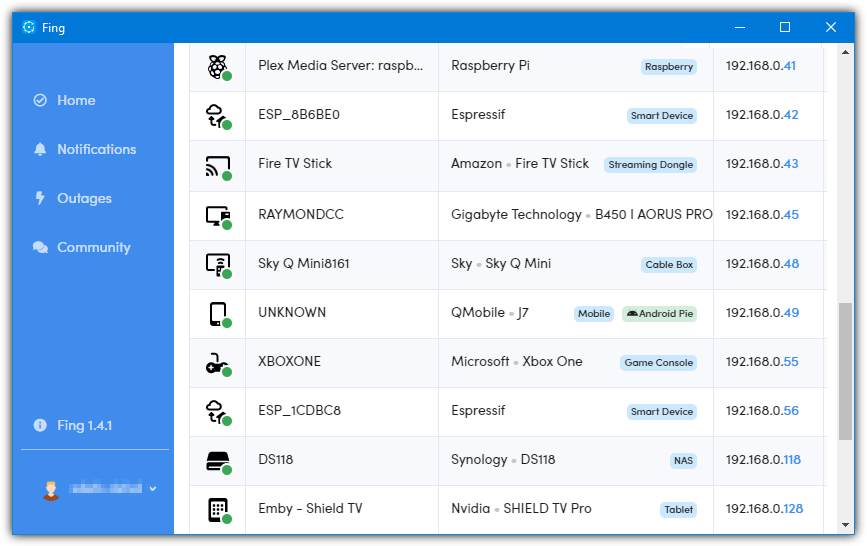
Fing Desktop is the PC and Mac version of the popular Fing mobile app. A drawback with Fing is you have to create a free online account but temporary email services do work. The installer is also a sizeable 70MB+. Once you have created your Fing account, installed the software, and connected the two together, click on Scan for devices in the “Your current network” section of the Home window.
Fing has the best device identification system we’ve seen to try and detect what’s on the network. The details column will likely already show an accurate description, the type and class of device, and even the operating system of a remote device. If it doesn’t, click on a device in the list. You’ll get a whole page of information about the connected device, the option to manually edit the name, and a recognize button.
With recognize, you can manually search for and find the right name from an internal database. You can even use a QR code or a local web address to help identify connected devices. Fing is more likely than any other program to help correctly identify tricky or unknown devices. Using the “See insights” button shows everything as categories like brand names, product types, used operating systems, and smart home.
3. SoftPerfect WiFi Guard
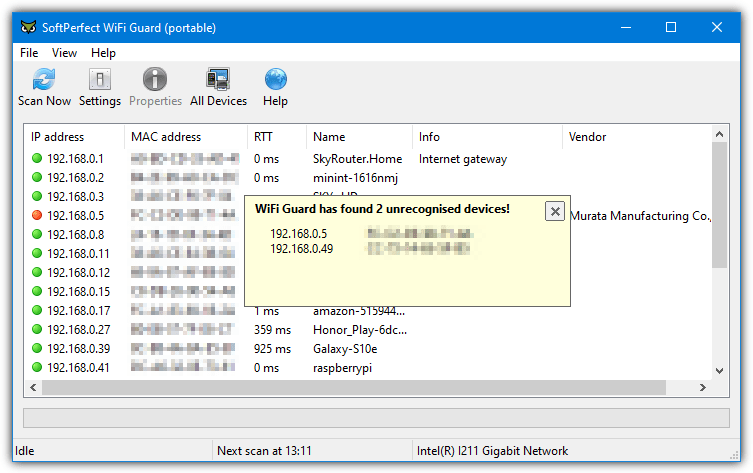
WiFi Guard is like a more basic version of SoftPerfect Network Scanner that is more suited for detecting unknown or unauthorized network connections. It will scan your network for connected devices and rescan every xx minutes, popping up a message if a new unknown connection has been found. Softperfect made many of their tools shareware only a few years ago, this is the last free version of WiFi Guard from 2017.
If you have more than one active network adapter the program will pop up the settings window on launch to select the adapter you want to scan. Otherwise, you will be taken to the main window where pressing Scan Now will detect all devices connected to the network.
For every red marked connection you know is authorized, double click on it and tick the “I know this computer or device” box, that will tell the program the device is known and to ignore it on scans. While running or minimized, WiFi Guard will rescan between 0 and 60 minutes (default is 30 mins) and popup a message on screen if a new unknown device has been detected.
4. GlassWire
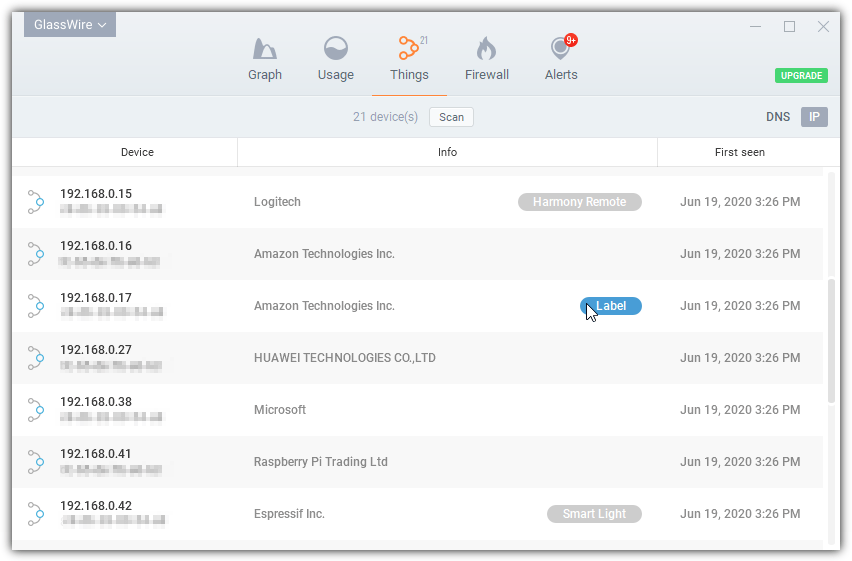
GlassWire is a very well known piece of software that is part firewall, part network activity monitor, and part network usage monitor. It’s also a very visually appealing program with a great looking user interface. Another feature it has is being able to scan the network and list connected devices while notifying you about their activity.
Once you install GlassWire, you don’t have to set anything up to see the connected WiFi and ethernet devices. Just press on Things at the top of the window and the list will be shown. There is information for IP address, MAC address, first seen time, and the network adapter manufacturer. Hover over the name and a small box will appear to the right where you can enter a more recognizable name or label.
GlassWire can scan for devices every xx minutes. Enable the “Things scan interval” and adjust the time in Settings > General. There’s also an option to show desktop notifications when devices are joining or leaving the network, or when new unknown devices connect. Go to Settings > Security, click the Unlock button, click on “Things Monitor” and set the notification to what you want.
5. Advanced IP Scanner
This is an all round network administration tool that can do a number of tasks in addition to scanning your network for connections. There’s also remote options to Wake-on-LAN and shutdown, connect via HTTP/FTP as well as remote control with Remote Desktop and Radmin. Of course, those features are handy but unnecessary for simply scanning your network for wireless connections.
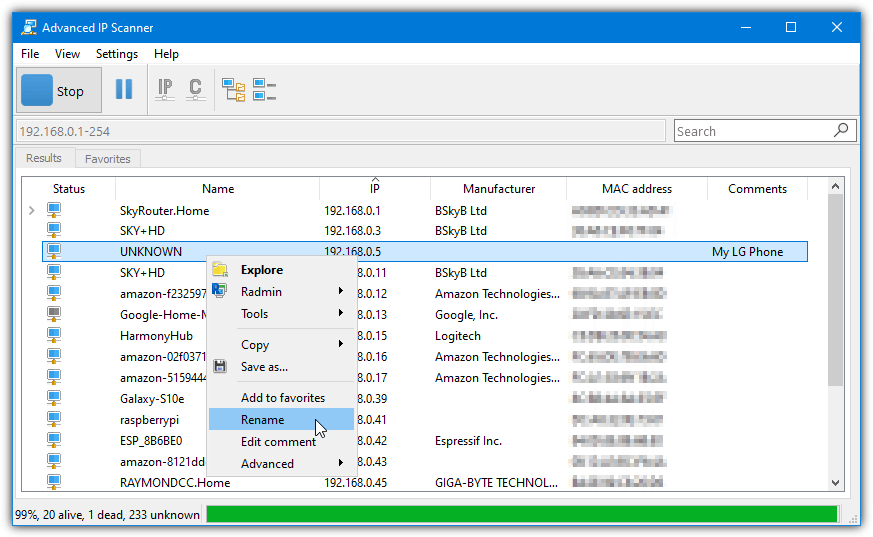
By default Advanced IP Scanner will set the address ranges for all connections on the computer, only the range that the WiFi connections are likely to be on will need to be scanned, such as 192.168.0.1 – 254. If you only have one active connection, there’s no need to touch the IP range.
After the scan, all connections will show along with the wireless device manufacturer, MAC address, and its name. Advanced IP Scanner doesn’t have to be installed and the option to run it as portable can be selected when running the setup executable. If you want to easily identify less obvious entries in the future, right click on the connection and select either Rename or “Edit comment” to add your own note.
6. Angry IP Scanner
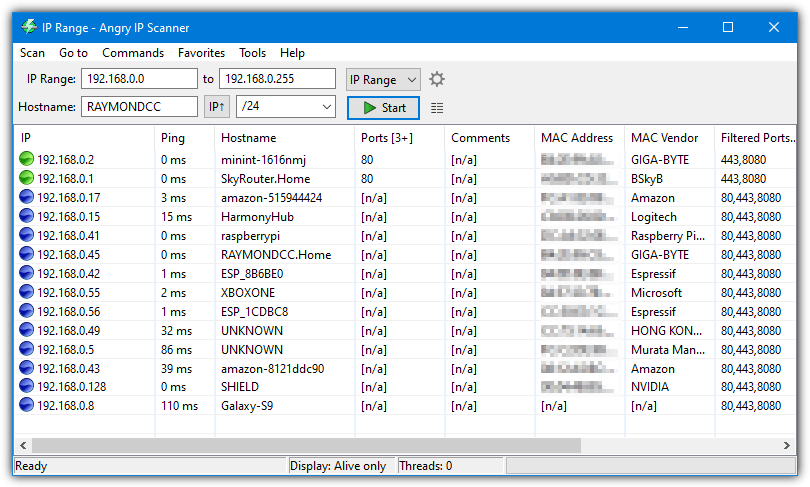
Angry IP Scanner is a Jave based multi platform tool that also works on Mac and Linux. This will obviously mean the Java Runtime Environment needs to be installed on your computer. The tool simply pings every IP address in the selected range for a response and then displays the result along with the information you ask for in the Fetchers window.
You can enter a range of addresses yourself or click the IP button and select the correct network adapter. Then click the drop down to its right to choose the range, /26 will scan up to 63, /24 will scan up to 255 and etc. You can also choose your own IP list text file if you have a complicated setup. The scanning process is quite fast because the program scans using multiple threads.
To see only the hosts that respond to a ping, go to Preferences > Display and choose “Alive hosts only”. The Fetchers for comments, MAC address, and MAC vendor are not turned on by default so you will have to enable them yourself. Double click an entry in the list to add your own comment.
7. Who Is On My WiFi
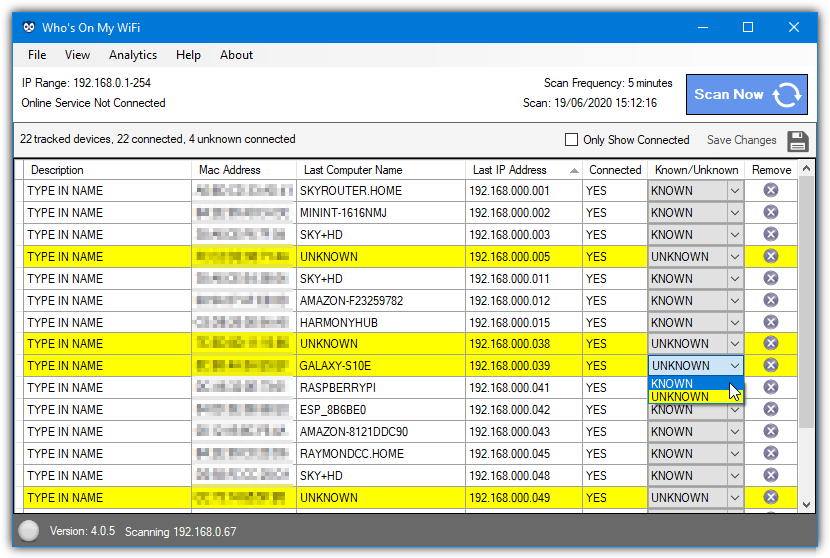
Sadly, the last free version of Who Is On My WiFi (4.0.5) was in 2018 as the developer shifted focus to its paid analytics service. This tool’s main task is to identify devices your network and warn you when unknown connections are made. You control which connected devices are classed as known or unknown.
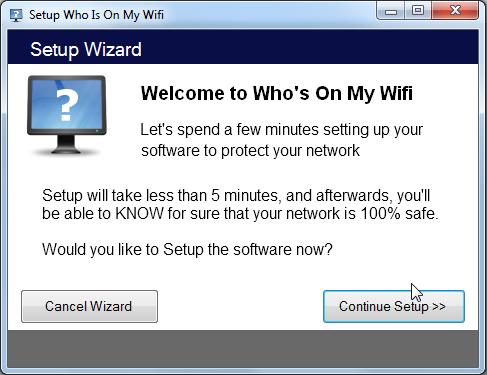
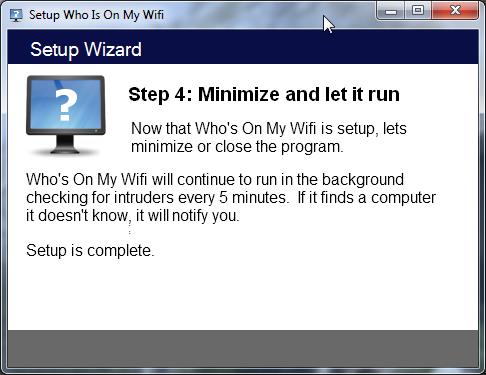
On the first launch, cancel the wizard and the program will start a scan (it looks like nothing is happening). If you need to set a custom IP range different to the one shown in the interface, go to Settings > “Scan Options” and enter the range you need. If you are not sure go to the Diagnostic tab in Settings and click “Detect IP Ranges” to see what your network is currently using.
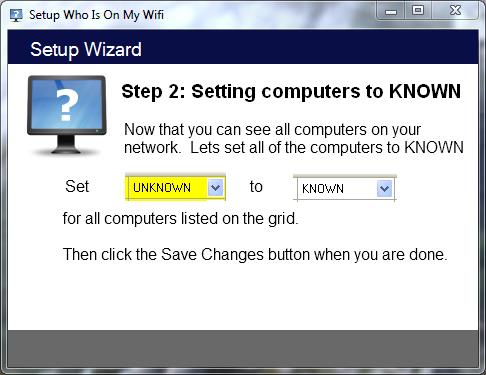
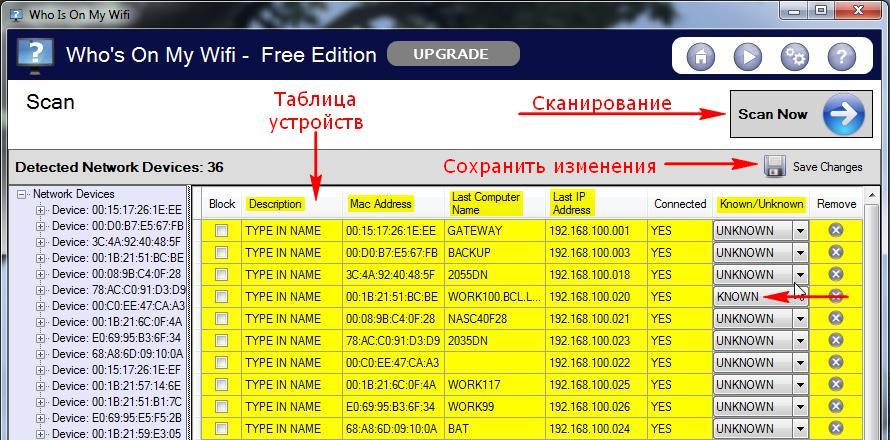
Select each known connection in the list and set its state to KNOWN from the drop down. Optionally add a description by double clicking on “TYPE IN NAME”. Finally press Save Changes. Who Is On My WiFi pops up a visual and audible message when an unknown network device is detected. By default, it will scan every 5 minutes although you can change this time to between 5 and 30 minutes in the settings.
Who Is On My WiFi requires .NET 3.5 to be installed on Windows 10 or 8. During testing, it didn’t pop up a tray notification on some Windows 10 machines while it did on others.
You might also like:
5 Best Tools to Scan Shared Folder in Network [2023 List]
5 Tools To Monitor WiFi Connection Signal Strength [2023]
How to Create a WiFi Login Page [Free Tools]
Enable WPA2 Encryption for Streamyx Free WiFi Riger DB108-WL Modem
Aircrack-ng WiFi Compatible Adapters List: Best to Use
Как узнать, кто подключился к Wi-Fi сети. Who’s On My Wifi
Иногда нельзя с уверенностью сказать, что наша Wi-Fi сеть не используется другими компьютерами или устройствами. Это не только снижает пропускную способность сети, и потребляет трафик, но также подвергает риску ваши личные данные и сами устройства. Для отслеживания чужаков в сети можно воспользоваться условно-бесплатной программой Who’s On My Wifi. Эта программа предназначена для сканирования сетей, и является очень удобным инструментом не только для домашней сети, но и для небольших предприятий. Несмотря на название, сканируется не только Wi-Fi—сеть, но и проводная сеть Ethernet. Программа Who’s On My Wifi представлена в двух версиях: платная и бесплатная. Платная версия позволяет блокировать устройства в сети, будь то телефон, компьютер или принтер, а бесплатная позволяет сканировать сеть и отмечать устройства.
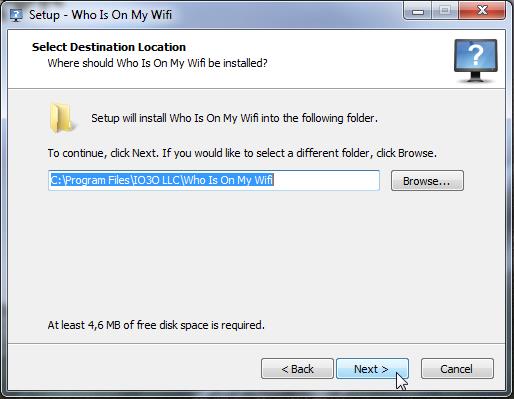
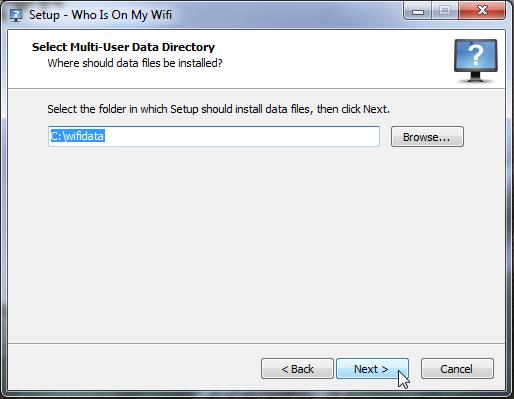
Процесс установки довольно прост, и можно просто нажимать «Далее» до завершения установки программы на компьютере. В процессе установки могут заинтересовать только место установки программы, и место, где будут храниться файлы данных.
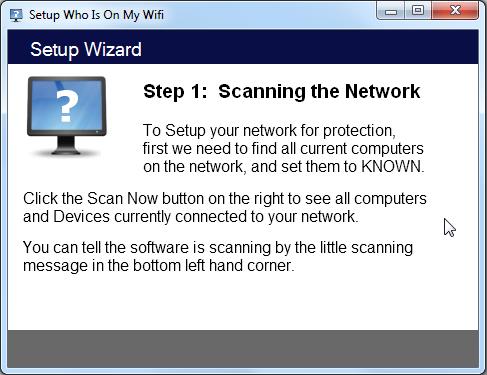
Далее находим ярлык и запускаем программу. При первом запуске будет предложено пройти три шага мастера установки, но на самом деле это краткая инструкция по пользованию.
Нажимаем «Continue Setup» и переходим к пошаговой инструкции.
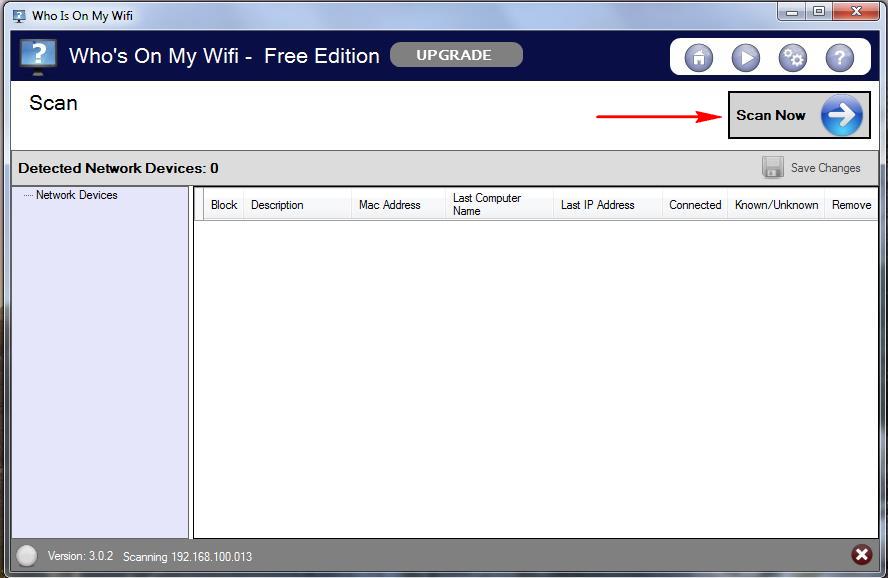
Шаг 1. В программе нажимаем «ScanNow», после чего будет просканирована вся сеть, и результаты будут представлены в таблице.
Шаг 2. Компьютеры и устройства, которые нам известны, нужно пометить как «KNOWN» (Известные). Для этого нужно просто кликнуть в нужной ячейке и выбрать значение. Определить устройство можно по MAC-адресу, или просто отключая устройства и сканируя сеть.
После этого необходимо сохранить изменения. Для этого нажимаем кнопку «SaveChanges».
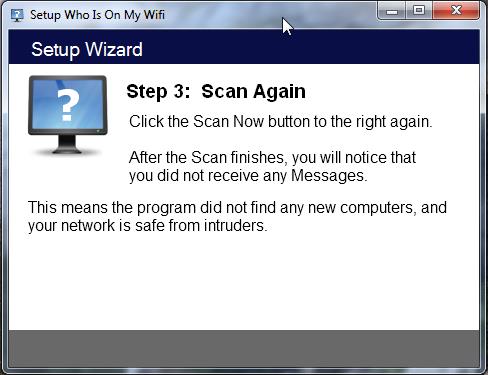
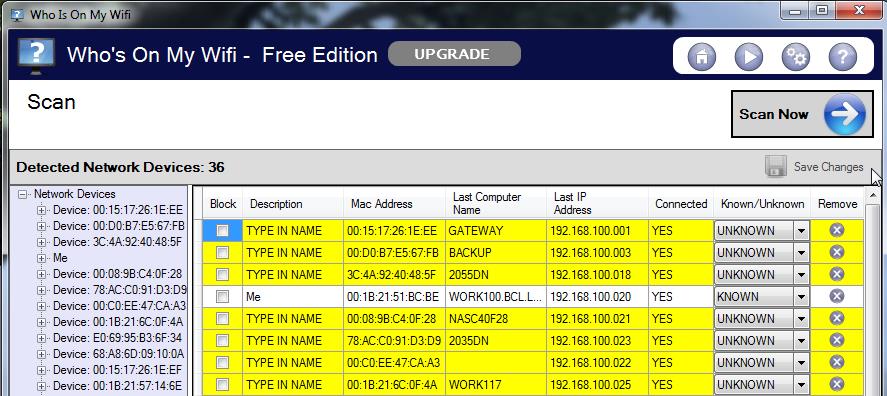
Шаг 3. Сканируем сеть ещё раз и удостоверяемся, что неизвестных устройств больше нет. Эти устройства теперь будут отмечены жёлтым цветом.
Свои устройства для удобства можно пометить, кликнув два раза в поле «Discription».
Шаг 4. Теперь программу можно свернуть, и она будет работать в фоновом режиме. Сканирование сети по умолчанию происходит каждые 5 минут, и если в сети вдруг появится новое устройство, программа сразу сообщит об этом.
Кроме того, в программе можно посмотреть логи, менять диапазон IP-адресов и частоту сканирования. Для особенно искушённых пользователей есть некоторые дополнительные инструменты в меню «Настройки».
