- How to Install and Use XAMPP on Ubuntu
- Install XAMPP in Ubuntu
- Step 1. Download the XAMPP binary File
- Step 2. Execute binaries
- Step 3. Working with XAMPP setup wizard
- Step 4. Create XAMPP desktop shortcut
- Step 5. Start MySQL and Apache server
- Host websites locally using XAMPP
- Uninstall XAMPP from Ubuntu
- Wrapping Up
- How to install XAMPP on Ubuntu 20.04 LTS
- How to install XAMPP Server on Linux Mint 20
- Method of Installing XAMPP on Linux:
- Step # 1: Verifying the Installation of “net-tools”:
- Step # 2: Downloading XAMPP via the Internet:
- Step # 3: Making the Downloaded File Executable:
- Step # 4: Installing XAMPP on Linux:
- Step # 5: Verifying the Installation of XAMPP on Linux:
- Method of Uninstalling XAMPP in Linux:
- Conclusion:
- About the author
- LinuxWays Team
How to Install and Use XAMPP on Ubuntu
Learn to install and use XAMPP on Ubuntu for deploying websites and web applications on localhost for development and testing.
- X: Cross-platform, means you can use it on almost every operating system.
- A: Apache server.
- M: MariaDB for database operations.
- P: PHP that you may want to use for dynamic websites.
- P: Perl programming language.
This makes the XAMPP a complete package, which is why people want to have it since it saves you a tonne of time, so you can later peacefully copy codes from StackOverflow (just kidding).
In this tutorial, I’ll teach you the following:
- Installing XAMPP on Ubuntu
- Using it to host websites locally
- Removing it from the system
Sounds good? Let’s go with the installation part.
Install XAMPP in Ubuntu
XAMPP is available in various versions which consist of different versions of Apache, MariaDB, and others so you can go with what your workflow demands.
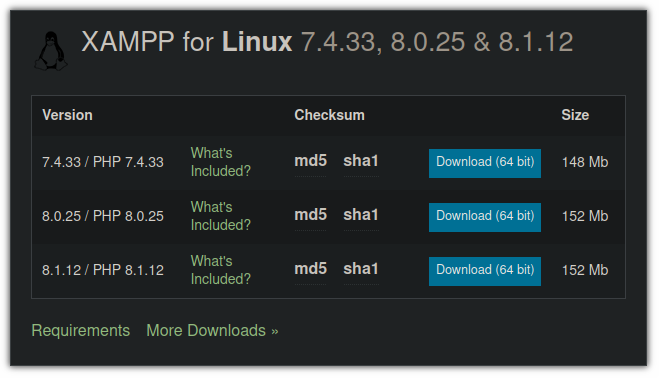
Step 1. Download the XAMPP binary File
To download XAMPP binary file, visit their official download page and select the preferred version:
Step 2. Execute binaries
Open your file manager and open the Downloads directory as per default settings, the binary files must be located under the Downloads directory.
Now, select the XAMPP binary and press Ctrl + i and click on the Permission tab. From there, enable the option to execute the file as a program:
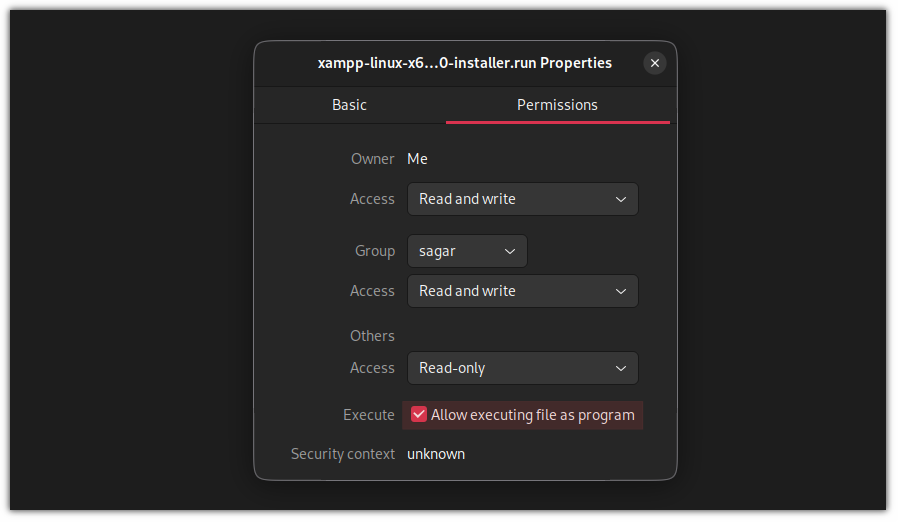
chmod 755 xampp-linux-*-installer.runAnd now, you can use the given command to run the installer:
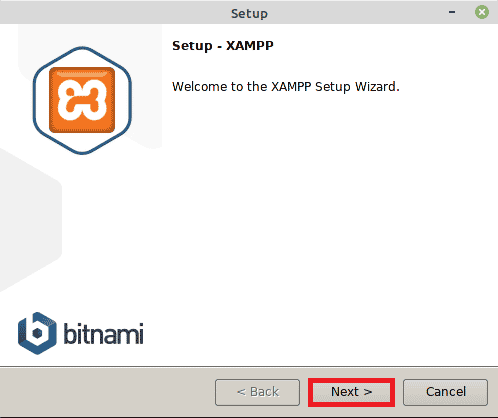
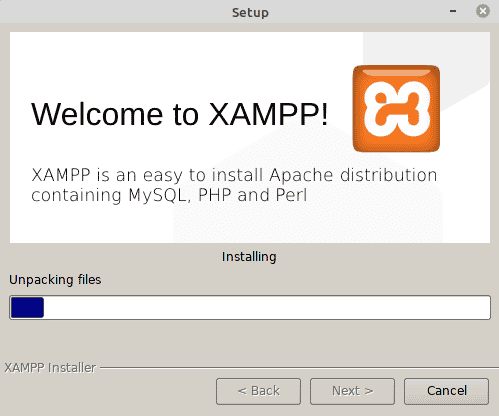
sudo ./xampp-linux-*-installer.runOnce executed, you will be met with the welcome screen:
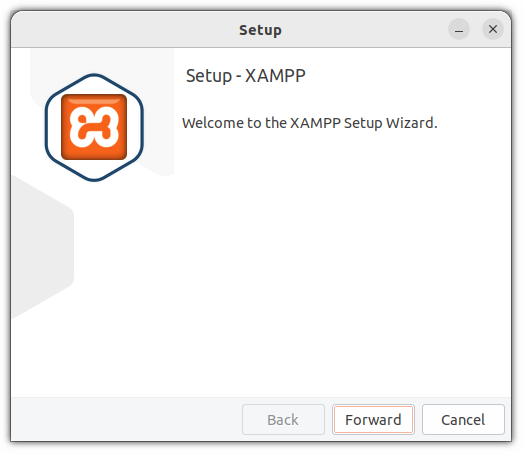
Click the forward button to get started with the setup.
Step 3. Working with XAMPP setup wizard
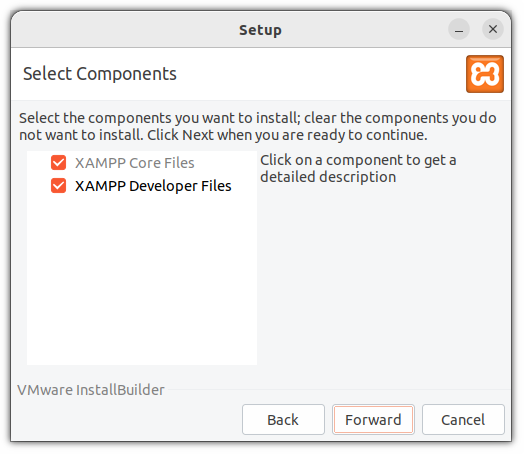
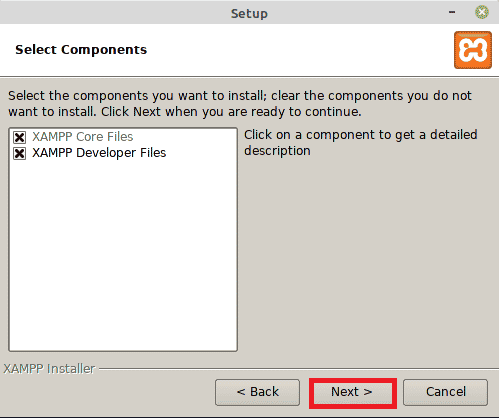
The next page is to select components; by default, both options will be checked. Let them as it is and click on the forward button:
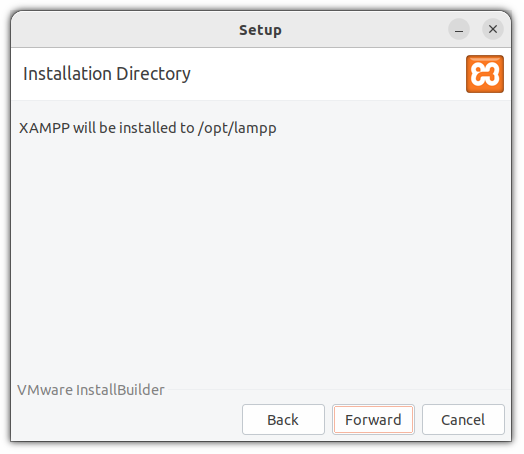
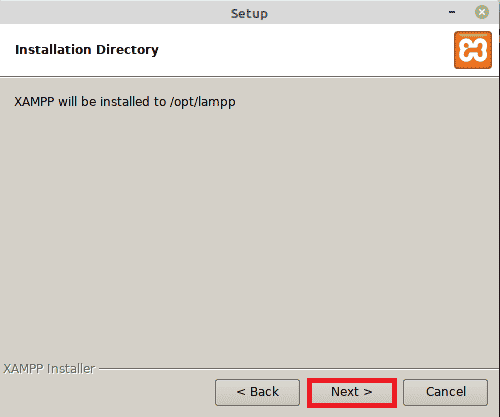
Next, it will tell you that the XAMPP will be installed in to /opt/lampp directory:
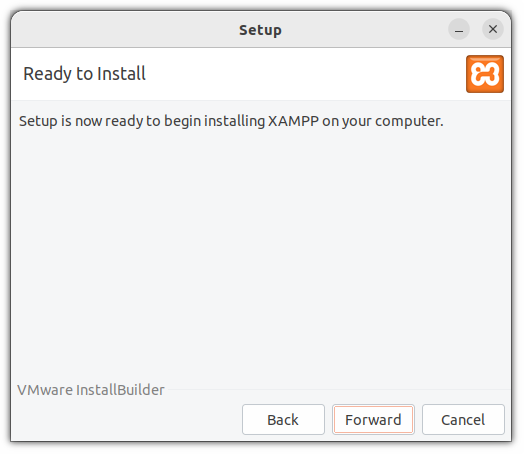
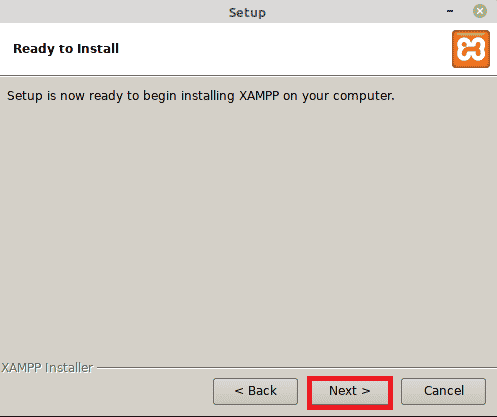
And in the next step, the setup wizard will notify you that the setup is ready and now you can start the installation process:
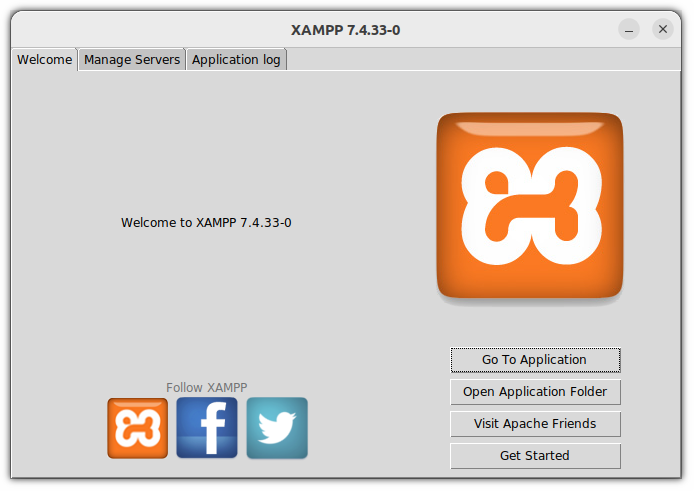
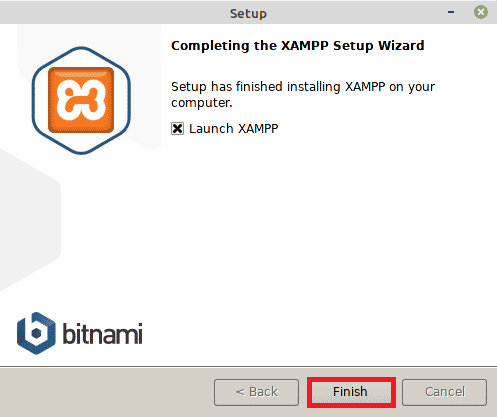
Once done, you can launch the XAMPP:
Similarly, you can also use the following command to open XAMPP:
sudo /opt/lampp/./manager-linux-x64.runStep 4. Create XAMPP desktop shortcut
First, change your working directory to /usr/share/applications using the given command:
Here, you will have to create a desktop file with .desktop extension. Here, I’m going with xampp.desktop :
And paste the following lines in xampp.desktop file:
[Desktop Entry] Version=1.0 Type=Application Name=XAMPP Control Panel Exec=sudo /opt/lampp/manager-linux-x64.run Icon=/opt/lampp/htdocs/favicon.ico Terminal=false StartupNotify=false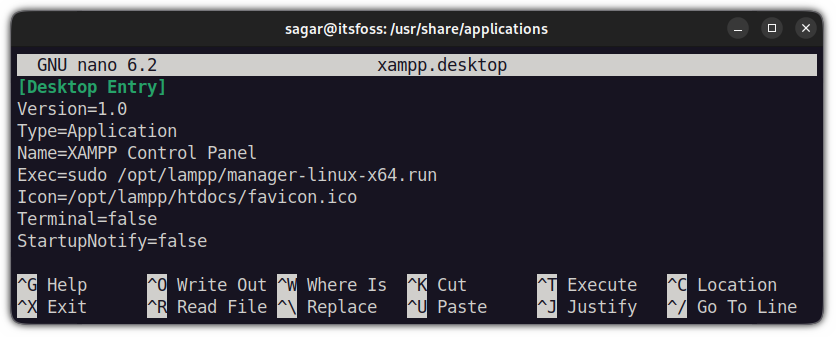
But XAMPP requires superuser privileges and I have used Terminal=false line so how you are supposed to enter the password?
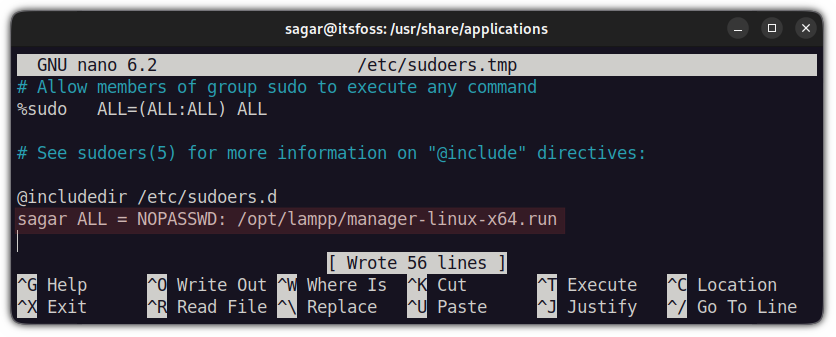
Well, you don’t have to. I will show you a workaround so that it won’t ask for a password. First, open the sudoers file using the given command:
And if you are using nano, press Alt + / to jump to the end of the text file. And add the following line, so you can skip entering the password:
username ALL = NOPASSWD: /opt/lampp/manager-linux-x64.runMake sure to add your actual username instead of pasting the username. For reference, my username is sagar so my line would look like this:
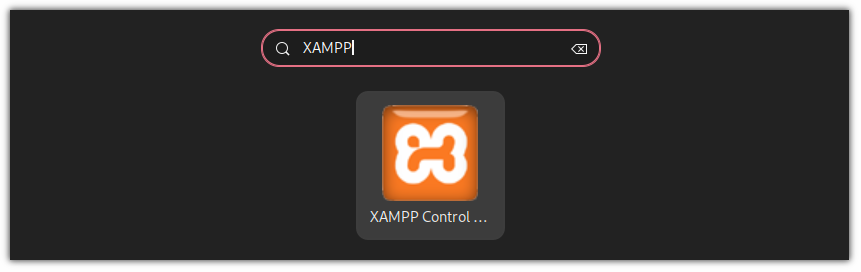
Save the changes, and you can open XAMPP from your system menu:
Step 5. Start MySQL and Apache server
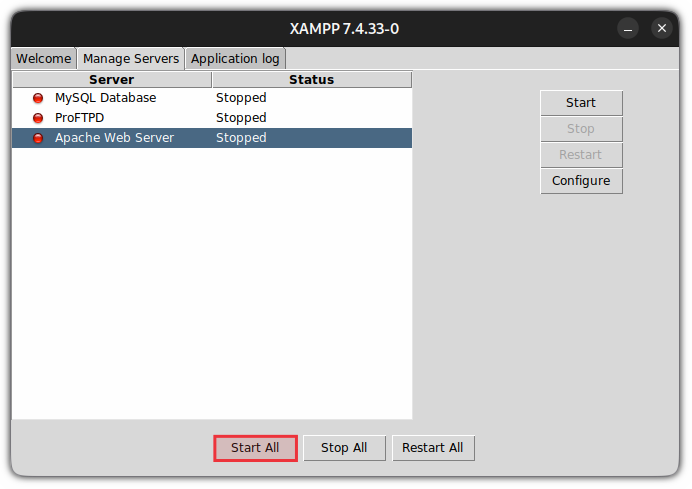
Open the XAMPP control center from your system menu and click on the second tab named Manage Servers :
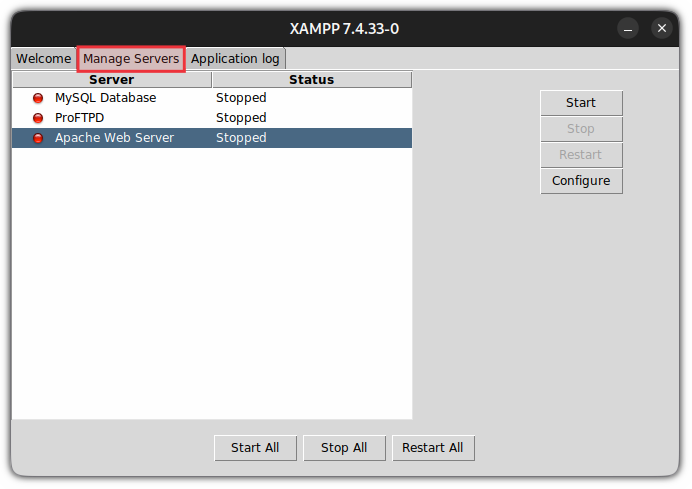
From here, you can start each one of them individually, or you can use Start All button, and it will start all three services at once:
Once started, you can open any of the preferred browsers and type localhost in the search bar and if everything is done correctly, it will greet you with a welcome message:
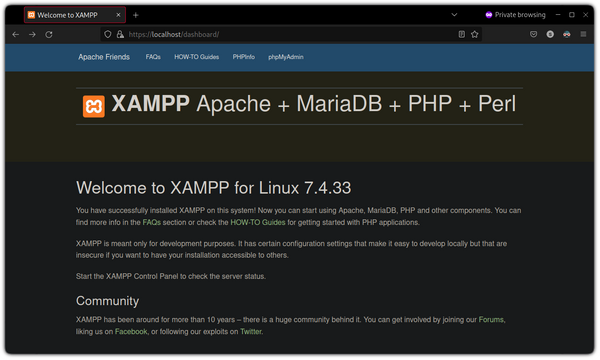
And if you are wondering about the dark mode I got in the locally hosted site, I’m using a plugin named Dark Reader. To learn more, check out the list of interesting Firefox Add-ons to improve your browsing experience.
Host websites locally using XAMPP
Start the Apache web server from the XAMPP control panel and use the given command to change the current working directory to /opt/lampp/htdocs/ :
Now, create a directory with any name your heart desires. I’m going with Mysite :
Next, I will change the ownership of the directory (mine is named as Mysite )from the root to the user, so the directory can easily be accessed without superuser privileges:
sudo chown -R $USER:$USER Mysite/Now, change your current directory to the recently created one:
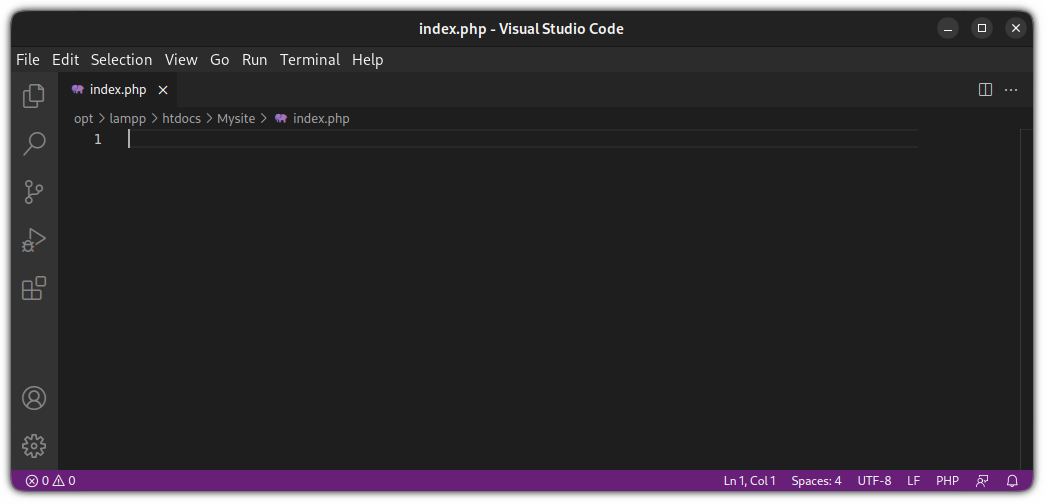
And create an index PHP file:
From here, you can use any of your preferred text editors, but for the sake of this guide, I’m going with VSCode. If you don’t have one, we have a detailed guide on how you can install VSCode in Ubuntu:
From here, it’s all up to your creative skills. But for the sake of this guide, I’m only going to make my site print hello world (don’t judge me):
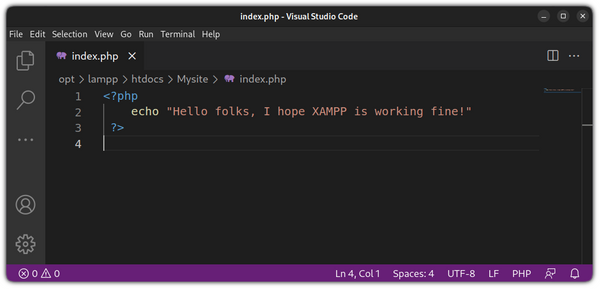
Save the changes using Ctrl + S and now you can access your site from your browser:
For me, It was Mysite so I’m required to use the following:
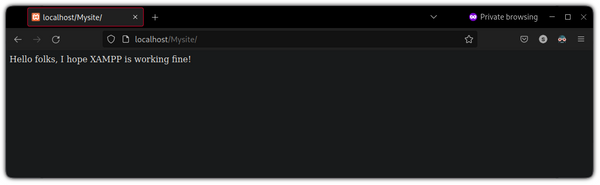
And here you have it. A site hosted on your local network!
Uninstall XAMPP from Ubuntu
The good news is XAMPP already has the uninstallation script, which saves you the trouble of removing every package manually.
Open your terminal and use the given command to invoke the uninstallation script:
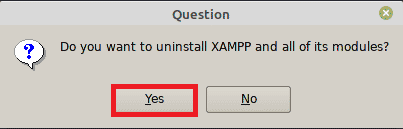
And it will ask you whether you want to remove XAMPP and all of its modules or not:
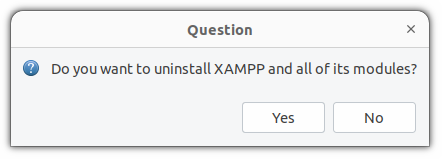
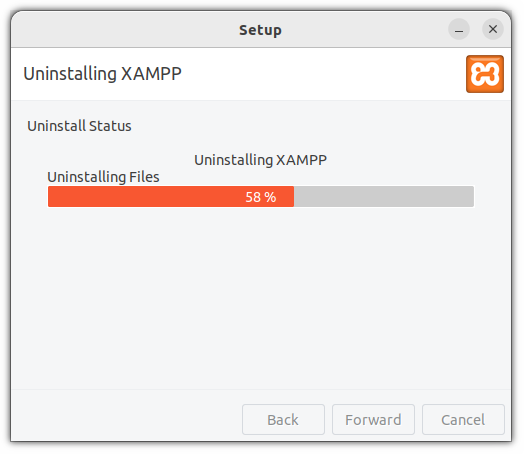
Click on the Yes button, and it will start the uninstallation process:
Similarly, you have to use the given commands to remove desktop shortcuts:
sudo rm /usr/share/applications/xampp.desktopAnd that’s it. You have removed XAMPP from your system successfully!
Wrapping Up
In this tutorial, I installed XAMPP and hosted a PHP website using a local webserver.
While I have tried my best to keep this guide to the beginner’s level, if you have any queries or any issues with installation, setup, or removal, feel free to ask me in the comments.
How to install XAMPP on Ubuntu 20.04 LTS
Although Ubuntu 20.04 or its earlier Linux versions we don’t need to install XAMPP because using a few commands, we can set up the LAMP environment on Ubuntu. Thus, for Windows, it is a greater piece of software. However, if you don’t want to go through various commands to set up a LAMP, the XAMPP is the best option.
What is XAMPP?
If you want to develop software for the web or create a website, you need a test environment that is not accessible from outside but includes all the necessary tools. XAMPP from Apachefriends offers such a development environment. It allows the creation of a Local web server with Apache, PHP, Perl, and MySQL.
In addition to Apache, MySQL, PHP, and Perl, other programs such as phpMyAdmin for the administration of MySQL, OpenSSL for encryption of network connections, FileZilla as an FTP server and the Mercury Mail Transport System is an email server with POP, SMTP, and IMAP are included. In addition, the web analysis tool Webalizer is available, although the path in webalizer.php may have to be adapted in the event of problems.
XAMPP is designed as a pure test system and aims to be ready for use quickly. Thus, not meant to serve as a web server for commercials because it does not offer adequate protection against possible hacker attacks there. Apart from Windows and macOS, it almost supports all Linux distributions such as Debian, RedHat, CentOS, Ubuntu, Fedora, Gentoo, Arch, and SUSE.
requirements
How to install XAMPP Server on Linux Mint 20
![]()
XAMPP is a cross-platform web server that is designed for testing your web applications based on Apache, MySQL, Perl, and PHP. This webserver was developed by Apache Friends and it has been in use since 2002. Today, we will learn the method of installing XAMPP on Linux Mint 20. However, the same series of steps can be performed on Debian 10 for installing XAMPP on it.
Method of Installing XAMPP on Linux:
For having XAMPP installed on your Linux system, you should perform all the steps listed below:
Step # 1: Verifying the Installation of “net-tools”:
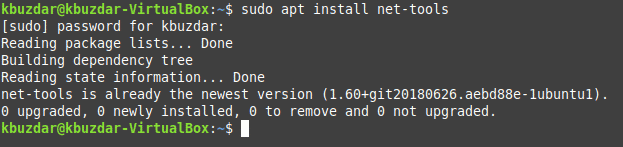
XAMPP requires the “net-tools” package to be installed on your system. This package can be installed by running the following command in the terminal:

Since the net-tools package was already installed on our system that is why we got the message shown in the image below on our terminal:
Step # 2: Downloading XAMPP via the Internet:
Now you need to visit the following website for downloading XAMPP:
Once you will visit this website, you need to download the latest version of XAMPP for Linux as highlighted in the image shown below:
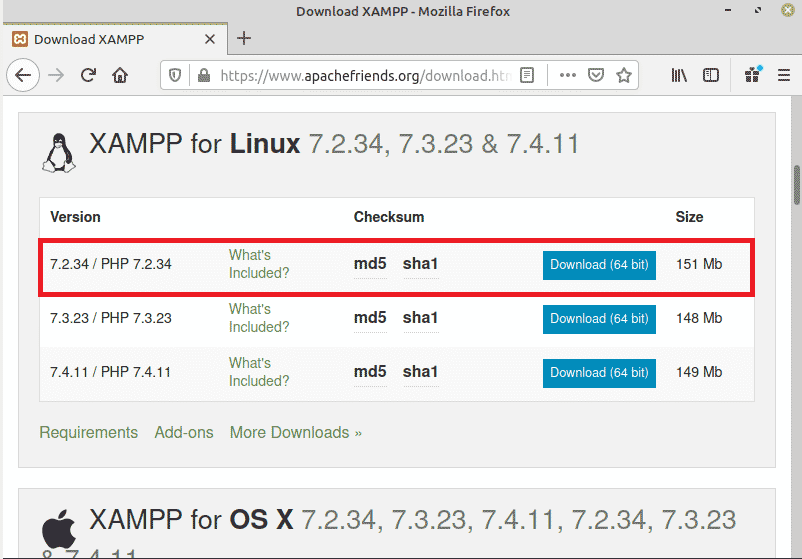
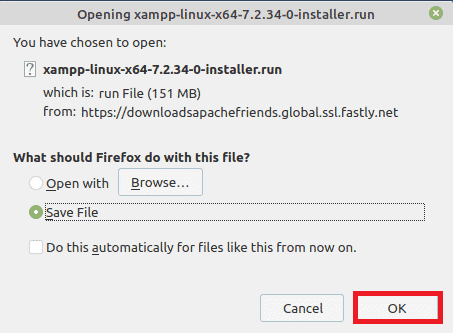
When you will click on the “Download” button, a dialogue box will appear on your screen from which you are supposed to select the “Save” option and then click on the “OK” button.
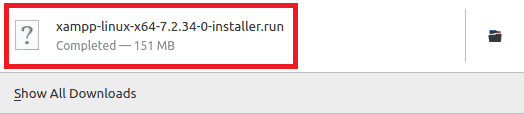
After doing this, XAMPP will start downloading and when it has been downloaded successfully, you will see the following message on your browser:
Step # 3: Making the Downloaded File Executable:
Once the XAMPP file has been downloaded on your system, you need to make it executable so that it can be installed successfully. For making this file executable, you need to navigate to your Downloads directory and then execute the command stated below:

Running this command will set the execute permissions for your downloaded XAMPP file.
Step # 4: Installing XAMPP on Linux:
When we have made this file executable, we can easily install it by running the following command in our terminal:

After doing that, the installation wizard will appear on your screen. You are required to go with all the options that are selected by default and just press the Next button at every screen that appears. However, we have still shown all the screens below for your convenience. The welcome screen of XAMPP is shown in the image below:
After clicking the Next button on the welcome screen, you will be asked to select the components for XAMPP. Just go with the default selected components and click on the Next button as highlighted in the following image:
Now select an installation directory and click on the Next button.
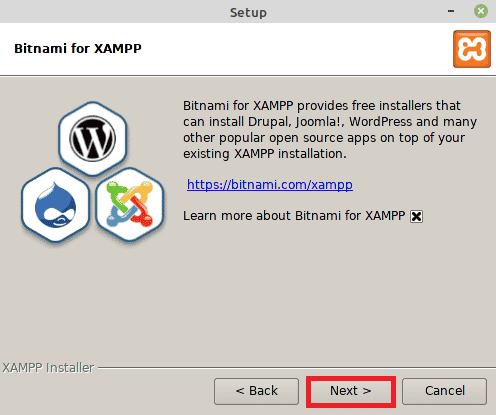
On the Bitnami for the XAMPP screen, you are again supposed to click on the Next button.
Then the installation wizard will tell you that the setup is ready to install as shown in the image below:
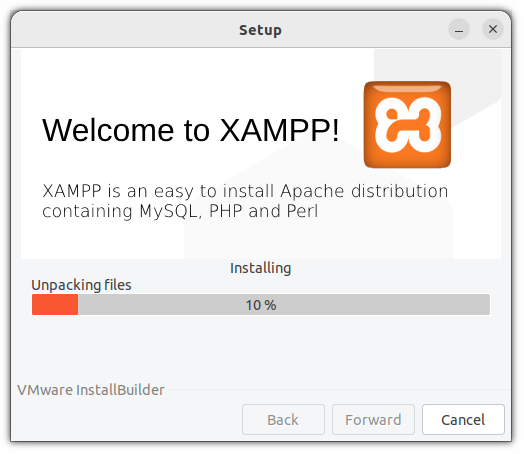
The installation progress bar is shown in the following image:
Finally, when the installation will complete, you will be supposed to click on the Finish button as highlighted in the image shown below:
Step # 5: Verifying the Installation of XAMPP on Linux:
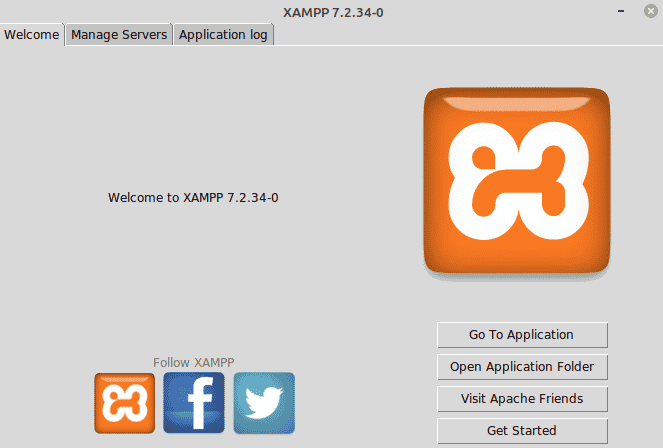
If XAMPP has been successfully installed on your Linux system, then after clicking on the Finish button, the following screen will appear on your system which will confirm the installation:
Method of Uninstalling XAMPP in Linux:
However, at any point, if you feel like you do not need XAMPP on your Linux system anymore, then you can always uninstall it. First, you will need to move to the directory where XAMPP has been installed by running the command stated below:

After navigating to this directory, uninstall XAMPP by running the following command:
sudo ./uninstall

Your terminal will prompt you with a confirmation dialogue box from which you are supposed to click on the “Yes” button as highlighted in the image shown below:
When the uninstallation process will complete, you need to click on the “OK” button.
Finally, you can also remove the directory in which XAMPP was installed by running the following command:

Doing this will remove all the traces of XAMPP from your Linux system.
Conclusion:
In this article, we explained to you the method of installing XAMPP on Linux Mint 20. The steps described above were demonstrated on Linux Mint 20 but they can also be performed as it is on Debian 10. Moreover, we also shared with you the method of uninstalling this web server whenever you feel like it.
About the author
LinuxWays Team
We create HowTos and Tutorials for Sys Admins. Visit us on LinuxWays.net