Distribution of WiFi set-top box
Yes, and yes again! The Android Box is able to distribute WiFi, therefore it can replace the router (modem). For a long time I mistakenly believed that WiFi would be distributed only in the active operation of the set-top box, and that when the android set-top box “sleeps”, Wi-Fi does not catch, I admit, I was wrong. The Internet distributes the prefix android and in sleep mode.
But there are 2 significant downsides:
- you will have to pull the Internet cable directly into the room where the android set-top box is located next to the TV;
- if you unplug the set-top box from the outlet, you will have to turn on the Android Box modem mode again, because it will turn off by default.
Does everything fit? let’s act!
We turn on the RJ45 network cable into the android set-top box until it clicks and we see the following monitors in the upper right corner:
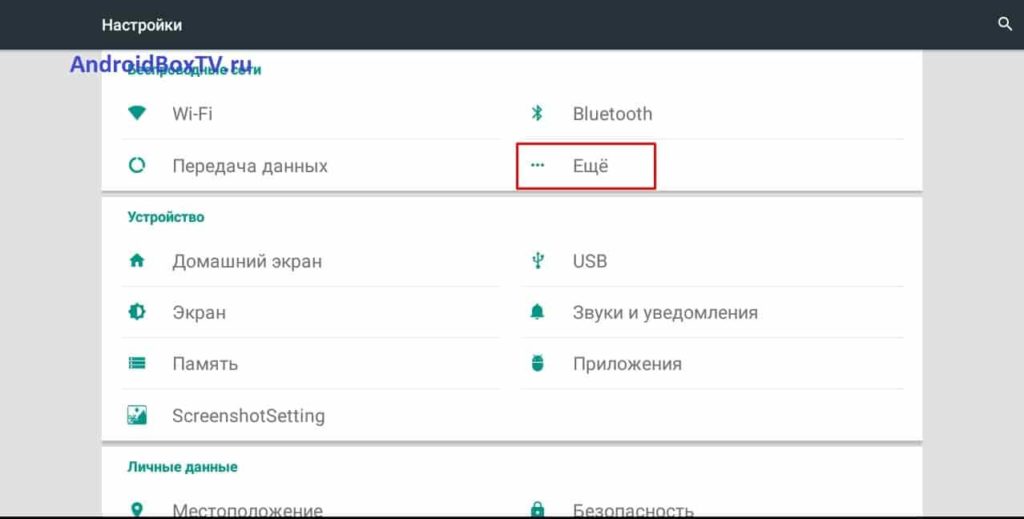
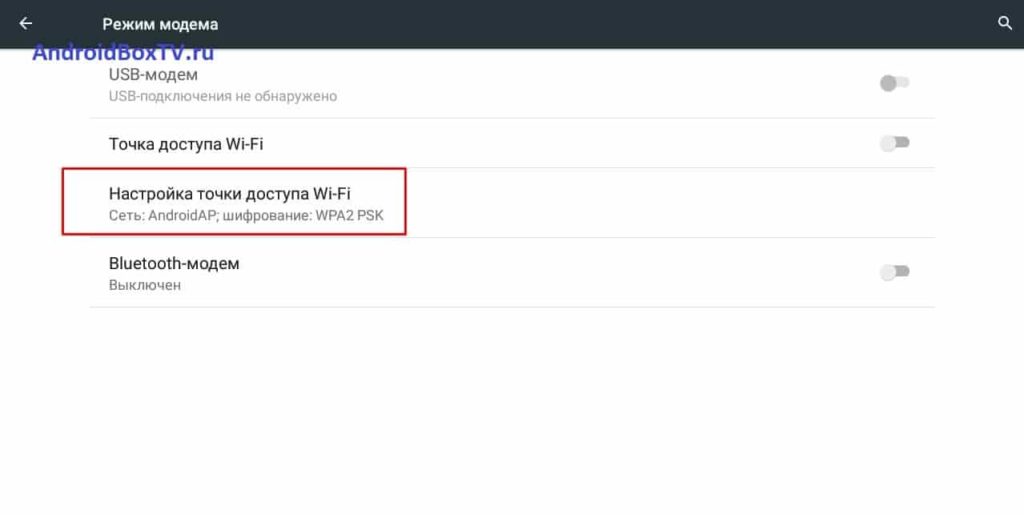
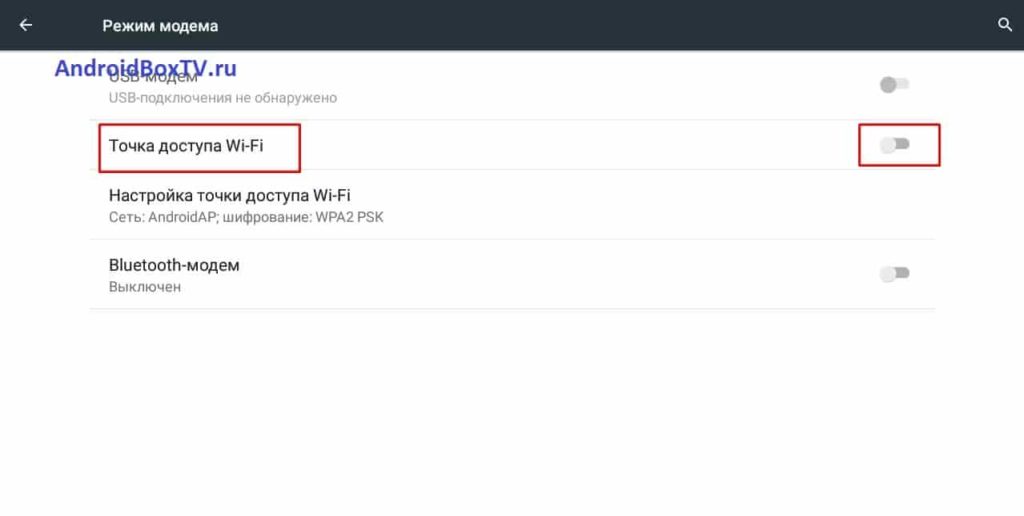
Next, go to the settings again and click on everything circled in the screenshots:
We come up with a name and password for our new connection, it’s better to write it on a piece of paper, because all the guests and family will want to connect to the new wifi android set-top boxes, enter the thought up into the highlighted fields, save
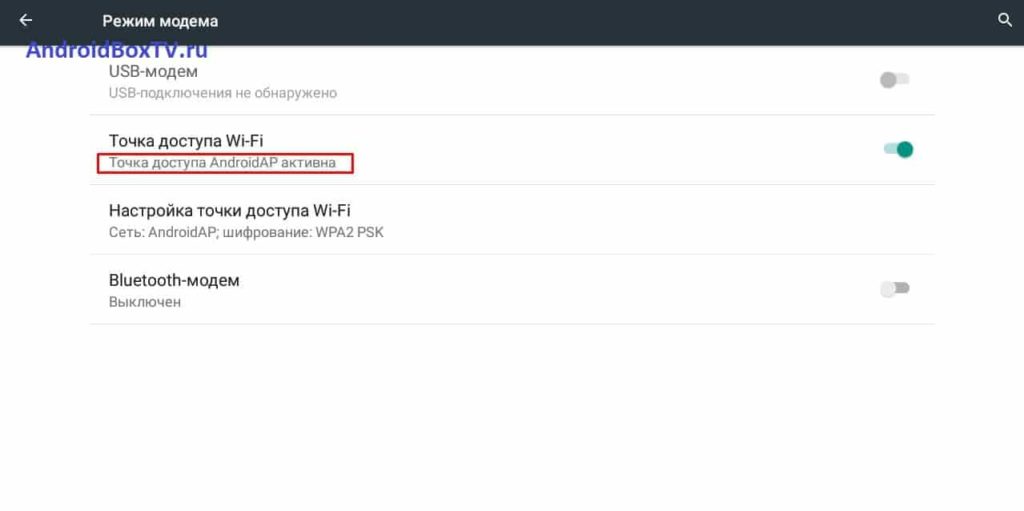
We check that the inscription is like mine but with your WiFi network name:
I have an android prefix, how does the modem completely cover a 2-room apartment (50 sq.m.) and you? That’s it, I’m waiting for comments with new difficulties. Yes, and thanks can be, the topic is important.
WiFi connection
We deliberately skip the connection via LAN, the set-top box recognizes it automatically. So let’s get started!
WiFi connection
Connecting WiFi or according to the popular Wi-Fi (WiFi) is an important matter! We enter the settings of the set-top box, as it was written earlier, and we immediately see the familiar WiFi icon:
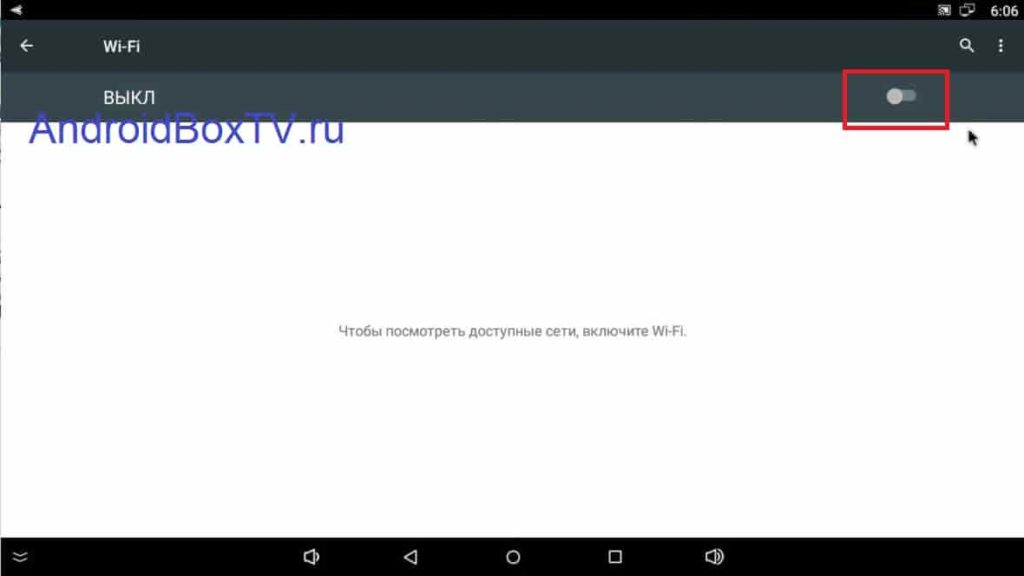
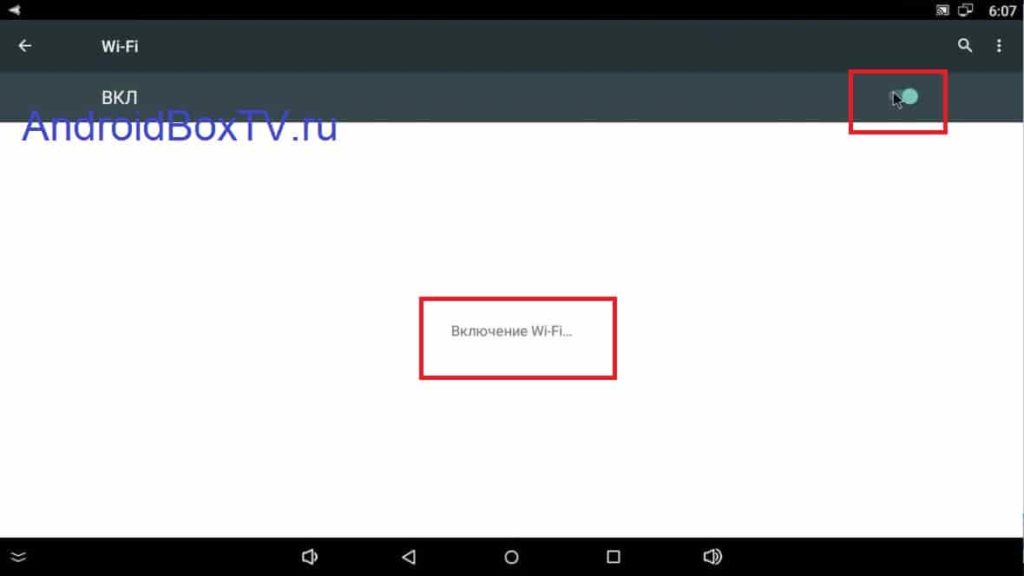
We entered, and we find the lever, or the WiFi enable box:
Carefully look for where WiFI is turned on — in these settings this is the main thing!
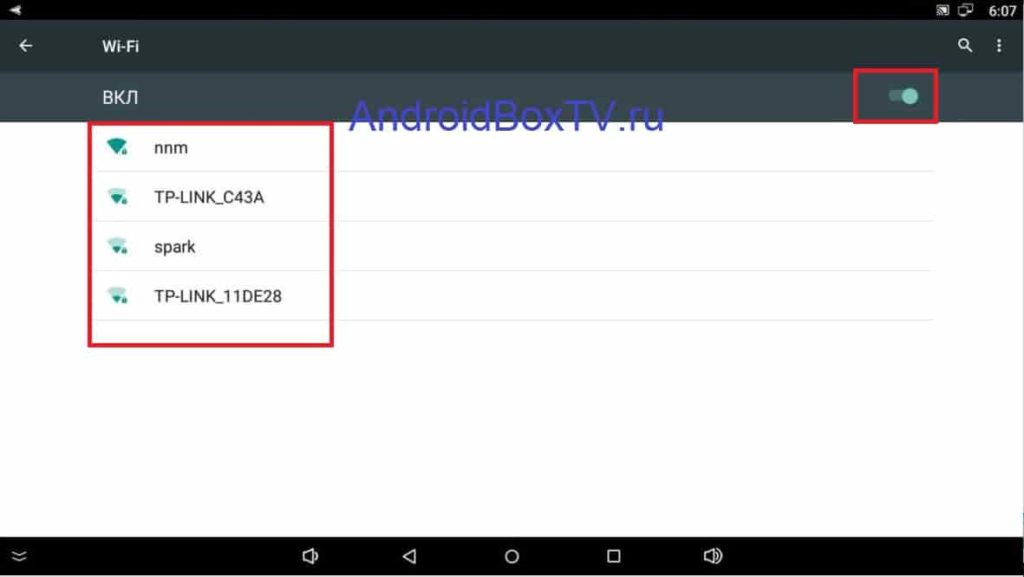
Now let’s search for networks!
We see a magical list of Wi-Fi networks. To the left of the records, you can see the quality of the received signal:
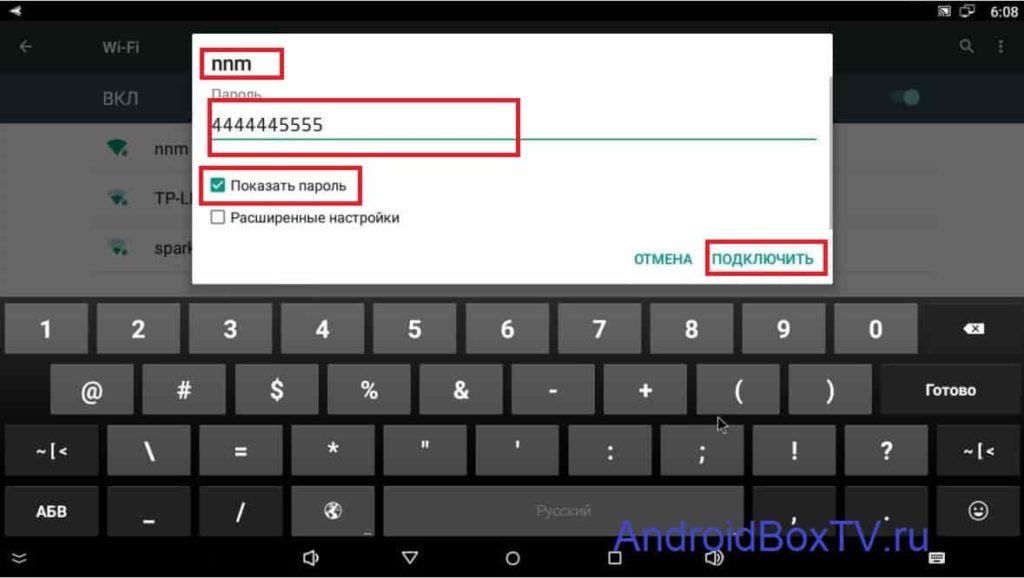
I hope you remember what your WiFi “is called” and you have a password for it written on a piece of paper. Remembered? Click on «your» WiFi. Enter password:
After entering, click connect.
At the top right near the clock, where monitors are drawn in the screenshots, you must have a WiFi icon. What did not work out or there were problems with the keyboard for typing (and it works the same as in smartphones), write, we will analyze all your cases, and if necessary, we will write an article on how to use the keyboard.
Setting up a Smart TV set-top box
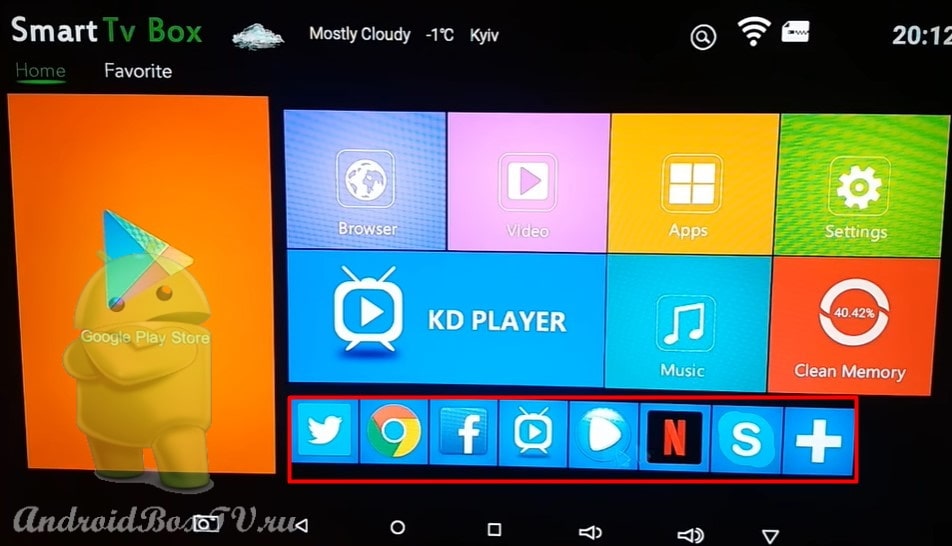
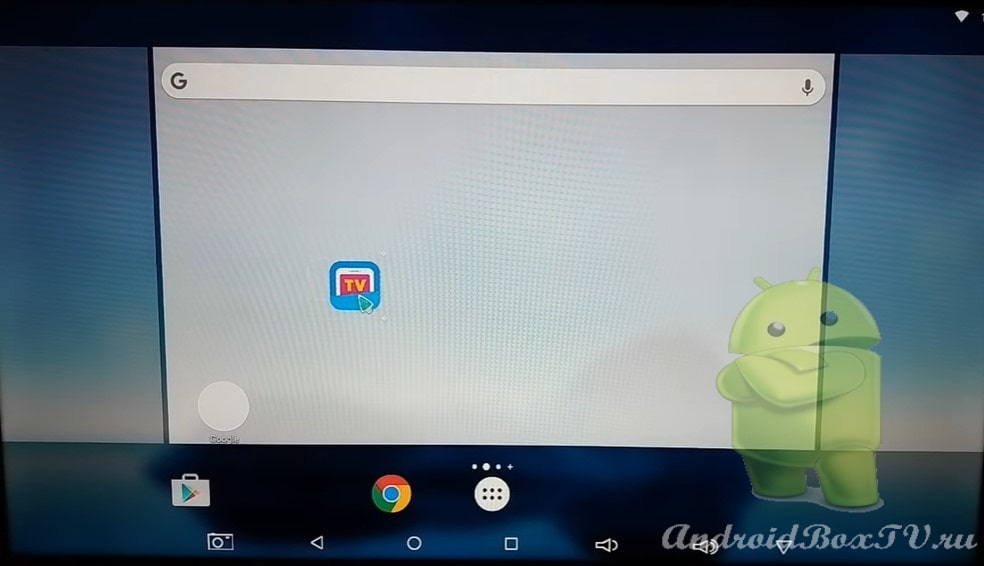
In this article, we will look at setting up an Android TV set-top box and prepare it for work. As a rule, this is how the main screen of an Android TV set-top box looks like. Version — Android 6.0 :
WiFi
First you need to connect your set-top box to Wi-Fi. If you are using an Internet cable, then you need to plug the cable into the LAN port on the set-top box. If you are using Wi-Fi, then you need to connect to your network. Already discussed in more detail here . To do this, go to «Settings»:
Next, go to “Network” and click on “Wi-Fi”:


Application installation
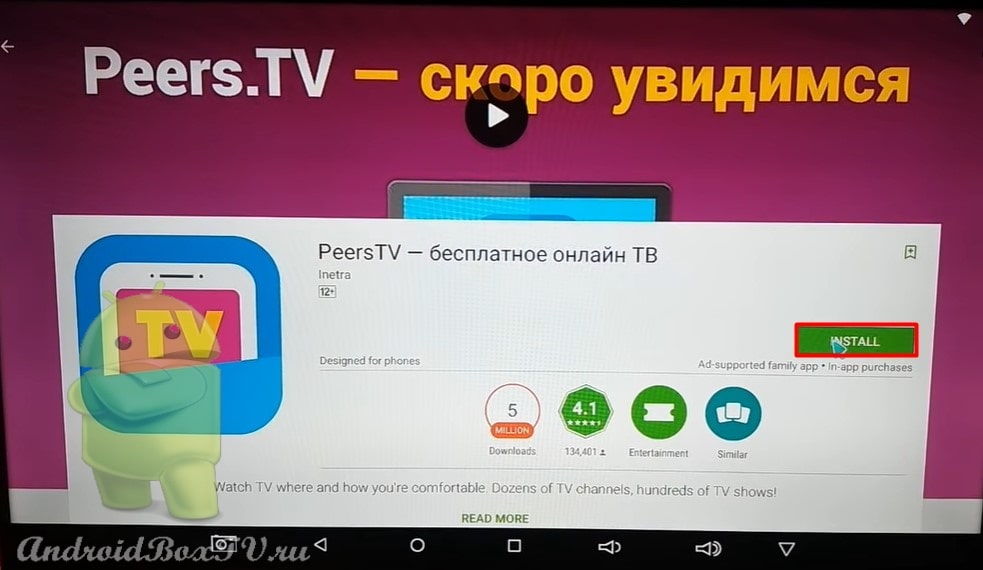
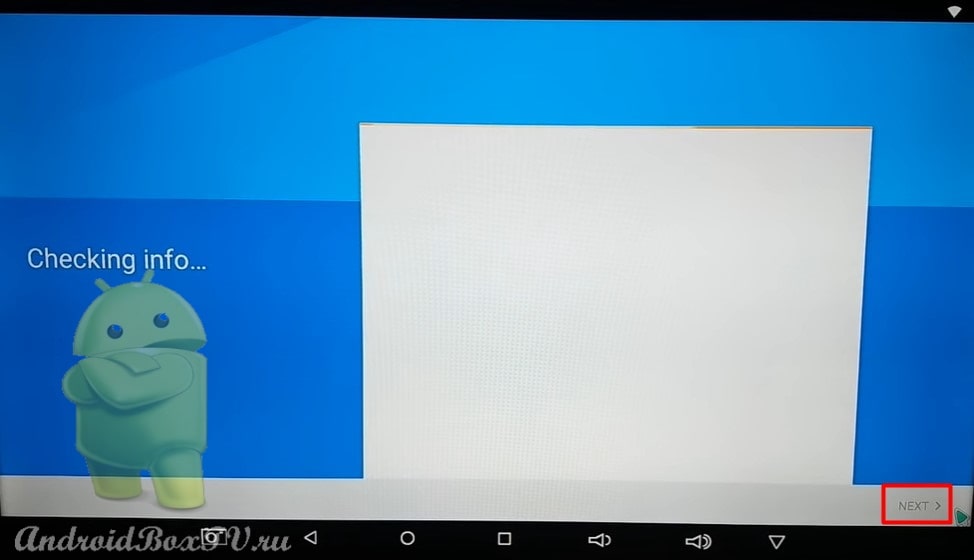
Now let’s look at how to install the application on an Android TV set-top box. Discussed in more detail here . In order to install the application, we need to go to the Play Store :
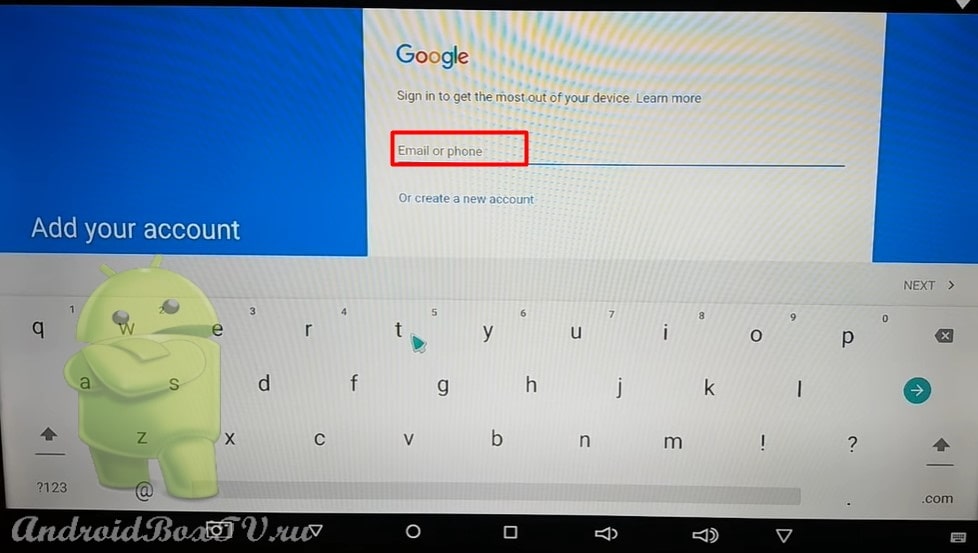
We see a request for e-mail “ Gmail ”. To which you have a Google account attached, if not, you can register it directly on the TV screen. But it is better to do it on a phone with Android OS or a computer. Enter your email address and enter your password in the next window:
Main screen
Now let’s look at the main screen and its functions.
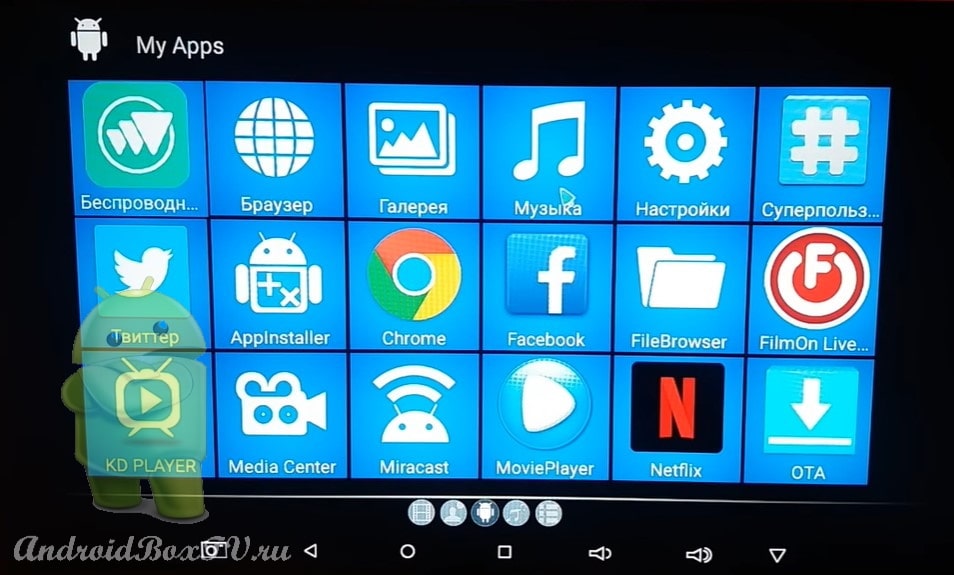
In order to get to the “Menu” of applications, you must click on the “ Apps ” icon:

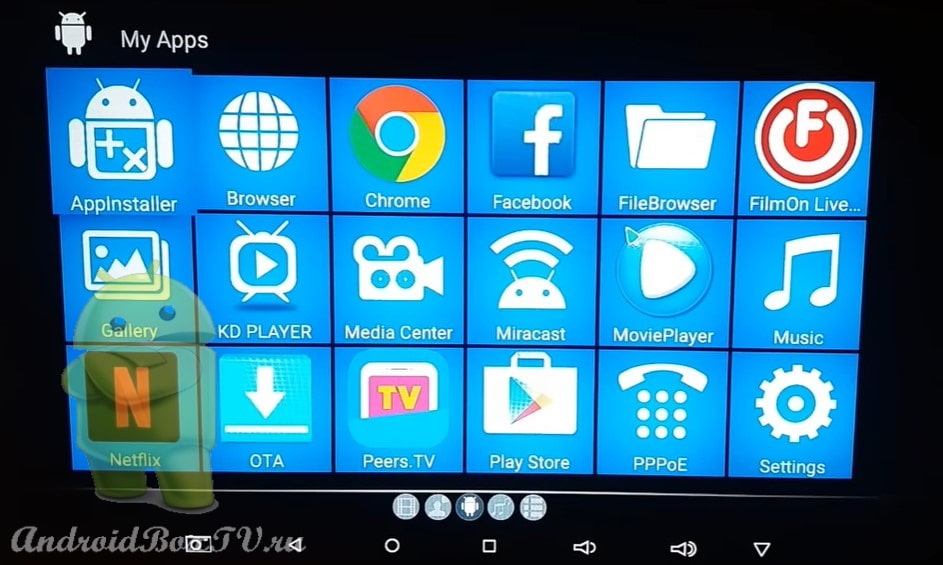
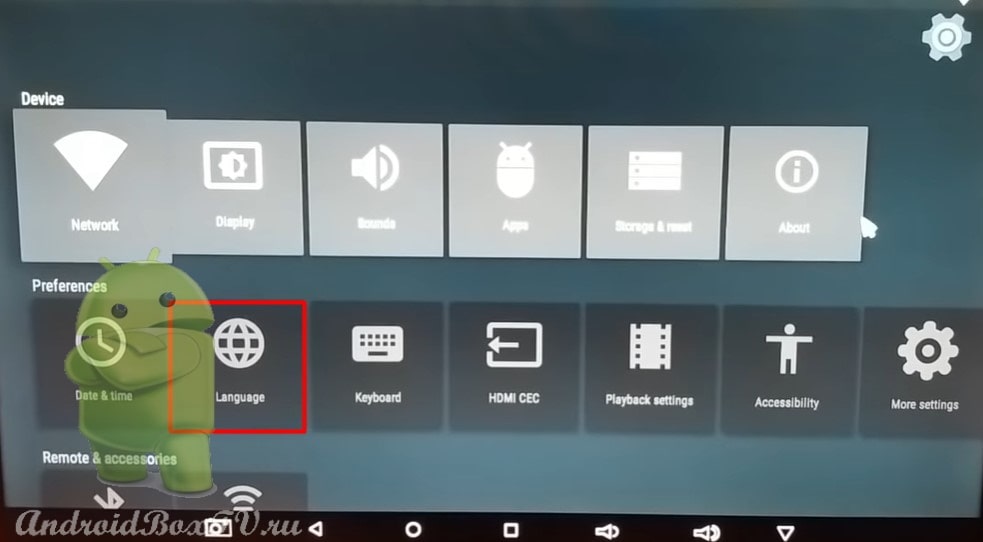
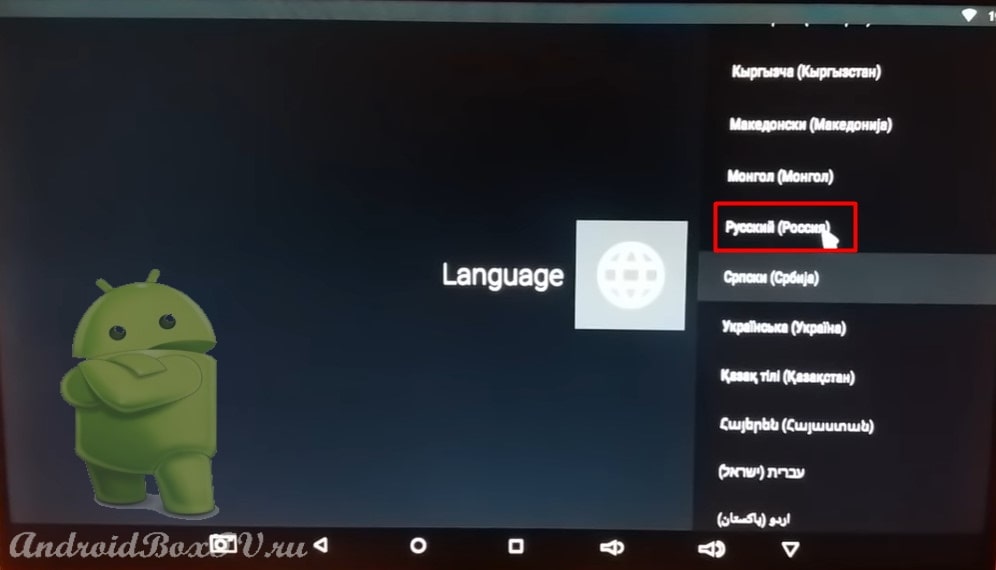
To do this, go to Settings, in the screenshot above “ Settings ”, in the lower left corner of the screen and select “ Language ”:
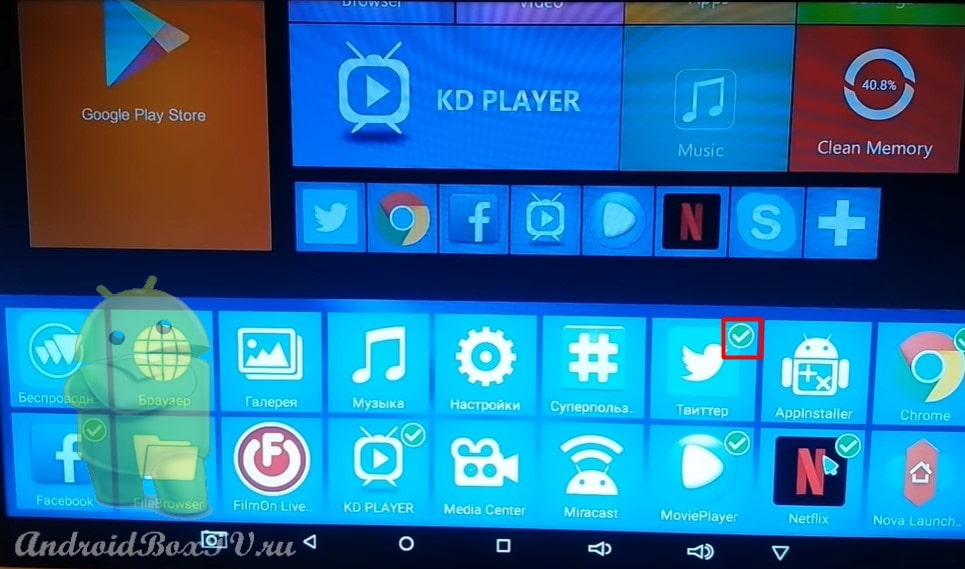
We select the language you need and see that the names of the applications are already in Russian:
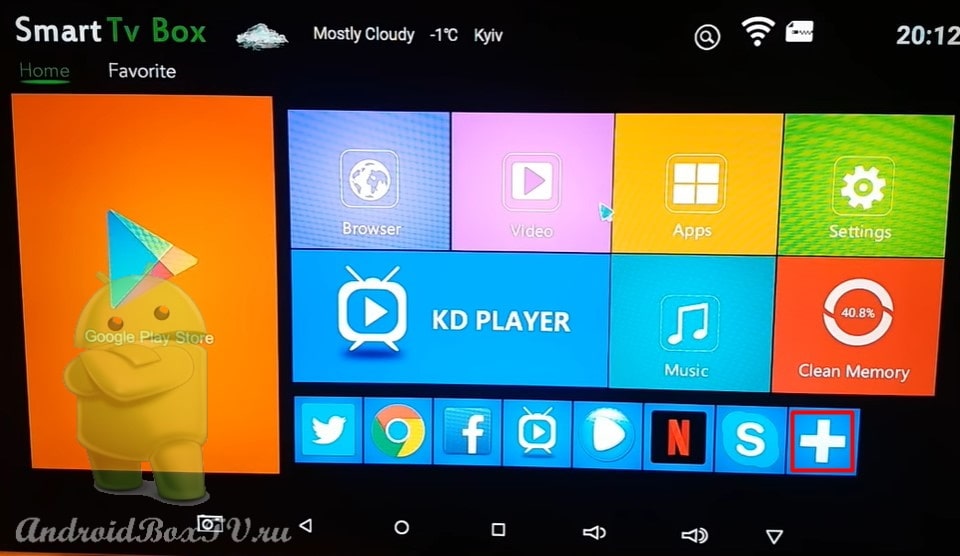
You can customize this line. To do this, click on the plus and select, by ticking, the applications you need:
Interface like a phone
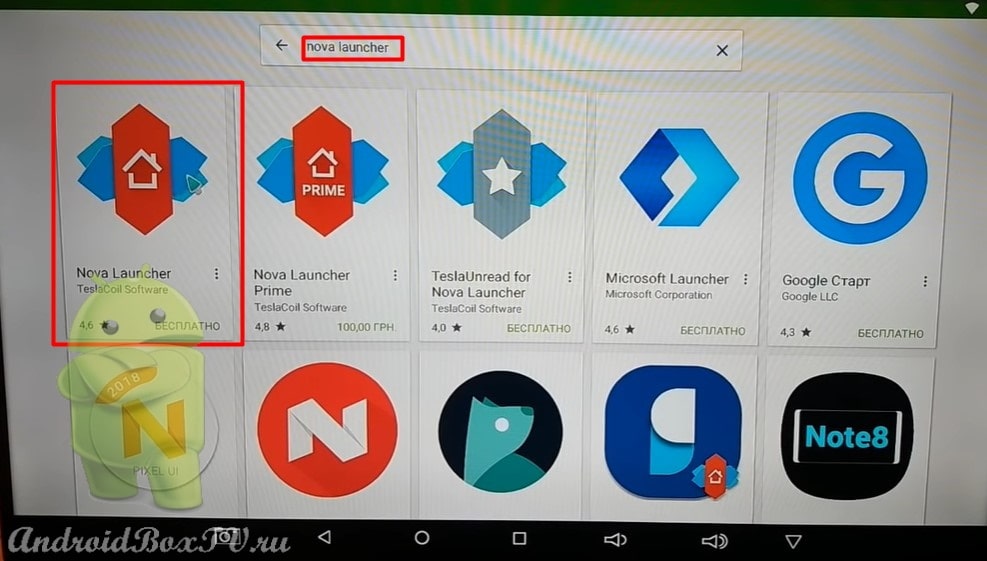
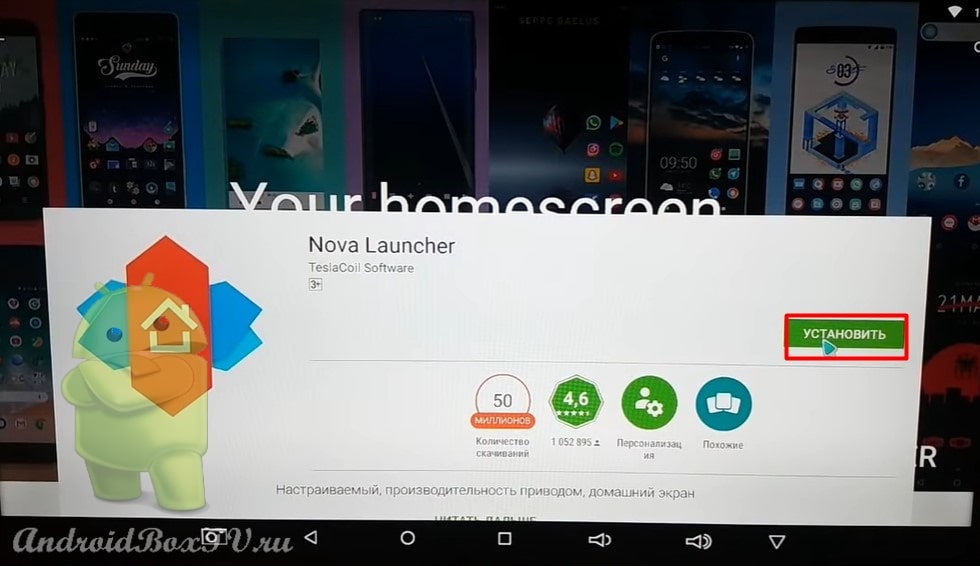
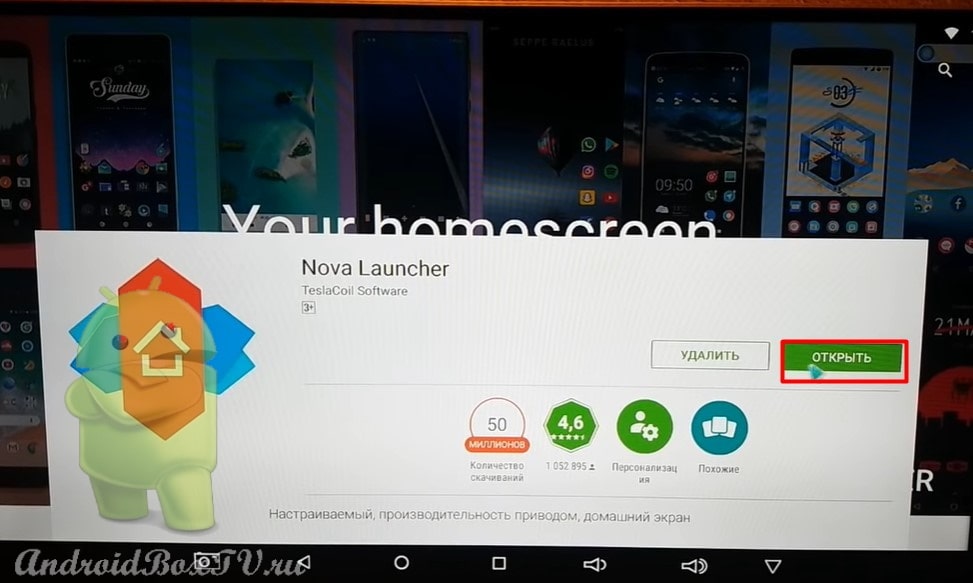
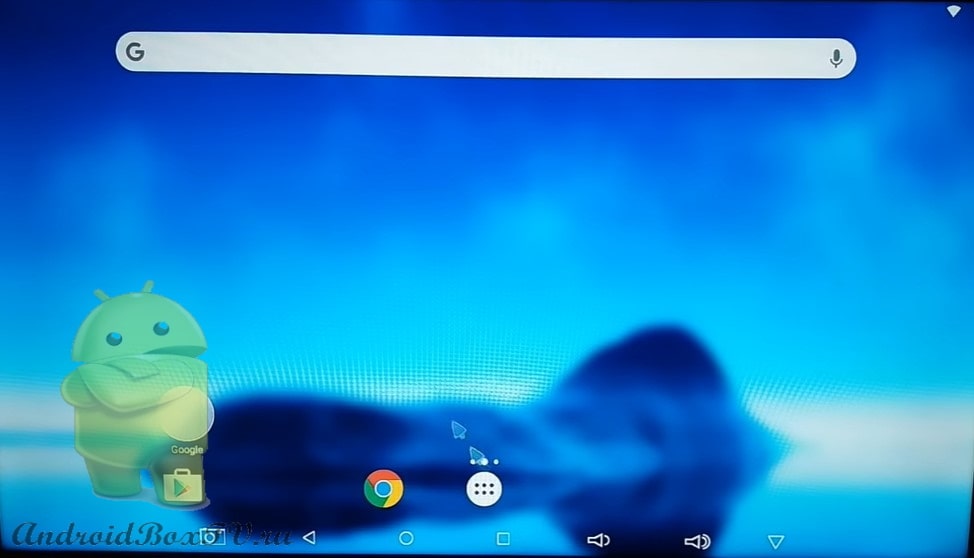
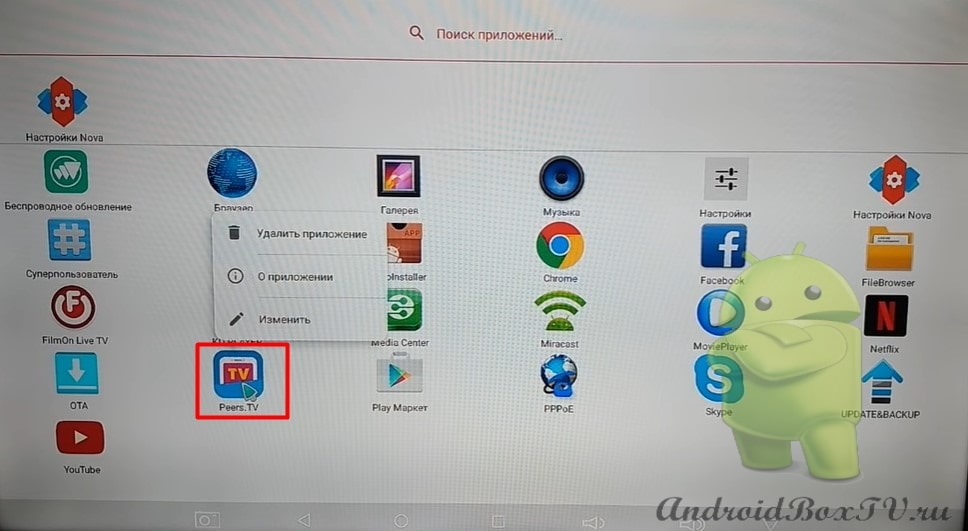
Also, if you are not comfortable using the interface that is originally installed on the Android TV set-top box, then you can install a special application that will allow you to use the set-top box and the Android operating system with a more familiar interface. To do this, you need to install the » Nova Launcher » application.
Go to the Play Store and install the application:
Files on a USB flash drive
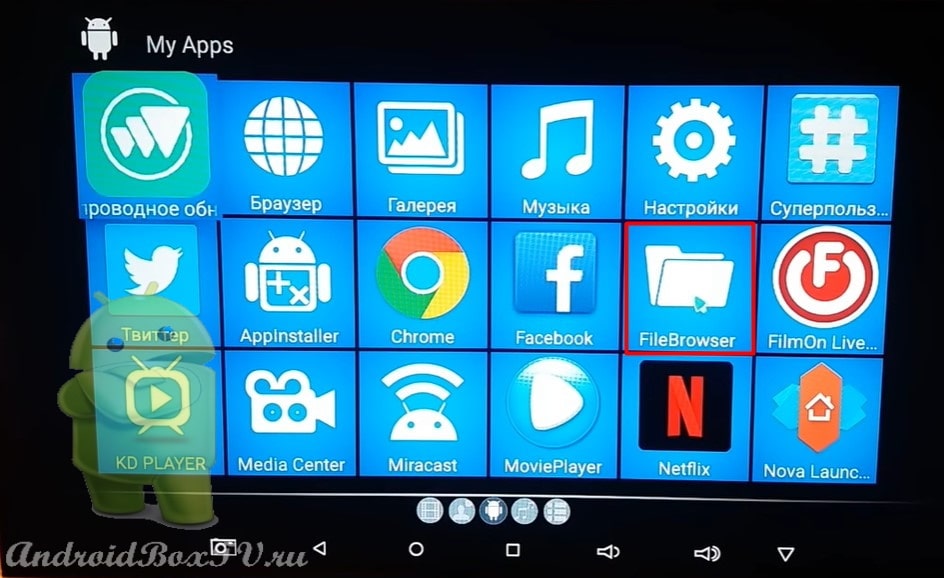
Next, let’s look at how to read files that are on a flash drive or SD card . To do this, you need to use the file explorer. We connect the flash drive and go to the menu. Click on the “ FileBrowser ” icon:
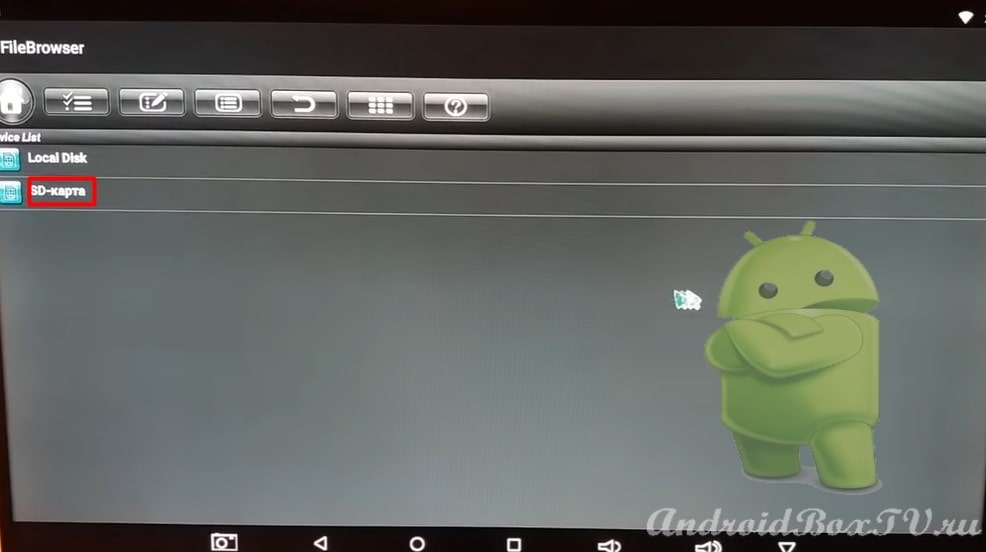
We see the SD card :
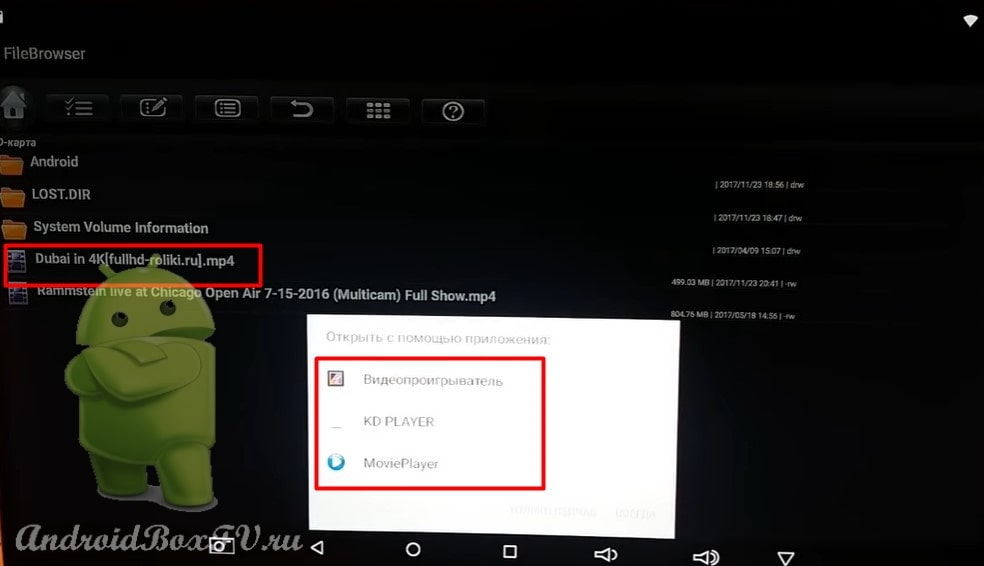
If there is a video on the flash drive, then when you click on it, the prefix will provide us with a choice of video player:
We can choose the player we want to use Only Now or the player we want to use Always.
Keyboard Language
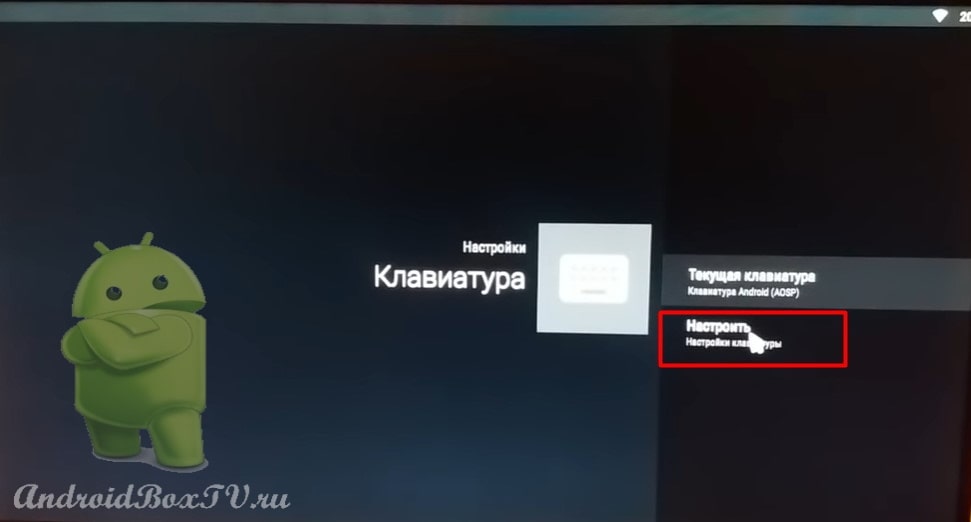
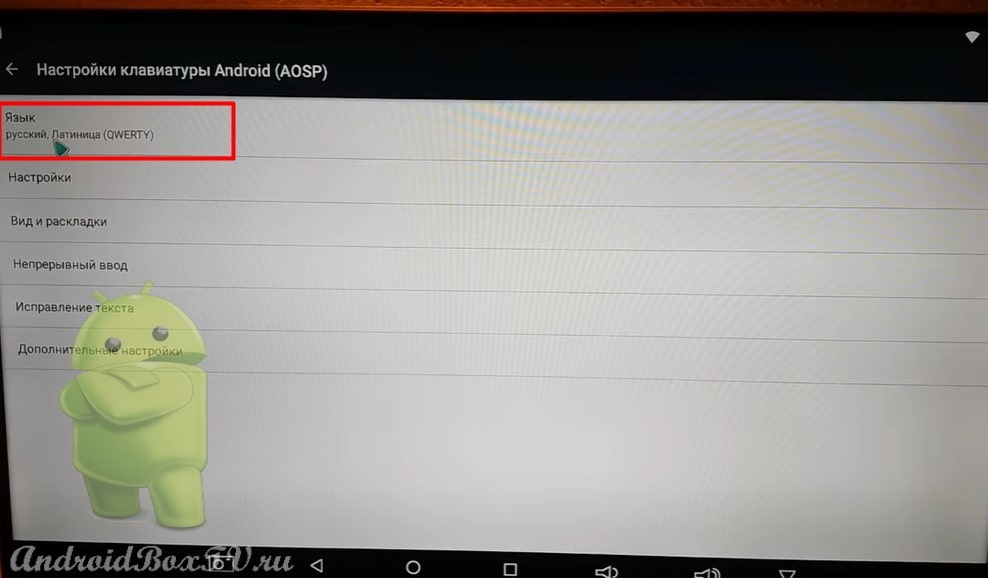
At the end of our article, let’s look at how to add a language on the keyboard of an Android TV set-top box. Go to settings and select » Keyboard «:
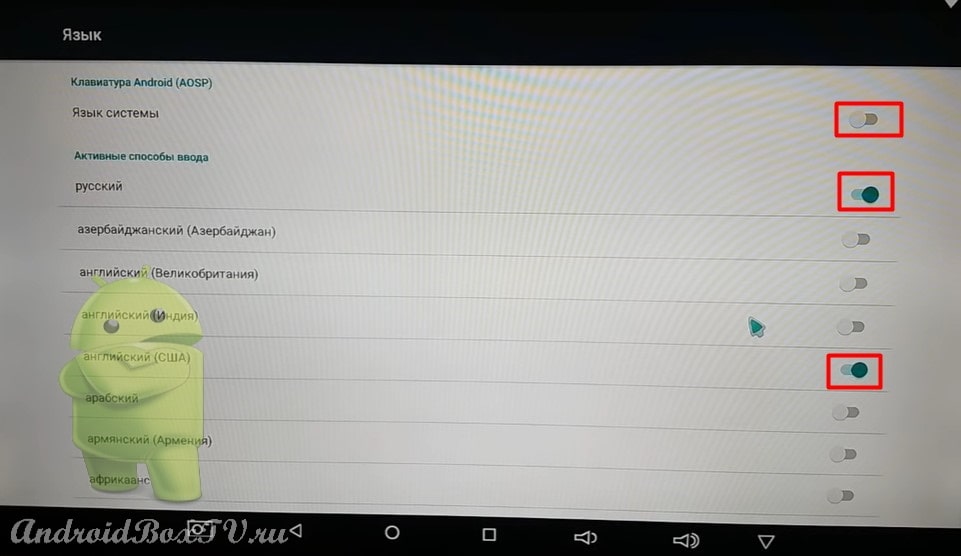
Choose » Language «. Disable “ System Language ” and enable those languages that we want to add to the keyboard:
Ready? Everything worked out? Check out other articles from the «First Acquaintance» section here .
