How to Reset a Sonoff/Tasmota Smart Plug
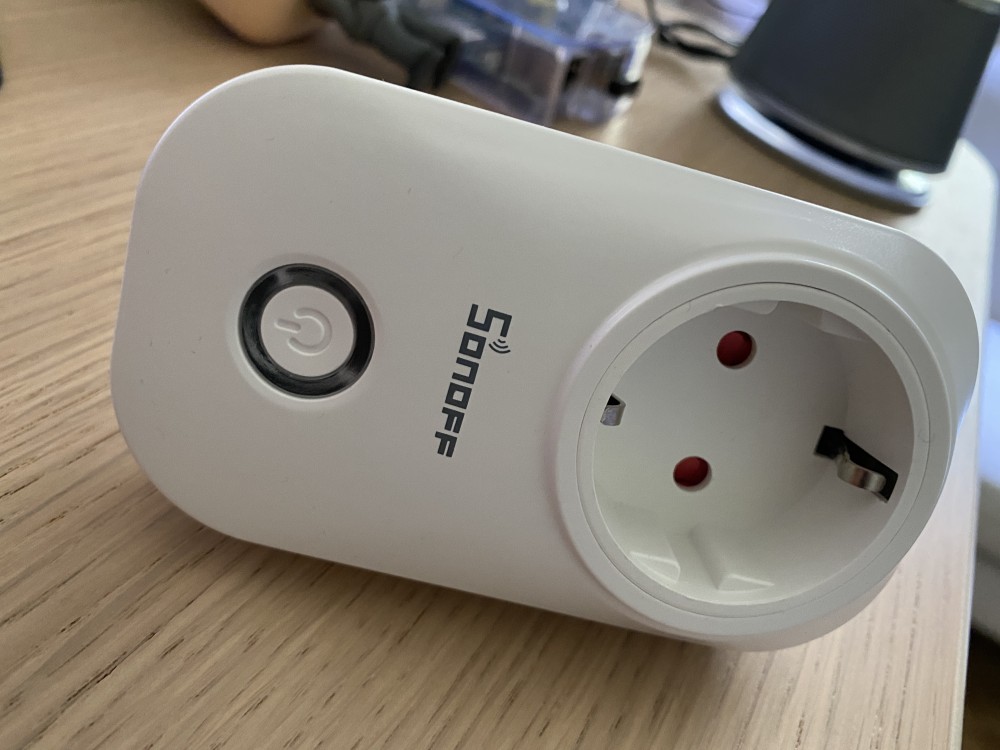
I recently needed to change the Wifi password for a Sonoff smart plug running the Tasmota firmware (which I had flashed on previously).
The Wifi data (SSID, password) can be set during flashing but I did not want to through that whole process again.
The internet is full of useless and contradicting (long press, 4-presses, . ) information about how to reset a Tasmota-flashed Sonoff smart plug, so I wrote down what worked for me.
The reason for all that contradicting statements is probably that this has changed with version 8.3.0 (see here) and 6 short presses are required to reset the device since then.
Note: Since version 8.3.0 a reset requires 6 short presses.
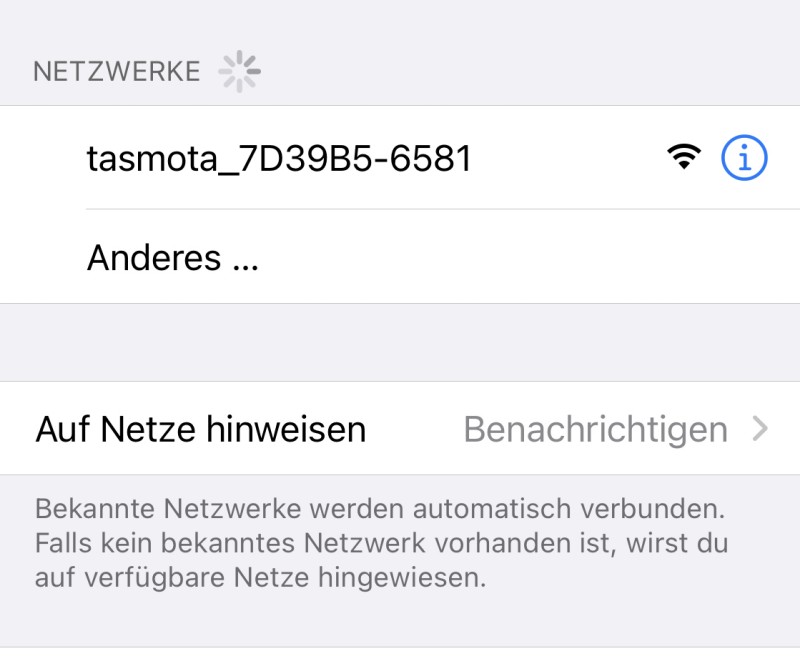
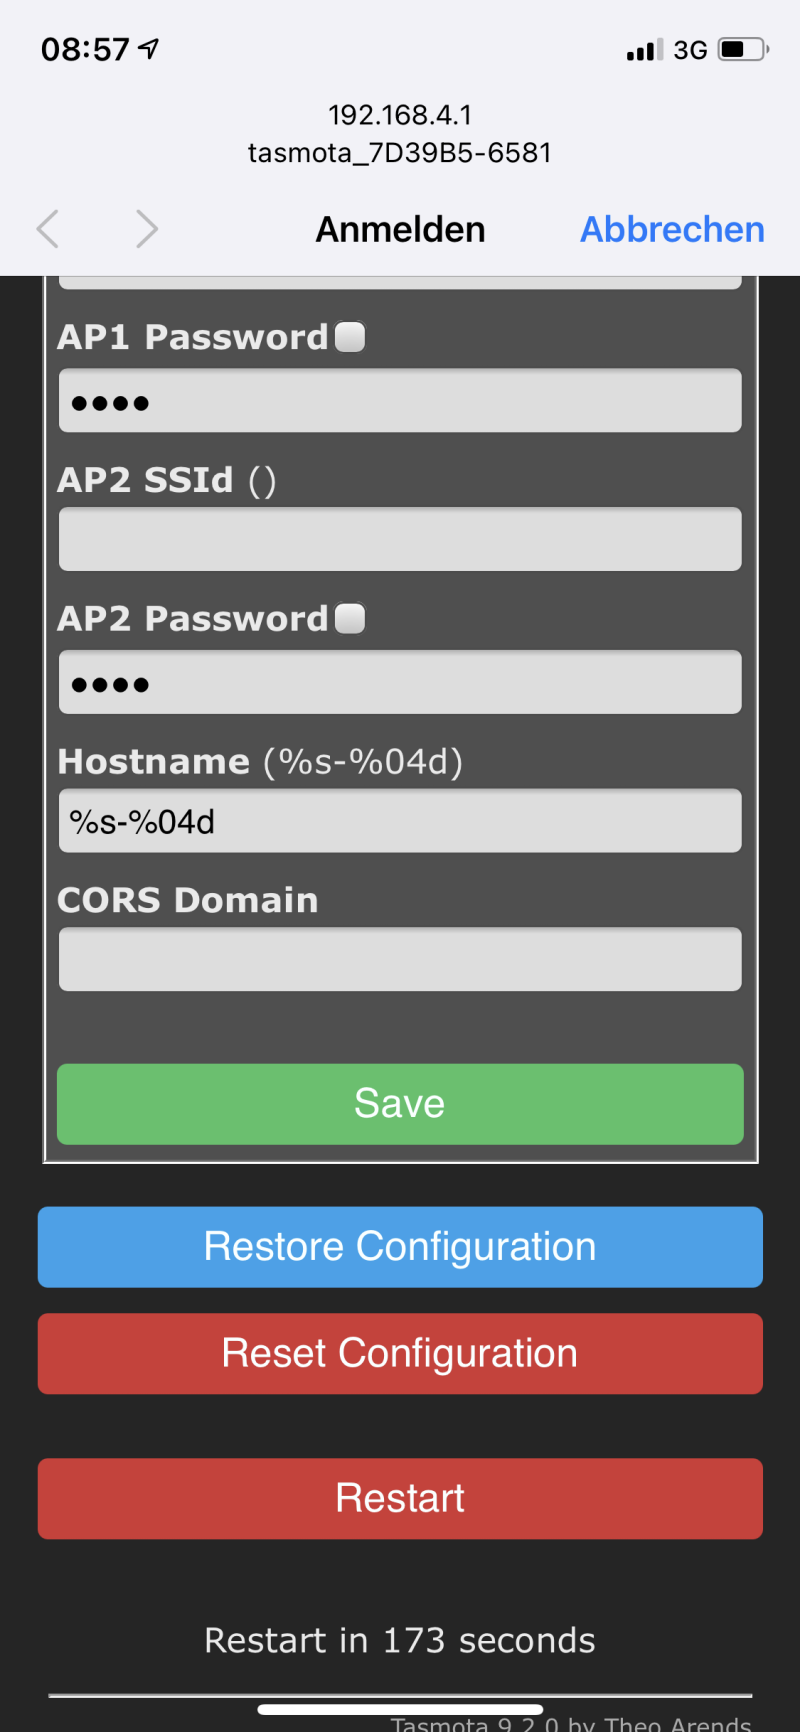
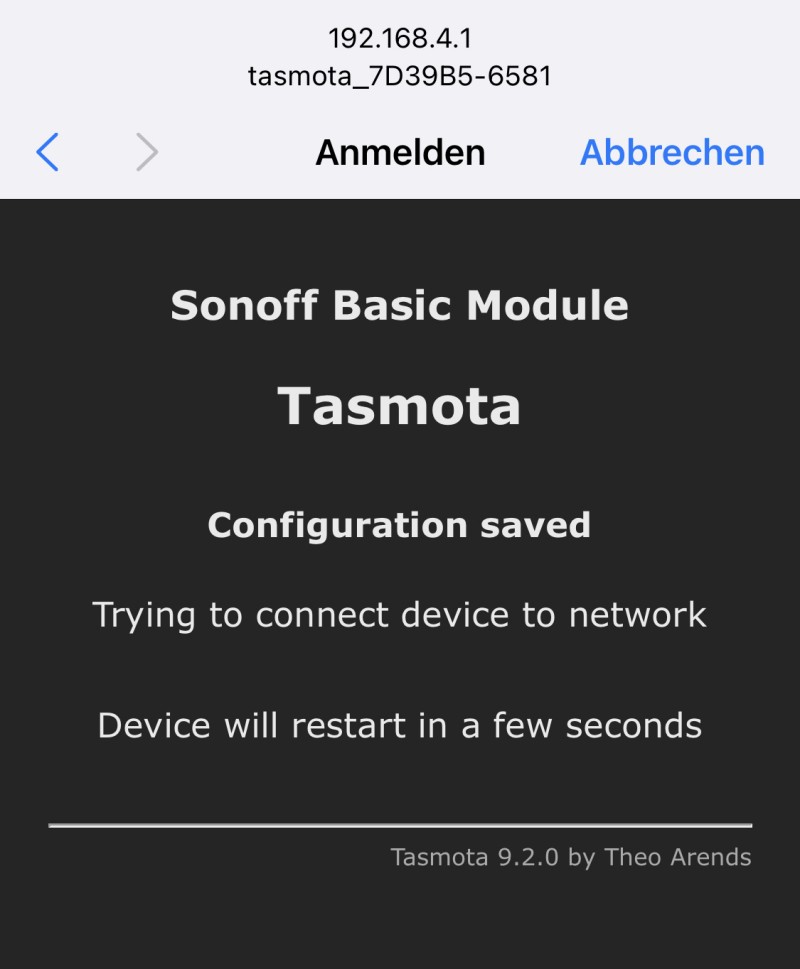
From there on it’s straight-forward:
Buy me a coffee?
I see you have made it this far. Did you enjoy my blog post? If you did and you want to show your appreciation, maybe click the coffee mug below and sponsor me a cup of coffee.
Disclaimer: This website, its content and opinions are my own and do not represent my employer’s in any way.
Device Recovery~
Configuration problems can cause boot loops, erratic behavior, devices which will not appear (i.e., no tasmota-xxxx AP) or connect to Wi-Fi, etc. In cases such as these when there is no proper operation a recovery process is required.
By default, the firmware tries to preserve the existing configuration (to support automated updates via OTA upgrades). However, various things can happen that cause the existing configuration to become problematic, e.g., when upgrading from old releases without following the migration path.
When code updates change the values or the way settings are used, those code changes don’t directly write the settings on the running device when you load the new firmware. What happens is that when it boots up, the firmware looks to see if it has a valid configuration (if it’s an upgrade from an older Tasmota version) and if the CFG_HOLDER value is in the right place it assumes that the existing configuration is valid.
If it doesn’t find the right value it assumes that this is not a «simple» upgrade and takes the compiled-in configuration settings and writes them out to the configuration area.
Recovery Techniques~
Listed below are a few ways to reset the device to what is set in the firmware binary ( my_user_config.h and user_config_override.h ) aka firmware defaults, in order to recover a device:
- Hold the button ( Button1 ) down, if available, for 40 seconds. After that the device should reset and reboot. Fully cycle power after that is done to make sure everything is starting from scratch.
- Issue Reset 1 command via the console, MQTT or HTTP. After the device reboots fully cycle power.
- use Fast Power Cycle Device Recovery procedure
Fast Power Cycle Device Recovery~
Implemented for situations where a device cannot be reset to firmware defaults by other means (no serial access, no button). It resets ALL Tasmota settings (equal to Reset 1 ) after 7 power cycles.
SetOption65 must be set to 0 (default) in order for this feature to be enabled.
If you have a weak power grid or frequent power brownouts it’s best to disable this feature with SetOption65 1 immediately or you’ll end up with firmware default devices after a brownout event.
Procedure~
- Cut power from the device completely for 30 seconds
- Power the device on and off six times with intervals lower than 10 seconds and leave it on after seventh time
- Fast power cycle device recovery should activate and the device should be reset to firmware defaults
If you flashed a precompiled binary you can reconfigure the device using the web UI after the reset.
After Recovery~
Once recovered, the device should be observed that it operates without instabilities before attempting to configure the device in any way. If the device still does not, follow these steps if you are able to configure its Wi-Fi and connect:
- Configure the device as Generic (18)
- Perform an OTA upgrade specifically to tasmota-minimal.bin . Taking this intermediate step ensures that the firmware will be reloaded. Since Tasmota performs a version comparison before performing the OTA update, explicitly changing the firmware that is on the device will ensure that the firmware is indeed replaced in the next step.
- Perform an OTA upgrade to the desired firmware variant.
Once the device operates reliably, begin the configuration to set the GPIO configuration (via a Template or Module). Take any further configuration steps one at a time to ensure that after each setting is applied, the device continues to operate reliably.
If the device exhibits defective behavior immediately after a particular individual setting is changed, then be aware that there may be a problem in the firmware. Please report this behavior via the Tasmota Discord Chat.
That Didn’t Work, What Now?~
If none of these methods result in a working and reliable device, the only remaining option is to connect the device to the serial programming interface, erase the flash memory and flash a different precompiled firmware binary.
Saved searches
Use saved searches to filter your results more quickly
You signed in with another tab or window. Reload to refresh your session. You signed out in another tab or window. Reload to refresh your session. You switched accounts on another tab or window. Reload to refresh your session.
Have a question about this project? Sign up for a free GitHub account to open an issue and contact its maintainers and the community.
By clicking “Sign up for GitHub”, you agree to our terms of service and privacy statement. We’ll occasionally send you account related emails.
Already on GitHub? Sign in to your account
Reset RF Bridge #4682
Reset RF Bridge #4682
Comments
How can I reset the Rf bridge using the button? According to the wiki, one can use the button to start wifi manager, reset etc via a sequence of presses. A reset is holding the button for over 40secs. But does this apply for the rf bridge as well? I’ve tried following the instructions with zero results.
The text was updated successfully, but these errors were encountered:
I think it may work if connected to 3.3V power and not via USB — I have not been able to do it whilst powered from USB.
Alternative is reset 2 (which will erase data flash and restore to default settings), OR, reset 5 (which will erase data flash and restore to default settings whilst retaining ONLY the wifi configuration)
@andrethomas Didn’t work connected to 3.3. Looks like a reflash is in order.
Yeah tried it on my spare sonoff rf bridge v2 also — the same thing, looks like the only way to get it out of trouble (not that mine was in trouble) is a wire flash.
Please, let us know if reflash solve your issue. Thanks.
ascillato2 added troubleshooting Type — Troubleshooting awaiting feedback Action — Waiting for response or more information labels Dec 19, 2018
Now my reflash keeps failing. Sigh.
So whats happens when I try to reflash, I’m using Atom on OSX. I am following the tutorial from «Quickpi». Initially I could not even access the unit via wire, kept getting a unable to open error during the platform upload stage. Checked settings and it seems I had platofromIO-ide installed? Strange. Disabled that and platformio seems to be able to upload, I see «success», but then it restarts the whole sequence again and uploads again. And again. and again. Its seems to be enjoying uploading and is uploading in an infinite loop. Anyways, I try accessing the serial monitor and I’m told by ATOM to use the serial monitor, I need to install or enable platformio-ide. Well fine then, I try that.. and I get the following error message;
`Mac-Pro:Sonoff-Tasmota-master macpro$ pio device monitor —port /dev/cu.usbserial-A5XK3RJT —baud 115200
— Miniterm on /dev/cu.usbserial-A5XK3RJT 115200,8,N,1 —
— Quit: Ctrl+C | Menu: Ctrl+T | Help: Ctrl+T followed by Ctrl+H —
— exit —
Exception in thread rx:
Traceback (most recent call last):
File «/System/Library/Frameworks/Python.framework/Versions/2.7/lib/python2.7/threading.py», line 810, in __bootstrap_inner
self.run()
File «/System/Library/Frameworks/Python.framework/Versions/2.7/lib/python2.7/threading.py», line 763, in run
self.__target(*self.__args, **self.__kwargs)
File «/Users/macpro/.platformio/penv/lib/python2.7/site-packages/serial/tools/miniterm.py», line 445, in reader
data = self.serial.read(self.serial.in_waiting or 1)
File «/Users/macpro/.platformio/penv/lib/python2.7/site-packages/serial/serialposix.py», line 501, in read
‘device reports readiness to read but returned no data ‘
SerialException: device reports readiness to read but returned no data (device disconnected or multiple access on port?)`
I am out of my depth at this point. Shouldn’t have tried to update the Sonoff in the first place.