How To Install PostgreSQL on Ubuntu 20.04 [Quickstart]
PostgreSQL, or Postgres, is a relational database management system that provides an implementation of the SQL querying language. It’s standards-compliant and has many advanced features like reliable transactions and concurrency without read locks.
This guide demonstrates how to quickly get Postgres up and running on an Ubuntu 20.04 server, from installing PostgreSQL to setting up a new user and database. If you’d prefer a more in-depth tutorial on installing and managing a PostgreSQL database, see How To Install and Use PostgreSQL on Ubuntu 20.04.
Prerequisites
To follow along with this tutorial, you will need one Ubuntu 20.04 server that has been configured by following our Initial Server Setup for Ubuntu 20.04 guide. After completing this prerequisite tutorial, your server should have a non-root user with sudo permissions and a basic firewall.
Step 1 — Installing PostgreSQL
To install PostgreSQL, first refresh your server’s local package index:
Then, install the Postgres package along with a -contrib package that adds some additional utilities and functionality:
Ensure that the service is started:
Step 2 — Using PostgreSQL Roles and Databases
By default, Postgres uses a concept called “roles” to handle authentication and authorization. These are, in some ways, similar to regular Unix-style users and groups.
Upon installation, Postgres is set up to use ident authentication, meaning that it associates Postgres roles with a matching Unix/Linux system account. If a role exists within Postgres, a Unix/Linux username with the same name is able to sign in as that role.
The installation procedure created a user account called postgres that is associated with the default Postgres role. There are a few ways to utilize this account to access Postgres. One way is to switch over to the postgres account on your server by running the following command:
Then you can access the Postgres prompt by running:
This will log you into the PostgreSQL prompt, and from here you are free to interact with the database management system right away.
To exit out of the PostgreSQL prompt, run the following:
This will bring you back to the postgres Linux command prompt. To return to your regular system user, run the exit command:
Another way to connect to the Postgres prompt is to run the psql command as the postgres account directly with sudo :
This will log you directly into Postgres without the intermediary bash shell in between.
Again, you can exit the interactive Postgres session by running the following:
Step 3 — Creating a New Role
If you are logged in as the postgres account, you can create a new role by running the following command:
If, instead, you prefer to use sudo for each command without switching from your normal account, run:
Either way, the script will prompt you with some choices and, based on your responses, execute the correct Postgres commands to create a user to your specifications.
OutputEnter name of role to add: sammy Shall the new role be a superuser? (y/n) y Step 4 — Creating a New Database
Another assumption that the Postgres authentication system makes by default is that for any role used to log in, that role will have a database with the same name which it can access.
This means that if the user you created in the last section is called sammy, that role will attempt to connect to a database which is also called “sammy” by default. You can create the appropriate database with the createdb command.
If you are logged in as the postgres account, you would type something like the following:
If, instead, you prefer to use sudo for each command without switching from your normal account, you would run:
Step 5 — Opening a Postgres Prompt with the New Role
To log in with ident based authentication, you’ll need a Linux user with the same name as your Postgres role and database.
If you don’t have a matching Linux user available, you can create one with the adduser command. You will have to do this from your non-root account with sudo privileges (meaning, not logged in as the postgres user):
Once this new account is available, you can either switch over and connect to the database by running the following:
Or, you can do this inline:
This command will log you in automatically, assuming that all of the components have been properly configured.
If you want your user to connect to a different database, you can do so by specifying the database like the following:
Once logged in, you can get check your current connection information by running:
OutputYou are connected to database "sammy" as user "sammy" via socket in "/var/run/postgresql" at port "5432". Conclusion
You are now set up with PostgreSQL on your Ubuntu 20.04 server. If you’d like to learn more about Postgres and how to use it, we encourage you to check out the following guides:
Want to launch a high-availability PostgreSQL cluster in a few clicks? DigitalOcean offers worry-free PostgreSQL managed database hosting. We’ll handle maintenance and updates and even help you migrate your database from external servers, cloud providers, or self-hosted solutions. Leave the complexity to us, so you can focus on building a great application.
TablePlus
![]()
In this post, we are going to figure out how to start, stop, and restart a PostgreSQL server on macOS, Linux, and Windows.
If you installed PostgreSQL via Homebrew:
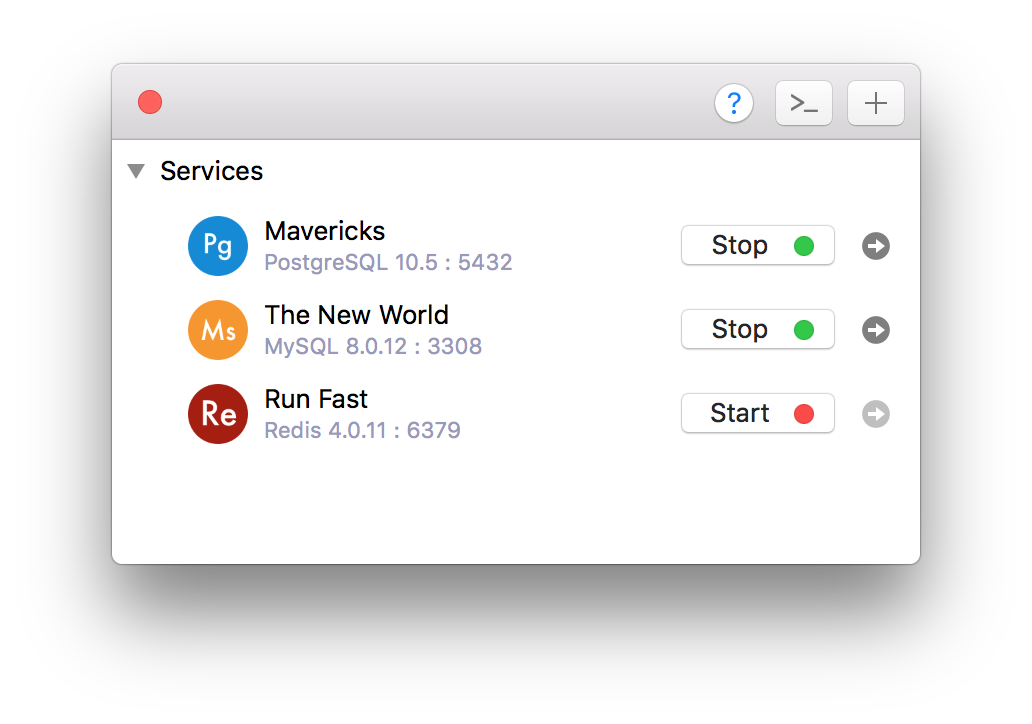
pg_ctl -D /usr/local/var/postgres start pg_ctl -D /usr/local/var/postgres stop brew services start postgresql brew services stop postgresql If you want a hassle-free way to manage the local PostgreSQL database servers, use DBngin. It’s just one click to start, another click to turn off. No dependencies, no command line required, multiple drivers, multiple versions and multiple ports. And it’s free.
2. On Windows
First, you need to find the PostgreSQL database directory, it can be something like C:\Program Files\PostgreSQL\10.4\data . Then open Command Prompt and execute this command:
pg_ctl -D "C:\Program Files\PostgreSQL\9.6\data" start pg_ctl -D "C:\Program Files\PostgreSQL\9.6\data" stop pg_ctl -D "C:\Program Files\PostgreSQL\9.6\data" restart - Open Run Window by Winkey + R
- Type services.msc
- Search Postgres service based on version installed.
- Click stop, start or restart the service option.
Update and install PostgreSQL 10.4
sudo apt-get update sudo apt-get install postgresql-10.4 By default, the postgres user has no password and can hence only connect if ran by the postgres system user. The following command will assign it:
sudo -u postgres psql -c "ALTER USER postgres PASSWORD 'postgres';" sudo -u postgres psql -c "CREATE DATABASE testdb;" sudo service postgresql start sudo service postgresql stop Need a good GUI tool for PostgreSQL on MacOS and Windows? TablePlus is a modern, native tool with an elegant GUI that allows you to simultaneously manage multiple databases such as MySQL, PostgreSQL, SQLite, Microsoft SQL Server and more.