- Команда find в Linux
- Основная информация о Find
- Основные параметры команды find
- Критерии
- Примеры использования
- 1. Поиск всех файлов
- 2. Поиск файлов в определенной папке
- 3. Ограничение глубины поиска
- 4. Инвертирование шаблона
- 5. Несколько критериев
- 6. Тип файла
- 6. Несколько каталогов
- 7. Поиск скрытых файлов
- 8. Поиск по разрешениям
- 9. Поиск файлов в группах и пользователях
- 10. Поиск по дате модификации
- 11. Поиск файлов по размеру
- 12. Поиск пустых файлов и папок
- 13. Действия с найденными файлами
- Выводы
- Classic SysAdmin: How to Search for Files from the Linux Command Line
- How to use the find command
- Find by name
- Find by type
- Outputting results to a file
- Finding files by size
- Keep learning
Команда find в Linux
Очень важно уметь вовремя найти нужную информацию в системе. Конечно, все современные файловые менеджеры предлагают отличные функции поиска, но им не сравнится с поиском в терминале Linux. Он намного эффективнее и гибче обычного поиска, вы можете искать файлы не только по имени, но и по дате добавления, содержимому, а также использовать для поиска регулярные выражения.
Кроме того, с найденными файлами можно сразу же выполнять необходимые действия. В этой статье мы поговорим о поиске с помощью очень мощной команды find Linux, подробно разберем её синтаксис, опции и рассмотрим несколько примеров.
Основная информация о Find
Команда find — это одна из наиболее важных и часто используемых утилит системы Linux. Это команда для поиска файлов и каталогов на основе специальных условий. Ее можно использовать в различных обстоятельствах, например, для поиска файлов по разрешениям, владельцам, группам, типу, размеру и другим подобным критериям.
Утилита find предустановлена по умолчанию во всех Linux дистрибутивах, поэтому вам не нужно будет устанавливать никаких дополнительных пакетов. Это очень важная находка для тех, кто хочет использовать командную строку наиболее эффективно.
Команда find имеет такой синтаксис:
find [ папка] [ параметры] критерий шаблон [действие]
Папка — каталог в котором будем искать
Параметры — дополнительные параметры, например, глубина поиска, и т д
Критерий — по какому критерию будем искать: имя, дата создания, права, владелец и т д.
Шаблон — непосредственно значение по которому будем отбирать файлы.
Основные параметры команды find
Я не буду перечислять здесь все параметры, рассмотрим только самые полезные.
- -P — никогда не открывать символические ссылки.
- -L — получает информацию о файлах по символическим ссылкам. Важно для дальнейшей обработки, чтобы обрабатывалась не ссылка, а сам файл.
- -maxdepth — максимальная глубина поиска по подкаталогам, для поиска только в текущем каталоге установите 1.
- -depth — искать сначала в текущем каталоге, а потом в подкаталогах.
- -mount искать файлы только в этой файловой системе.
- -version — показать версию утилиты find.
- -print — выводить полные имена файлов.
- -type f — искать только файлы.
- -type d — поиск папки в Linux.
Критерии
Критериев у команды find в Linux очень много, и мы опять же рассмотрим только основные.
- -name — поиск файлов по имени.
- -perm — поиск файлов в Linux по режиму доступа.
- -user — поиск файлов по владельцу.
- -group — поиск по группе.
- -mtime — поиск по времени модификации файла.
- -atime — поиск файлов по дате последнего чтения.
- -nogroup — поиск файлов, не принадлежащих ни одной группе.
- -nouser — поиск файлов без владельцев.
- -newer — найти файлы новее чем указанный.
- -size — поиск файлов в Linux по их размеру.
Примеры использования
А теперь давайте рассмотрим примеры find, чтобы вы лучше поняли, как использовать эту утилиту.
1. Поиск всех файлов
Показать все файлы в текущей директории:
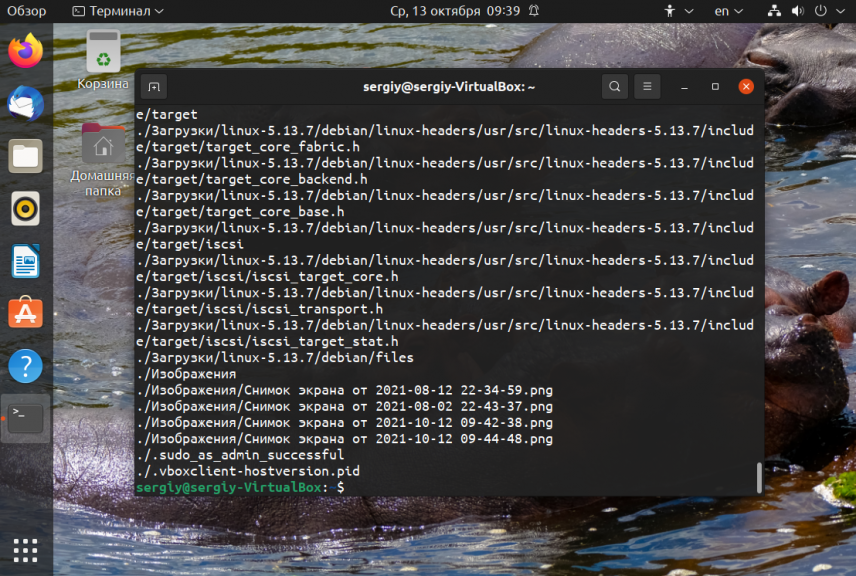
Все три команды покажут одинаковый результат. Точка здесь означает текущую папку. Вместо неё можно указать любую другую.
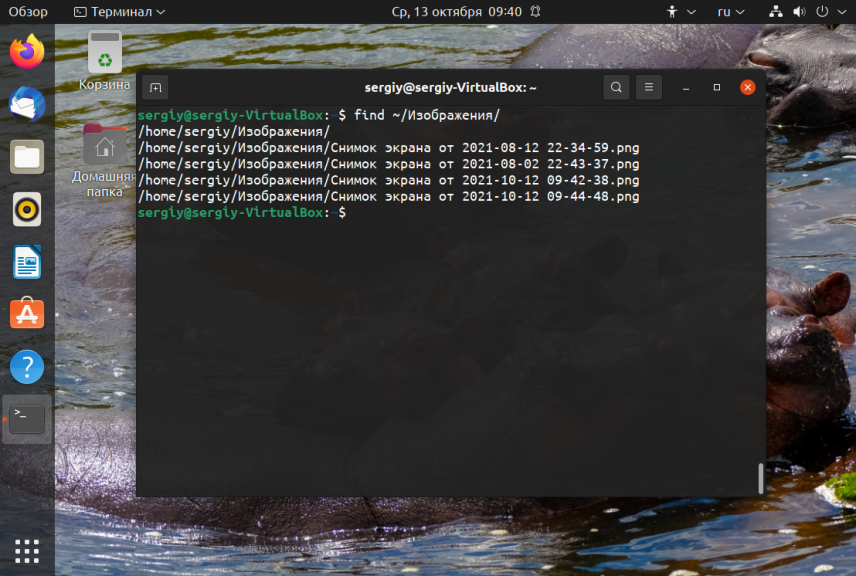
2. Поиск файлов в определенной папке
Показать все файлы в указанной директории:
Искать файлы по имени в текущей папке:
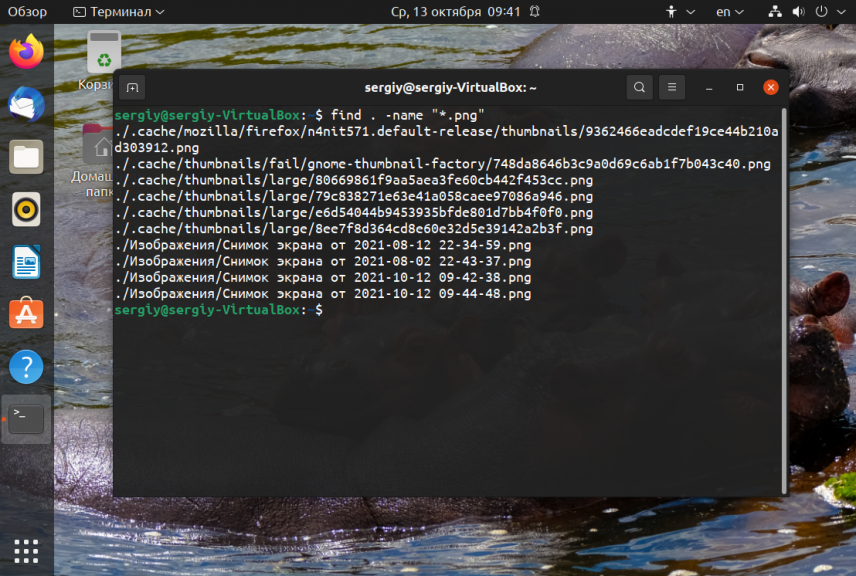
Поиск по имени в текущей папке:
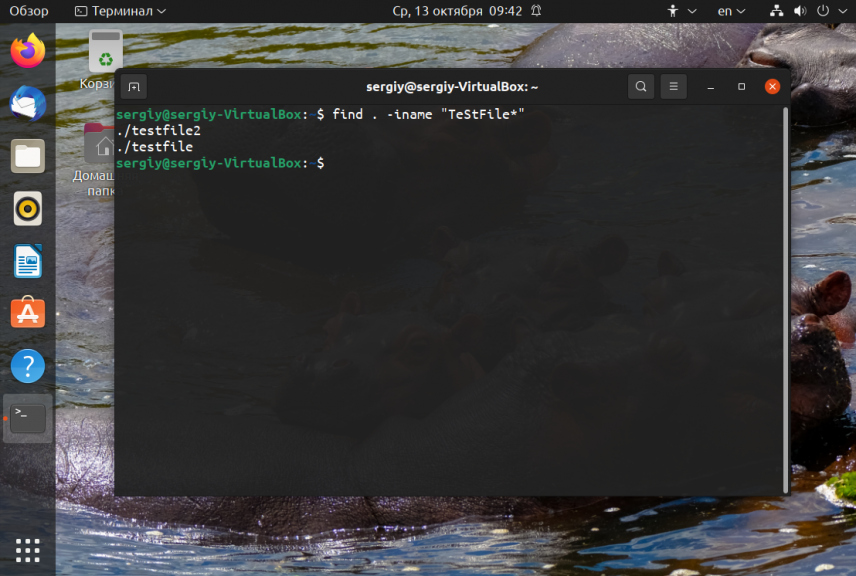
Не учитывать регистр при поиске по имени:
3. Ограничение глубины поиска
Поиска файлов по имени в Linux только в этой папке:
find . -maxdepth 1 -name «*.php»
4. Инвертирование шаблона
Найти файлы, которые не соответствуют шаблону:
5. Несколько критериев
Поиск командой find в Linux по нескольким критериям, с оператором исключения:
find . -name «test» -not -name «*.php»
Найдет все файлы, начинающиеся на test, но без расширения php. А теперь рассмотрим оператор ИЛИ:
find -name «*.html» -o -name «*.php»
Эта команда найдёт как php, так и html файлы.
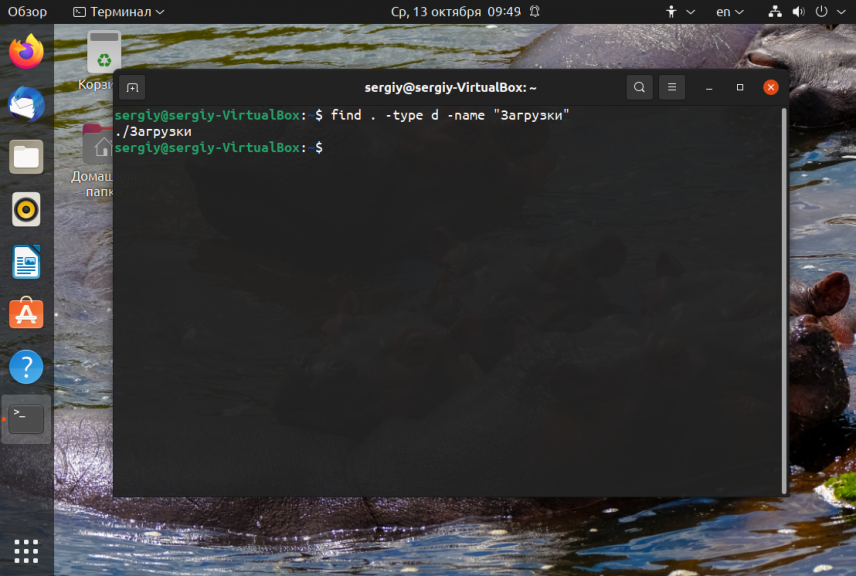
6. Тип файла
По умолчанию find ищет как каталоги, так и файлы. Если вам необходимо найти только каталоги используйте критерий type с параметром d. Например:
find . -type d -name «Загрузки»
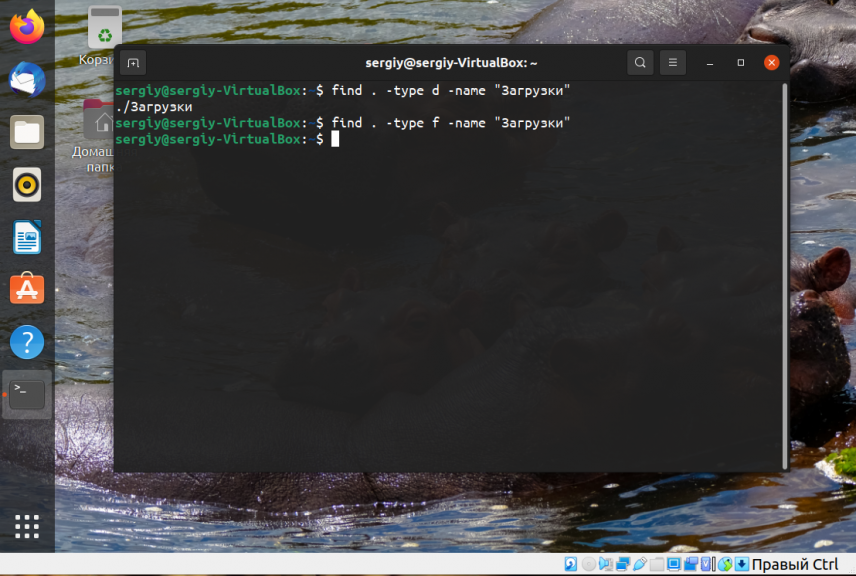
Для поиска только файлов необходимо использовать параметр f:
find . -type f -name «Загрузки»
6. Несколько каталогов
Искать в двух каталогах одновременно:
find ./test ./test2 -type f -name «*.c»
7. Поиск скрытых файлов
Найти скрытые файлы только в текущей папке. Имена скрытых файлов в Linux начинаются с точки:
find . -maxdepth 1 -type f -name «.*»

8. Поиск по разрешениям
Найти файлы с определенной маской прав, например, 0664:
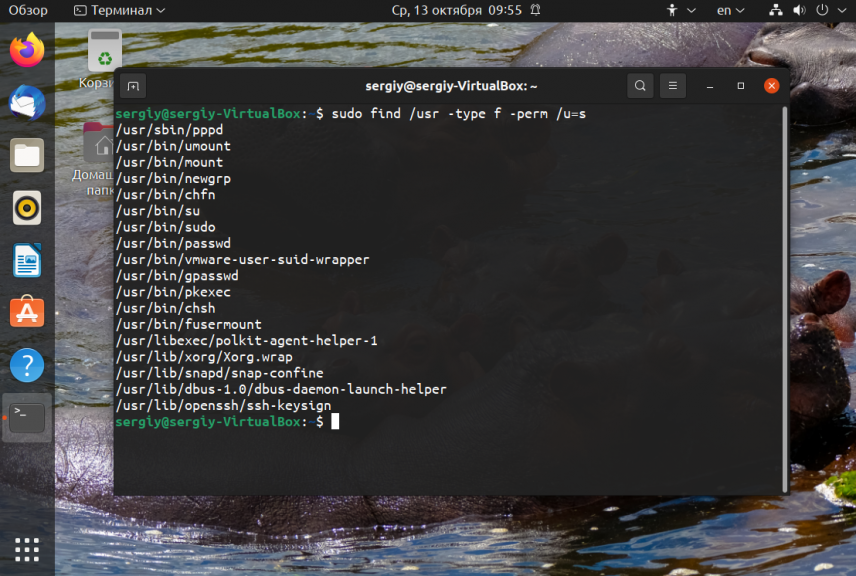
Права также можно задавать буквами для u (user) g (group) и o (other). Например, для того чтобы найти все файлы с установленным флагом Suid в каталоге /usr выполните:
sudo find /usr -type f -perm /u=s
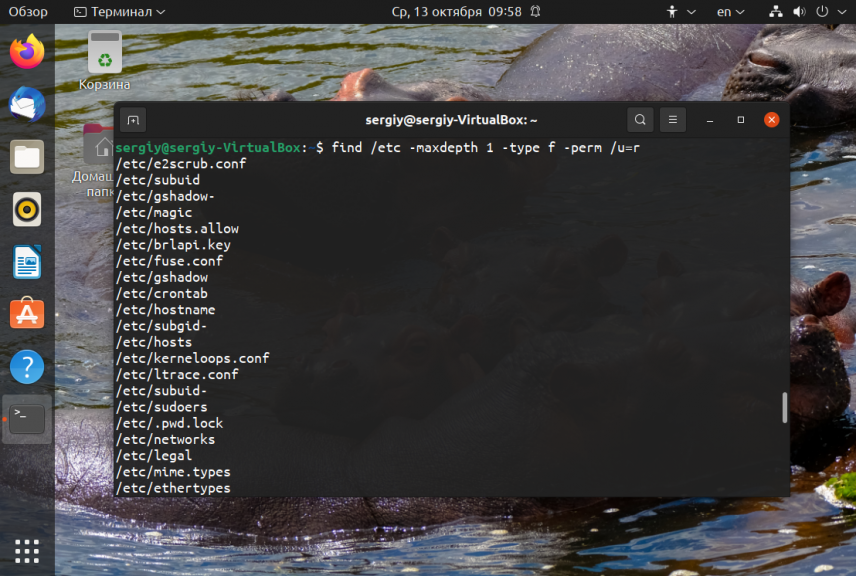
Поиск файлов доступных владельцу только для чтения только в каталоге /etc:
find /etc -maxdepth 1 -perm /u=r
Найти только исполняемые файлы:
find /bin -maxdepth 2 -perm /a=x
9. Поиск файлов в группах и пользователях
Найти все файлы, принадлежащие пользователю:
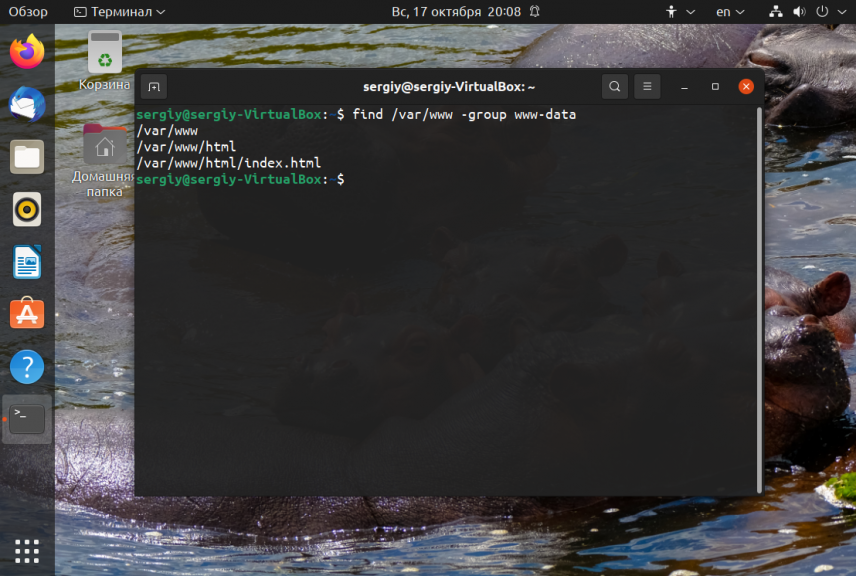
Поиск файлов в Linux принадлежащих группе:
find /var/www -group www-data
10. Поиск по дате модификации
Поиск файлов по дате в Linux осуществляется с помощью параметра mtime. Найти все файлы модифицированные 50 дней назад:
Поиск файлов в Linux открытых N дней назад:
Найти все файлы, модифицированные между 50 и 100 дней назад:
Найти файлы измененные в течении часа:
11. Поиск файлов по размеру
Найти все файлы размером 50 мегабайт:
От пятидесяти до ста мегабайт:
Найти самые маленькие файлы:
find . -type f -exec ls -s <> \; | sort -n -r | head -5
find . -type f -exec ls -s <> \; | sort -n | head -5
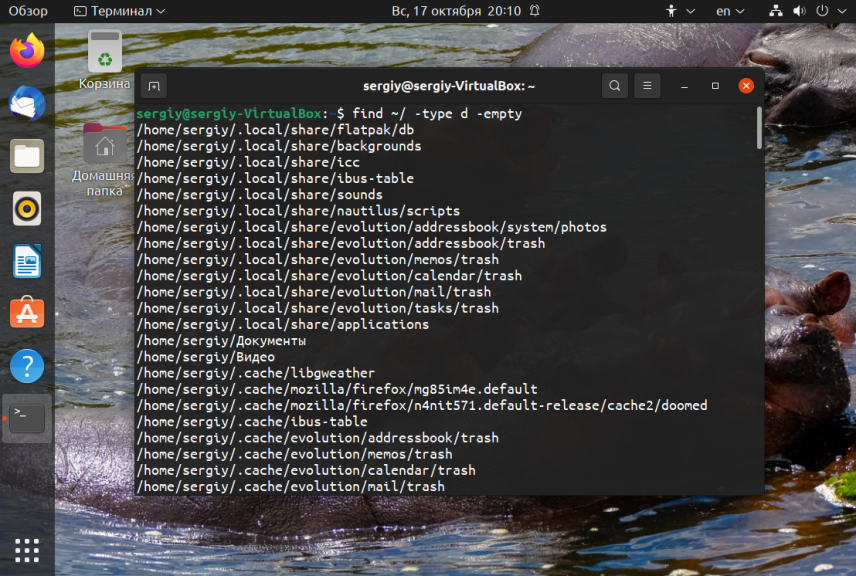
12. Поиск пустых файлов и папок
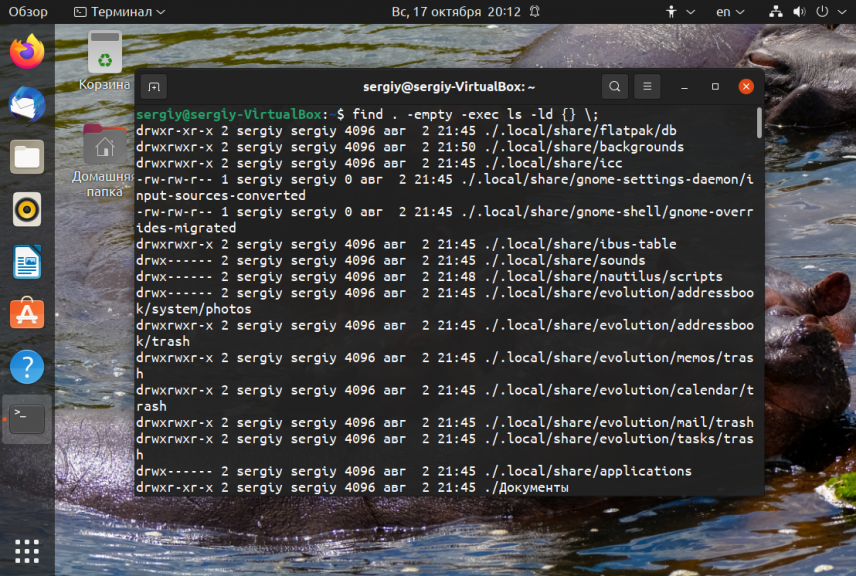
13. Действия с найденными файлами
Для выполнения произвольных команд для найденных файлов используется опция -exec. Например, для того чтобы найти все пустые папки и файлы, а затем выполнить ls для получения подробной информации о каждом файле используйте:
Удалить все текстовые файлы в tmp
find /tmp -type f -name «*.txt» -exec rm -f <> \;
Удалить все файлы больше 100 мегабайт:
find /home/bob/dir -type f -name *.log -size +100M -exec rm -f <> \;
Выводы
Вот и подошла к концу эта небольшая статья, в которой была рассмотрена команда find. Как видите, это одна из наиболее важных команд терминала Linux, позволяющая очень легко получить список нужных файлов. Ее желательно знать всем системным администраторам. Если вам нужно искать именно по содержимому файлов, то лучше использовать команду grep.
Обнаружили ошибку в тексте? Сообщите мне об этом. Выделите текст с ошибкой и нажмите Ctrl+Enter.
Classic SysAdmin: How to Search for Files from the Linux Command Line
This is a classic article written by Jack Wallen from the Linux.com archives. For more great SysAdmin tips and techniques check out our free intro to Linux course.
It goes without saying that every good Linux desktop environment offers the ability to search your file system for files and folders. If your default desktop doesn’t — because this is Linux — you can always install an app to make searching your directory hierarchy a breeze.
But what about the command line? If you happen to frequently work in the command line or you administer GUI-less Linux servers, where do you turn when you need to locate a file? Fortunately, Linux has exactly what you need to locate the files in question, built right into the system.
The command in question is find. To make the understanding of this command even more enticing, once you know it, you can start working it into your Bash scripts. That’s not only convenience, that’s power.
Let’s get up to speed with the find command so you can take control of locating files on your Linux servers and desktops, without the need of a GUI.
How to use the find command
When I first glimpsed Linux, back in 1997, I didn’t quite understand how the find command worked; therefore, it never seemed to function as I expected. It seemed simple; issue the command find FILENAME (where FILENAME is the name of the file) and the command was supposed to locate the file and report back. Little did I know there was more to the command than that. Much more.
If you issue the command man find, you’ll see the syntax of the find command is:
find [-H] [-L] [-P] [-D debugopts] [-Olevel] [starting-point. ] [expression]
Naturally, if you’re unfamiliar with how man works, you might be confused about or overwhelmed by that syntax. For ease of understanding, let’s simplify that. The most basic syntax of a basic find command would look like this:
find /path option filename
Find by name
Let’s break down that basic command to make it as clear as possible. The most simplistic structure of the find command should include a path for the file, an option, and the filename itself. You may be thinking, “If I know the path to the file, I’d already know where to find it!”. Well, the path for the file could be the root of your drive; so / would be a legitimate path. Entering that as your path would take find longer to process — because it has to start from scratch — but if you have no idea where the file is, you can start from there. In the name of efficiency, it is always best to have at least an idea where to start searching.
The next bit of the command is the option. As with most Linux commands, you have a number of available options. However, we are starting from the beginning, so let’s make it easy. Because we are attempting to find a file by name, we’ll use one of two options:
Remember, Linux is very particular about case, so if you’re looking for a file named Linux.odt, the following command will return no results.
If, however, you were to alter the command by using the -iname option, the find command would locate your file, regardless of case. So the new command looks like:
Find by type
What if you’re not so concerned with locating a file by name but would rather locate all files of a certain type? Some of the more common file descriptors are:
- f – regular file
- d – directory
- l – symbolic link
- c – character devices
- b – block devices
Now, suppose you want to locate all block devices (a file that refers to a device) on your system. With the help of the -type option, we can do that like so:
The above command would result in quite a lot of output (much of it indicating permission denied), but would include output similar to:
/dev/hidraw6 /dev/hidraw5 /dev/vboxnetctl /dev/vboxdrvu /dev/vboxdrv /dev/dmmidi2 /dev/midi2 /dev/kvm
We can use the same option to help us look for configuration files. Say, for instance, you want to locate all regular files that end in the .conf extension. This command would look something like:
The above command would traverse the entire directory structure to locate all regular files ending in .conf. If you know most of your configuration files are housed in /etc, you could specify that like so:
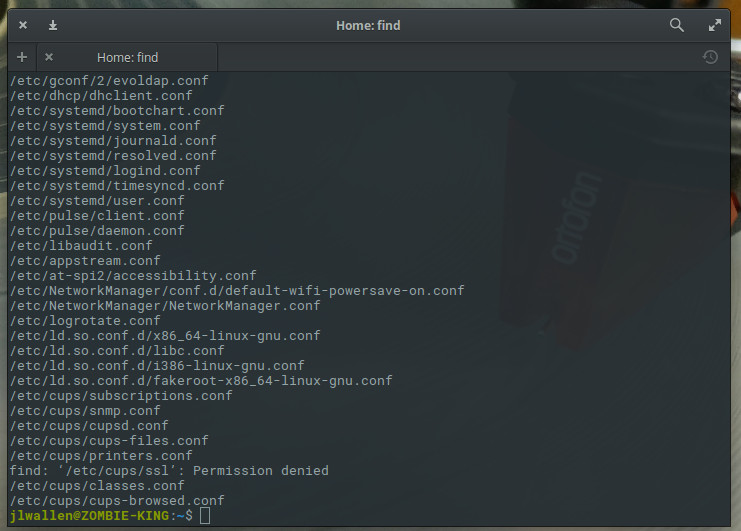
find /etc -type f -name “*.conf”
The above command would list all of your .conf files from /etc (Figure 1).
Outputting results to a file
One really handy trick is to output the results of the search into a file. When you know the output might be extensive, or if you want to comb through the results later, this can be incredibly helpful. For this, we’ll use the same example as above and pipe the results into a file called conf_search. This new command would look like:
find /etc -type f -name “*.conf” > conf_search
You will now have a file (conf_search) that contains all of the results from the find command issued.
Finding files by size
Now we get to a moment where the find command becomes incredibly helpful. I’ve had instances where desktops or servers have found their drives mysteriously filled. To quickly make space (or help locate the problem), you can use the find command to locate files of a certain size. Say, for instance, you want to go large and locate files that are over 1000MB. The find command can be issued, with the help of the -size option, like so:
You might be surprised at how many files turn up. With the output from the command, you can comb through the directory structure and free up space or troubleshoot to find out what is mysteriously filling up your drive.
You can search with the following size descriptions:
- c – bytes
- k – Kilobytes
- M – Megabytes
- G – Gigabytes
- b – 512-byte blocks
Keep learning
We’ve only scratched the surface of the find command, but you now have a fundamental understanding of how to locate files on your Linux systems. Make sure to issue the command man find to get a deeper, more complete, knowledge of how to make this powerful tool work for you.