- dpapathanasiou / RaspberryPi_A_Plus_Wifi.md
- Как настроить USB-адаптер Wi-Fi с Raspberry Pi
- Подключить оборудование
- Откройте Терминал
- Отредактируйте файл сетевых интерфейсов
- Отредактируйте файл соискателя WPA
- Необязательный шаг: выключите управление питанием
- Перезагрузите Raspberry Pi
- Решение Проблем
- Свежие записи
- Best USB Wifi for Raspberry Pi – Which is Best for You?
- What is a Raspberry Pi?
- Why Do I need Raspberry Pi Wifi Dongle?
- Best USB Adapter For My Raspberry Pi
- TP-link TL-wn722n
- Edimax Ew 7811un
- Wi-Pi Raspberry Pi 802.11n Wireless Adapter
dpapathanasiou / RaspberryPi_A_Plus_Wifi.md
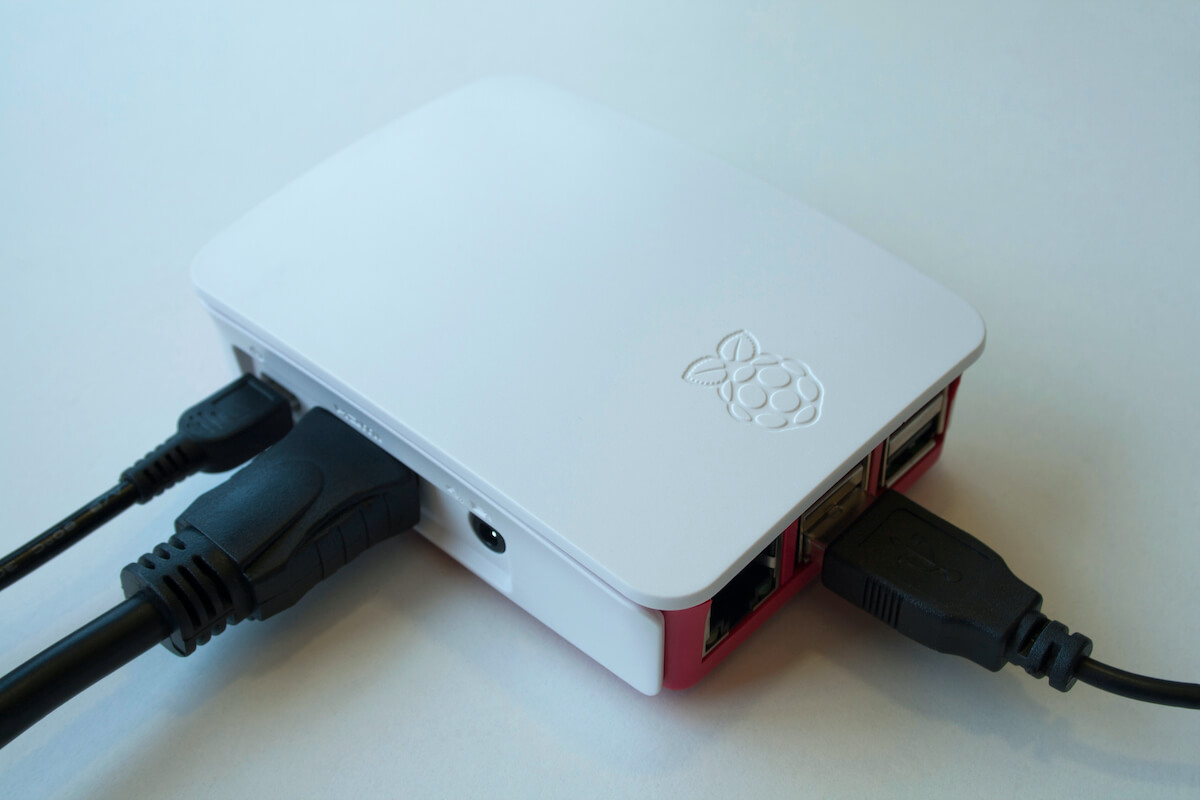
The Raspberry Pi Model A+ has just a single usb port, so getting the wifi configured has to done by editing /etc/network/interfaces from a command line prompt.
These instructions assume the Raspbian OS on the SD card, and a usb wifi adapter that supports the RTL8192cu chipset, since the current Raspbian has built-in support for it.
- Put a keyboard in the usb slot
- Connect the HDMI slot to a monitor
- Power up
- Login as user pi
- Do any desired initial setup at the raspi-config screen, which appears automatically
- Don’t reboot just yet
cd /etc/network sudo cp -ip interfaces interfaces.org - Use the wpa_passphrase command to generate the wpa-psk value for the interfaces file (unless you already know it, of course)
Since the wpa-psk value is a long, random string, and there’s no easy way to copy-and-paste in the raw terminal, use these commands to capture the passphrase output and append it to the interface file:
sudo chown pi:pi interfaces wpa_passphrase ssidName passphraseString >> interfaces The wpa_passphrase output looks like this:
which is a little different than what should be inside the interfaces file:
wpa-ssid "ssidName" wpa-psk "a0b1c2 . a0b1c2"
so use vi or nano to make those edits and save the file (note that in the Pi default keyboard layout, the double-quotes character is at [SHIFT] 2, where the at-sign normally is).
Here’s a diff of what the edited file should look like:
diff interfaces interfaces.org < iface wlan0 inet dhcp < wpa-ssid "ssidName" < wpa-psk "a0b1c2 . a0b1c2" --- >iface wlan0 inet manual Finally, reset the file permissions, and issue the shutdown command, and unplug the Pi from the power source.
sudo chown root:root interfaces sudo shutdown -h now
This time, without the keyboard and monitor connections, power up the Pi like this:
- Unplug the keyboard from the usb slot
- Plug the wifi adaptor into the usb slot
- Plug in the power source
The Pi should be accessible on the local network, at the ssid specified.
Как настроить USB-адаптер Wi-Fi с Raspberry Pi
Для каждой версии Raspberry Pi до последней версии Pi 3 подключение к Интернету осуществлялось одним из двух способов. Вы можете подключиться через порт Ethernet или USB-адаптер Wi-Fi.
Вот как настроить USB-адаптер Wi-Fi с вашим Pi на примере Edimax EW-7811Un.
Подключить оборудование
Чтобы подключить аппаратные компоненты Raspberry Pi, выключите Raspberry Pi и вставьте адаптер Wi-Fi в любой из доступных USB-портов Pi. Неважно, какой порт вы используете. Затем подключите клавиатуру и экран, если вы еще этого не сделали. Когда это будет сделано, включите Raspberry Pi и дайте ему минуту на загрузку.
Откройте Терминал
Если ваш Pi по умолчанию загружается на терминал, пропустите этот шаг.
:max_bytes(150000):strip_icc()/rpi-open-terminal-1aa50c19e036427b859427319a61d90b.jpg)
Если ваш Pi загружается на рабочий стол Raspberry Pi OS (LXDE), выберите терминал значок на панели задач. Похоже на монитор с черным экраном.
Отредактируйте файл сетевых интерфейсов
Первое, что нужно сделать, это добавить несколько строк в файл сетевых интерфейсов. Это настраивает USB-адаптер, который будет использоваться, и позже вы скажете ему, к чему подключаться.
:max_bytes(150000):strip_icc()/rpi-network-interfaces-b733d2cdc827436995e7175993334bc4.jpg)
- В терминале введите следующую команду и нажмите вводить: sudo nano / etc / network / interfaces
- В файле будет несколько строк текста, которые могут отличаться в зависимости от версии ОС Raspberry Pi. В любом случае убедитесь, что у вас есть следующие четыре строки — некоторые могут быть там: auto wlan0
allow-hotplug wlan0
Руководство пользователя iface wlan0
wpa-roam /etc/wpa_supplicant/wpa_supplicant.conf - Press Ctrl+X для выхода и сохранения файла. Вас спросят, хотите ли вы сохранить измененный буфер. Другими словами, вам будет предложено сохранить файл. Нажмите Y и затем нажмите вводить чтобы сохранить файл под тем же именем.
Отредактируйте файл соискателя WPA
В файле соискателя вы указываете Pi, к какой сети подключаться, и пароль для этой сети.
- Перед тем, как редактировать конфигурацию wpa_supplicant, зашифруйте свой сетевой пароль и отправьте его в файл. Вы можете сделать это с помощью команды wpa_passphrase.

- Дайте команде имя вашей сети (SSID) и свой пароль. Затем направьте вывод в файл wpa_supplicant. Это выглядит примерно так: sudo sh -c «wpa_passphrase yourssid yourpassword >> /etc/wpa_supplicant/wpa_supplicant.conf»
- В терминале введите следующую команду и нажмите вводить: sudo nano /etc/wpa_supplcant/wpa_supplicant.conf
- Если Pi подключен к сети Wi-Fi, вы можете увидеть два сетевых блока. Если нет, у вас будет только тот, который вы создали с помощью wpa_passphrase. Тот, который вы создали, имеет PSK равен длинной строке символов, а простой текстовый пароль закомментирован. Удалите строку пароля в виде обычного текста. Удалите все предыдущие сетевые блоки, чтобы убедиться, что Pi подключается к правильному.
- Внутри сетевого блока с зашифрованным psk добавьте следующие строки под psk, чтобы сообщить Pi, как подключиться к беспроводной сети. proto = RSN
key_mgmt = WPA-PSK
попарно = CCMP
группа = CCMP - После этого сохраните файл и выйдите из него. Нажмите Ctrl+X, Y, Затем нажмите вводить.
:max_bytes(150000):strip_icc()/rpi-generate-encrypted-password-dd9a98db36904fd8a731505d0e62ee8d.jpg)
:max_bytes(150000):strip_icc()/rpi-wpa-supplicant-post-encryption-86e2cf890f0a41578b02586f930aa108.jpg)
:max_bytes(150000):strip_icc()/rpi-wpa-supplicant-modified-081945aab1dc4539b0751cf0ade6829a.jpg)
Необязательный шаг: выключите управление питанием
Если у вас возникают проблемы с отключением подключения или перерывом в работе адаптера Wi-Fi, причиной проблемы может быть параметр управления питанием драйвера.
Чтобы отключить управление питанием, создайте новый файл со строкой текста внутри. Введите следующую команду, чтобы создать этот новый файл:
судо нано /etc/modprobe.d/8192cu.conf
Затем введите следующую строку текста:
параметры 8192cu rtw_power_mgnt = 0 rtw_enusbss = 0 rtw_ips_mode = 1
Press Ctrl+X для выхода из файла, затем сохраните файл под тем же именем.
Перезагрузите Raspberry Pi
Это все, что вам нужно сделать, чтобы настроить адаптер Wi-Fi. Затем перезагрузите Pi, чтобы все изменения вступили в силу.
Введите следующую команду в терминале для перезагрузки, затем нажмите вводить:
Pi должен перезагрузиться и подключиться к сети в течение минуты или около того.
Решение Проблем
Если ваш Pi не подключается, вам следует проверить несколько вещей:
- Электропитание: Попробуйте другой, более мощный блок питания. Wi-Fi может потреблять электроэнергию.
- адаптер: Правильно ли установлено? USB-порты Pi могут быть закрыты при первом использовании.
- адаптер: Совместимо ли?
- сеть: Ваша сеть включена? Подключены ли другие устройства?
- сеть: Дважды проверьте данные, которые вы ввели в файл соискателя.
- Перезагружать: Попробуйте еще раз, на всякий случай.
Свежие записи
Best USB Wifi for Raspberry Pi – Which is Best for You?
Learning programming languages has become popular. Thus, many people have started using Raspberry Pi to make this journey a lot smoother.
If you recently bought a Raspberry Pi and wonder what USB adapter would be ideal for it, fret no more! This article will talk about everything you need to know before buying a USB wifi adapter. In addition, we will also list some of the best USB wifi adapters for your Raspberry pi. This way, you will know which is the best wifi adapter for your Raspberry Pi.
What is a Raspberry Pi?
Before we get into Raspberry Pi wifi, you need to know what Raspberry Pi is. It is essentially a low-cost, small credit-card-size computer that you plug into your computer or TV. It was designed in the UK to help kids and adults learn programing through practical tasks and projects.
Raspberry Pi is popular among people who want to learn more about computing. Moreover, people who want to learn programming languages such as Python and Scratch.
Why Do I need Raspberry Pi Wifi Dongle?
Having wired connections can get frustrating in times when everything is switching to wireless. Similarly, a wireless adapter helps in reducing wires and makes your Raspberry Pi model less complicated.
Not only this, but the Raspberry Pi Wifi dongle improves your computer’s performance and reliability. Wifi adapters are considered to have a much higher speed than Ethernet.
Best USB Adapter For My Raspberry Pi
Are you searching for a USB adapter for your Raspberry Pi but are unsure which one to get? Luckily, we have listed some of our favorite ones below:
TP-link TL-wn722n
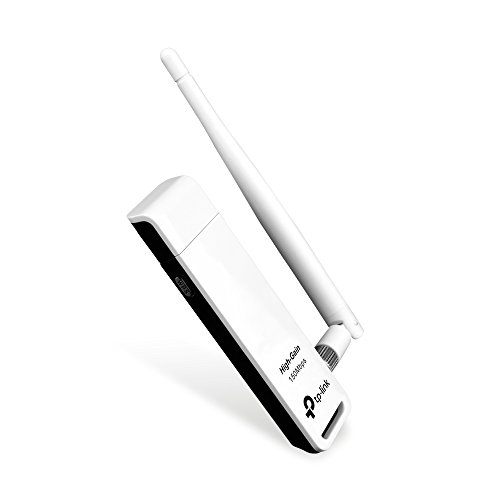
Whether you have Raspberry Pi 2 or Pi 3, this tp-link is ideal for you! This USB adapter will upgrade your wi-fi speed up to 150 Mbps. This means you can easily stream videos and do internet calls without any lag. In addition, TP-link Tl wn722n, with its 2.4 GHz bands, can quickly provide wi-fi coverage for your entire house.
Rather than having a big complicated design, this wifi adapter comes with a very minimalistic design. As a result, its setup is straightforward to follow and lets you forget about it as soon as you plug it in. The best part is that it comes with a 4dBi detachable antenna that you can remove or add according to your needs. Not only this, but it has wireless security, which supports various WPAs and IEEE.
Whether you have Raspbian, Windows, Mac Os, or Linus Kernel, the TP wifi dongle is compatible with all. Unfortunately, it doesn’t come with a plug-and-play system as you need to install its driver, which you can easily download by going to the website’s link for its latest driver.
- Upgrades speed by up to 150 Mbps
- 2.4 GHz band
- 4dBi Detachable Antenna
- Compatible with Linux Kernel (2.6.18 – 4.4.3), Windows (XP,7,8,8. 1,10), and Mac OS (10.9 – 10.15)
- Security supports 64 or 128 WEP, WPA PSK, WPA or WPA2, or WPA2 PSK
- We need to install a driver
- Some issues with Kali Linux
- It won’t work with 5G
Edimax Ew 7811un
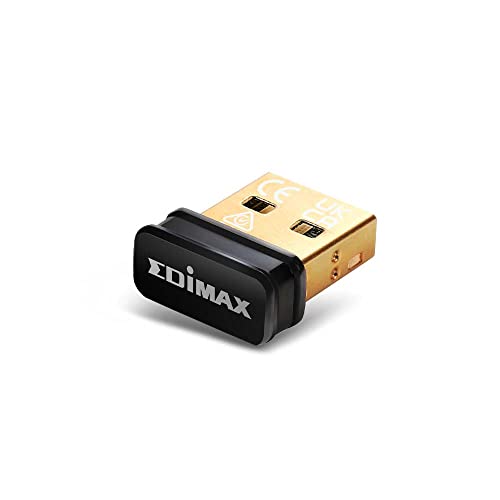
If you are looking for a cheap wifi adapter without compromising on quality and USB power, this USB adapter might be ideal for you. Edimax wifi dongle works smoothly with any Raspbian device. These wifi dongles work only in the range of 2.4 GHz. However, it is perfect for beginners or people who want to use it for programming purposes only as it upgrades your wi-fi speed up to 150 Mbps.
Its nano size is a huge reason for many positive reviews under Ew 7811un as it makes it easy to blend in your device, making it look sleek and classy.
This wifi adapter has a chipset of Realtek RTL8188CUS that is also very compatible with several operating systems. So you can have either Windows, Mac, or Linux; it will support it all. In addition, this USB supports a mechanism of power-saving to extend and improve your device’s battery life.
- Affordable price
- Upgrades 150 Mbps
- Nanosize
- Supports Linux 2.6.18~4.14, MAC OS 10.9~10.15, and Windows 7/8/8.1/10
- Improves device’s battery life
Wi-Pi Raspberry Pi 802.11n Wireless Adapter
If you want a Raspberry Pi wifi dongle officially from the company that makes it, you should consider buying a Wi-Pi Raspberry Pi 802.11n wireless adapter. Just like 802.11b g, this comes from Element 14 who is the maker of Raspberry Pi. Thus, it is no surprise that it works smoothly and is considered one of the most popular USB Raspberry Pi wifi adapters.
It works with wireless n or g of 2.4 GHz and increases your network speed by up to 150 Mbps. To make it accessible to all, this wifi USB adapter is compatible with all operating systems. Moreover, its wireless security supports WEP 64 and 128-bit WPA2 and WPA-PSK (AES, TKIP).
The best part of it all, it has been tested with various Raspberry Pi, so you can buy this wireless adapter without worrying about its compatibility.
- Official raspberry pi wifi dongle
- Built-in driver
- Works with any wireless n or g up to a range of 2.4 GHz