- Headless Browser Testing With Xvfb
- What’s Wrong With PhantomJS?
- Run Real Browsers Headless
- Installing Xvbf
- Installing the Browsers
- Xvfb Usage
- Implications
- About
- Вывод графики через виртуальный дисплей Xvfb
- How to install Xvfb on Ubuntu
- Installation of Xvfb on Ubuntu
- Installation of Firefox
- Conclusion
- About the author
- Alishba Iftikhar
- Linux & Xvfb. Запуск GUI приложений в виртальных иксах, или если нельзя, но очень хочется
- 1. Устанавливаем пакет
- 2. Теперь запустим
- 3. А сейчас пощупаем
Headless Browser Testing With Xvfb
These days, when the phrase «headless browser» is mentioned, you immediately think of PhantomJS, but — there are alternatives. In this article, I am going to introduce a nice alternative you can use on Linux which allows you to run real browsers — Firefox and Chrome, headless — using Xvfb.
What’s Wrong With PhantomJS?
PhantomJS is great tool and is widely used by companies and developers around the world. It has particularly been widely adopted for running JavaScript test suites. However, using PhantomJS isn’t without drawbacks. Although it is built on top on WebKit — the same rendering engine both Safari and Chrome use, it still behaves in subtly different ways from those browsers, which can cause false positives (tests failing when there is not a real defect) and in some cases performance degradation of your test suite. Since PhantomJS isn’t a real browser in the sense that no end-user actually use it, fixing these issues specifically for PhantomJS becomes an upkeep cost of the test suite, rather than something that directly improves the product. Getting developers to write tests consistently is hard enough, but if maintaining the tests becomes annoying — which false positives definitely are — it can become demoralizing.
Run Real Browsers Headless
Because of the above reasons, at one point in my career I decided to use real browsers only to run JavaScript test suites. This has meant opening up a separate browser window to run the tests during development which I would simply hide in the background. I am okay with this. However, in many cases the continuous integration servers we use are Linux servers, and do not have displays. This is where Xvfb comes in.
Xvfb is a virtual display framebuffer for X — the display system used by Linux. It provides a fake display buffer for graphical programs to write to, thus allowing any program to run headlessly.
Installing Xvbf
If you are running Debian or Ubuntu and are using apt-get, installing is simply as:
If you are on CentOS and using yum, it’s
yum install xorg-X11-server-Xvfb Installing the Browsers
On Ubuntu, I found installing Chrome and Firefox painless.
- For Chrome simply go to the Chrome download page, download the .deb file, then do dpkg -i to install.
- For Firefox, it’s just apt-get install firefox .
On CentOS, I have had more trouble.
- For starters, Chrome is not supported on CentOS and I haven’t even found a simply way to build Chrominum and I gave up.
- Installing firefox also had a little hiccup: I ran yum install firefox , but then running firefox resulted in an error, which I solved by also installing gdk-pixbuf2 via yum install gdk-pixbuf2 .
If you are on other Linux distros I haven’t mentoned, checkout the Chrome download page and the Firefox on Linux page.
Xvfb Usage
That’s all you need to know! For example, you can run Firefox within Xvfb:
xvfb-run firefox http://google.com This should just start a firefox process in the background. You may see a cryptic warning in the terminal, but otherwise it’s not very exciting because you don’t actually see anything.
If you use Testem to run tests, you can do:
to run your tests in Firefox or
to run them in Chrome — headless!
Of course, this is not limited to Testem, you can use xvfb-run with Karma, Grunt, Gulp or any other test runner that spawns a real browser and it will just work.
Implications
If you use Linux for development, this is an attractive solution. It allows you to run your tests without having an unwanted window and it’s easy to setup and use. However, even if you don’t use Linux for development, you may still use Linux for continuous integration, in which case, maybe you are currently using PhantomJS to run tests. If that’s working well for you, great. But if PhantomJS is starting to create unwanted overhead for you, consider switching to this setup.
About
Hi! My name is Toby Ho. I am into Javascript, UI design, programming and just making things in general. More about me.
Вывод графики через виртуальный дисплей Xvfb
Xvfb (X virtual framebuffer) – виртуальный дисплейный сервер, позволяет выполнять графические операции в памяти без какого-либо вывода на физический дисплей. Преимущества виртуального дисплея в том, что он не требует установки графического окружения, унифицирует системы, не требует авторизации пользователя в ОС и доступа к его X-сессии.
- Сохраните содержимое листинга ниже в файл Foresight -xvfb перед настройкой запуска Xvfb в качестве сервиса на дисплее под номером 987 (важно, чтобы значение dpi было установлено 96):
# Required-Start: $local_fs $remote_fs $network $syslog $named
# Required-Stop: $local_fs $remote_fs $network $syslog $named
# Short-Description: Start/stop xvfb server for Foresight Analytics Platform
XVFBARGS=»:987 -screen 0 1152x864x24 -ac -dpi 96 +extension GLX +render -noreset»
echo -n «Starting virtual X frame buffer: Xvfb»
start-stop-daemon —start —quiet —pidfile $PIDFILE —make-pidfile —background —exec $XVFB — $XVFBARGS
echo -n «Stopping virtual X frame buffer: Xvfb»
start-stop-daemon —stop —quiet —pidfile $PIDFILE
echo «Usage: /etc/init.d/ Foresight -xvfb
sudo chmod +x /etc/init.d/ Foresight -xvfb
sudo update-rc.d Foresight -xvfb defaults
sudo service Foresight -xvfb start
Для применения настроек потребуется перезапуск BI-сервера.
sudo yum install xorg-x11-server-Xvfb
- Добавить init-скрипт по пути /etc/init.d/ Foresight -xvfb с содержимым (важно, чтобы значение dpi было установлено 96):
# /etc/rc.d/init.d/ Foresight -xvfb
# description: Start/stop xvfb server for Foresight Analytics Platform
# pidfile: /var/run/ Foresight -xvfb.pid
LOCKFILE=/var/lock/subsys/ Foresight -xvfb
PIDFILE=/var/run/ Foresight -xvfb.pid
XVFBARGS=»:987 -screen 0 1152x864x24 -ac -dpi 96 +extension GLX +render -noreset»
echo -n «Starting virtual X frame buffer: Xvfb»
PID=`pidofproc -p $PIDFILE foresight-xvfb`
if [[ (-z $PID) || ($PID -eq 0) ]]; then
$XVFB $XVFBARGS & echo $! > $PIDFILE
[ $RETVAL -eq 0 ] && touch $LOCKFILE
echo -n «Stopping virtual X frame buffer: Xvfb»
[ $RETVAL -eq 0 ] && rm -f $LOCKFILE
Приоритет загрузки Foresight -xvfb должен быть выше приоритета httpd (число меньше). Для этого нужно сравнить второе число в комментариях скрипта # chkconfig: 345 85 28 и скрипта httpd.
sudo chmod +x /etc/init.d/ Foresight -xvfb
- Экспортируйте переменную DISPLAY в «/etc/sysconfig/httpd» с номером дисплея, который указан в скрипте в переменной XVFBARGS:
sudo chkconfig —add Foresight -xvfb
sudo chkconfig Foresight -xvfb on
sudo service Foresight -xvfb start
Для применения настроек потребуется перезапуск BI-сервера.
Если в ОС используется система инициализации, отличная от SysV, то Xvfb как сервис также можно настроить следующим образом:
# xvfb — X Virtual Frame Buffer
description «X Virtual Frame Buffer»
start on runlevel [2345]
script
Xvfb :987 -screen 0 1152x864x24 -ac -dpi 96 +extension GLX +render -noreset
end script
[Unit]
Description=X Virtual Frame Buffer
Before=httpd.target
[Service]
ExecStart=/usr/bin/Xvfb :987 -screen 0 1152x864x24 -ac -dpi 96 +extension GLX +render -noreset
Type=simple
PIDFile=/var/run/foresight-xvfb.pid
[Install]
WantedBy=multi-user.target
sudo systemctl daemon-reload
sudo systemctl enable foresight-xvfb
sudo systemctl start foresight-xvfb
How to install Xvfb on Ubuntu
![]()
X virtual framebuffer abbreviated as Xvfb is designed for Unix/ Linux Operating System. It allows you to execute graphical apps without having to use a monitor by connecting some input device. Virtual memory is used to perform graphical operations and it allows the program to run headlessly.
It is especially designed for Linux systems and in this article, we will discuss its installation and working on Ubuntu (Linux OS). If you wanted to run your browsers headlessly then follow the procedure below:
Installation of Xvfb on Ubuntu
To get Xvfb on Ubuntu follow given below steps:
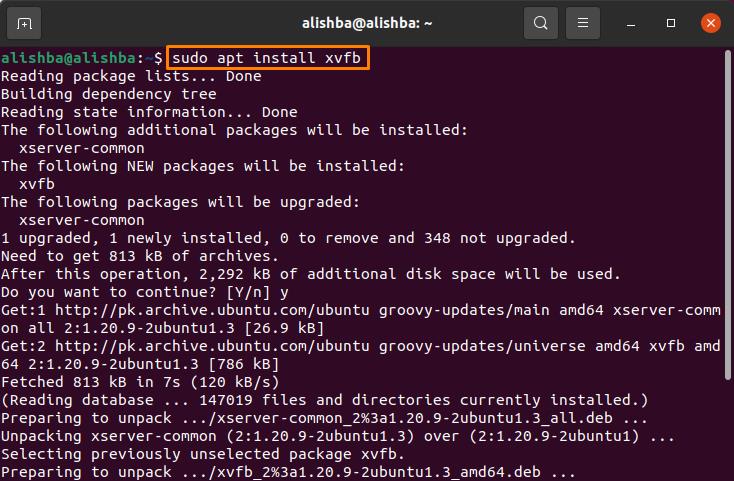
Step 1: Installation of Xvfb :First you need to install Xvfb by below mentioned command:
Step 2: Installation of Browsers : Now you need to download some browses, you can download any browser, here I will download chrome and Firefox browser on Ubuntu System:
Installation of Firefox
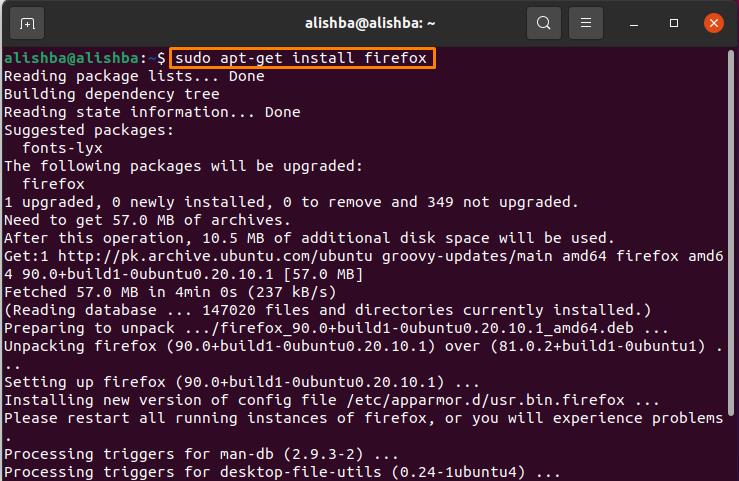
Now we need to install Firefox, in most of the system it is installed by default but needs to be upgraded, so the Firefox browser on my system is also installed by default it will just get upgraded. Now run the below mentioned in Ubuntu terminal command to install:
Step 4: Testing of Xvfb: To test whether xvfb is installed/working properly, run the below mentioned command to check the status of xvfb process:
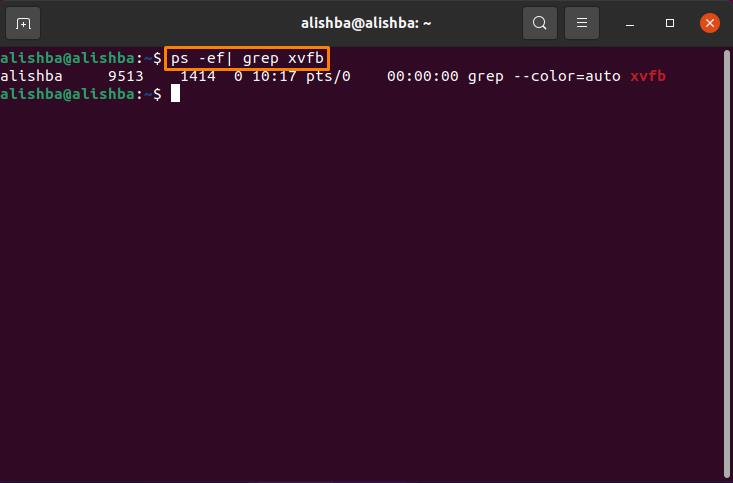
So, the result shows that it is properly installed on the system, now you can use it without any problem.
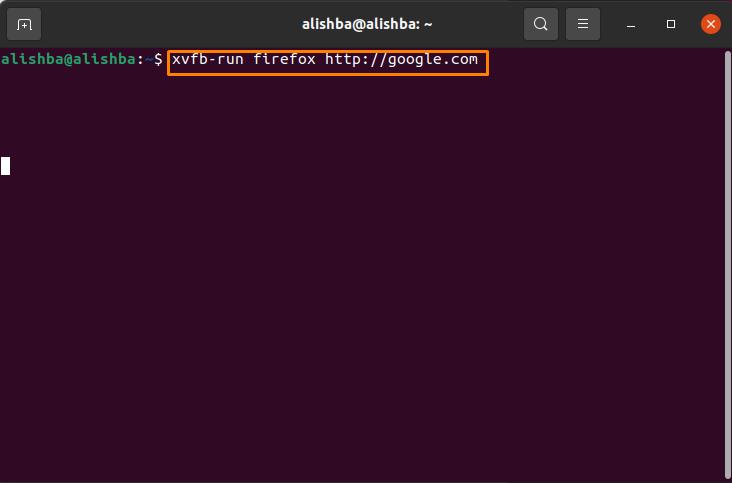
Step 3: Working of Xvfb: Xvfb allows you to run browsers/tests in the background without showing their processing. Use the below mentioned syntax for running/testing programs headlessly:
For instance, below I am running Firefox using xvfb by the below mentioned command, it will open in the background and nothing will appear on screen.
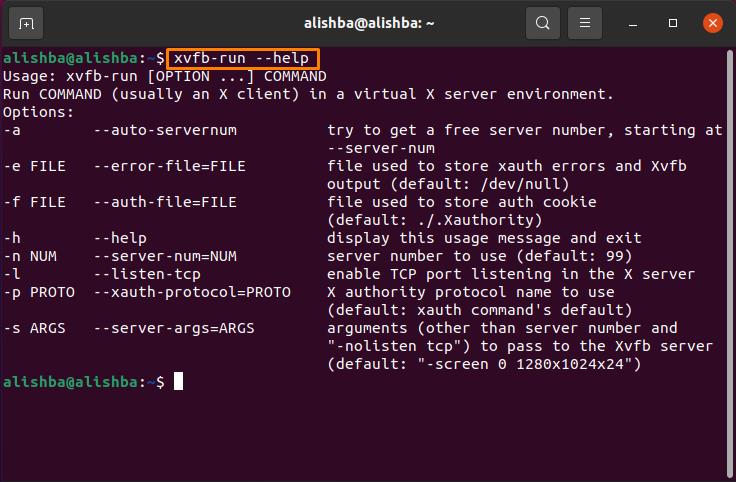
To get more information about this command, you can use help command with this command, run the below mentioned command to know more about its usage:
Conclusion
Xvfb, referred to as X virtual framebuffer, allows you to run programs in background headlessly without showing actual processing. It is useful to run tests without opening an unrequited window. In this writeup I provide the procedure for installation and testing of xvfb on Ubuntu (Linux OS) and after installation I also elaborate on its working system.
About the author
Alishba Iftikhar
I am currently an undergraduate student in my 1st year. I am an internee author with Linuxhint and loved learning the art of technical content writing from senior authors. I am looking forward to opting my career as a full time Linux writer after I graduate.
Linux & Xvfb. Запуск GUI приложений в виртальных иксах, или если нельзя, но очень хочется
Странные же порой попадаются задачи. В мои рабочие обязанности входит администрирование клиентских компьютеров для системы регрессионного тестирования. Если в двух словах, то принцип ее сводиться к многократному запуску на линуксовых клиентах программ с разными входными параметрами и отслеживание изменений в выходных лог файлах.
Все было прекрастно, пока не появилась необходимость запускать GUI приложения. Так как ставить среду рабочего стола — это не спортивный метод, плюс к тому же на некоторых машинах не было даже видеокарт- нужно было искать обходной путь, такой как Xvfb.
В X Window System, Xvfb — это X11 сервер, который выполняет все графические операции в памяти без вывода на экран. С точки зрения клиента он действует так же, как любой другой сервер, обслуживающий запросы и отправки события и ошибки по мере необходимости.
Что ж, приступим:
1. Устанавливаем пакет
Установка Xvfb проблем вызвать не должно. Дальше будет интересней.
2. Теперь запустим
node1:~#Xvfb :1 -screen 0 640x480x24 -fbdir /var/tmp&
Данная команда запустит виртуальный X сервер с виртуальным дисплеем :0. Выбираем необходимое разрешение экрана и глубину цвета, если же нет особой необходмости удалённо смотреть происходящие действия, то эти значение можно уменьшить для экономии ресурсов. В качестве дополнительного параметра можно указать каталог, в котором будет находиться содержание кадрового буфера памяти.
После запуска может вывалиться следующая ошибка:
Fatal server error:
Couldn’t add screen 0
Мне помогло корректирование глубины цвета. Глубину в 32 пикселя выставить не получилось, хотя это и не было нужно.
Ну вобщем с настройкой пока все. Перед запуском приложения укажем Х дисплей.
3. А сейчас пощупаем
Запуск программ происходит следующим образом:
Далее программа отрабатывает свои действия и складывает результат в лог файл. Просто и удобно.
Если прикрутить VNC, то можно даже подсмотреть что же там творится.
node1:~#x11vnc -display :1 -bg -nopw -listen %ip_of_node% -xkb
Подключиться VNC клиентом можно будет на %ip_of_node% используя порт 5900.
Вот, собственно, и все. have fun!