- How to Install XFCE in Arch Linux (Simple Guide)
- Installing XFCE in Arch Linux
- Installing a Display/Login Manager
- Ending
- Install XFCE 4 Desktop Environment on Arch Linux
- Table of Contents:
- Updating All Packages:
- Creating a New User:
- Configuring sudo for Newly Created User:
- Installing the XFCE 4 Desktop Environment:
- Installing a Display Manager:
- Log in to the XFCE 4 Desktop:
- Conclusion:
- References:
- About the author
- Shahriar Shovon
- RELATED LINUX HINT POSTS
- Install XFCE Desktop on Arch Linux
- Requirement
- Install XFCE on Arch Linux
- Login to Xfce desktop
- Remove Xfce from Arch
- Conclusion
How to Install XFCE in Arch Linux (Simple Guide)
XFCE is a great, lightweight desktop environment for Linux. Many people prefer it over something like Gnome because it uses less resources and is very snappy, even on an older system.
In this tutorial, I will show you how you can easily install XFCE on your system running Arch Linux.
If XFCE is not for you, check out my previous posts where I have covered how to do a minimal install of KDE Plasma (or Gnome) in Arch Linux.
Installing XFCE in Arch Linux
Alright, first things first, make sure that you have Arch Linux (Base) installed on your system. If not, then go check my guide how to do a base installation of Arch Linux and then come back to this tutorial.
Once you have confirmed that, you will need to update your repositories. Also make sure that your Arch Linux Installation is up-to-date. This is a recommended step as it ensures that no installed package versions will be incompatible with the ones that we are going to install.
Use this command to update Arch Linux:
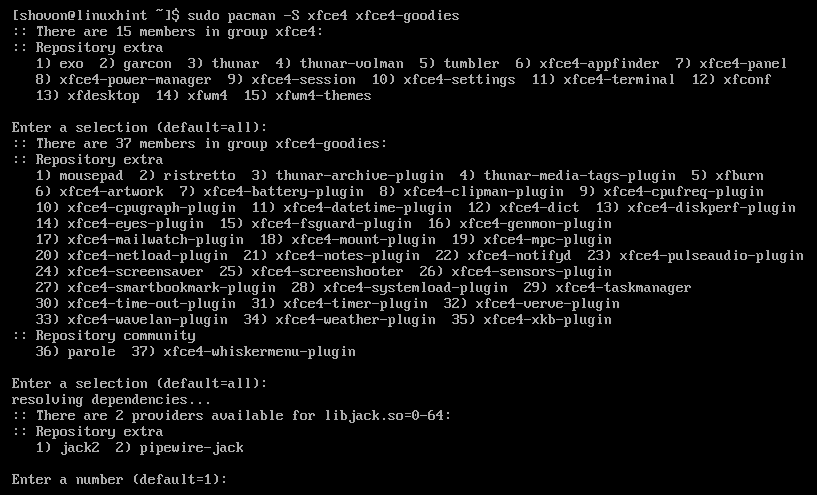
Now to install XFCE, type this command:
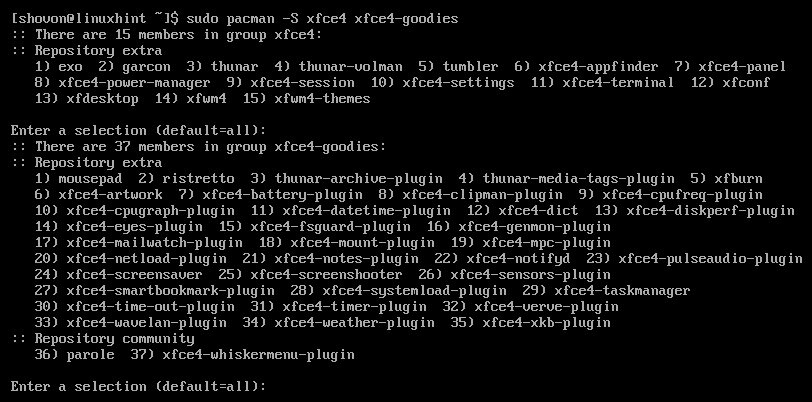
sudo pacman -S xfce4 xfce4-goodiesAccept any installation prompts (pressing enter key works most of the time) and wait for it to finish. Installation can take a few minutes or more, it depends on your internet speed & the hardware you are using.
Once XFCE finishes installing, we will need a login manager (also called a display manager). A login, or display manager provides a GUI login screen, instead of the command-line one.
If you are installing XFCE on an Arch system that already has a Desktop Environment (like Gnome or KDE) installed, you probably already have a greeter. If that is the case, you can start XFCE from the login screen.
Installing a Display/Login Manager
If what I have stated above is not the case, then you will need to install one. The one I would recommend LightDM. LightDM is a lightweight & simple-to-use Display Manager.
To install LightDM, open a terminal and type:
sudo pacman -S lightdm lightdm-gtk-greeterThe command above will install the following things, lightdm, the display manager, & lightdm-gtk-greeter, which is a ‘GUI’ (or you can say skin) for our display/login manager.
Once the installation completes, in the same terminal type:
sudo systemctl enable lightdmThis will allow lightdm to start with the system, now you don’t have to manually login and start the DM every time at boot.
Note: lightdm already defaults to lightdm-gtk-greeter as a greeter, but other greeters for lightdm are also available. If you have installed any other greeter, you will need to set it in the config file for lightdm( /etc/lightdm/lightdm.conf ).
Now go ahead and reboot your system. Once your computer reboots, the LightDM screen will be in front of you.
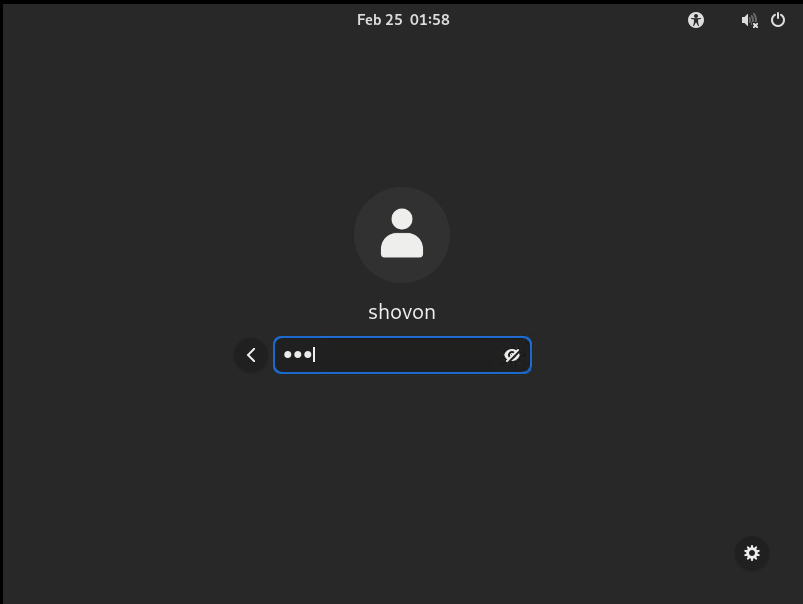
Make sure that the Session is set to XFCE, and you are logging in with right credentials (username/password).
Tip: If XFCE is the only Desktop Environment installed, it will be selected by default.
Ending
There you go, you should now be running XFCE on your Arch Linux machine.
XFCE is one of my favorite desktop environment for Linux. But I can agree on the fact that it is a little plain by default. However, if you have used Distributions like Manjaro, MX, Or Xubuntu, you know how much better XFCE can look. Of course looks are subjective but still, you can make major changes to the way your XFCE install looks & feels.
There are many themes and configs available for XFCE that you can use. You can also make changes to the configuration files as per your liking.
If this post needs some improvements or you have any suggestions/questions/feedback regrading this topic, do leave a comment down below.
Install XFCE 4 Desktop Environment on Arch Linux
![]()
There are many desktop environments on Linux. For example, KDE Plasma 5, GNOME 3, GNOME 4x (i.e. GNOME 40, GNOME 41, GNOME 42), MATE, Cinnamon, LXDE, Budgie, and Cutefish. XFCE desktop environment is one of them. Just like LXDE and MATE, the XFCE desktop environment is one of the lightweight desktop environments out there. It doesn’t consume a lot of memory, doesn’t need much CPU power, or disk I/O to run. It is also more responsive compared to other desktop environments, such as GNOME3, KDE Plasma 5, and Cinnamon. If you want to just get your work done and you don’t care about fancy desktop effects and transparency, you should try out the XFCE desktop environment.
XFCE 4 is the latest version of the XFCE desktop environment at the time of this writing. In this article, I will show you how to install the XFCE 4 desktop environment on Arch Linux. So, let’s get started.
Table of Contents:
Updating All Packages:
Before you install the XFCE 4 desktop environment, it’s a good idea to update all the installed packages of your Arch Linux computer.
To update all the installed packages of Arch Linux, run the following command:

In my case, all the installed packages are up-to-date:

If you have any updates, you can press Y, and then press to confirm the installation of updates.
Creating a New User:
Arch Linux does not create an ordinary user by default when you install Arch Linux on your computer. I highly recommend not running a graphical user interface as the root user.
So, create a new user with the following command:
NOTE: In my case, is shovon. Make sure to replace with your desired username from now on:

To set a password for the newly created user , run the following command:

Type in your desired login password and press .

Type in your desired login password again and press .
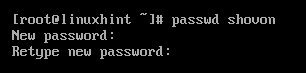
Your desired login password should be set:

Configuring sudo for Newly Created User:
Even when using an ordinary user, you will still need superuser privileges to run administrative commands. So, you should configure your user with sudo. This way, the user can run commands with superuser privileges when needed.
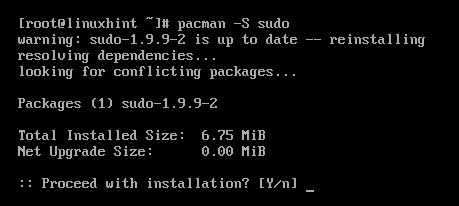
To install sudo, run the following command:

To confirm the installation, press Y and then press .
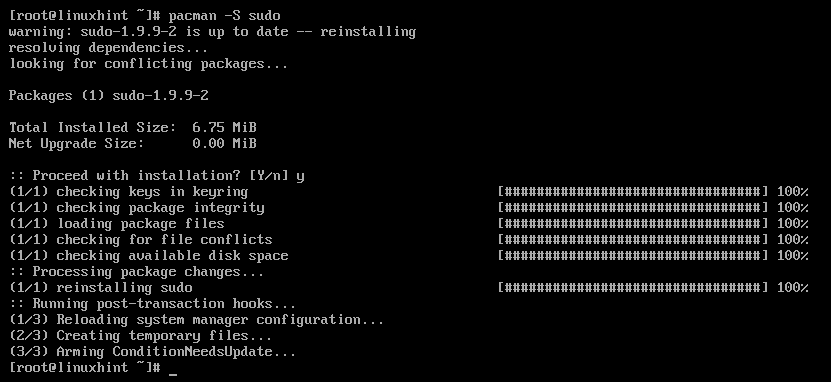
To configure sudo, run the following command to open the sudoers file with the nano text editor:

NOTE: You may not have the nano text editor installed. In that case, you can install nano with the following command:
Remove the # sign from the beginning of the line to uncomment it. Once you’re done, press + X followed by Y and to save the sudoers file.
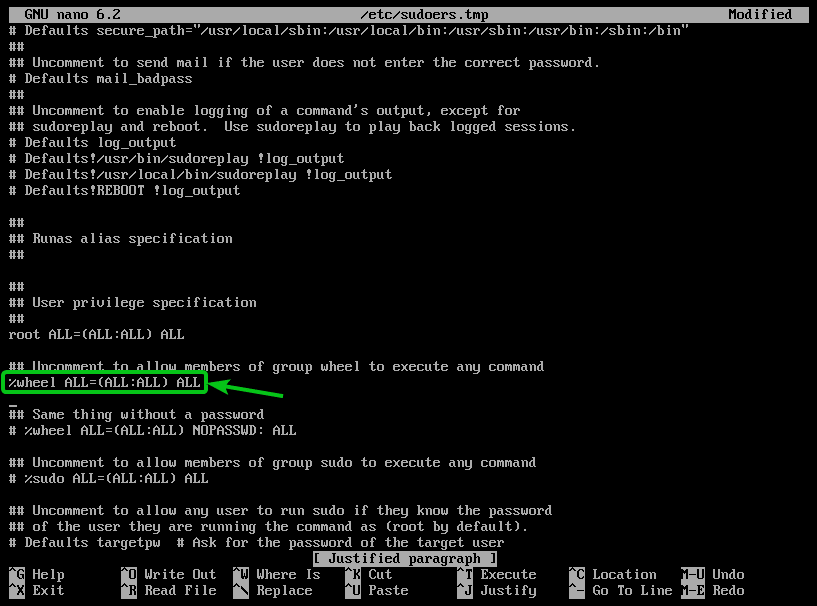
Now, add the newly created user to the wheel group as follows:

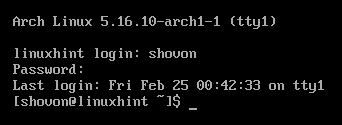
Next, you should be able to log in as your newly created user, as you can see in the screenshots below:

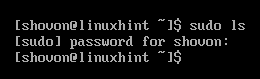
You should be able to run commands with superuser privileges with sudo:
Installing the XFCE 4 Desktop Environment:
To install the XFCE 4 desktop environment, run the following command:


To confirm the installation, press Y and then press .
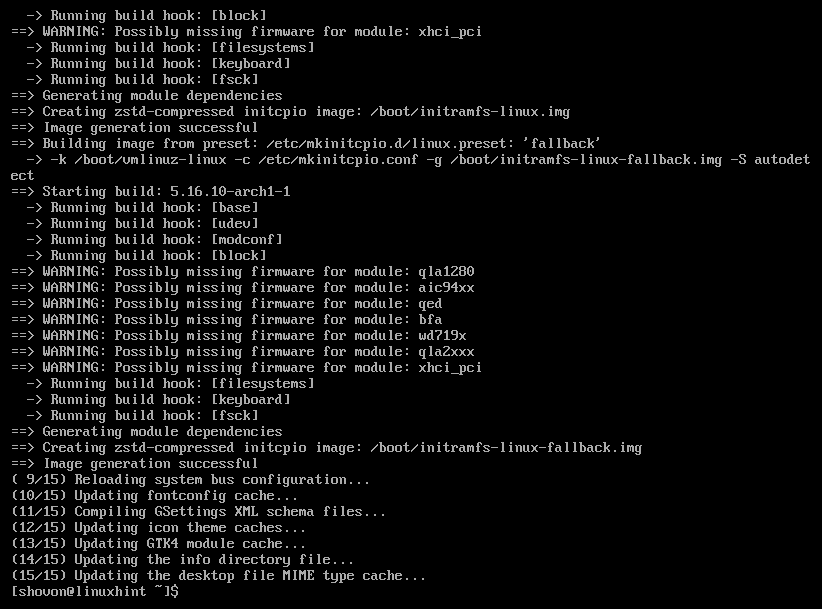
The Pacman package manager will download and install the XFCE 4 desktop environment and the required dependencies. It will take a while to complete.

At this point, the XFCE 4 desktop environment should be installed.

Now, set graphical.target as the default target as follows:

Installing a Display Manager:
Now that you have installed the XFCE 4 desktop environment, you will need a display manager installed. There are many display managers available for Linux. In this article, I will show you how to install the GDM display manager.
To install the gdm display manager, run the following command:

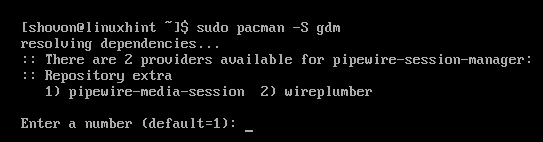
Press Y and then press to confirm the installation.
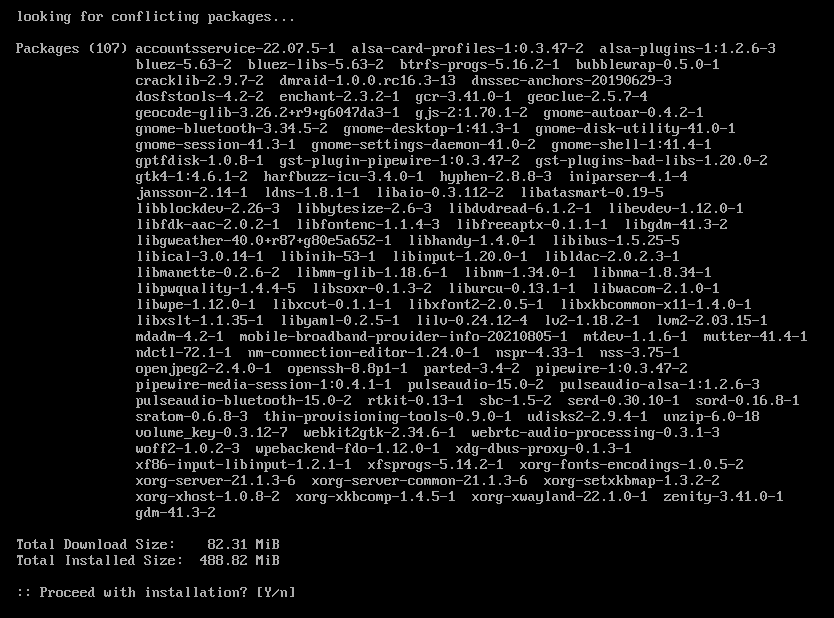
GDM and all the required dependency packages will be downloaded and installed. It will take a while to complete.
At this point GDM should be installed:
Add the gdm service to the system startup so that it automatically starts at boot time as follows:

Reboot your computer with the following command:

Log in to the XFCE 4 Desktop:
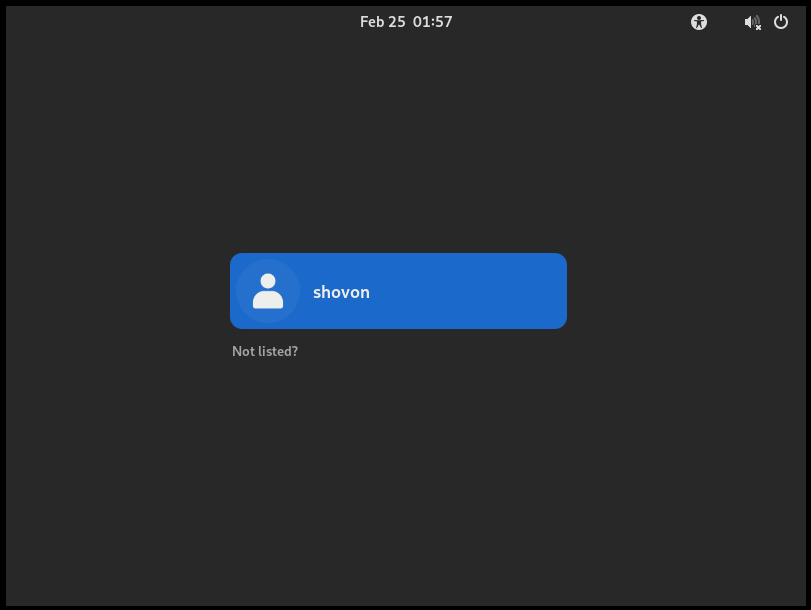
Once your computer boots, you will see the GDM login screen.
Click on the user that you want to log in as:

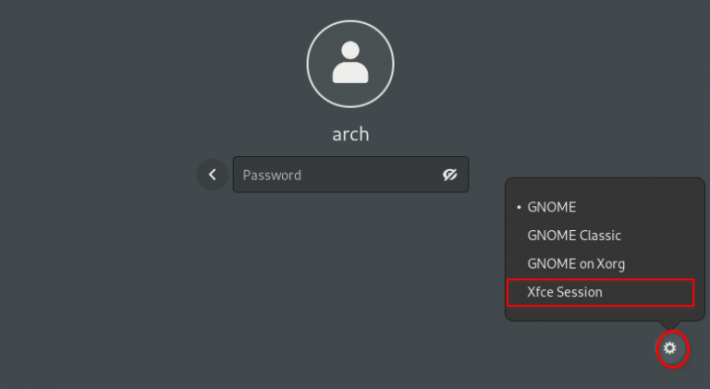
Click on the gear icon () and select Xfce Session as marked in the following screenshot:
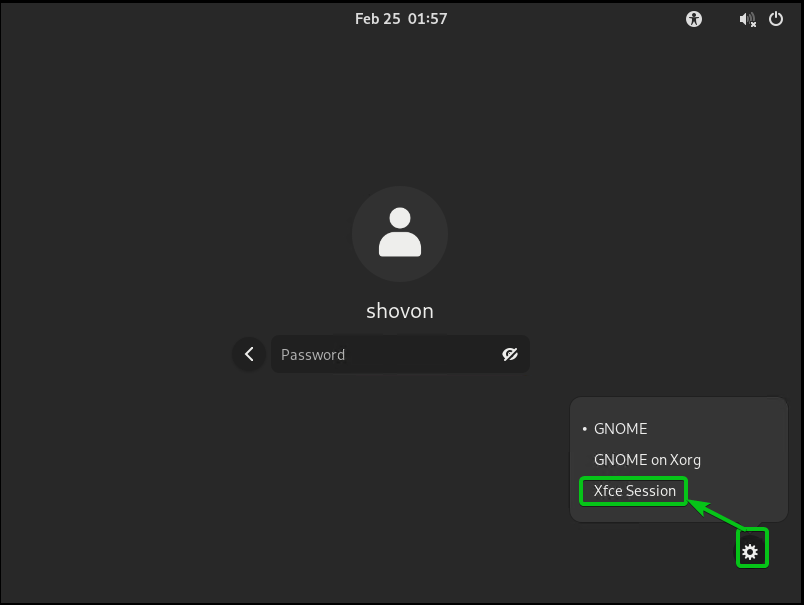
Type in your login password and press .
You should be logged in to the XFCE 4 desktop environment.
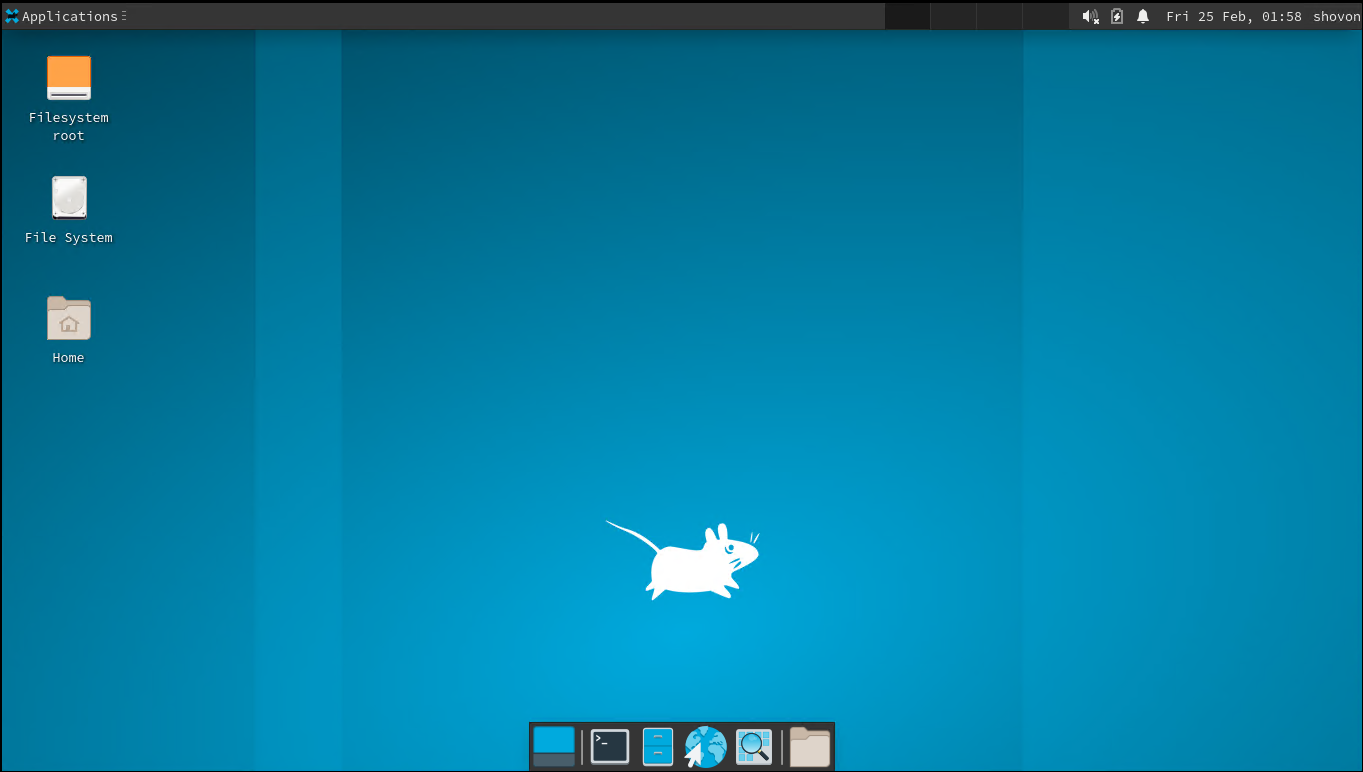
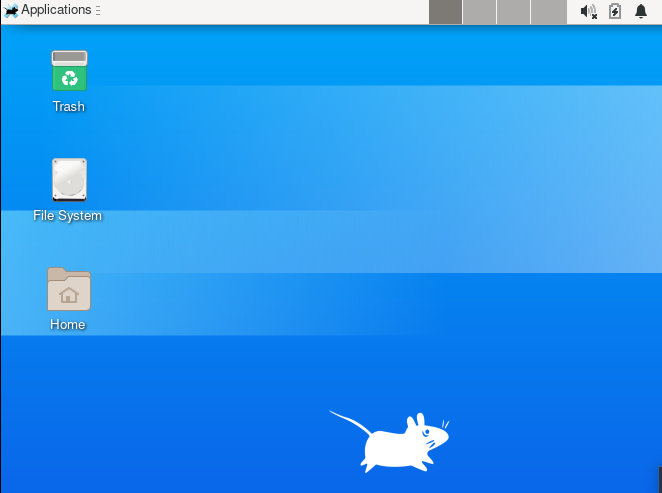
The following image shows the user interface of the XFCE 4 desktop environment:
Conclusion:
This article discussed creating a new ordinary user and configuring it with sudo on Arch Linux. Also, we focused on how to install XFCE 4 desktop environment and the GDM display manager on Arch Linux. We hope you found this article helpful. Check the other Linux Hint articles for more tips and information.
References:
About the author
Shahriar Shovon
Freelancer & Linux System Administrator. Also loves Web API development with Node.js and JavaScript. I was born in Bangladesh. I am currently studying Electronics and Communication Engineering at Khulna University of Engineering & Technology (KUET), one of the demanding public engineering universities of Bangladesh.
RELATED LINUX HINT POSTS
Linux Hint LLC, editor@linuxhint.com
1309 S Mary Ave Suite 210, Sunnyvale, CA 94087
Privacy Policy and Terms of Use
Install XFCE Desktop on Arch Linux

Arch Linux officially supports many desktop environments. Some of the supported desktop environments are Budgie, Xfce, Cinnamon, Deepin, Gnome, KDE Plasma, Mate, Pantheon, etc. Pantheon is the default desktop environment (DE). You can install your favorite DE and switch the default.
Xfce is a lightweight desktop environment that uses less memory, CPU, and disk I/O. Obviously, it’s not fancy but responsive compared to other Graphical user Interface.
The latest version Xfce is based on GTK 3 provides excellent user experience such as xfwm4 window manager, file manager, xfce4-panel, Xfconf so on. This article shows how to install XFCE 4.16 Desktop Environment on Arch Linux.
Requirement
- Arch Linux installed a computer with any of the desktop environment.
- A user with sudo access.
Install XFCE on Arch Linux
The installation of XFCE is pretty simple and straightforward on Arch Linux. I am using Arch Linux installed with GNOME3 Desktop Environment for this demonstration.
1. Update packages on Arch Linux
Open a terminal and run the following command to update the packages.
when it prompt for «Process with installation [Y/b]» press Y and press Enter key.
2. Now install xfce4 using pacman package manager.
Xfce4-goodies group contains additional tools like mousepad editor.
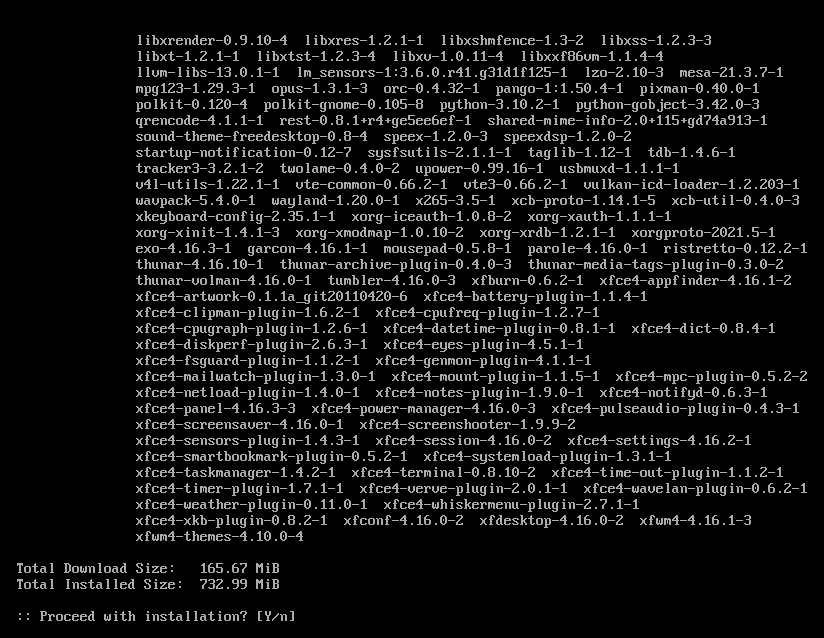
sudo pacman -S xfce4 xfce4-goodiesJust press «Enter» to choose the default option to install all packages unless you need specific packages.
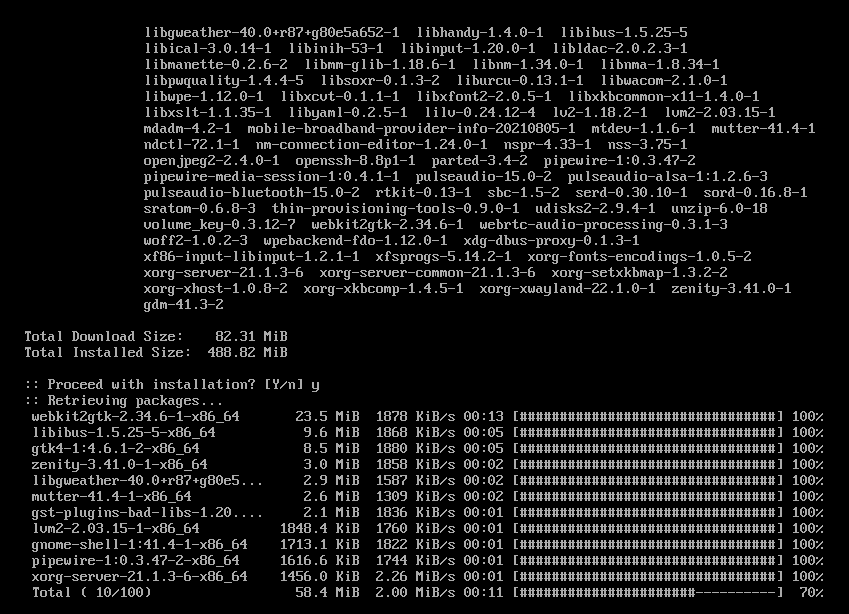
The console will now show all installation package names, total download size, and installation size.
Proceed to press Y and Enter key to start the installation.
3. Restart the system
Once installation successfully completed, restart the computer. You can find Xfce installed in /usr/bin/xfce4-* and /usr/bin/xfdesktop-settings.
To restart Arch Linux, run:
Login to Xfce desktop
At the time of login to the system, just click the setting icon and choose Xfce session as shown in the screenshot below. Input your password and press Enter.
You should see the Xfce desktop like below:
Remove Xfce from Arch
If you want to remove Xfce desktop from your arch system, first log out of Xfce environment. Login with your previous desktop environment and run the following command on the terminal.
sudo pacman –Rsu xfce4 xfce4-goodiesConclusion
You can experience a lightweight Linux desktop by using Xfce. You can see the difference just by observing CPU and memory usages. Don’t forget to share your experience in the comment section below.
If this resource helped you, let us know your care by a Thanks Tweet. Tweet a thanks