- Install Multimedia Codecs Ubuntu 20.04 LTS
- Enabling Package Repositories:
- Updating Package Repository Cache:
- Installing Multimedia Codecs:
- Installing VLC Media Player:
- Installing Clementine Music Player:
- Set Default Video and Music Player on Ubuntu 20.04 LTS:
- About the author
- Shahriar Shovon
- Install Multimedia Codecs on Ubuntu 22.04
- How to install multimedia codecs on Ubuntu 22.04
- How to remove Multimedia codecs Ubuntu 22.04
- Conclusion
- Мультимедиа кодеки
- Установка мультимедиа кодеков
- Выборочная установка мультимедиа кодеков
- Просмотр информации о медиафайлах
- Решение проблем
Install Multimedia Codecs Ubuntu 20.04 LTS
![]()
In this article, I am going to show you how to install multimedia codecs on Ubuntu 20.04 LTS and prepare it for watching videos, listening musics etc. So, let’s get started.
Enabling Package Repositories:
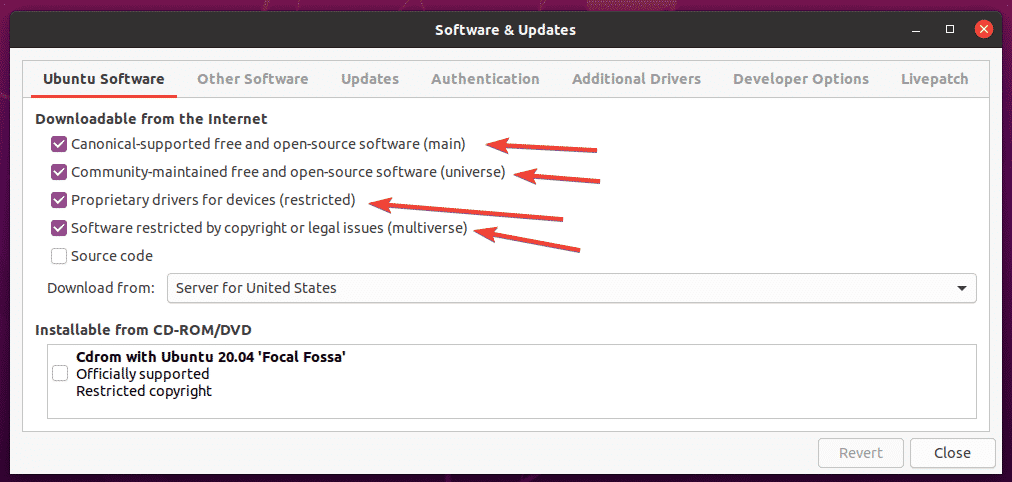
First, you have to make sure that the official main, restricted, universe and multiverse repositories are enabled.
To do that, open the Software & Updates app from the Application Menu of Ubuntu 20.04 LTS.
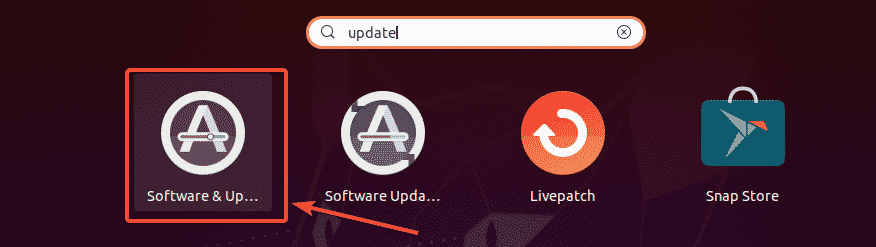
Now, in the Ubuntu Software tab, make sure the marked check boxes are checked.
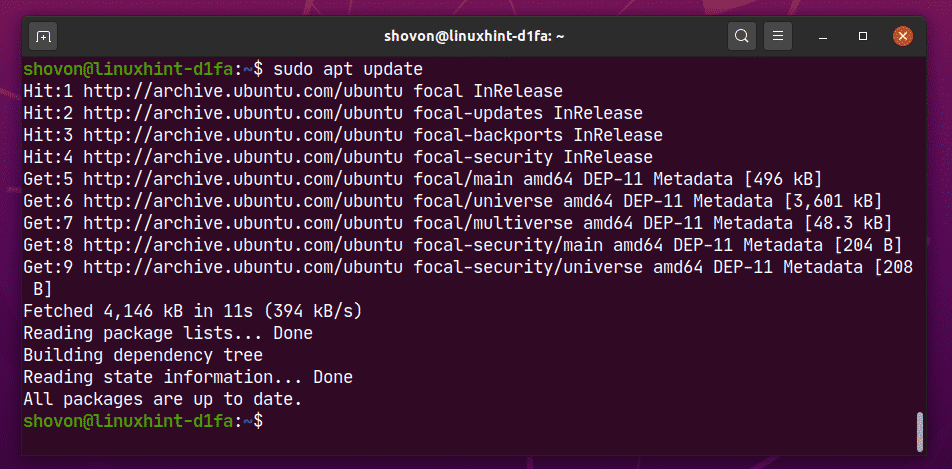
Updating Package Repository Cache:
Now, update the package repository cache with the following command:

The APT package repository cache should be updated.
Installing Multimedia Codecs:
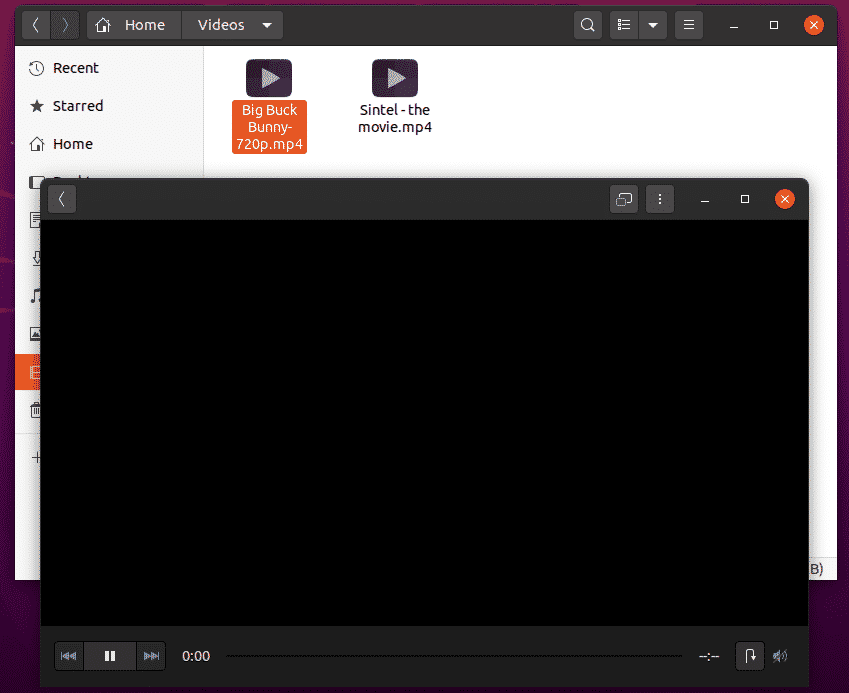
Multimedia codecs are essential for playing audio and video files. By default, multimedia codecs are not installed on Ubuntu 20.04 LTS.
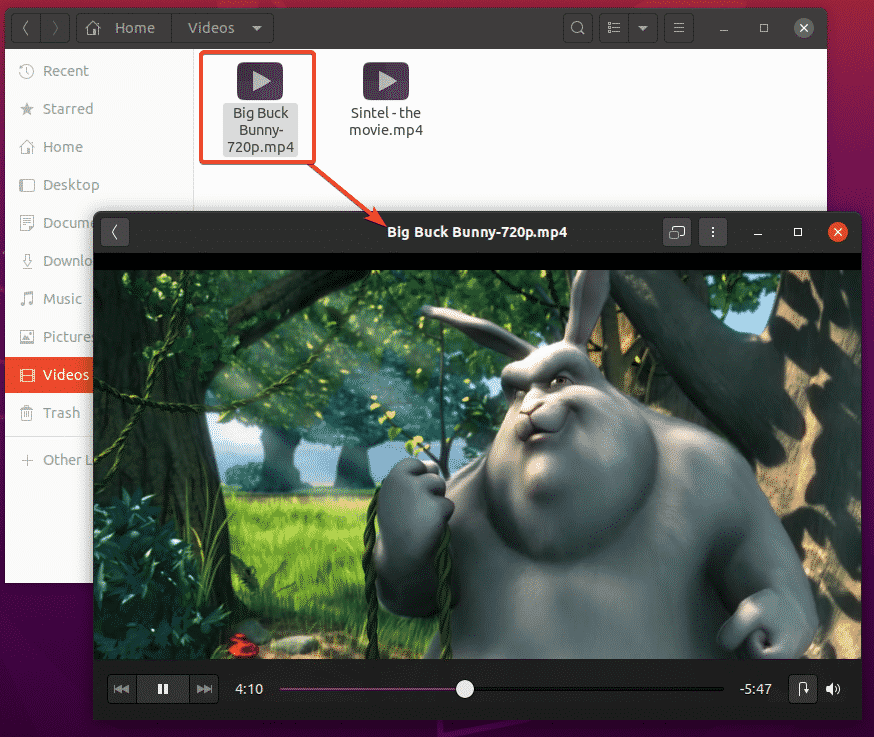
As you can see, I am not able to play the video file Big Buck Bunny-720.mp4 with the default Ubuntu 20.04 LTS Videos app. Once you install the multimedia codecs, you will be able to play any videos/audios with any video/audio player on Ubuntu 20.04 LTS.
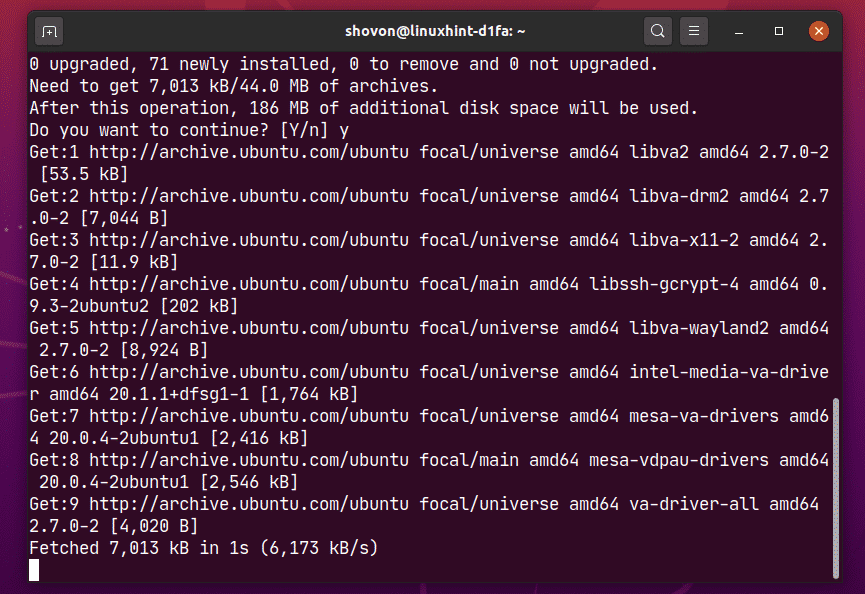
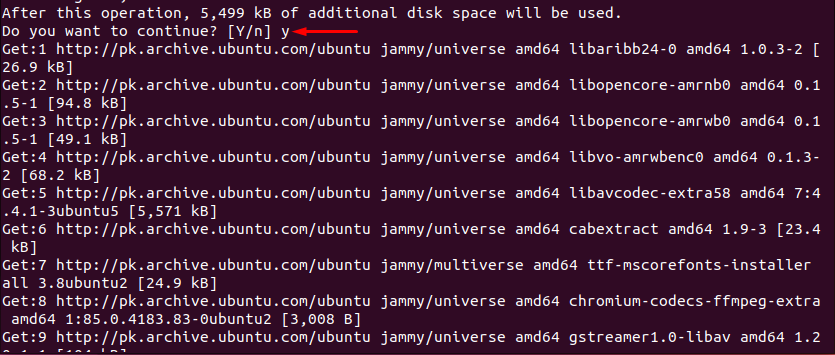
You can install all the available multimedia codecs at once with the following command:

Now, to confirm the installation, press Y and then press .

Ubuntu should download all the required packages from the internet.
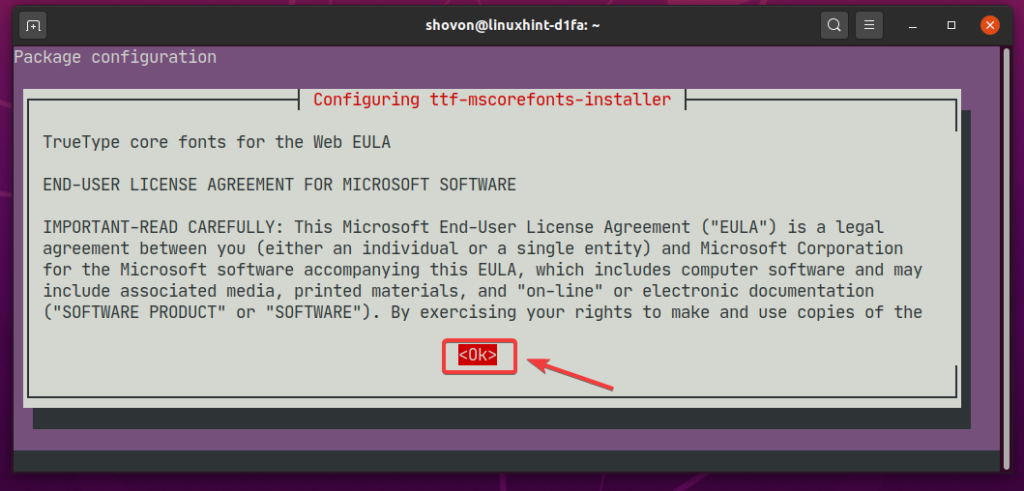
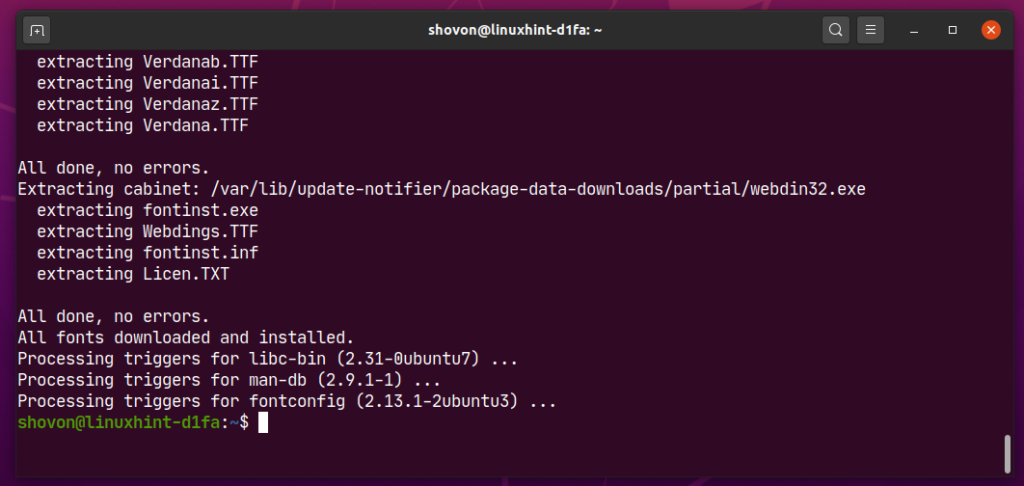
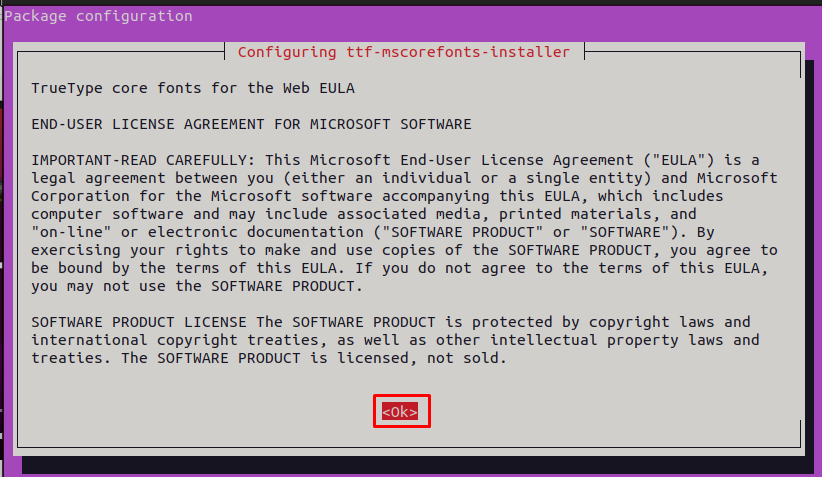
Ubuntu 20.04 LTS will install Microsoft fonts along with the multimedia codecs.
You have to accept the EULA (End User License Agreement) of Microsoft if you want to install Microsoft fonts on Ubuntu 20.04.
Select and press .
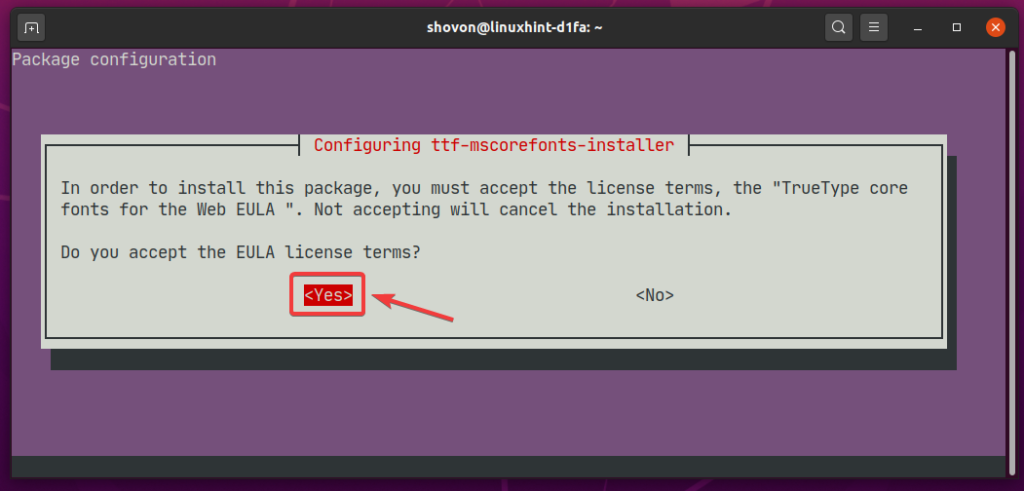
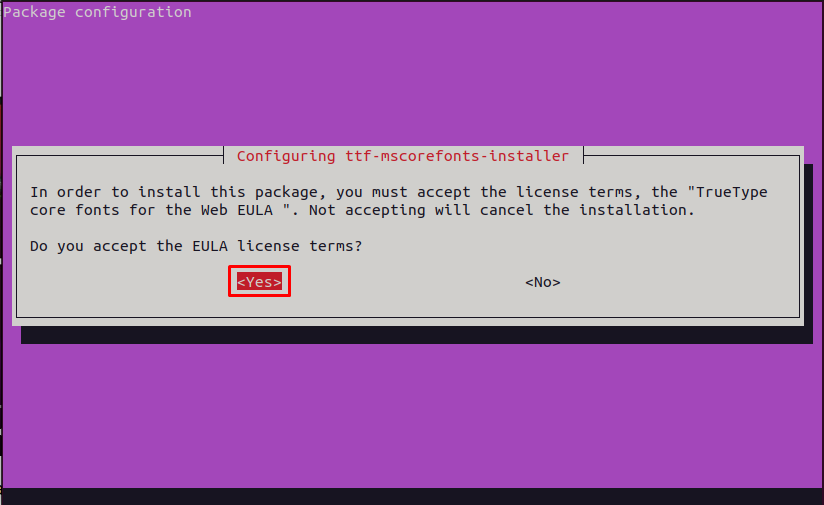
Now, select and press to accept the Microsoft EULA.
NOTE: If you don’t want to install Microsoft fonts, don’t accept the Microsoft EULA. Just select and press .
The installer should continue.
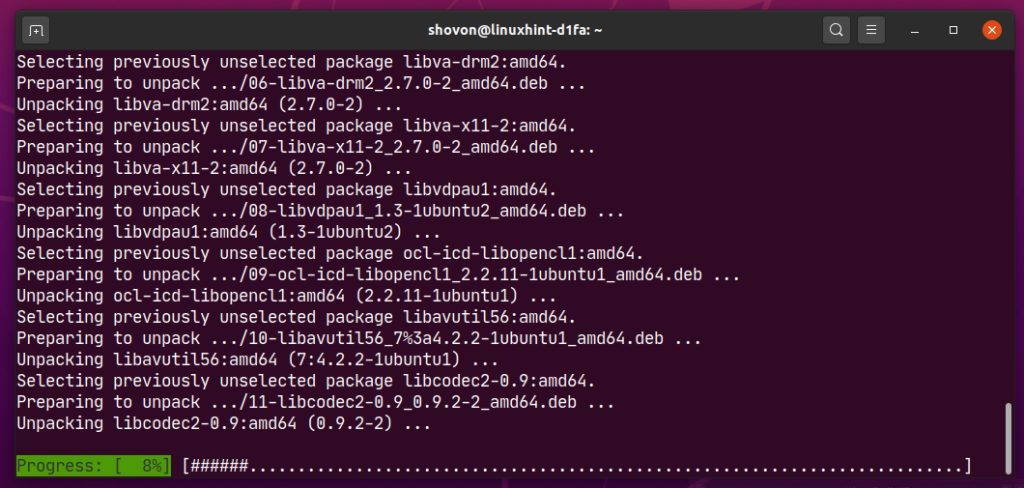
At this point, all the multimedia codecs should be installed.
Once the multimedia codecs are installed, you should be able to play any video/audio file on Ubuntu 20.04 LTS as you can see in the screenshot below.
Installing VLC Media Player:
You can install VLC media player on Ubuntu 20.04 LTS. VLC media player is one of the best video and audio player out there. It can play almost any type of media files. There is a saying that if VLC can’t play a media file, no other player can. I personally like VLC media player a lot.
You can install VLC media player with the following command:

Now, to confirm the installation, press Y and then press .
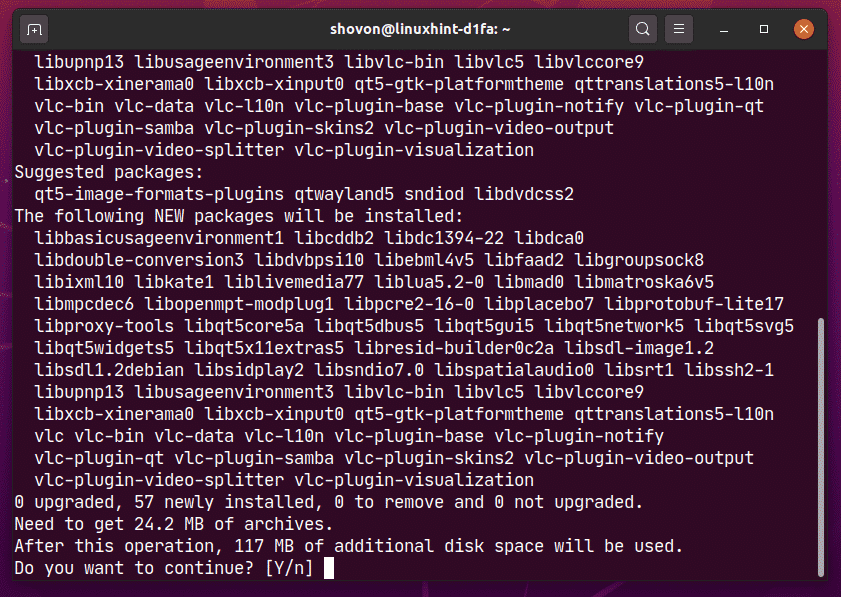
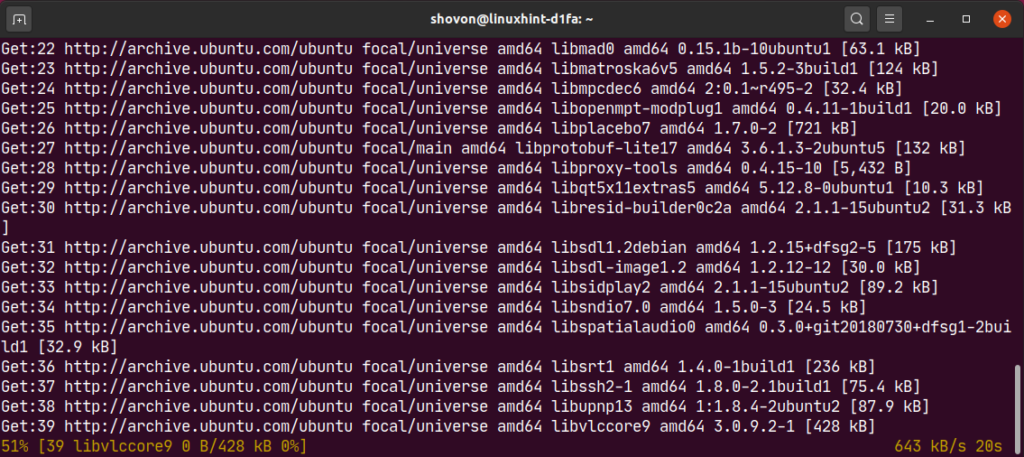
All the required packages are being downloaded from the internet.
At this point, VLC should be installed.

Now, to play a media file with VLC, right click (mouse) on the file and click on Open With Other Application.

Select VLC media player from the list and click on Select.

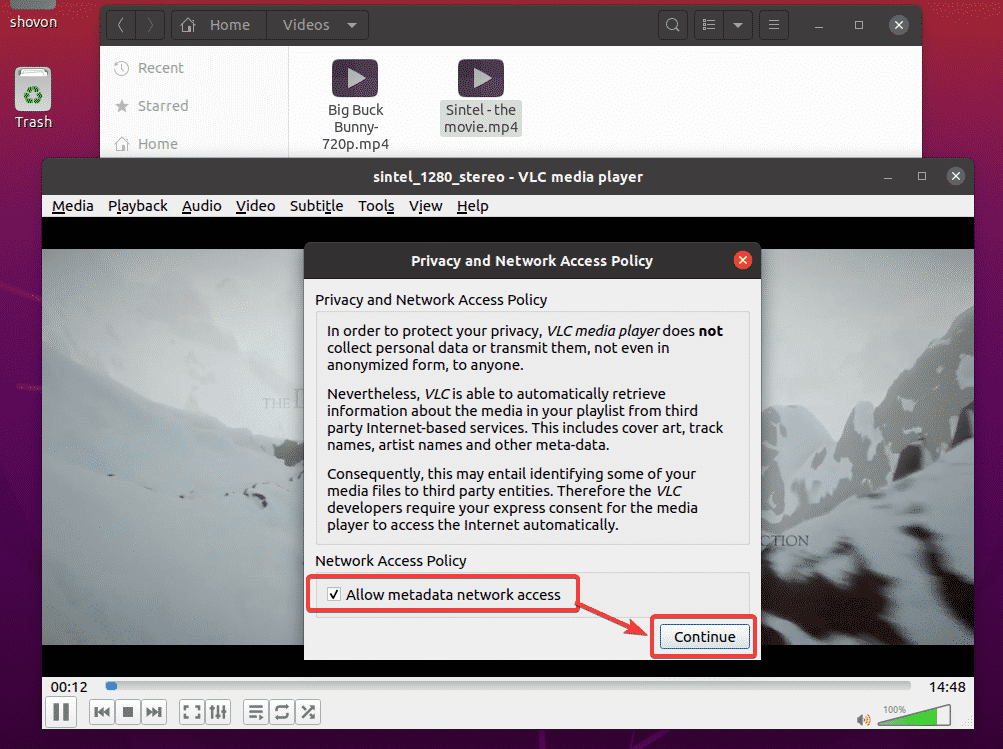
As you’re running VLC media player for the first time, you will see the following window.
Check Allow metadata network access and click on Continue. This way, VLC will automatically download information about the media file being played (i.e. album covers) from the internet.
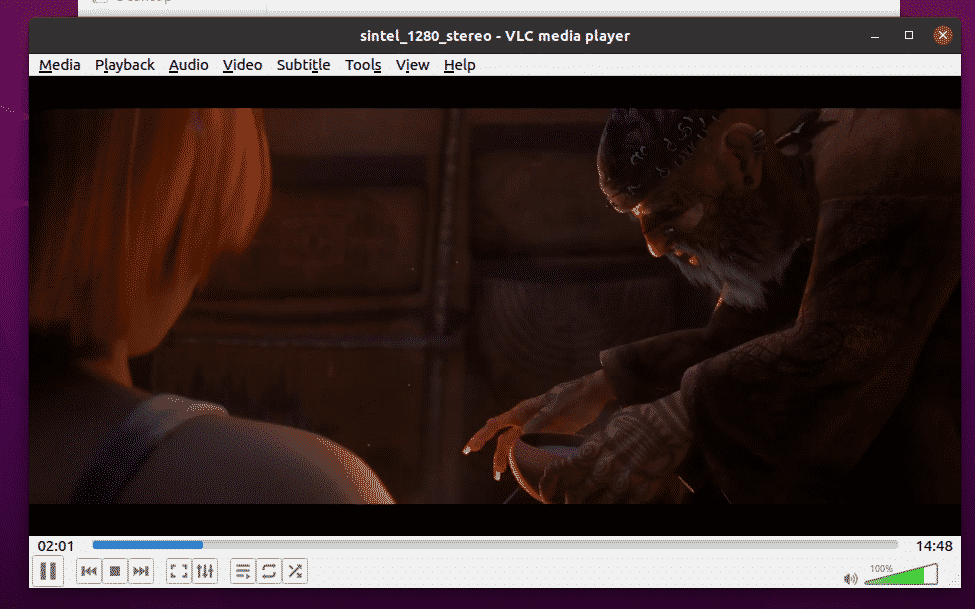
VLC is playing Sintel – the movie.mp4 file as you can see in the screenshot below.
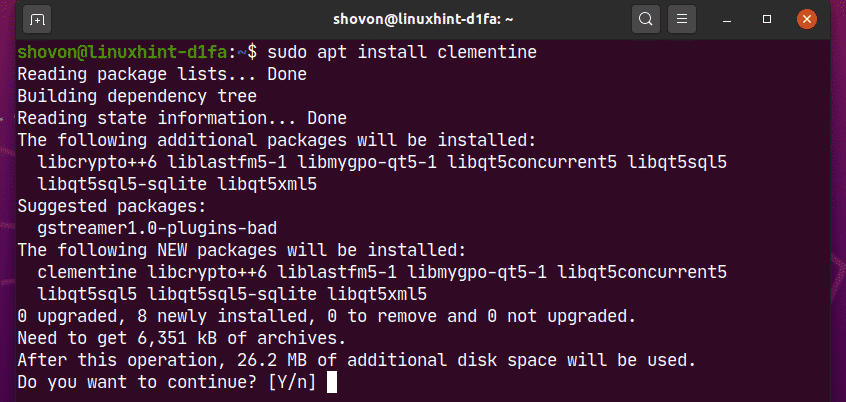
Installing Clementine Music Player:
If you don’t like Rhythmbox, the default music player of Ubuntu 20.04 LTS, you can try Clementine. It is like Rhythmbox, but it has a better user interface and more features. Clementine can also download the lyrics, album cover, artist information etc. of the music you’re playing automatically.
You can install Clementine with the following command:

To confirm the installation, press Y and then press .
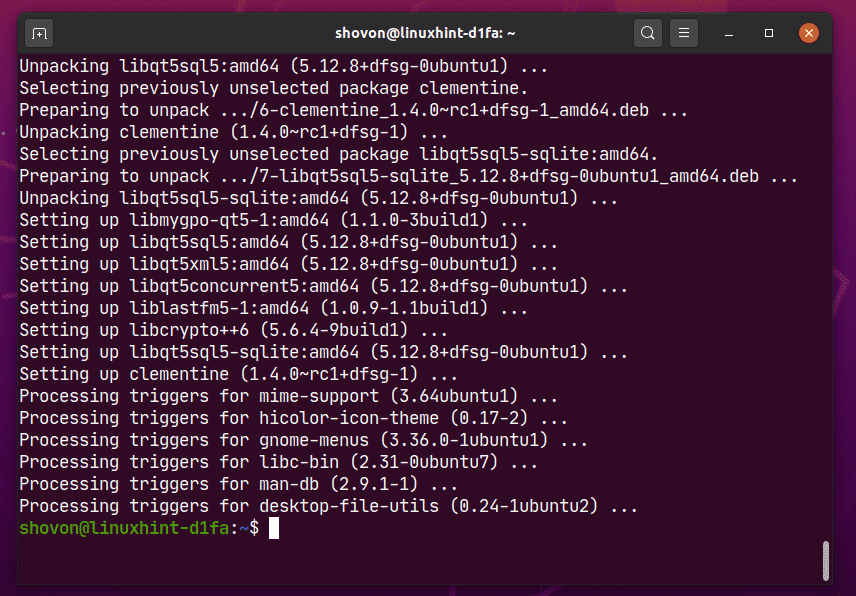
Clementine should be installed.
Once you have installed Clementine, you can start Clementine from the Application Menu of Ubuntu 20.04 LTS.

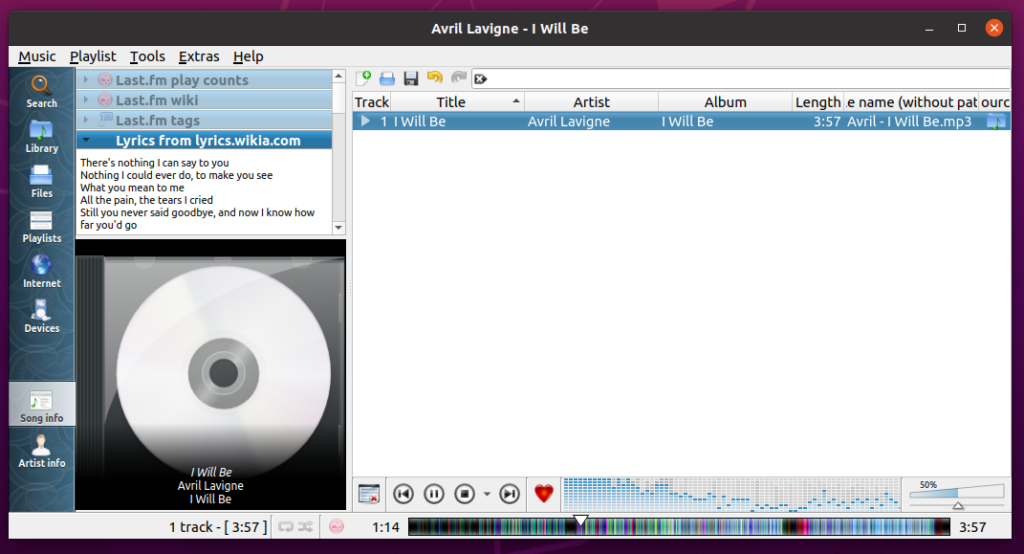
Clementine music player should start.
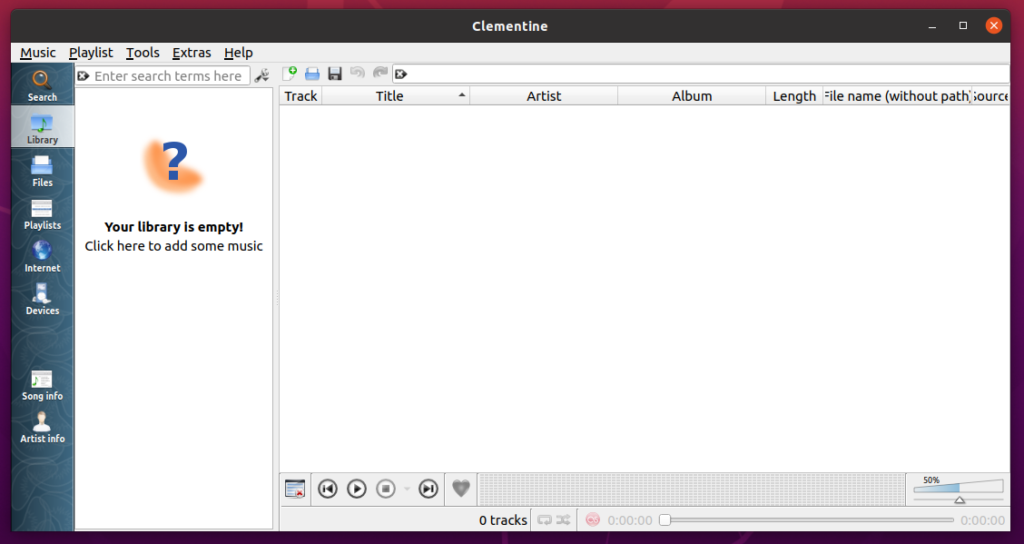
As you can see, Clementine is playing a music. On the right, the lyrics of the music is being displayed.
Set Default Video and Music Player on Ubuntu 20.04 LTS:
If you want to change the default video and music player on Ubuntu 20.04 LTS, this section is for you.
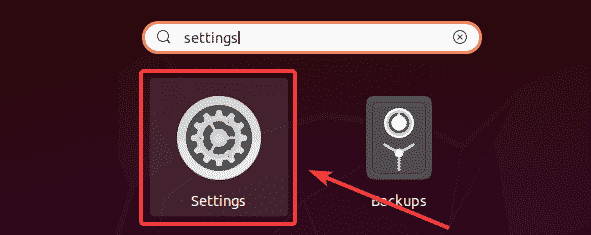
First, open the Settings app from the Application Menu of Ubuntu 20.04 LTS.
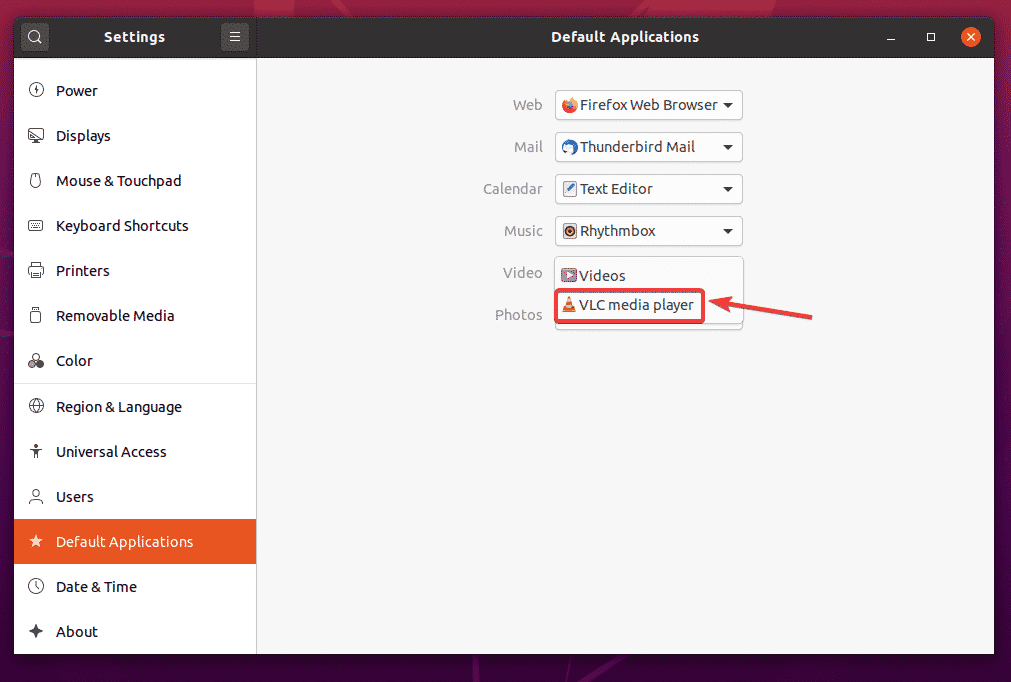
Now, go to the Default Applications tab from the Settings app. As you can see, Rhythmbox is set as the default Music player and Videos is set as the default Video player on Ubuntu 20.04 LTS.
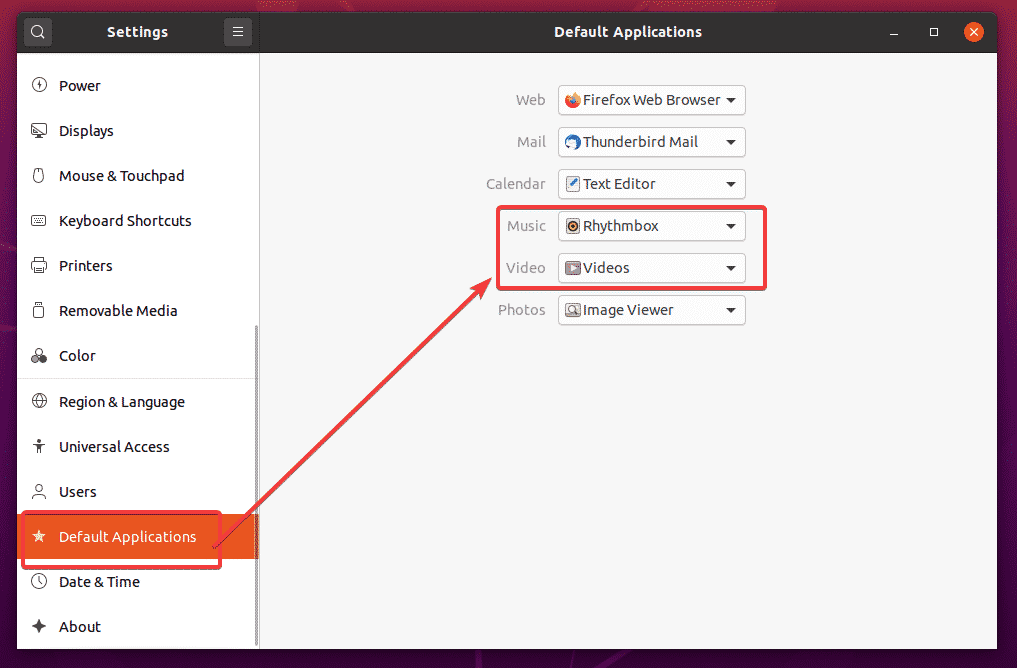
To change the default Video player to VLC media player, click on the Video dropdown menu and select VLC media player form the list.
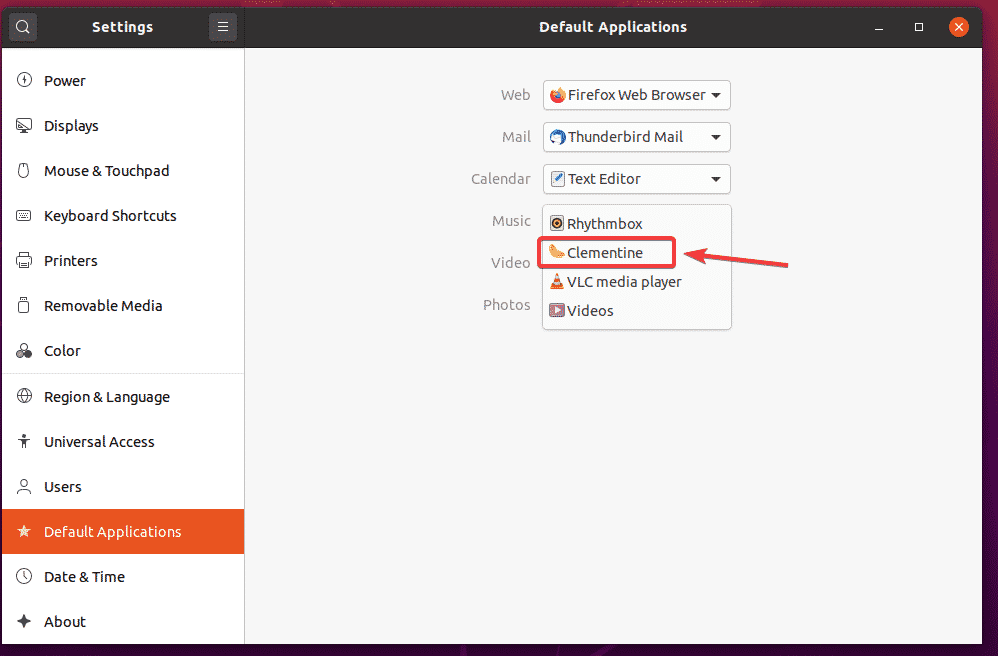
The same way, click on the Music dropdown menu and select your default music player from the list.
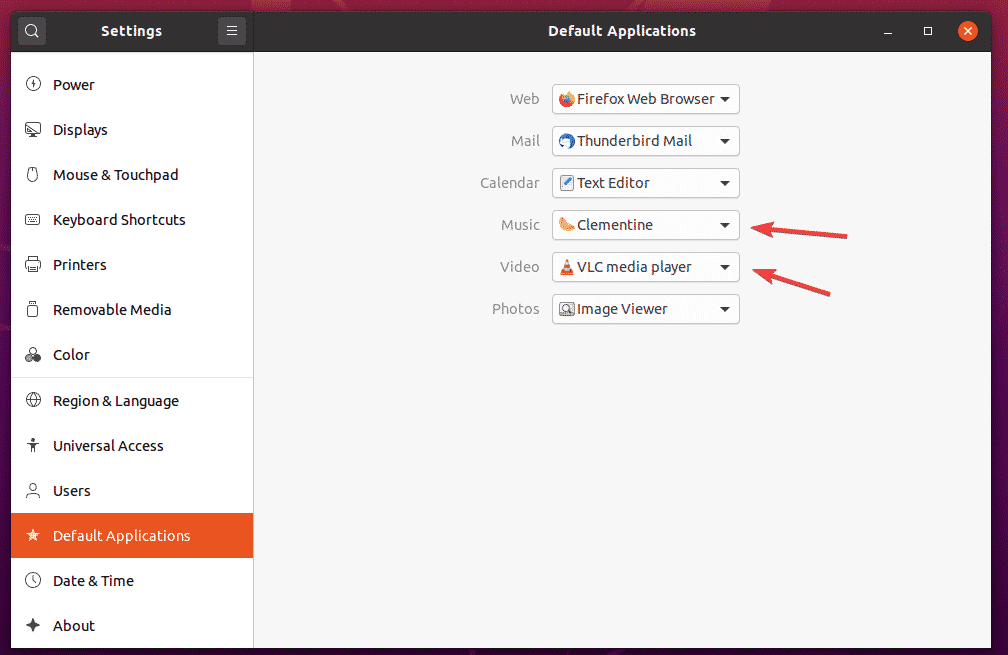
As you can see, VLC media player is set as the default Video player and Clementine music player is set as the default Music player.
So, that is how you install multimedia codecs on Ubuntu 20.04 LTS. Thanks for reading this article.
About the author
Shahriar Shovon
Freelancer & Linux System Administrator. Also loves Web API development with Node.js and JavaScript. I was born in Bangladesh. I am currently studying Electronics and Communication Engineering at Khulna University of Engineering & Technology (KUET), one of the demanding public engineering universities of Bangladesh.
Install Multimedia Codecs on Ubuntu 22.04
![]()
Multimedia codecs comprise a set of libraries/dependencies to play audio/video files of various formats. Ubuntu 22.04 comes up with default support for a few codecs. However, it is recommended to install multimedia codecs to get the uninterrupted stream of video and audio files.
Ubuntu 22.04 comes up with updated security features, improved usability, interactive interface and much more. Ubuntu 22.04 is the latest release of the LTS version of Ubuntu. This article provides a step-by-step installation guide of multimedia codecs on Ubuntu 22.04.
How to install multimedia codecs on Ubuntu 22.04
Multimedia codecs not only allow you to play audio video files, but they can also be used to compress/decompress media files for a smooth transmission. Let’s head over to the following steps that leads to installing the multimedia codecs on Ubuntu 22.04:
Step 1: It is recommended to update the system’s package before getting any program/application. Perform the update operation via the following command.

Step 2: Once the packages are updated successfully. You can install the multimedia codecs on your system by issuing the following command. The command will install the package ubuntu-restricted-extras which is equipped with essential media codecs.
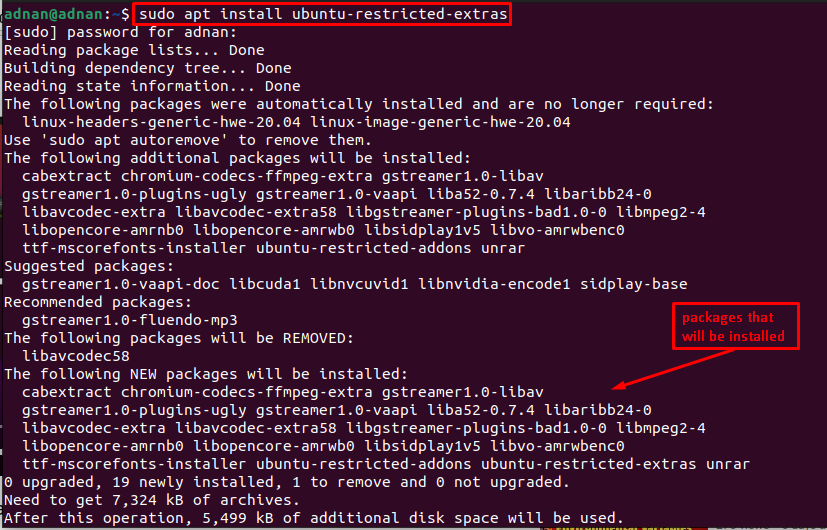
Before installation, Ubuntu will ask you to confirm by pressing “y“. Moreover, you would also observe that a few codecs are installed but not required. Whereas there are tens of codecs that will be installed with this command.
As the installation is started, the following interface will appear which states that license agreement is required for Microsoft-core-fonts (a package being installed with the multimedia codecs).
Now, you have to accept the license agreement of Microsoft-core-fonts. To do so, press the “tab” key to navigate to “OK” and hit enter:
The installation may take a while. Once the installation is finished; you can now play all kinds of audio/video files on your Ubuntu 22.04.
How to remove Multimedia codecs Ubuntu 22.04
Although the Multimedia codecs are recommended to be there on your Ubuntu 22.04. However, if you do not want to keep them on your Ubuntu 22.04. You can remove them via the following command.

Moreover, if you want to remove the configuration files as well. You can use the “–purge” option as written below:
Here you go with multimedia codecs!
Conclusion
Ubuntu 22.04 is the latest LTS release of Ubuntu. It is equipped with the updated security features, improved usability, and interface. Multimedia codecs are the essential packages that are recommended to play various audio/video files on Ubuntu. Although Ubuntu 22.04 is equipped with most of them, it is recommended to install multimedia codecs for an uninterrupted stream of media on Ubuntu 22.04.
Мультимедиа кодеки
Для воспроизведения и изменения мультимедиа файлов в систему необходимо установить кодеки, демуксеры и другие библиотеки…
Как это сделать рассмотрим ниже.
Кодеки — мини программы, которые преобразуют звук и изображение в компьютерный код, и наоборот когда нужно воспроизвести или изменить. Пример кодеков: x264, xvid, faac, faad, lame, vorbis.
Демуксеры — мини программы, которые упаковывают мультимедиа данные в контейнер, и распаковывают когда нужно воспроизвести или изменить. Пример медиаконтейнеров, сформированных демуксерами: avi, mp4, mp3, mkv, flv, webm, 3gp.
Установка мультимедиа кодеков
ubuntu-restricted-extras — мультимедиа кодеки, флеш плеер, шрифты от Microsoft, распаковщик rar архивов.
sudo apt-get update && sudo apt-get install ubuntu-restricted-extras
libdvdcss2 — библиотека для просмотра видео с лицензионных DVD дисков.
sudo add-apt-repository "deb http://download.videolan.org/pub/debian/stable/ /"
wget -O - http://download.videolan.org/pub/debian/videolan-apt.asc|sudo apt-key add -
sudo apt-get update && sudo apt-get install libdvdcss2
Выборочная установка мультимедиа кодеков
Выше описан метод как проще установить множество кодеков, но для некоторых случаев пригодится выборочная установка кодеков.
libavcodec-extra-53 — кодеки от проекта libav
libavformat-extra-53 — демуксеры от проекта libav
Кодеки для программ на основе Gstreamer, в этих пакетах находятся кодеки из состава libavcodec, они разделены по видам лицензий и др. параметрам:
gstreamer0.10-plugins-base
gstreamer0.10-plugins-good
gstreamer0.10-plugins-ugly
gstreamer0.10-plugins-bad
gstreamer0.10-plugins-bad-multiverse
libdvdread4 — библиотека для чтения DVD
libdvdnav4 — библиотека для навигации по DVD
libdvdcss2 — библиотека для расшифровки данных с лицензионных DVD дисков.
Просмотр информации о медиафайлах
В плеерах можно посмотреть информацию о файле, например кодеки, размер видео, бирейт
Файловый менеджер Naulilus показывает медиаданные в свойствах файла, если установлены плееры Totem или Gnome-mplayer
mediainfo — показывает подробную информацию о мультимедиа файле
avconv -i /путь/до/файла — конвертер, который может показать информацию о мультимедиа файле
ffmpeg -i /путь/до/файла — конвертер, который может показать информацию о мультимедиа файле
Решение проблем
Если плеер не может воспроизвести какой-либо мультимедиа файл, тогда запустите плеер из терминала и посмотрите сообщение об ошибке, и обратитесь на форум.
Если у вас в программах на основе Gstreamer есть проблемы с mp4 и m4a, тогда выполните команду
rm -f ~/.gstreamer-0.10/registry*