- How to Install ONLYOFFICE Desktop Editors in Linux
- What’s new in ONLYOFFICE Desktop Editors v.6.3
- ONLYOFFICE Desktop Editors Requirements
- Install ONLYOFFICE Desktop Editors from Repository
- Install ONLYOFFICE Desktop Editors to Ubuntu and Derivatives
- Install ONLYOFFICE Desktop Editors to Red Hat and Derivatives
- Install ONLYOFFICE Desktop Editors via Snap
- Install ONLYOFFICE Desktop Editors via Flatpak
- Launch the Preinstalled ONLYOFFICE Desktop App
- Установка десктопных редакторов ONLYOFFICE в Astra Linux Common Edition
- 1. Установка ONLYOFFICE Docs в Astra Linux Common Edition
- 2. Запуск редакторов ONLYOFFICE Docs
- 3. Подключаем Редактор документов ONLYOFFICE Desktop Editors к облачному хранилищу на базе Nextcloud Hub
How to Install ONLYOFFICE Desktop Editors in Linux
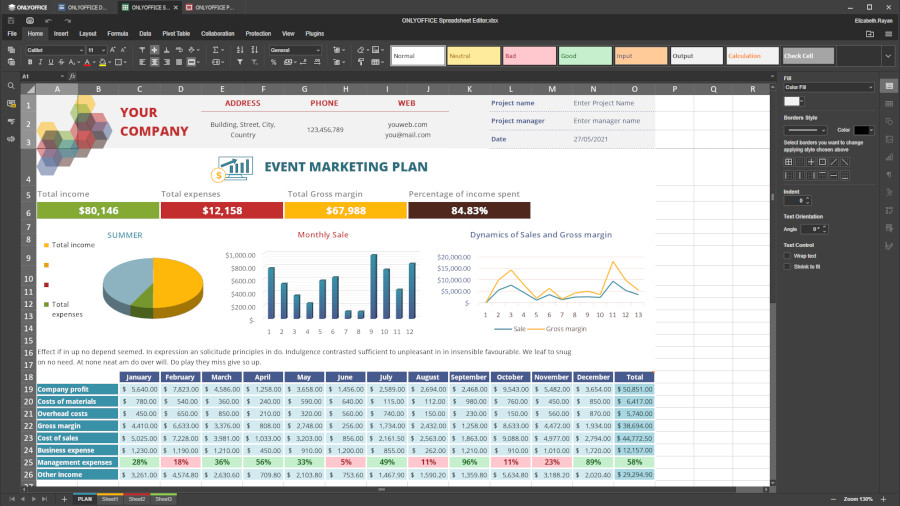
ONLYOFFICE Desktop Editors is an open-source office suite that is available for Linux, Windows, and macOS users. Freely distributed under the terms of AGPLv3, it combines three editors for text documents, spreadsheets, and presentations that are natively compatible with the Microsoft Office formats (DOCX, XLSX, PPTX).
- Open and edit Word, Excel, and PowerPoint files without any compatibility issues.
- Work with other popular formats, such as DOC, ODT, RTF, TXT, PDF, HTML, EPUB, XPS, DjVu, XLS, ODS, CSV, PPT, and ODP
- Use a vast array of editing and formatting features – paragraph spacing, footers, headers, margins, etc.
- Insert and edit complex objects like charts, auto shapes, and Text Art.
- Make use of third-party plugins – YouTube, Photo Editor, Translator, Thesaurus.
- Sign documents digitally.
- Protect files with a password.
- Collaborate in real-time by connecting the desktop app to a cloud platform — ONLYOFFICE, Nextcloud, ownCloud, or Seafile.
What’s new in ONLYOFFICE Desktop Editors v.6.3
The latest version of ONLYOFFICE Desktop Editors, v.6.3, comes with a lot of new features and improvements:
- Dark Theme.
- 150% interface scaling.
- Updated reviewing — it’s possible to enable the Track Changes to feature for the user or everyone who opens the file.
- New chart type — line, scatter, and combo charts.
- Opening XML files and saving to HTML, EPUB, and FB2.
- XLOOKUP function for spreadsheets.
- Grouping/ungrouping data in pivot tables.
- New cell formats (mm/dd, mm/dd/yyyy and mm/dd/yy) and more.
ONLYOFFICE Desktop Editors Requirements
- CPU: dual-core 2 GHz or better
- RAM: at least 2 GB
- HDD: 2 GB min.
- OS: 64-bit
- Kernel: 3.8 or higher version
Install ONLYOFFICE Desktop Editors from Repository
A preferable option to install ONLYOFFICEdesktop editors is to add their repository to your Linux OS.
Install ONLYOFFICE Desktop Editors to Ubuntu and Derivatives
$ sudo apt-key adv --keyserver hkp://keyserver.ubuntu.com:80 --recv-keys CB2DE8E5 $ echo 'deb https://download.onlyoffice.com/repo/debian squeeze main' | sudo tee -a /etc/apt/sources.list.d/onlyoffice.list $ sudo apt-get update $ sudo apt-get install onlyoffice-desktopeditors $ desktopeditors
Install ONLYOFFICE Desktop Editors to Red Hat and Derivatives
$ sudo yum install https://download.onlyoffice.com/repo/centos/main/noarch/onlyoffice-repo.noarch.rpm $ sudo yum install epel-release $ sudo yum install onlyoffice-desktopeditors -y $ desktopeditors
Install ONLYOFFICE Desktop Editors via Snap
If you prefer Ubuntu or its official flavors, the easiest way of installing ONLYOFFICE Desktop Editors might be using a snap package.
To get the application installed, just execute the following command:
$ snap install onlyoffice-desktopeditors
When the installation process is over, you can launch ONLYOFFICE Desktop Editors using this terminal command:
$ snap run onlyoffice-desktopeditors
You can also install the app from the official marketplace – the Snap Store. Find ONLYOFFICE Desktop Editors and click the corresponding button.
Install ONLYOFFICE Desktop Editors via Flatpak
Another way to install ONLYOFFICE Desktop Editors is via Flatpak. This software deployment platform allows you to install desktop apps on 28 Linux distributions, including Ubuntu, Fedora, Linux Mint, Endless OS, Debian, CentOS, etc.
Get ONLYOFFICE Desktop Editors for your distro by entering the following command:
$ flatpak install flathub org.onlyoffice.desktopeditors
Now the application is ready. Use this command to launch it:
$ flatpak run org.onlyoffice.desktopeditors
Alternatively, you can directly go to Flathub, find ONLYOFFICE Desktop Editors, and click the Install button.
Launch the Preinstalled ONLYOFFICE Desktop App
Once the installation is done, you can run the editors using the terminal command:
So far, ONLYOFFICE Desktop Editors has been included as a default office suite in a number of Linux distributions:
- Escuelas Linux, a distro based on Bodhi Linux and designed for educational purposes.
- Linkat, an educational distro from Catalonia, Span.
- Linspire, a Linux-based distro for business, education, and government.
- Windowsfx, an Ubuntu-based distro from Brazil that looks like Windows 10.
- SparkyLinux, a Debian-based Linux distribution from Poland.
If you run any of these operating systems, you don’t need to install anything. ONLYOFFICE Desktop Editors is available by default and all you need to do is to click the corresponding icon.
Установка десктопных редакторов ONLYOFFICE в Astra Linux Common Edition
После того как мы установили в качестве основного редактора ONLYOFFICE Docs в нашем частном облаке развёрнутом на базе Nextcloud Hub, мы можем использовать эти редакторы и в десктопном варианте с возможностью подключения к облаку и редактирования документов напрямую в Nextcloud Hub. В качестве операционной системы мы будем использовать Astra Linux Common Edition.
1. Установка ONLYOFFICE Docs в Astra Linux Common Edition
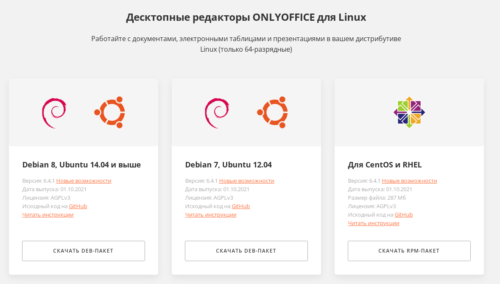
1. 1. Скачиваем дистрибутив с официального сайта разработчиков. Нас интересует версия для Debian 8 и выше:
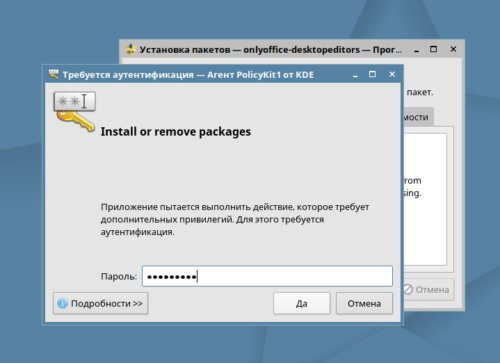
1.2. Чтобы не устанавливать консоль запустим инсталляцию пакета двойным щелчком мыши:
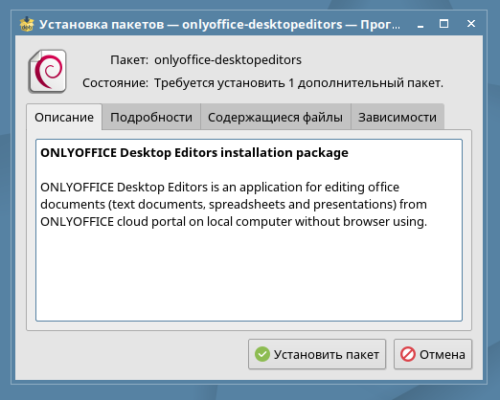
Вводим пароль администратора системы:
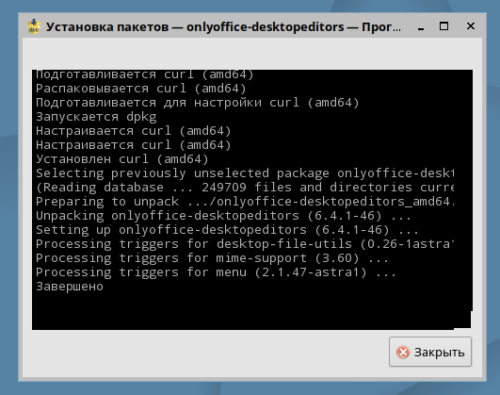
И дожидаемся окончания установки:
2. Запуск редакторов ONLYOFFICE Docs
2.1. Переходим в главное меню операционной системы Astra Linux Common Edition и в разделе «Офис» выбираем «Редактор документов ONLYOFFICE Desktop Editors«:
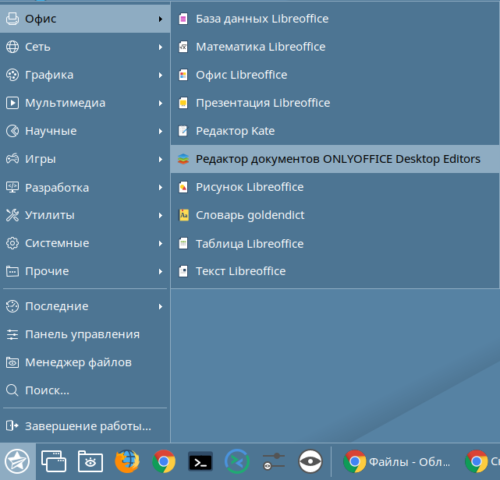
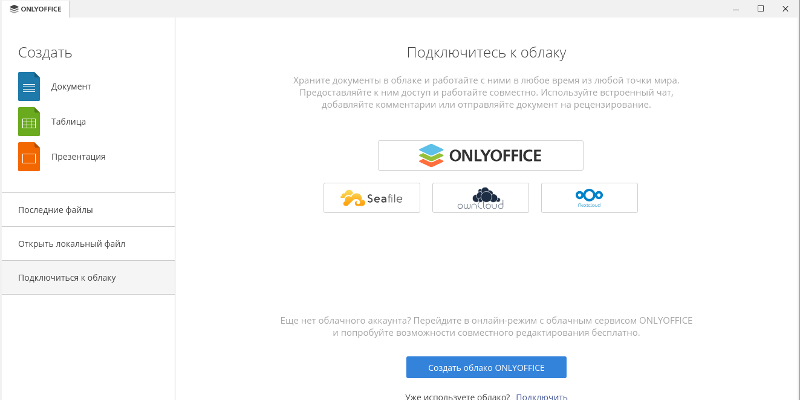
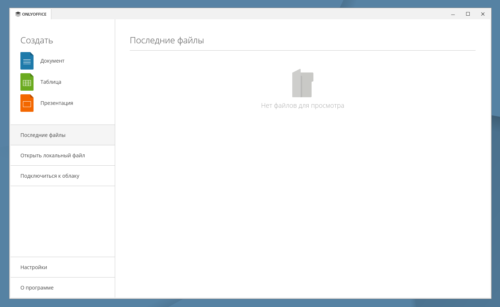
И переходим в основное окно выбора редакторов:
3. Подключаем Редактор документов ONLYOFFICE Desktop Editors к облачному хранилищу на базе Nextcloud Hub
3.1. Переходим в раздел «Подключиться к облаку«:

3.2. Выбираем «Nextcloud» и указываем адрес нашего облака:
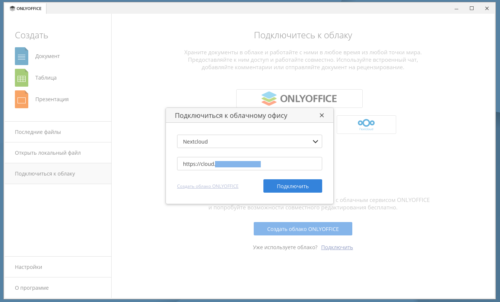
3.3. Нажимаем кнопку «Подключить» и проходим процедуру аутентификации:
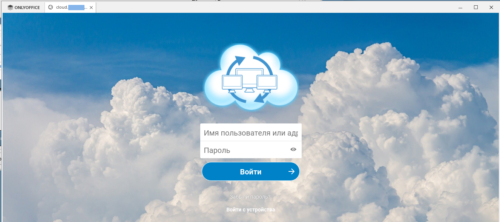
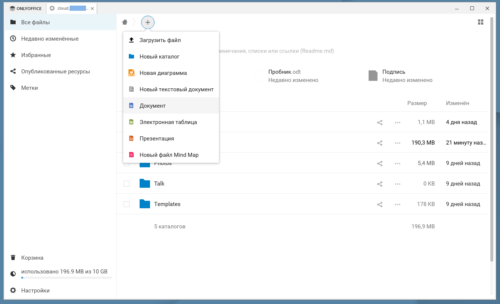
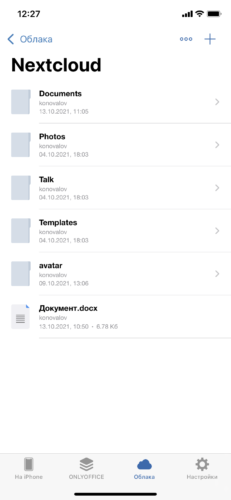
3.4. Указываем логин и пароль того пользователя, к документам которого мы желаем получить доступ и получаем возможность редактировать документы непосредственно в облаке::

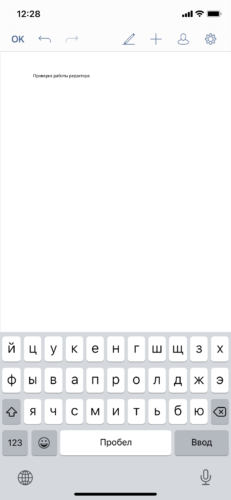
3.5. Для этого выбираем документ для редактирования или создаем новый:
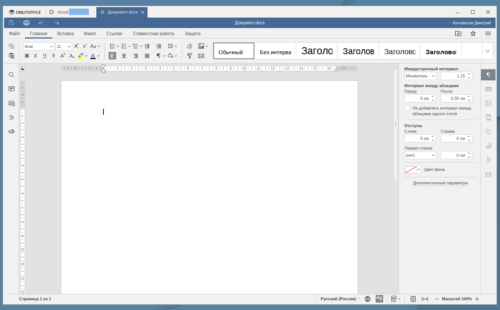
Та же схема работает и в мобильной версии редактора:
Приятной и продуктивной работы