How to Use OWASP ZAP for Web Application Security Testing in Kali Linux
Installing OWASP ZAP on Kali Linux is a straightforward process. First, open the terminal and update the package list by running the following command:
Once the package list is updated, install OWASP ZAP by running the following command:
sudo apt-get install zaproxyOnce the installation is complete, you can launch OWASP ZAP by running the following command:
You can also launch OWASP ZAP from the Kali Linux menu. To do this, go to the Applications menu and select the Web Application Analysis option. This will open the OWASP ZAP application.
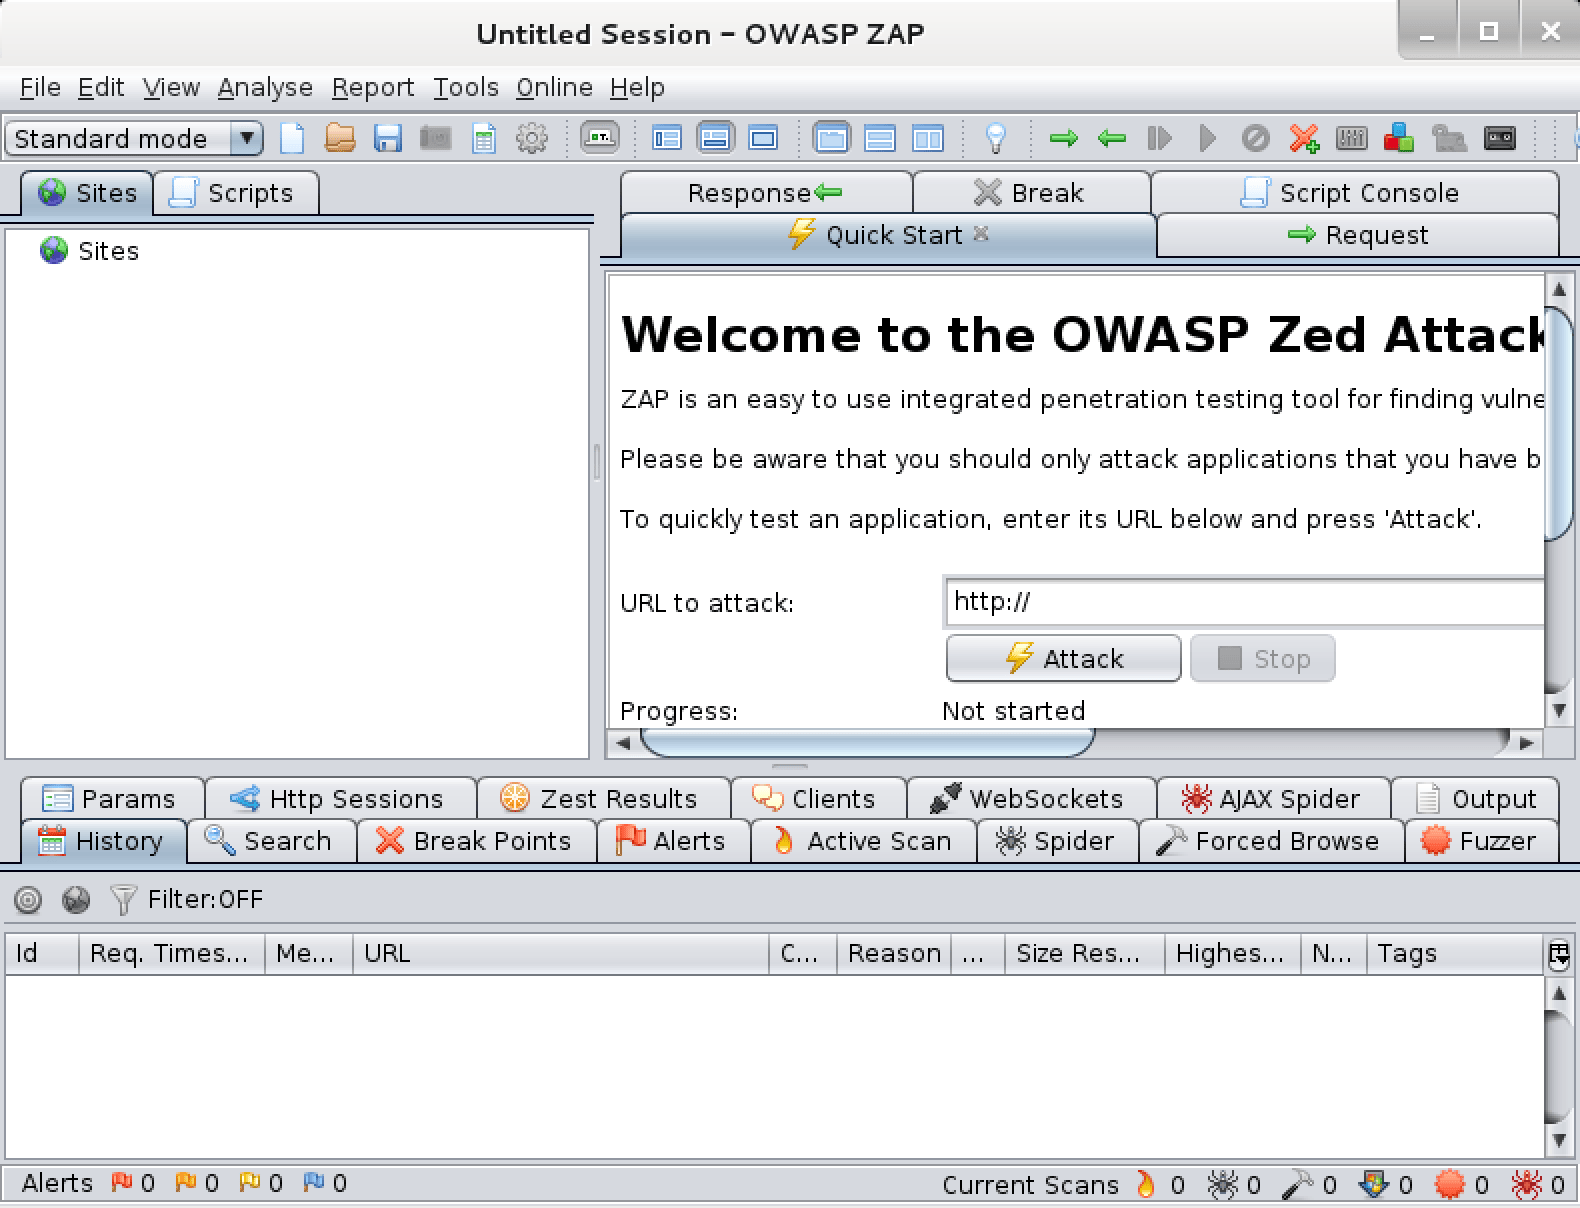
Launch OWASP ZAP
Once you have installed OWASP ZAP, you can launch it from the Kali Linux terminal. To do this, open the terminal and type zaproxy and press enter. This will launch the OWASP ZAP GUI. You can also launch OWASP ZAP from the Kali Linux menu. To do this, go to the Kali Linux menu and select the OWASP ZAP icon. This will launch the OWASP ZAP GUI. Once the OWASP ZAP GUI is launched, you can start configuring it for web application security testing.
Configure OWASP ZAP
Once you have installed OWASP ZAP, you can configure it to scan your web application. To do this, open the OWASP ZAP application and click on the ‘Options’ tab. Here you can configure the settings for the scan, such as the target URL, the type of scan, the number of threads, and the maximum number of requests. You can also configure the authentication settings, such as username and password, if required. Once you have configured the settings, click ‘Save’ to save the configuration.
You can also configure the proxy settings in OWASP ZAP. To do this, click on the ‘Tools’ tab and select ‘Options’. Here you can configure the proxy settings, such as the proxy type, the proxy address, and the port. Once you have configured the proxy settings, click ‘Save’ to save the configuration.
Finally, you can configure the active scan rules in OWASP ZAP. To do this, click on the ‘Tools’ tab and select ‘Active Scan Rules’. Here you can configure the active scan rules, such as the type of scan, the maximum number of requests, and the maximum number of threads. Once you have configured the active scan rules, click ‘Save’ to save the configuration.
Start Scanning
Now that you have installed and launched OWASP ZAP, it’s time to start scanning your web application for vulnerabilities. To do this, you need to configure the scanner to scan the application. This can be done by setting the target URL, the scope of the scan, and the attack strength. Once the configuration is complete, you can start the scan.
To start the scan, open the OWASP ZAP interface and click on the «Attack» button. This will open the «Active Scan» window. In this window, you can configure the target URL, the scope of the scan, and the attack strength. Once the configuration is complete, click on the «Start Scan» button to start the scan.
The scan will take some time to complete, depending on the size of the application and the attack strength. During the scan, OWASP ZAP will attempt to identify any potential vulnerabilities in the application. Once the scan is complete, you can view the results in the «Alerts» tab.
To view the results of the scan, open the «Alerts» tab. This tab will show you a list of all the vulnerabilities that were identified during the scan. You can view the details of each vulnerability by clicking on the «Details» button. This will show you the details of the vulnerability, including the type of vulnerability, the severity, and the recommended fix.
Analyze the Results
Once the scan is complete, it’s time to analyze the results. OWASP ZAP will provide a detailed report of the vulnerabilities found in the application. It is important to understand the severity of each vulnerability and the potential impact it can have on the application. The report will also provide recommendations on how to fix the vulnerabilities. It is important to review the report carefully and take the necessary steps to fix the vulnerabilities.
To analyze the results, you can use the ZAP dashboard. The dashboard provides a graphical representation of the vulnerabilities found in the application. It also provides detailed information about each vulnerability, such as the type of vulnerability, the severity, and the potential impact. You can also use the dashboard to view the requests and responses sent by the application. This can help you identify any potential issues with the application’s security.
You can also use the ZAP API to analyze the results. The API provides a set of commands that can be used to query the results of the scan. This can be used to generate custom reports or to integrate the results into other applications.
Fix the Vulnerabilities
Once you have identified the vulnerabilities in your web application, it is time to fix them. Depending on the type of vulnerability, the fix may be as simple as updating a library or as complex as rewriting a large portion of code. In any case, it is important to ensure that the fix is properly tested and that the vulnerability is completely eliminated.
To fix the vulnerabilities, you will need to use the appropriate tools and techniques. For example, if the vulnerability is related to a library, you may need to update the library to the latest version. If the vulnerability is related to a code issue, you may need to rewrite the code to eliminate the vulnerability.
It is also important to ensure that the fix is properly tested. This can be done by running the application through a security scanner such as OWASP ZAP. This will help to ensure that the vulnerability has been eliminated and that the application is secure.
Finally, it is important to retest the application after the fix has been applied. This will help to ensure that the fix has been successful and that the application is secure.
Retest the Application
Once you have fixed the vulnerabilities, it is important to retest the application to make sure that the fixes have been successful. To do this, you can use OWASP ZAP again. First, launch OWASP ZAP and configure it as you did before. Then, start a new scan and analyze the results. If the results show that the vulnerabilities have been fixed, then you can be sure that the application is now secure. If not, then you may need to go back and fix the vulnerabilities again.
# Launch OWASP ZAP zaproxy # Configure OWASP ZAP zap-cli —config-file # Start a new scan zap-cli —start-scan # Analyze the results zap-cli —report
By retesting the application with OWASP ZAP, you can ensure that the application is secure and that any vulnerabilities have been fixed. This is an important step in web application security testing and should not be overlooked.
Useful Links
Packages and Binaries:
The OWASP Zed Attack Proxy (ZAP) is an easy to use integrated penetration testing tool for finding vulnerabilities in web applications.
It is designed to be used by people with a wide range of security experience and as such is ideal for developers and functional testers who are new to penetration testing as well as being a useful addition to an experienced pen testers toolbox.
Installed size: 272.18 MB
How to install: sudo apt install zaproxy
owasp-zap
[email protected]:~# owasp-zap -h Found Java version 17.0.6 Available memory: 14912 MB Using JVM args: -Xmx3728m Usage: zap.sh [Options] Core options: -version Reports the ZAP version -cmd Run inline (exits when command line options complete) -daemon Starts ZAP in daemon mode, i.e. without a UI -config Overrides the specified key=value pair in the configuration file -configfile Overrides the key=value pairs with those in the specified properties file -dir Uses the specified directory instead of the default one -installdir Overrides the code that detects where ZAP has been installed with the specified directory -h Shows all of the command line options available, including those added by add-ons -help The same as -h -newsession Creates a new session at the given location -session Opens the given session after starting ZAP -lowmem Use the database instead of memory as much as possible - this is still experimental -experimentaldb Use the experimental generic database code, which is not surprisingly also still experimental -nostdout Disables the default logging through standard output -silent Ensures ZAP does not make any unsolicited requests, including check for updates Add-on options: -openapifile Imports an OpenAPI definition from the specified file name -openapiurl Imports an OpenAPI definition from the specified URL -openapitargeturl The Target URL, to override the server URL present in the OpenAPI definition. Refer to the help for supported format. -autorun Run the automation jobs specified in the file -autogenmin Generate template automation file with the key parameters -autogenmax Generate template automation file with all parameters -autogenconf Generate template automation file using the current configuration -certload Loads the Root CA certificate from the specified file name -certpubdump Dumps the Root CA public certificate into the specified file name, this is suitable for importing into browsers -certfulldump Dumps the Root CA full certificate (including the private key) into the specified file name, this is suitable for importing into ZAP -host Overrides the host used for proxying specified in the configuration file -port Overrides the port used for proxying specified in the configuration file -script Run the specified script from commandline or load in GUI -hud Launches a browser configured to proxy through ZAP with the HUD enabled, for use in daemon mode -hudurl Launches a browser as per the -hud option with the specified URL -hudbrowser Launches a browser as per the -hud option with the specified browser, supported options: Chrome, Firefox by default Firefox -quickurl The URL to attack, e.g. http://www.example.com -quickout The file to write the HTML/JSON/MD/XML results to (based on the file extension) -quickprogress: Display progress bars while scanning -addoninstall Installs the add-on with specified ID from the ZAP Marketplace -addoninstallall Install all available add-ons from the ZAP Marketplace -addonuninstall Uninstalls the Add-on with specified ID -addonupdate Update all changed add-ons from the ZAP Marketplace -addonlist List all of the installed add-ons -graphqlfile Imports a GraphQL Schema from a File -graphqlurl Imports a GraphQL Schema from a URL -graphqlendurl Sets the Endpoint URL -notel Turns off telemetry calls zaproxy
[email protected]:~# zaproxy -h Found Java version 17.0.6 Available memory: 14912 MB Using JVM args: -Xmx3728m